
Ohio Stars – Part 3 Sash It
Sometime back, I showed you an easy way to make beautiful Ohio Star Blocks really easily with great points. I know some of you have been sewing these blocks along with me. Here is the link.
I thought they needed something extra, so I followed on with Ohio Stars – Part 2
Ohio Star Blocks Part 2 Tutorial
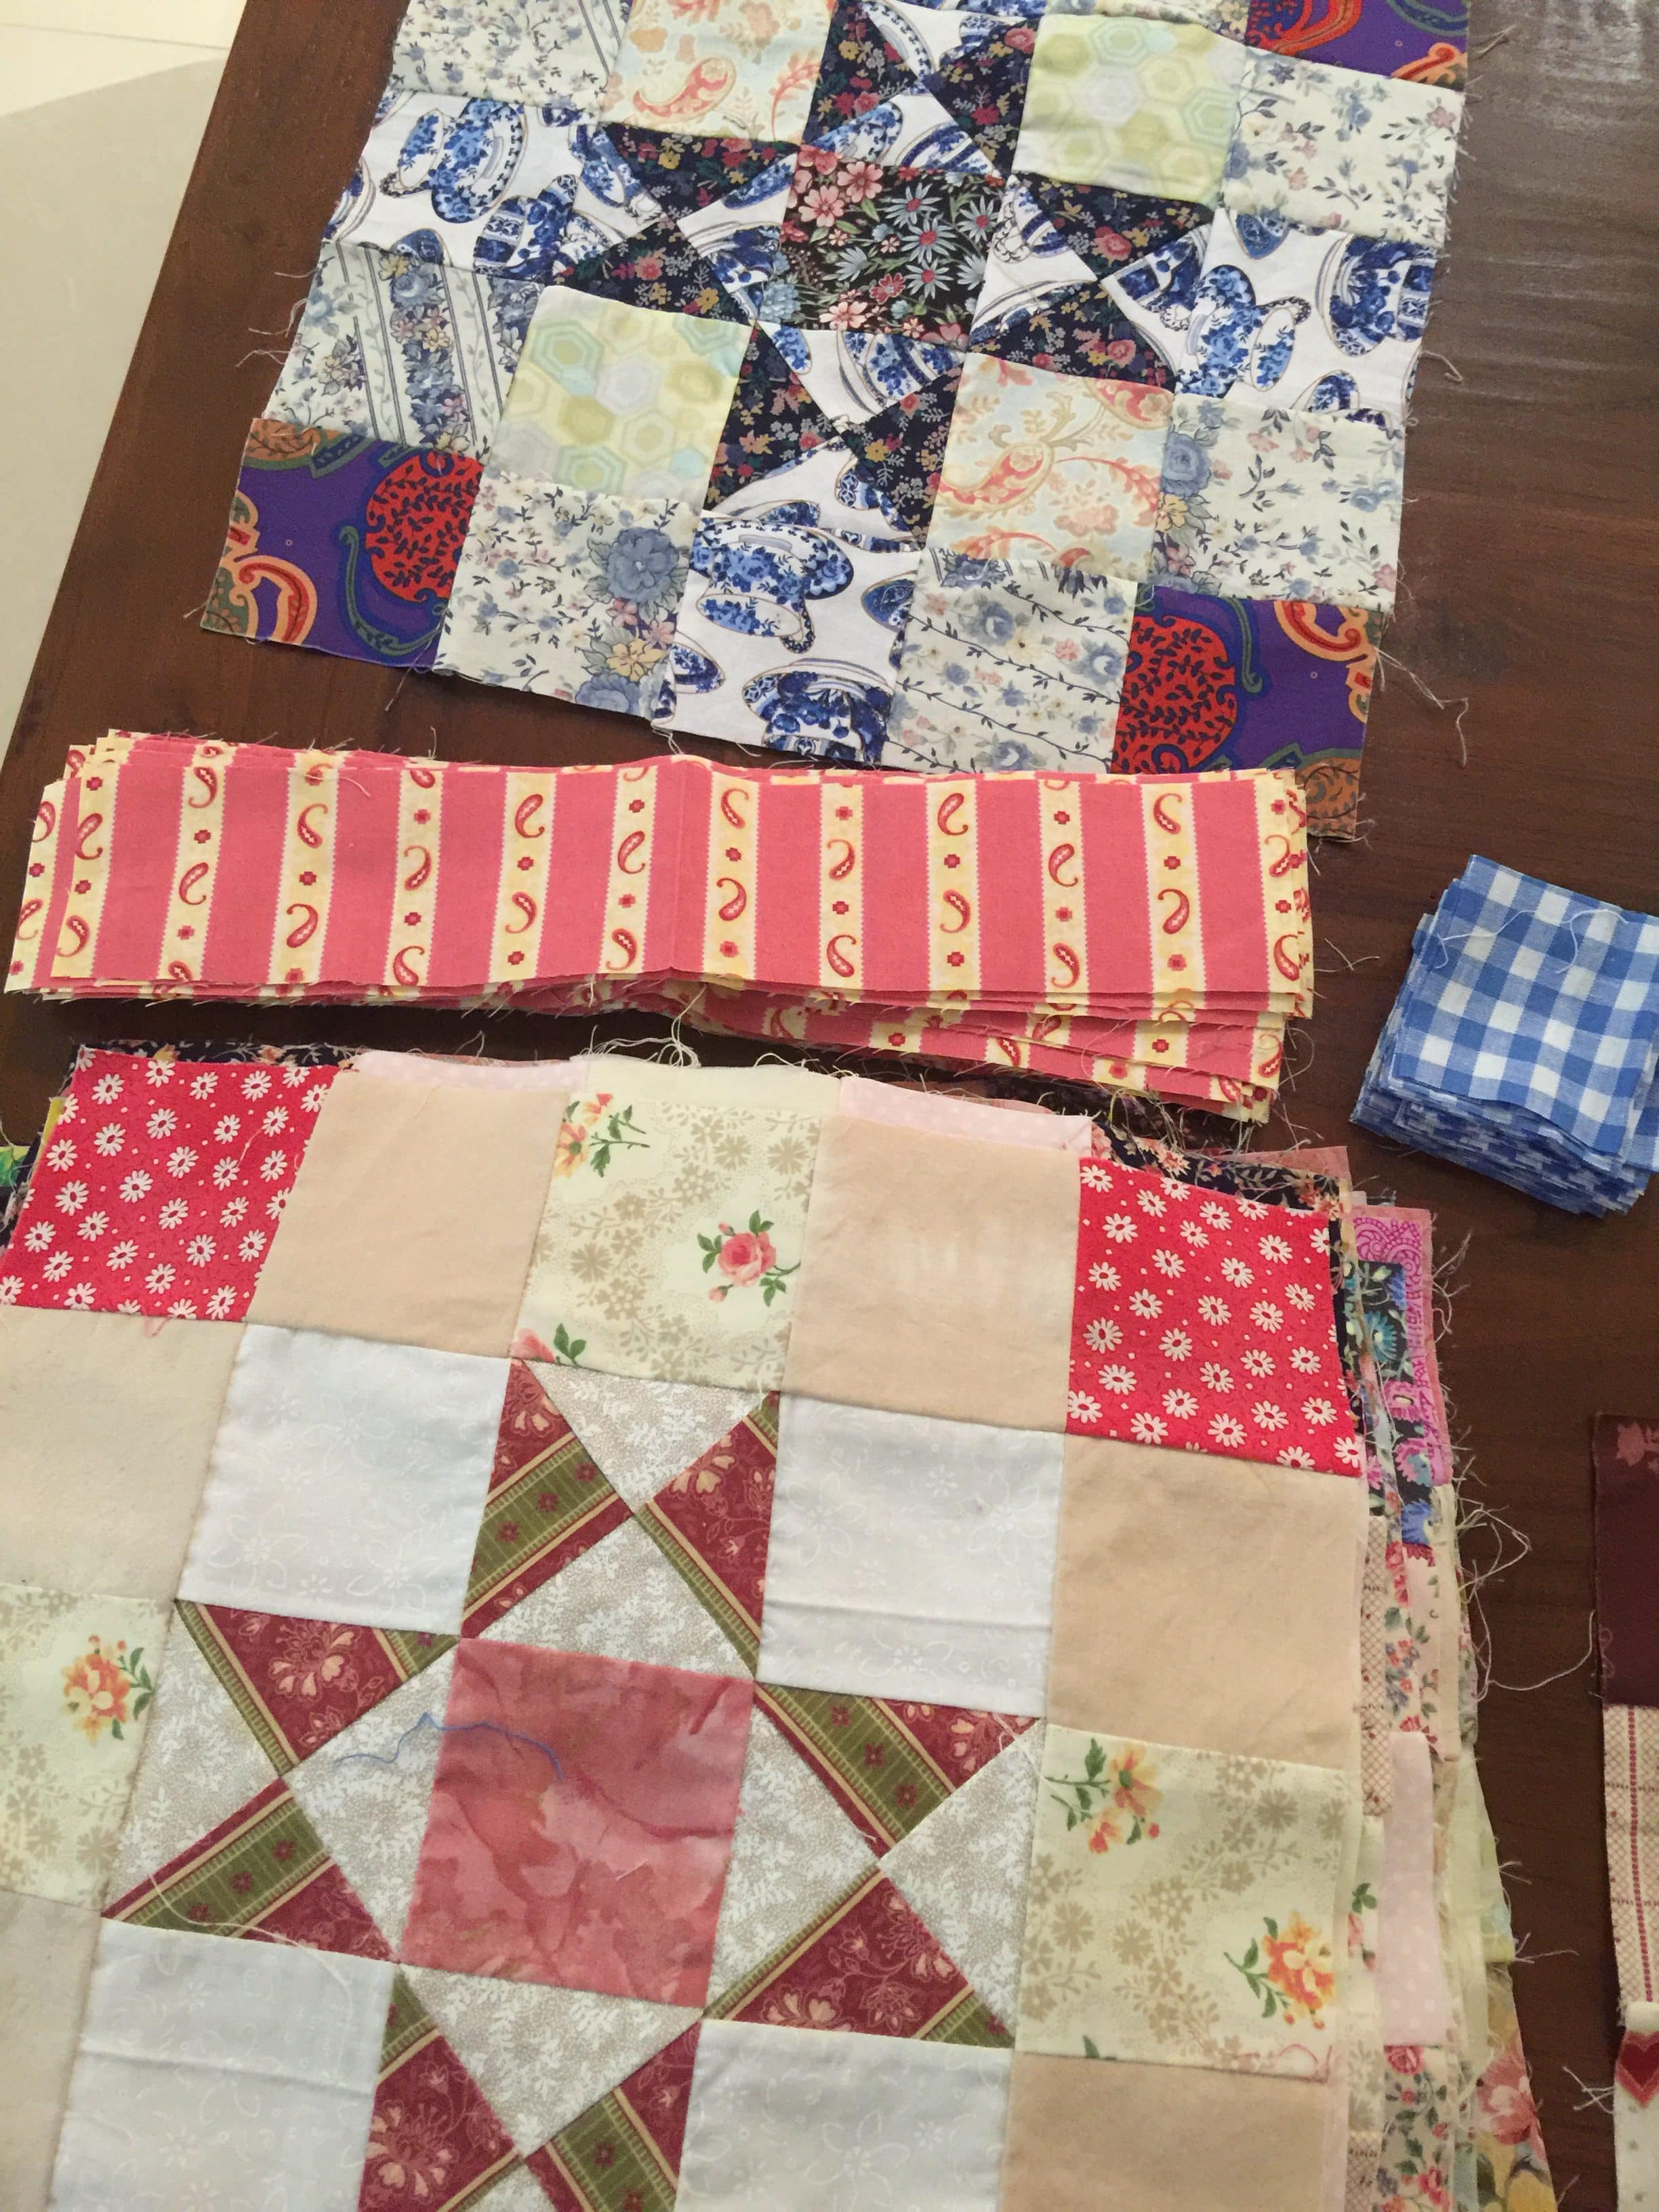
I’ve really enjoyed making these very scrappy blocks. Great for combining a myriad of fabrics.
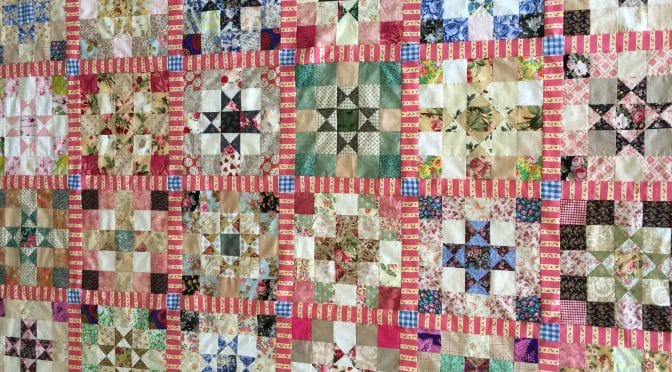
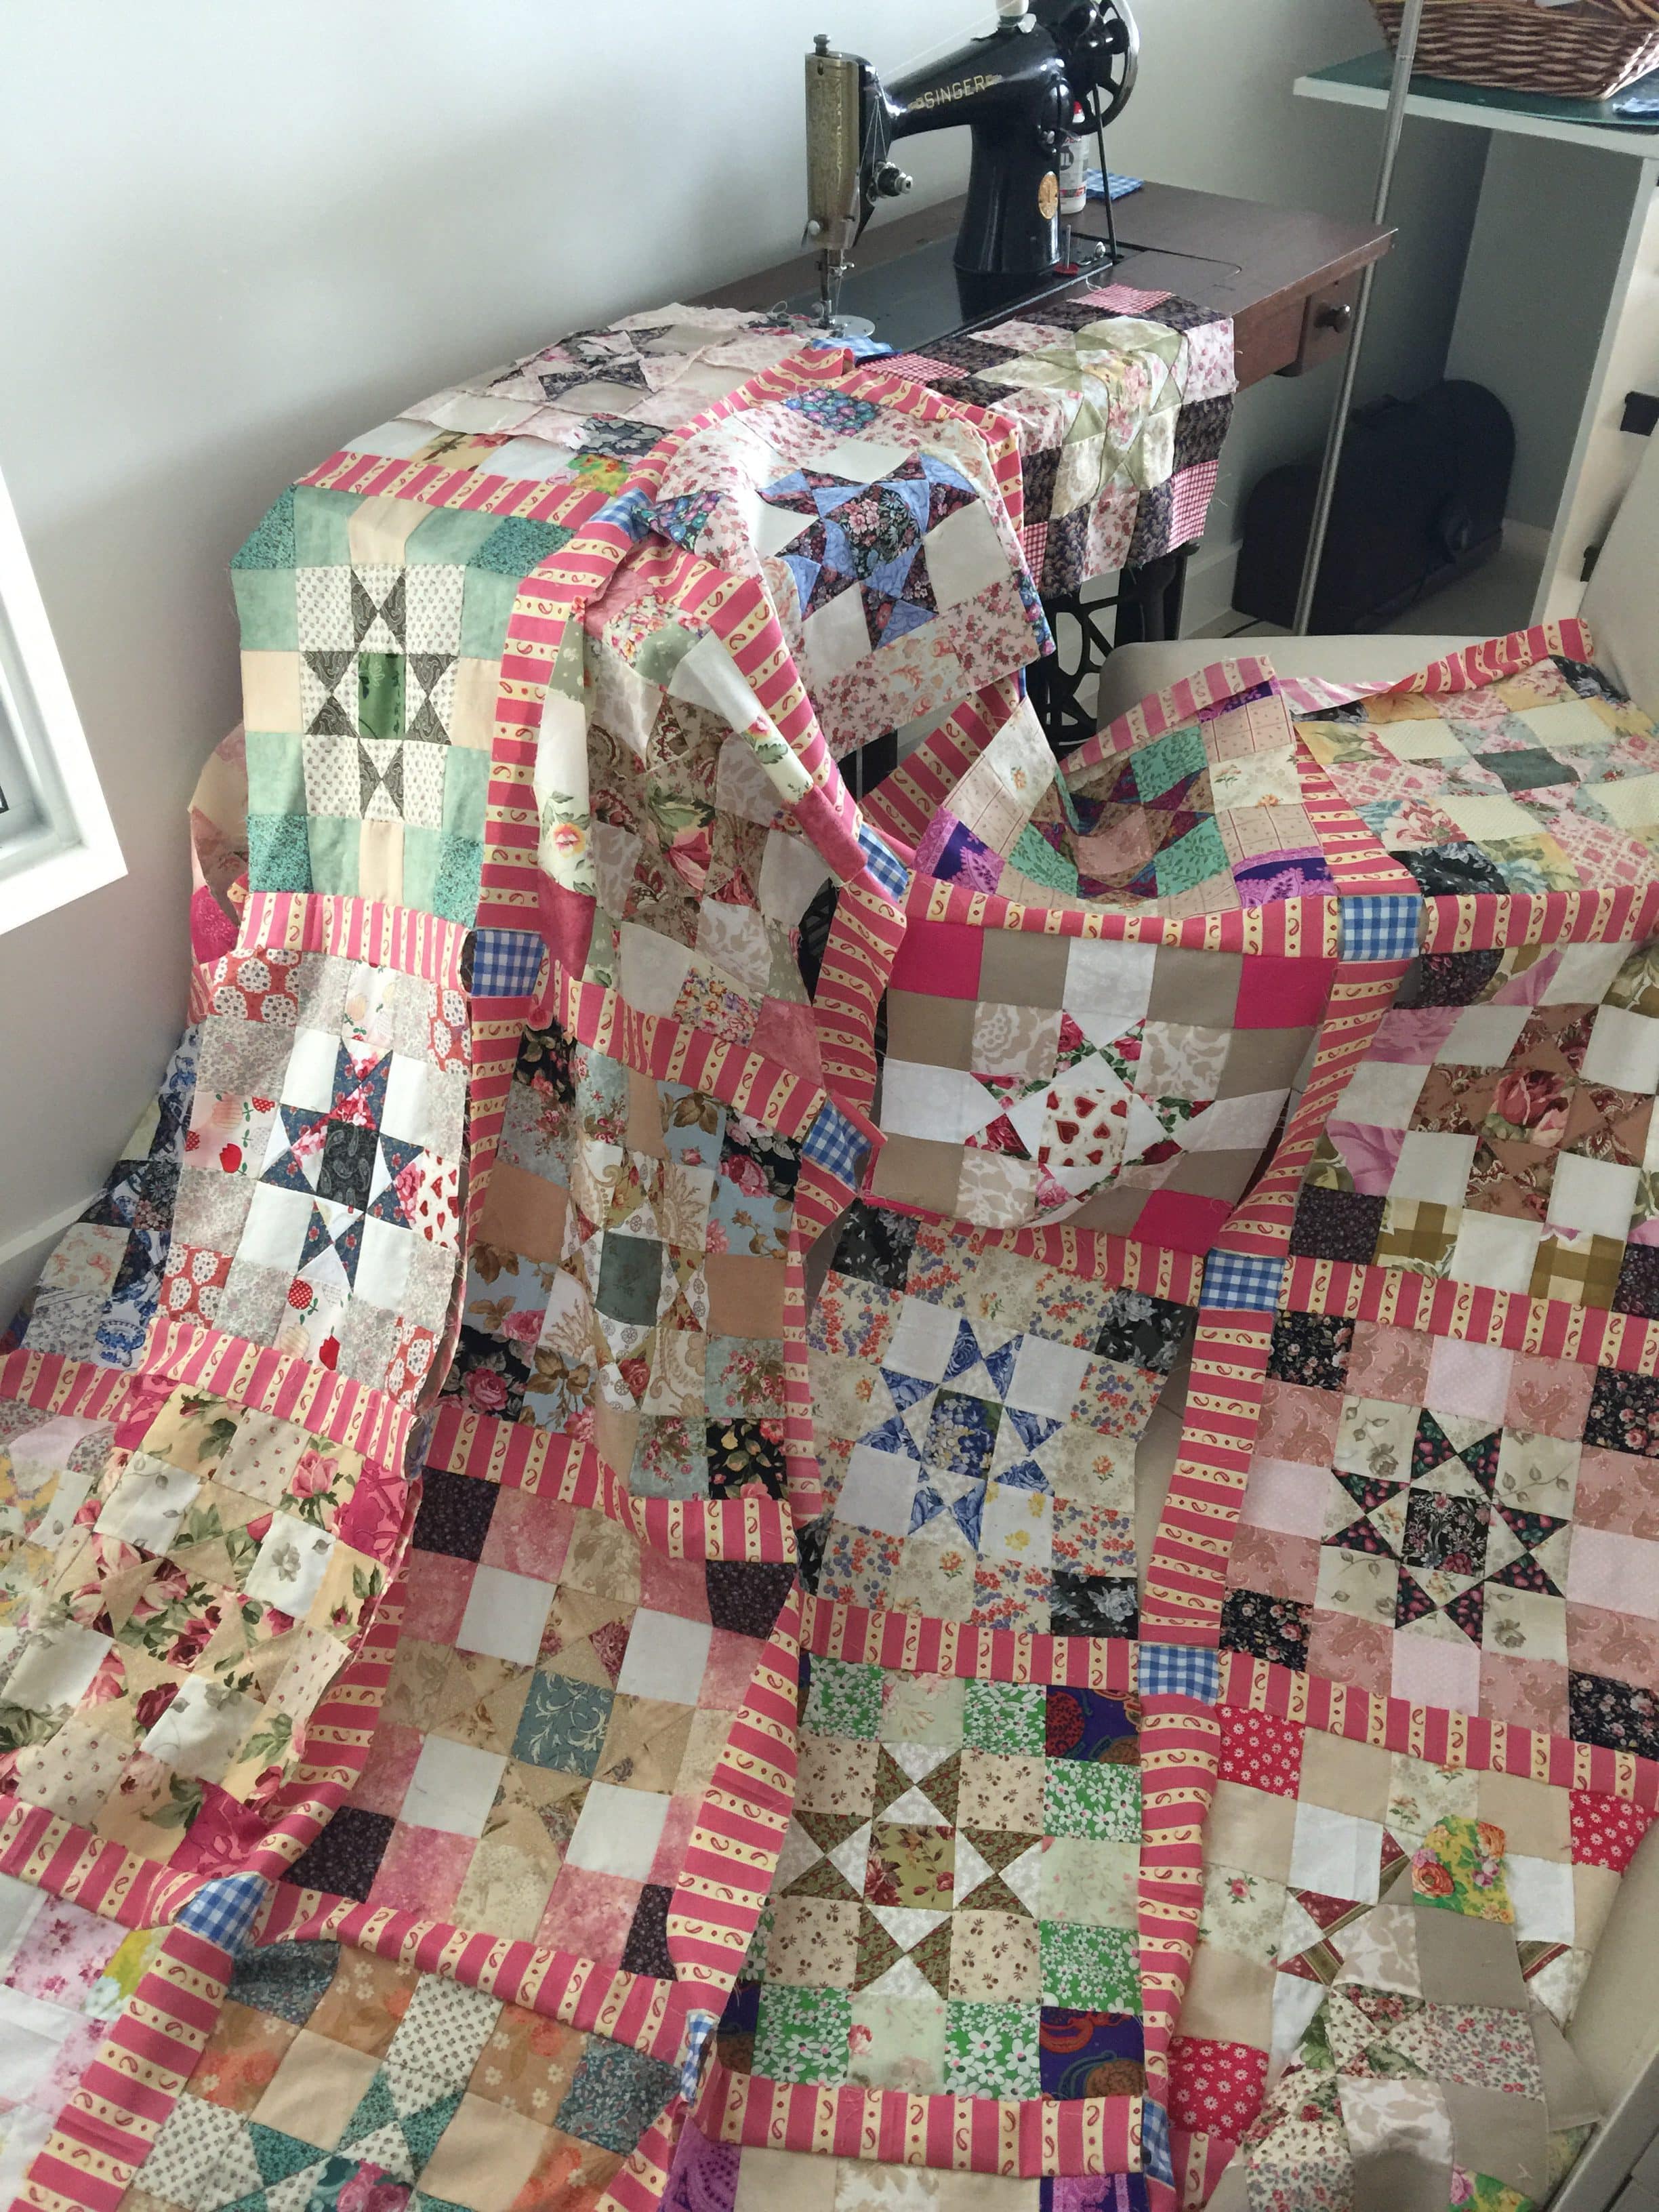
Often, more time is spent thinking about doing things, than it actually takes to do them, as was the case here. Because the blocks are busy and scrappy, its taken me a while to decide how to best put these blocks together. I’ve decided on a striped fabric, which I had in my stash. I didn’t want to buy more fabric. I think the stripe is really going to set these blocks off well. I’ve teamed them up with some blue gingham cornerstones (because everything’s good with gingham) 😀
Sometimes it can be hard to use directional fabrics, however sashings, bindings and borders are ideal places to utilise them and make the most of their directional energy to highlight a quilt.
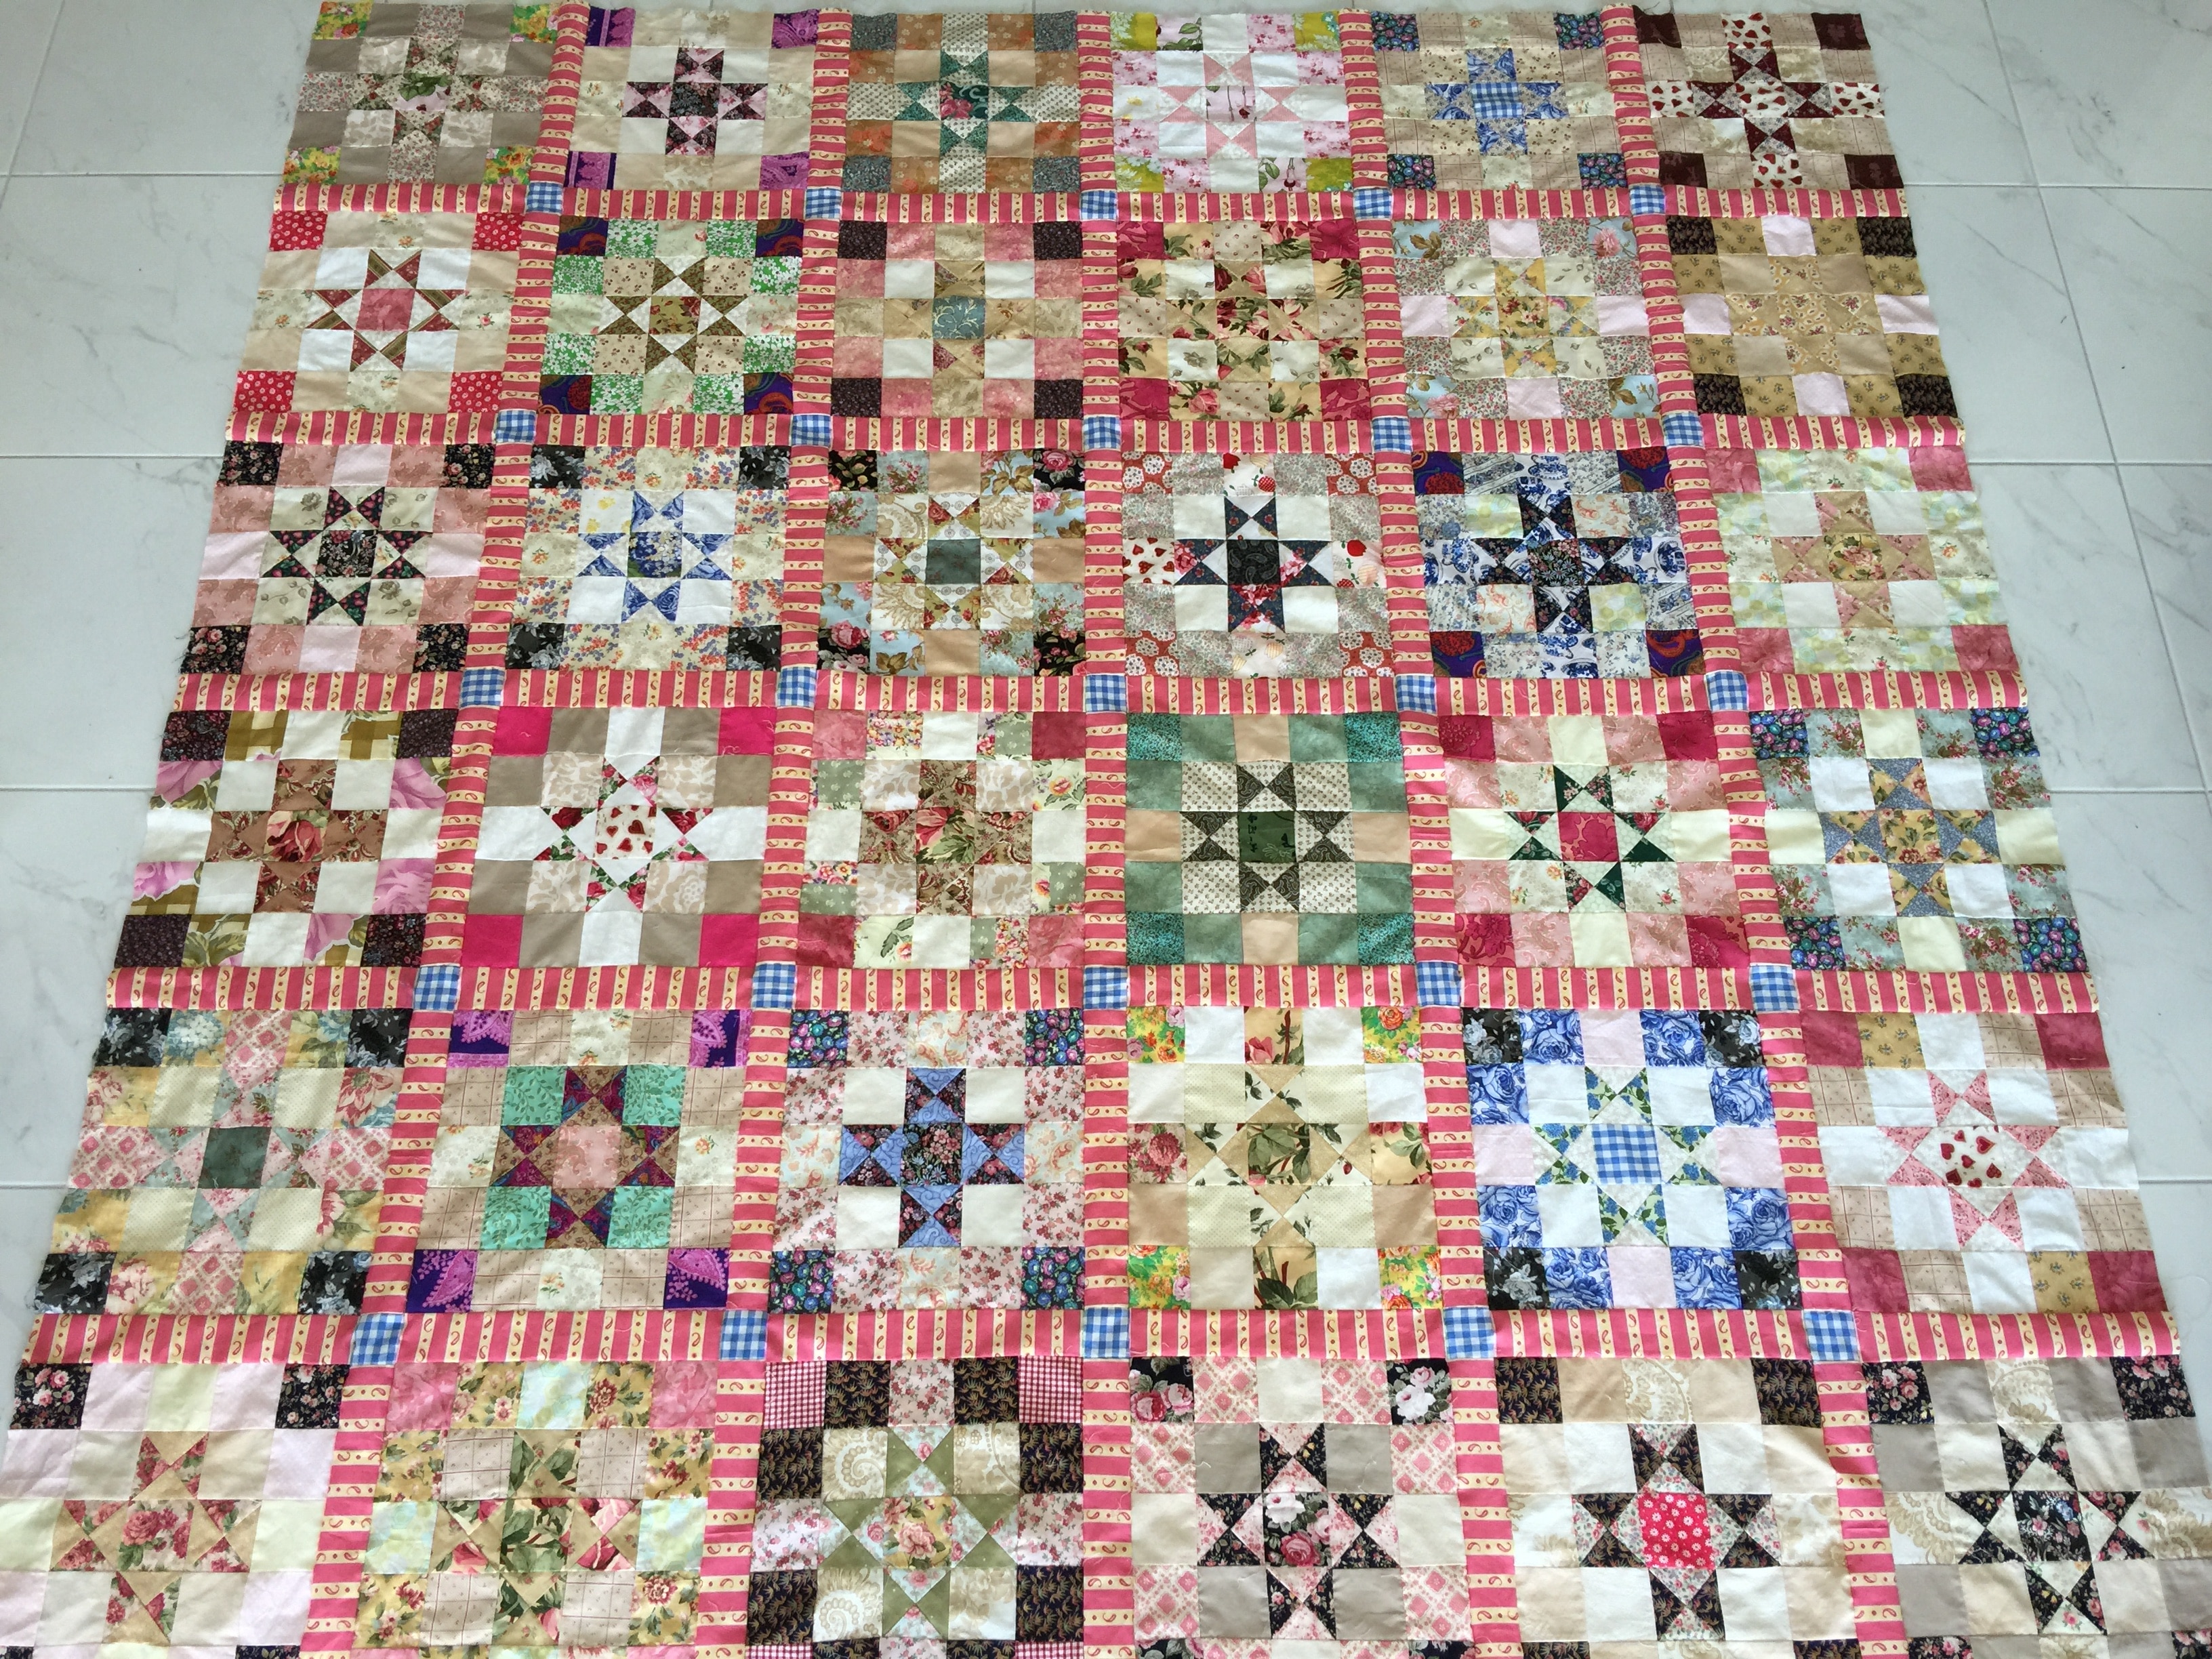
I have made 36 of the Ohio star blocks. You can make as many or few as you prefer. All of this quilt top ha seen sewn by treadle.
Requirements for the Sashings
Lay out the blocks in a pleasing arrangement, or mix them up and leave to chance if you are game. The blocks are laid out in a 6 x 6 configuration. Put a sashing piece between every block and a cornerstone at each junction.
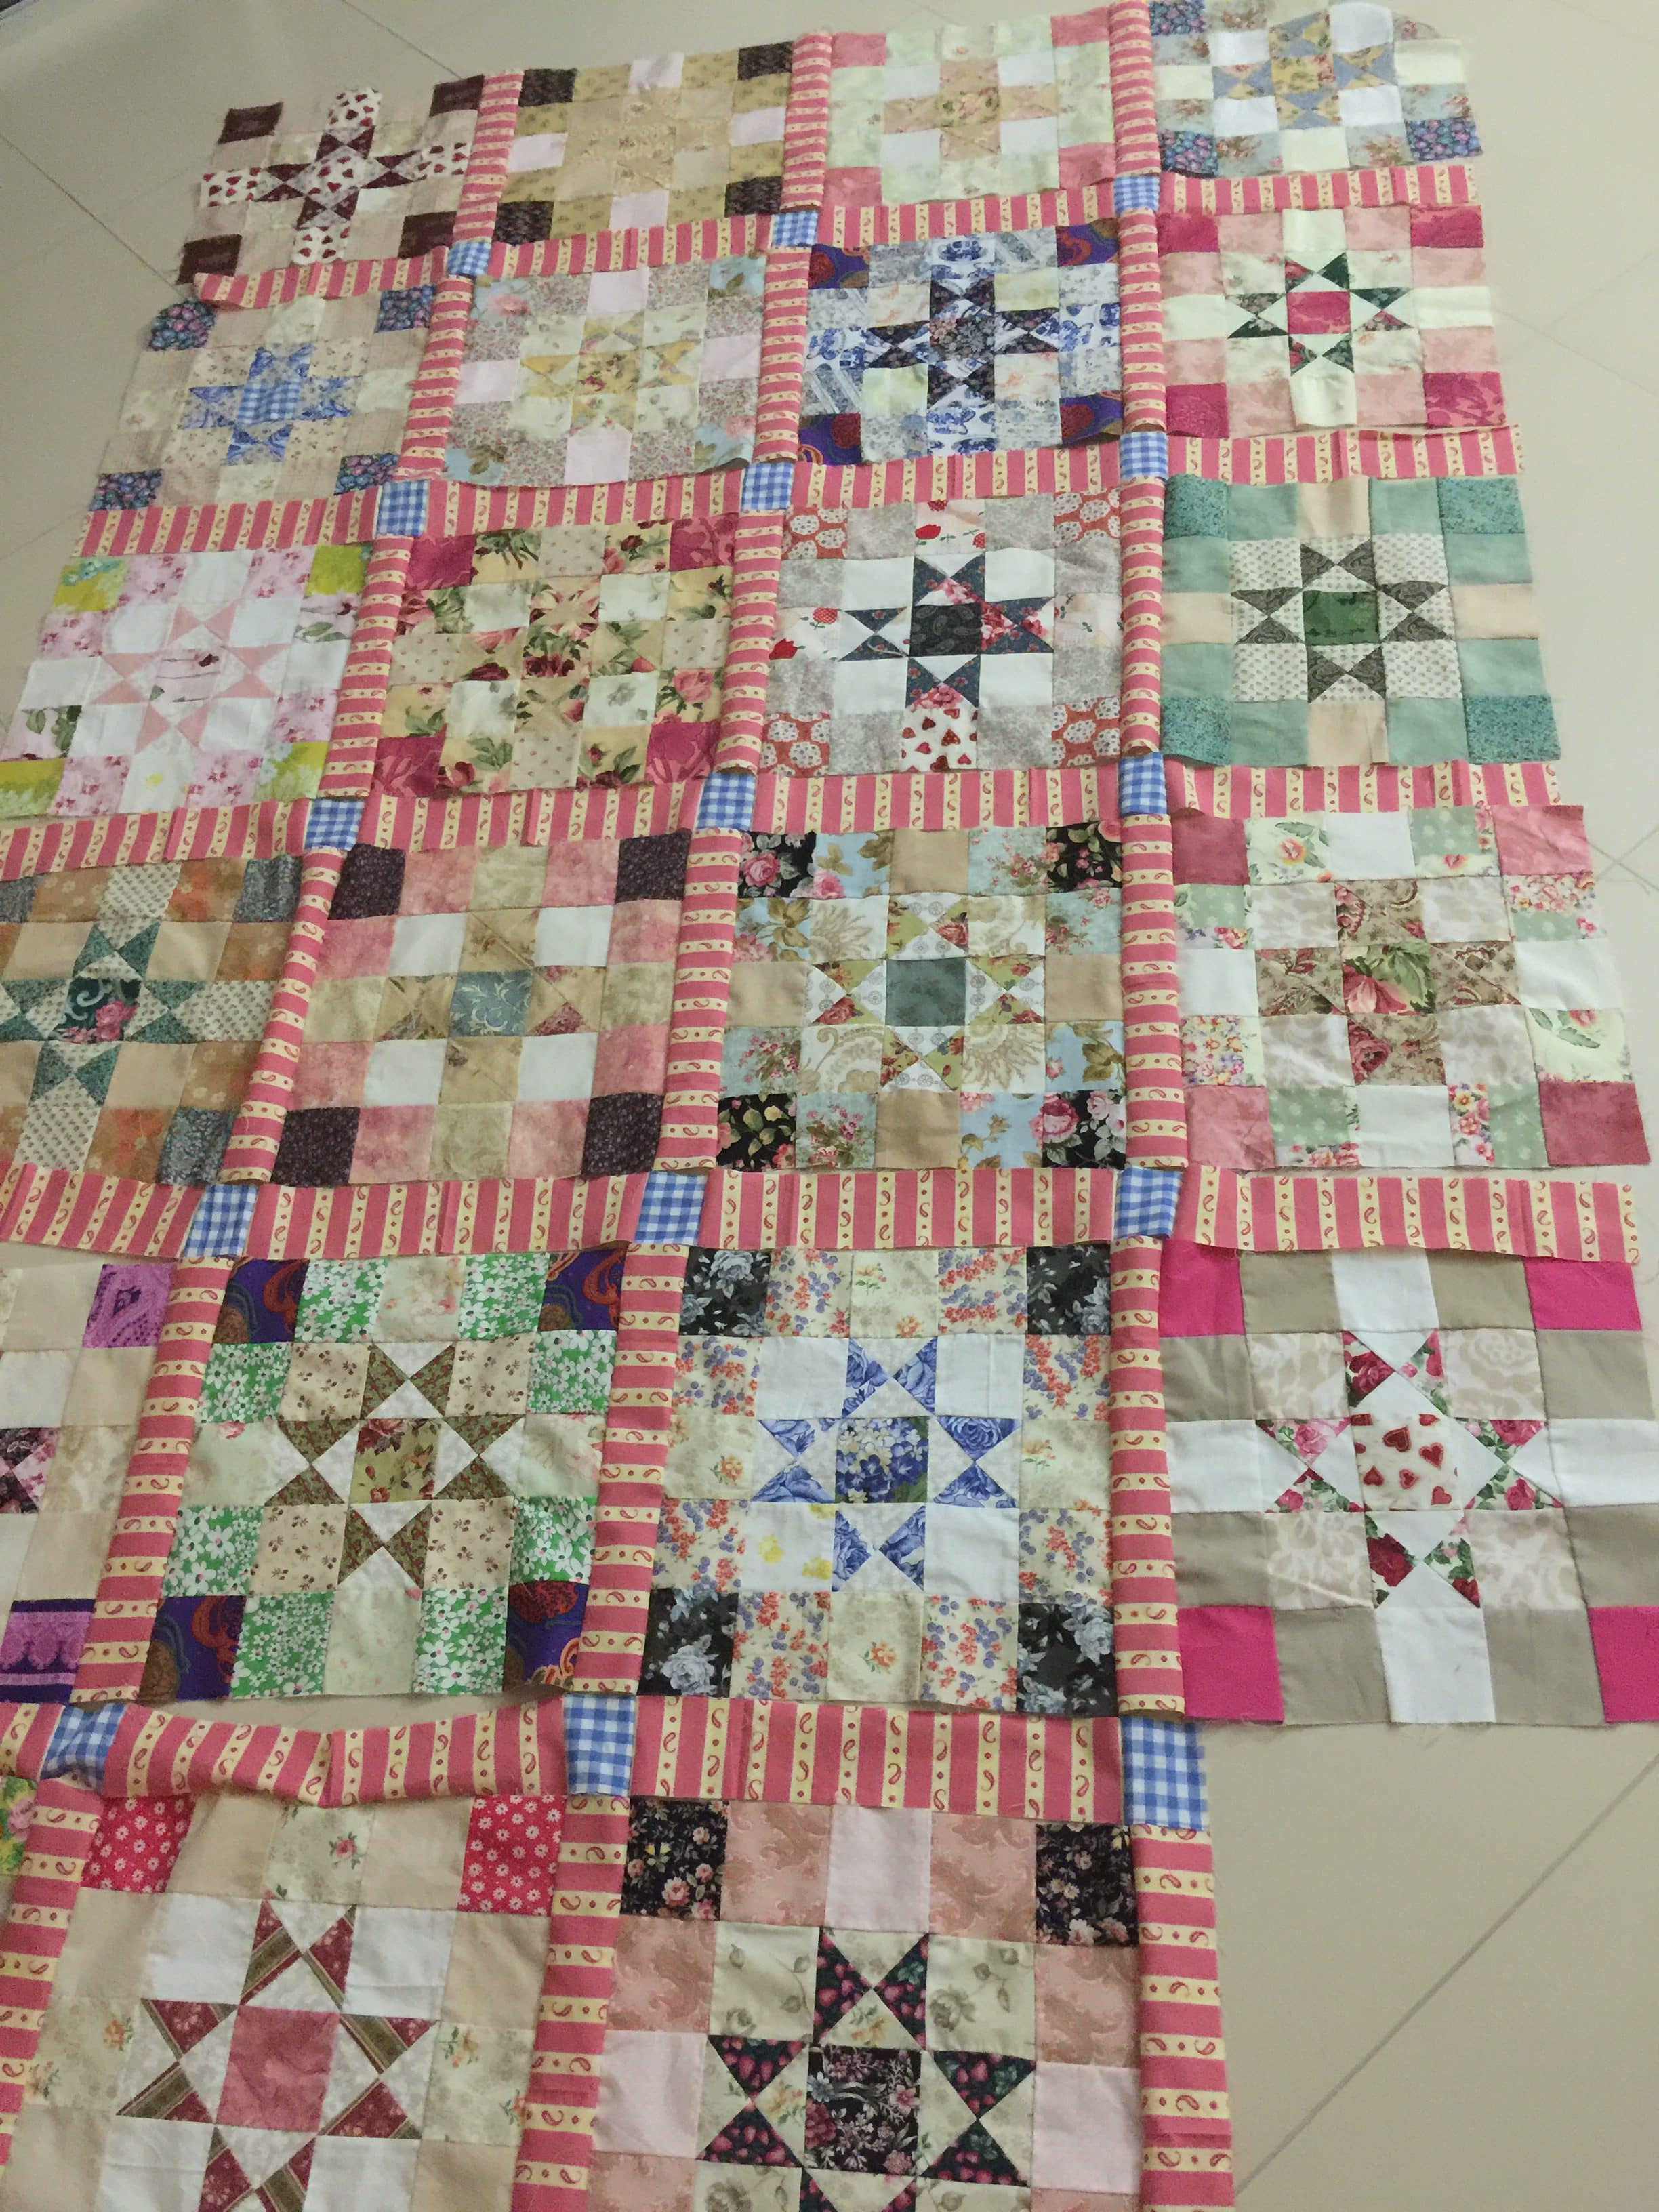
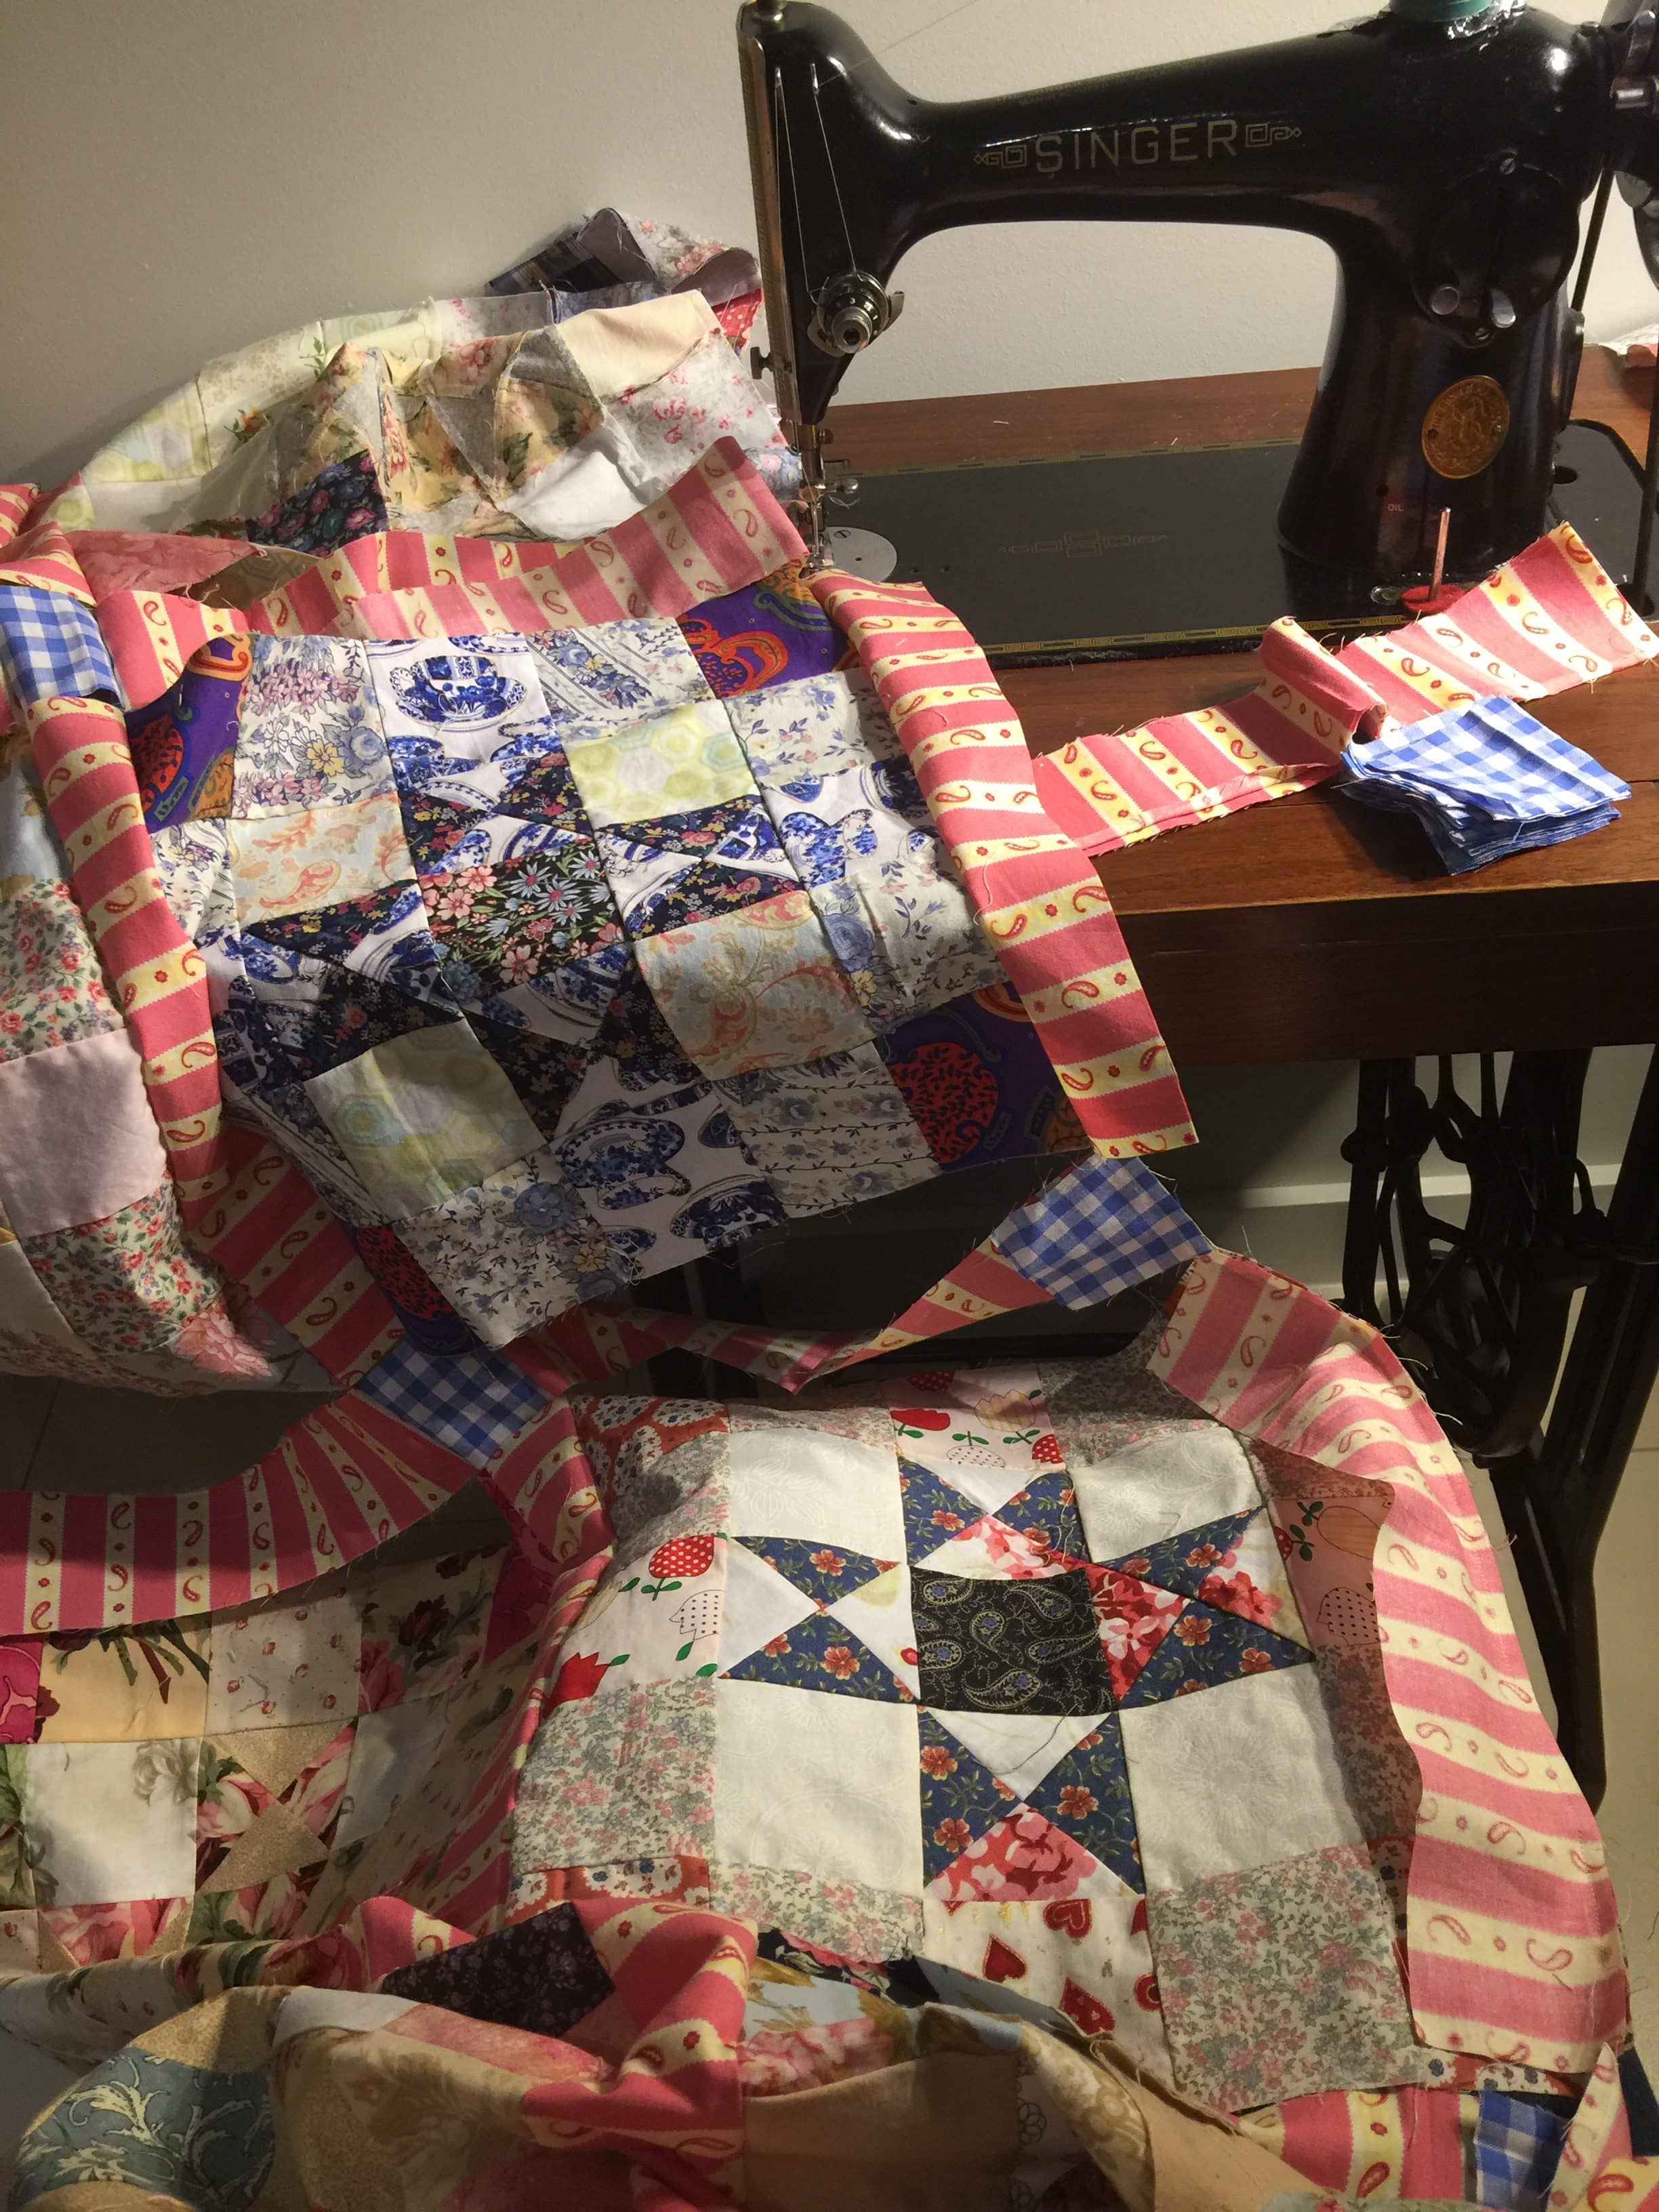
I am chain sewing this quilt together. So to do that I will start from the top left corner. I will sew in columns attaching the next part of each row as I go. Sew a sashing to a block then sew a sashing to a cornerstone. When six blocks are sewn then start at the top again sewing a block to the sashing then a sashing to a cornerstone. Repeat until all the blocks and sashings are used. Now all the pieces are joined together, holding onto each other by the chain stitches.
Now pin across each row. This is a good time to make sure that all the seam allowances are facing in the right direction and that all the blocks and cornerstones are nested with the sashings.

If you are finding it a bit unwieldy, use a spare chair or table to support the fabric.
By the way, thank you Helen Peck for the beautiful cushion. It is working well!
And this is how it should look. This is a big quilt. At the moment it is approximately 80 inches square. Now for some pressing!
Have a great day!
If you enjoyed this post, you may also like,
The Arrowhead Quilt Block Made Easy
and
Framing Pinwheels Quilt and Pattern
Happy sewing!
Susie
Thank you Susie loves this tutorial and yes this is how my grandma would have used her prints. She was born 1904 and made beautiful scrap quilts. That was all they had to keep warm in winter months.
I wasn’t sure were this quilt was going, but once I saw it finished with that stripey sashing I was smitten. Hopefully one day I can give it a try. Thanks for all your lovely tutorials and ideas 🙂
I love it, being from Ohio and living in Texas. I am so old but still trying to quilt. Think I will make baby quilts have 3 g- grands coming yet this yr. Will keep your post on my iPad for help. Thanks
I love love love this quilt! What a fun and easier way to complete the Ohio star and its block! I am starting one today! Ok maybe not today..I have to work outside first…
Sorry I can’t read the text because of the background photography..
I am sorry to hear that. I think it is an issue with your browser — please empty and refresh your cache. Let me know if the issue persists.