“Star Baby” QuiltTutorial
Hello Dear Friends and Readers. This quilt is a great way to use up some scraps. The 5″ charm squares can easily be cut at home or maybe you have some lying around?. To construct this baby quilt you will need a mixture of browns, golds, blues and a few pinks,
Requirements for the Star Baby Quilt
48 of 5” x 5 “ Charm Squares
To make the half square triangle units. You will need:
Instructions for the Star Baby Quilt
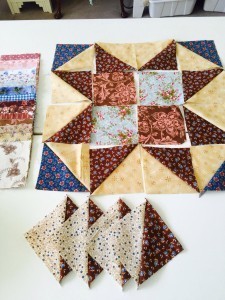
Make the half square triangle units by drawing a diagional line on the wrong side of the 5 1/2″ gold print squares. Put each one with a matching dark square and sew 1/4″ seam along each side of the diagional line. 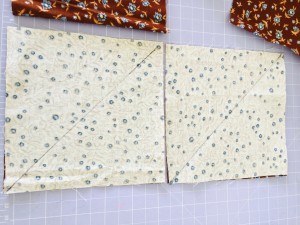 Snip the units apart. Gently press and cut off the dog ears. You should now have 4 gold/blue square and 12 gold /brown squares, it’s probably a good idea to check after the first one to make sure that the seam allowance is accurate. Theses 1/2 square triangle units should finish at 5″ . Adjust your seam allowance accordingly.
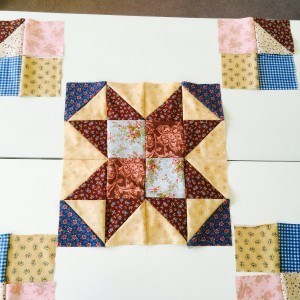 Once the half square units are complete, lay out the units for the star centre, like the image, adding four of the plain 5″ squares to the centre. I used 2 Browns and 2 light blue charm squares.
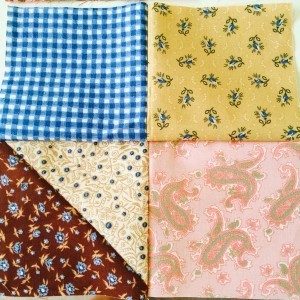 The centre star can be sewn together like four, four pach units. Lay the star out like the image above. Once the star is compete commerce making the four corner units each corner unit will have 1 brown / gold half square triangle unit and 3 of the 5″ Charm squares .
Next make 8 four patch units from the remaining 32 5″ charm squares. The four paches can be random or follow a repeating colour pattern which is what I did.
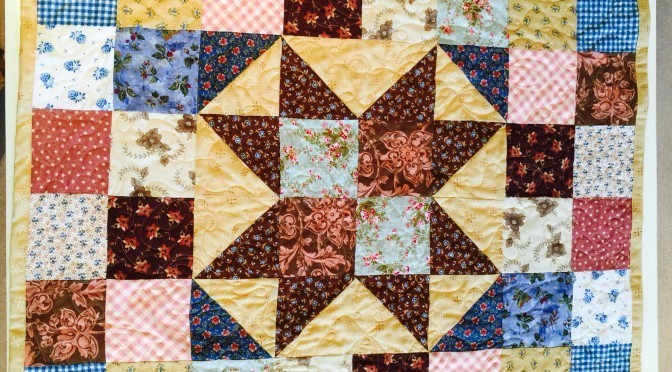
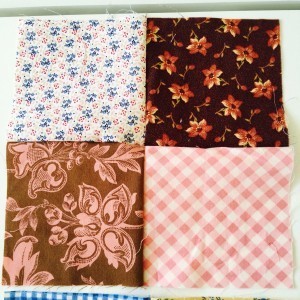 Check the image for color placement. Lay out all the units with the star in the centre, the corner units in the outer corners and two each of the four patch blocks on each of the four sides. Sew 2 of the four patch units together an then sew to the side of the star. Be sure to pin at regular intervals to match points and nest seams Repeat on the opposite side of the star. Now sew remaing top row and bottom row together pinning and matching corners as before. Once the top and bottom rows are complete attach to the quilt ensuring all seams are nested.
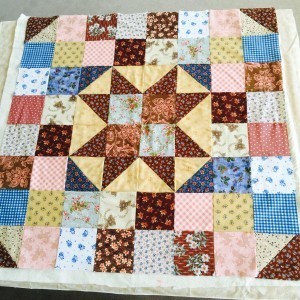 Now your quilt top is complete. I think this quilt could also work well as a rag quilt. If you would like to make this pattern as a rag quilt, then increase the block sizes by 1/2 ” to accommodate the wider seam allowances. In other words, 5 1/2″ squares and 6 1/2″ squares to make the 1/2 square triangle units and allowing for a 1/2″ seam allowance.
For more discussion about how I put this quilt together, go to “Star Baby” Quilt at
If you enjoyed this post, you may also like
Or,
Have a great day,
Susie

Again, another lovely tutorial, this must have been before I found you. I hopped over from your pinwheel tutorial, thanks Susie!