
QAYG Hobo Bag Pattern
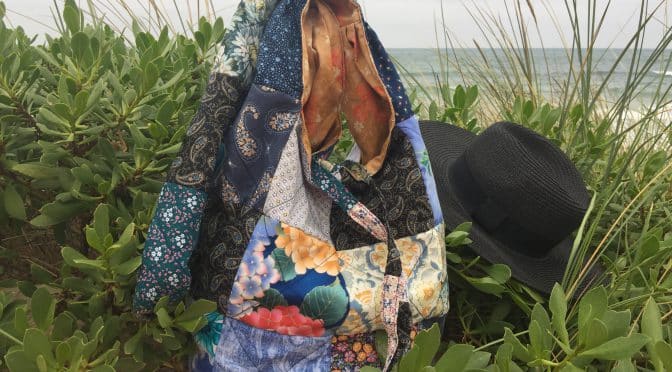
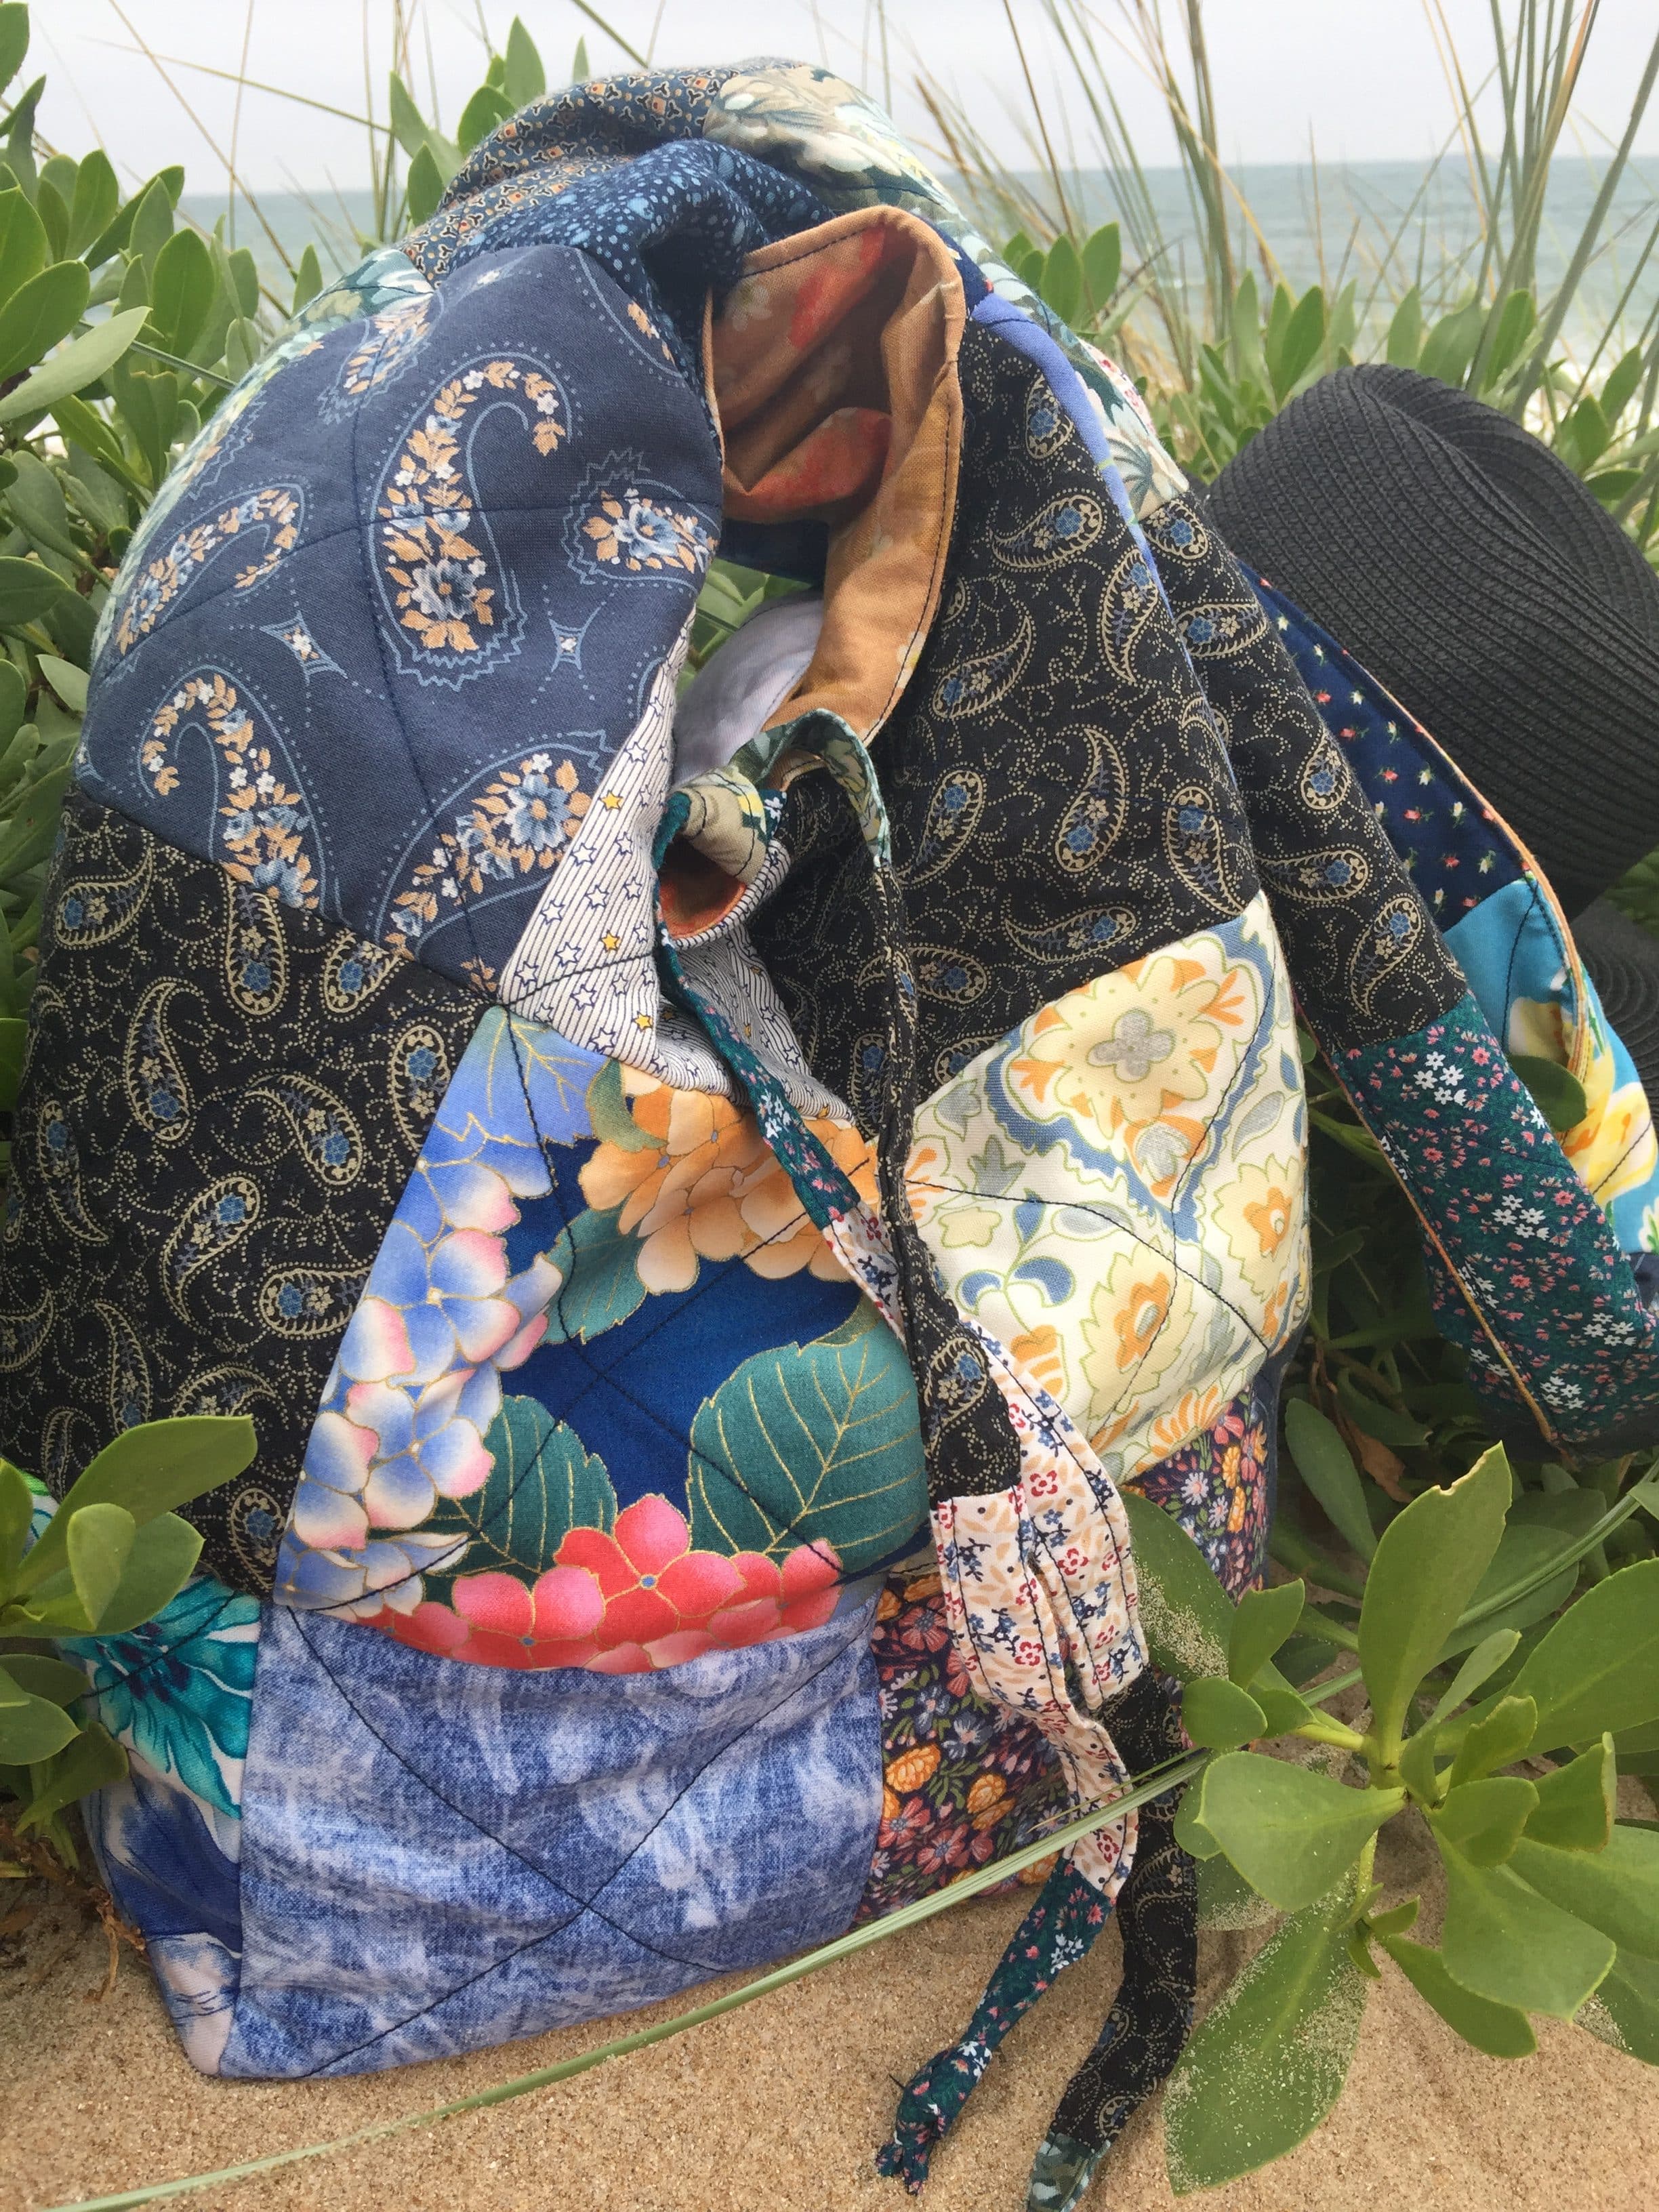
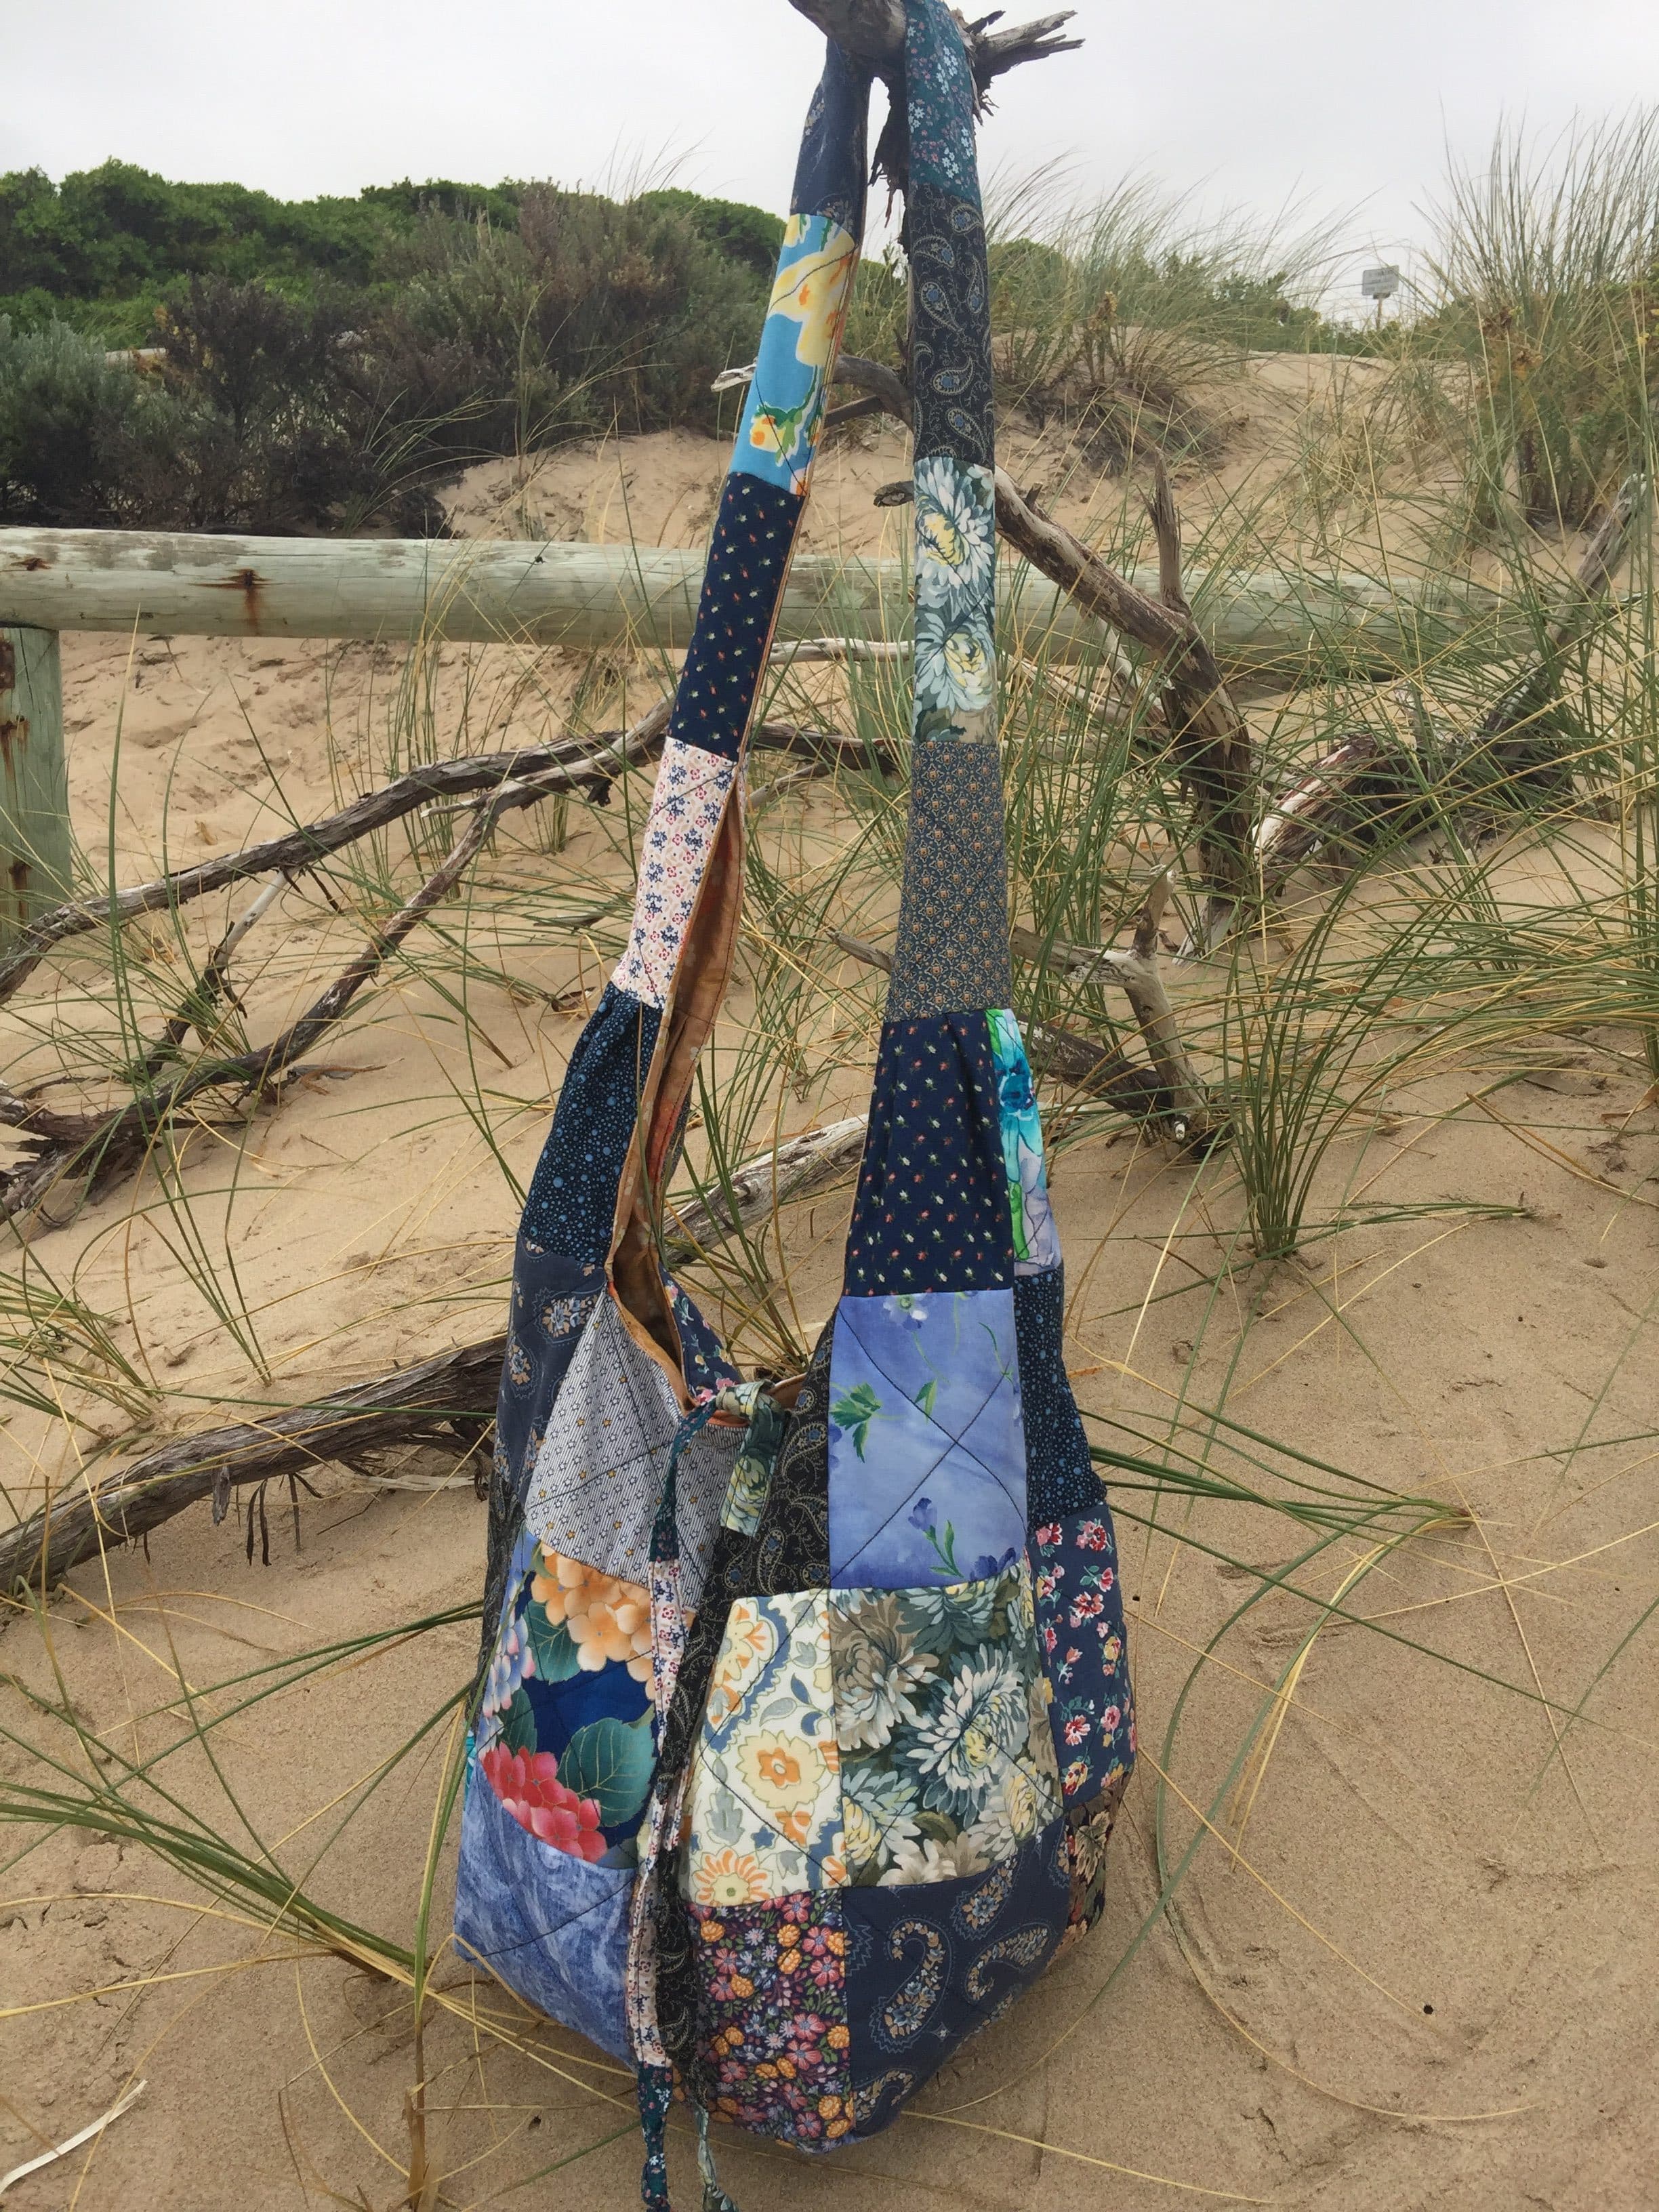
To my dear readers, for quite some time now, I’ve been thinking about a new bag. I wanted something a bit avante-garde. I really love the blues and navy’s used in antique Japanese Komebukuro Bags and the patched appearance. I’m taking inspiration from them, to make a bag which is easy to construct. A bag which can easily go over the shoulder in a cross body style, it needs to be roomy and enjoyable to carry. I must say I really prefer hand made handbags now. They are unique for a start, washable and very light to carry. This is what I came up with.
The good news is, once again, you can use up some scraps…. and guess what – some batting scraps too. After all what can we do with those left over pieces of batting???
This bag is constructed as a quilt as you go (QAYG) project, so it’s easy to handle and the batting pieces are small. Let’s get going.
All seams based on 1/4″
Finished bag size approximately 17″ x 12″. Finished length approximately 36″.
Requirements for one bag

Method of Construction
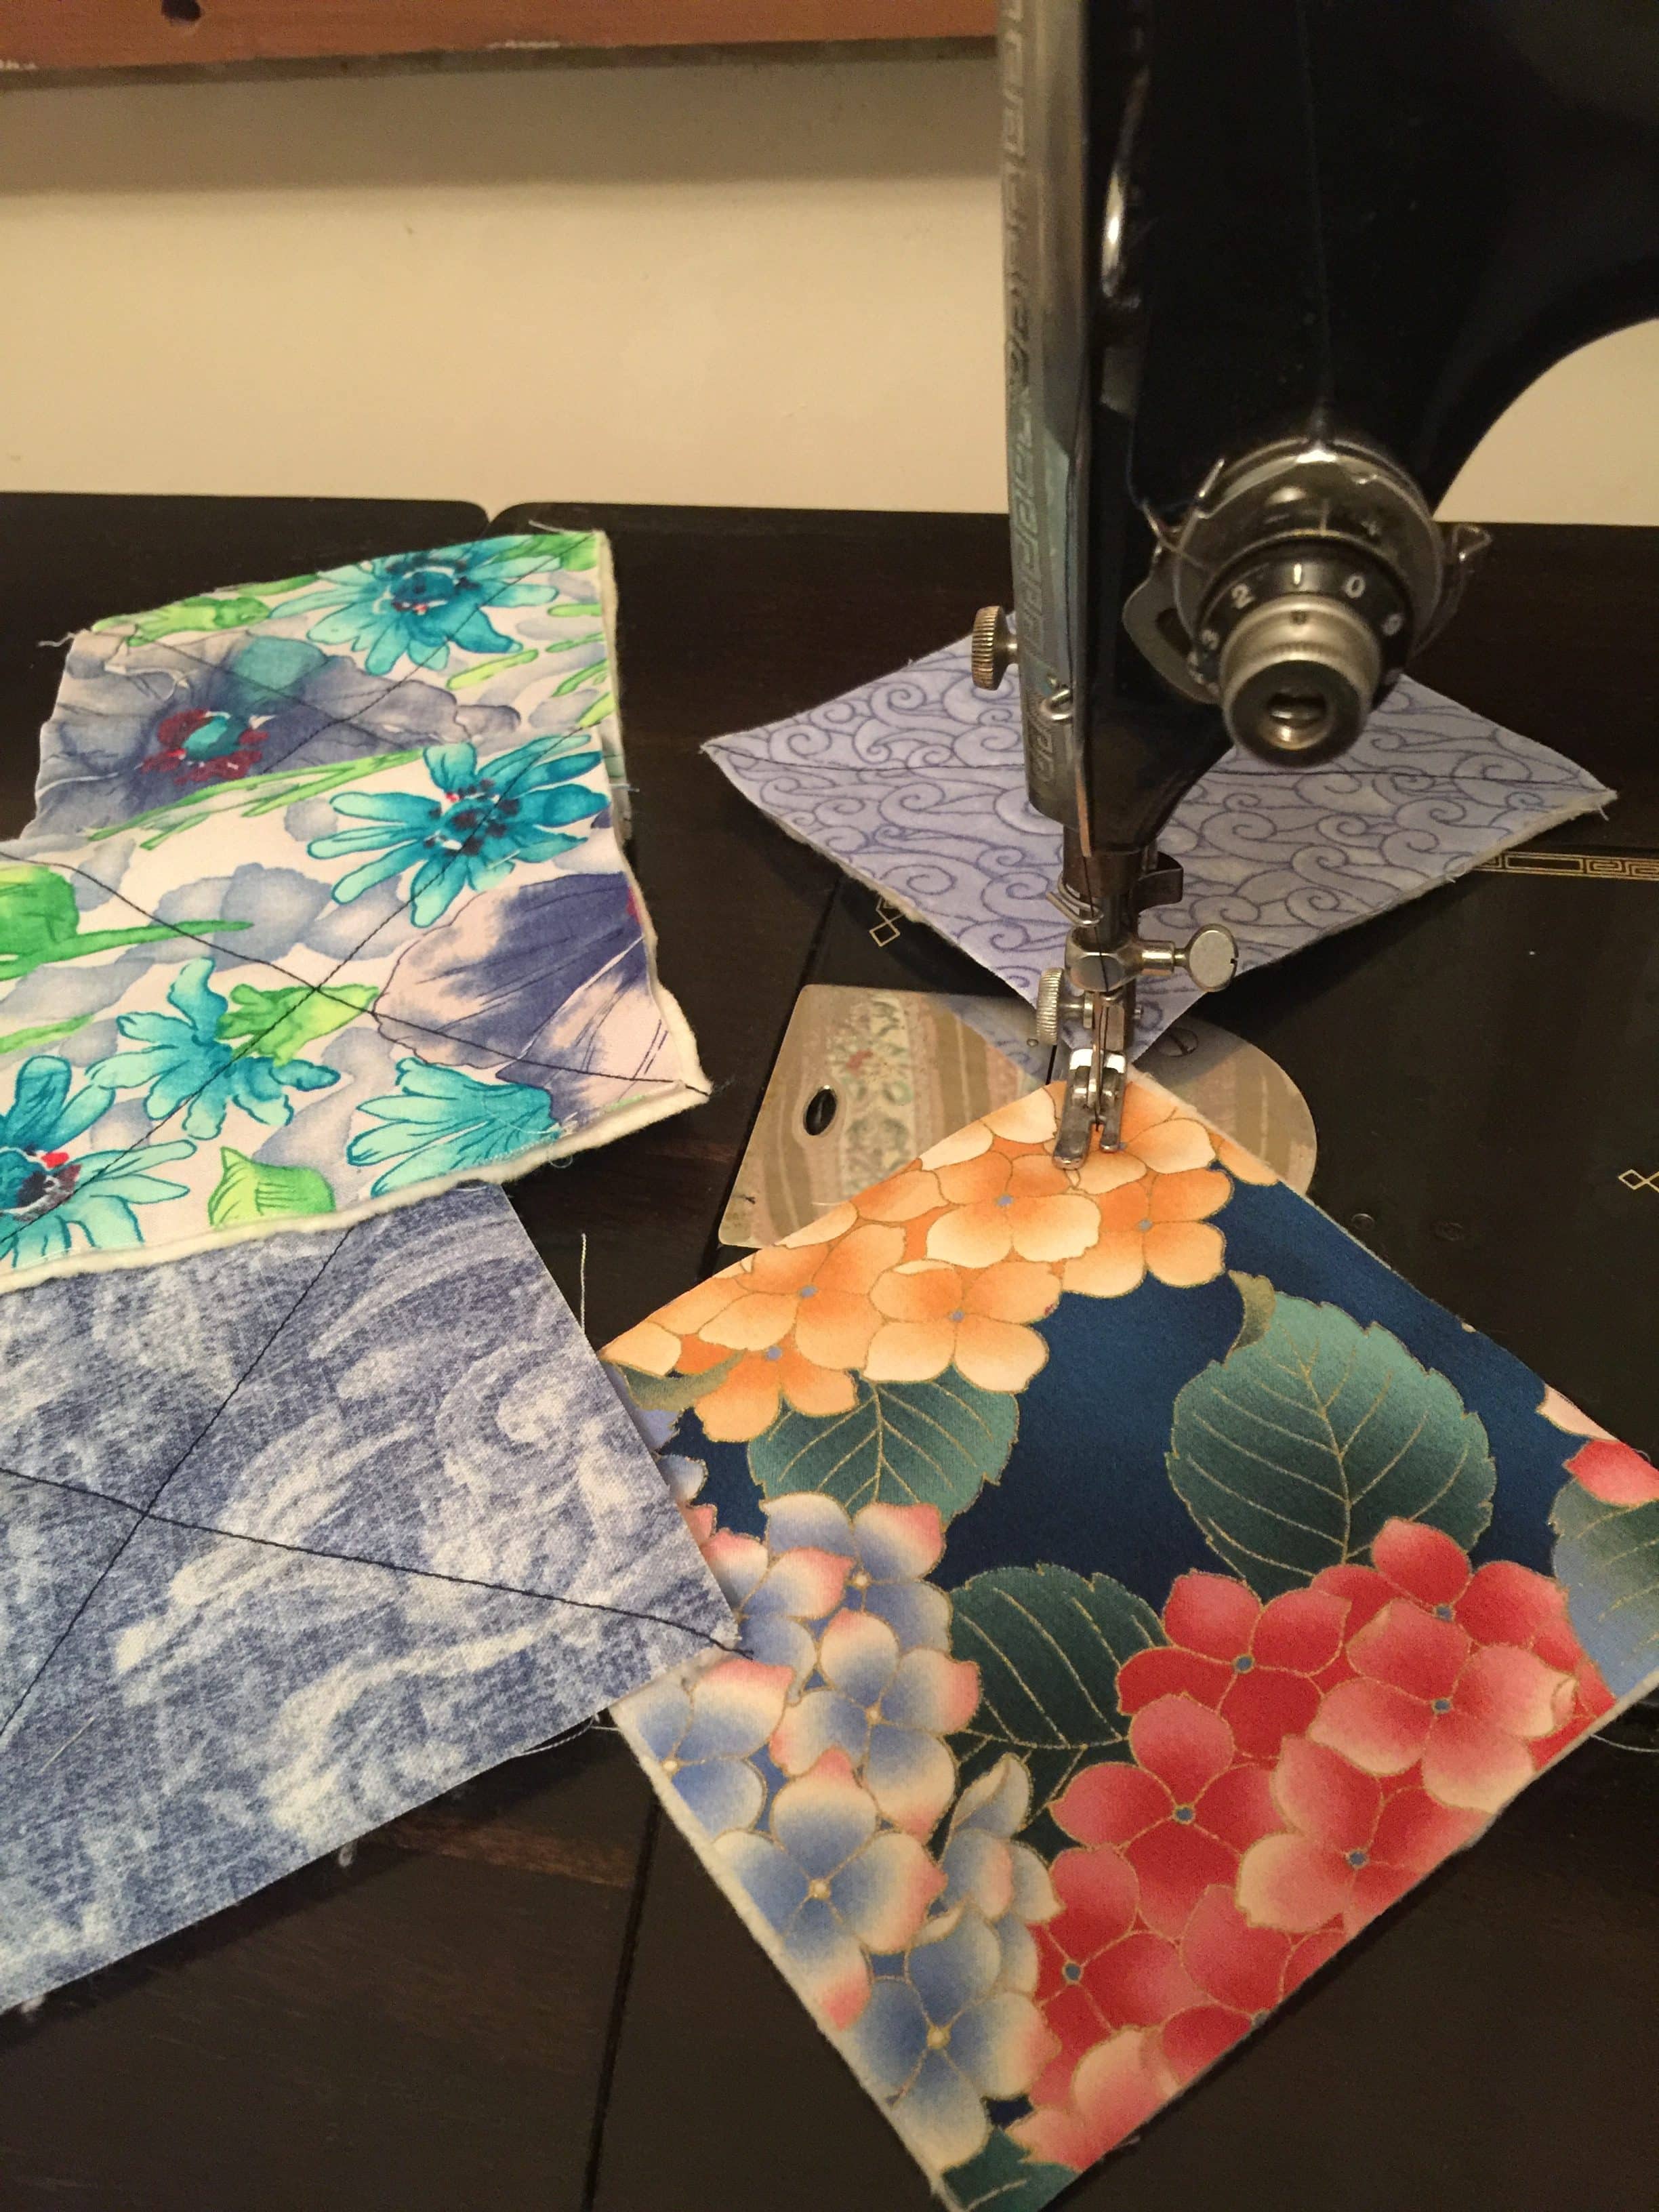
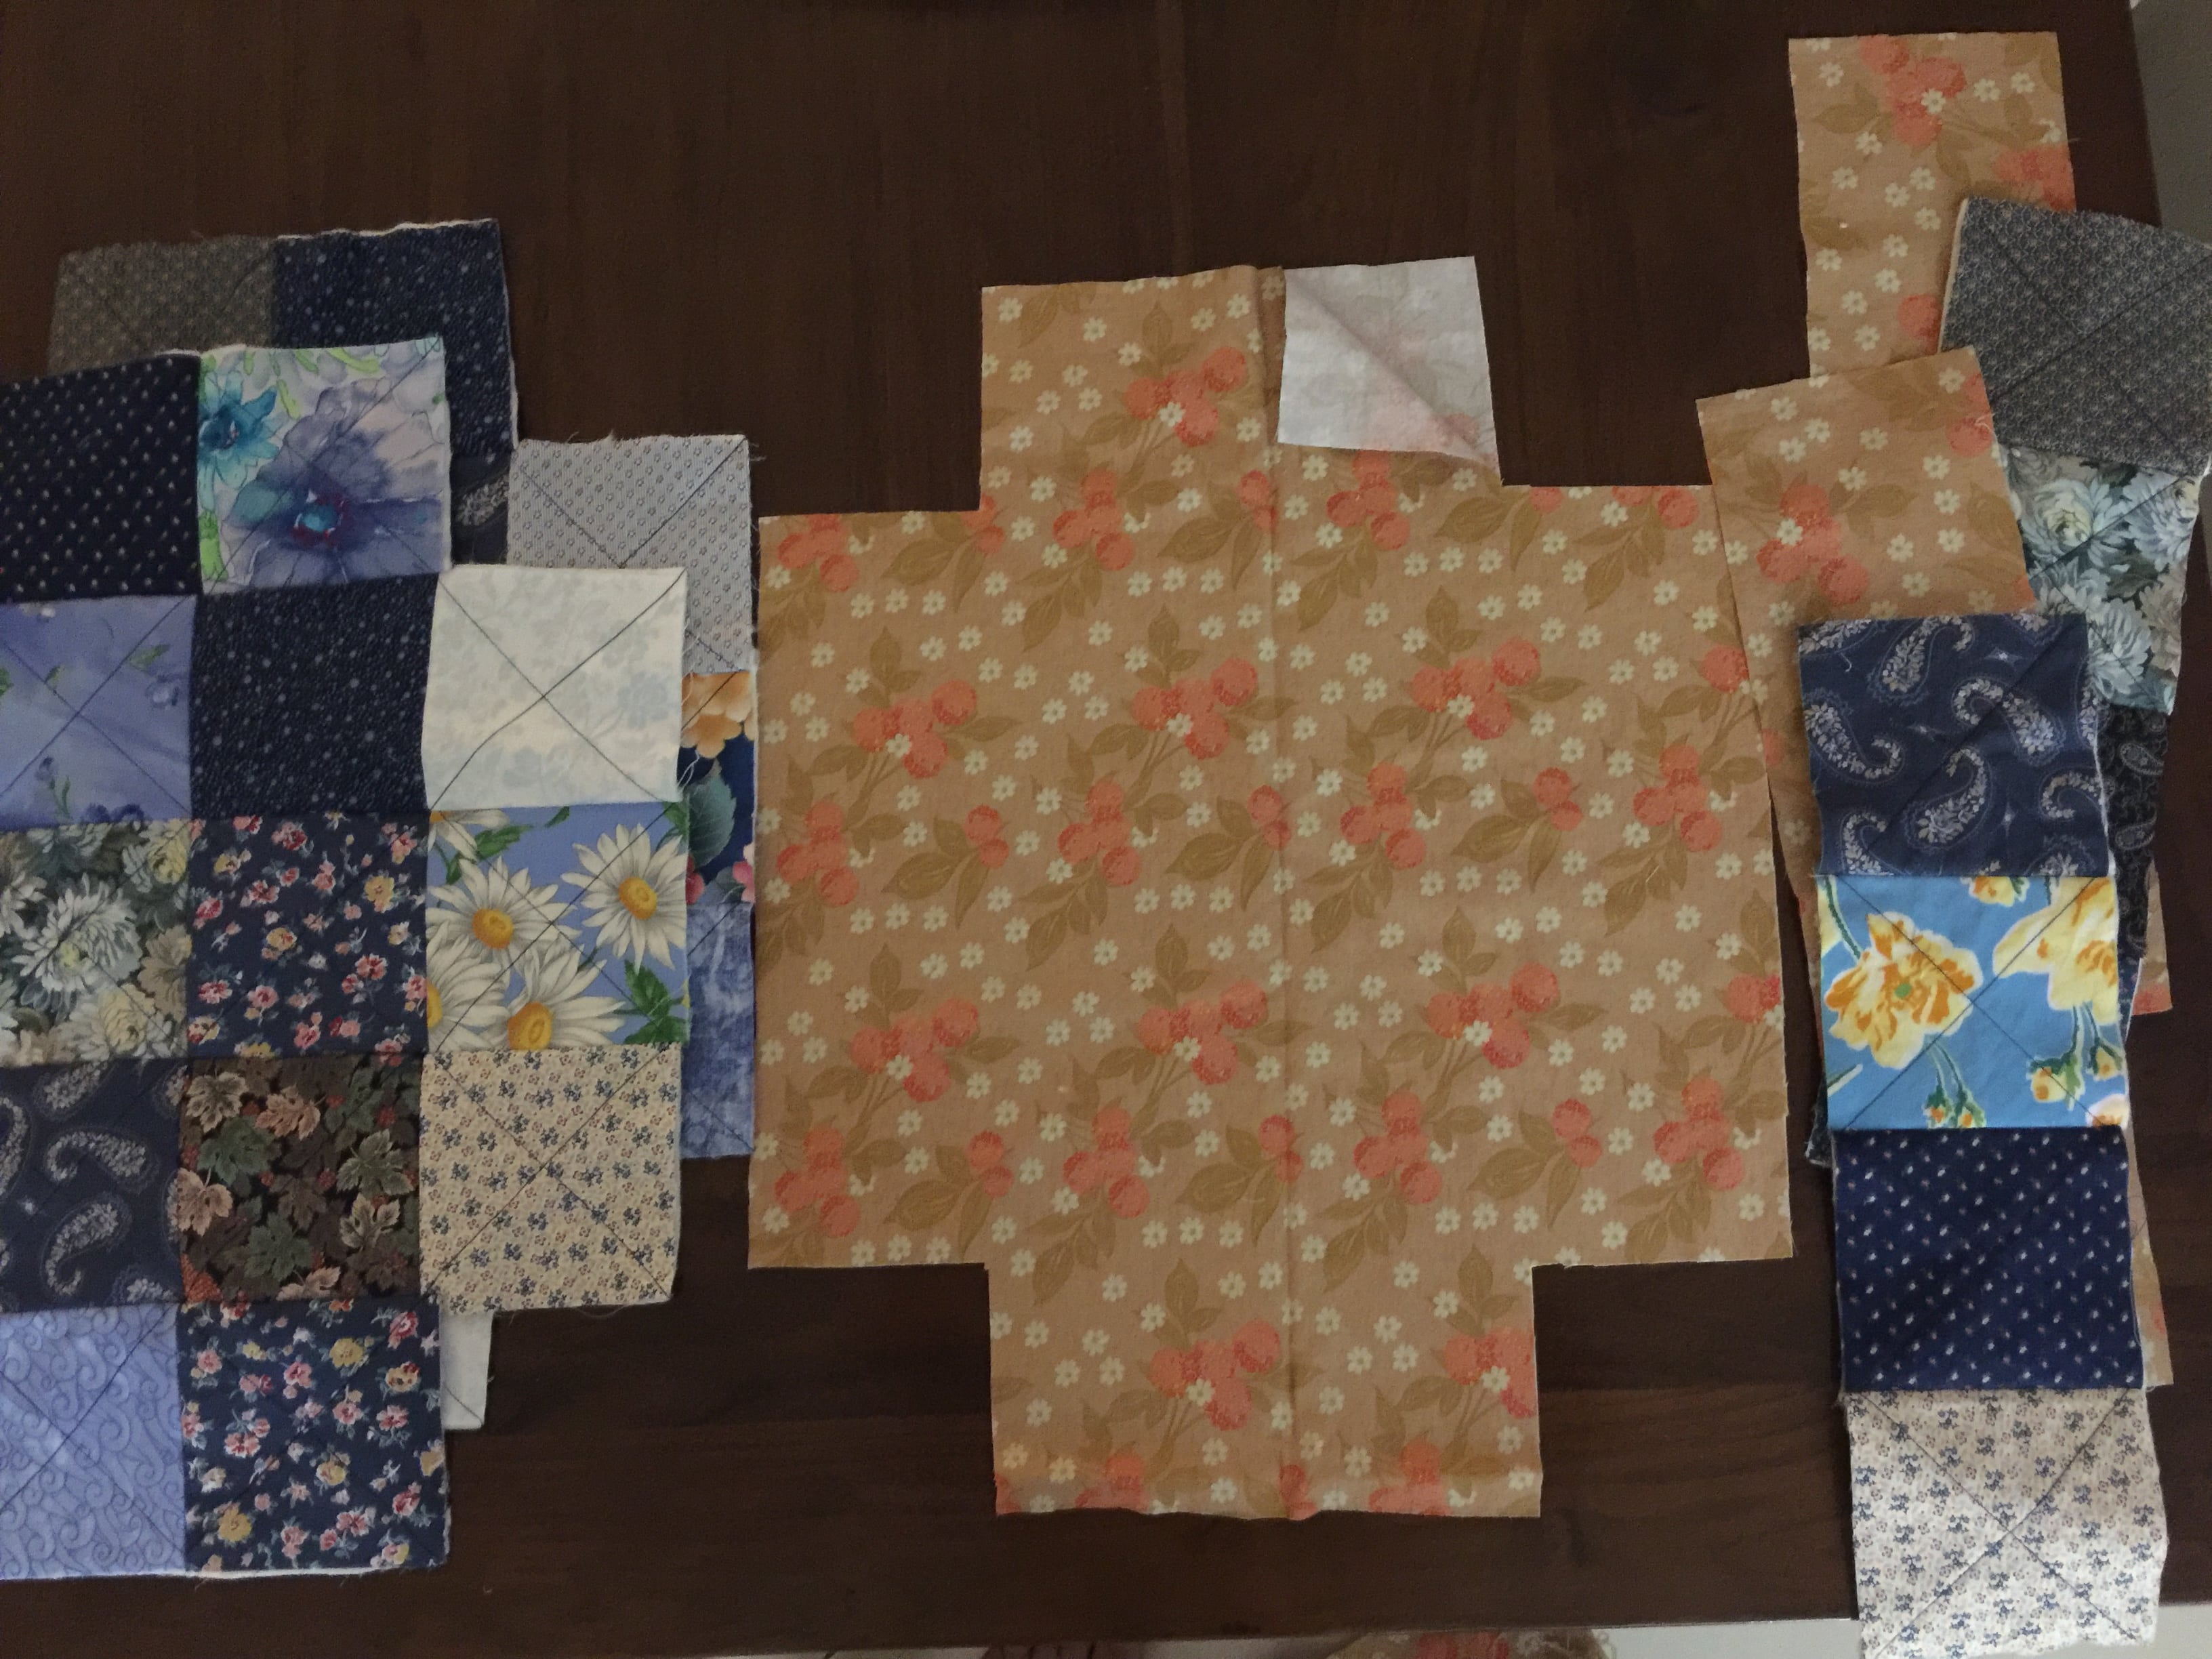
Put a square of fabric directly over a square of batting. Sew across from corner to corner from both directions to make an “X”. Repeat with the other 48 squares altogether. You can do this in a chain piecing manner. The other 4 squares are left plain for the closing strings.
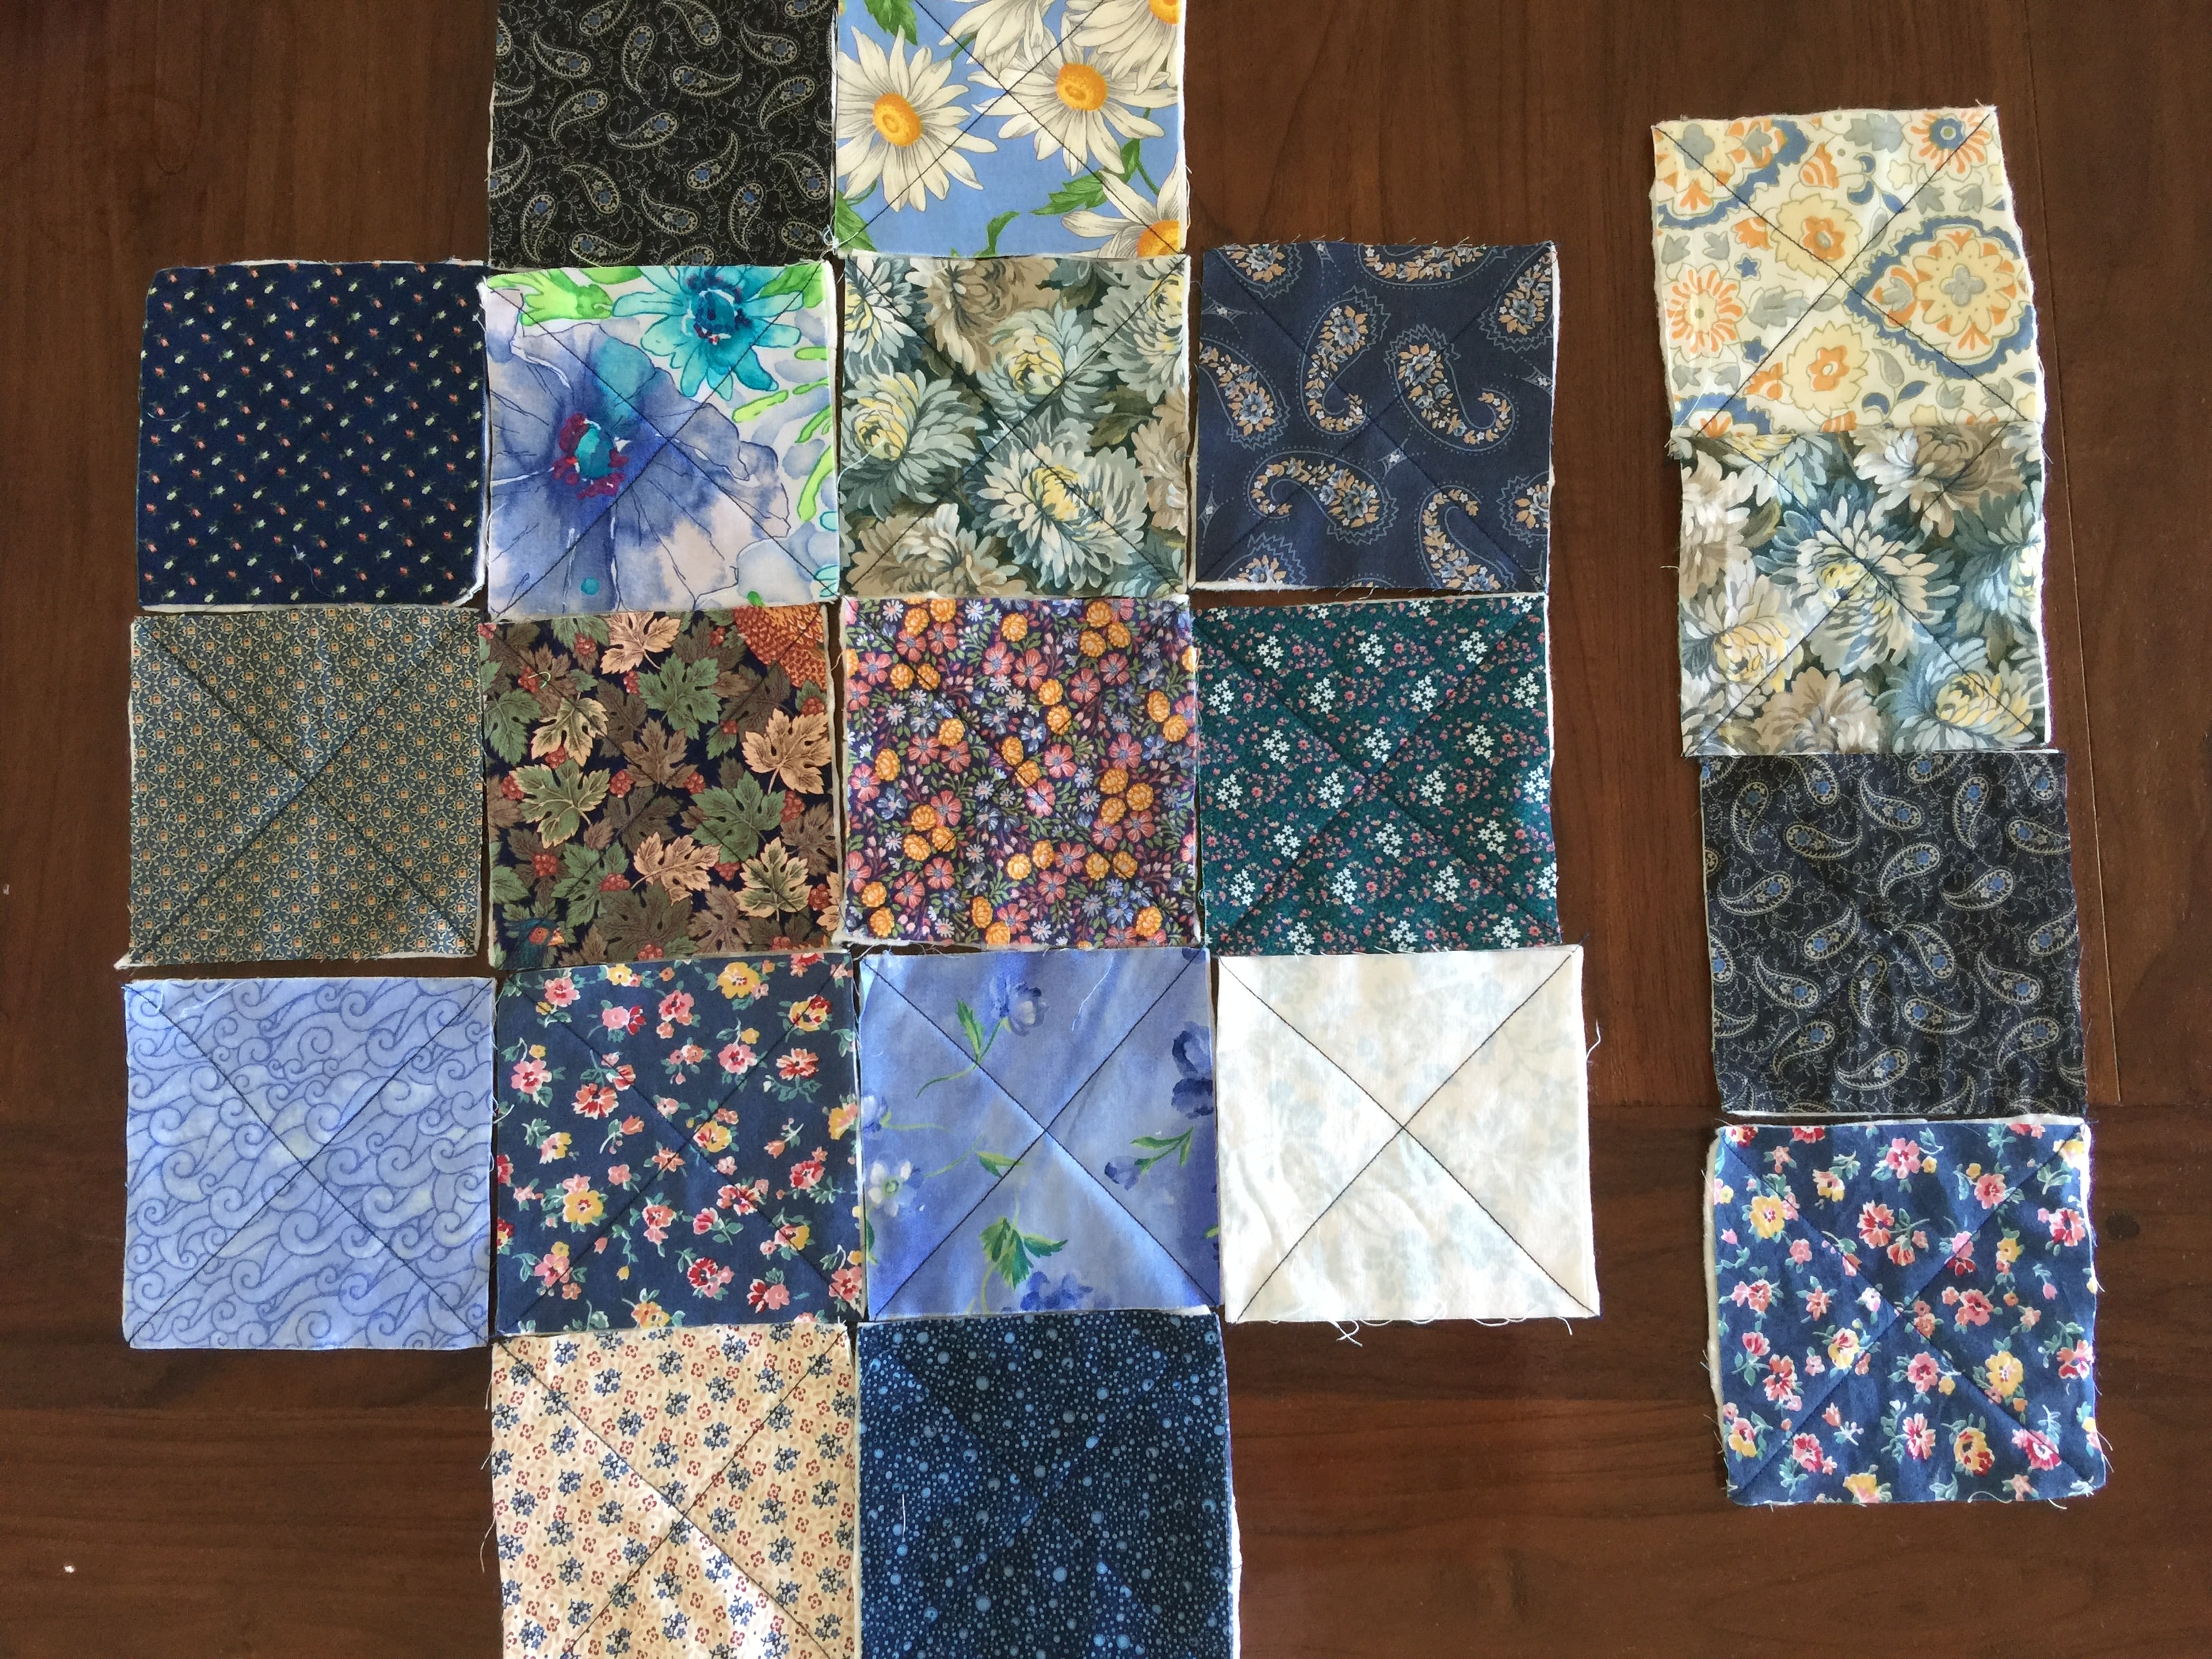
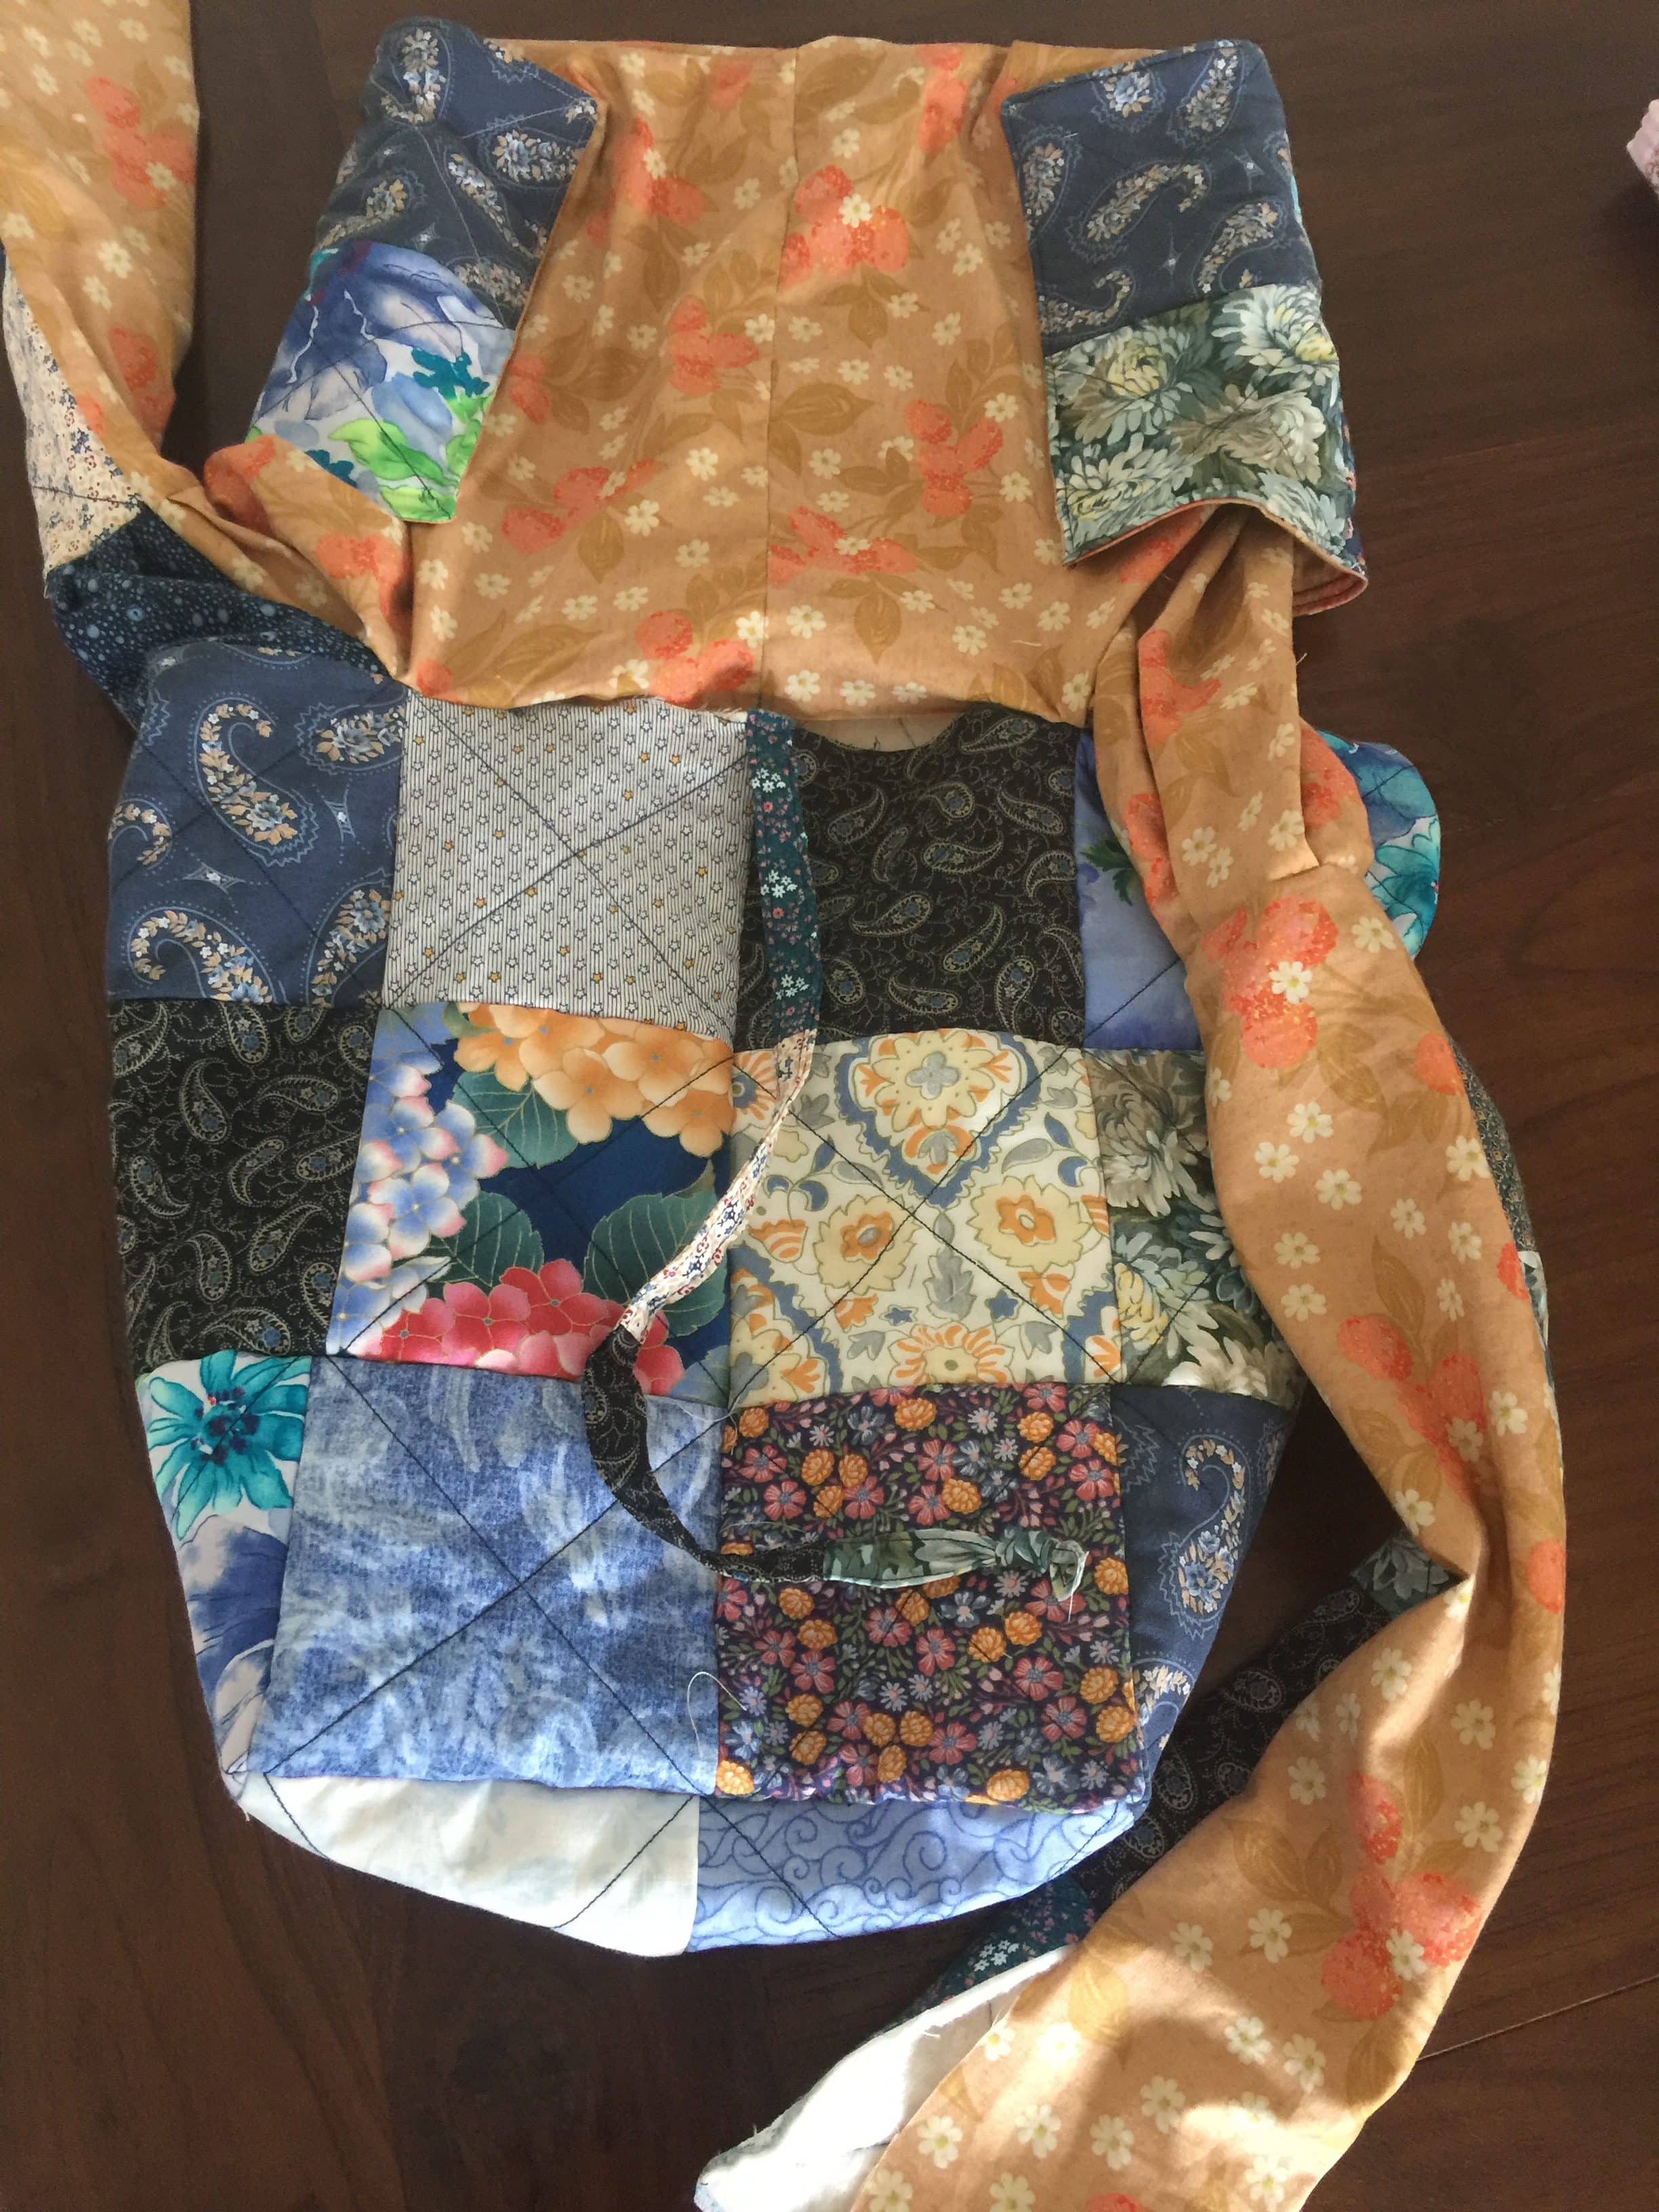
Arrange 40 of the squares as shown below to make the front and back of the the bag and the two handle pieces.
Sew all the squares into sets of 2 first, for easier construction. Make sure to match the seam intersections.
The bag front and back have 16 squares each. The handle straps are sewn into two sets of four strips.
Sew two sets of four patches for the internal pockets.
Once all the pieces are assembled, lay them onto the lining fabric. Cut one lining for the front, one for the back, cut two lining strips for the handle pieces and two lining pieces for the four patch pockets.
Cut a lining piece for each part.
Sew the pocket pieces. Put one pocket piece with one lining square, right sides together, sew around the edge with a 1/4″ seam leaving an opening for turning. Clip the corners, turn. Fold in 1/4 to close the opening and stitch closed. Repeat with the other pocket piece.
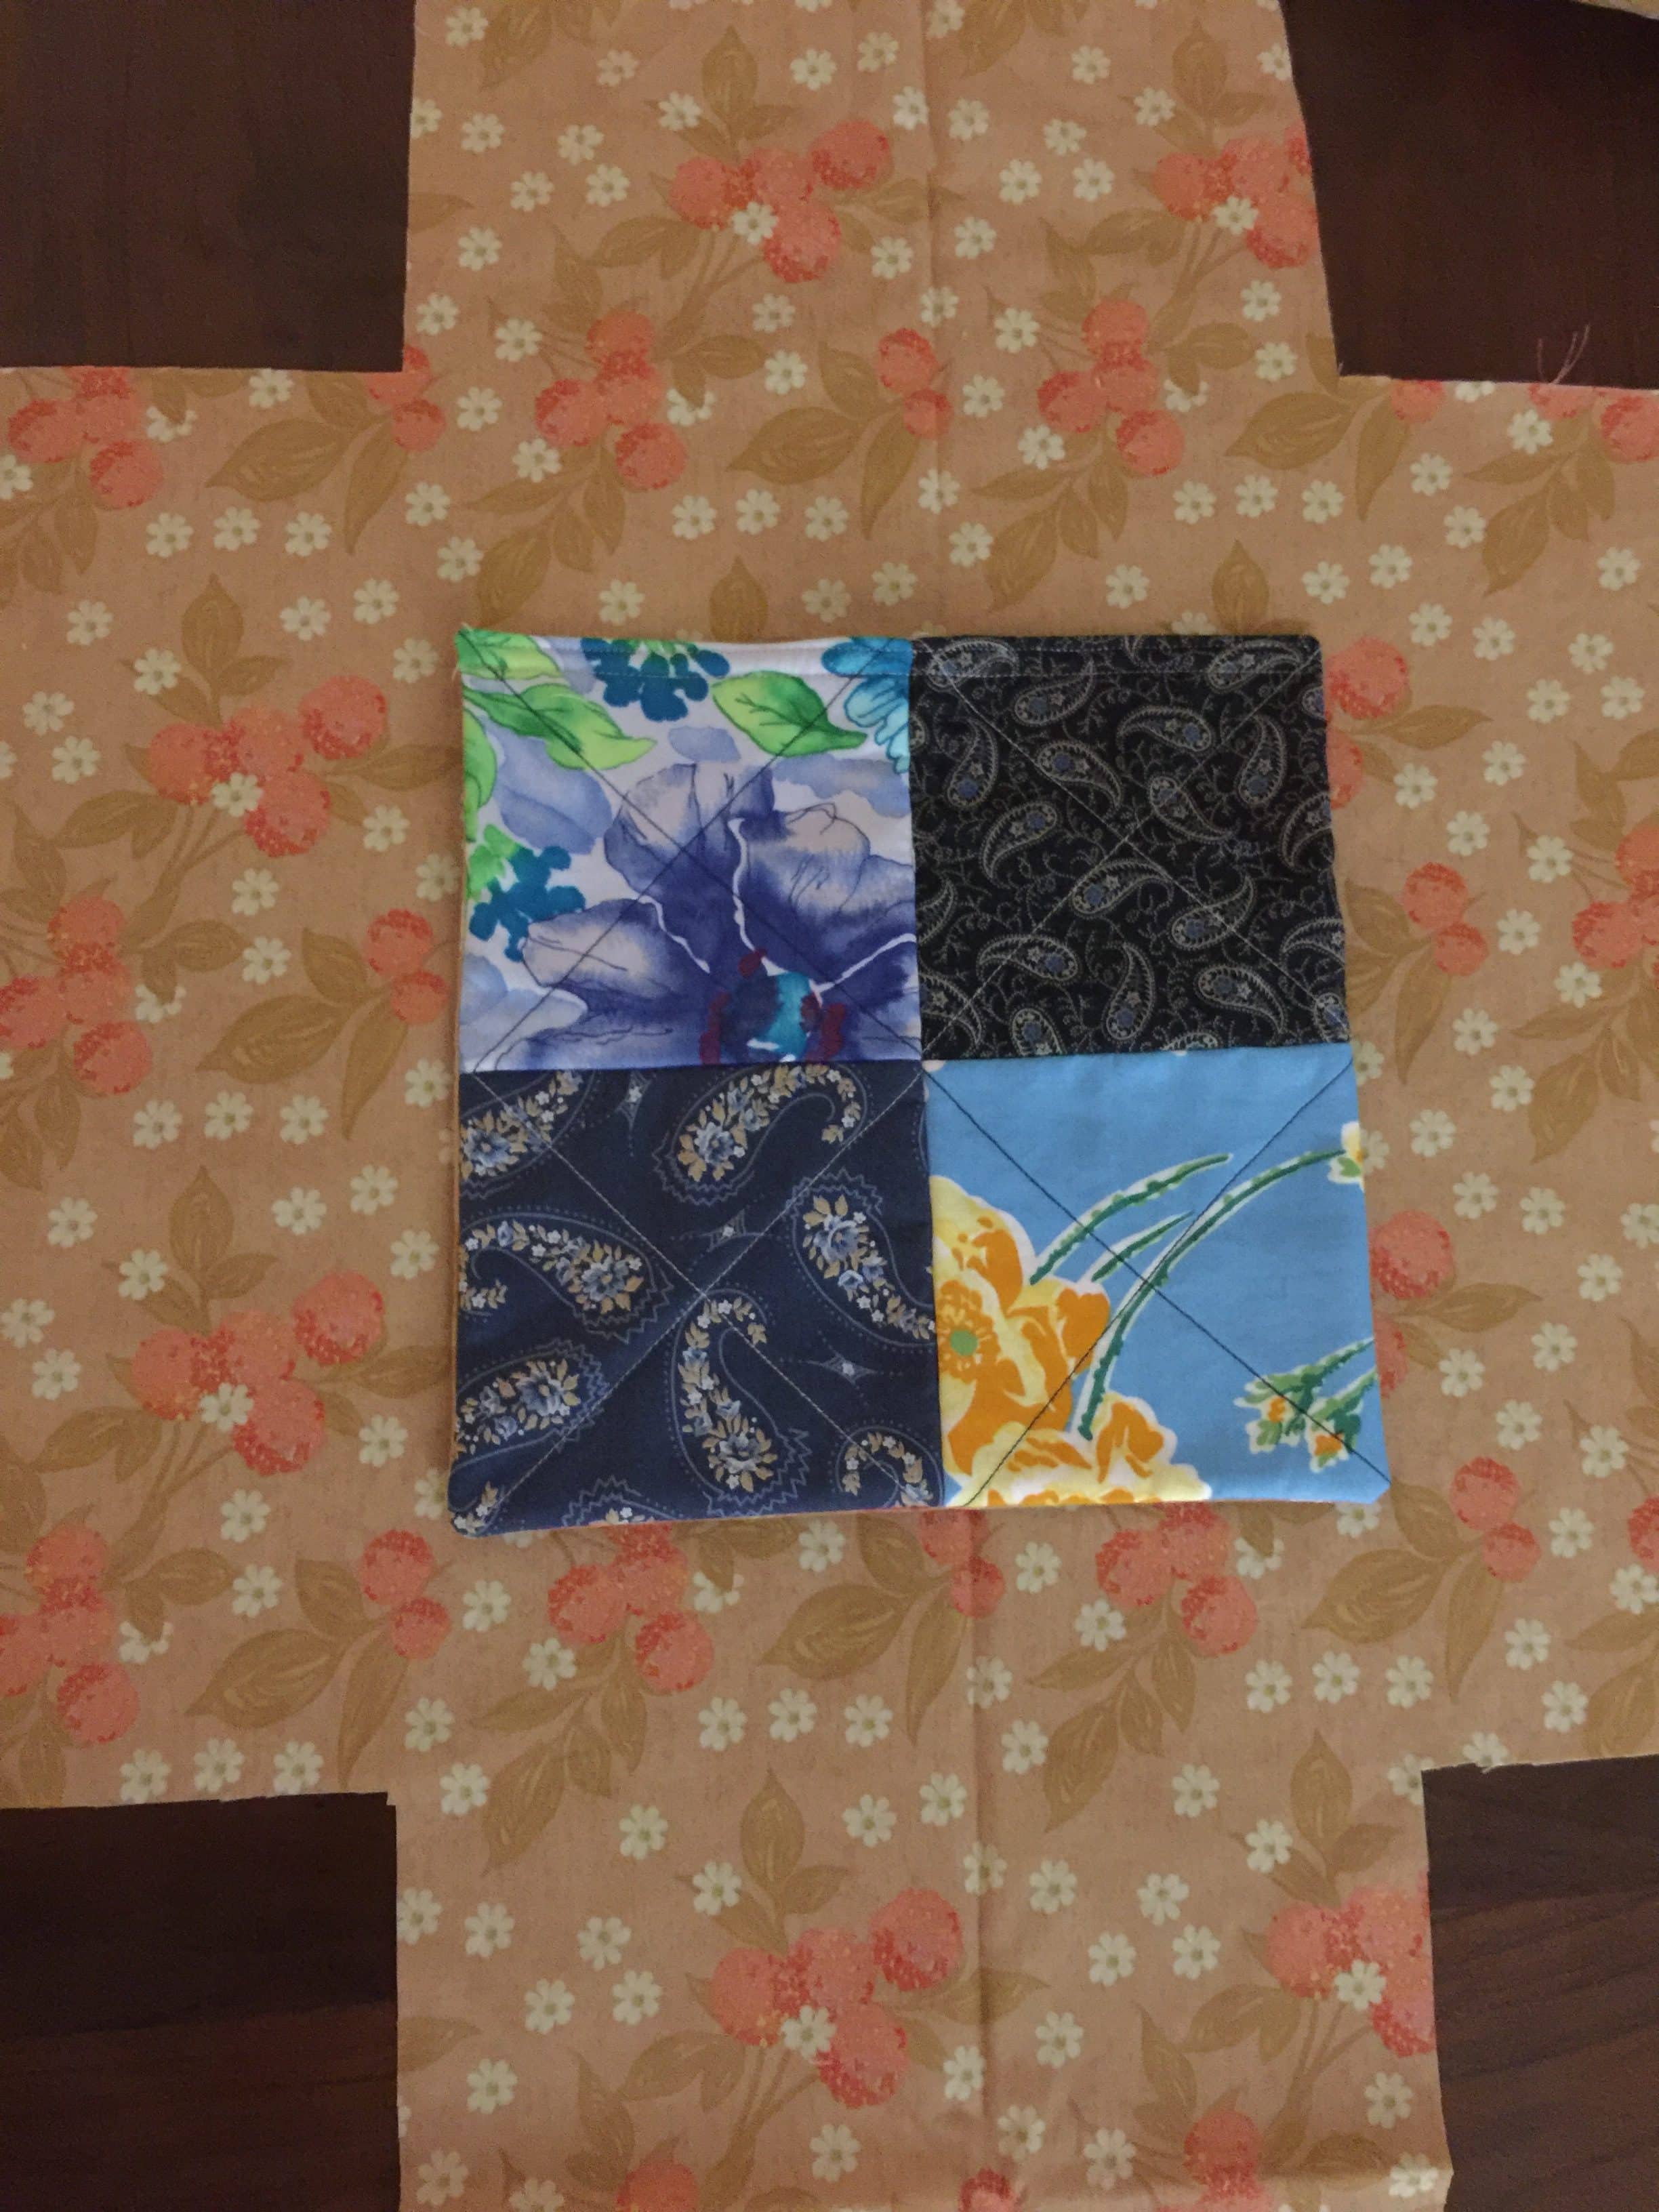
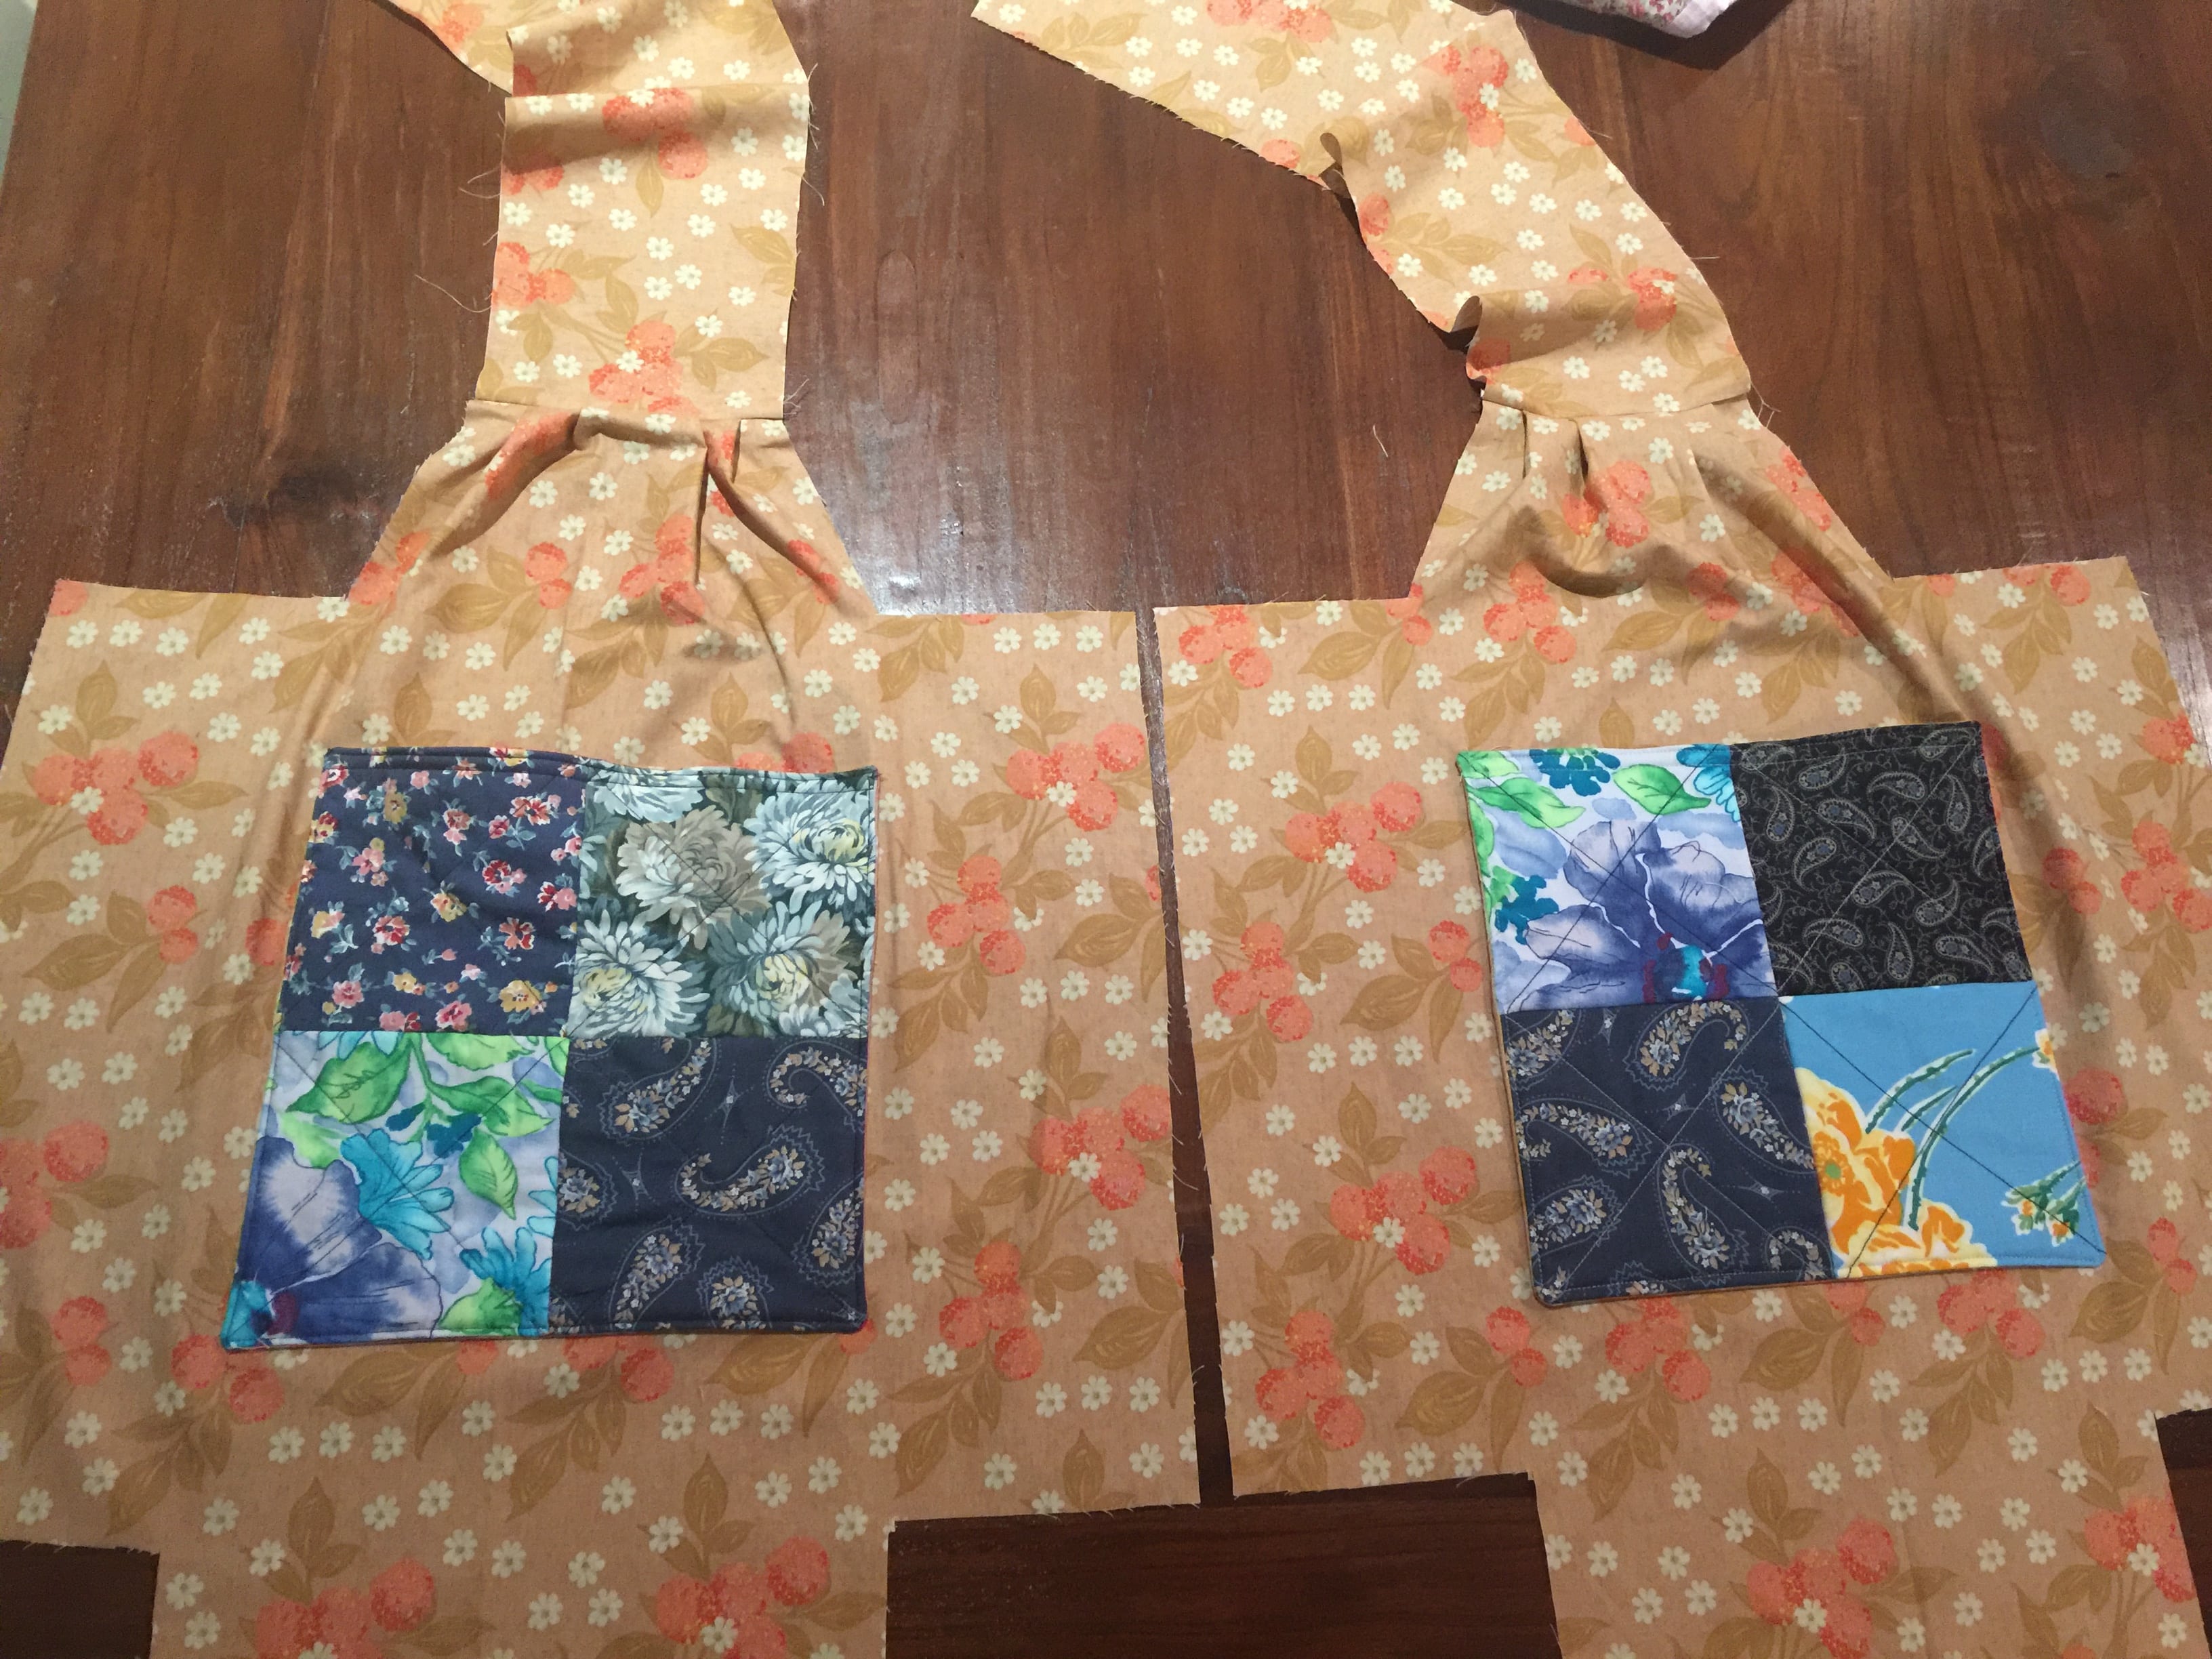
Lay the pocket pieces, on the centre of the lining piece. Sew around the sides and base. Repeat for the other pocket and lining piece. Make sure the pokey pieces have the opening at the top.
Attach the handle pieces to the bag front and back. Make small pleats on the bag pieces to fit the handle to the bag, as shown. Repeat for the lining pieces and handles.
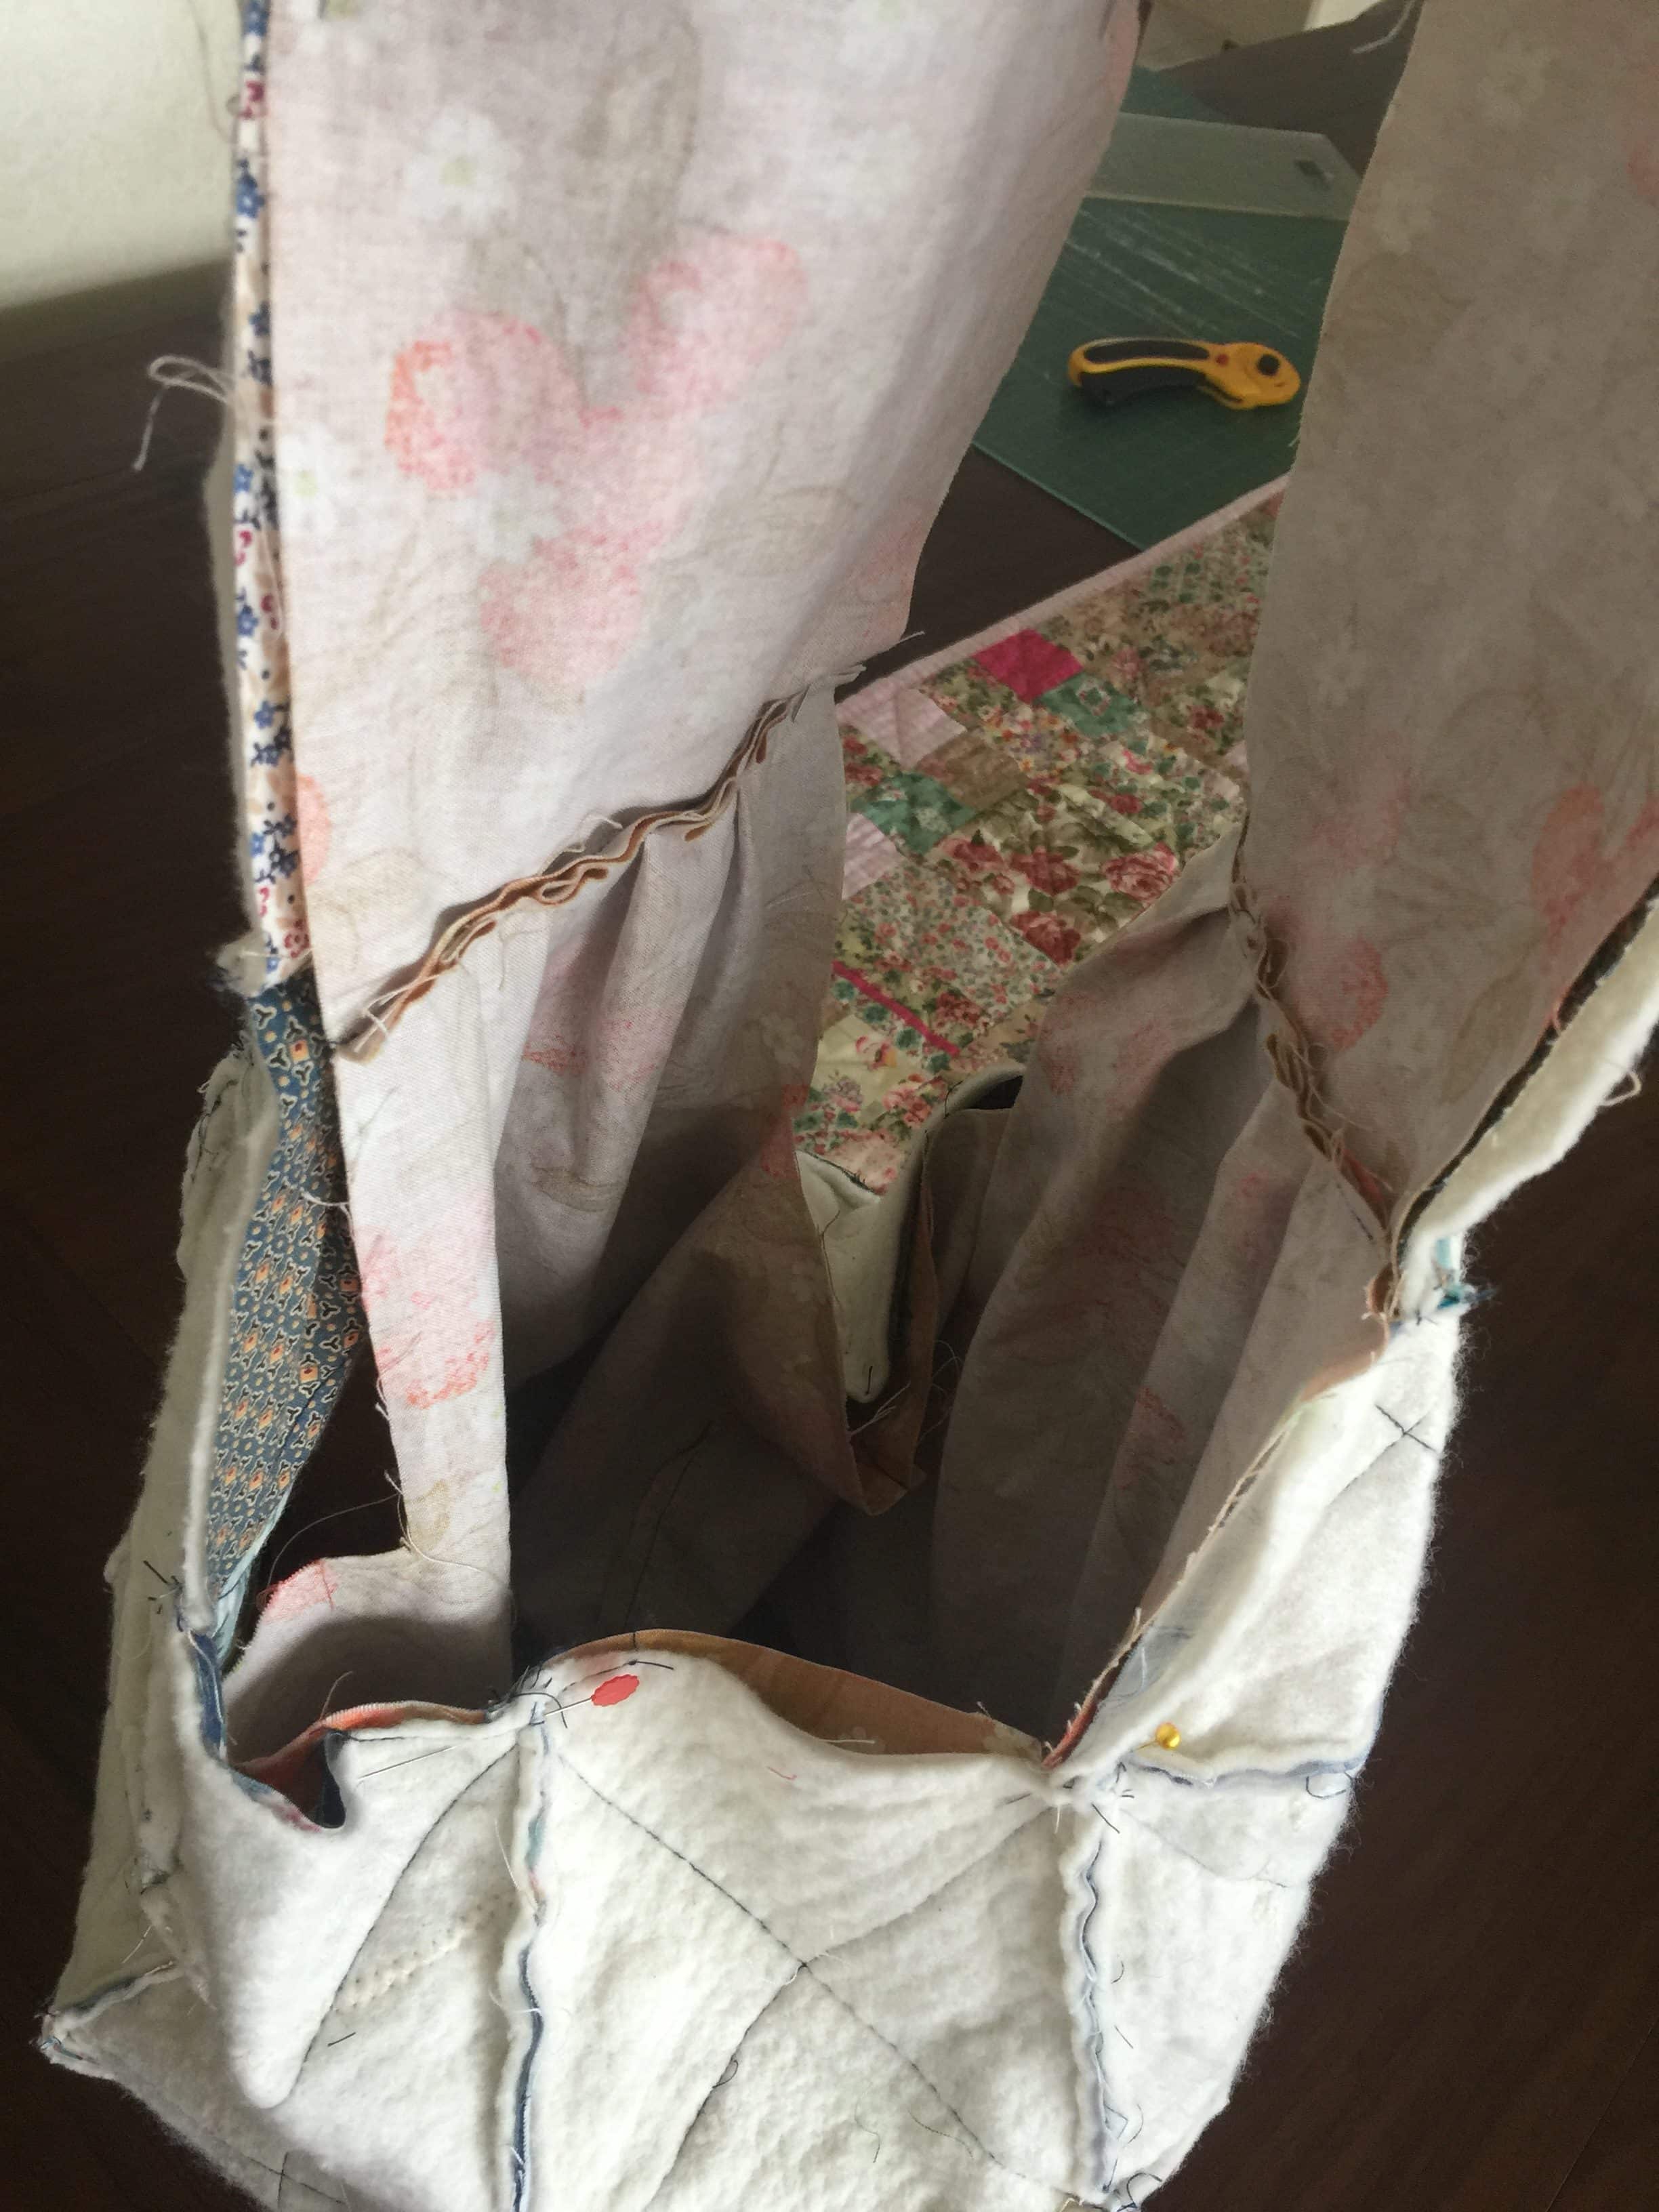
Lay the bag front and back, right sides together. Sew along the sides and the base. Now open the unstitched square. Pull open to square the base. Stitch across the seam. Repeat with the other side of the base.
Put together the lining piece in the same manner.
Now take the four plain squares that do not have batting. Stitch them together into a strip. Now cut the strip in half lengthwise. Fold the long edges to the centre, then fold in half. Stitch down both sides. Repeat for the second string.
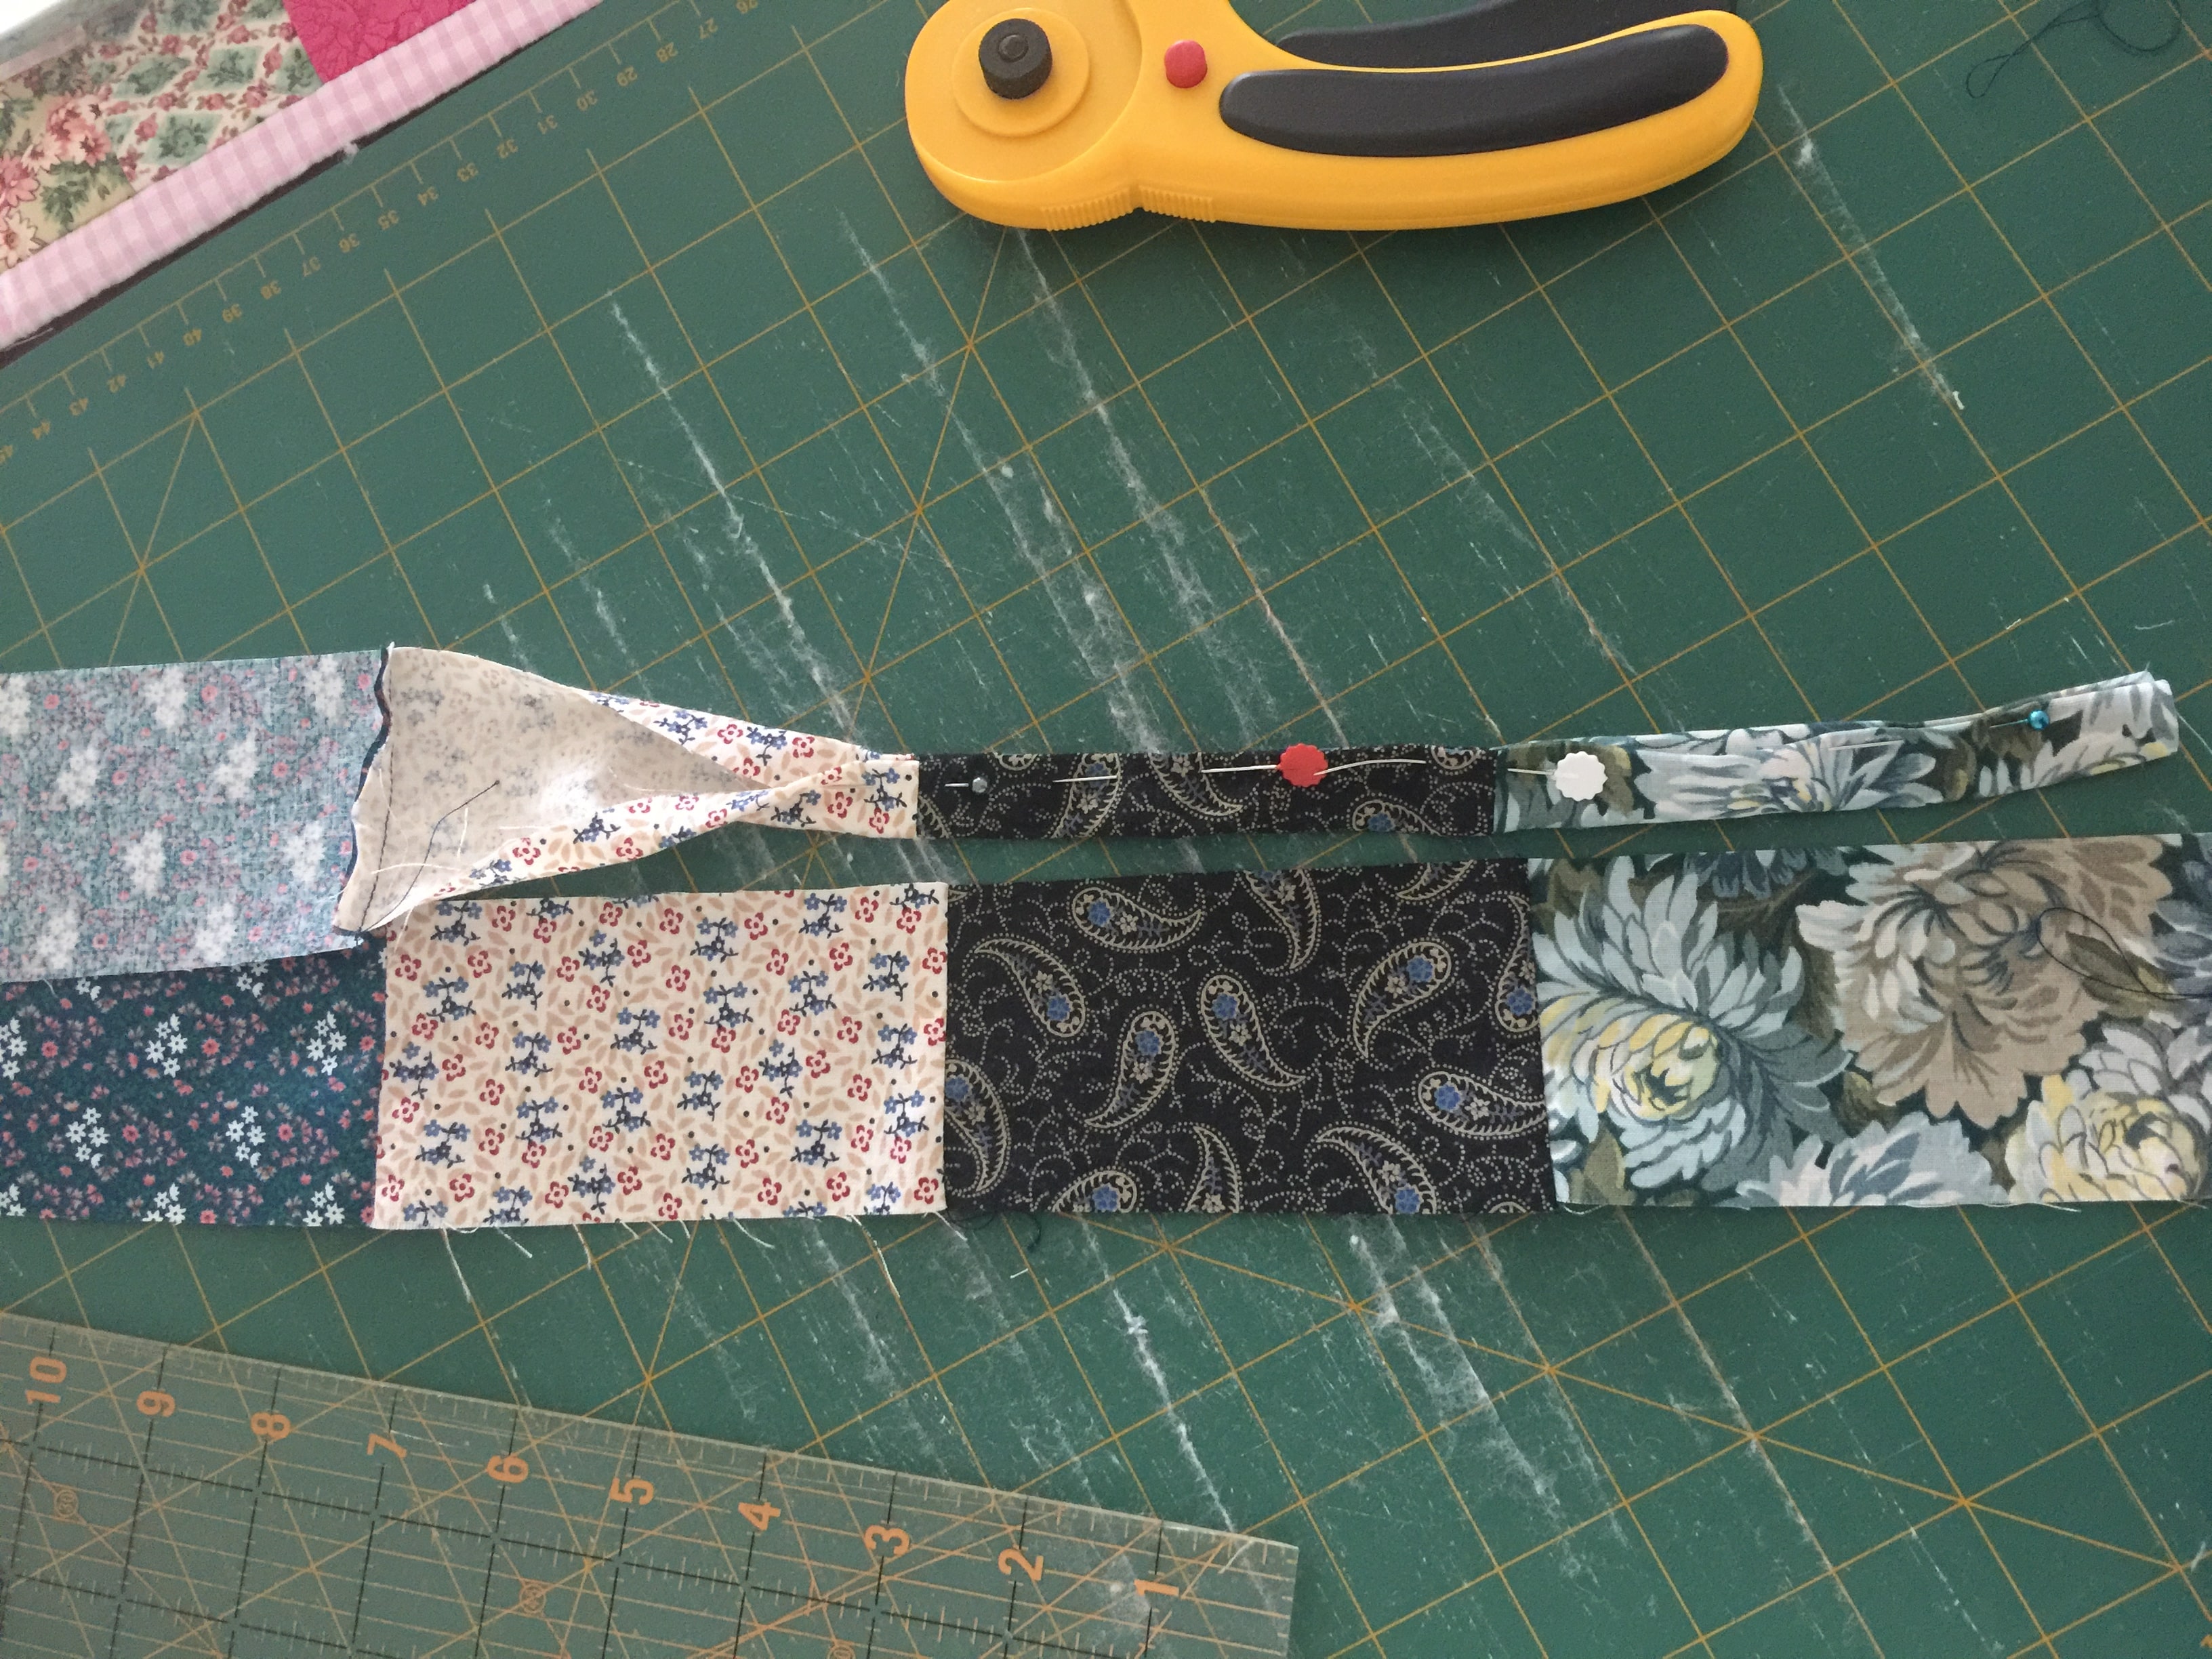
Attach the two closing strings to the edge of the centre front and centre back of the bag.
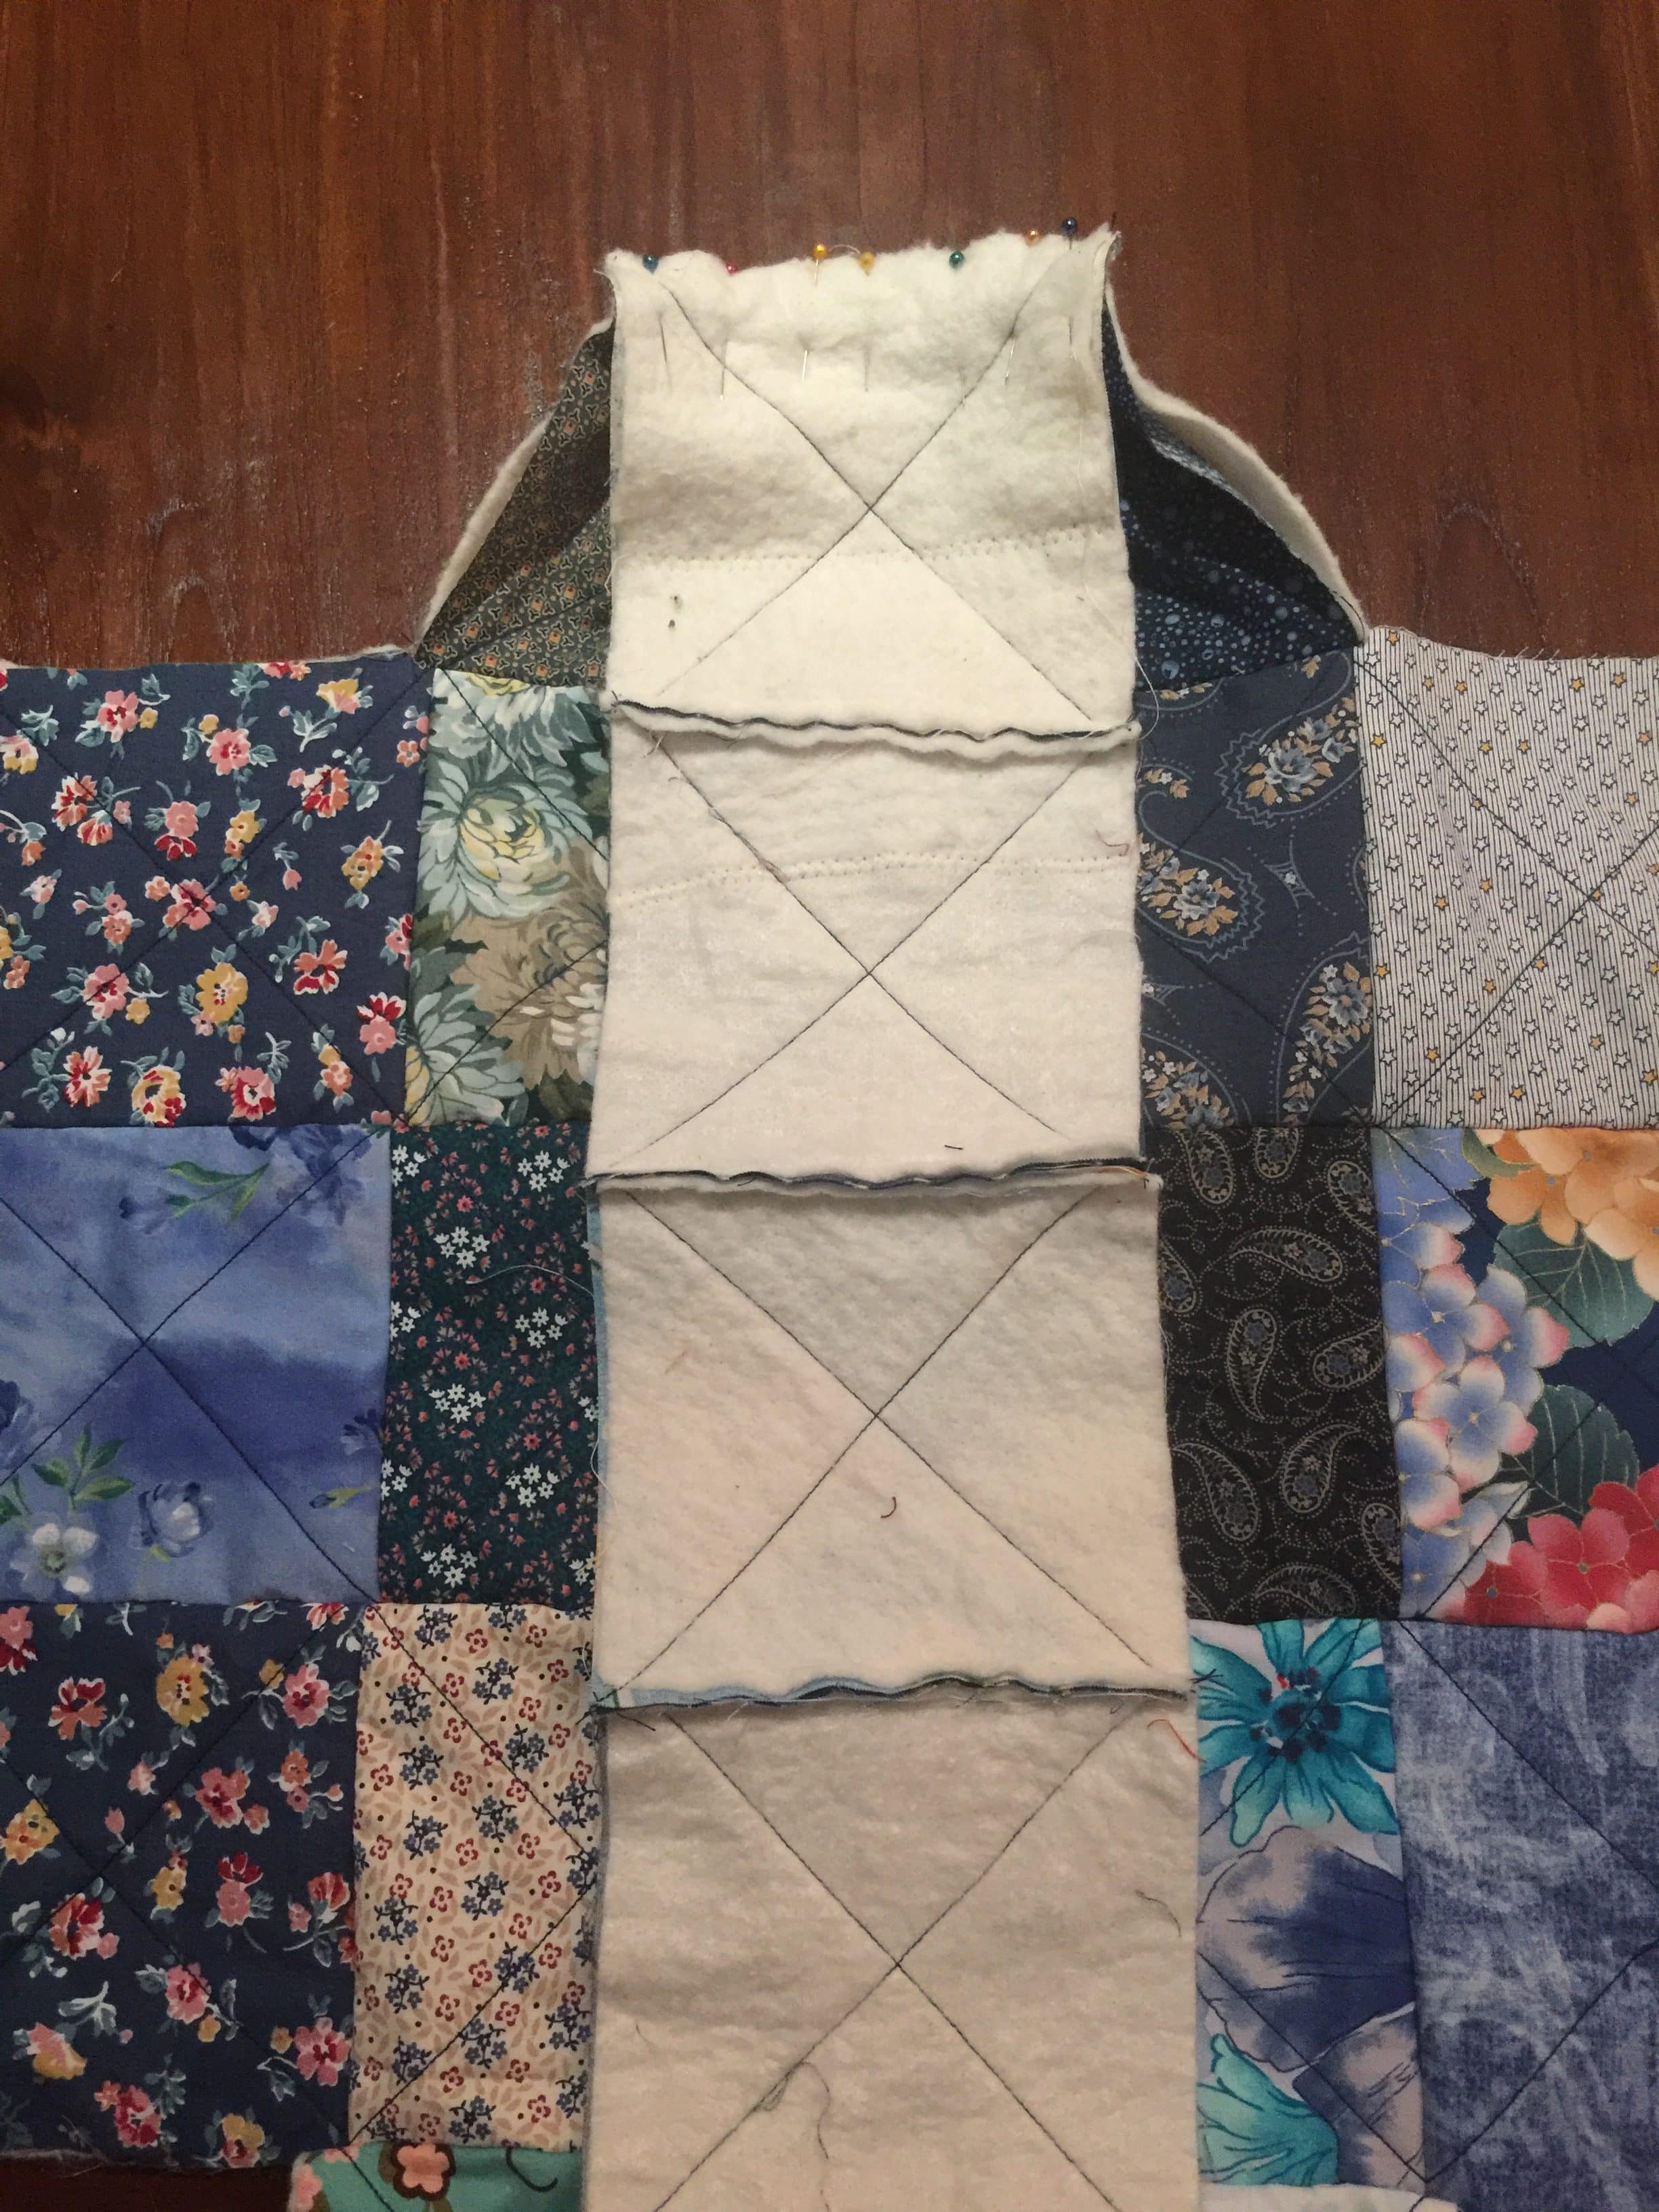
Turn the whole lining piece to the right side. Insert it into the bag match up all the edges. Pin.
Sew around all one side, beginning from the top of one handle. Sew the second sidebegining and ending one square from the top of each handle leave an opening at the centre of the bag for turning Turn the bag to the right side through the remaining hole. Turn the opening under 1/4 ” and pin
Put the handle tops, right side together. Stitch. Turn the remaining opening under 1/4″. Pin.

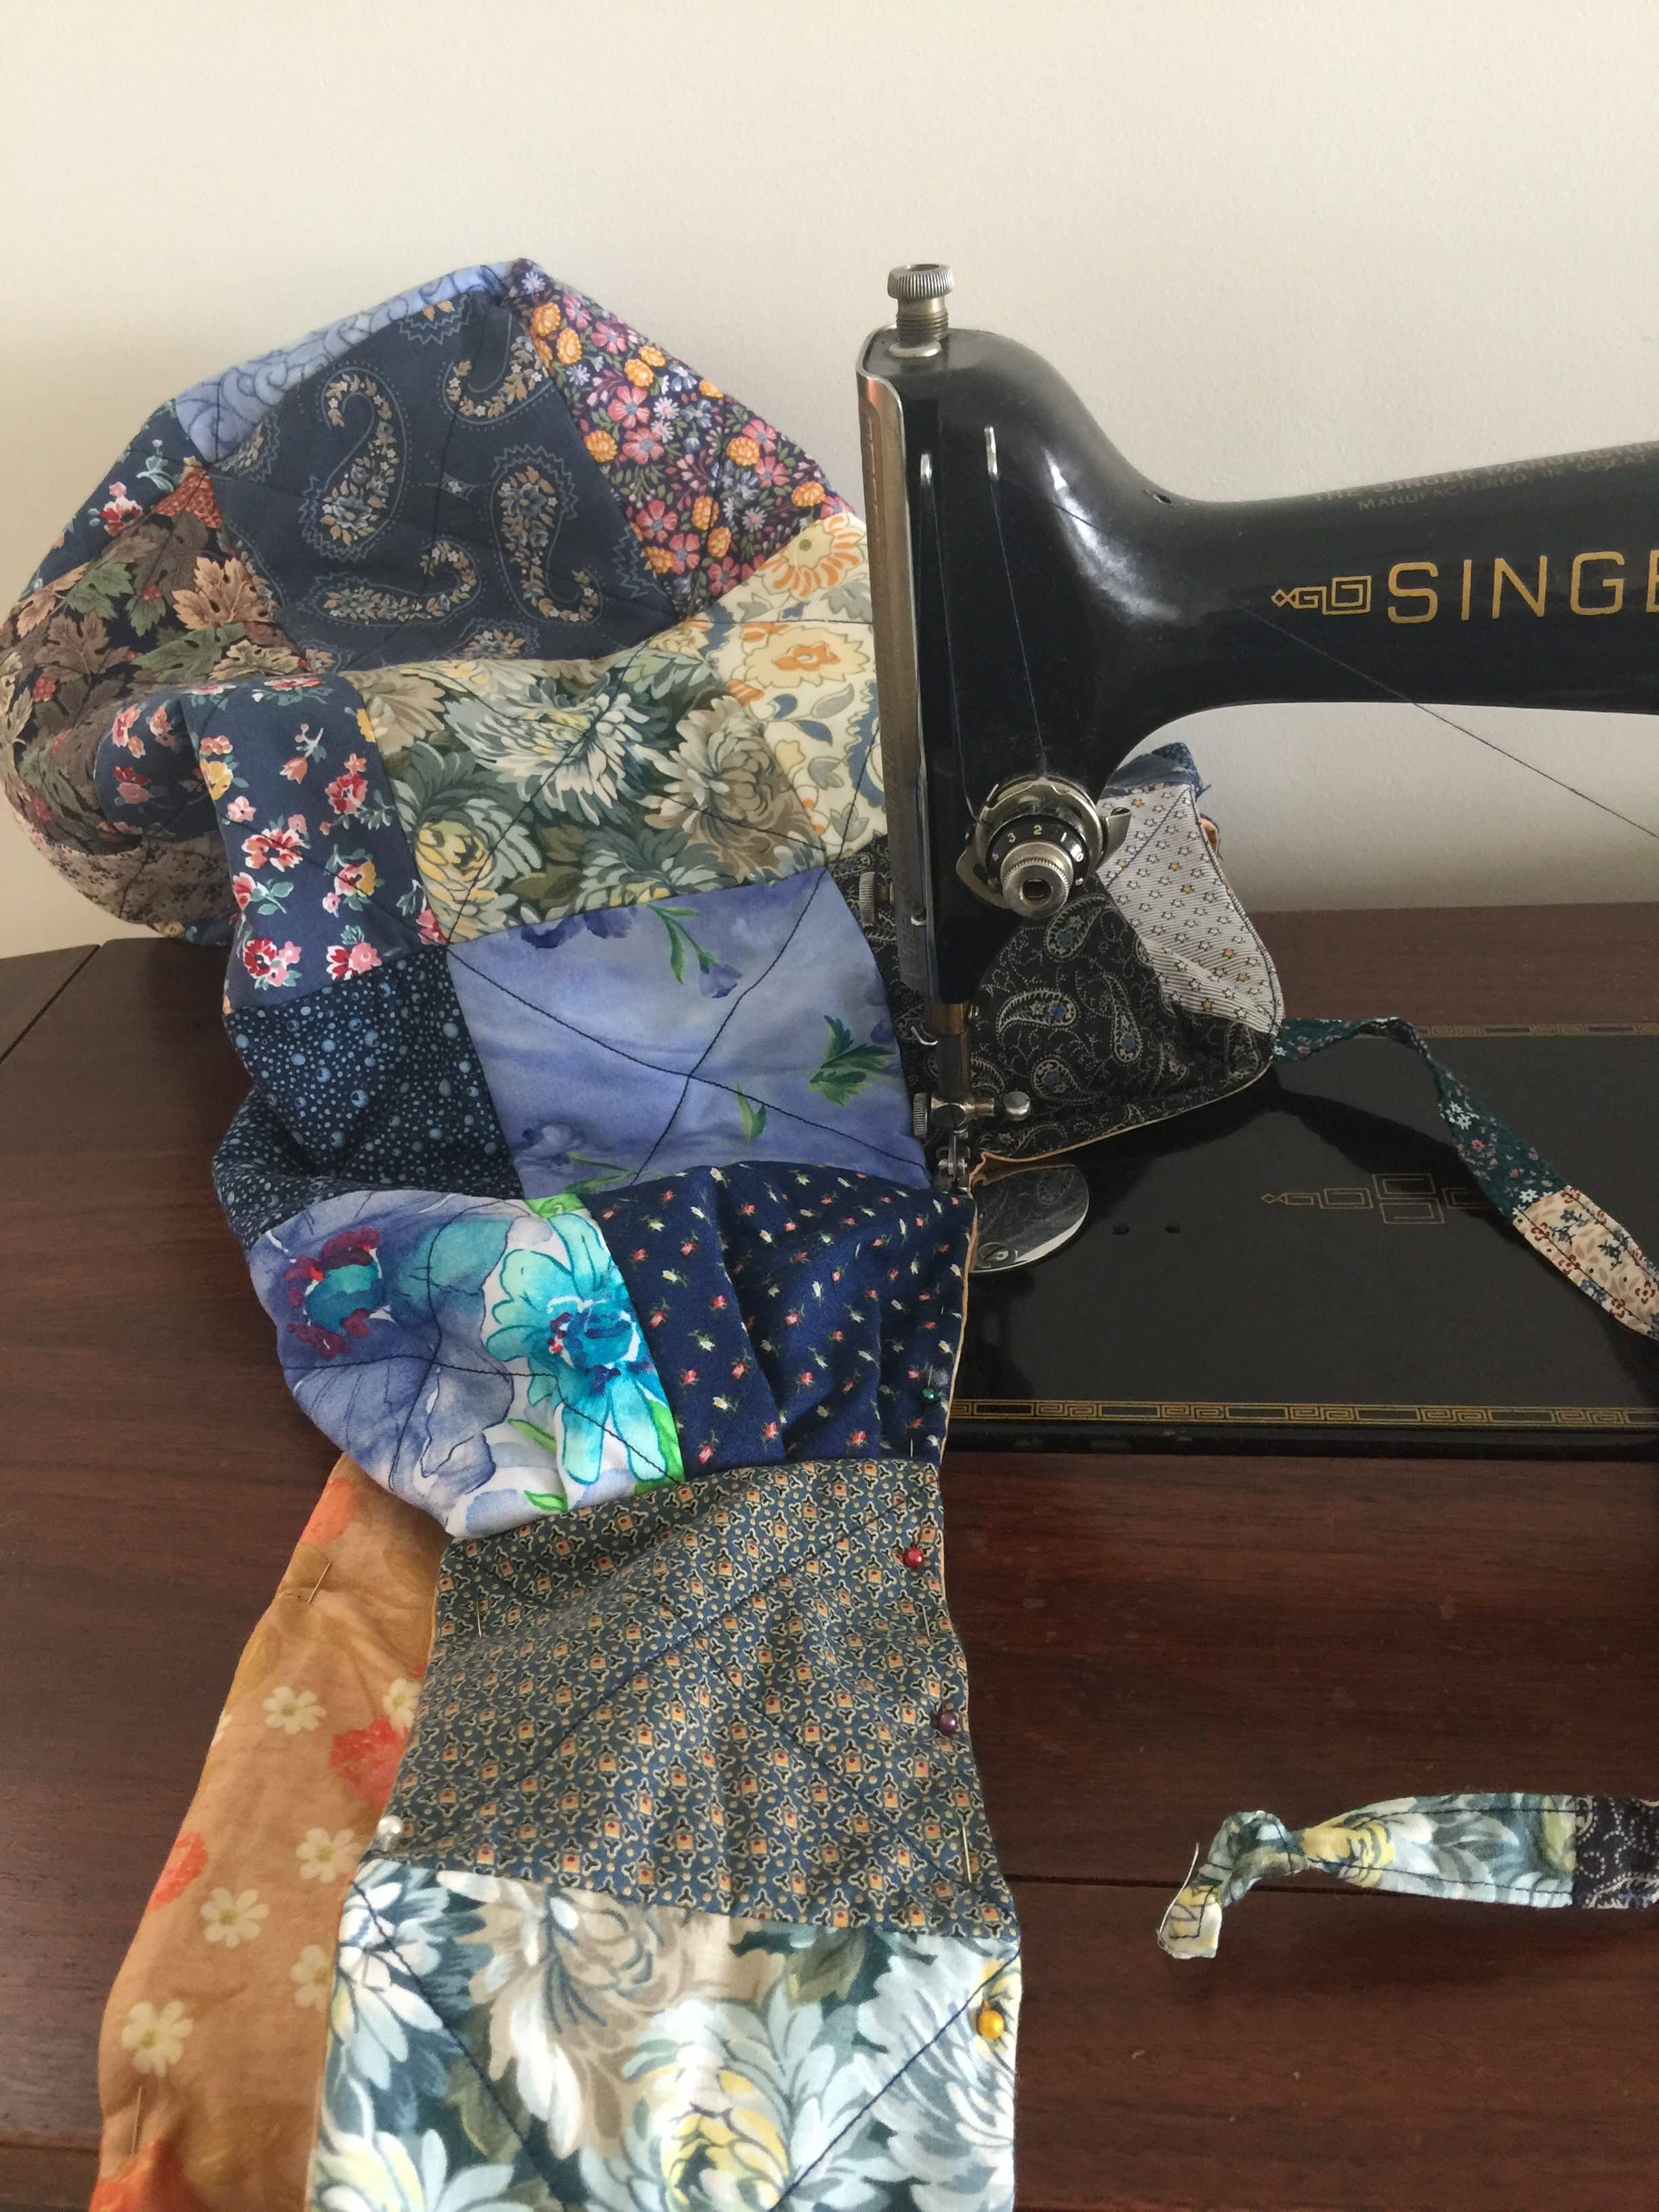
Now . Slowly top stitch all around the edges of the bag. By the way, today I’m sewing on a Singer 201K treadle. Here is a link to the machine details.
No bring the two log sides of the handle together. Match up the seams. Carefully sew along the edge of the centre six squares. This will give a lovely handle shape. Finger press so the seam is centered on the underside of the handle.
Enjoy! Have a lovely quilty day!
I just finished my first bag. I had a 4 inch charm pack so changed the length and the width but a very easy project. An awesome way to use up scraps. Thanks for sharing.
I have almost finished making this bag for my granddaughter. I absolutely love it. Can’t wait to see her reaction when she received it. Thanyou!!!!!!
I’m so delighted! Thank you for sharing that!
I love this pattern. As a new sewer, the instructions are really clear. Thank you.
I made one using three fat quarters as a gift.
I have now nearly finished my second version, using smaller squares without the batting. This one is made from an old school sweatshirt and a pair of tattered jeans.
Sounds great Chrissi! I like the sound of the second one. I bet it’s lovely! 💕
Is there a paper pattern, a pdf or dimensions of the bag?
Dear Karen, all the instructions are in the post, including the dimensions.
I made this bag last night and totally love it. So roomy and comfortable to carry.
Wonderful! Thank you for the feedback Sue x
Oh Susie. This is a wonderful bag. So soft and easy to wear and use. Thanks for the very details explanation. I’m definitely going to have a go at this one sometime very soon. 💖👍
Oh that’s a great looking bag. Like the long strap. Very boho indeed. What a calm and pretty setting you chose for displaying your hand work.
Hi Susie, is there a photo of the bag that you can post or is my stupid phone not showing it?
I think i have to try this one. It is a lot “me” with the casual look, the long strap. the patchy look. and more. Thanks for this one!