
Quick Bind Every Time – Tutorial
Oh Boy! Whether you love or ….less than love, binding, would you like to make it easier and quicker?
Here is how!
Hello Dear Friends and Readers,
I’m hoping to make your binding experience better. And this is how. I alway have mixed feelings about finishing a quilt. Happy, because the quilt will be completed, but in some ways a bit sad, because that journey is over. Having said that, I’m usually battling the clock , when it comes to the binding.
I’ve come up with this awesome way to make the binding experience sooo much easier.
Prepare at least a few hours before, or the night before, make your binding strip.
Prepare binding strips for quilts Tutorial
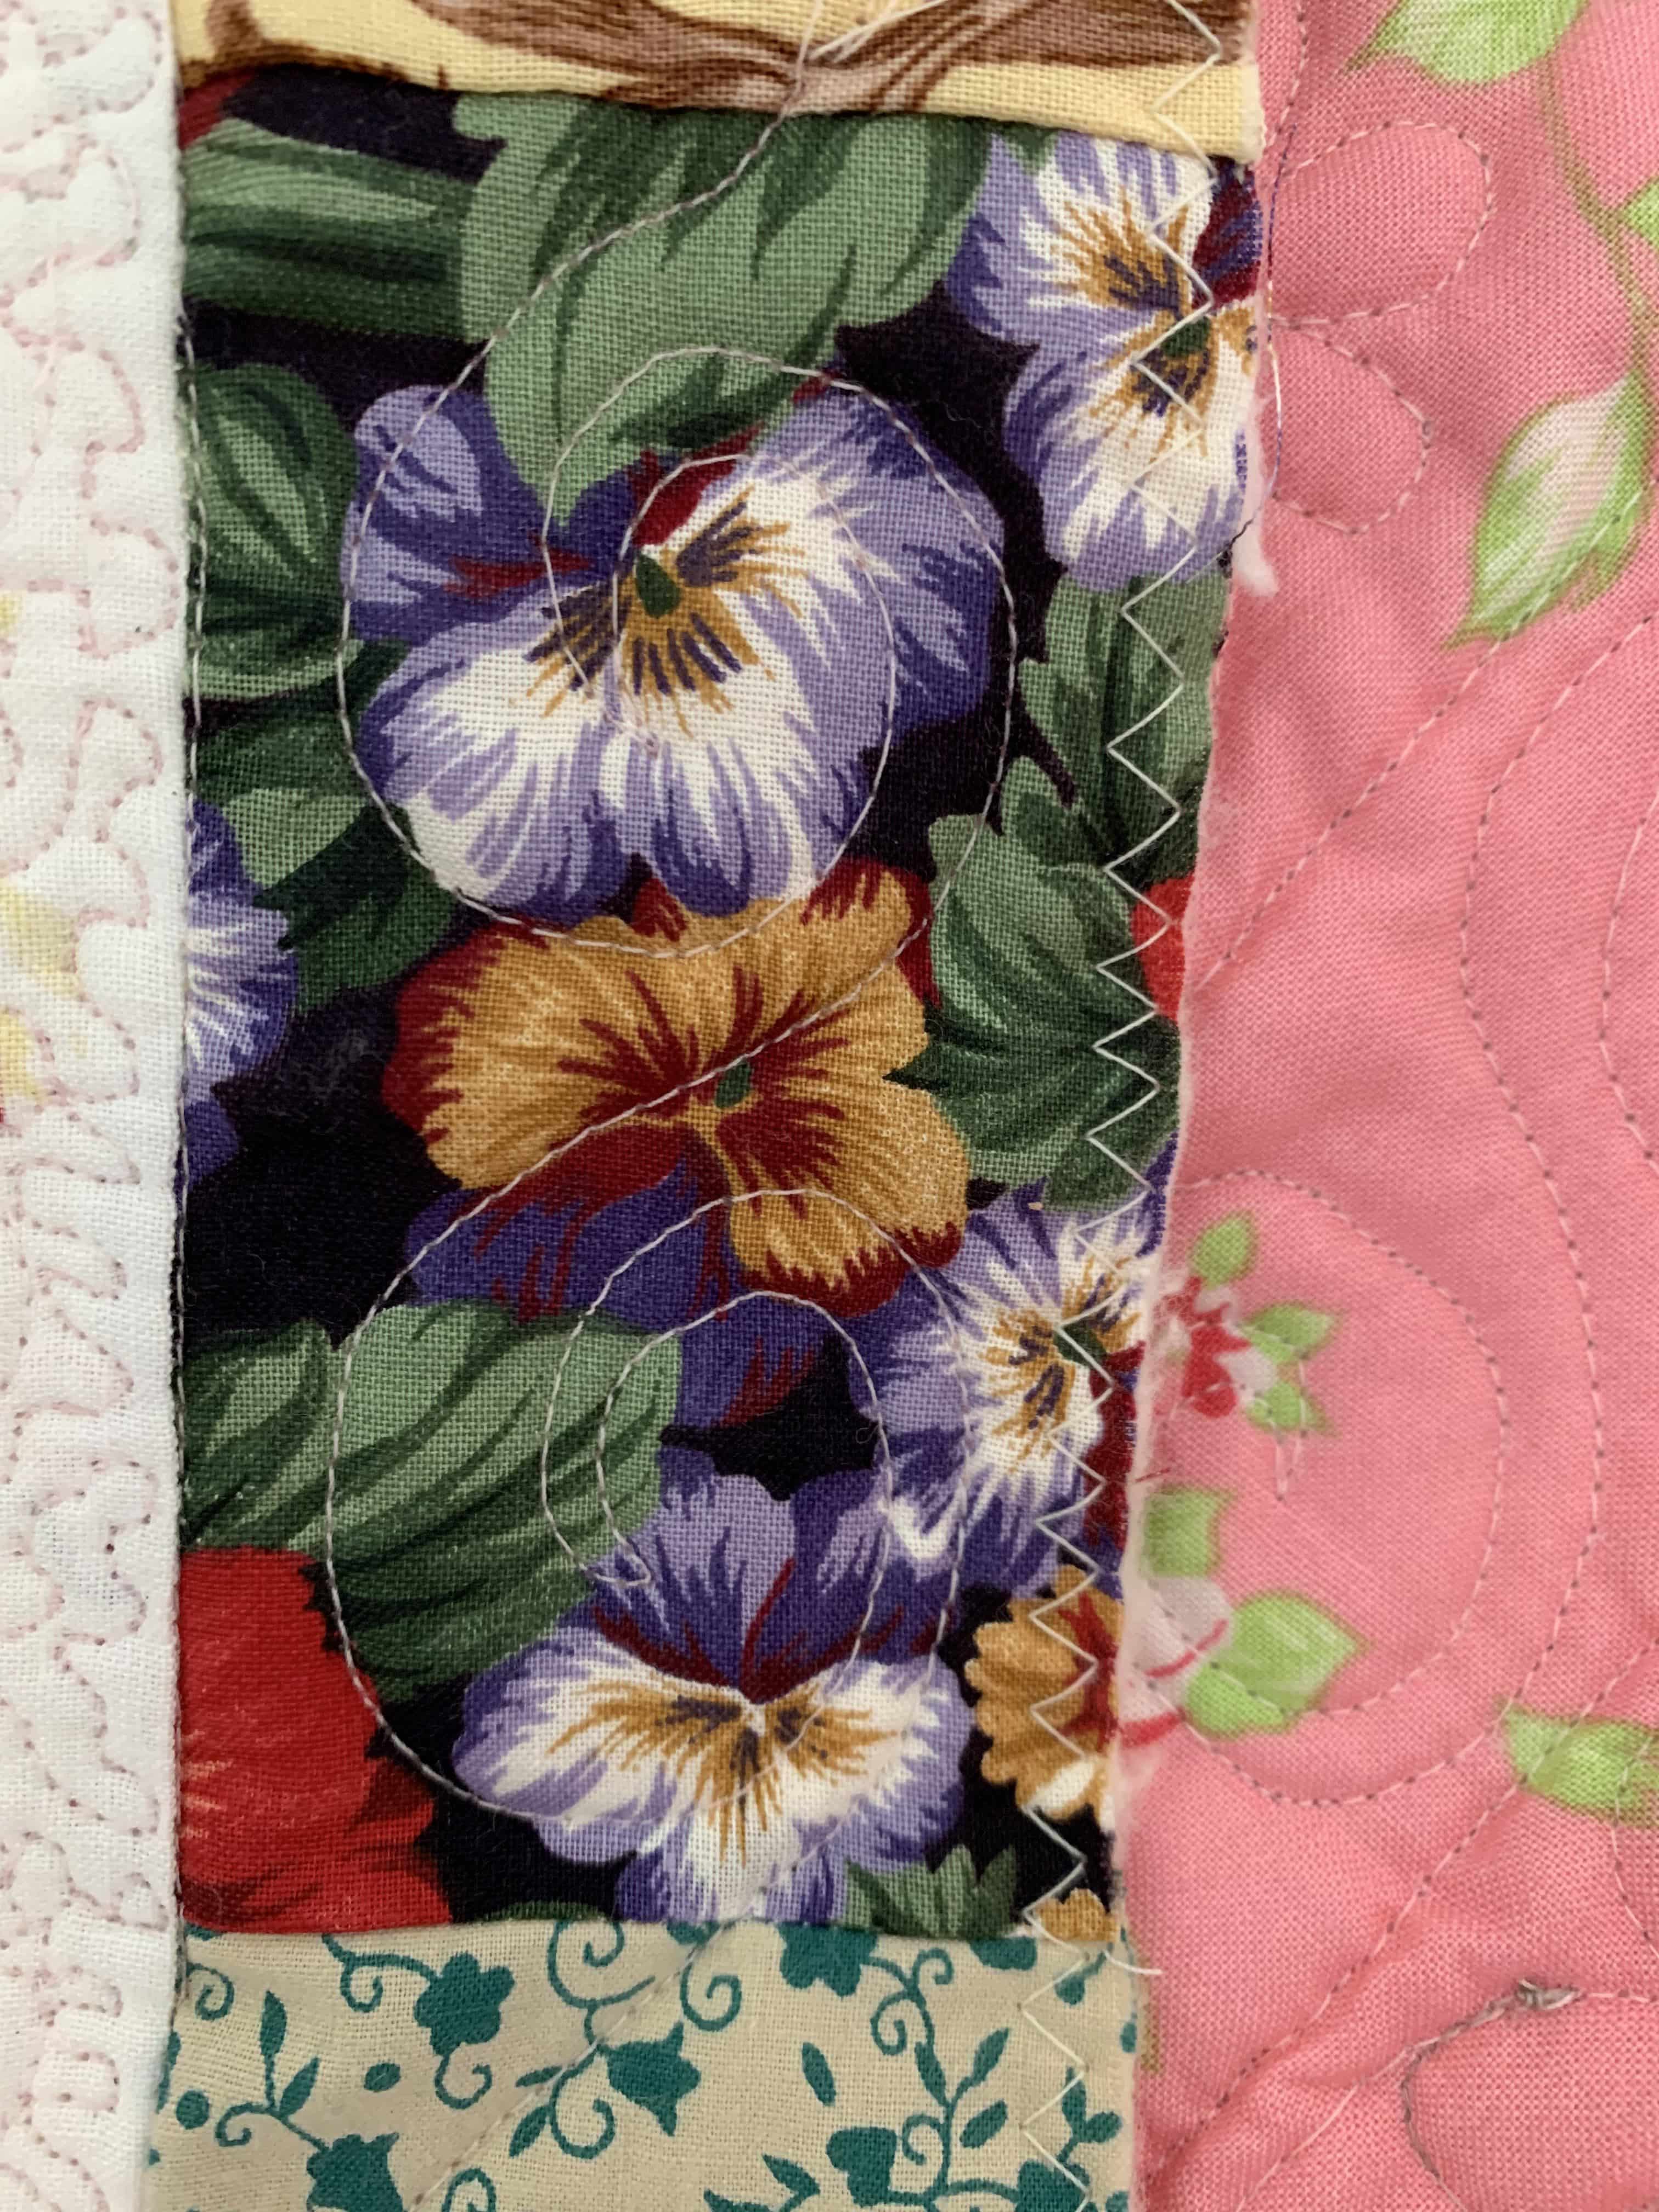
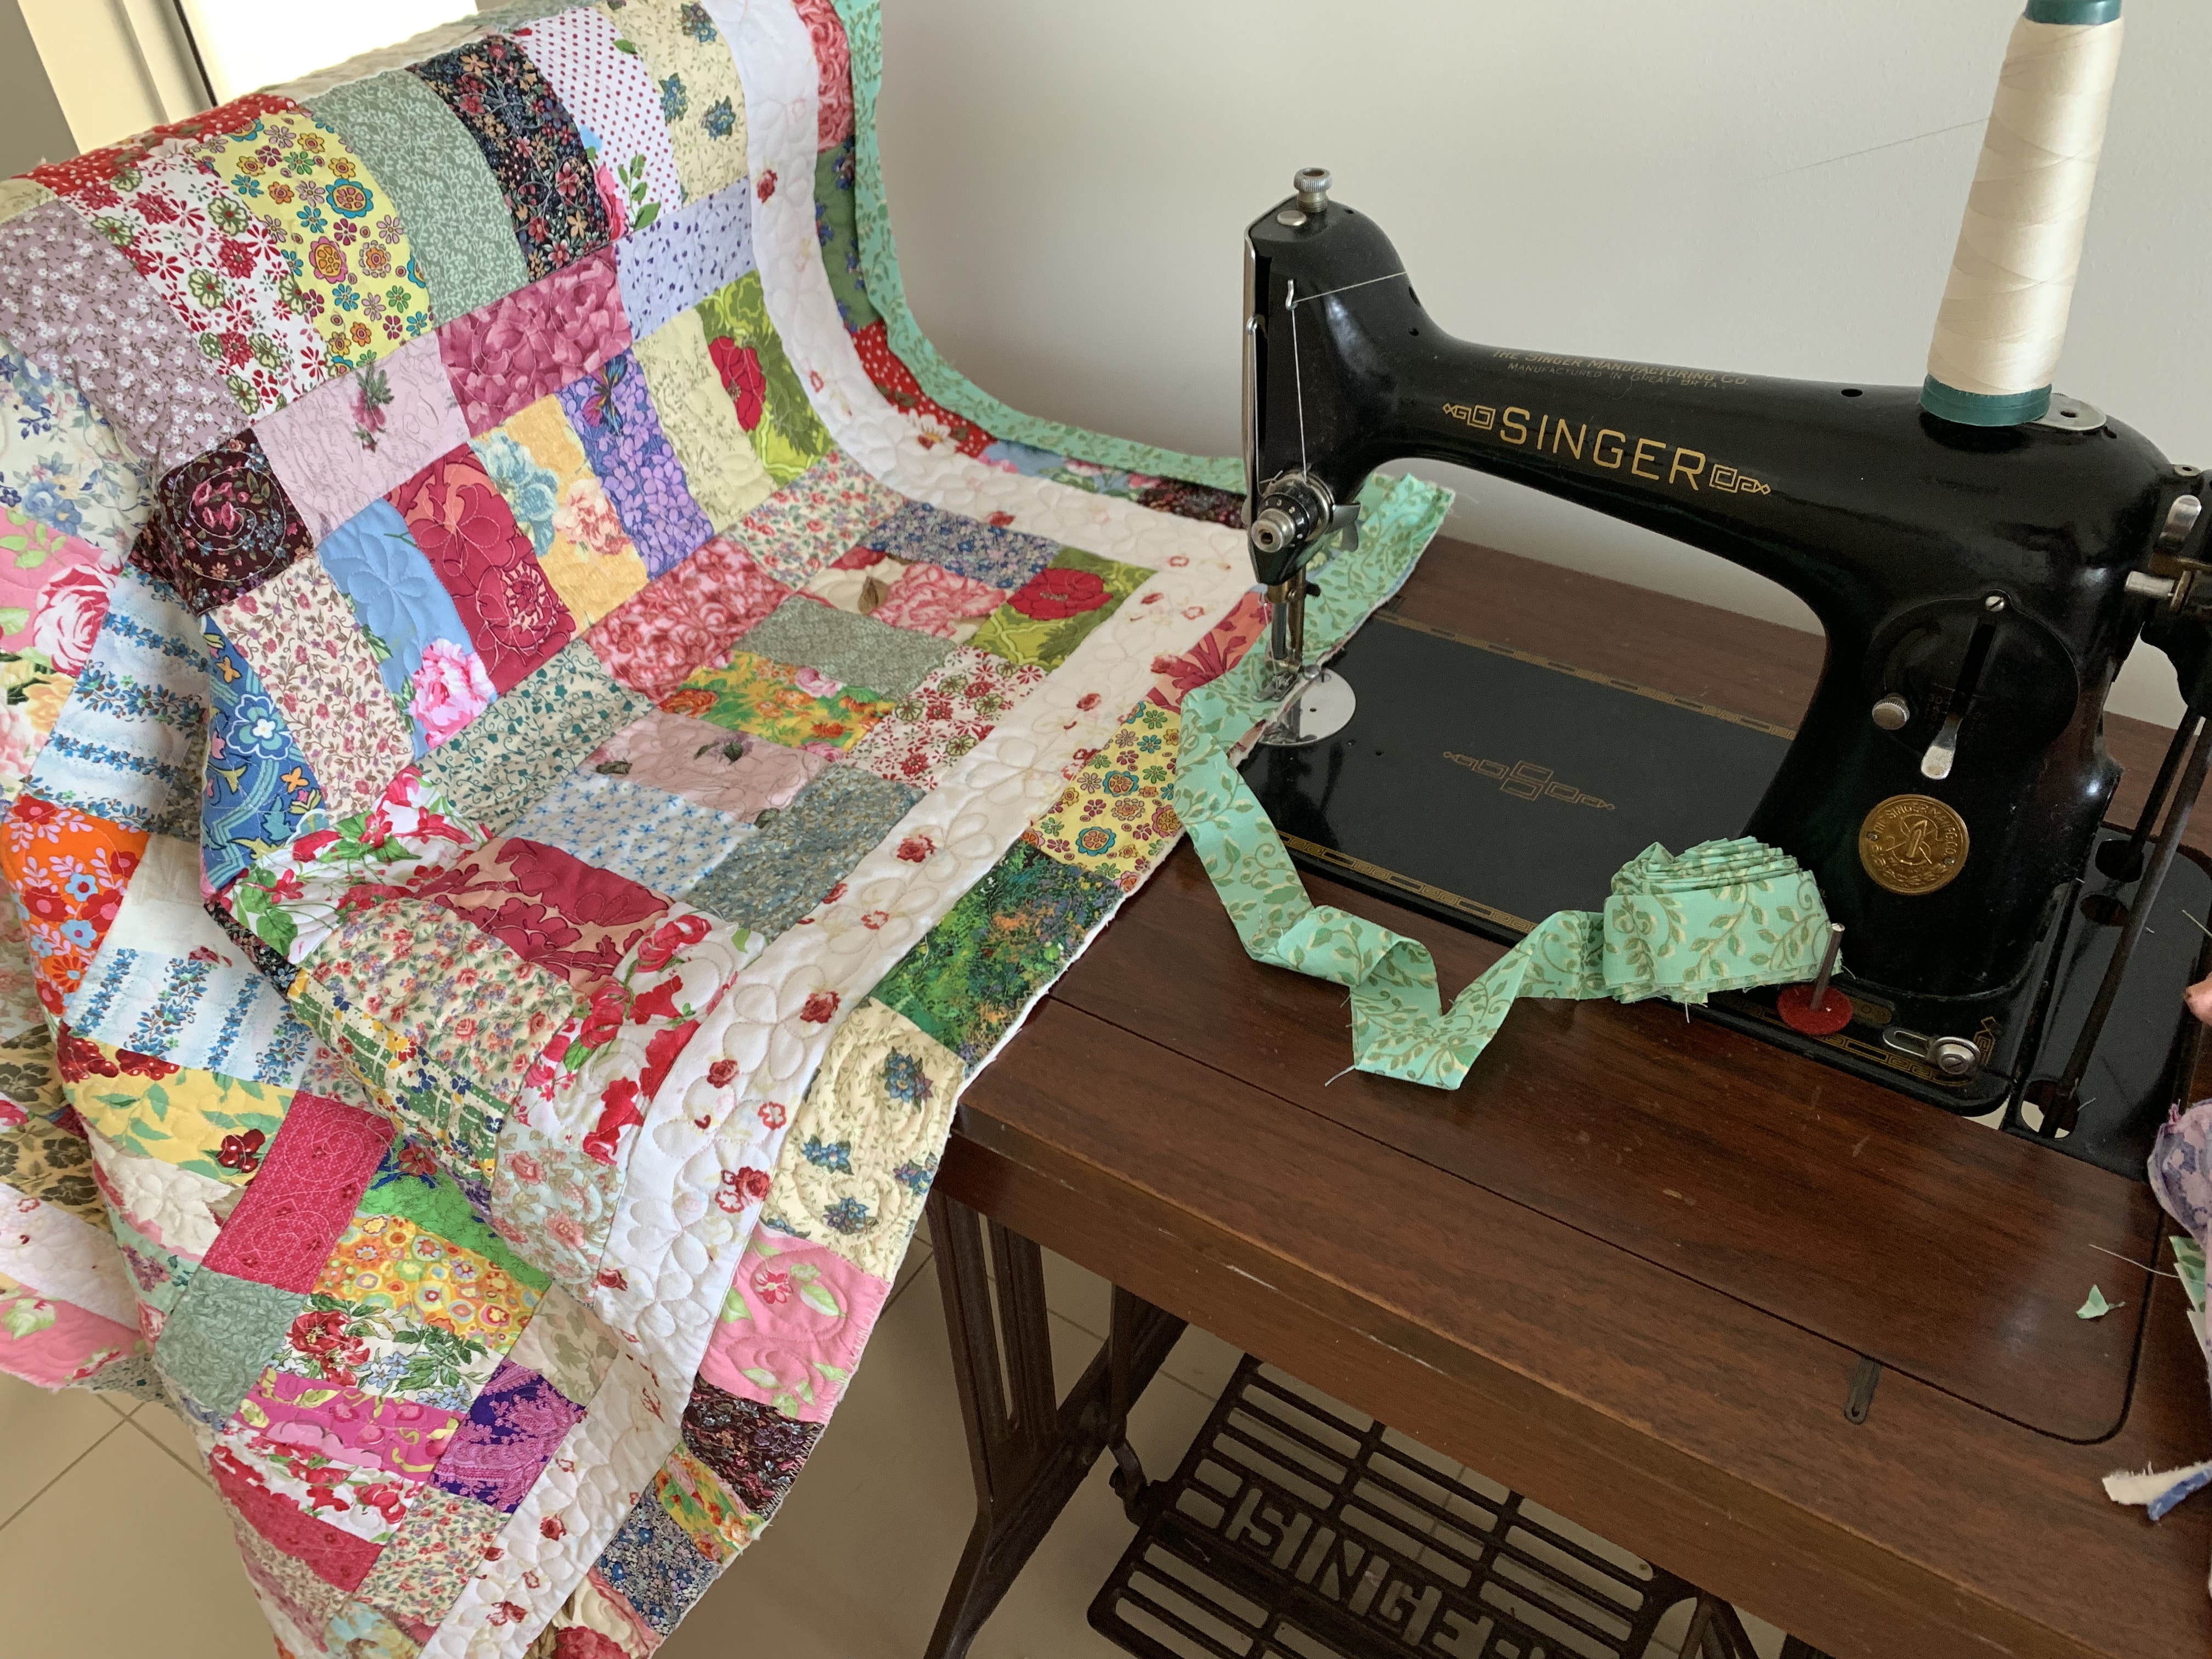
When I get close to finishing the quilting on a quilt (like a few inches from the edge, I will take it to a machine with a wide zig zag setting. Making sure all the layers are flat, zig zag all around the perimeter of the quilt top, encasing the three layers. (Now I can finish the quilting easily up the edges).
After the quilting is completed, trim the excess batting and backing fabric. This is now so easy because of the zig zag edge. You can see my zig zag stitching after the trimming in the image below.
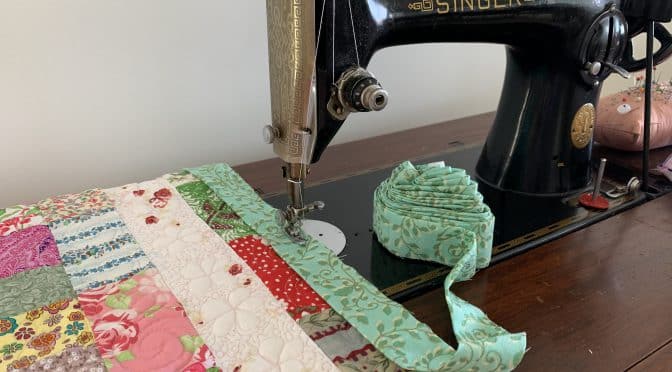
Today I am finishing this quilt top, which I plan to keep because I love all the fabrics and simple design.
Floral Coins Quilt Antique Style
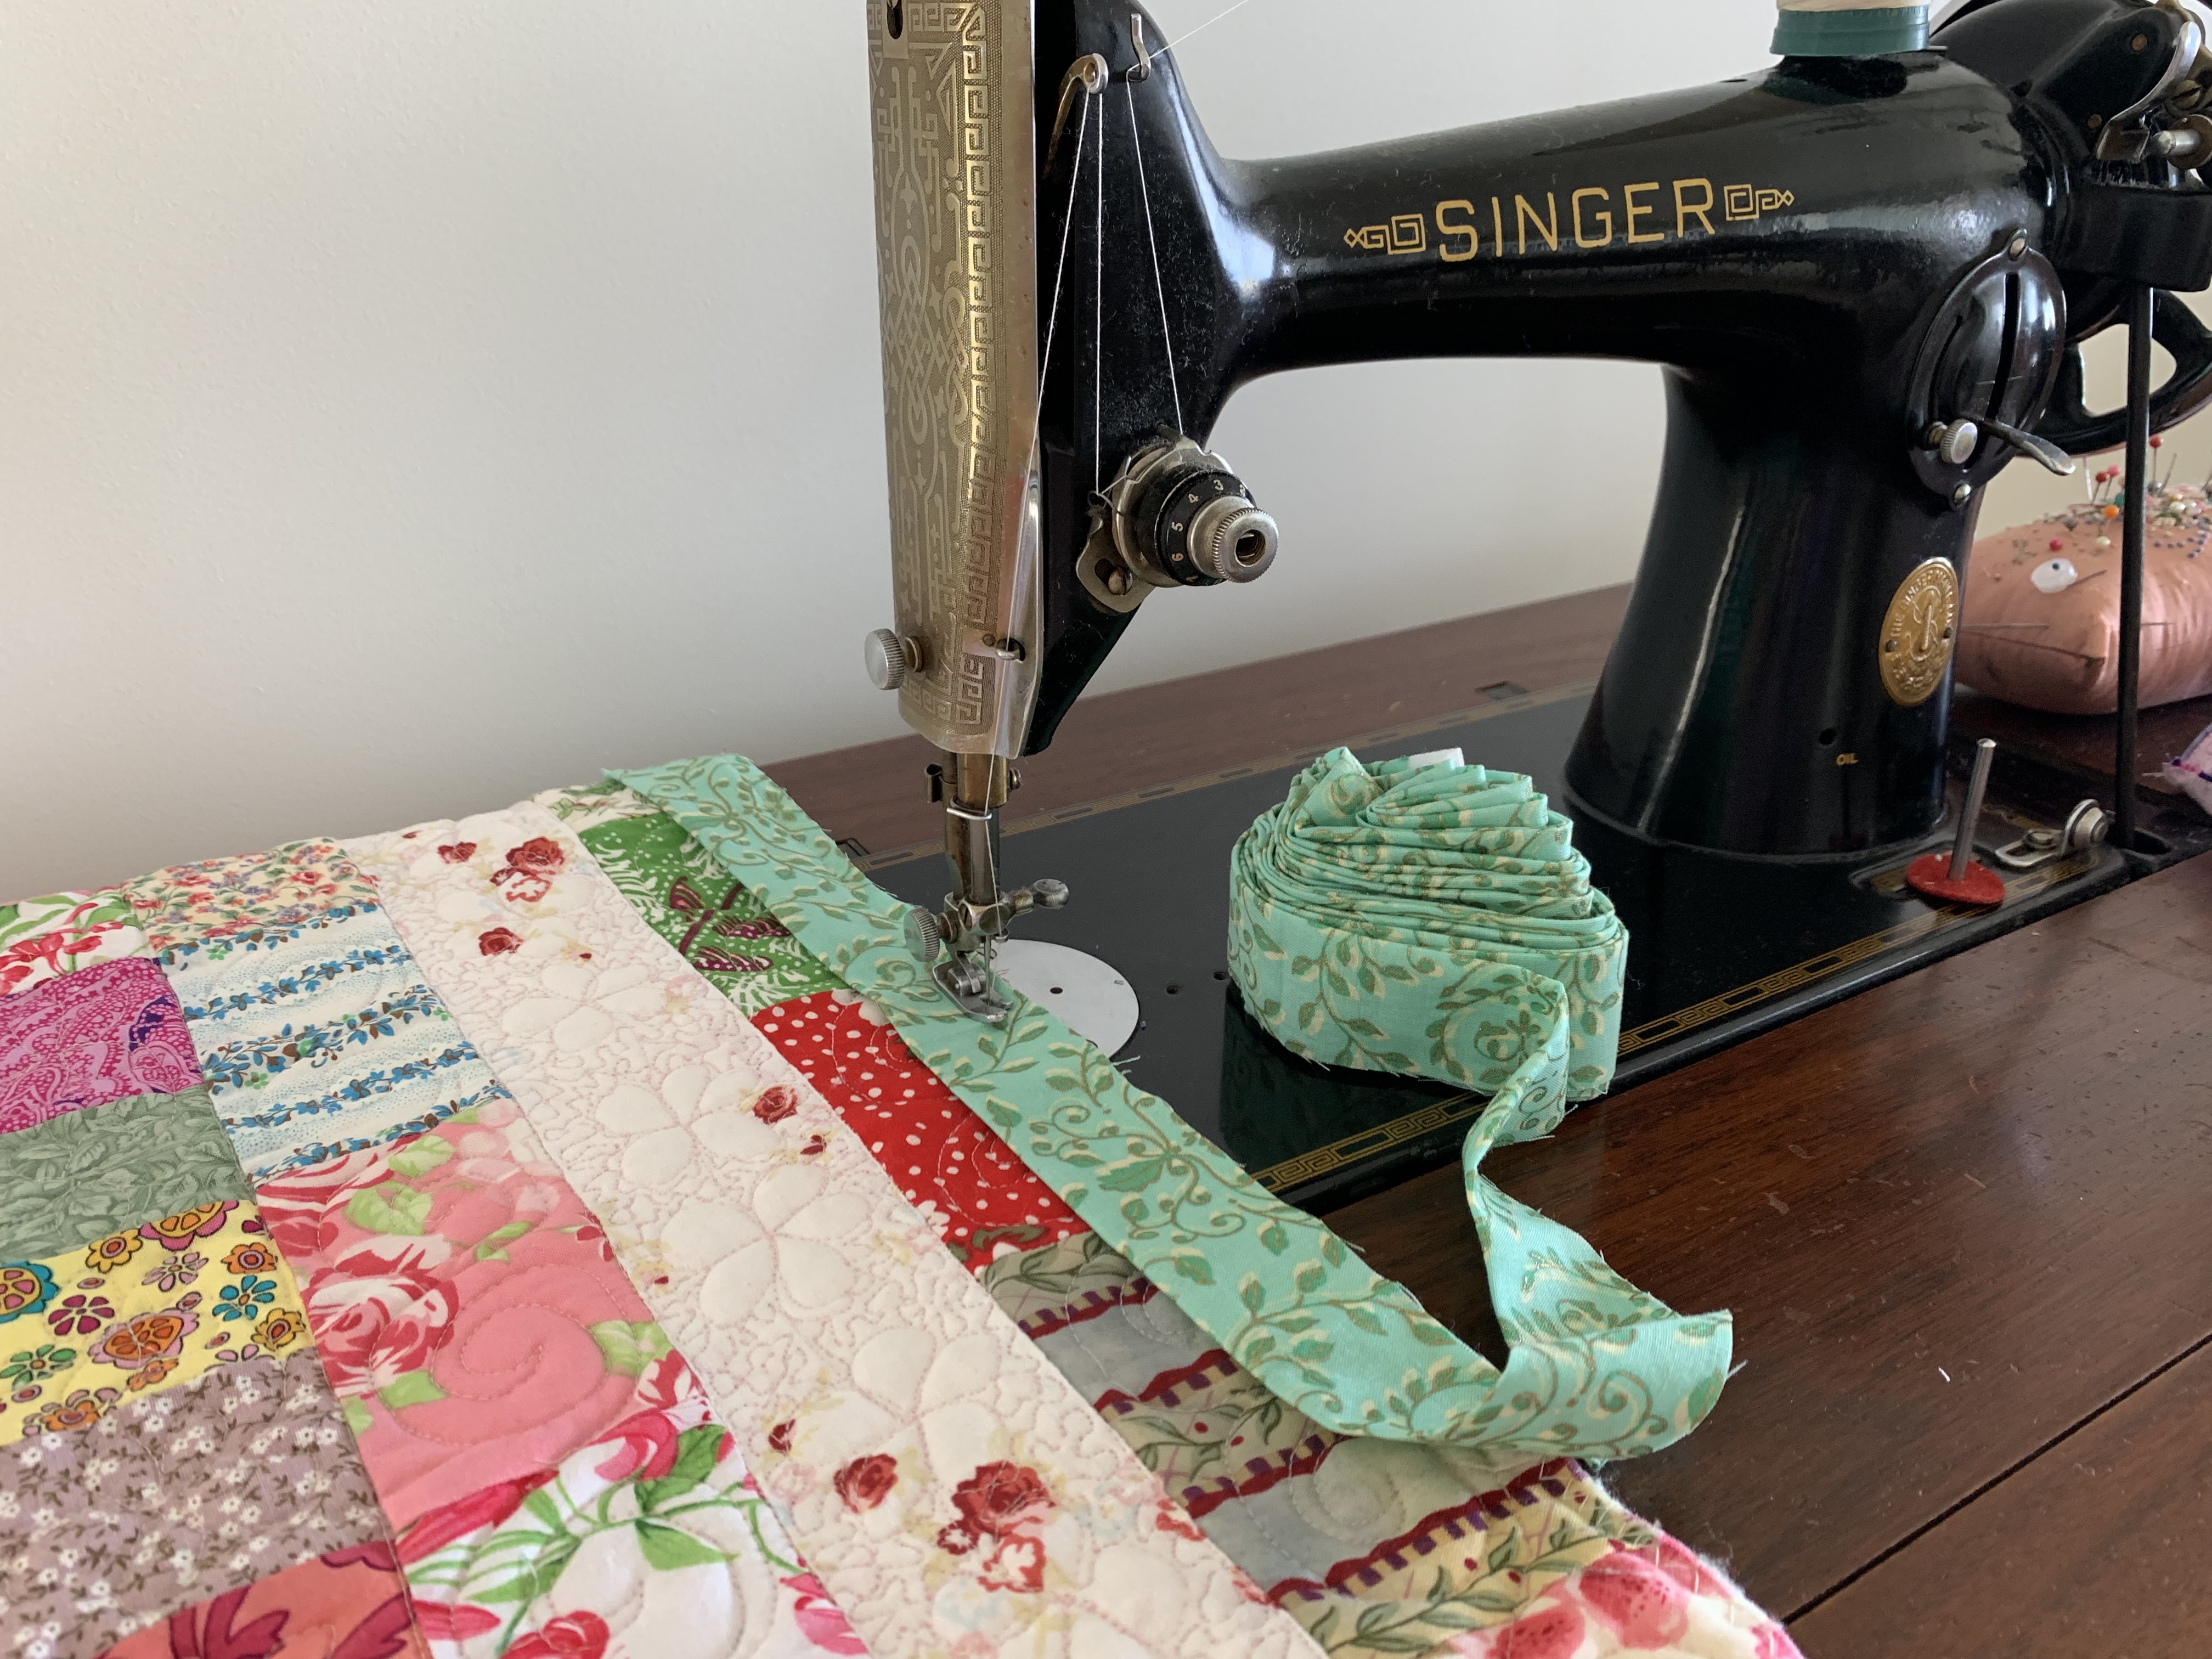
Now set your roll of binding strip near the centre of one long side of the quilt edge. (I don’t bother pinning anymore) Leave a tail of about 10 inches for joining later. Now begin sewing your binding strip as usual. It will be easy to unroll the grinding strip as you go.
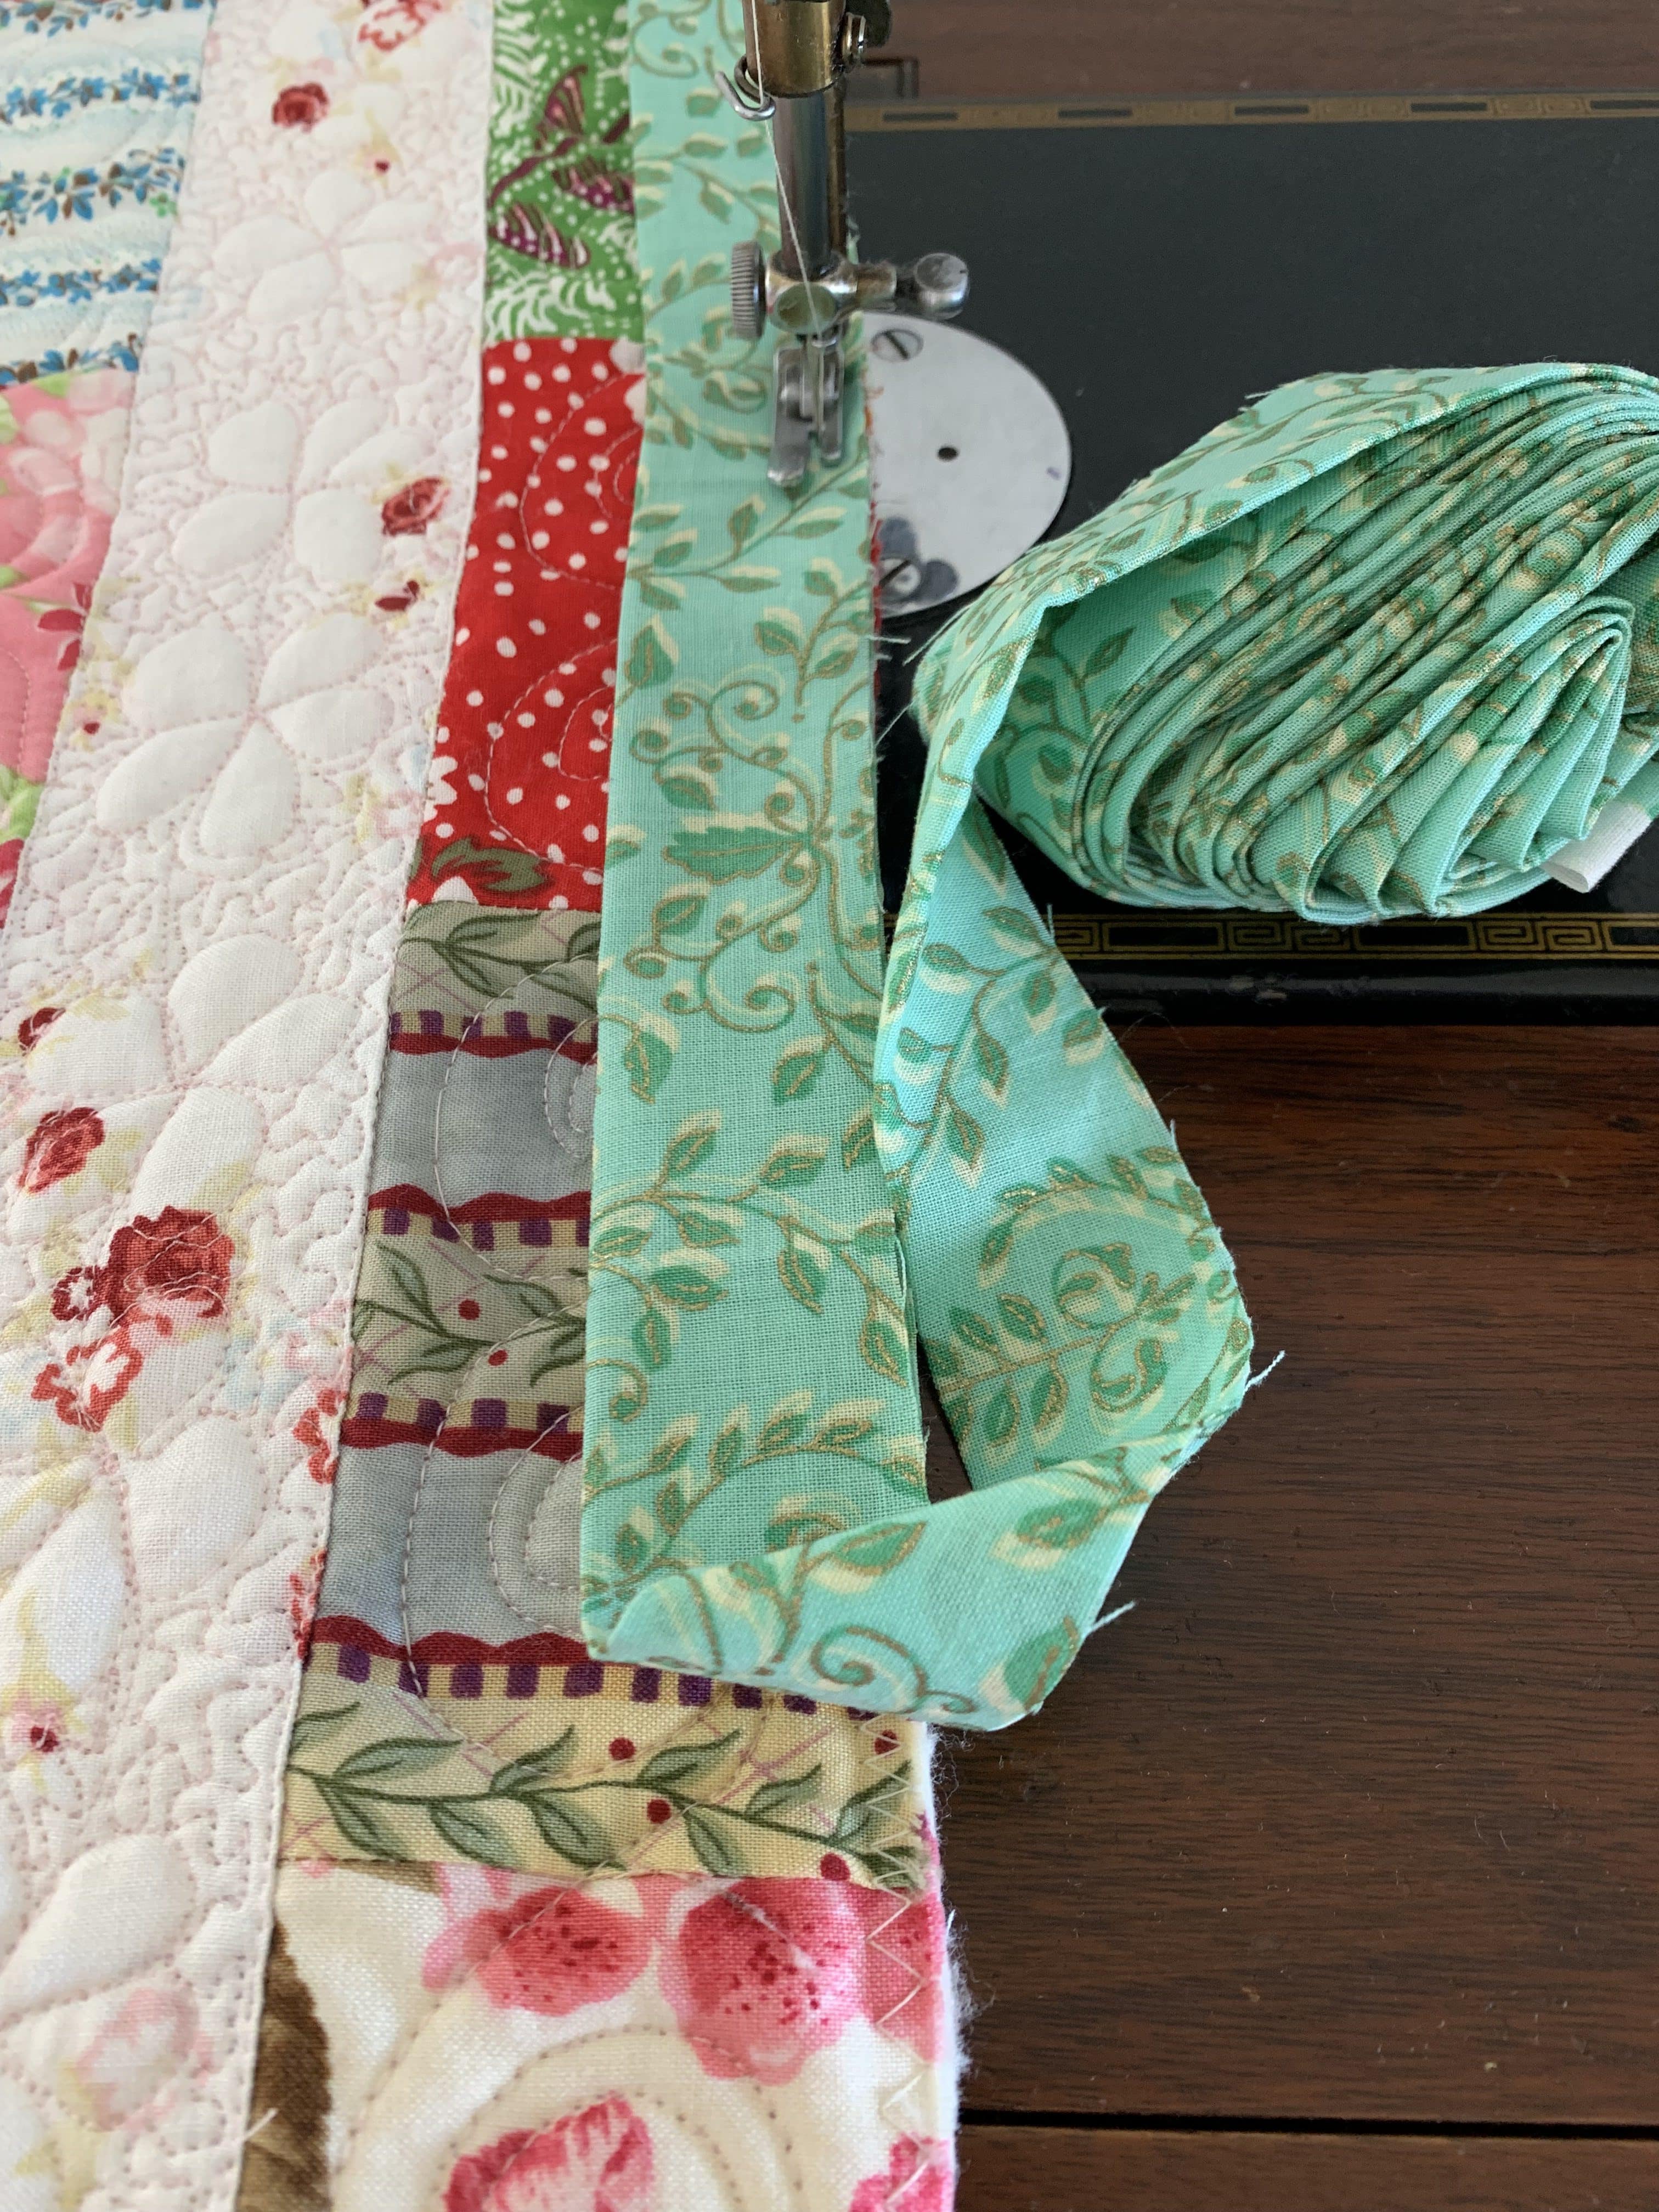
Here is another view.
Sew right up to the corners, then turn the fabric back to make a right angle and begin the next side.
If you are looking for some quilting inspiration, you may like this,

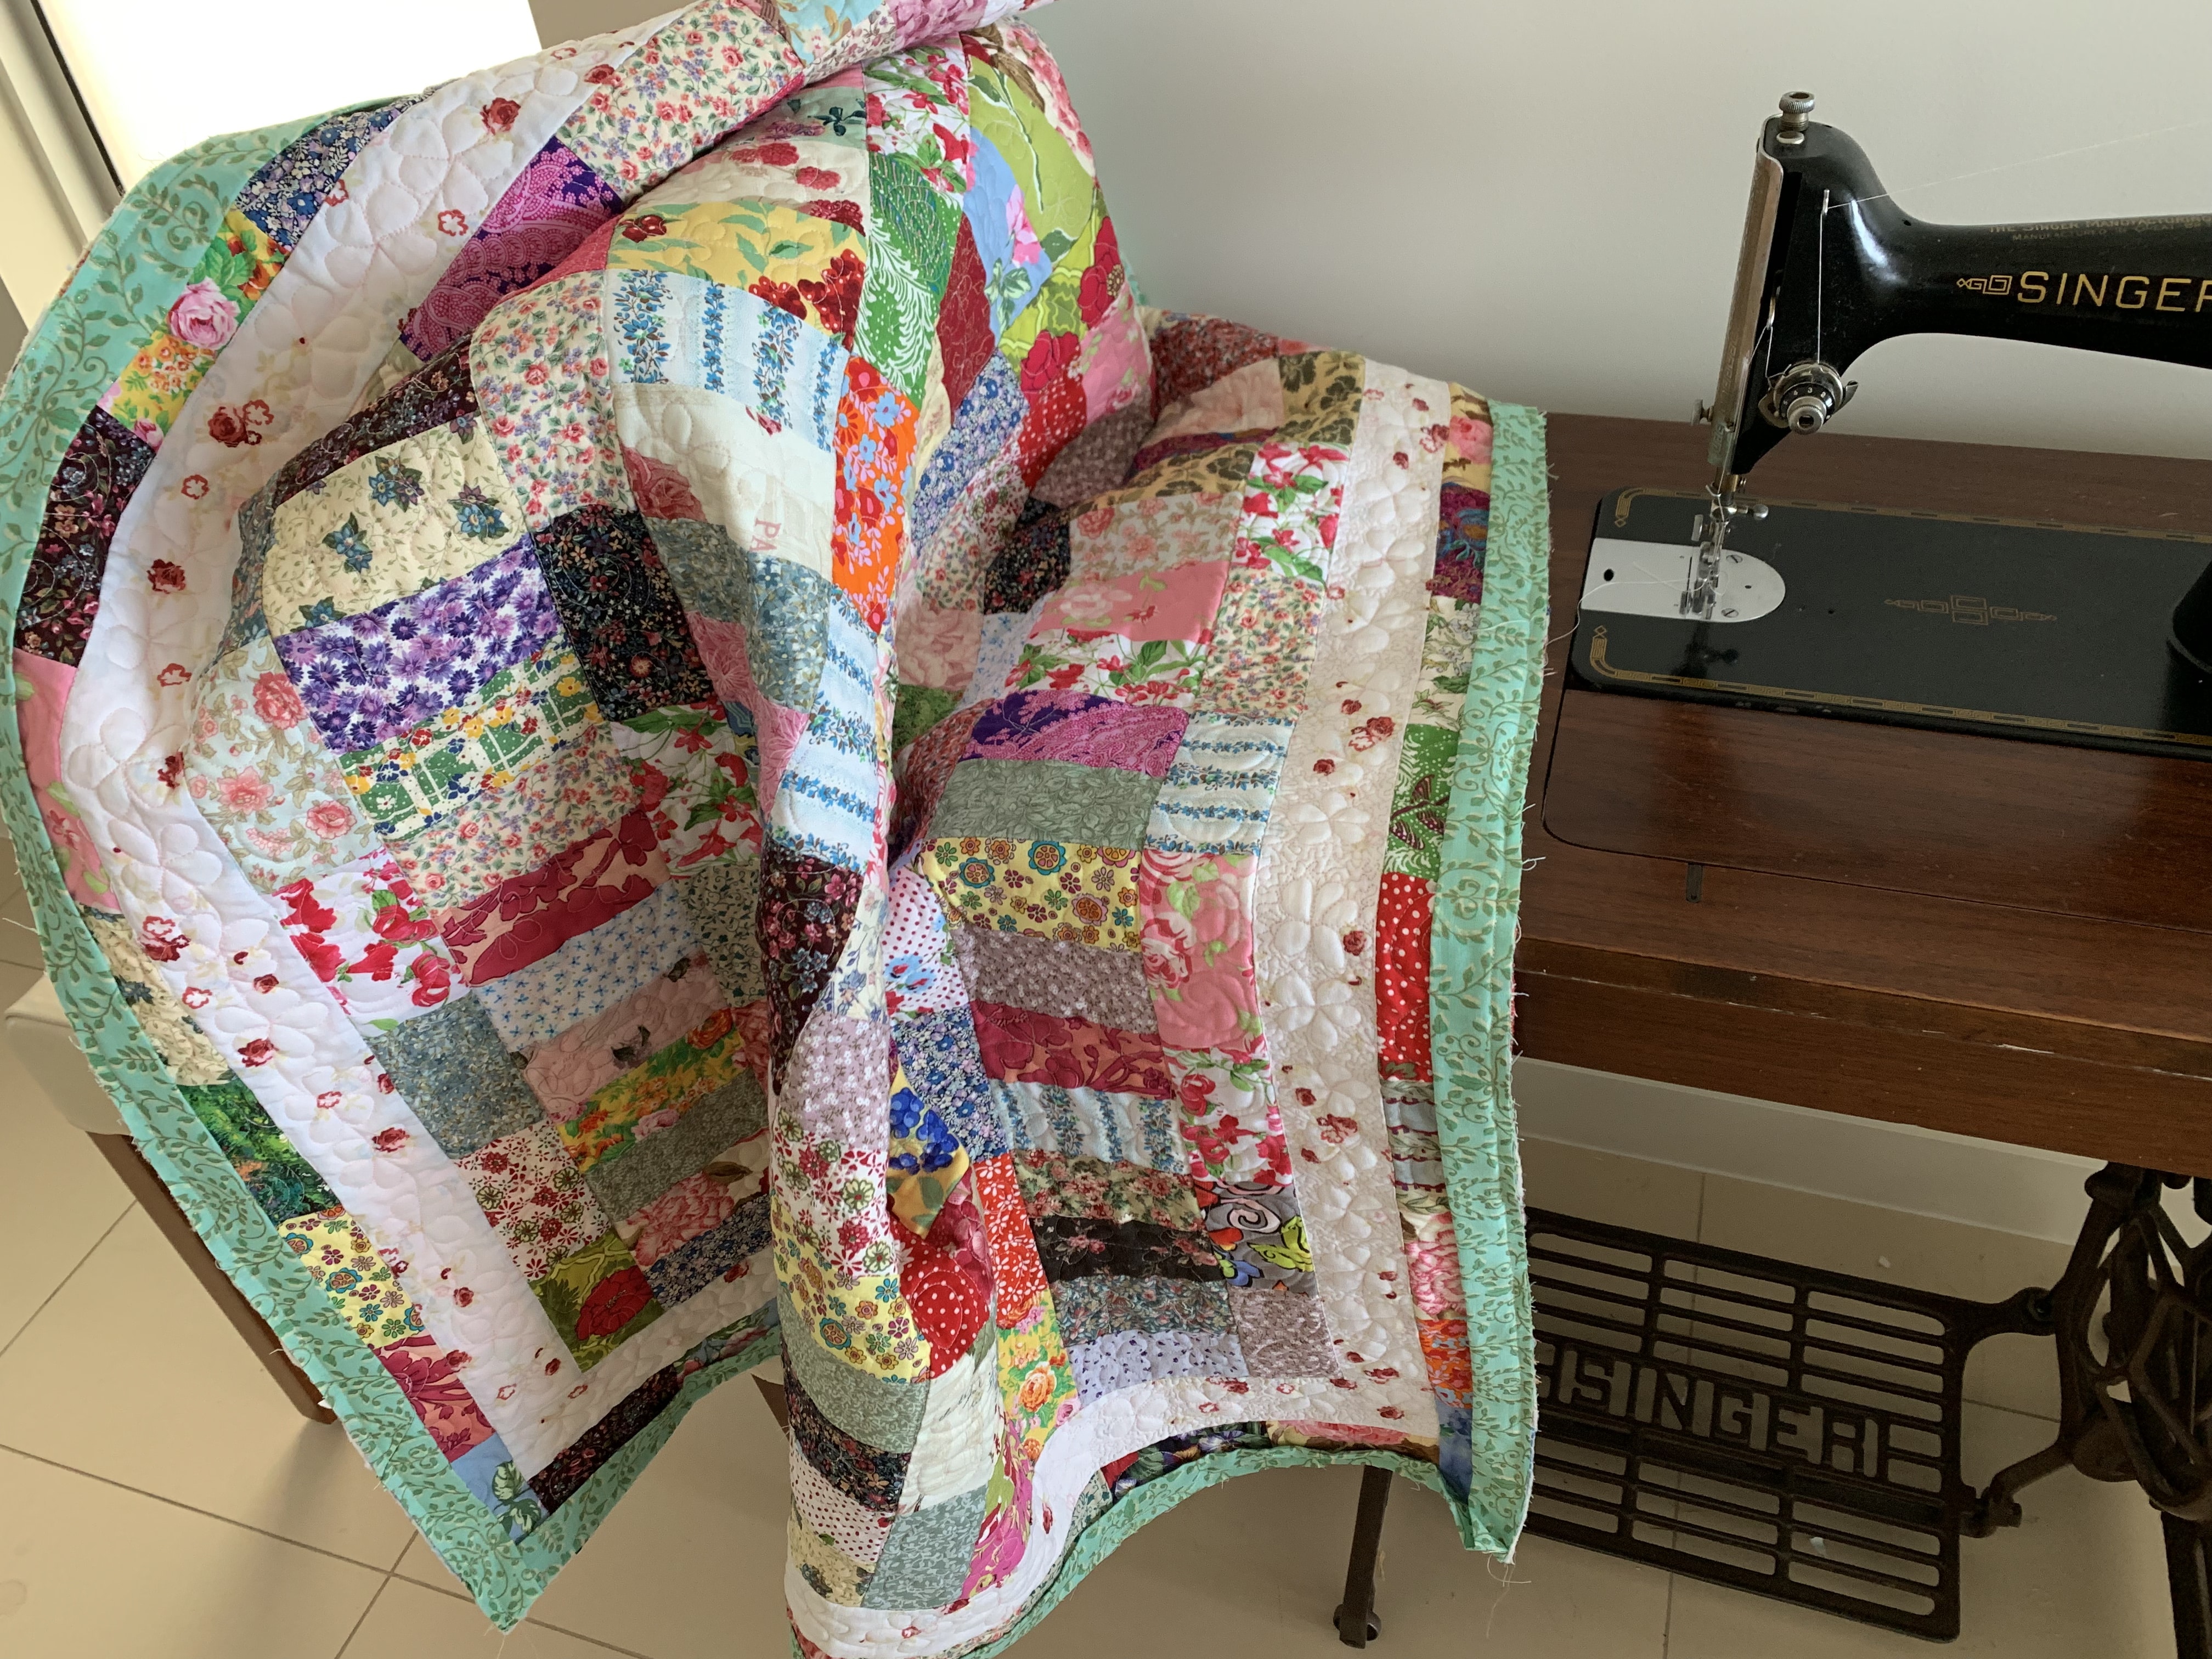
Make sure that you position some chairs or an extra table next to your machine to support the weight of your quilt. This will make it much easier to attach the binding strip neatly and evenly.
Now you can see, the completed binding strip. It is all ready for the hand sewing. I love this bit. So nice to sit on the lounge with the completed quilt and hand stitch the binding. 💕
Oh don’t forget to add your quilt label too!
Happy sewing!
If you enjoyed this post, you may also like,
If you have a some quilting string scraps, you just might like this little project to use them up.
End of Day Quilters Small Gathering / Gift Basket Tutorial
Love seeing the quilt over the vintage machine bed. I have way too many florals! I was wondering if you ever made large quilts and how would you go about it?
Dear Kerry, Absolutely. Yes I do make big quilts too. I use the the same methodology, just larger. Maybe you would like to look at this one too since you have many florals. https://susies-scraps.com/2016/04/24/floral-fantasy-freindship-four-patch/
Please feel free to check through my other posts or keep in touch for more information. 😊
Susie
I did enjoy – then I got quite side-tracked with the vintage machines. I think I’ll have to plod through the archives and savour each one!
Your quilting with the tulips and the daisies are super and I love your Road to Tennessee quilt.
Many thanks for your reply – I really must have a test run at quilting on my 201K as your quilts are quite inspirational!
Dear Kerry, 💕 Thank you. In relation to your 201K, this may be useful.
Free Motion Quilting – Part 1 – The Machine
Love your quilt. Thanks for all the links you share along the way – I love looking at your past works:)