
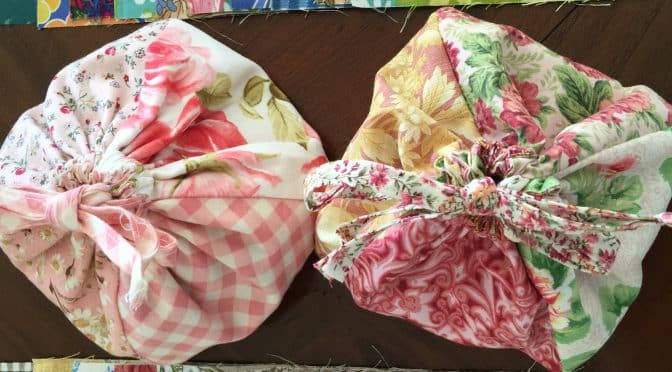
Little Charm Bag and Tutorial.
Hello Everyone. If you are a quilter or an embroiderer who likes to do hand work, then maybe this project is for you. I really like this little Charm Bag. I designed this bag for the purpose of being able to carry a hand stitching project around easily in my handbag. It is quite amazing how those little increments of time can add up. There are times in life when one will have to wait, whether that be at sporting games, waiting for doctors appointments or maybe in a hotel room. This becomes an opportunity to create something really beautiful. While I waited for my daughter backstage when she was doing ballet, I slowly made six beautiful candle wick panels, which I later sewed into a bag. She is all grown up now and I recently gave her that bag as a memory of that time.
Of course you may find many other uses for this pretty drawstring bag. Add a beautiful hand cream or soap for gift giving.
Requirements for the bag
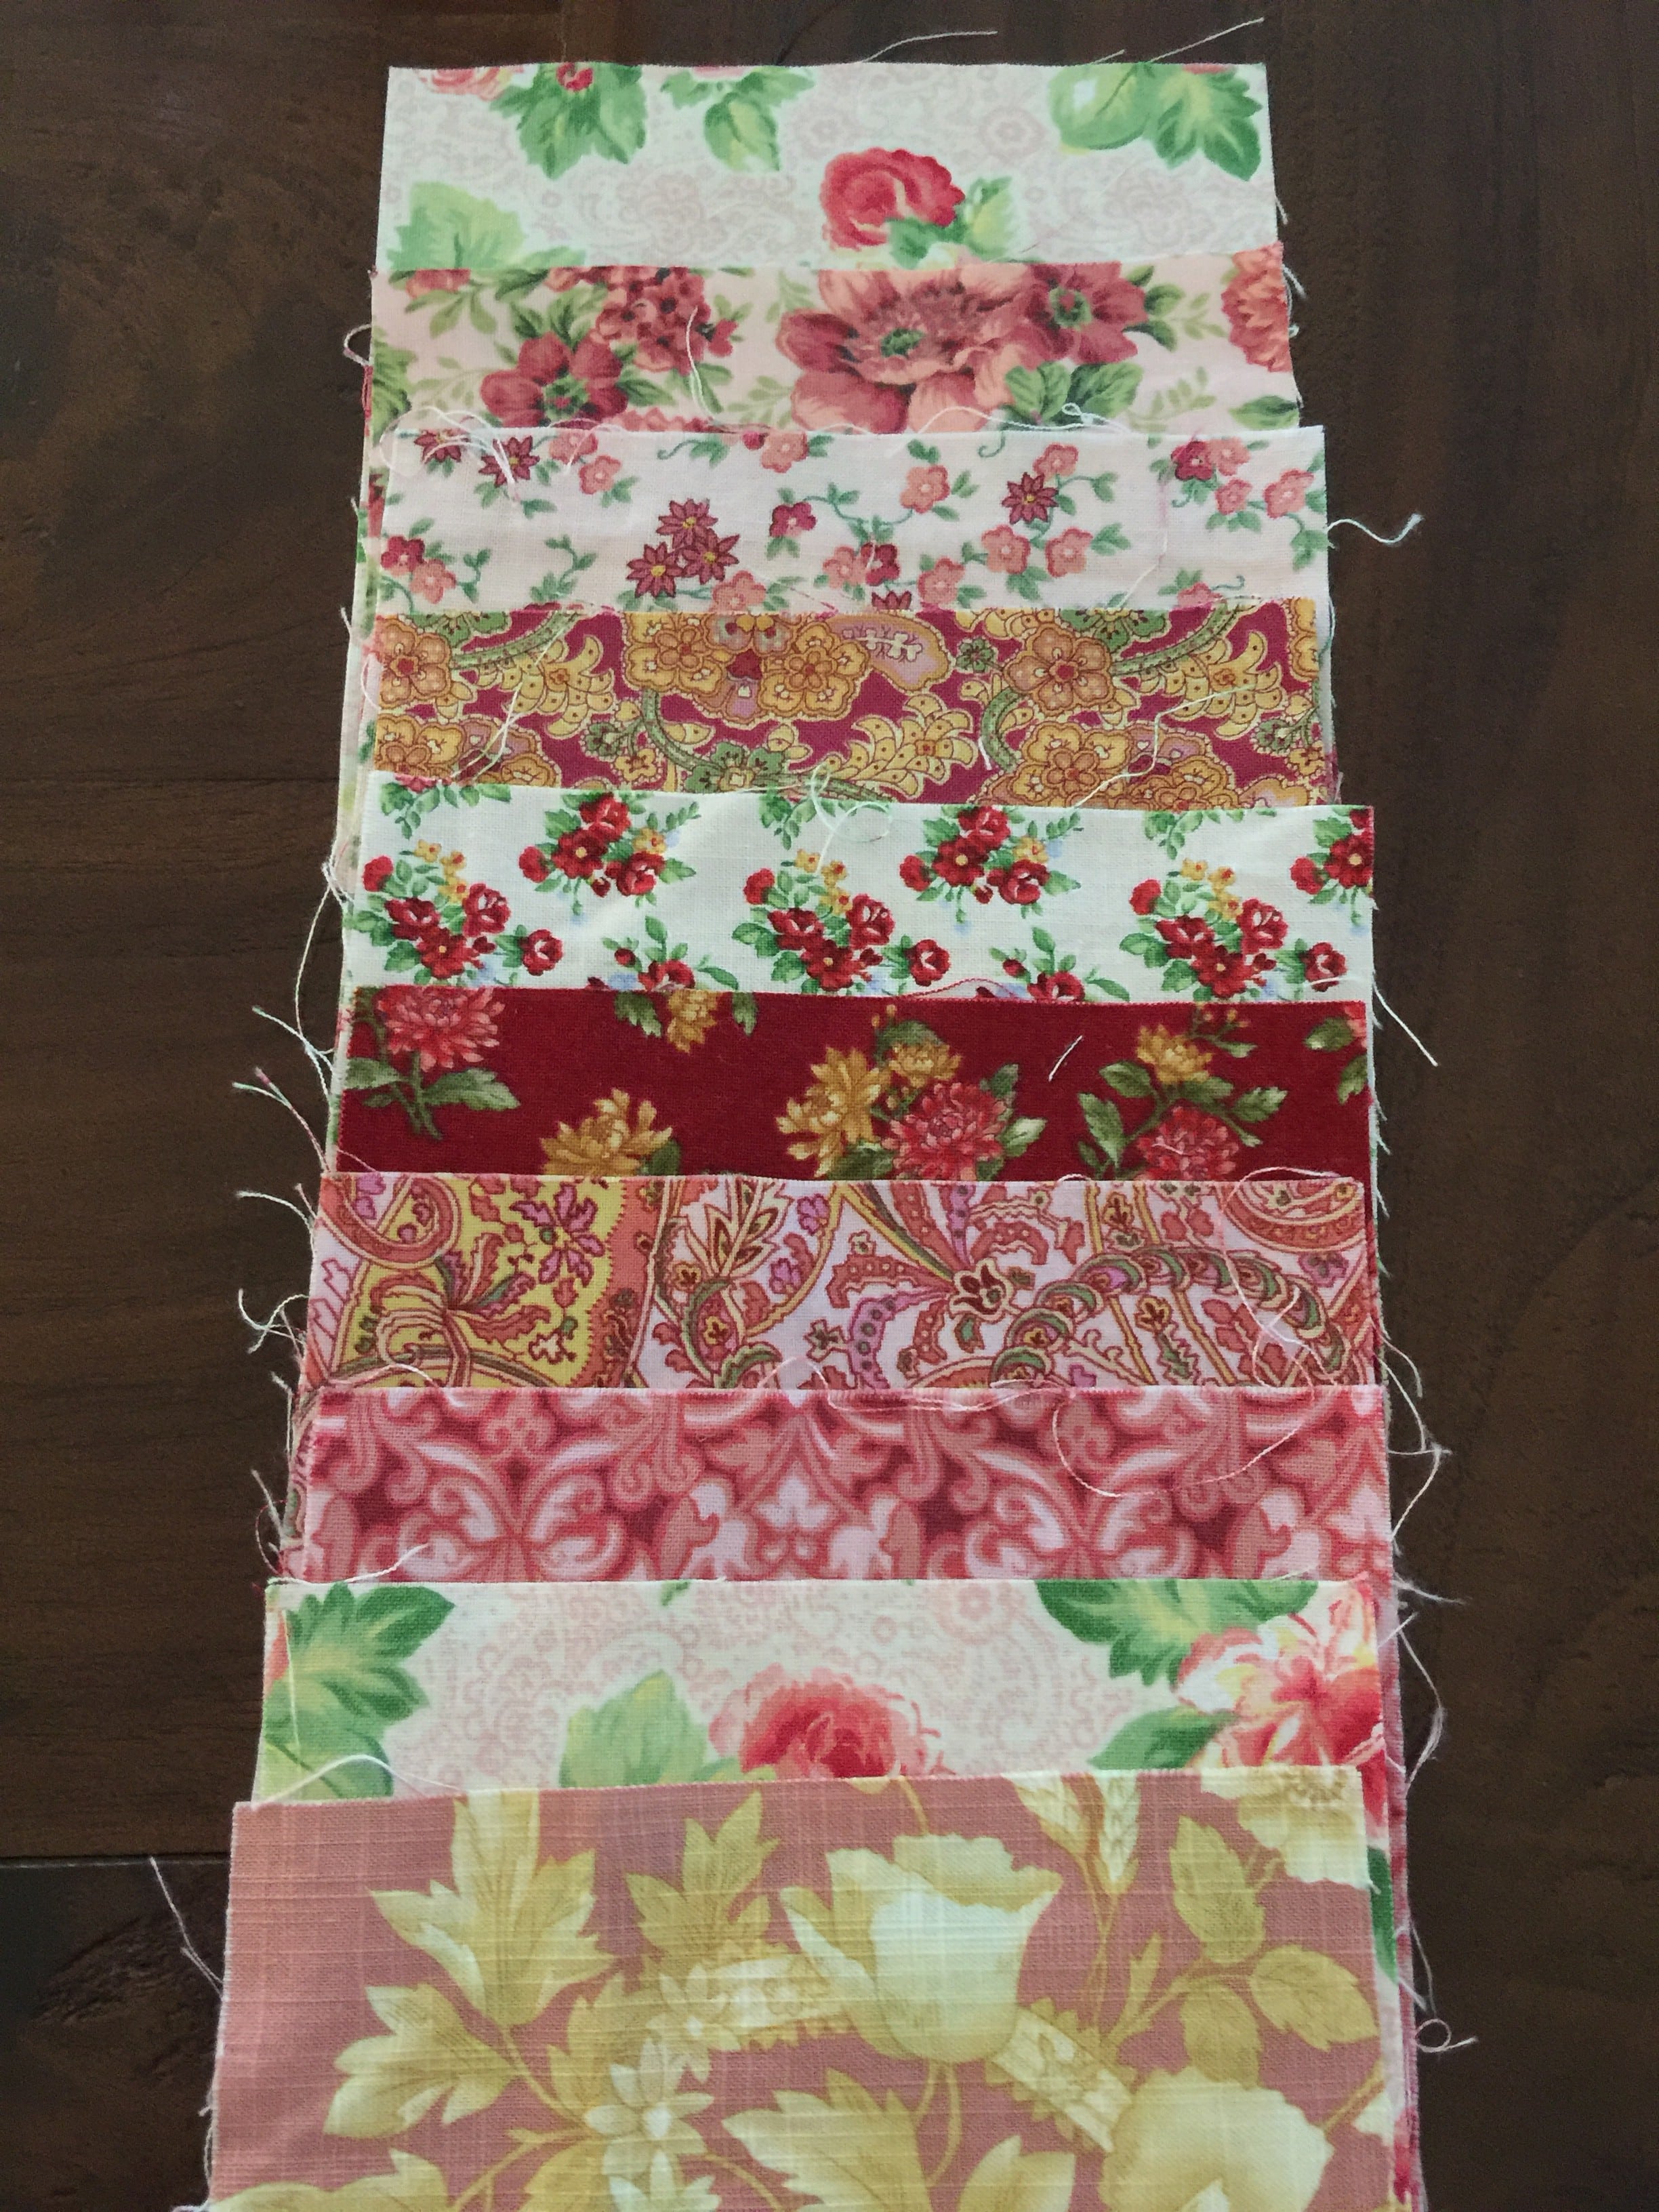
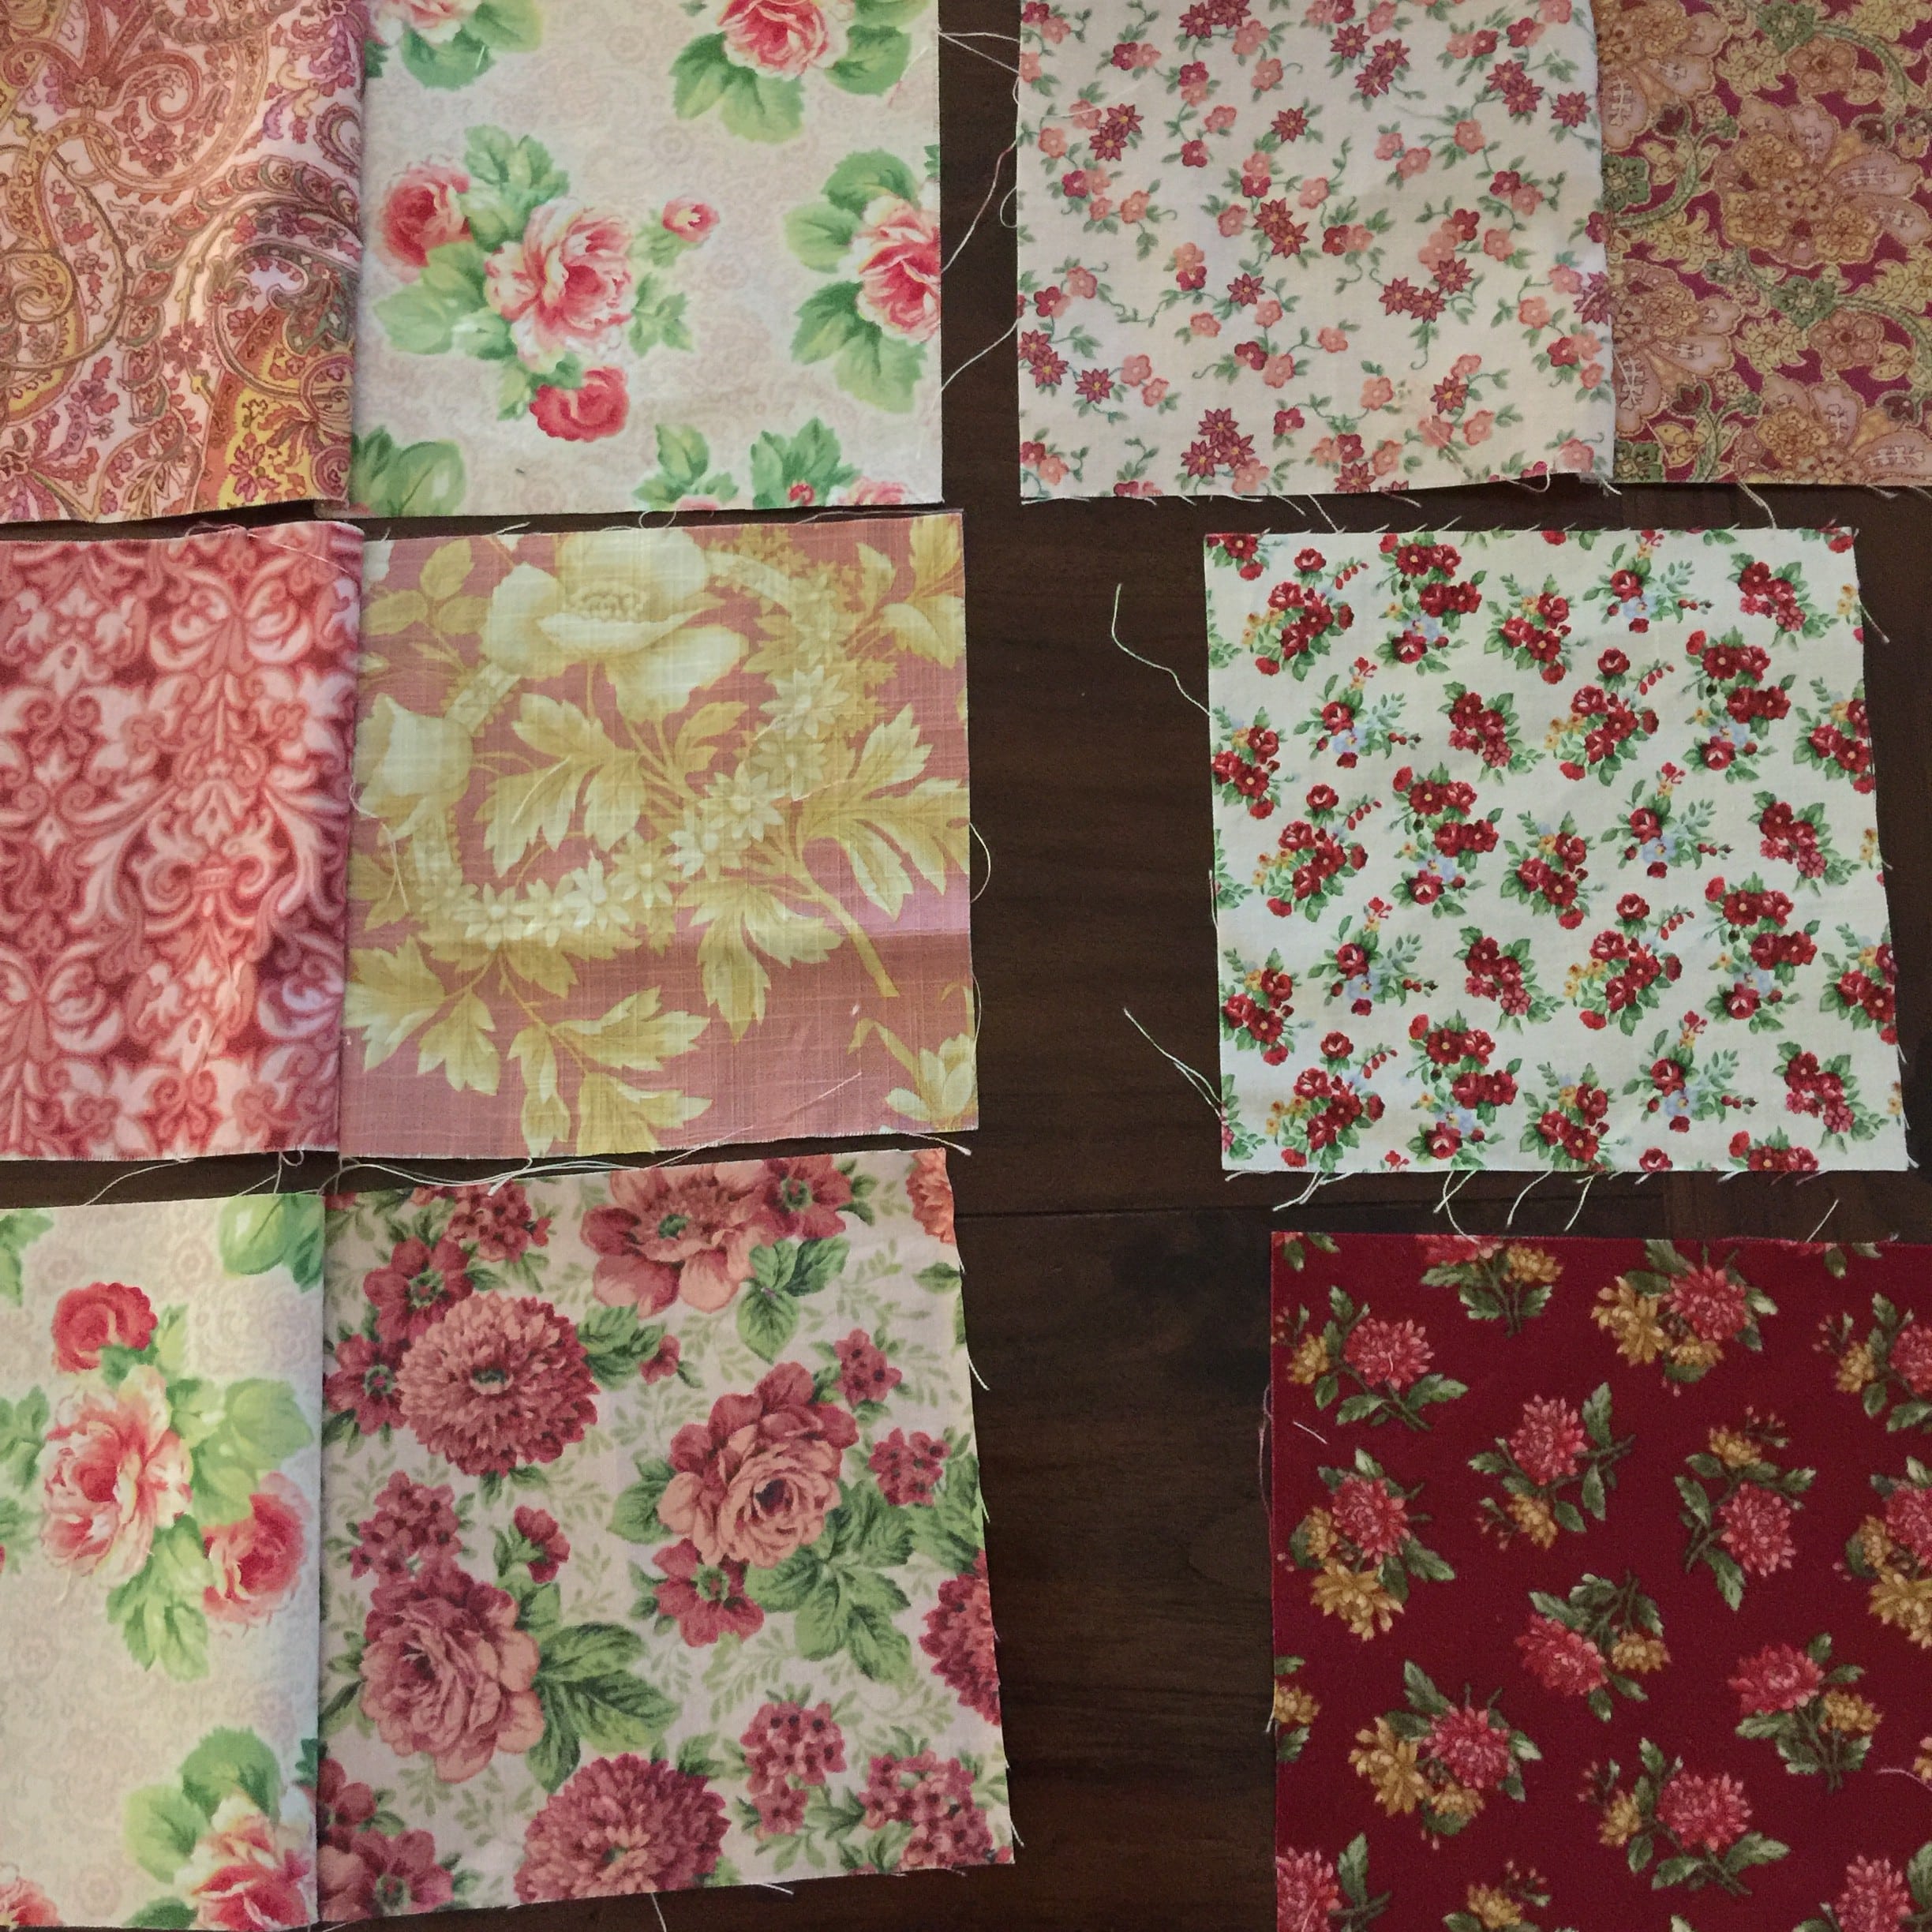
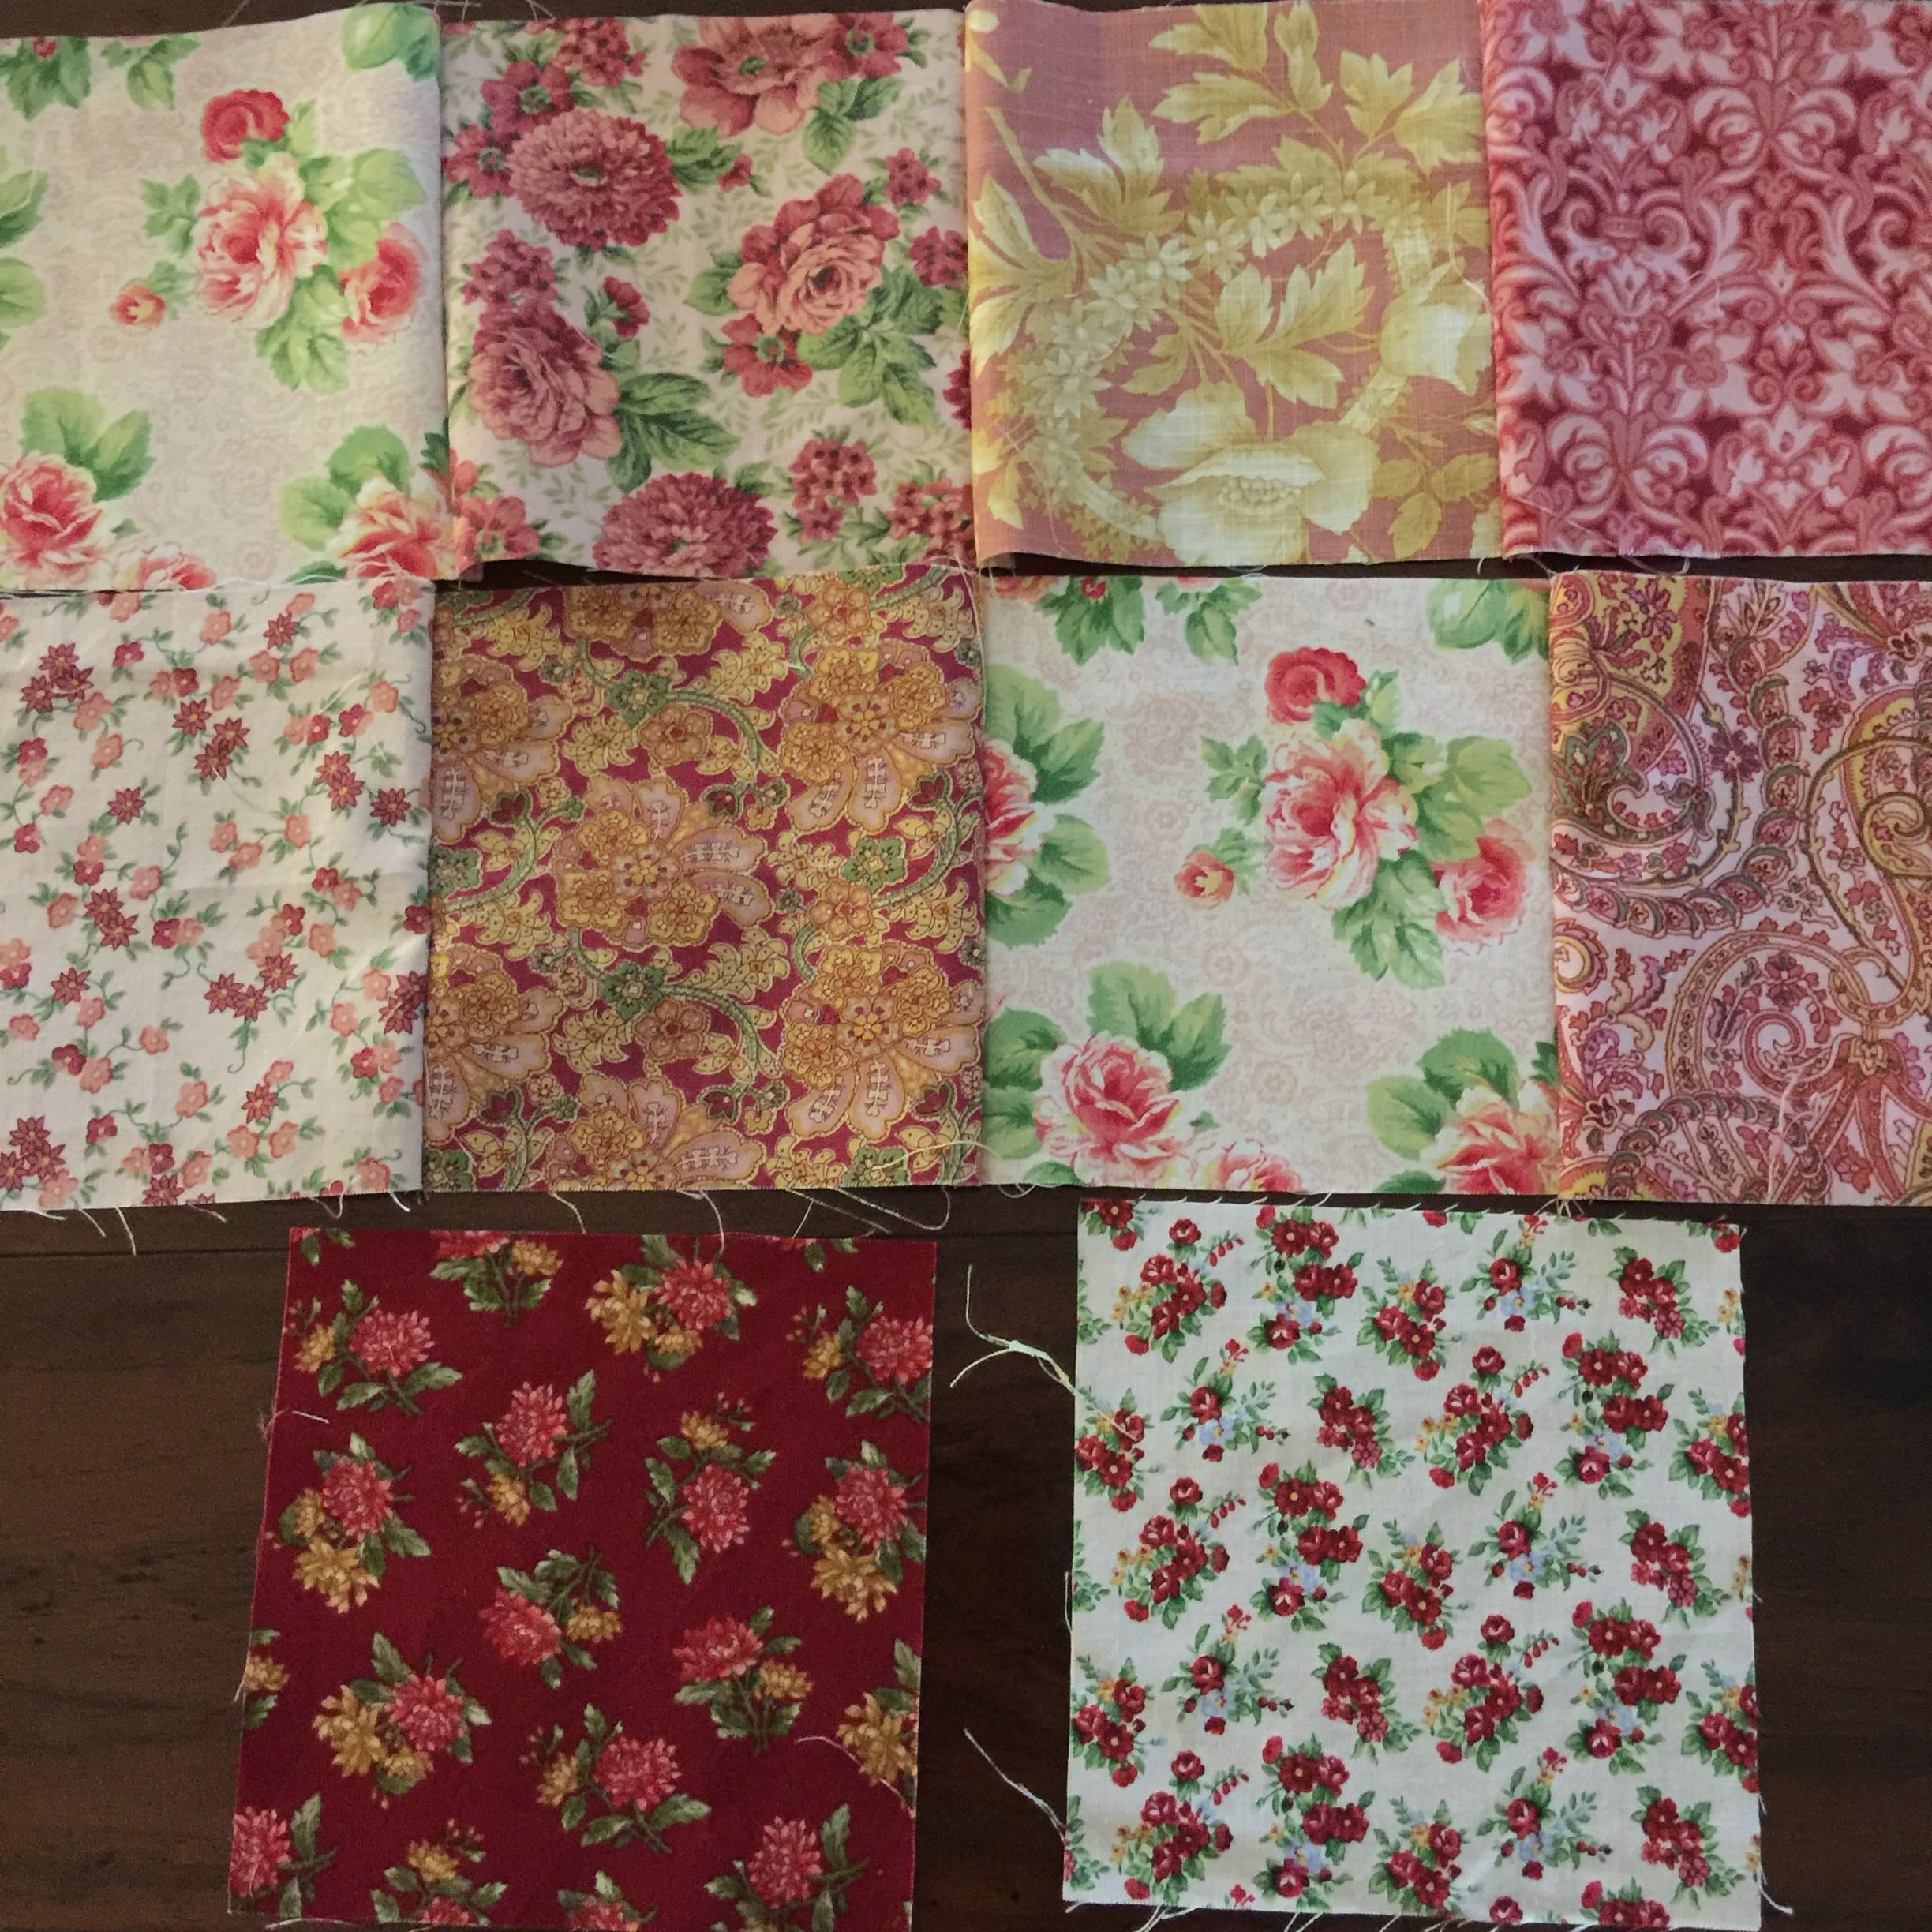
10 x scrap 5″ squares of your colour choice
1 x 1 1/2″ width of fabric (WOF) strip
Method
Sew 8 of the squares into sets of 2.
 Join two sets of two into two strips of four.
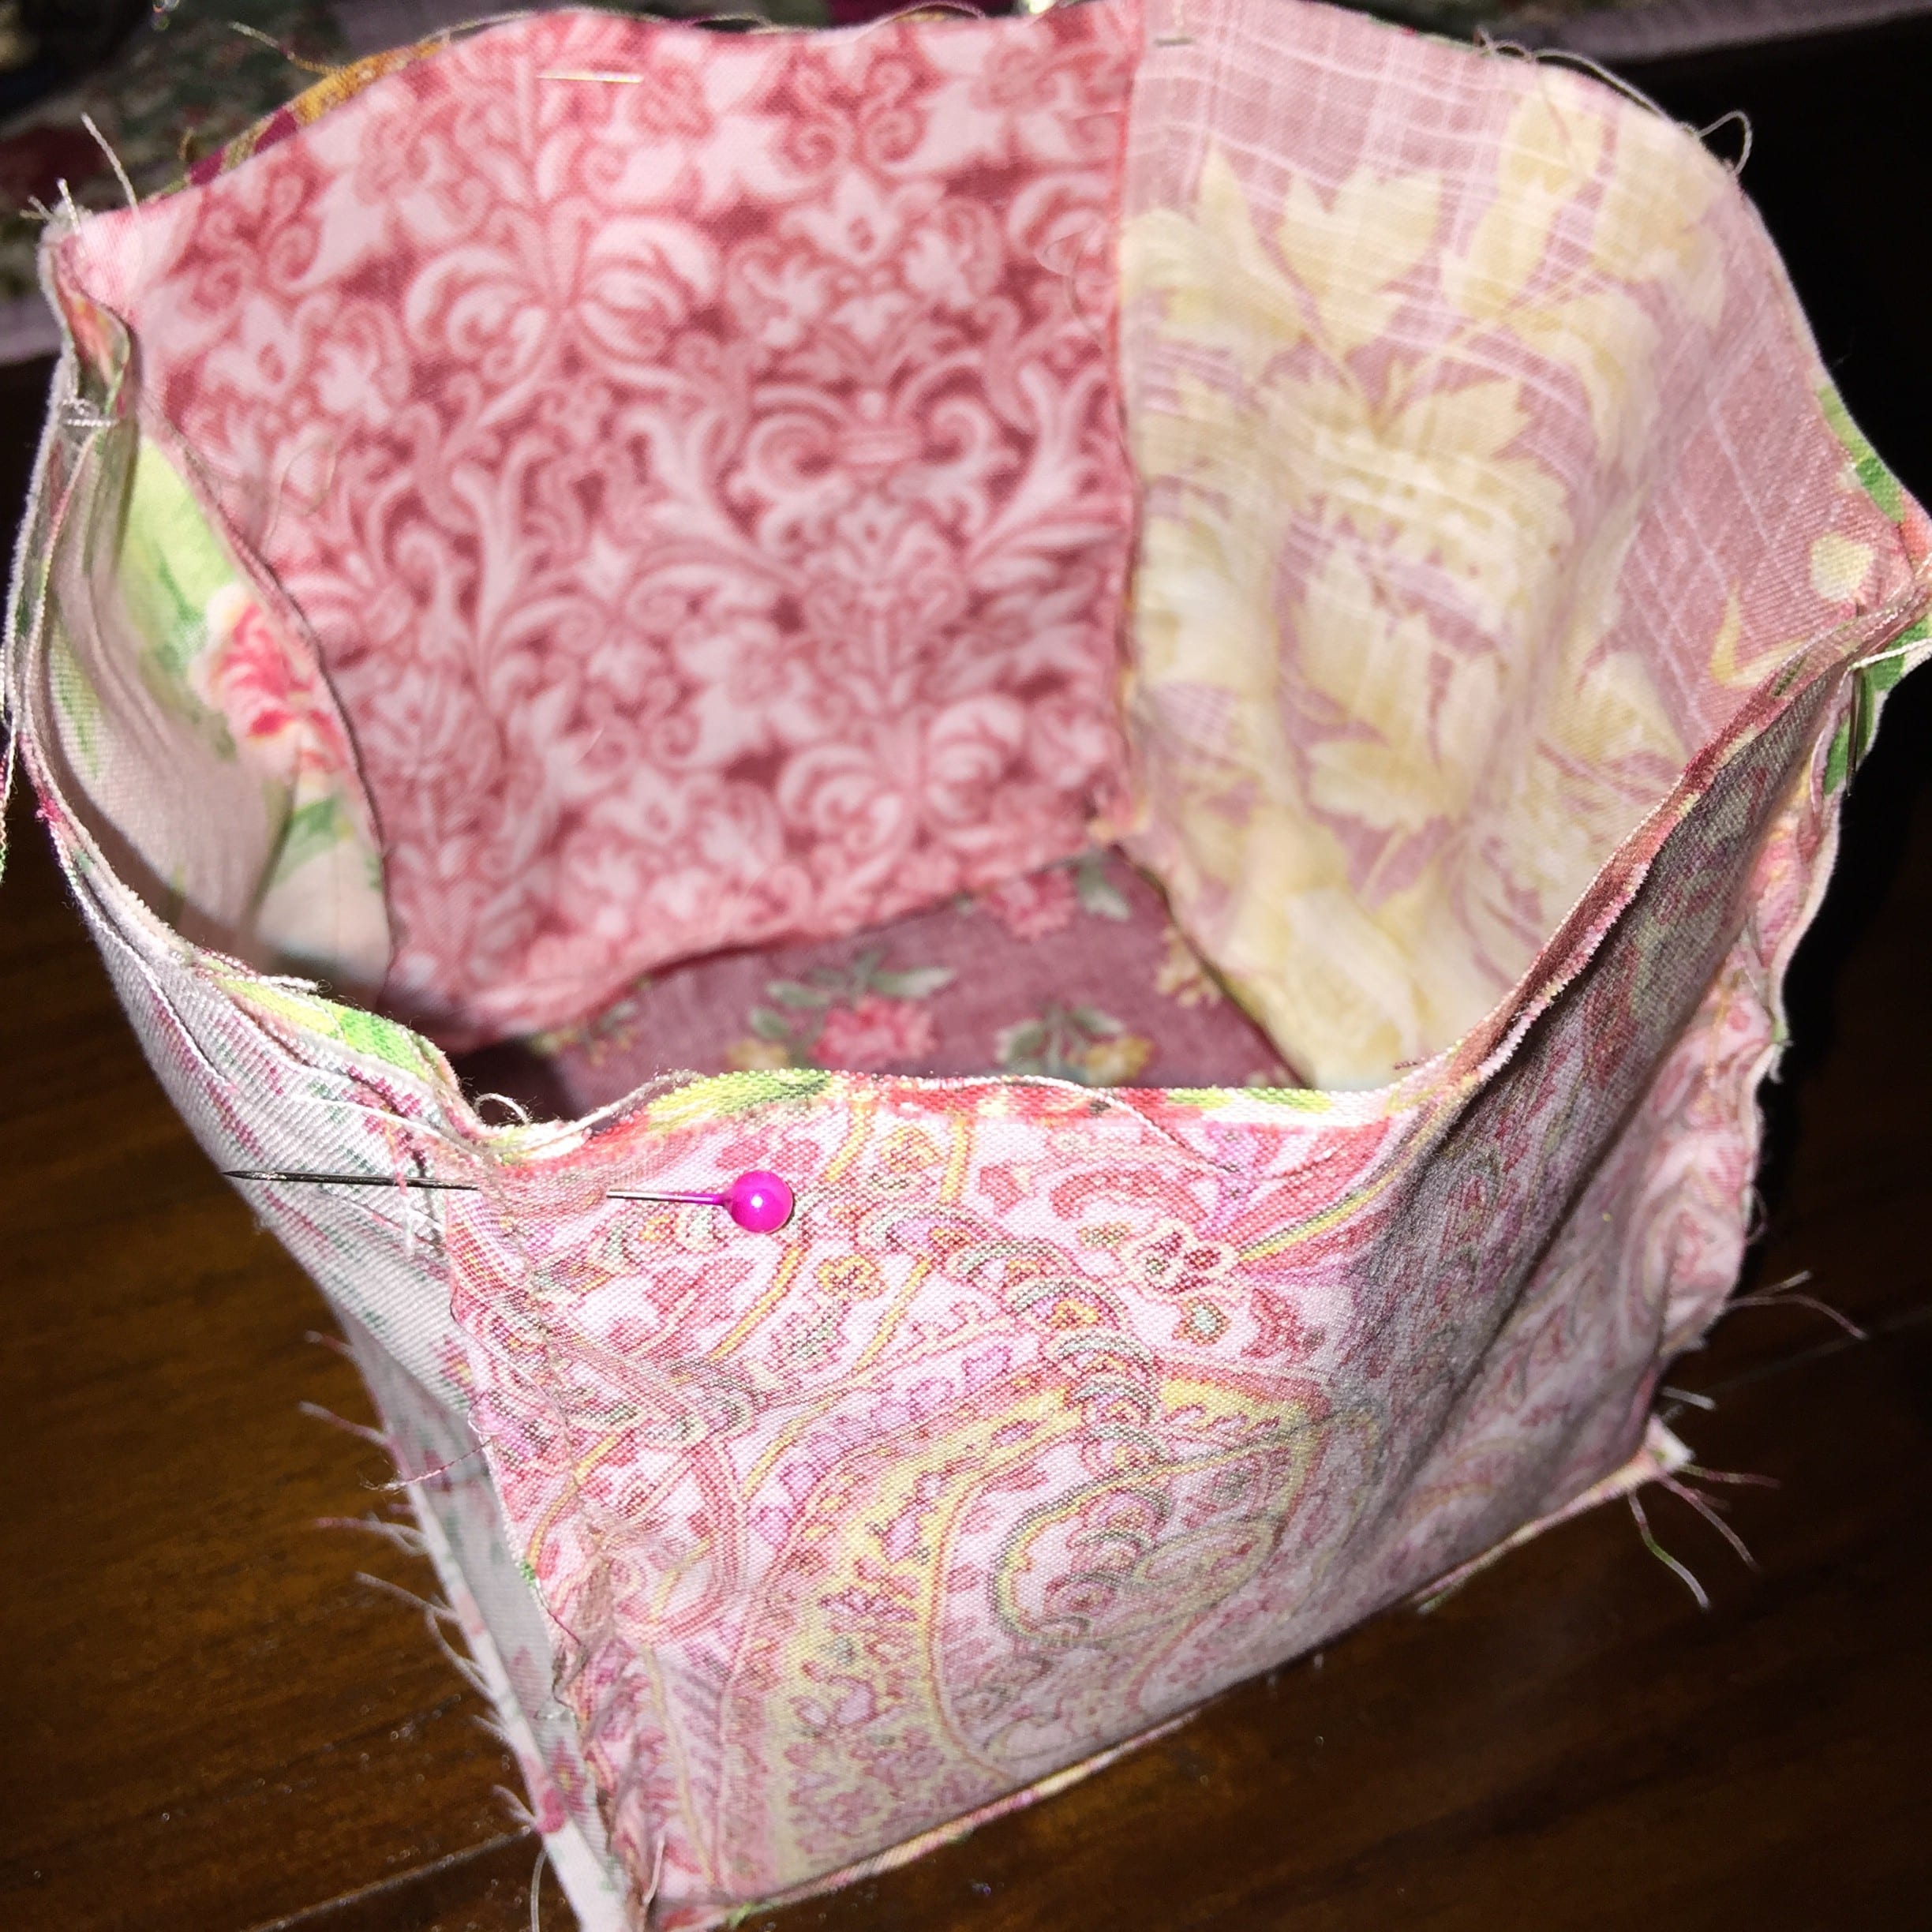
Take one strip set and one of the single squares. With the strip length toward you, place the single square on the top of the strip. Begin sewing one-quarter inch from the right hand edge. Sew down and stop 1/4″ from the end of the top square. Keep the needle down in the fabric. Rotate the fabric and gently line up the square with the next side of the strip. Square it up by gently pulling on the top square until it sits at 45 degrees as shown on the photo

Repeat until you have a five sided box. Do the same with the second strip and square. Now you should have two five sided boxes. Turn one box right side out.

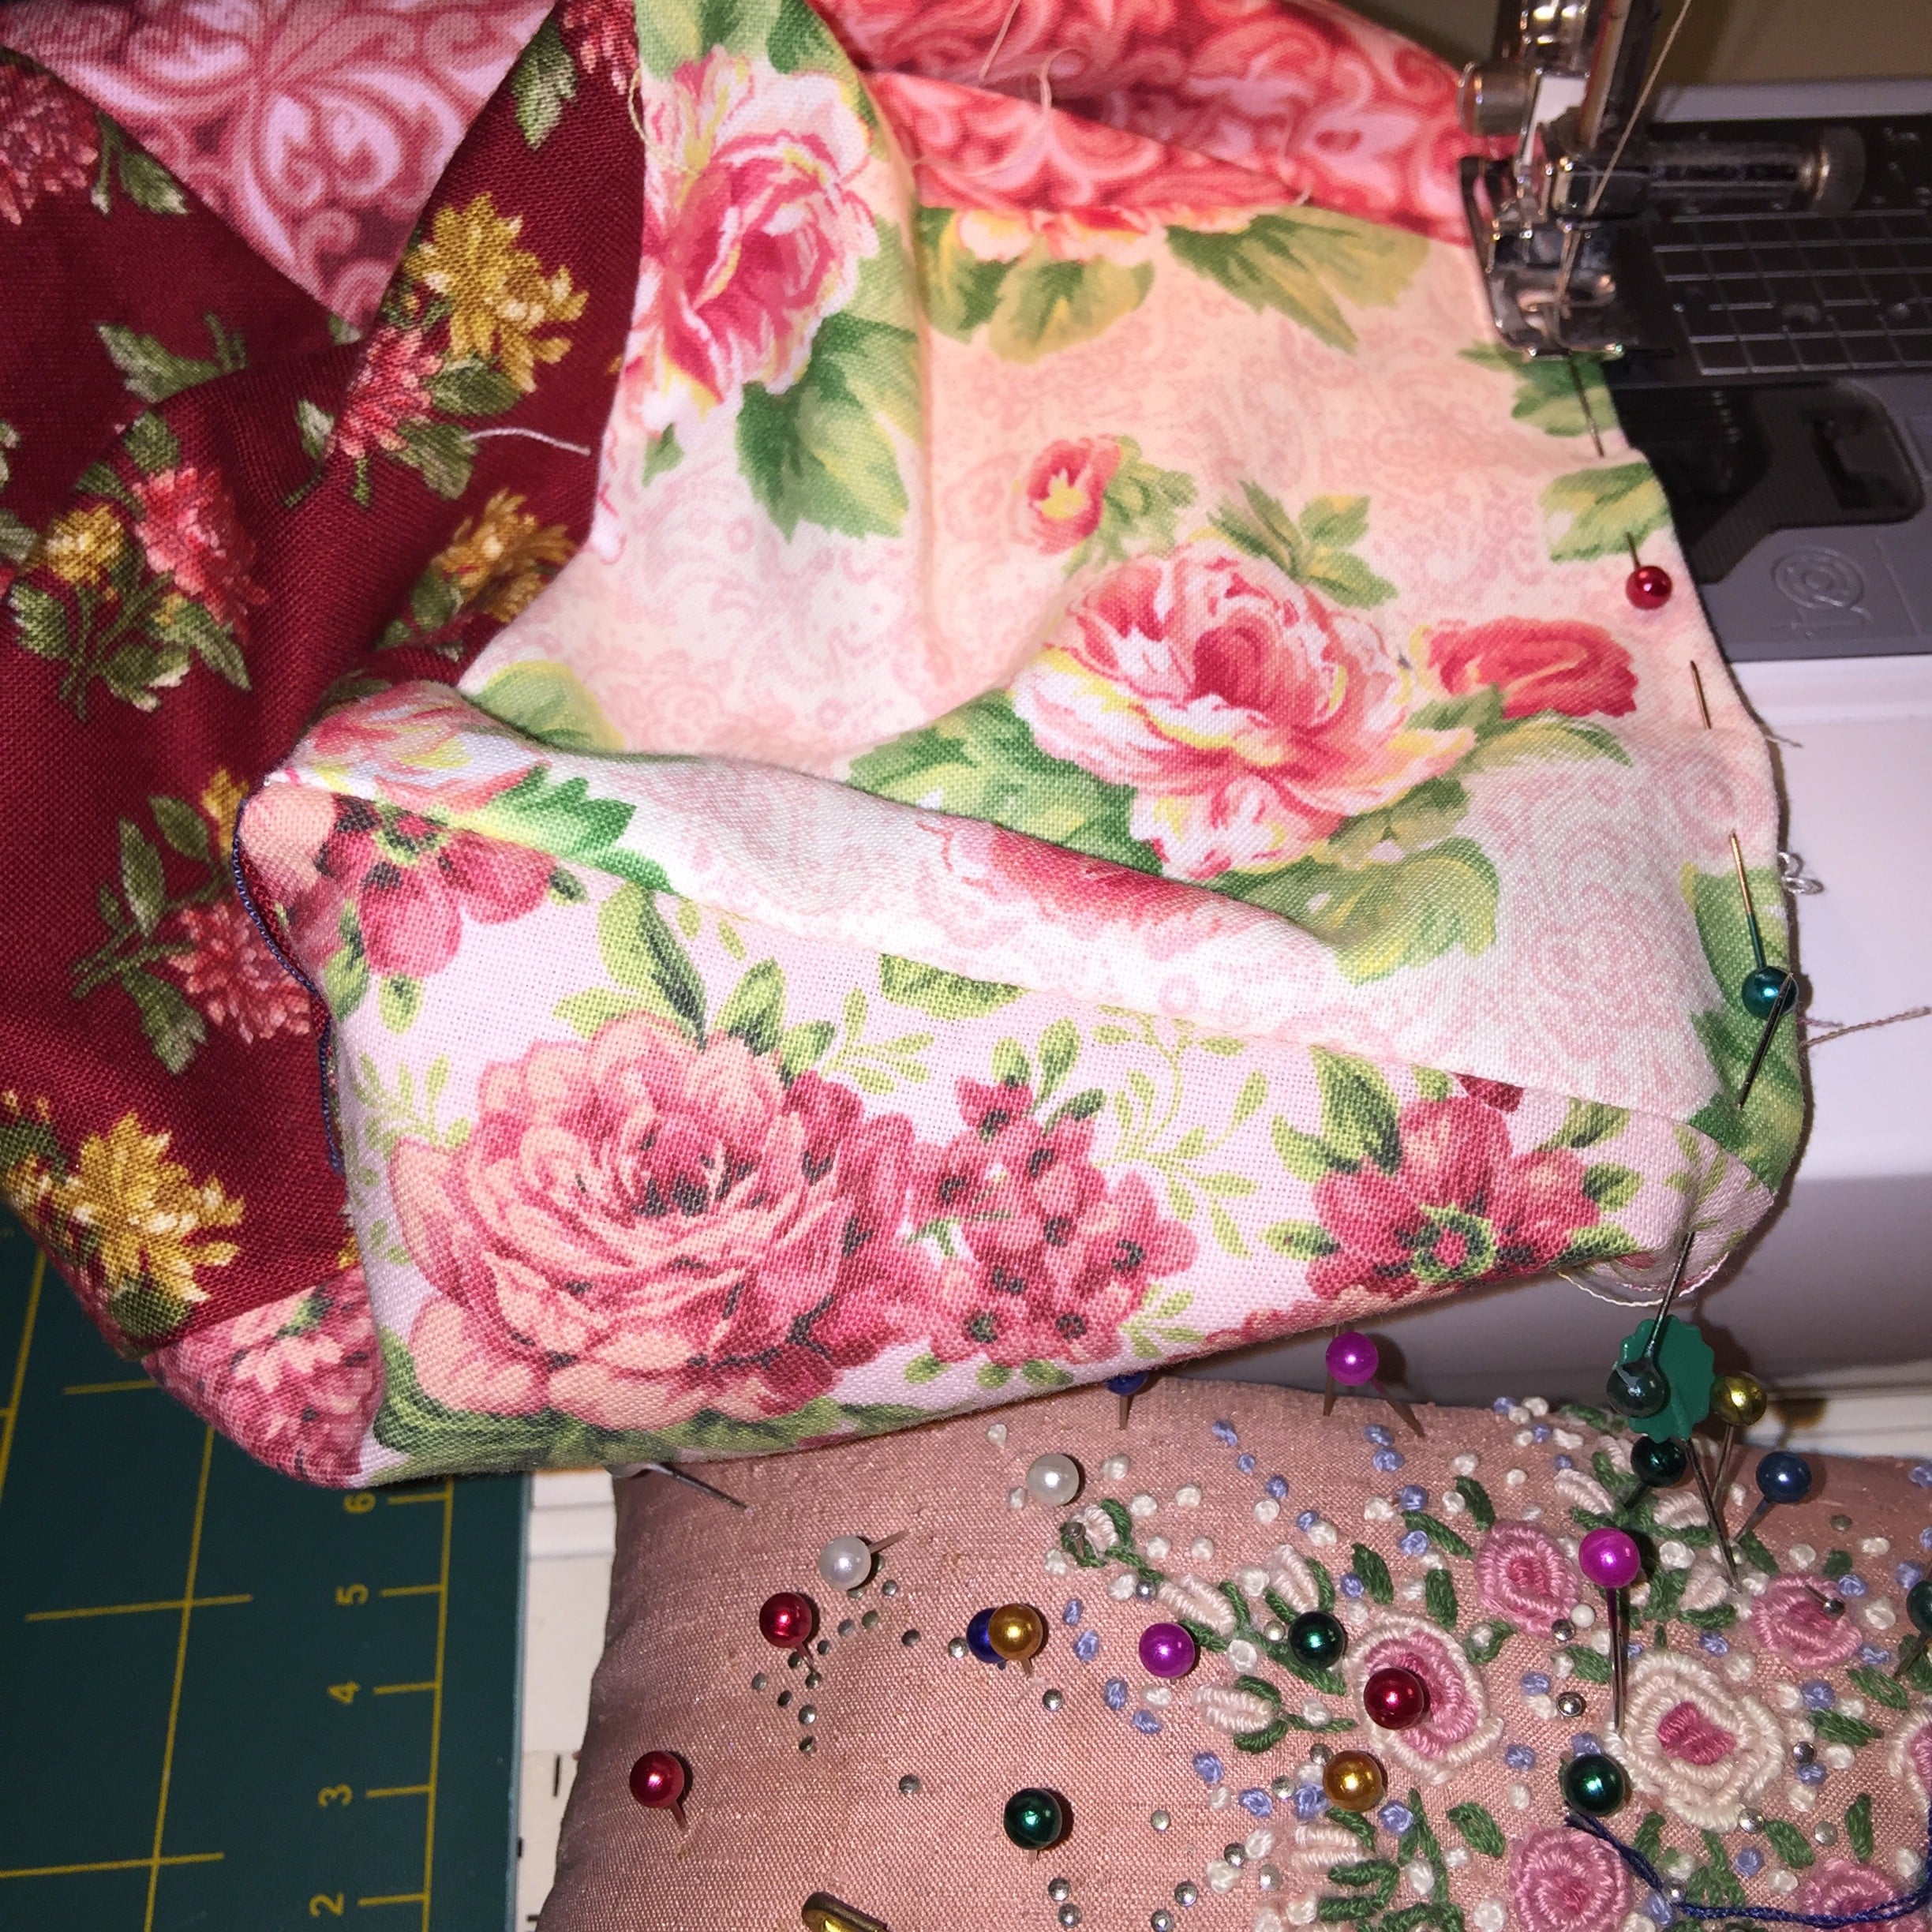
Insert the turned box into the unturned box so that right sides are together. Line up each side. Nest and pin the seams. Stitch 1/4″ from the edge of the top leaving an opening of about 3″ on one side.
Turn to the right side through the opening.

Pin around the top. Top stitch close to the edge around the top edge closing the turning hole as well.
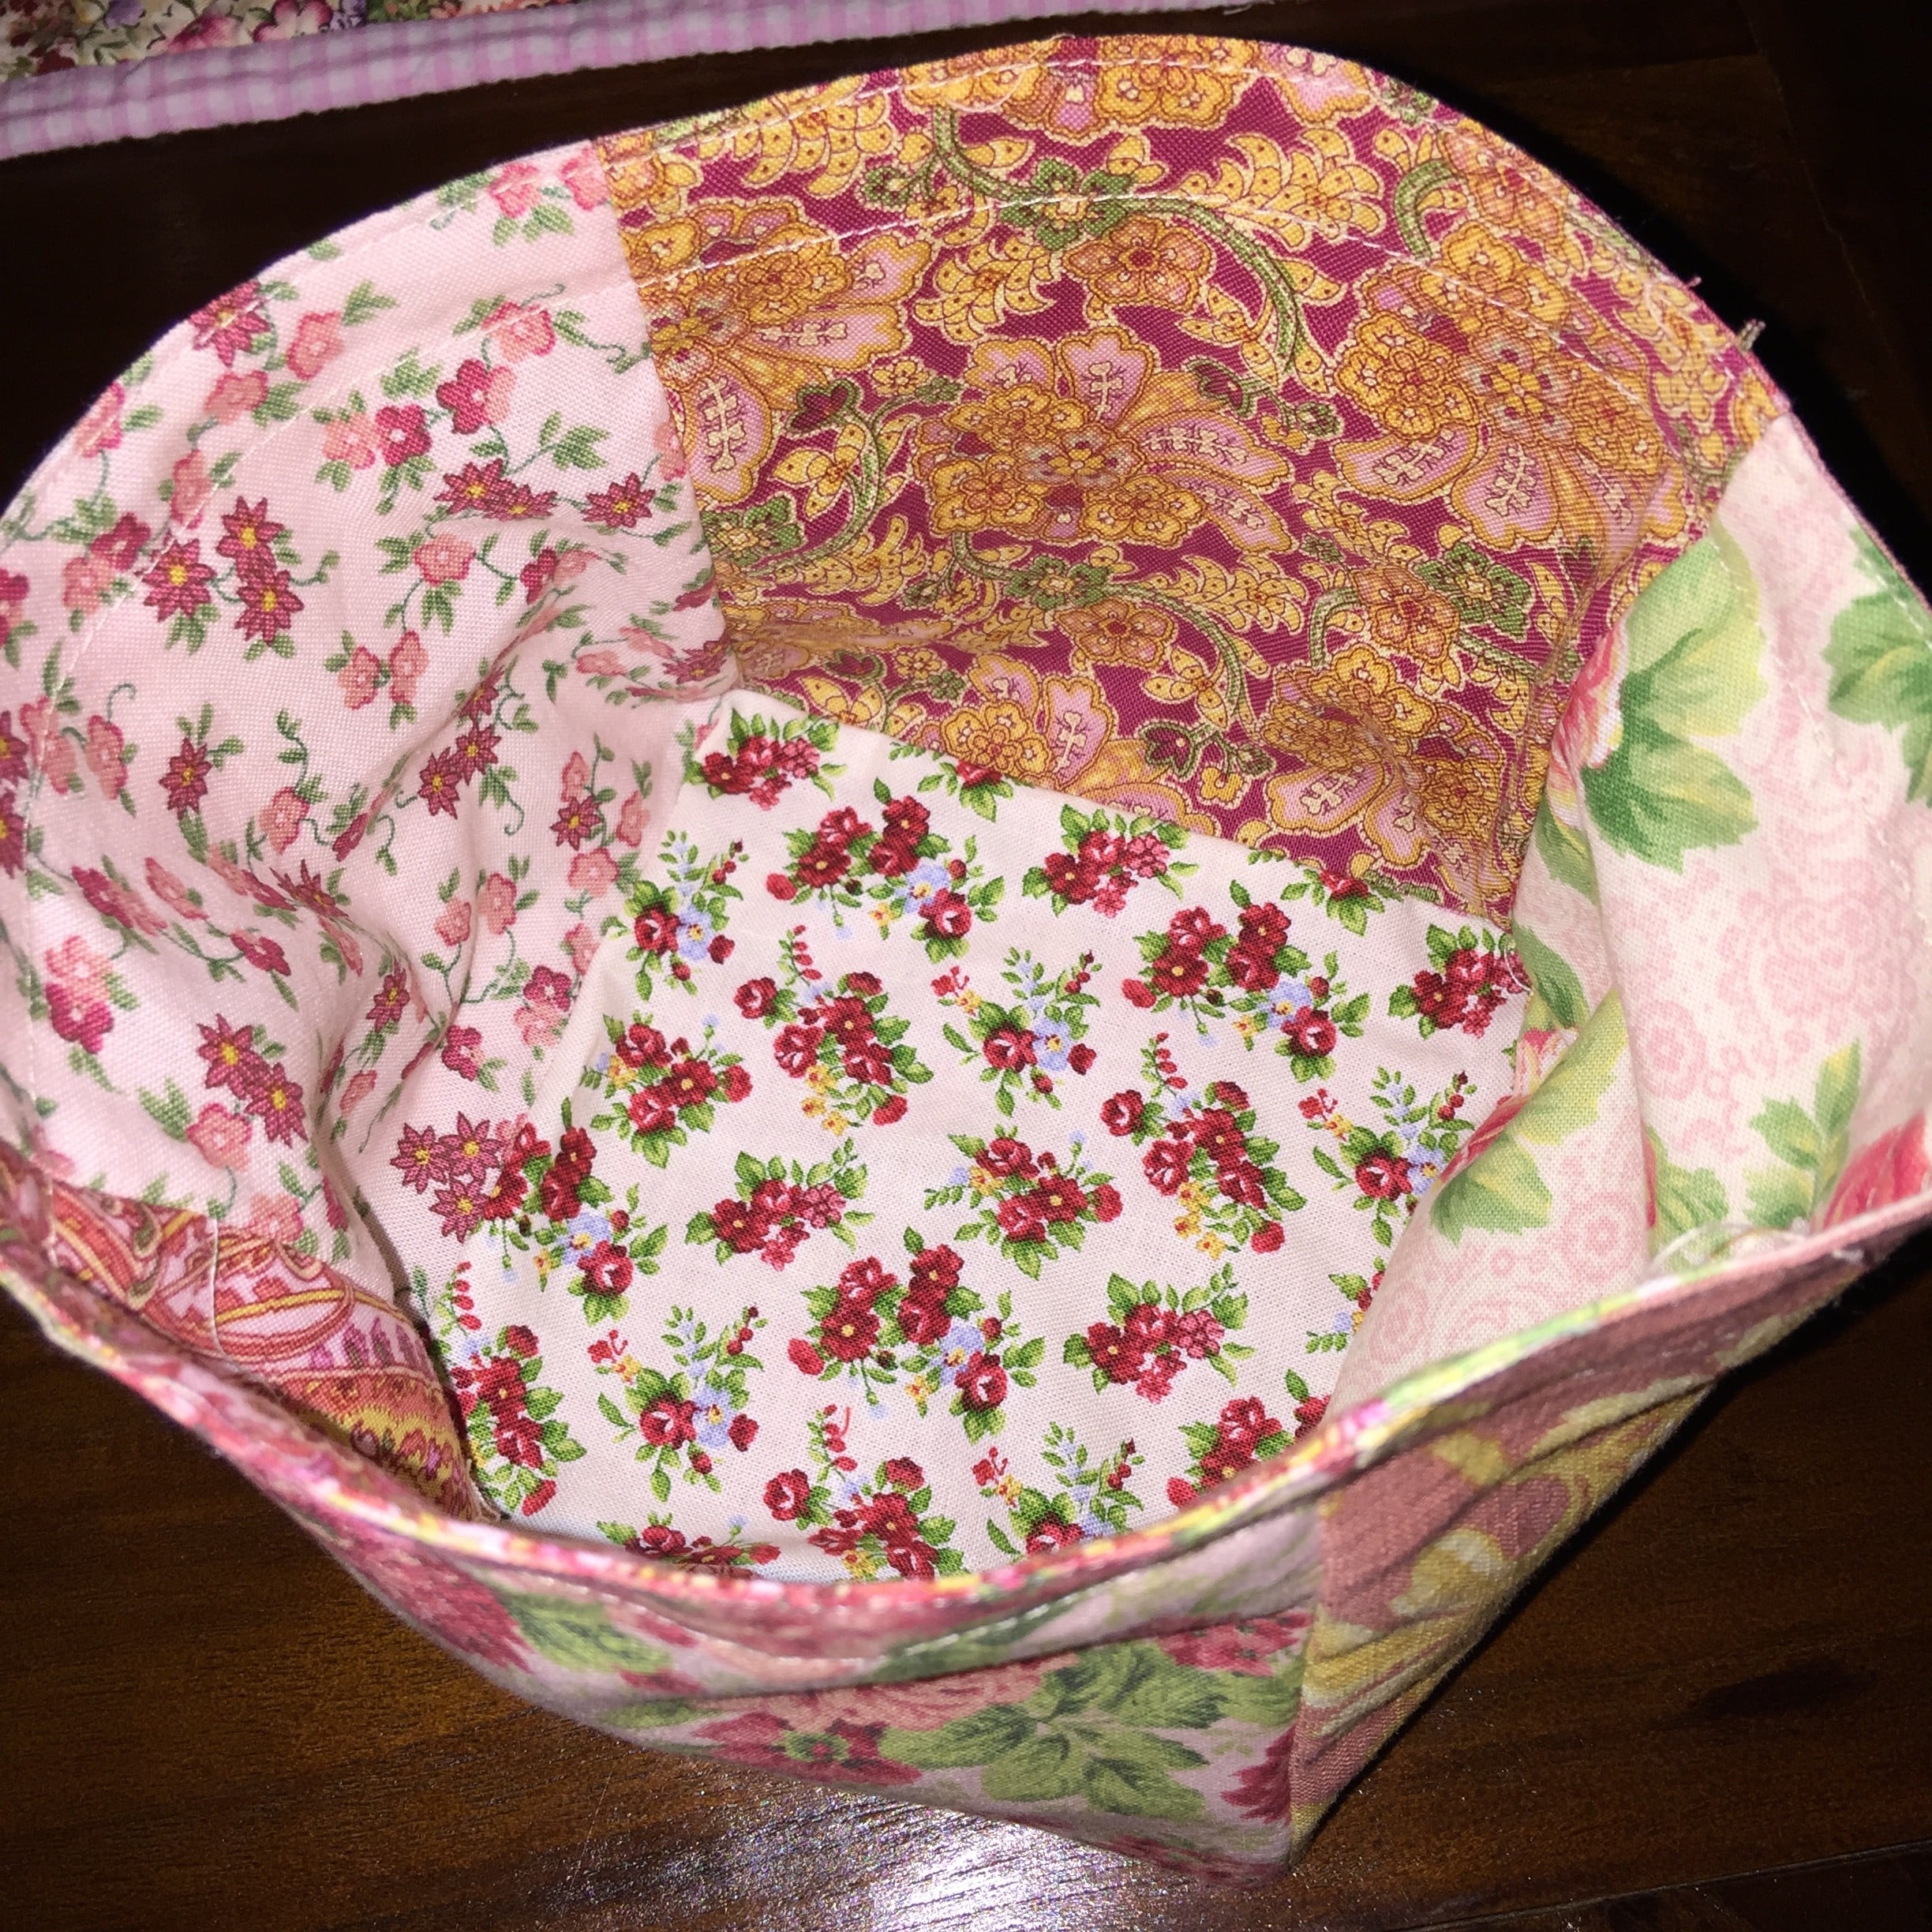
Sew a second seam at least 5/8″ from the top edge. This will make the casing.
Now it will look like this.
Use a stitch cutter to make two openings in the casing by carefully undoing the outside seam of two opposite corners.
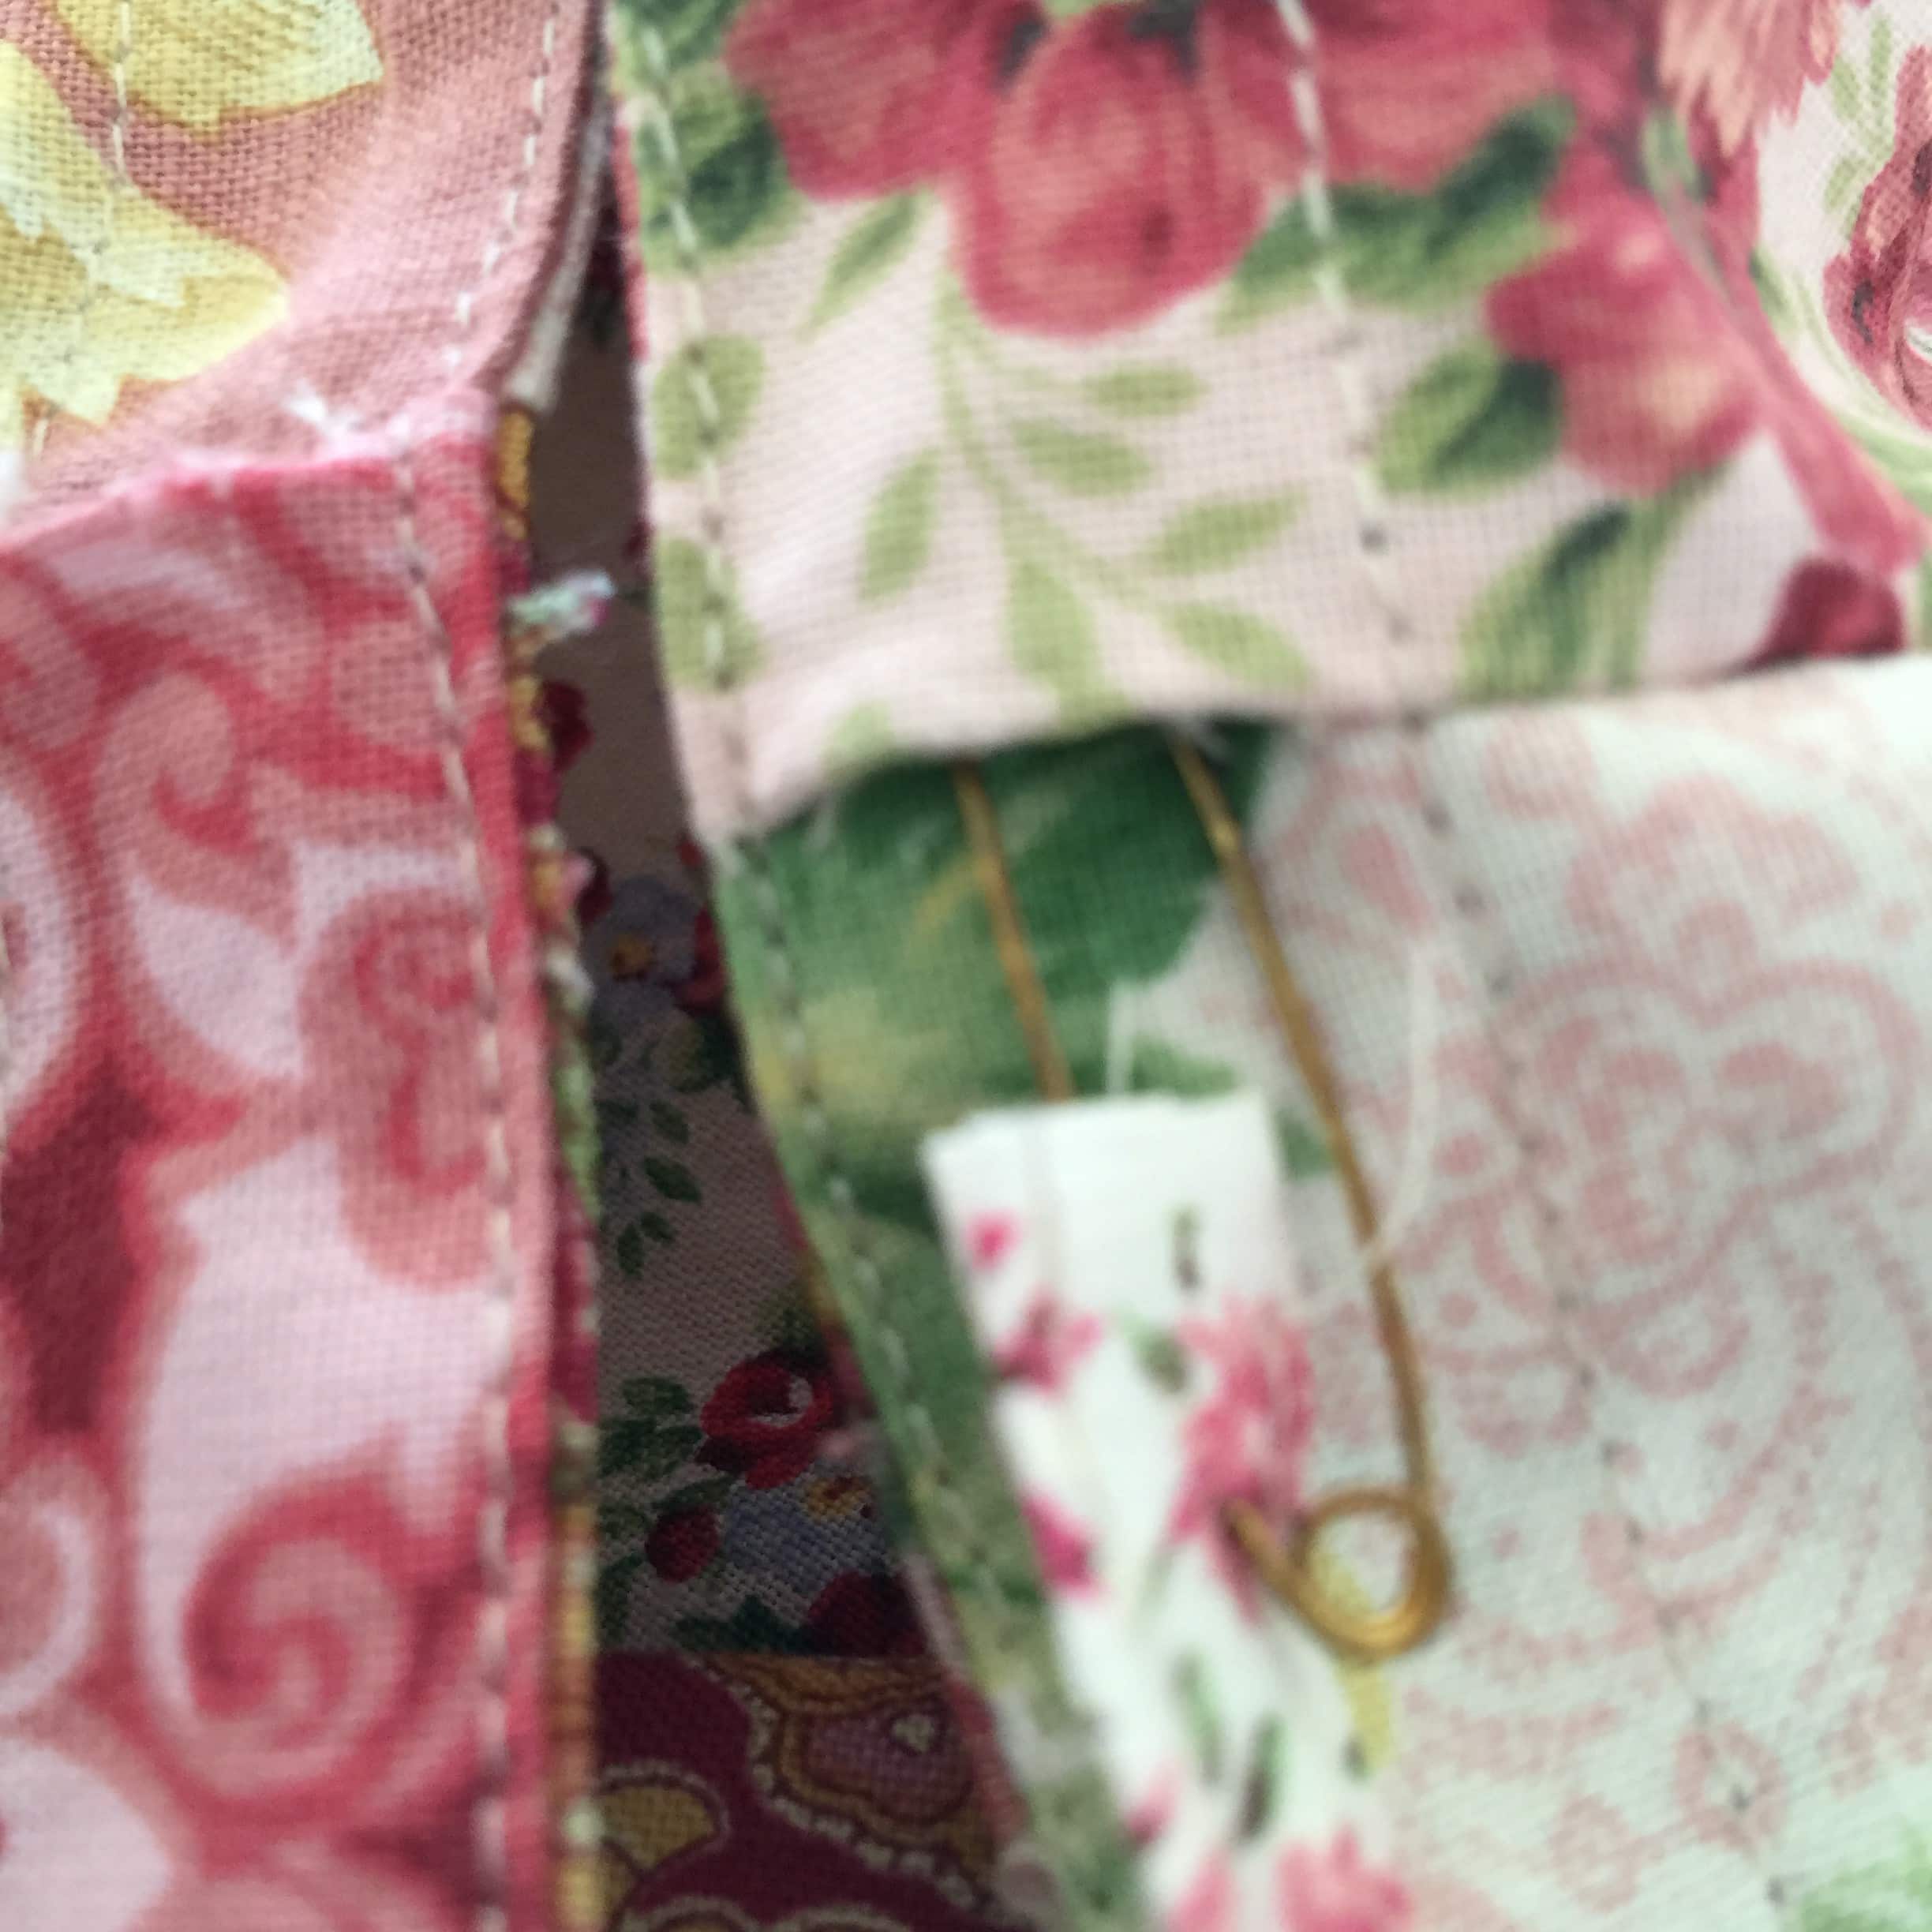
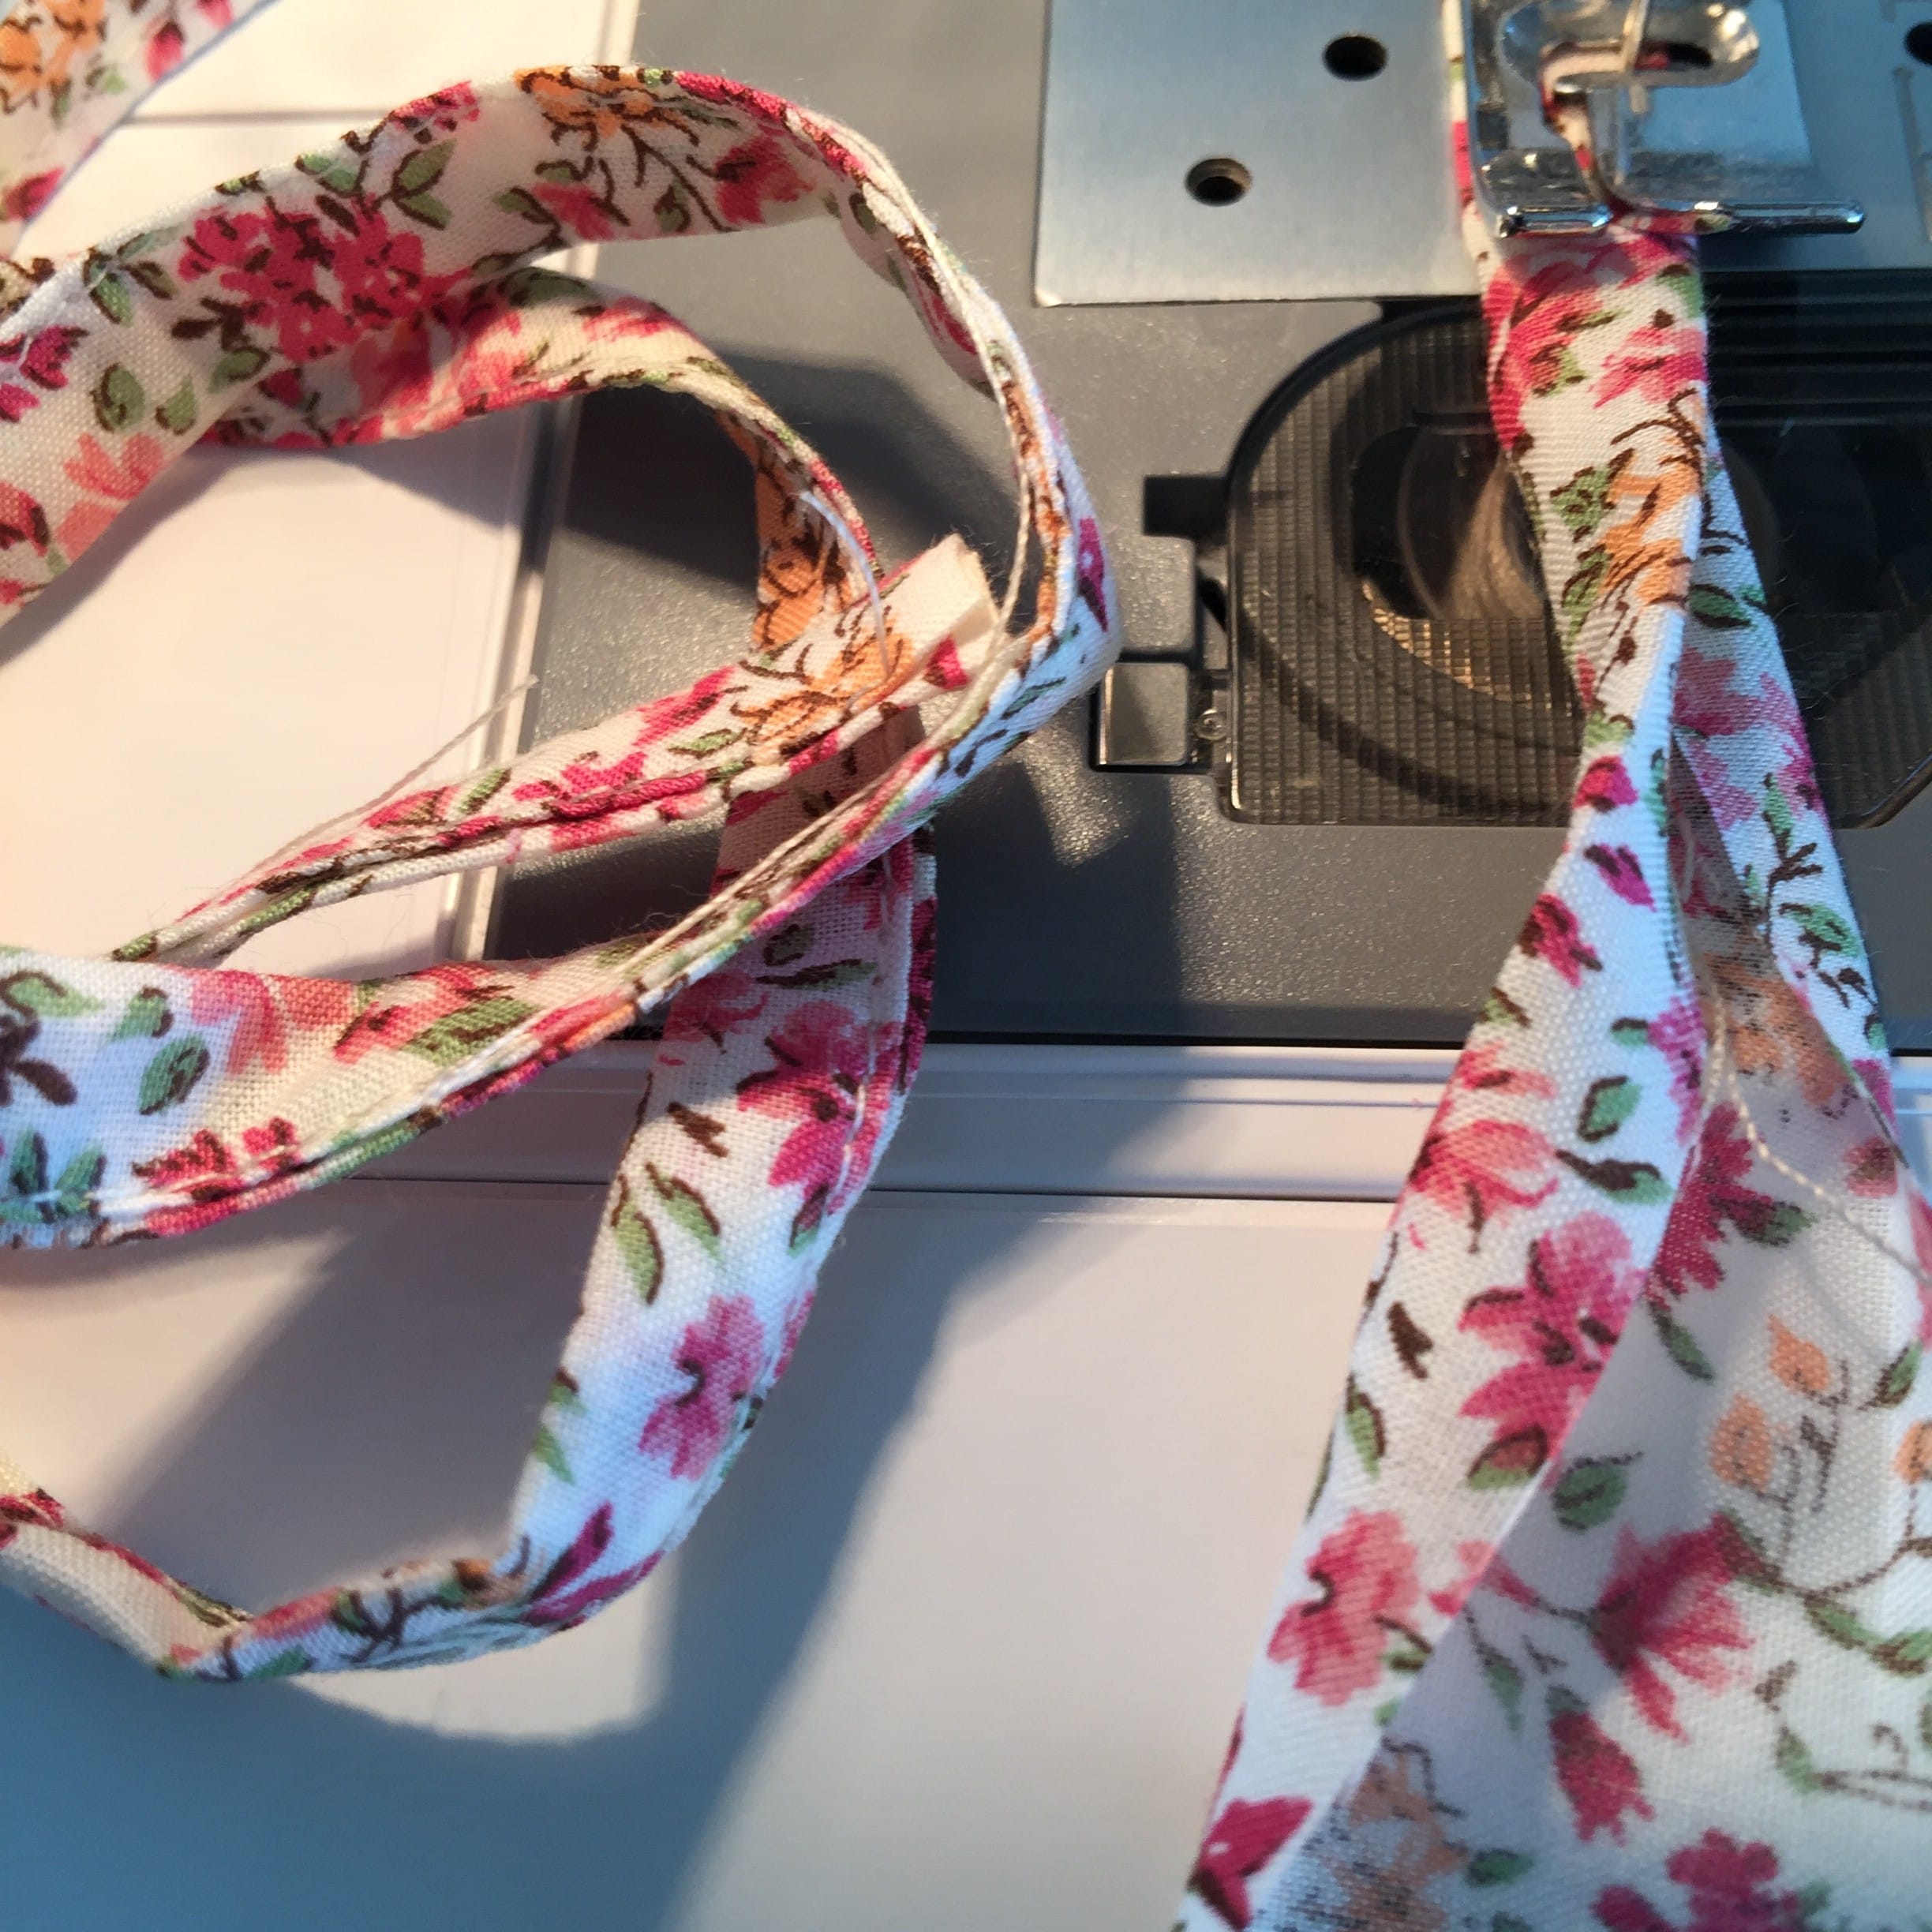
Take the 1 1/2″ strip. Turn both longitudinal sides to the centre, then fold in half along the length of the strip. Sew down both sides of the strip. Cut the strip in half.
Put a safety-pin on the end of a strip. Thread through one opening of the casing for the whole circumference. Come out of the same hole. Repeat with the other strip through the opposite casing hole.
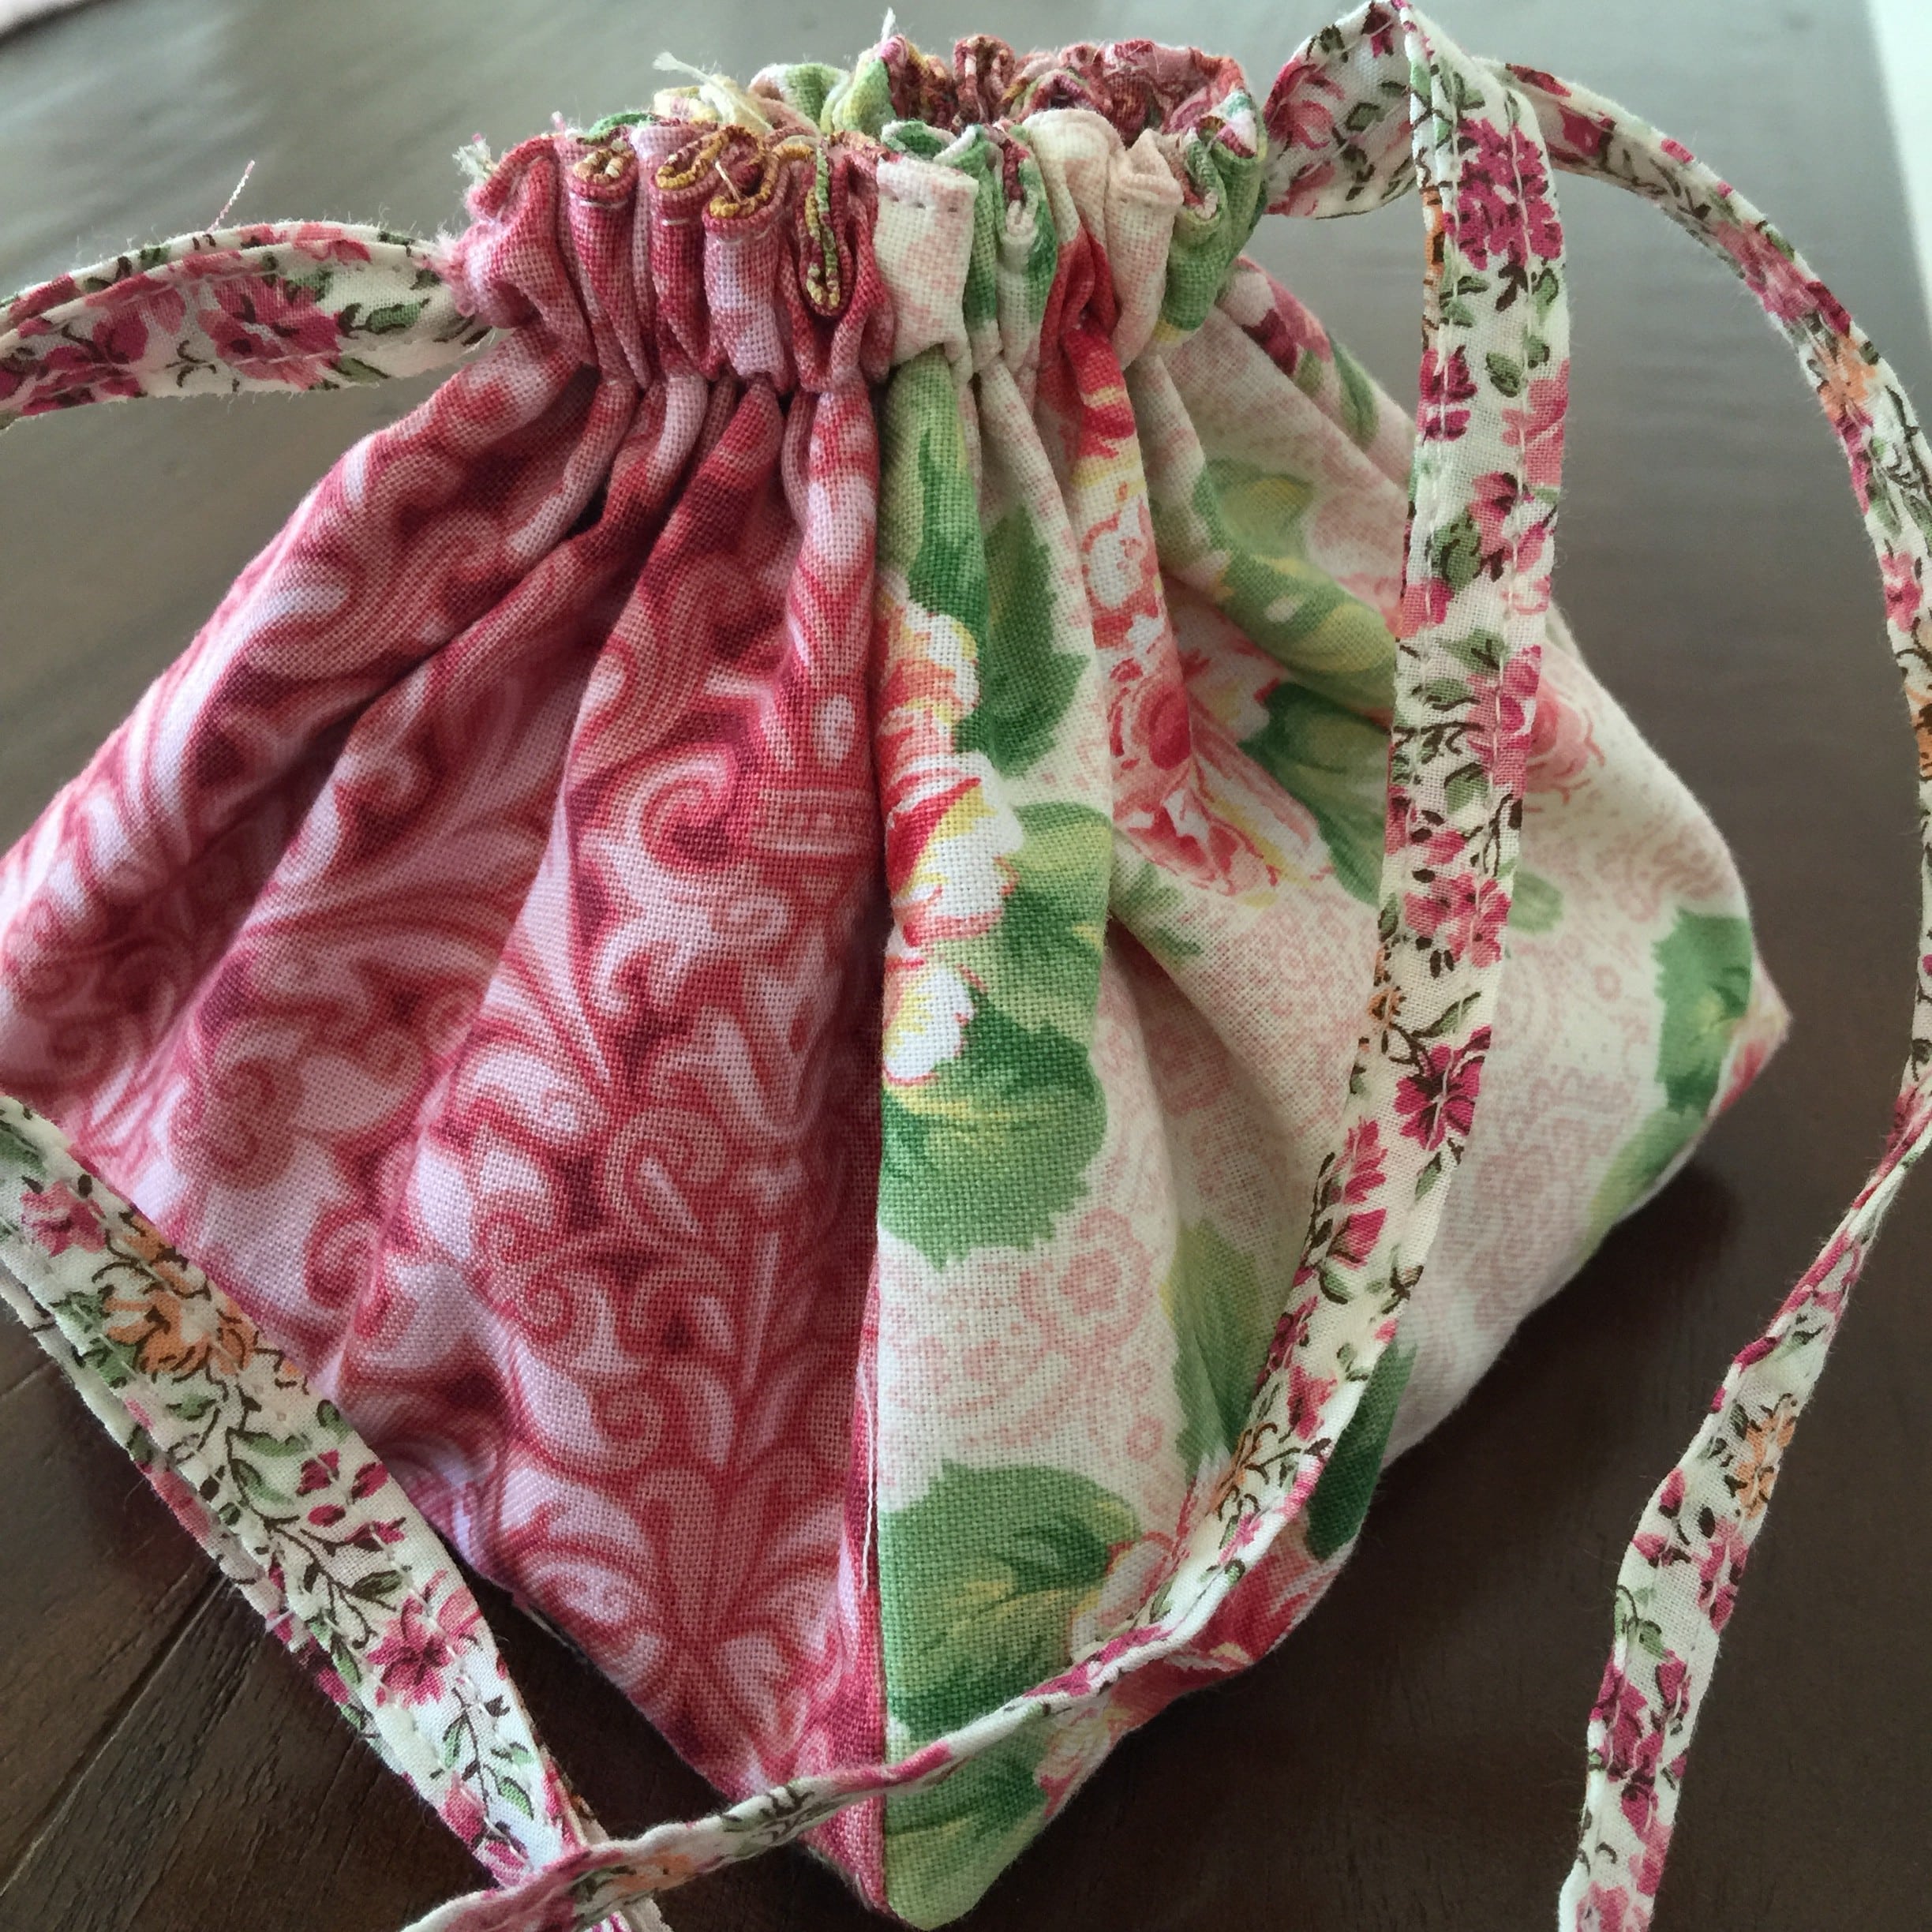
Oversew the ends of the tapes to secure them together.
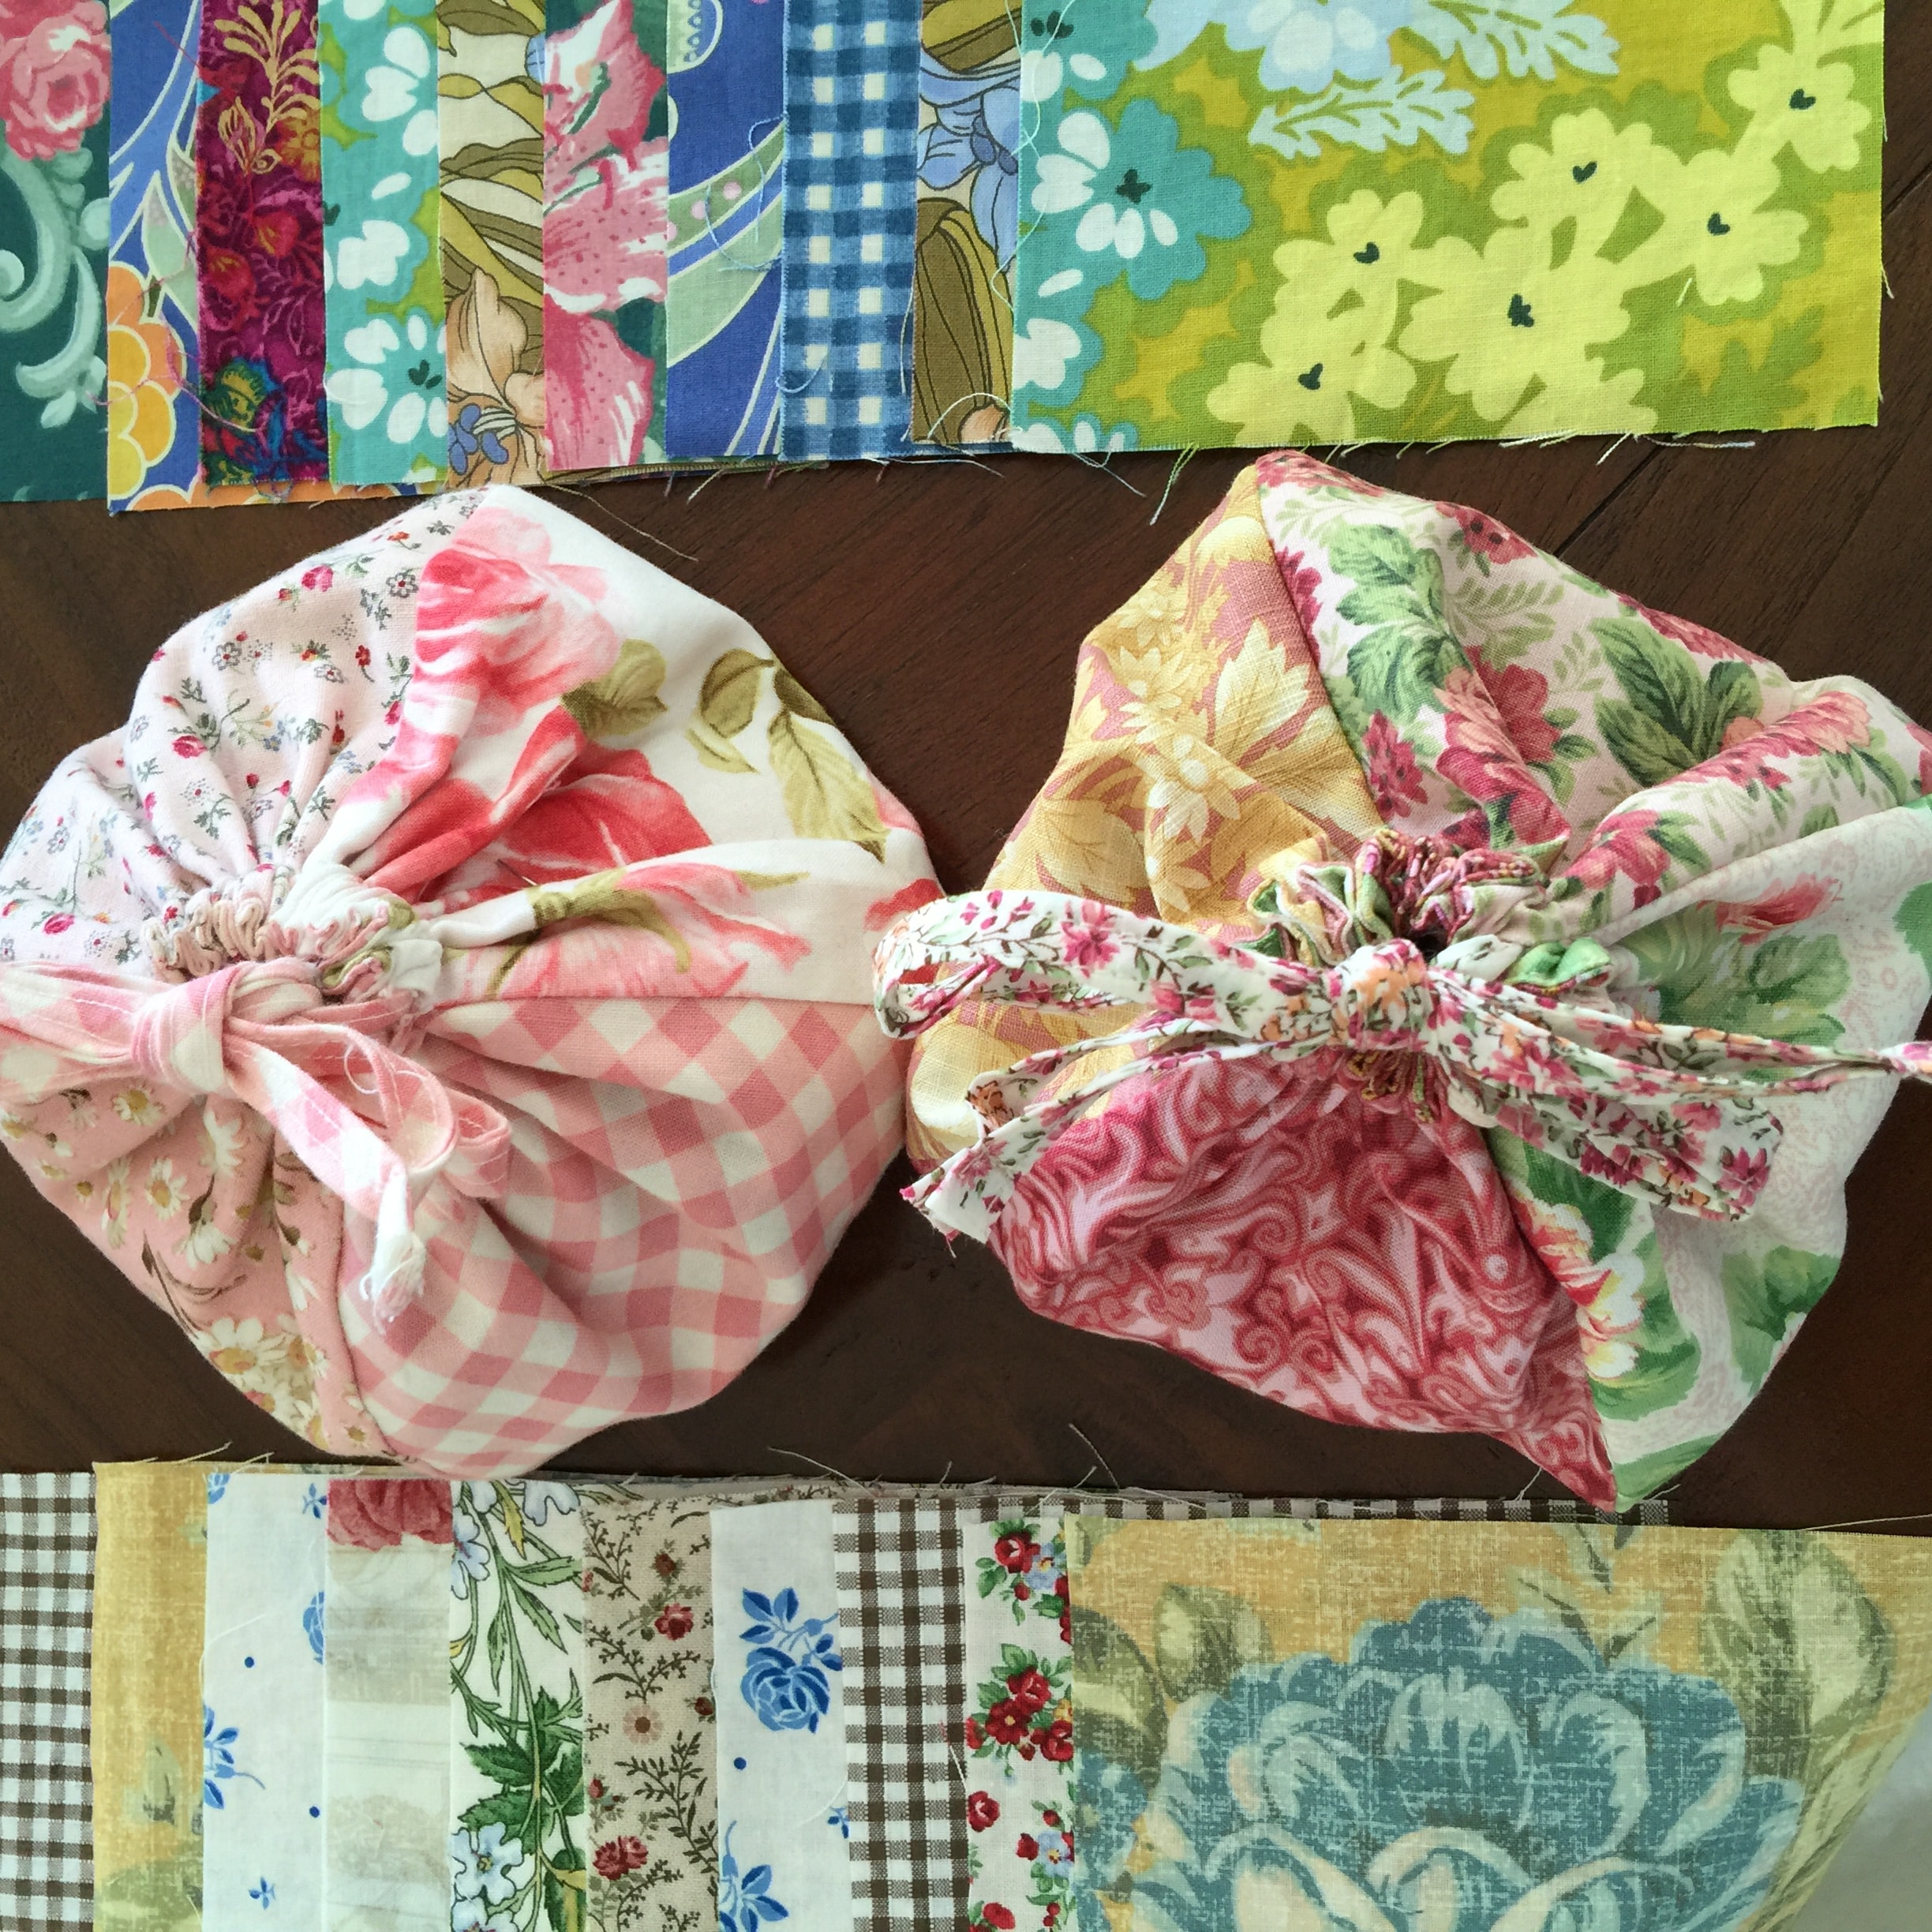
I hope you make one for your hand work. Would make a lovely gift for a fellow crafter. I’m sure you could find lots of other uses for this adorable little bag too! Happy Sewing. 😀
Very pretty! I’ll be making one soon to replace the worn out zipped pouch I currently use. Thanks.
Will be making one of these for my hand piecing so I can take it out when I go great tutorial thanks