
Quick Kitchen Quiltlet.
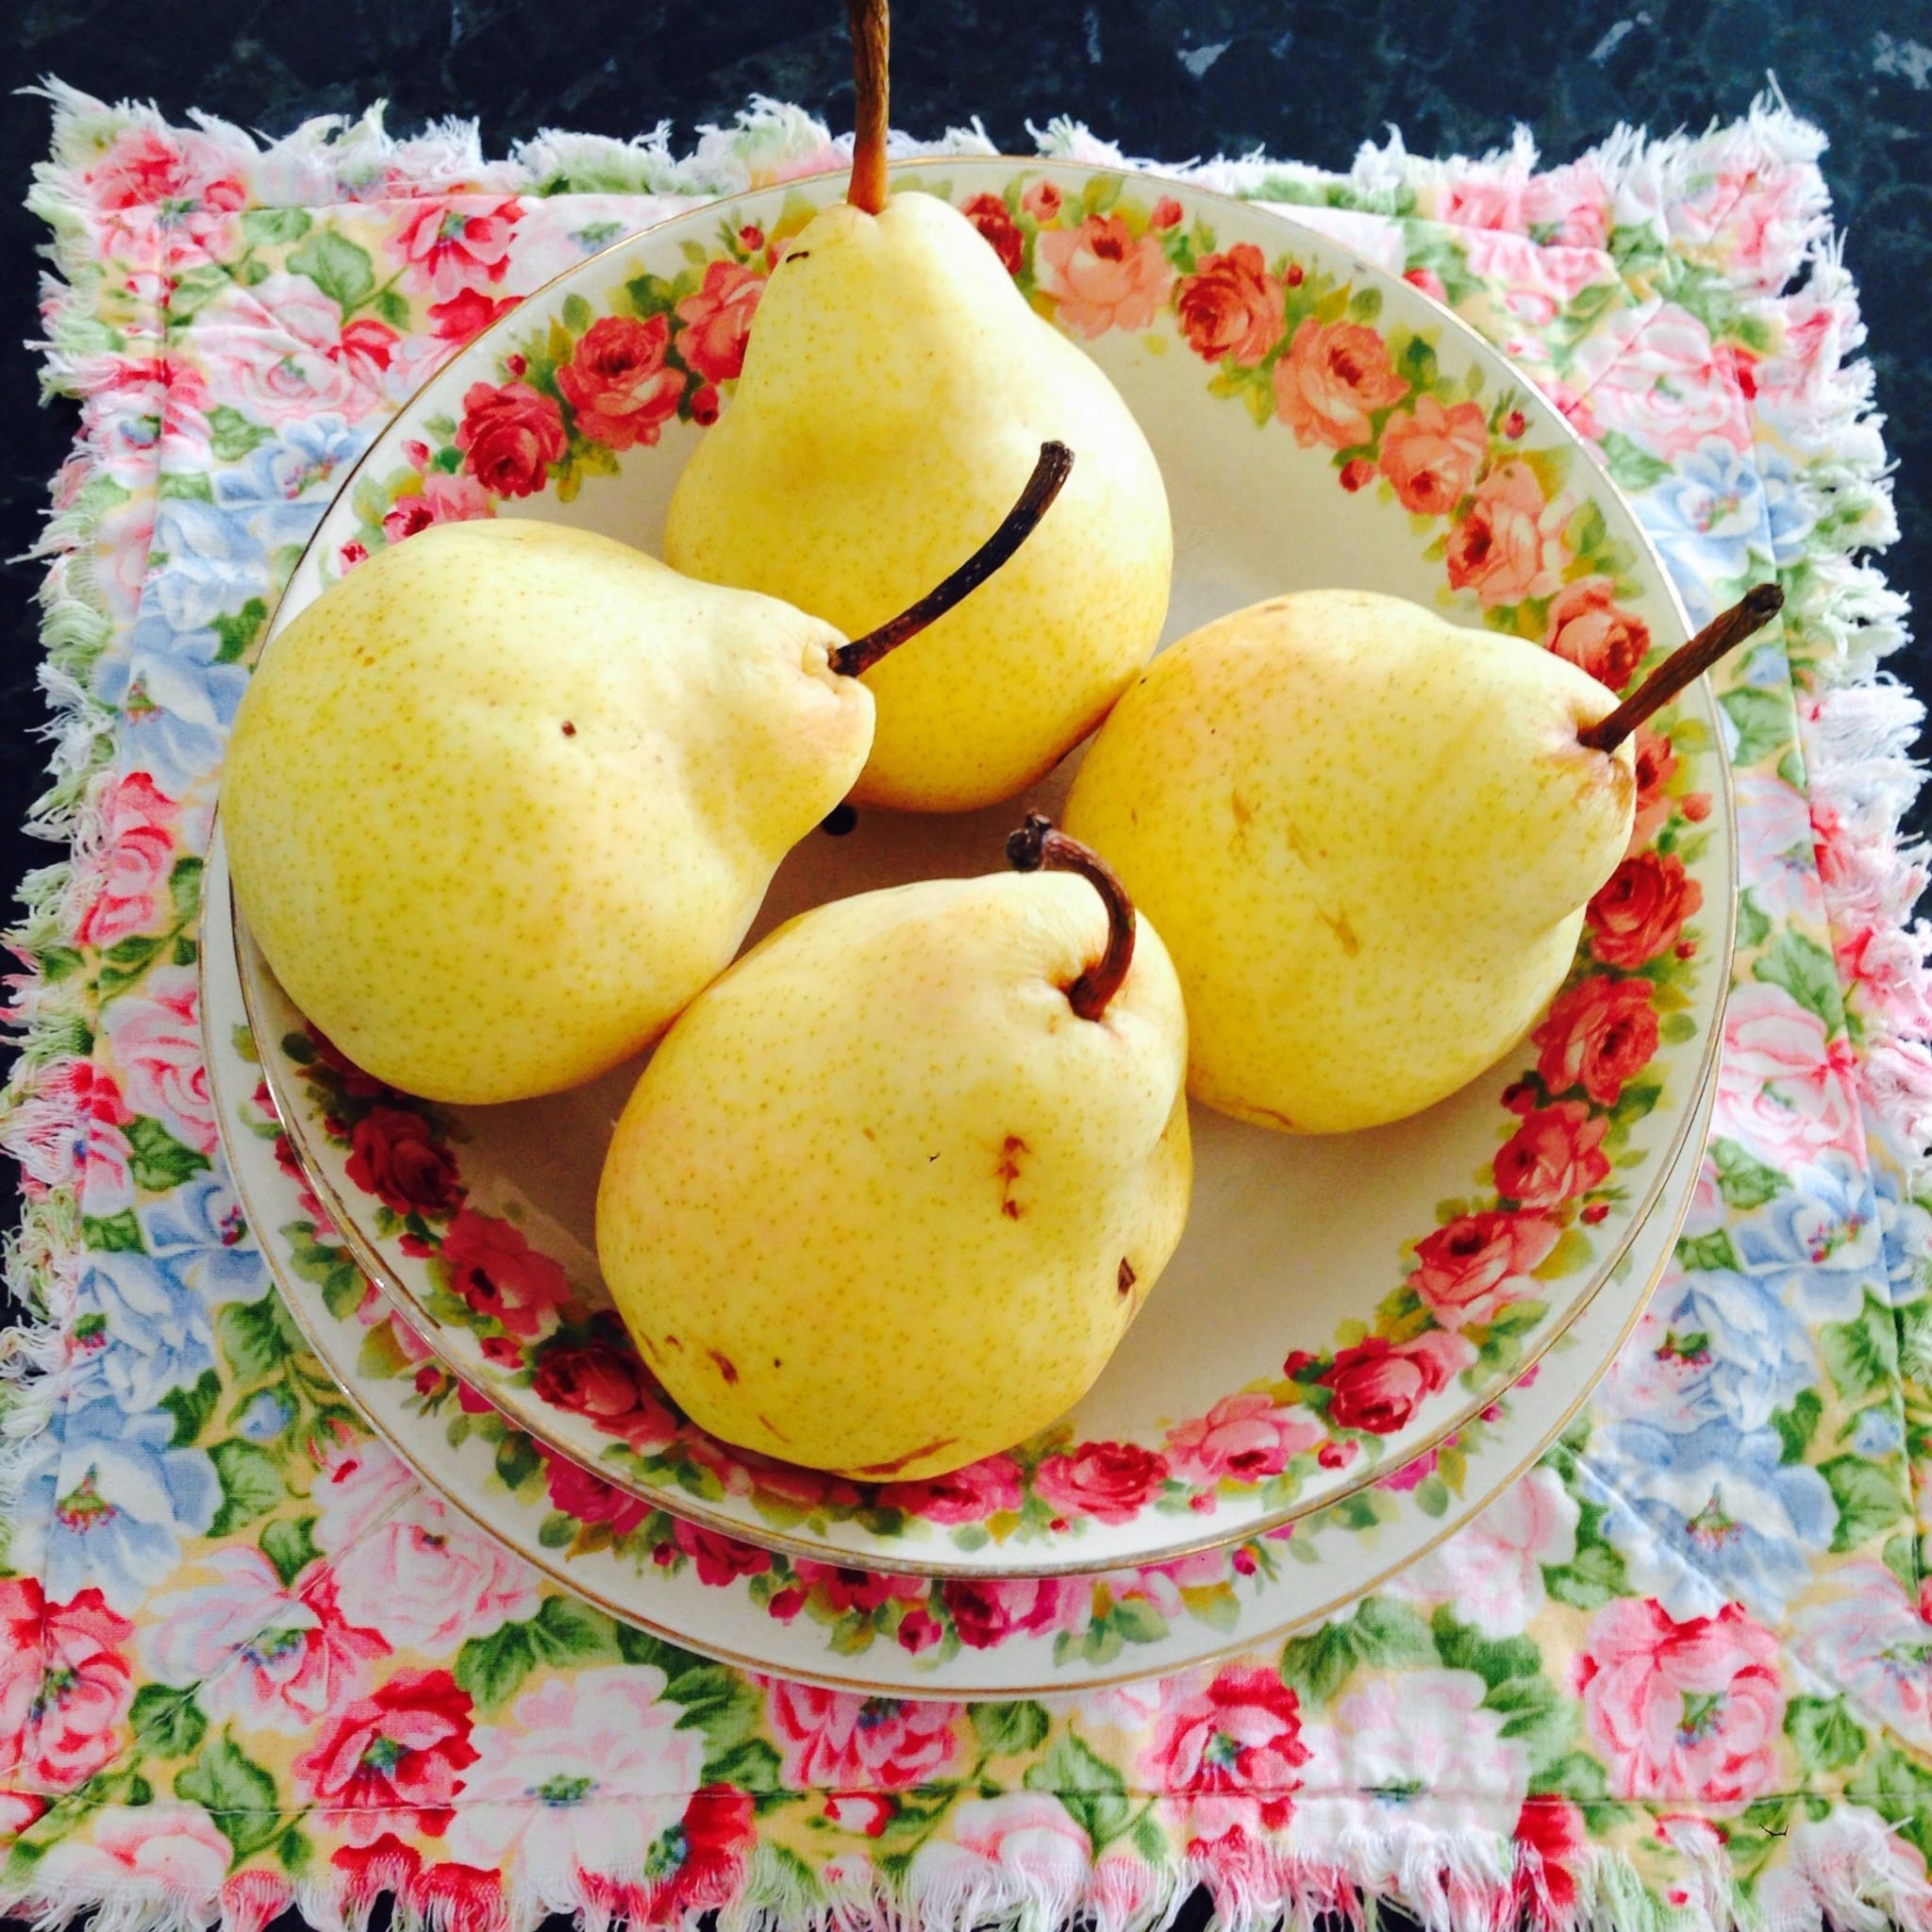
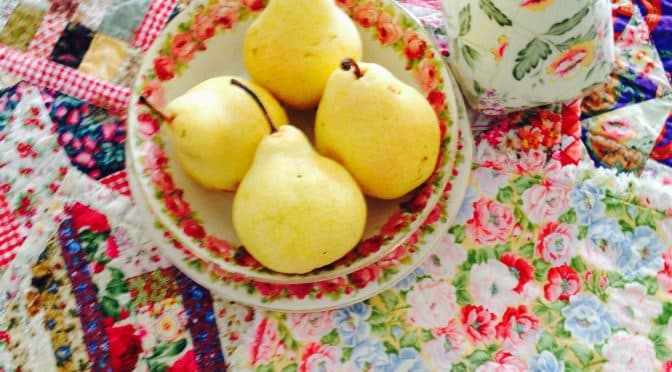
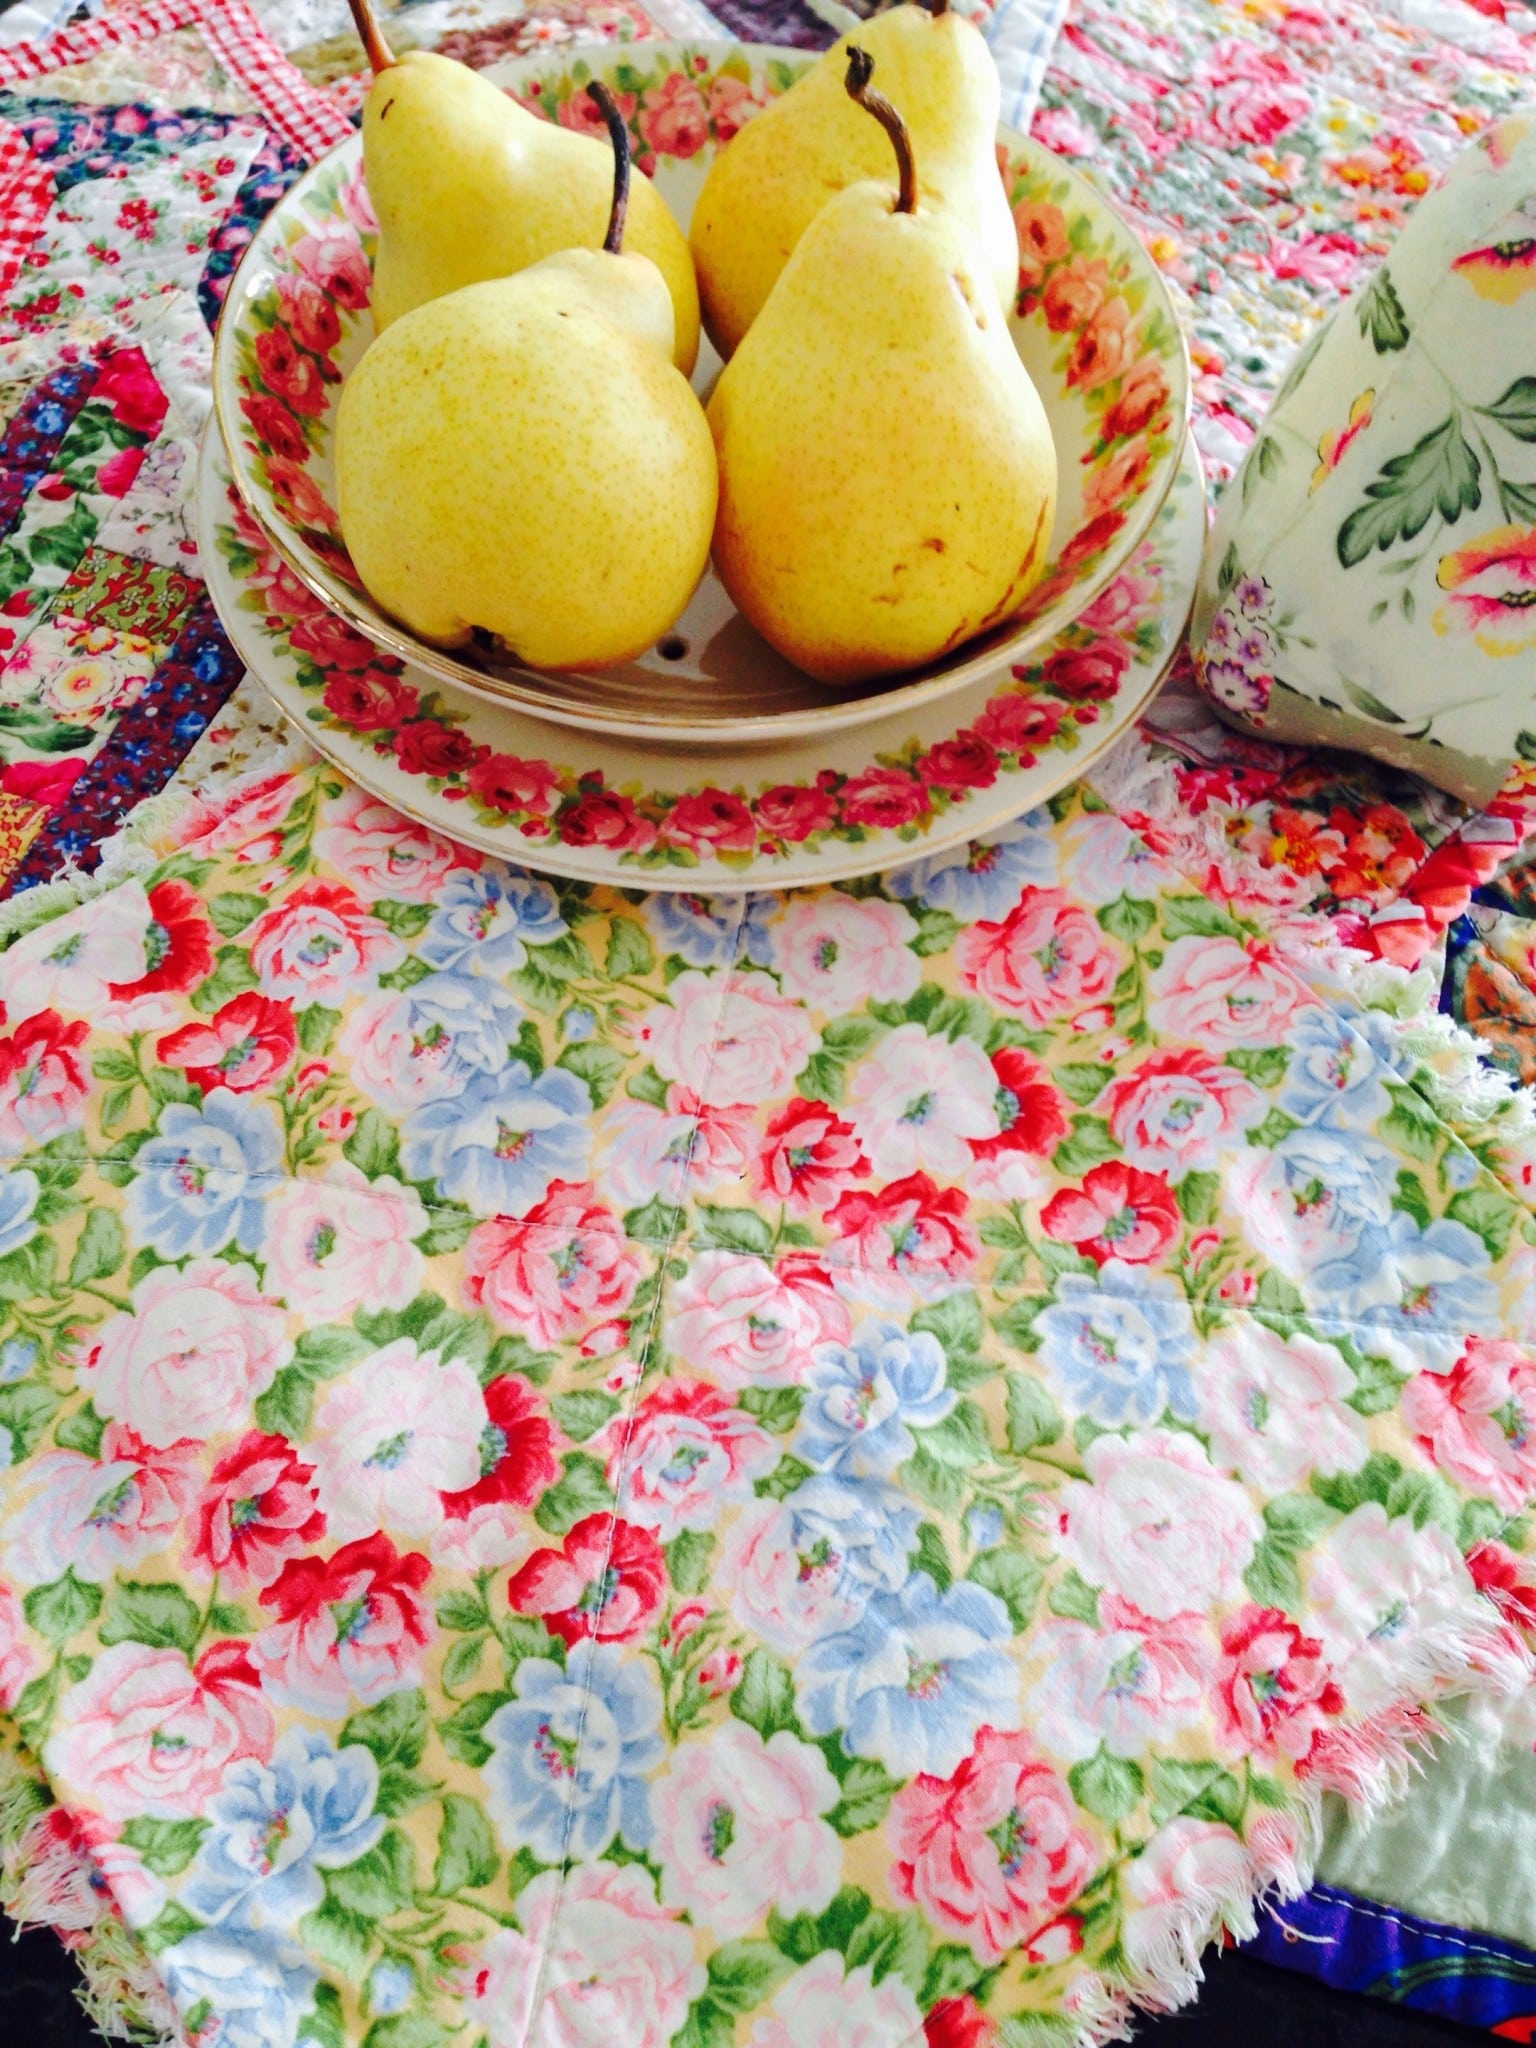
I love to have and make little quilts for the kitchen. Most of them are a result of trial blocks or string piecing. I just find they have a myriad of uses in the kitchen.. They are great as trivetts for hot dishes, getting things out of the oven, bigger ones for resting dishes on to dry, surface protectors, tea and coffee making mats, in the microwave to make it easy to take hot dishes out, noise dampeners on hard bench tops, under breadboards to catch the crumbs, decorative and practical under a vase of flowers to catch petals and even as placemats too, but so much more adaptable!
 Once they are in your kitchen you will wonder how you ever got by without them. I find I’m always reaching for one, for one thing or another. And, by the way, I just wash them with my tea towels, no fussing.
When it comes to the creative side of course they are great for using up leftovers of fabrics, quilts or blocks. They can make a very pretty gift too, if presented with some herbs, bread, cake or kitchen utensil or dish. They can also be a starting point for free motion quilting to practice a design or warm up on one.
Anyhow, I’m going to show you the most basic one. Even if you are a most beginner sewer, this is very achievable in a short space of time. This is one of my favourites. I have used it so many times. This is such a quick project. I’ve decided to time myself to see how long it takes, because heaven knows we all need gifts in a real hurry from time to time.
This is how I do it.
 Take two 10 inch squares of cotton, linen or quilting fabric. One 9 inch square of scrap batting. If your batting is thin, use 2 squares. If you are into up-cycling and you don’t want to use batting, cut up old towels for these projects. It gives them a new lease on life!
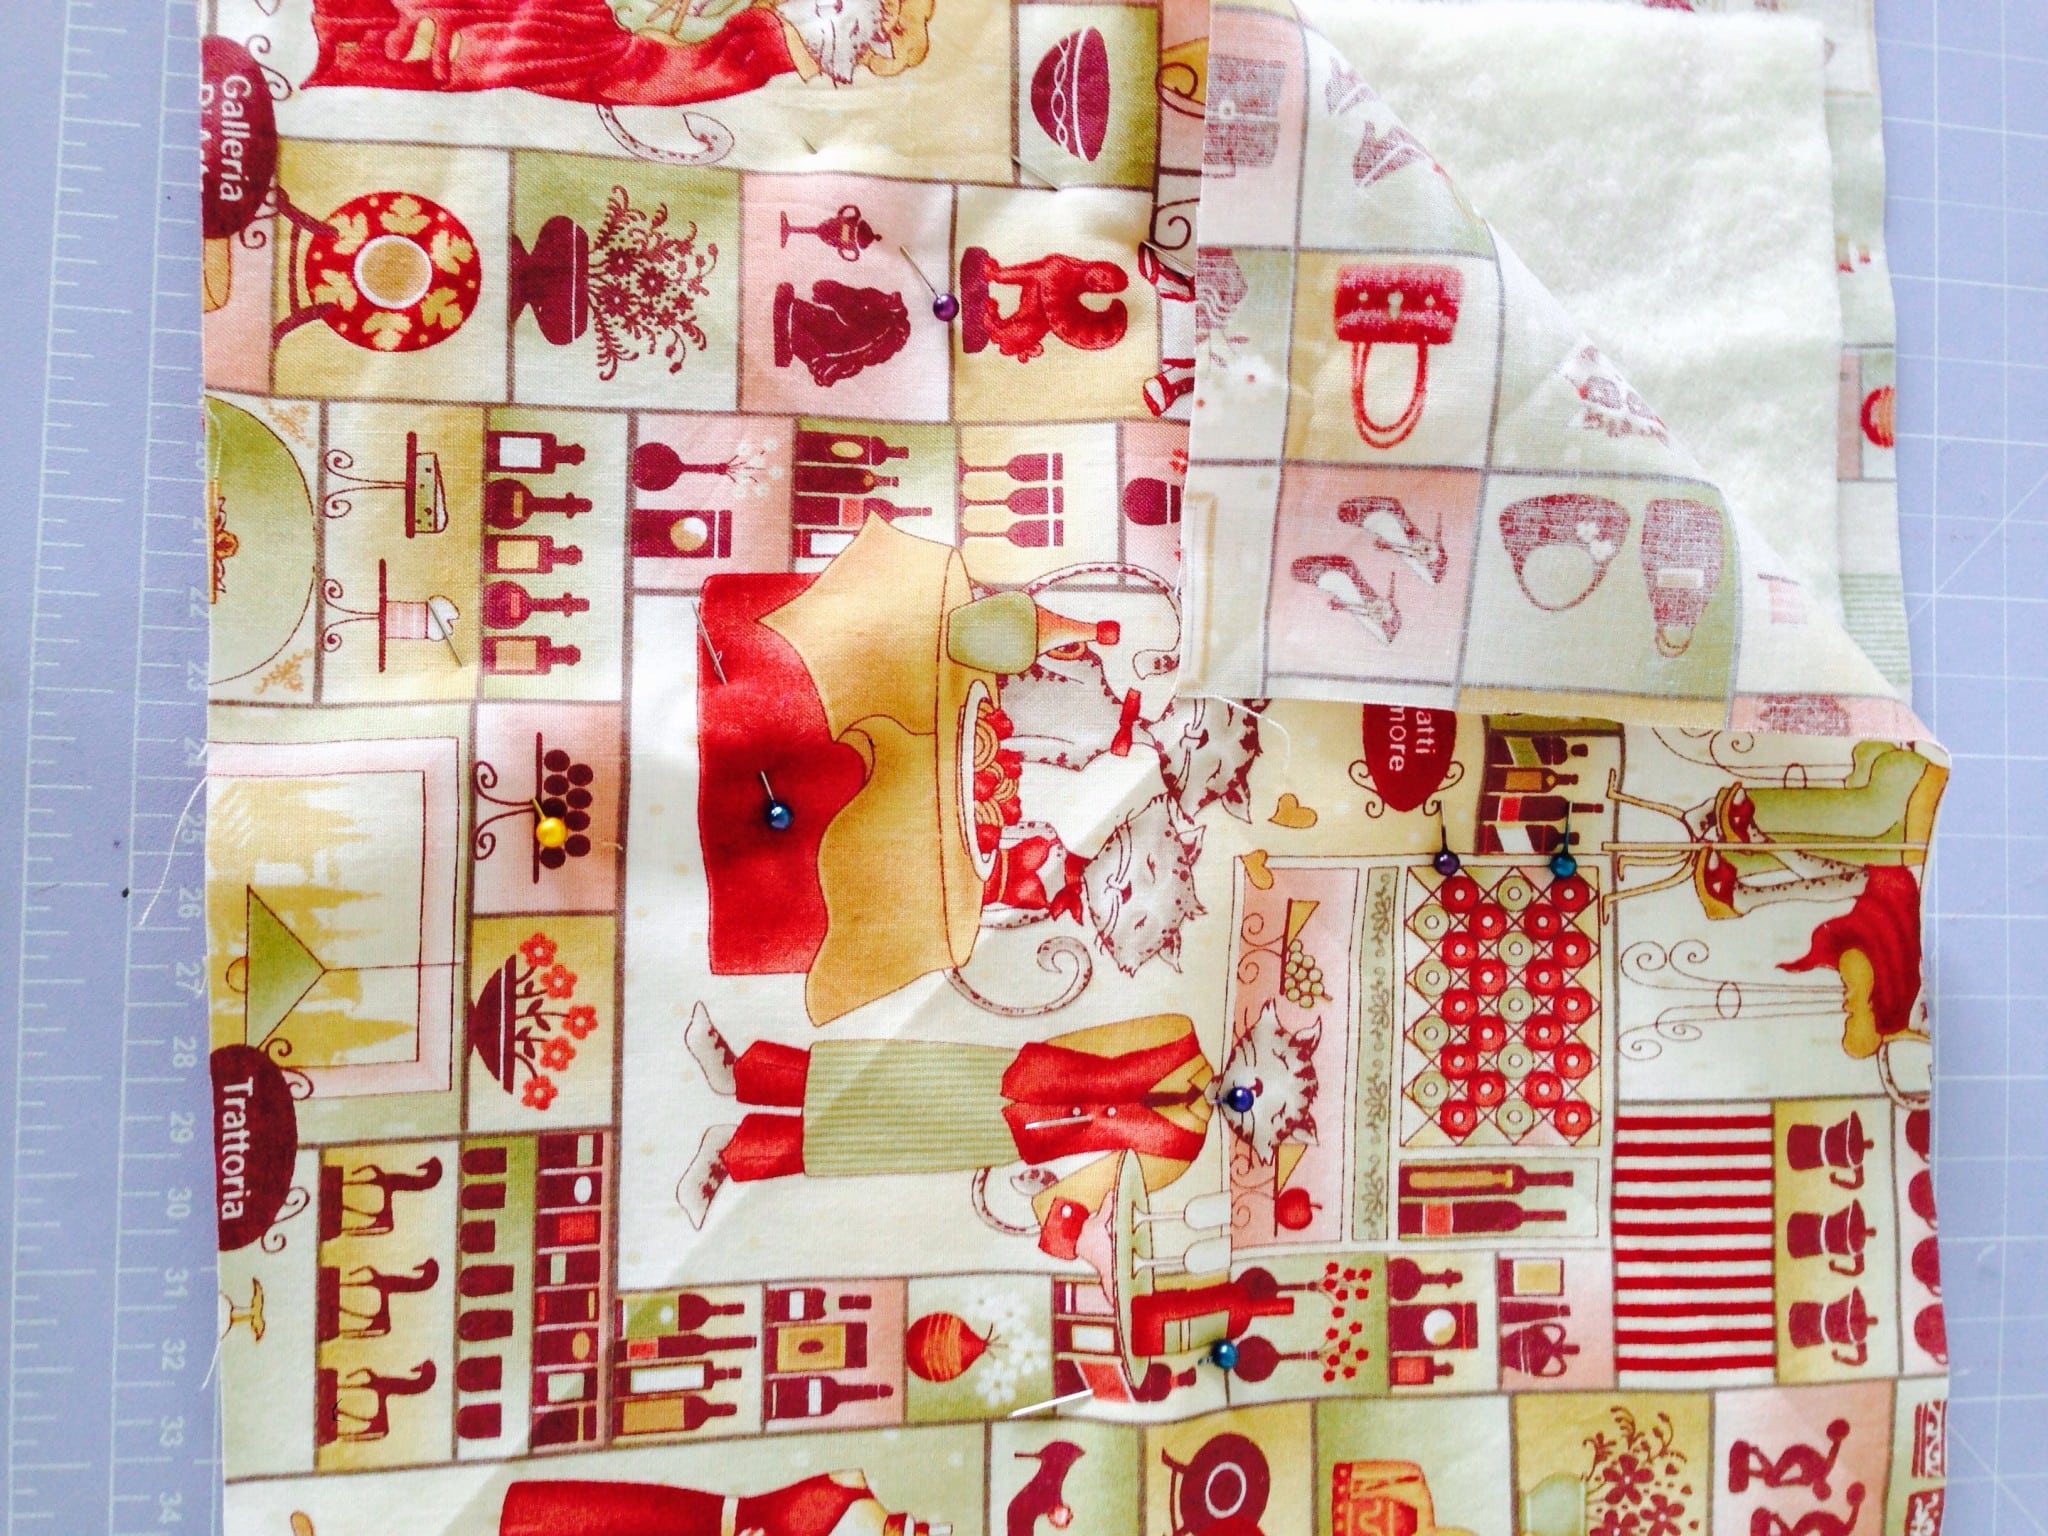
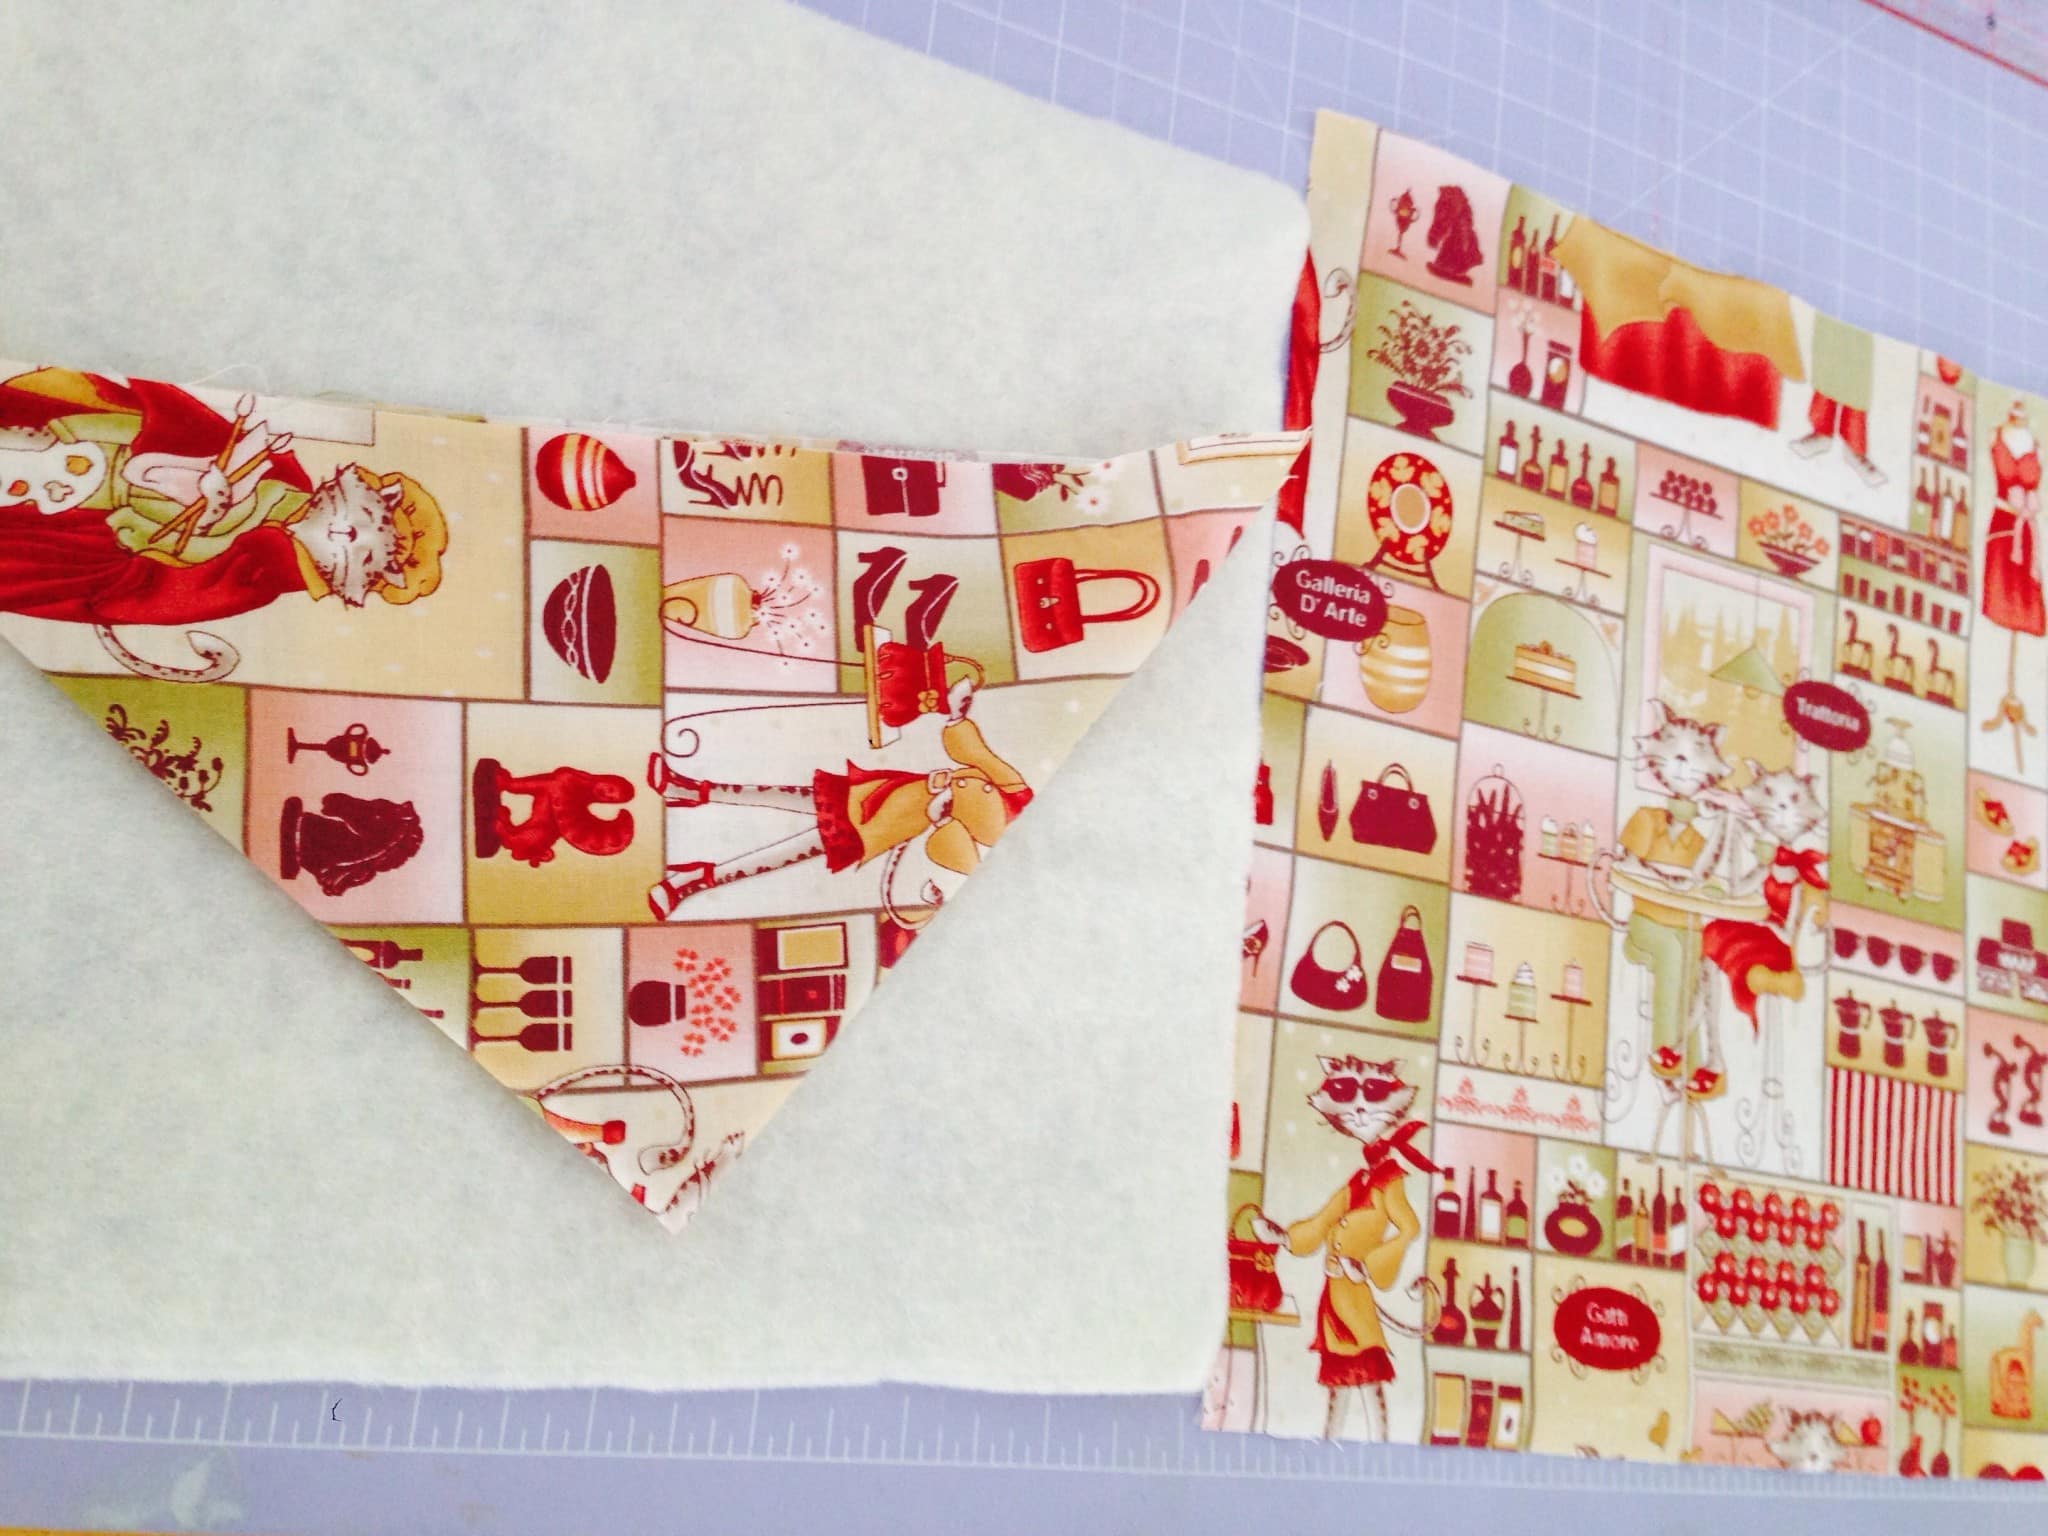
Take one of the squares, fold diagonally across exactly in half. Finger press. Repeat for the opposite direction. These are your sewing lines.
 Take the other square, face right sides down, centre batting(s) or toweling, cover with second square with fold lines, right side up. Pin well to secure.
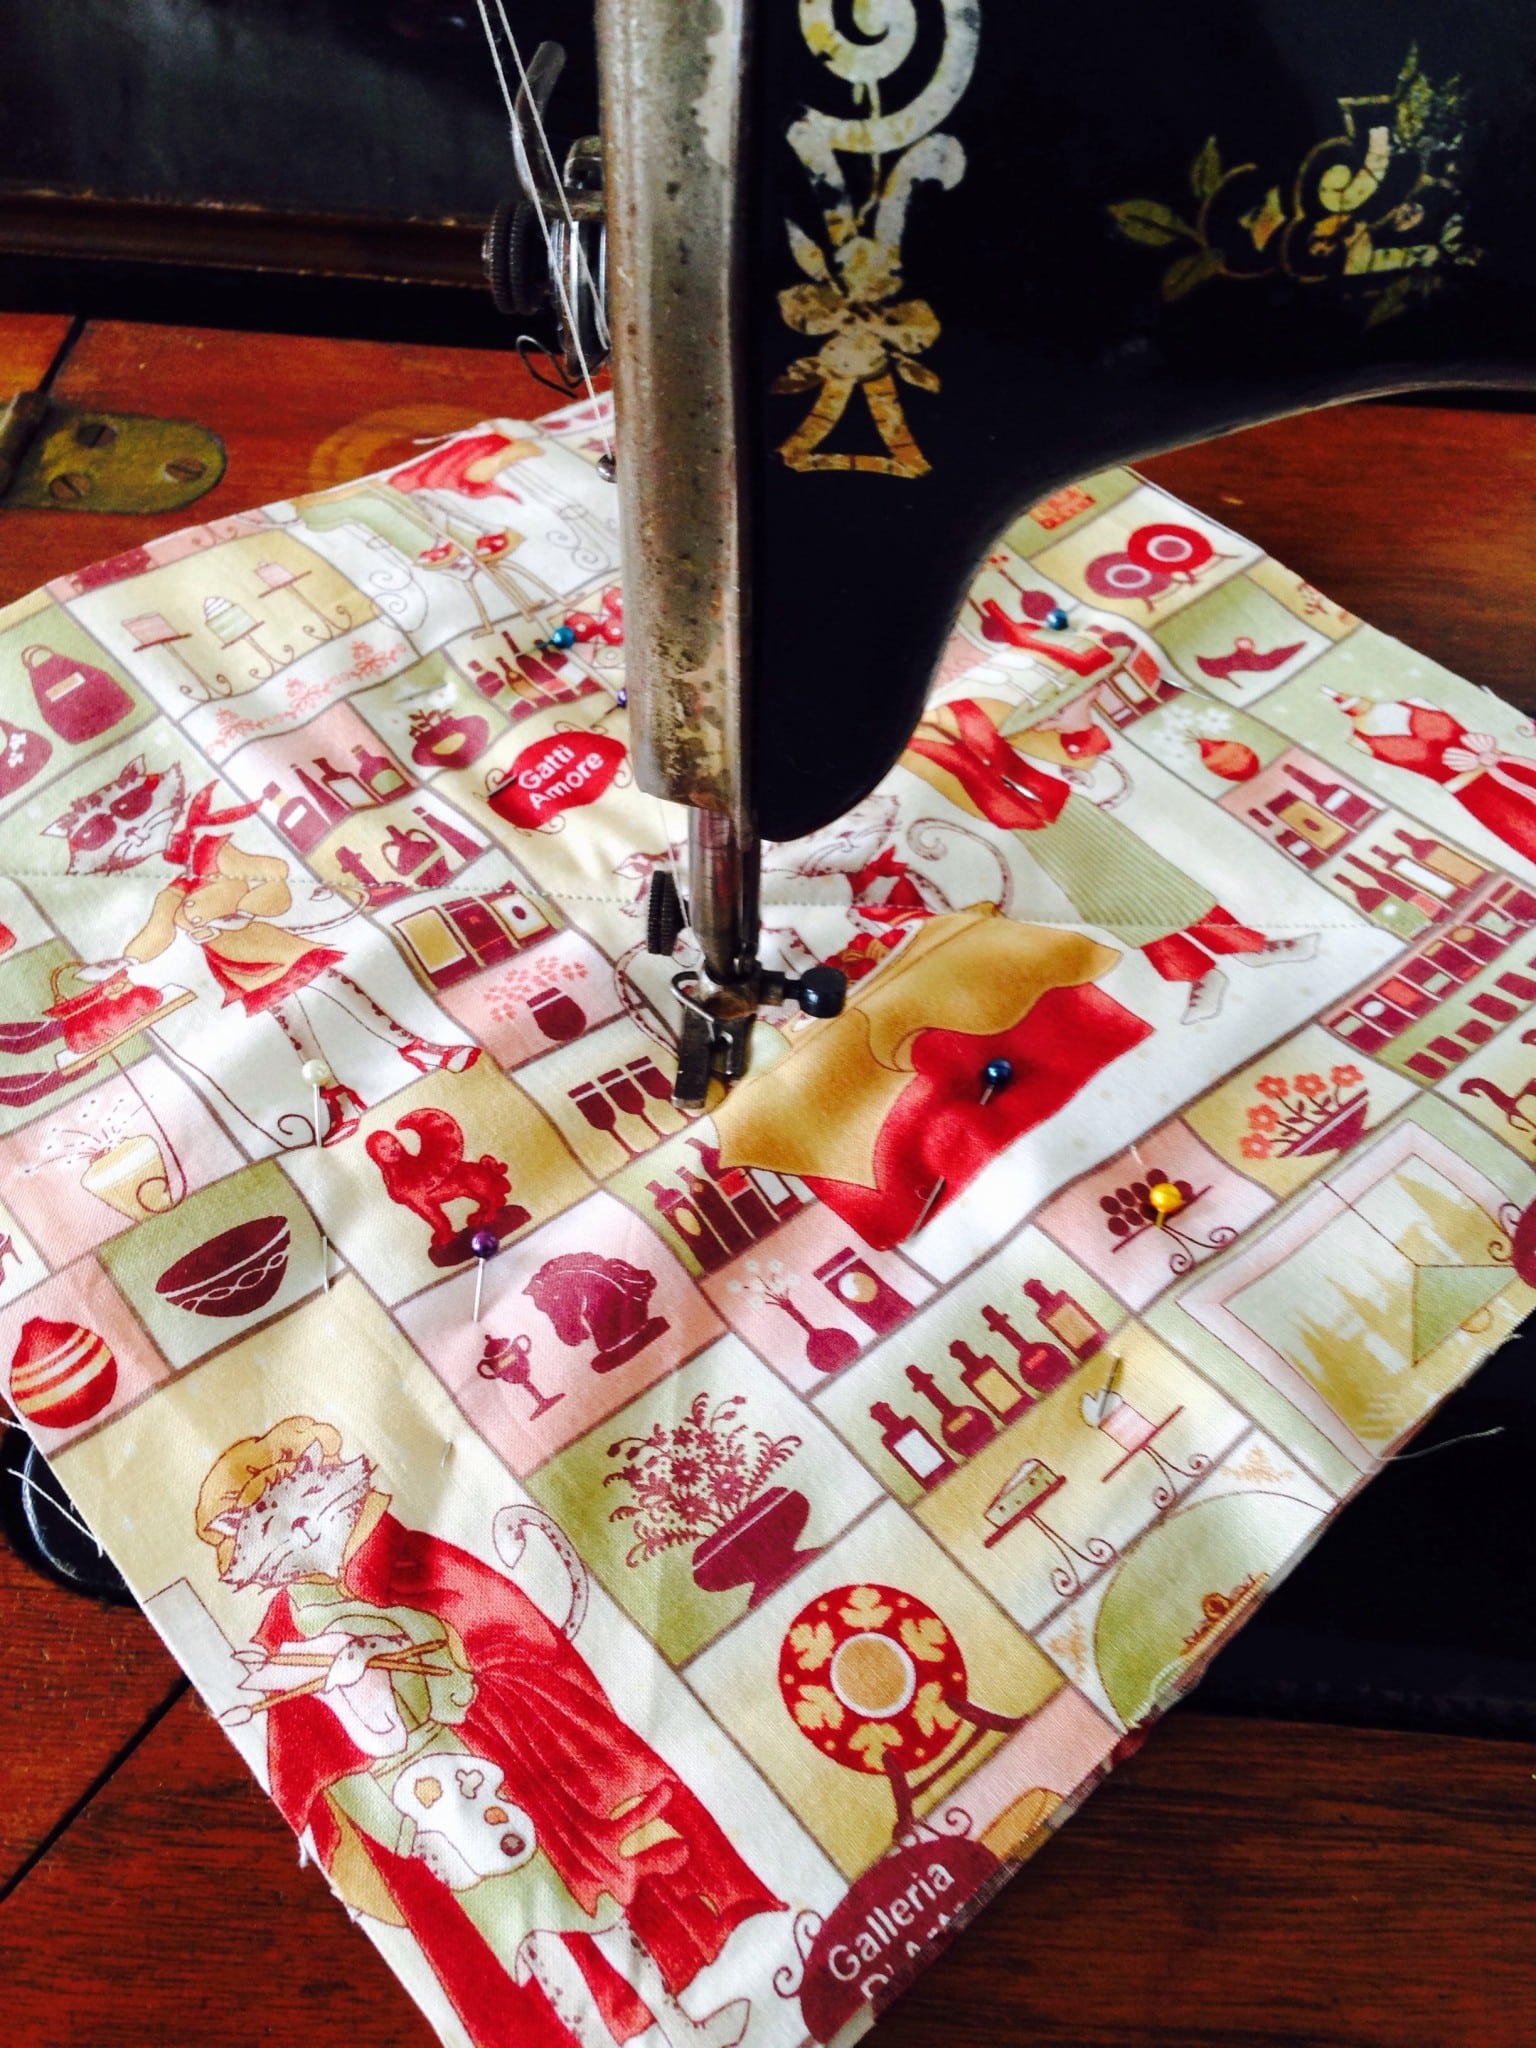
Sew diagonally from corner to corner on both fold lines. Keep the pins in place.
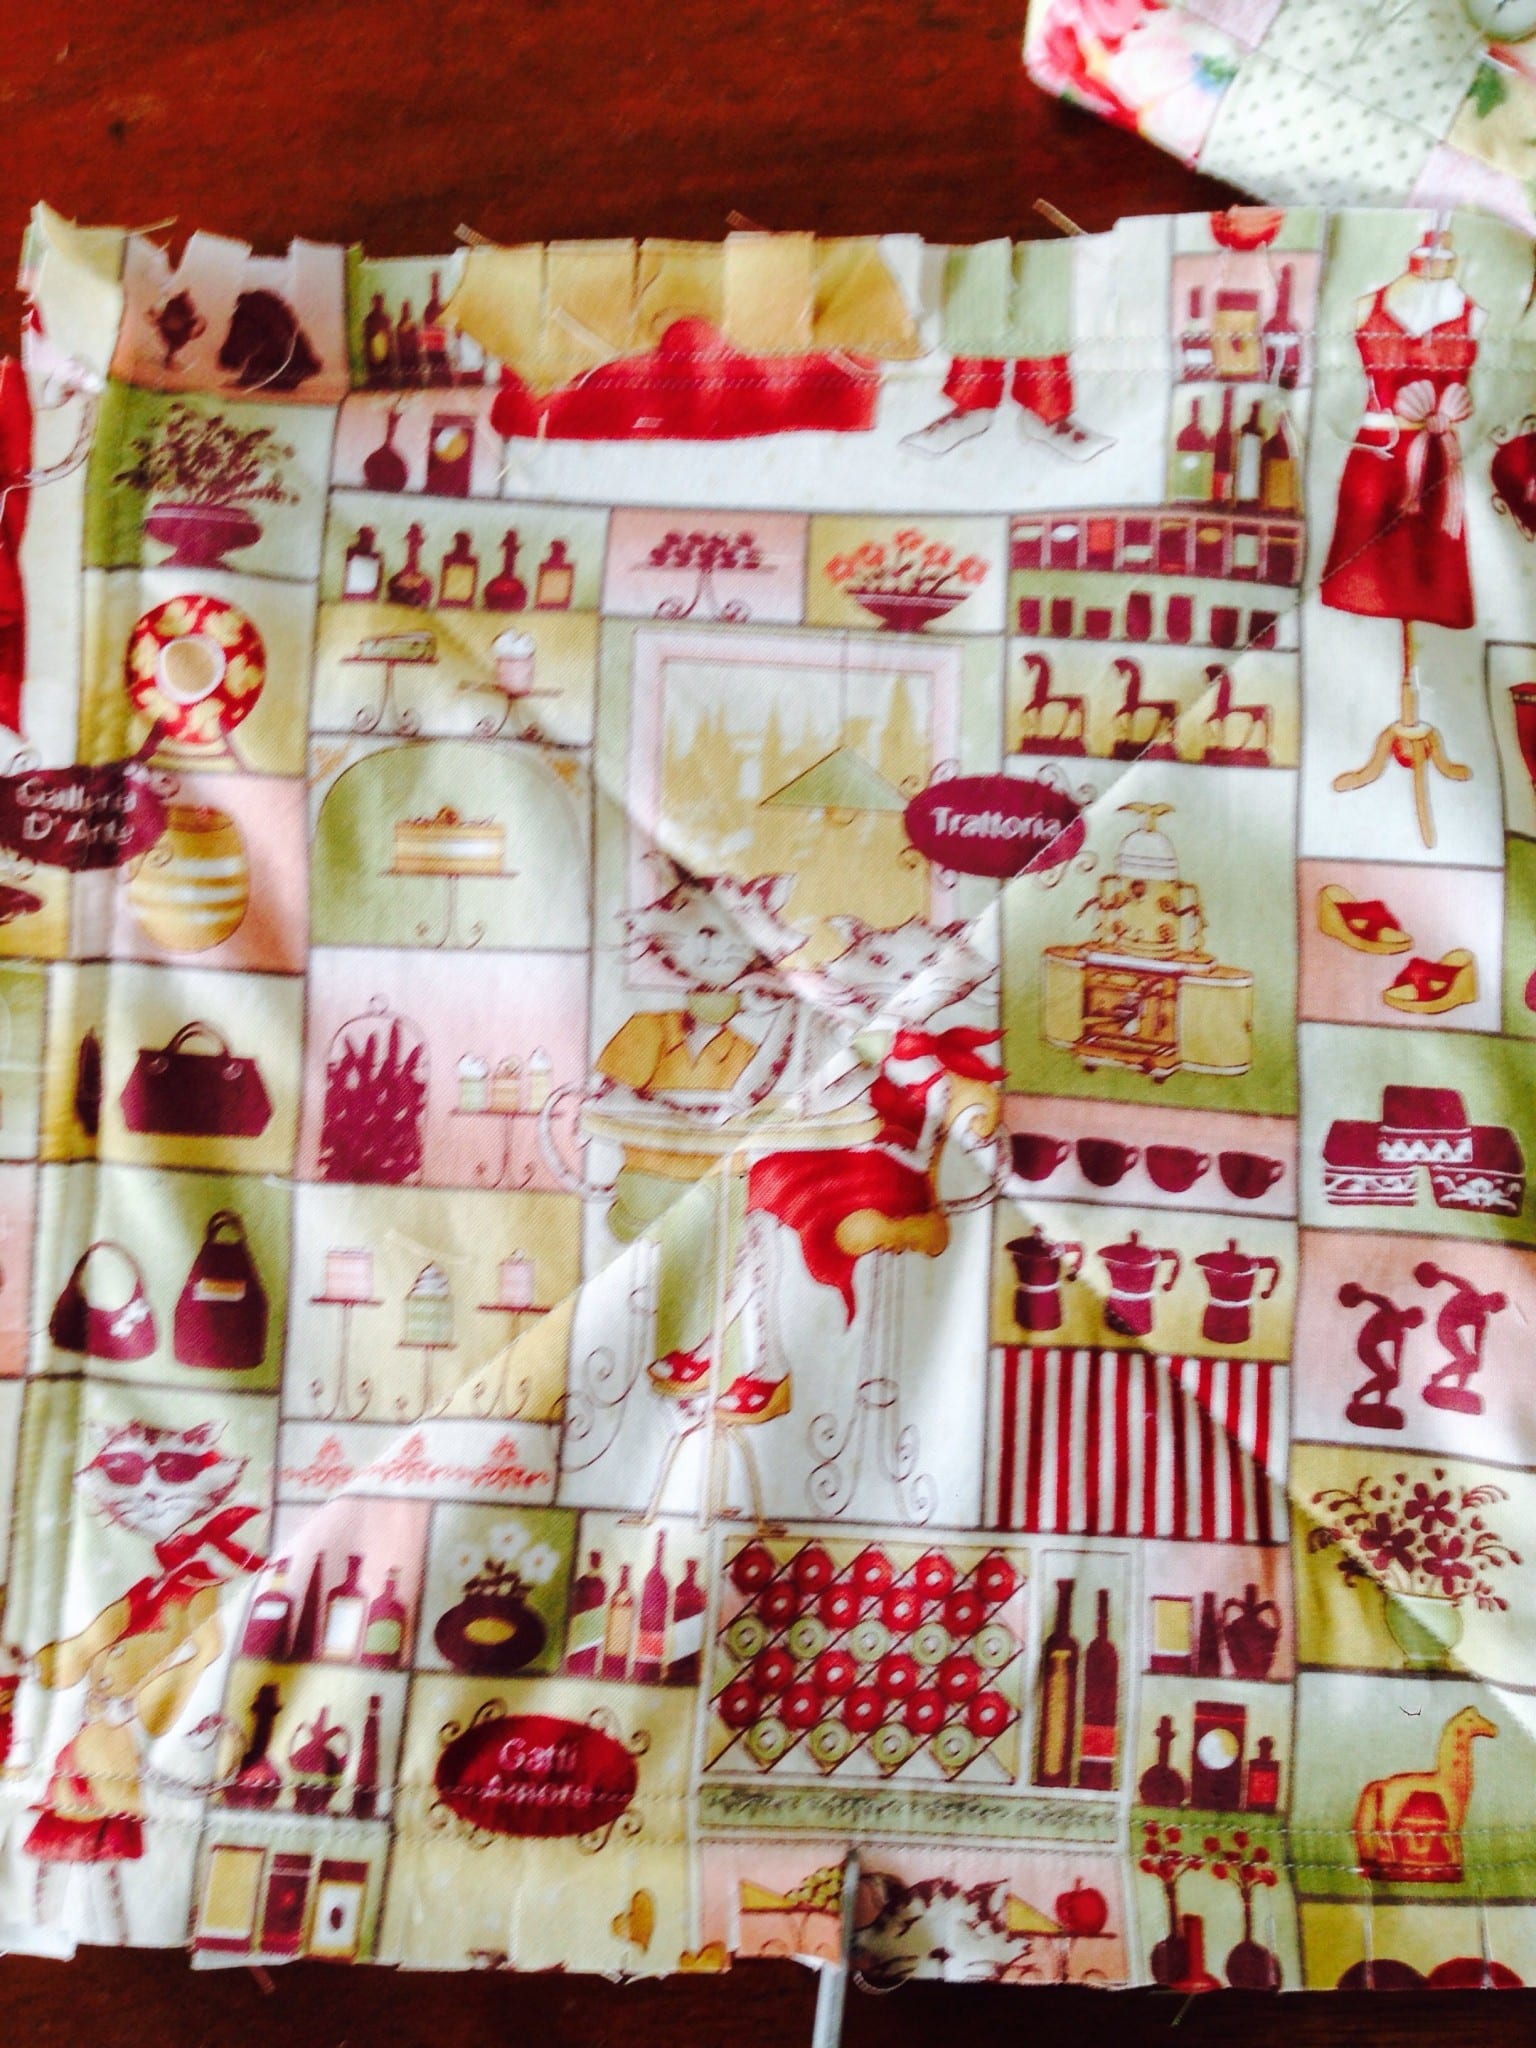
Now stitch all around the outside 3/4 inch from the edge, then repeat 1/2 inch from the edge.
 Snip all around the outside of the square at 1/2 inch intervals. As you wash it each time the edges will become softer and reminiscent of the drawn frayed thread work of years gone by. Enjoy!
By the way, I’m sure I can make one quicker than the time it took to write about it 🙂
So, even sewing it up on the treadle, this, project took 12 minutes to sew. Of course you can make this bigger if you like , say 12 or 14 inches. Just reduce your towel or batting size by 1 inch.
Dont forget you can also use these squares to test your free motion quitting. Then the fabric is not wasted.
Such a wonderful plan for sure for me to learn free motion quilting. Thank you for this hint,
Thank you for this. I have run out of orphaned blocks for practicing my FMQ. This is a faster solution to get in the practice and I get useful kitchen bits for my effort!
Susan you out did yourself once again! What a wonderful idea for our bits and pieces! Now if I can only get my tension problem solved. I will have to make a few of these!
Dear Jane, gosh I hope you can sort it out. Tension troubles are annoying. That’s why I love having my vintage machines as back up. Good Luck