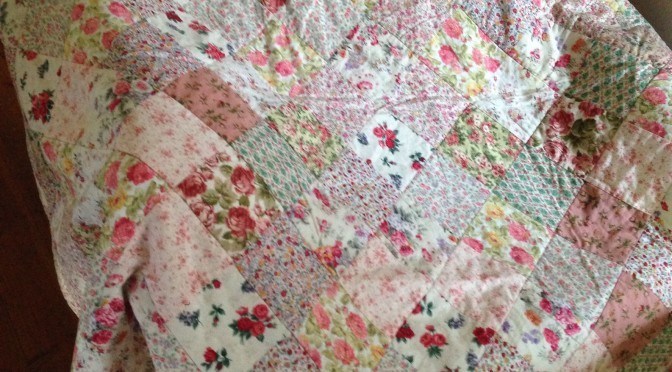
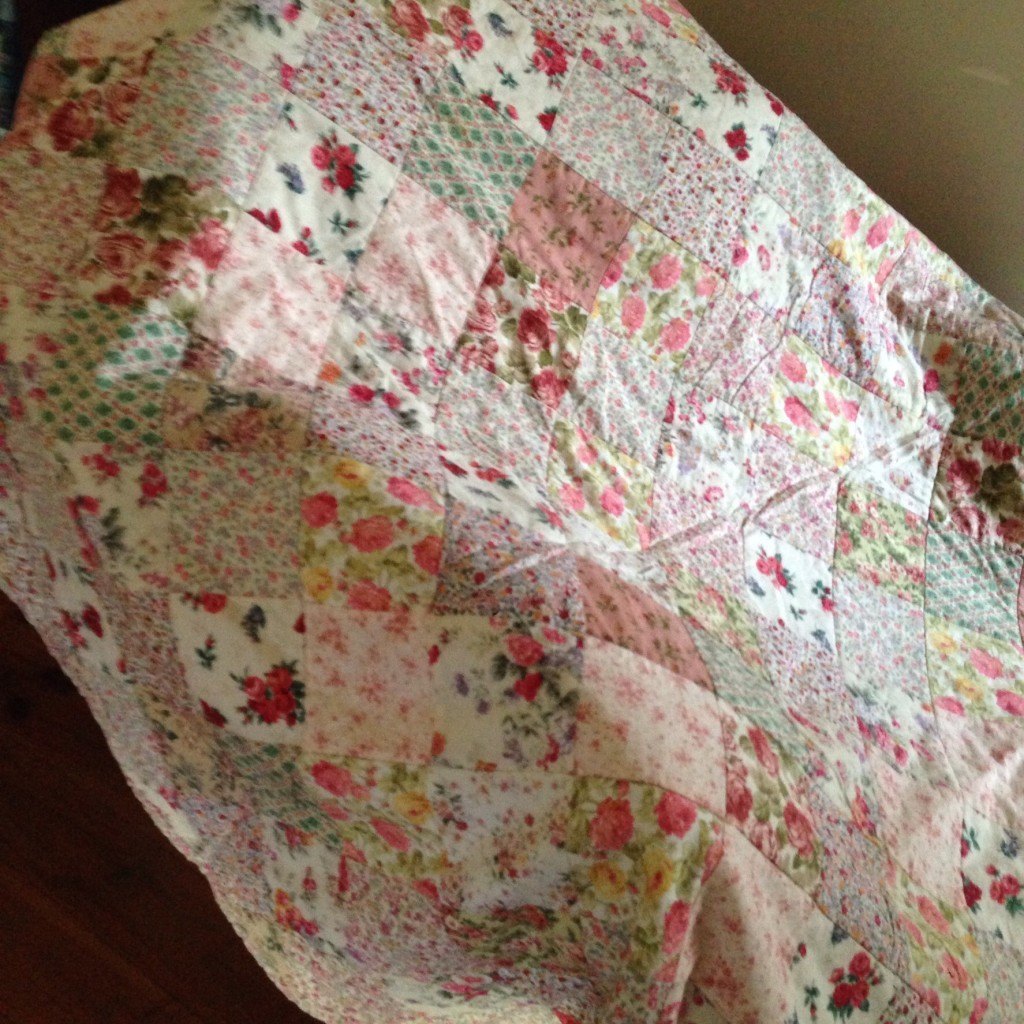
Mum’s Garden Quilt
Hello Dear Friends and Readers and a warm welcome to today’s post.
As you probably have noticed I love floral prints. I usually have quite a lot of squares already cut up in case inspiration strikes! My Mum adores her garden. So to bring the garden inside, I made her a quilt full of flowers.
If you are needing some inspiration on how to do this you might like this post.
Signature Pre-Cuts from Your Stash
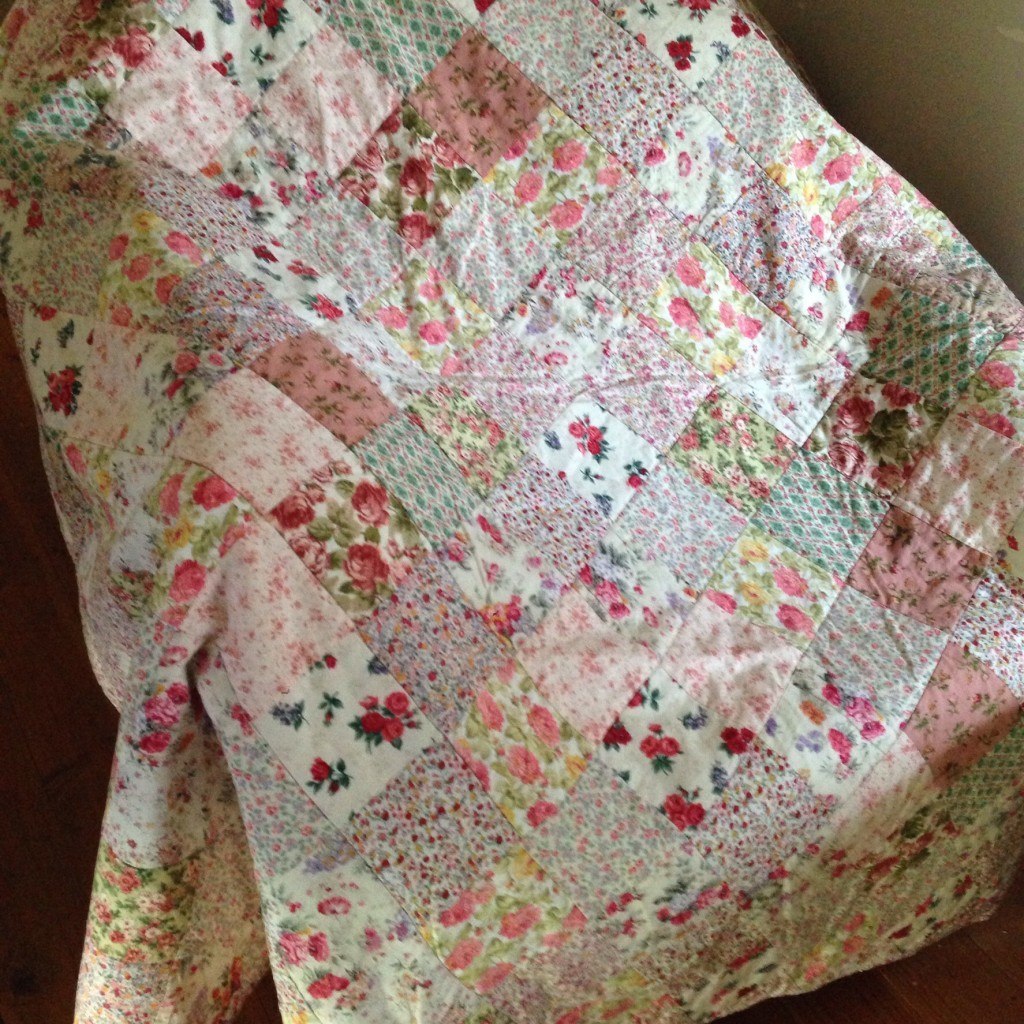
To make a quilt like this, go to your stash and choose all the florals you can lay your hands on. The more the better. You may wish to focus on a colour story . This quilt has a focus on red and pink florals, with green and just a touch of yellow.
Or you can choose from floral charm packs, or a mixture of charm packs and some fabrics cut from your own stash.
The squares are all set on point.
Finished quilt size = 52″ x 52″
Requirements for Mum’s Garden Quilt
128 of 5″ x 5″ floral squares (Choose a minimum of 20 different fabrics, the more the better).
Six of 2 1/2″ width of fabric strips of floral stripe for the binding
Floral fabric for the backing
Making Mum’s Garden Quilt
Separate the 128 squares into two groups of 64 squares each ensuring as much variation as possible for each group.
Lay out the two sets of squares into an 8 by 8 configuration.
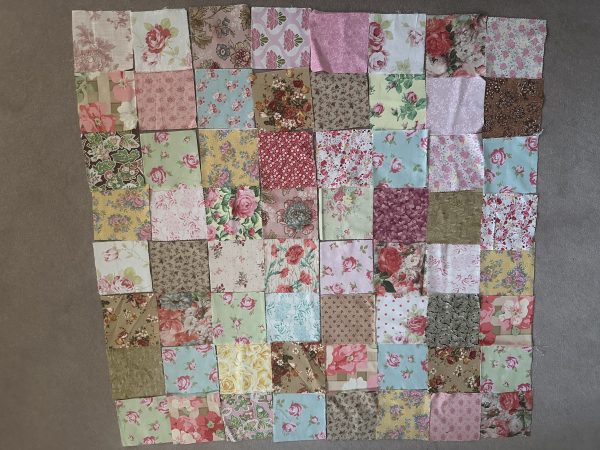
Sew each set of 64 floral squares. One set will be the centre square and the second set will make the corners.
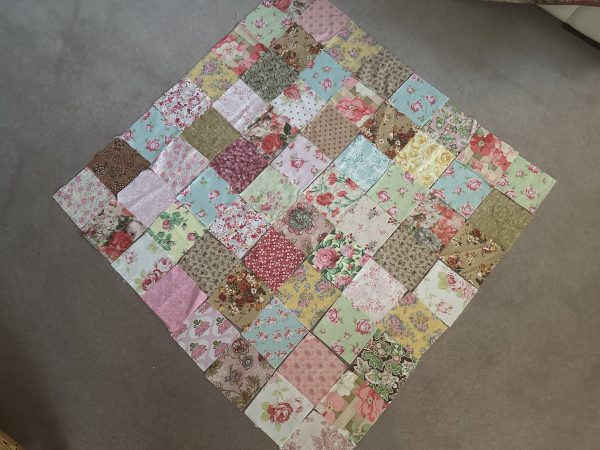
Set the centre square on point.
Very carefully cut across each diagonal of the second square ensuring that you cut as perfectly as possible through the seams. Now you will have four triangles.
Handle each triangle with care and match the hypotenuse of each triangle to a side of the centre square.
Carefully pin each triangle to each of the four sides of the centre square, taking care to match the seams.
Sew two opposite sides. Then sew the remainder two sides. Now the quilt top will be square with all the charm squares set on point.
At this stage please handle the bias edges carefully to prevent stretching.
Press and prepare the quilt sandwich for quilting.
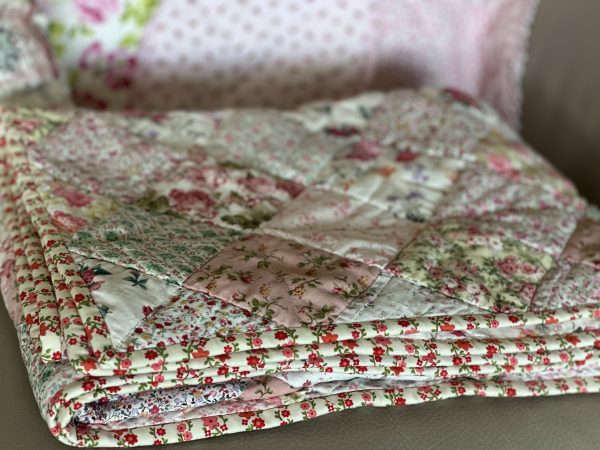
I used a floral backing that matched one of the prints in the front and quilted it by just stitching in the ditch between all the squares.
Prepare the binding strips.Prepare binding strips for quilts Tutorial
If you enjoyed this post, you may also like some of these.
Floral Coins Quilt Antique Style.
Floral Fantasy Friendship Four Patch Finale
Susie’s Garden Lap Quilt & Free Pattern
Susie’s Roses Romance Quilt and Free Pattern
Happy stitching,
Susie
© 2014 Susan Stuklis

