Pot-Holders Quilted Flower Pots
Recently, I participated in a Pot Holder challenge. I quite enjoyed the making. Of course I couldn’t help myself and took some poetic license to the pattern and added my own touch.
My imagination got carried away and I began to think of other shapes that are nice for pot holders and of course different and maybe speedier methods of construction. Whilst I do not mind doing binding, in fact I enjoy it very much, for a small object it does significantly add to the construction time. Also it is more challenging to top stitch it by machine and still look good – so I had to hand stitch mine.
We used InsulBrite (or equivalent) inside the holder. I’m not sure how I feel about that. It makes a crinkly noise when you hold or move it. Two layers plus binding make it quite thick and stiff.
I decided to read a bit more about Pot-holders and I found this article in Wikipedia interesting.
https://en.wikipedia.org/wiki/Pot-holder
I think two issues are highlighted. One is the hygiene of Pot-holders. They should be easy to wash and dry, just like tea towels. The second is using wool batting. It is highly heat and flame resistant. I think one has to respect heat and fire and be sensible with it no matter what is inside your Pot-holder.
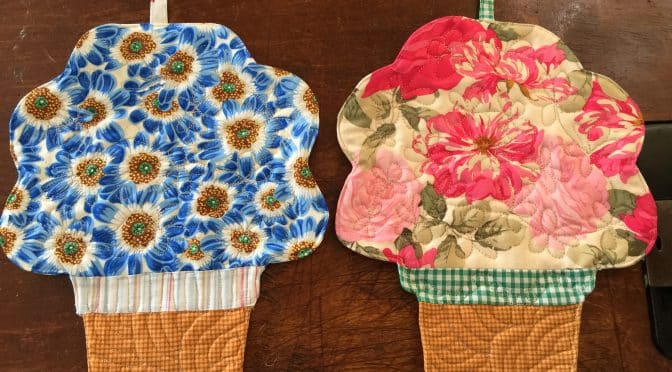
So here is my idea for a new Pot-Holder. As I always love flowers, this is what I came up with .
All fabrics are 100% cotton and have been pre washed and pressed before use.
All seams based on 1/4″.
Requirements for a Pot-holder Quilted Flower Pot
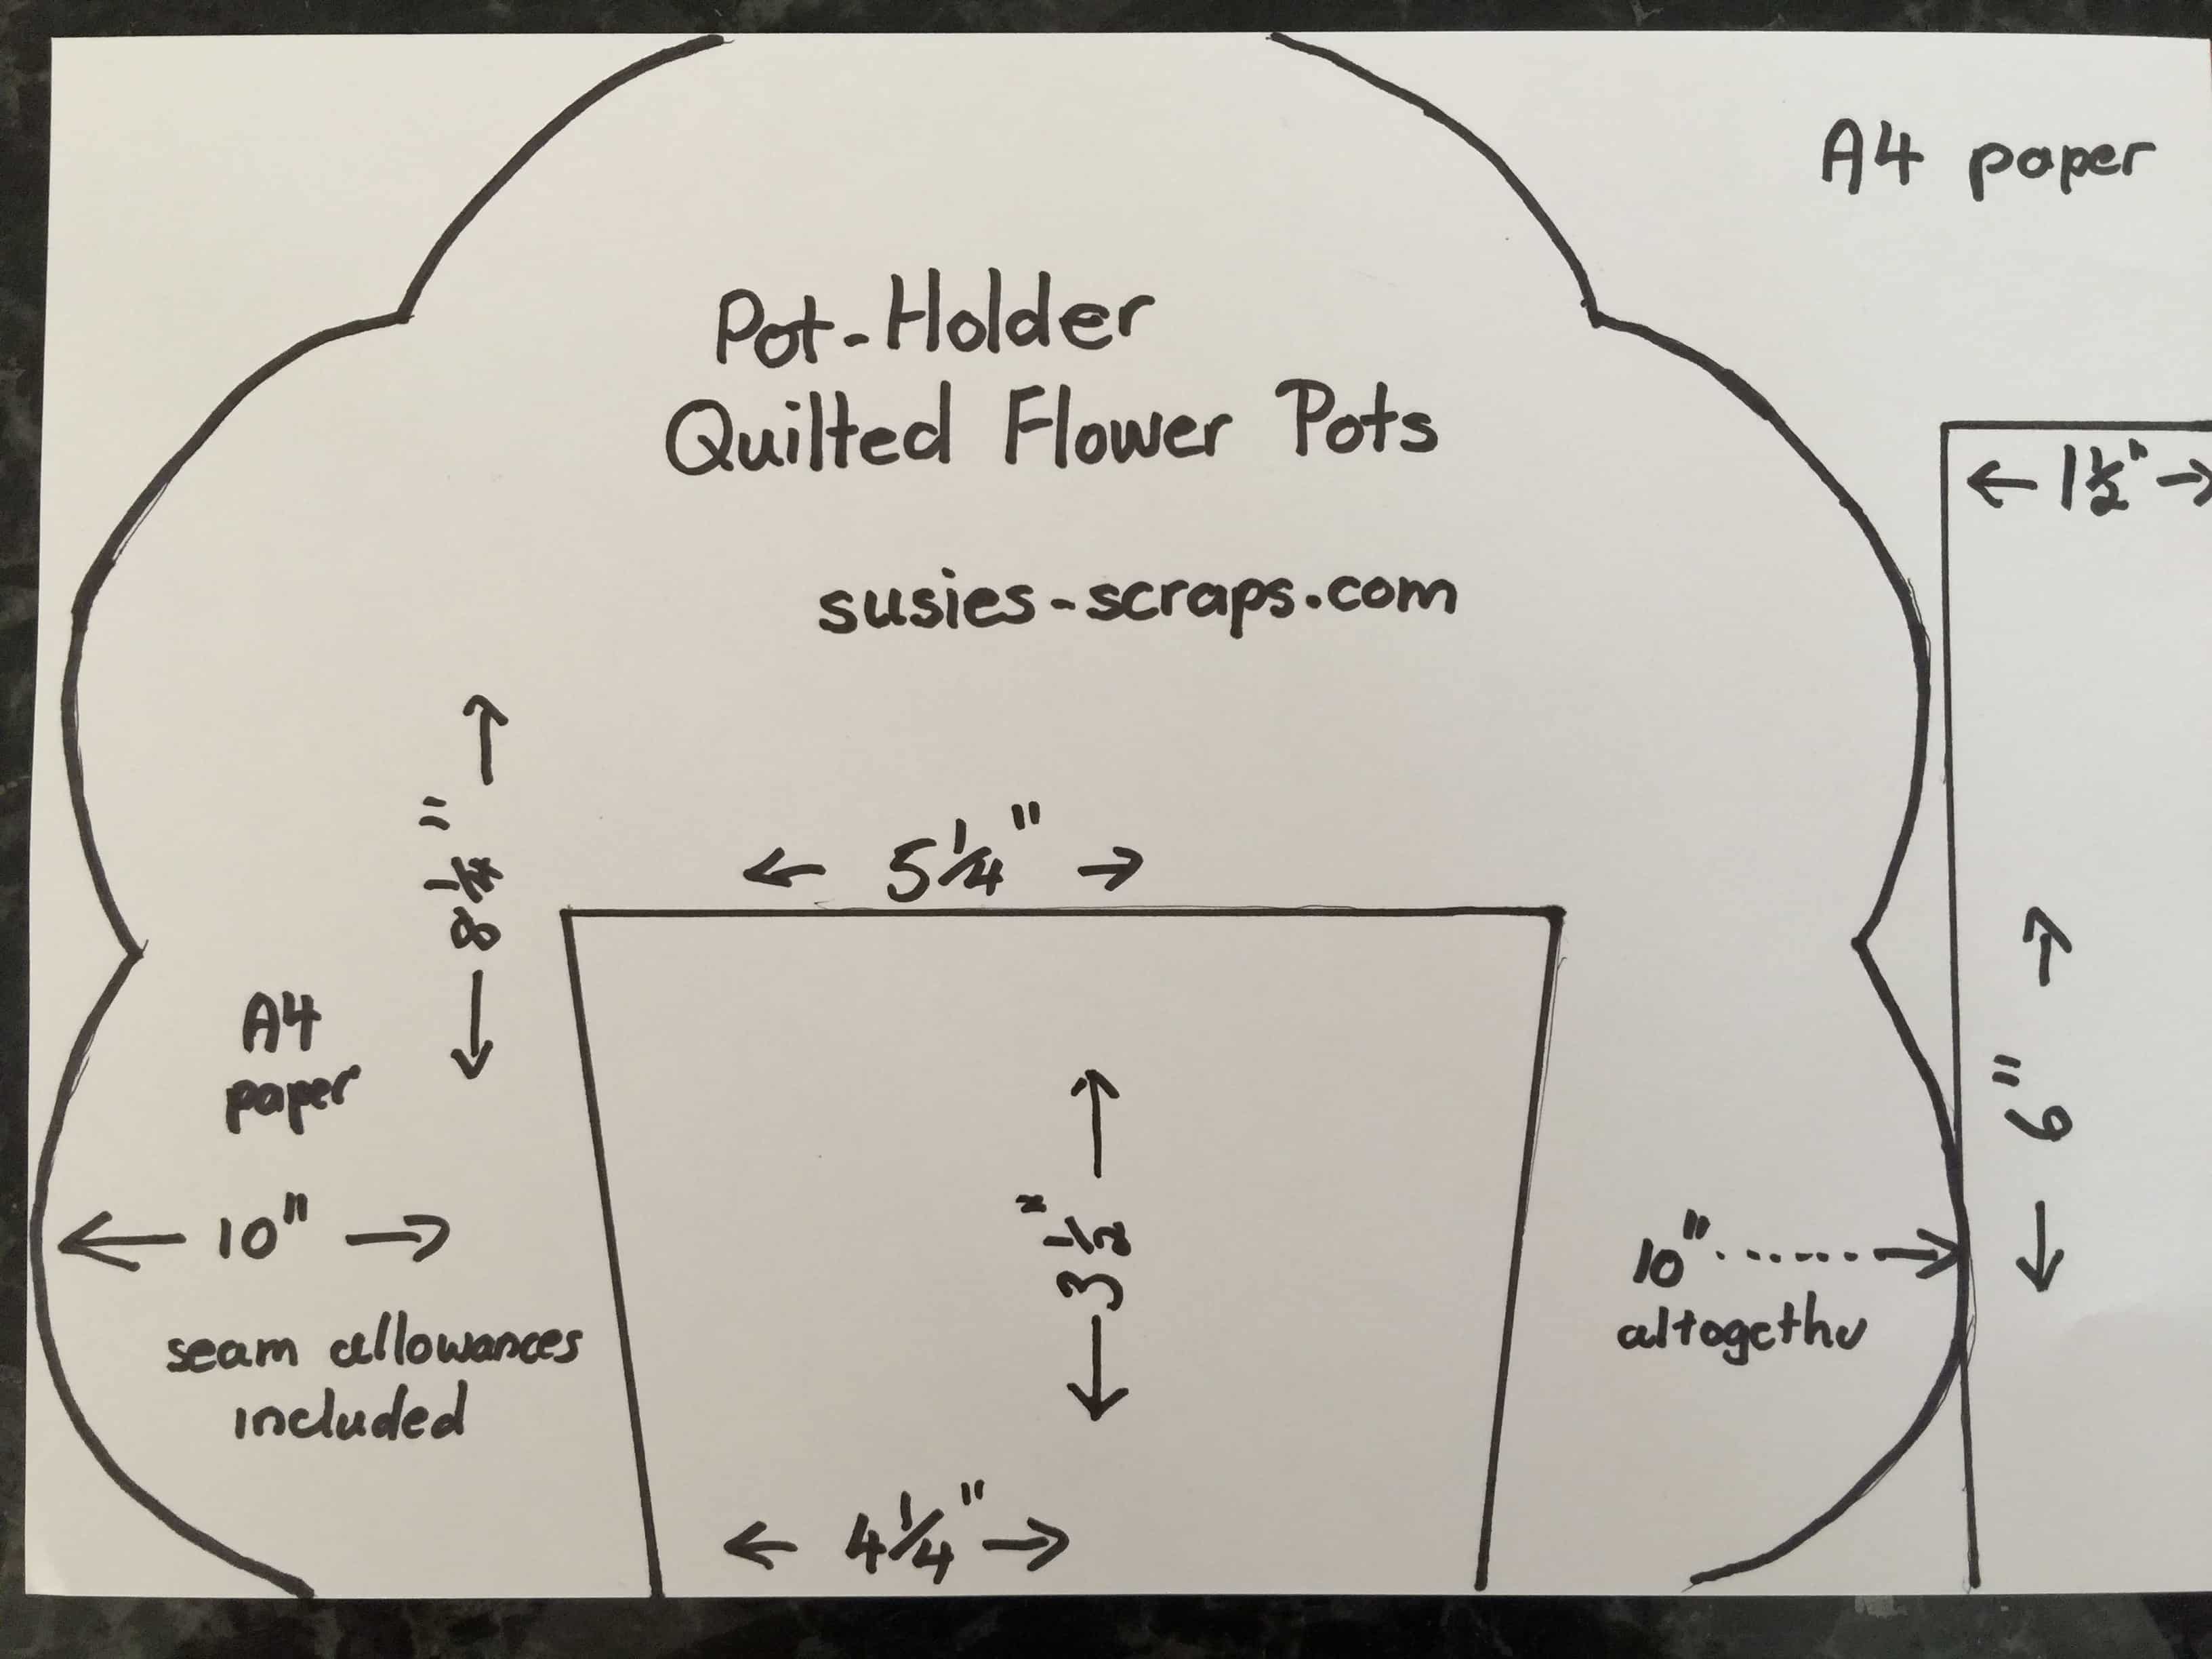
A4 paper, ruler and marker to make the pattern
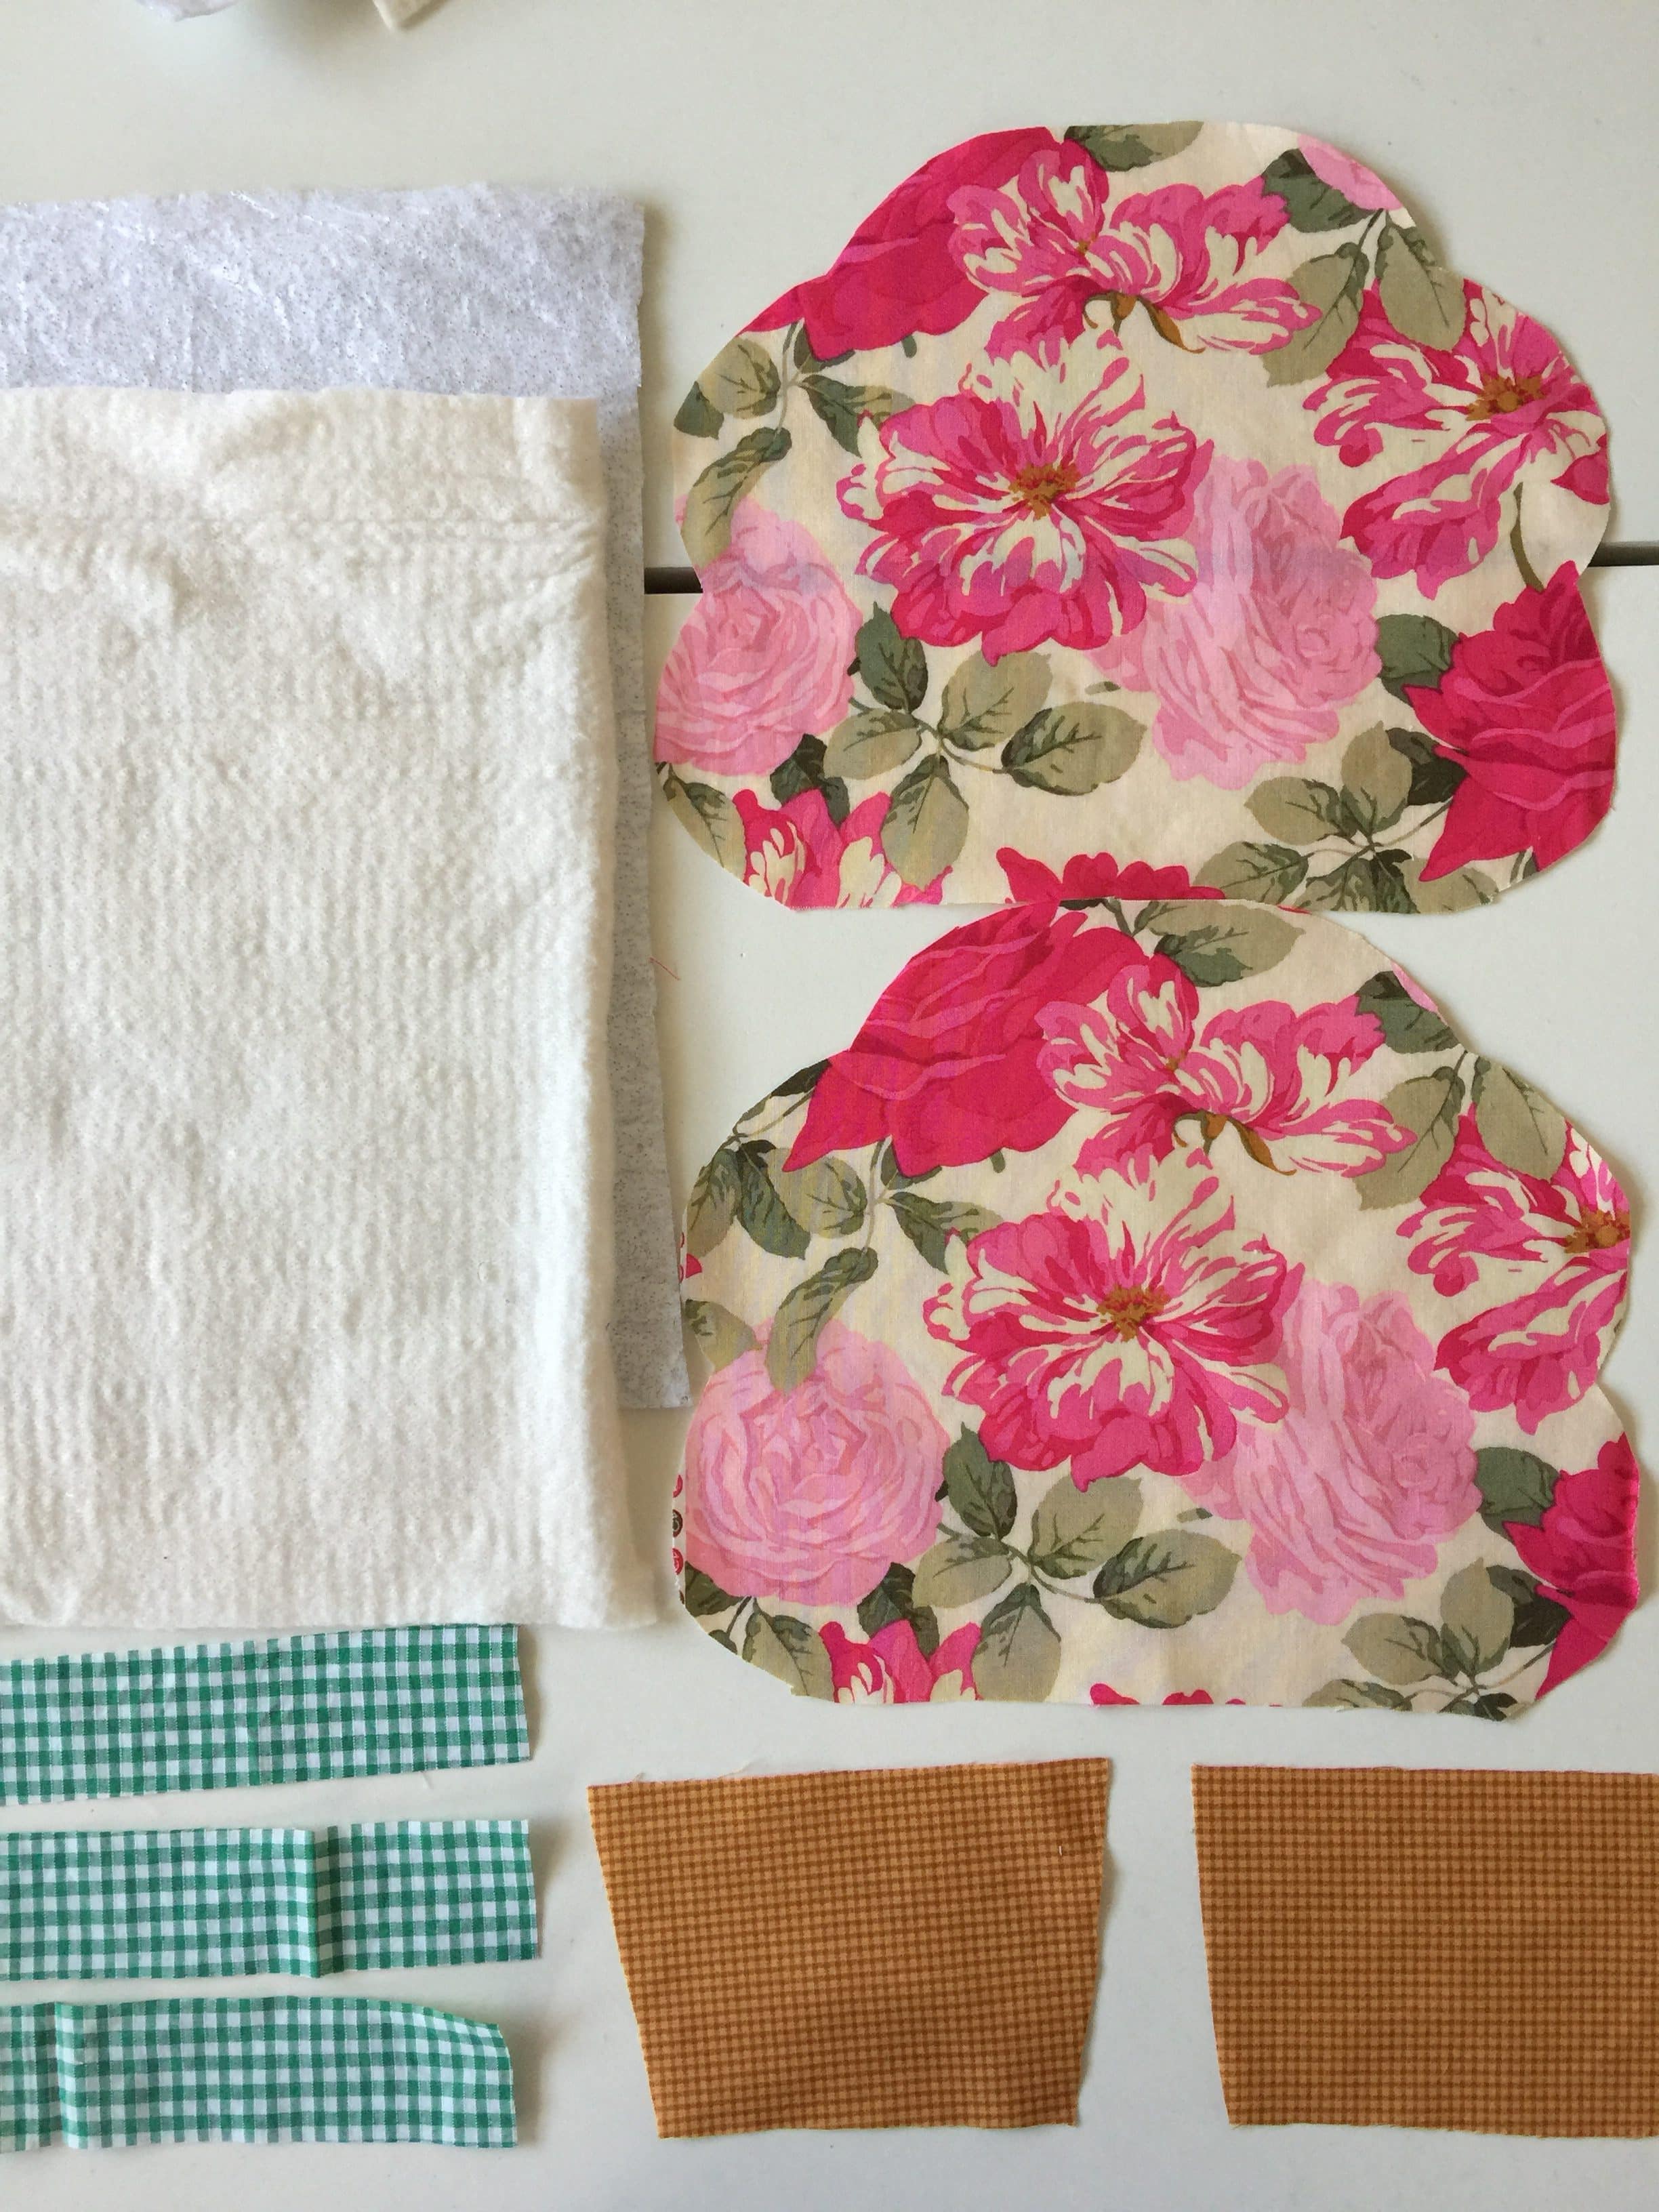
2 of 10″ x 10″ floral fabric squares
Scraps of Brown or terracotta coloured fabric for the pot
3 of 1 1/2″ x 6″ scraps of a contrasting color for the rims of the pot and the loop
Scrap piece of batting 10 1/2″ x 12 1/2″
Scrap piece of Insulbrite or equivalent 10 1/2″ x 12 1/2″
Chopstick for turning
Method
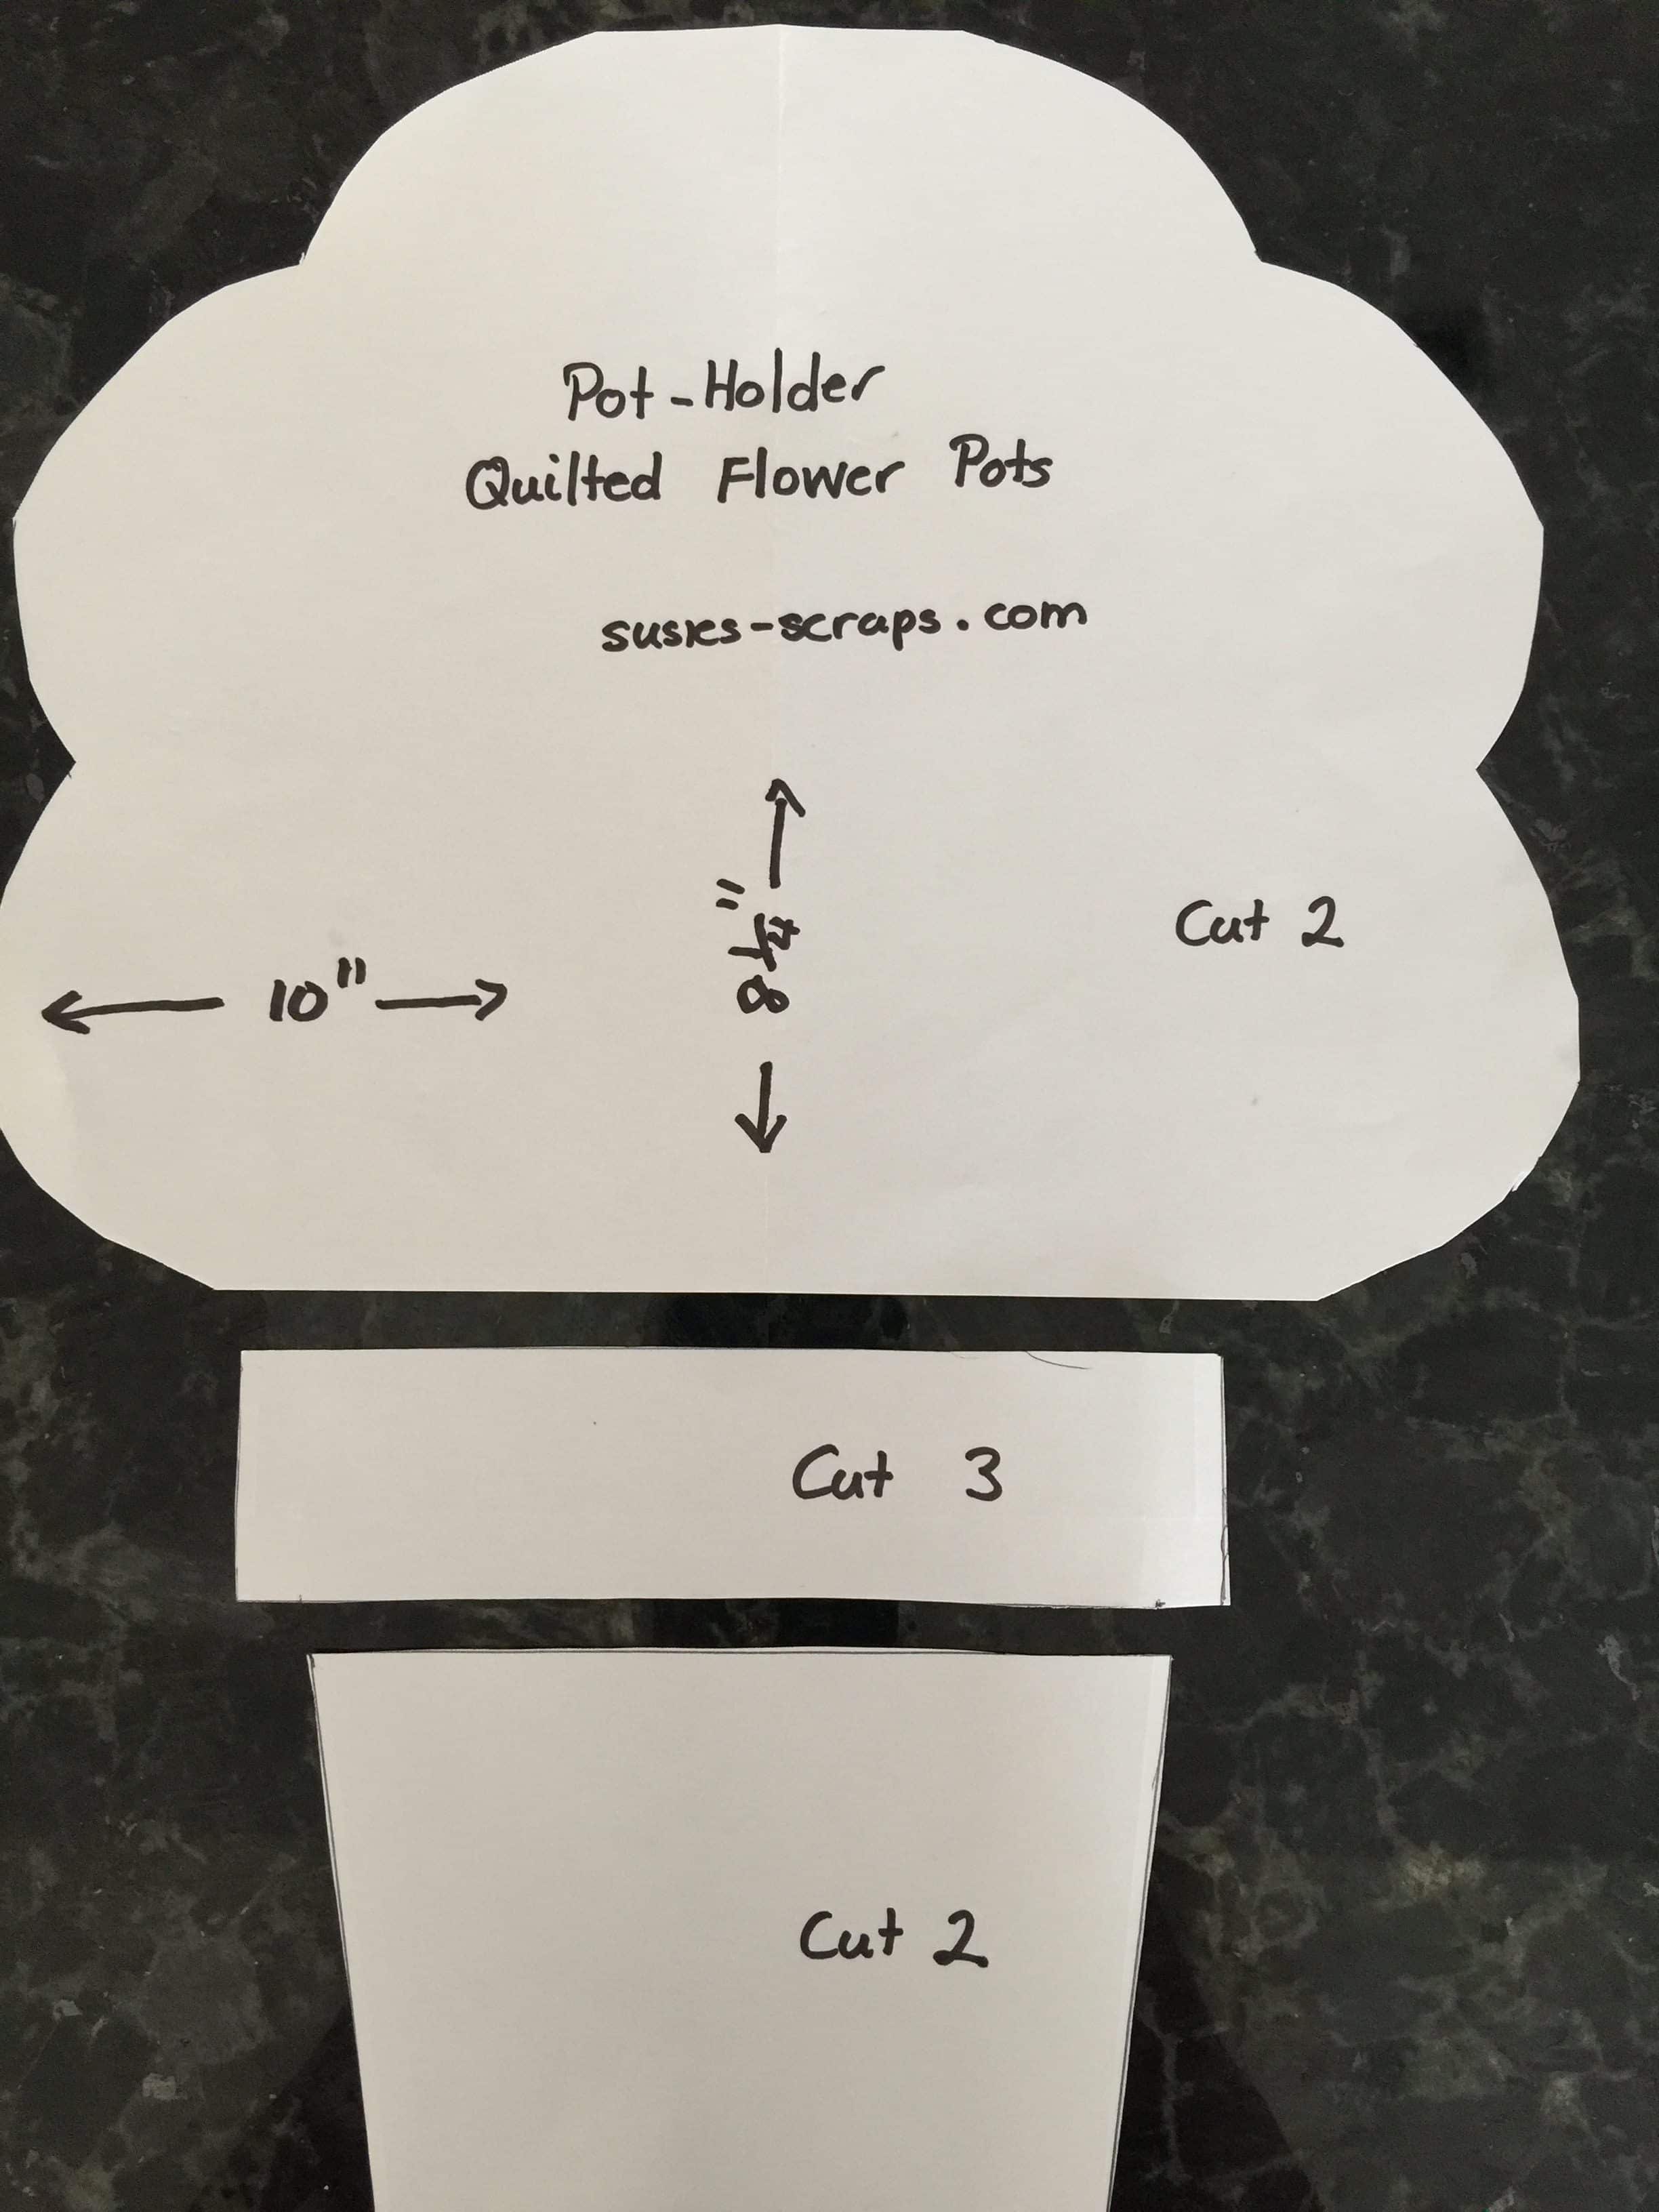
Create the pattern. Cut out the Templet pieces. Use a piece of A4 paper for making the pattern. Be aware that US Letter is a bit shorter, so cut your 1 1/2” x 6’ pieces from a 1 1/2” width of fabric strip.
Cut 2 of the flowers, 2 of the pot shapes and 3 of the 1 1/2″ x 6 ” strips.
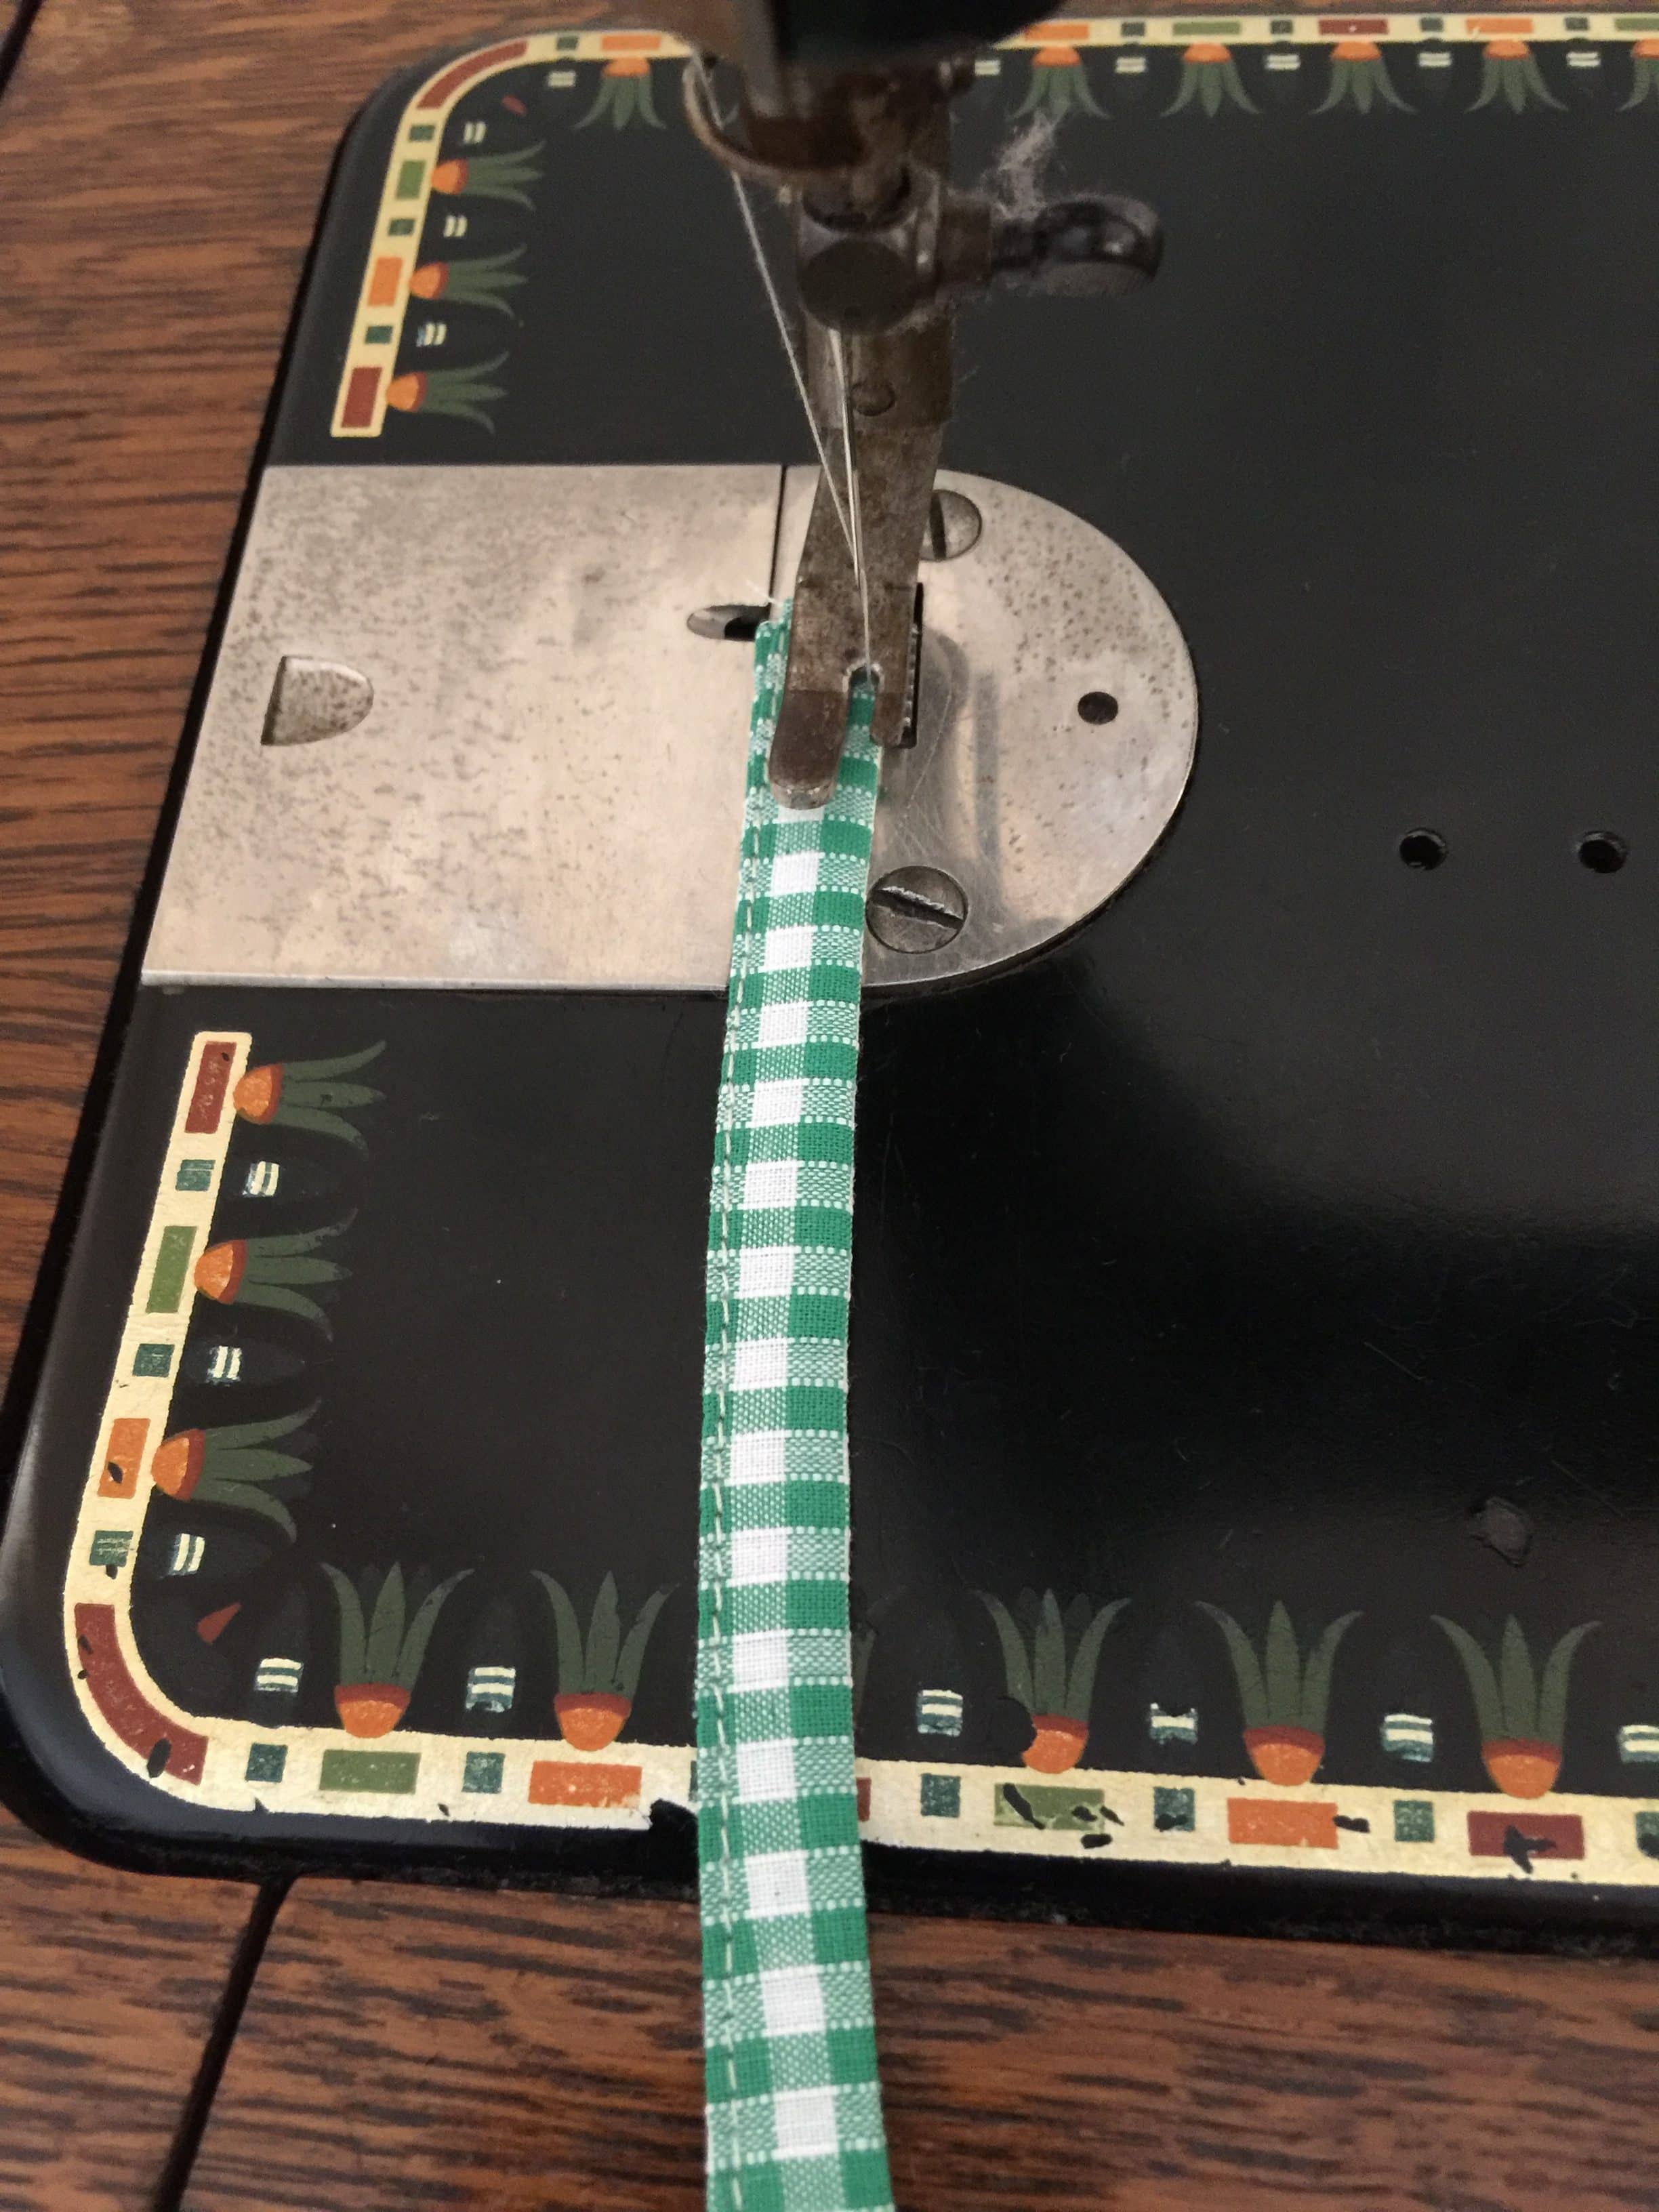
Take one of the strips. Fold the edges to the centre, wrong sides together, fold in half lengthwise. Pin. Sew Close to the edge on each side to make the loop.
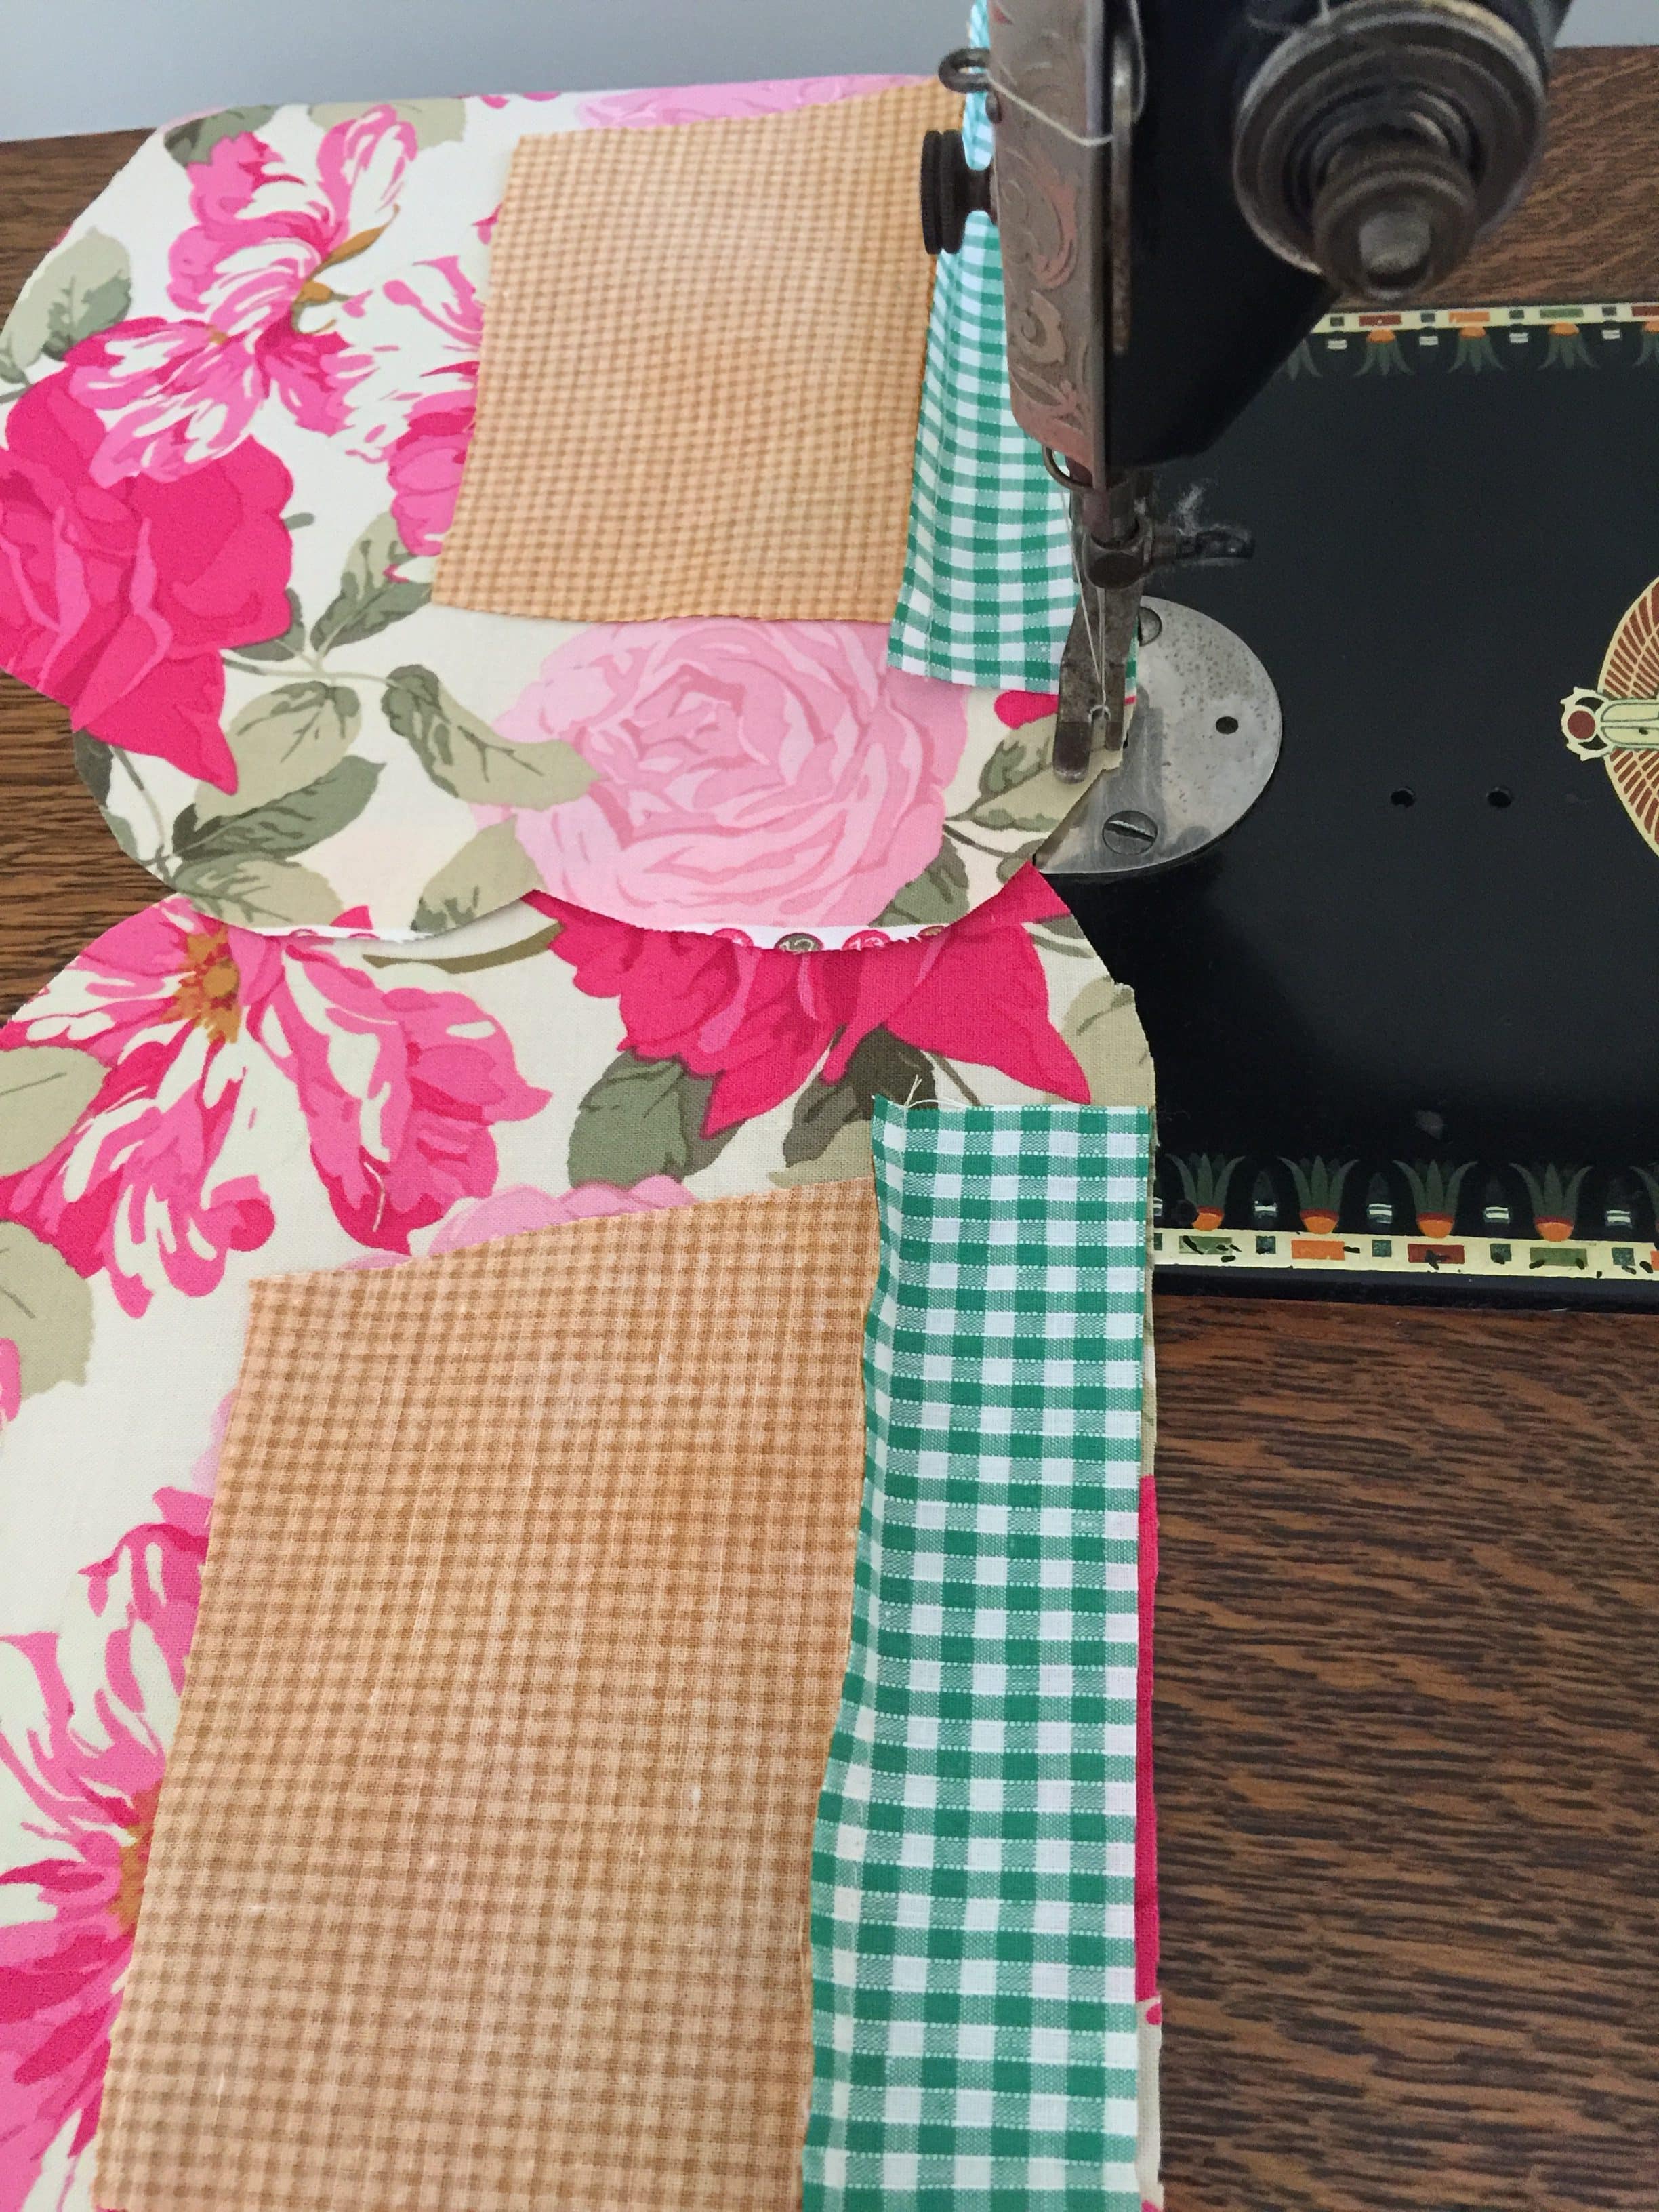
Centre a pot rim to the top of a pot shape, right sides together. Sew. Centre the base of the Floral piece on the pot rim. Sew. Repeat for the second set.
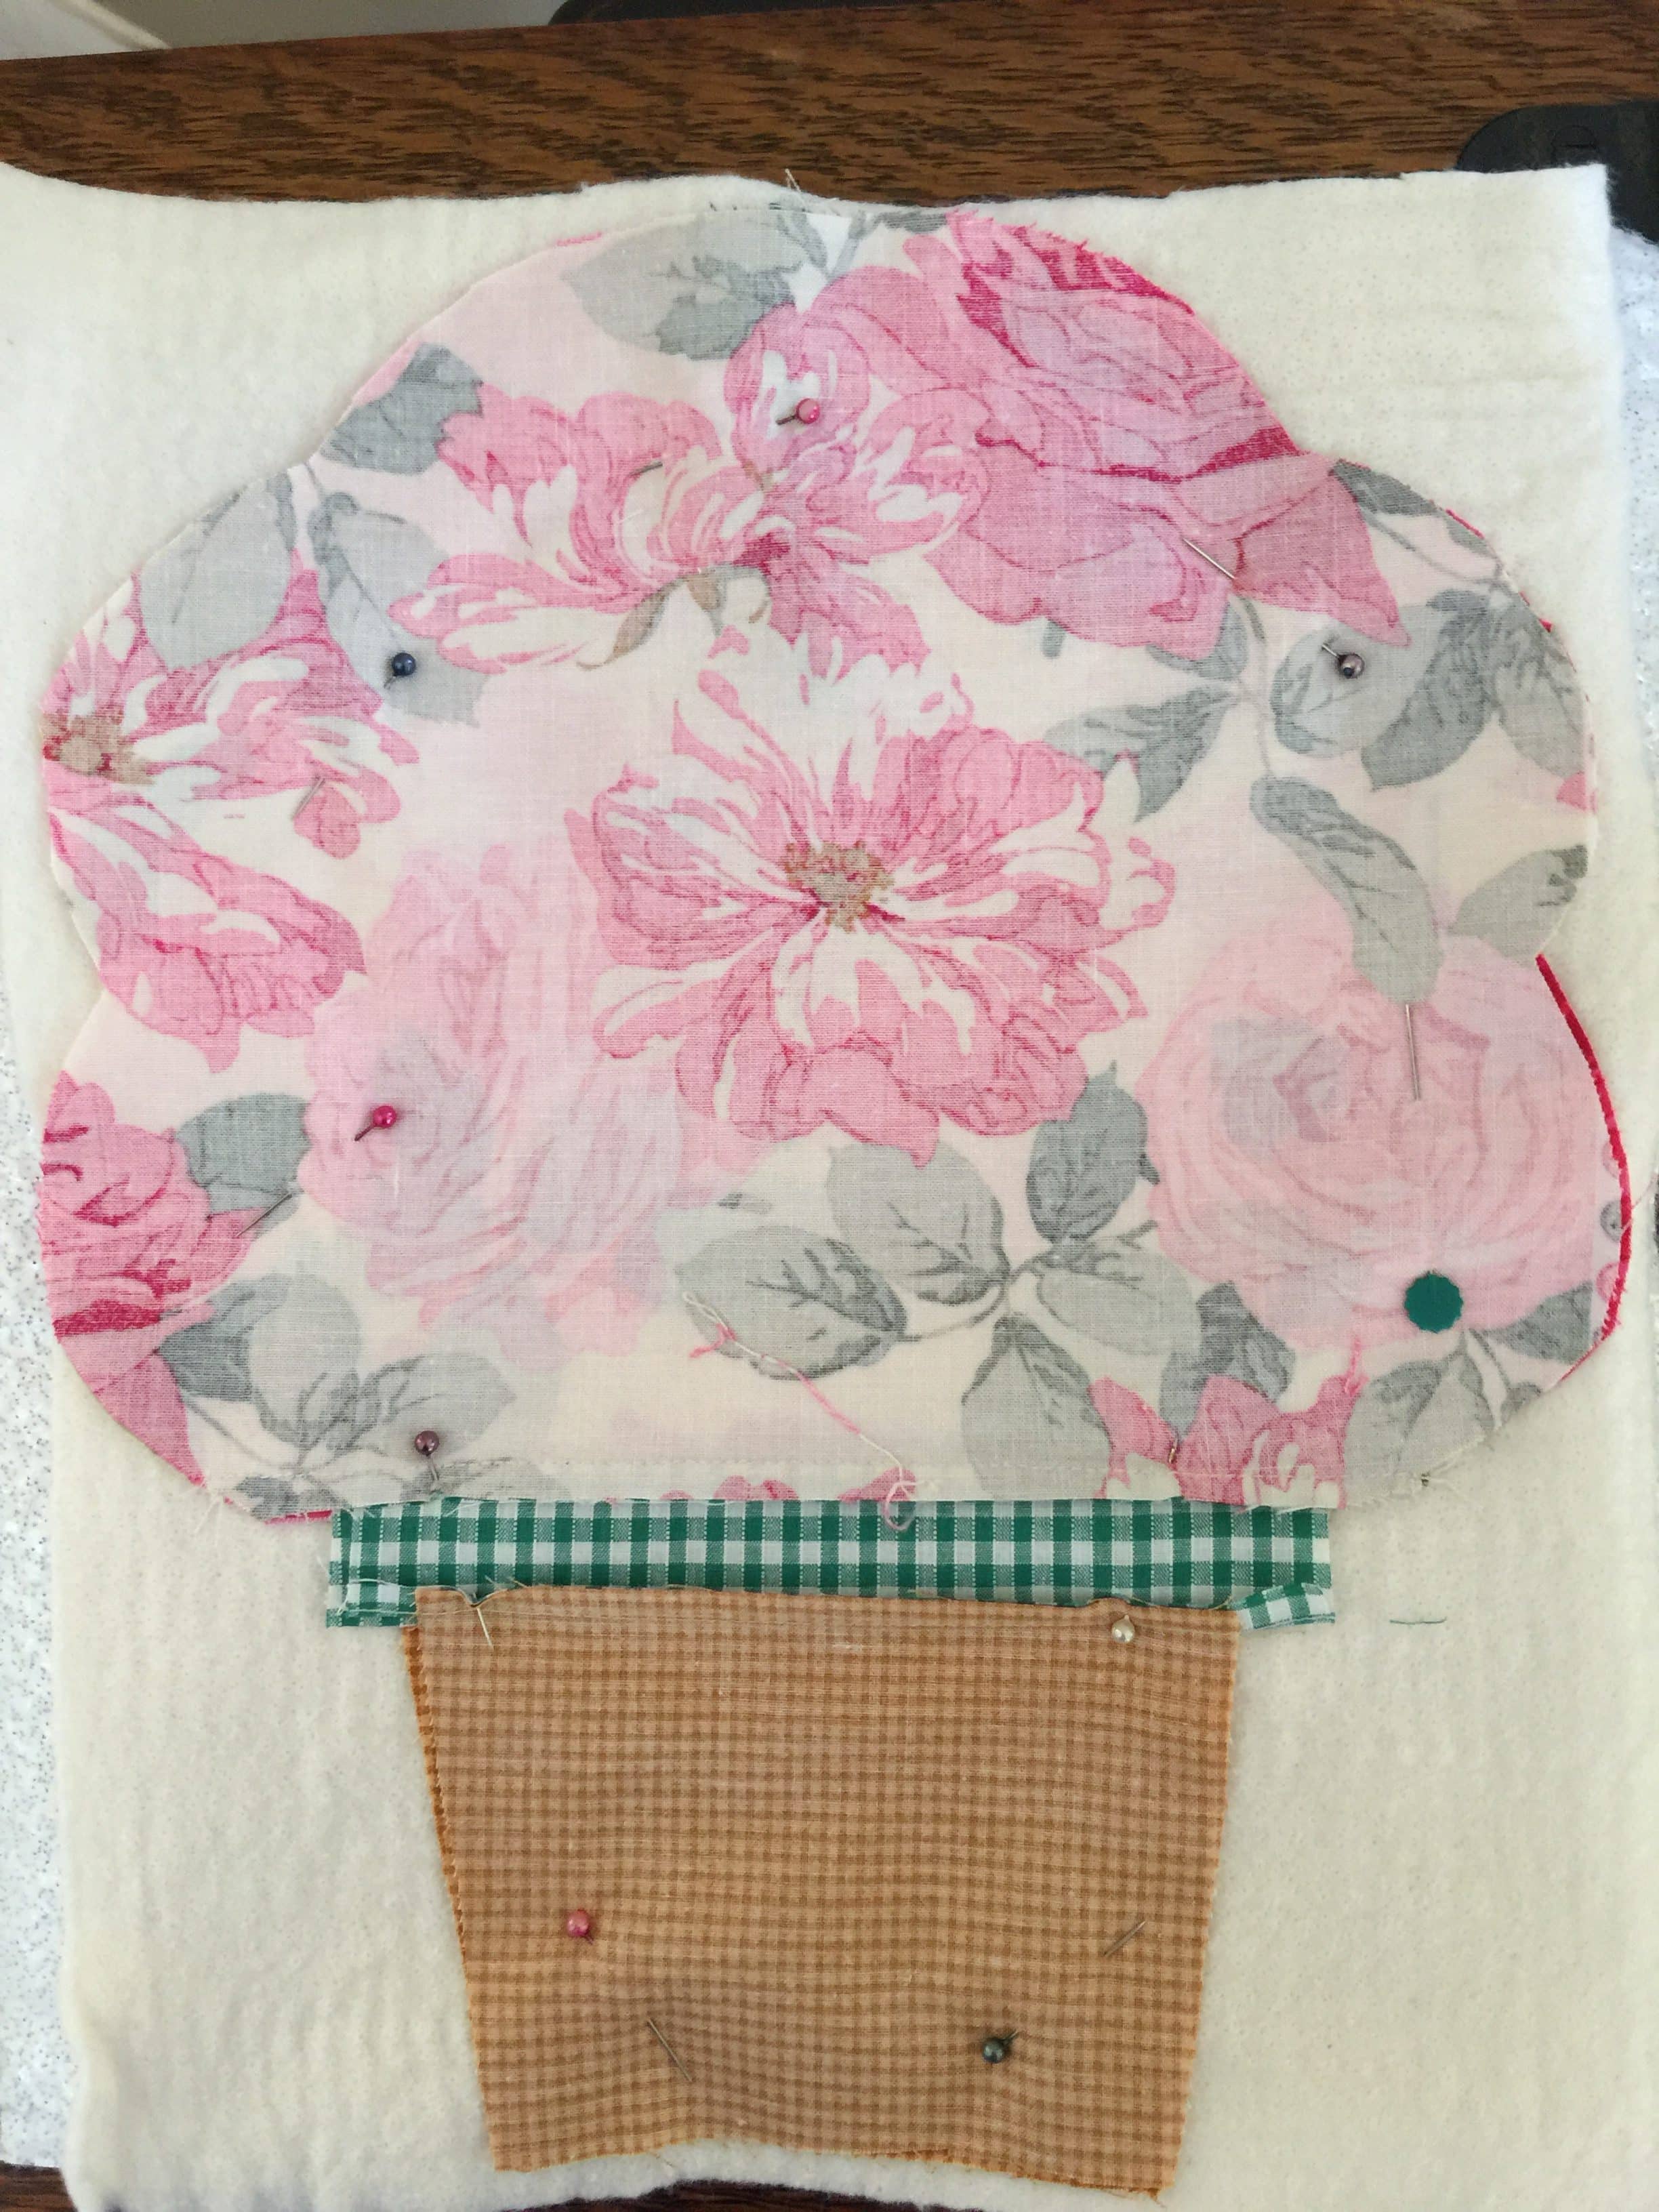
Press the two units. Fold the loop in half. Attach to the top centre of of the units, raw edges aligning.
Place the batting and Insulbrite pieces together. Put the two flower pots right sides together centring on the batting. Pin all layers together.
Leaving the base of the pot open, carefully stitch around all sides pivoting as you go. Trim off excess batting to the edge of the shape. Clip curves and corners up to the seam. Do not cut through.
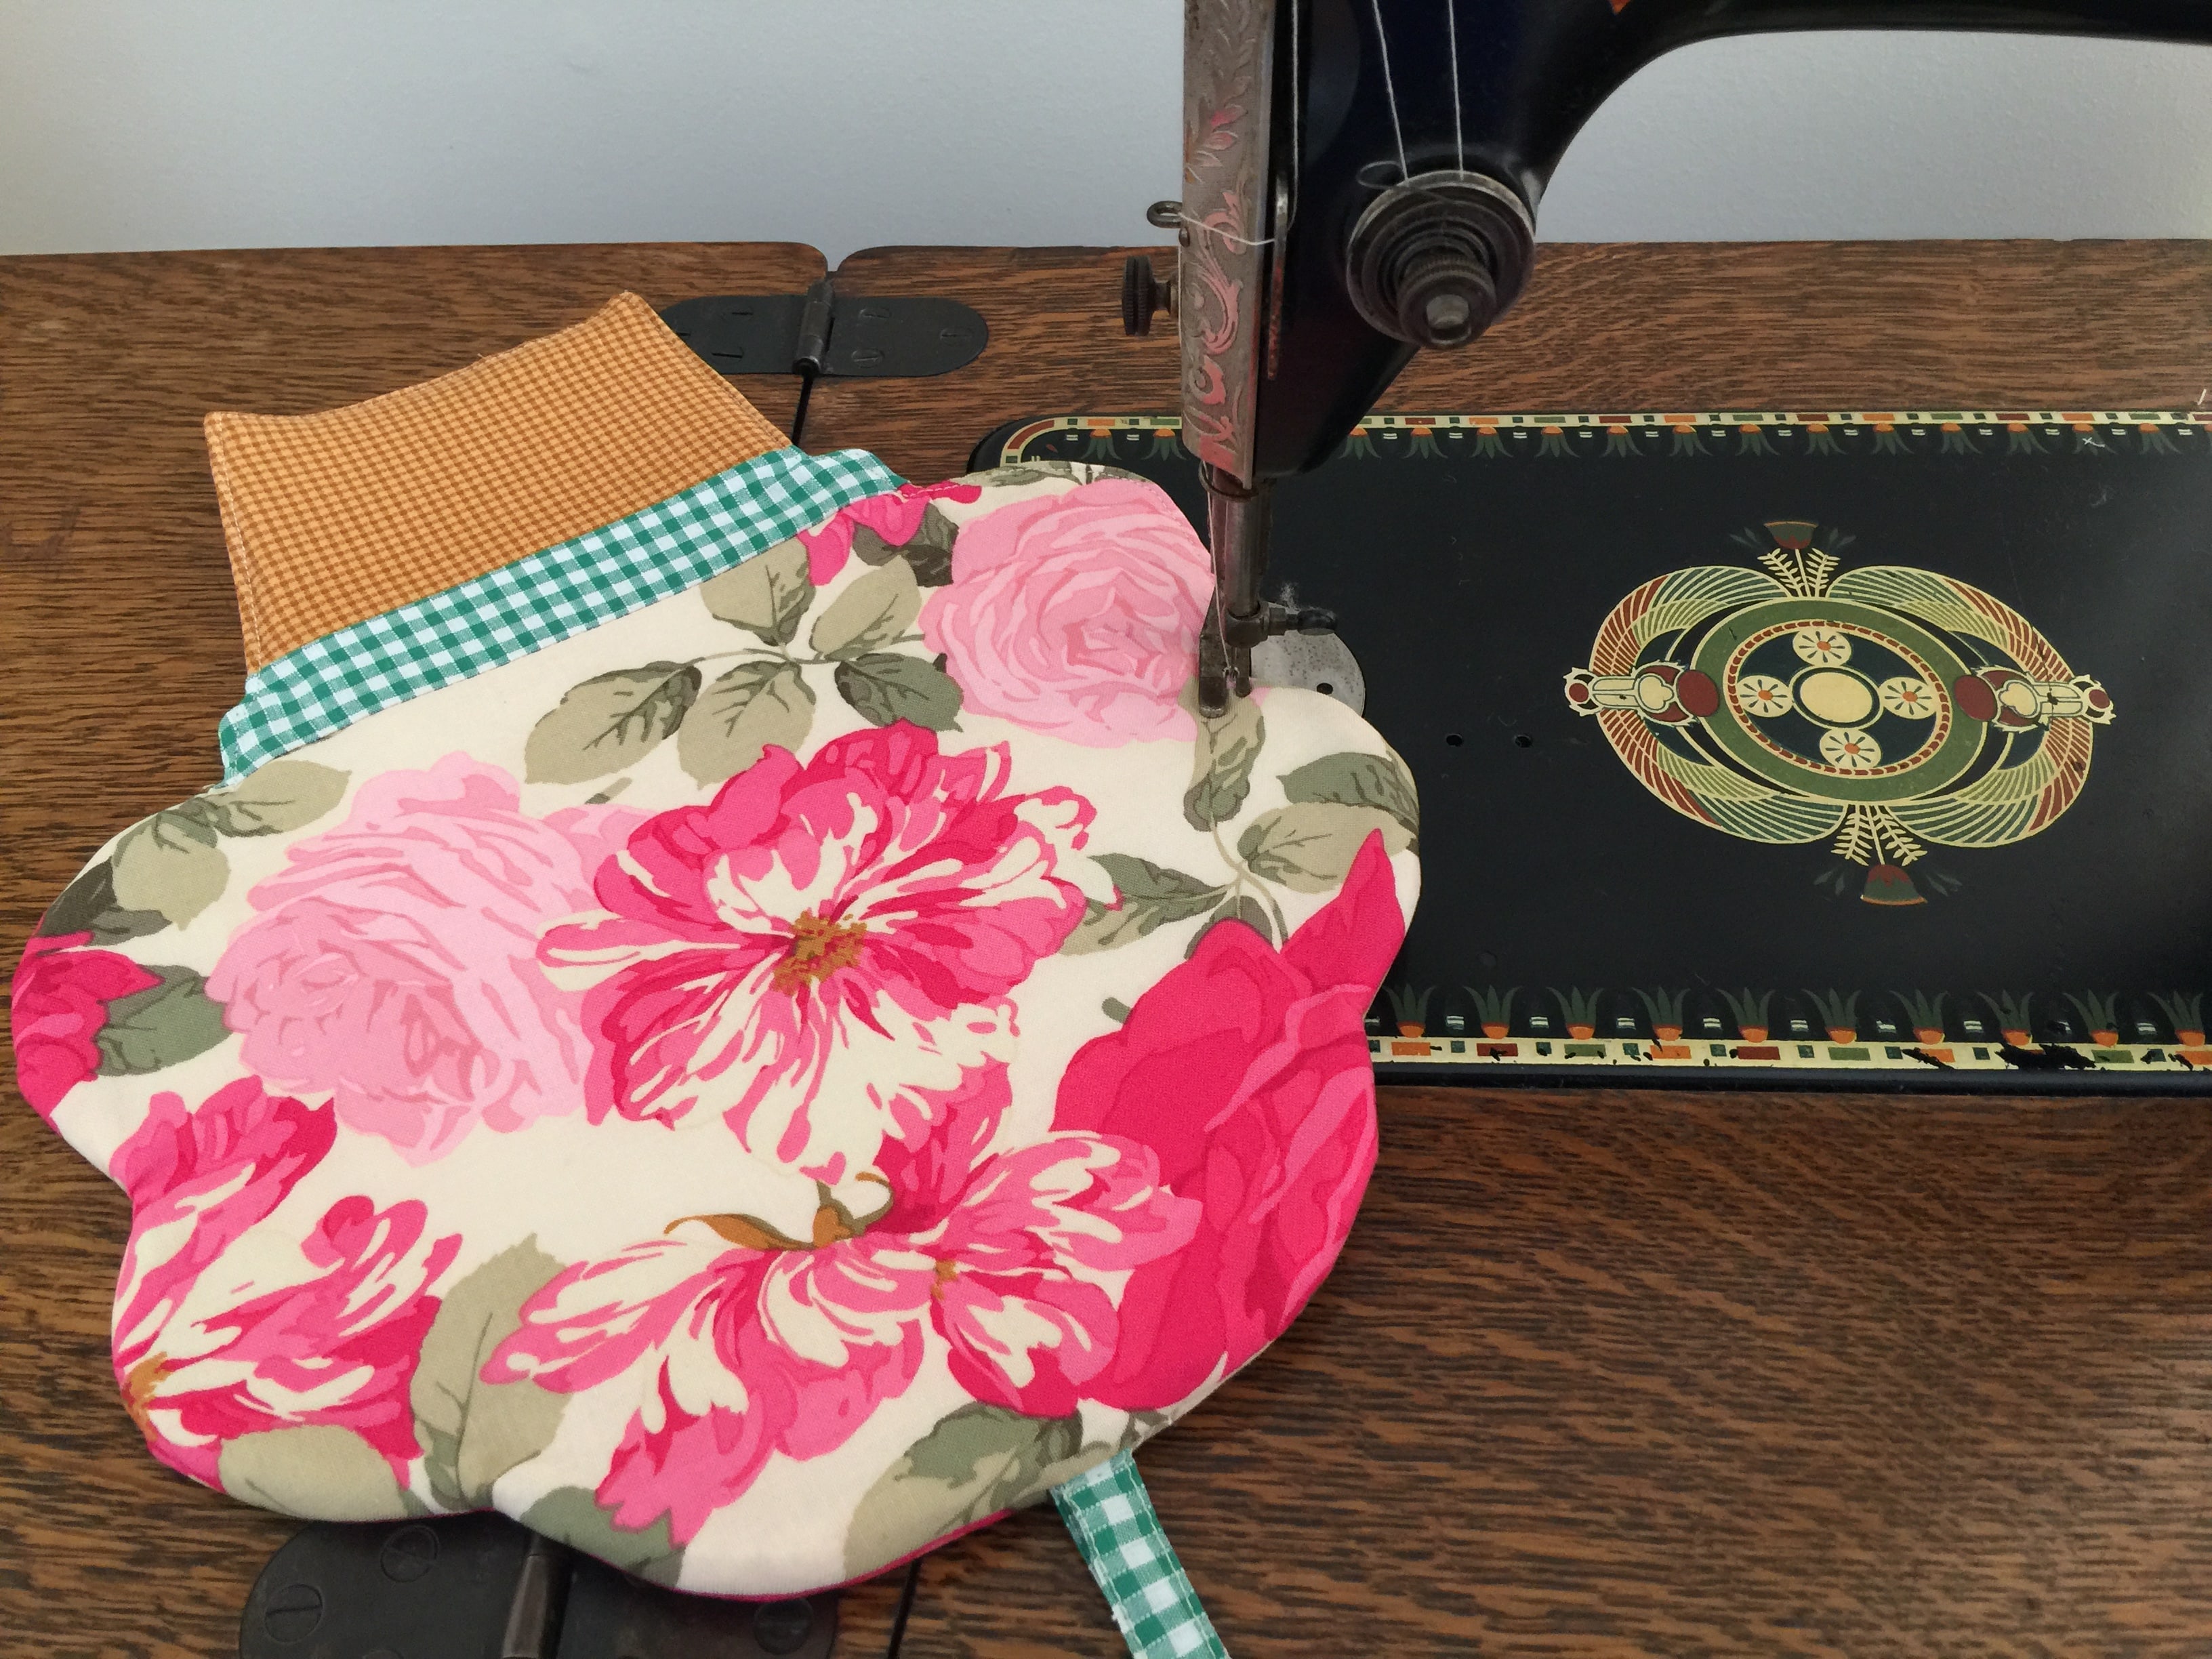
Turn the whole to the right side. Use the loop to help pull it through. Use the chopstick to push the seam edges flat. Turn in the seam allowance at the base. Press the whole piece and then topstitch all around close to the edge.
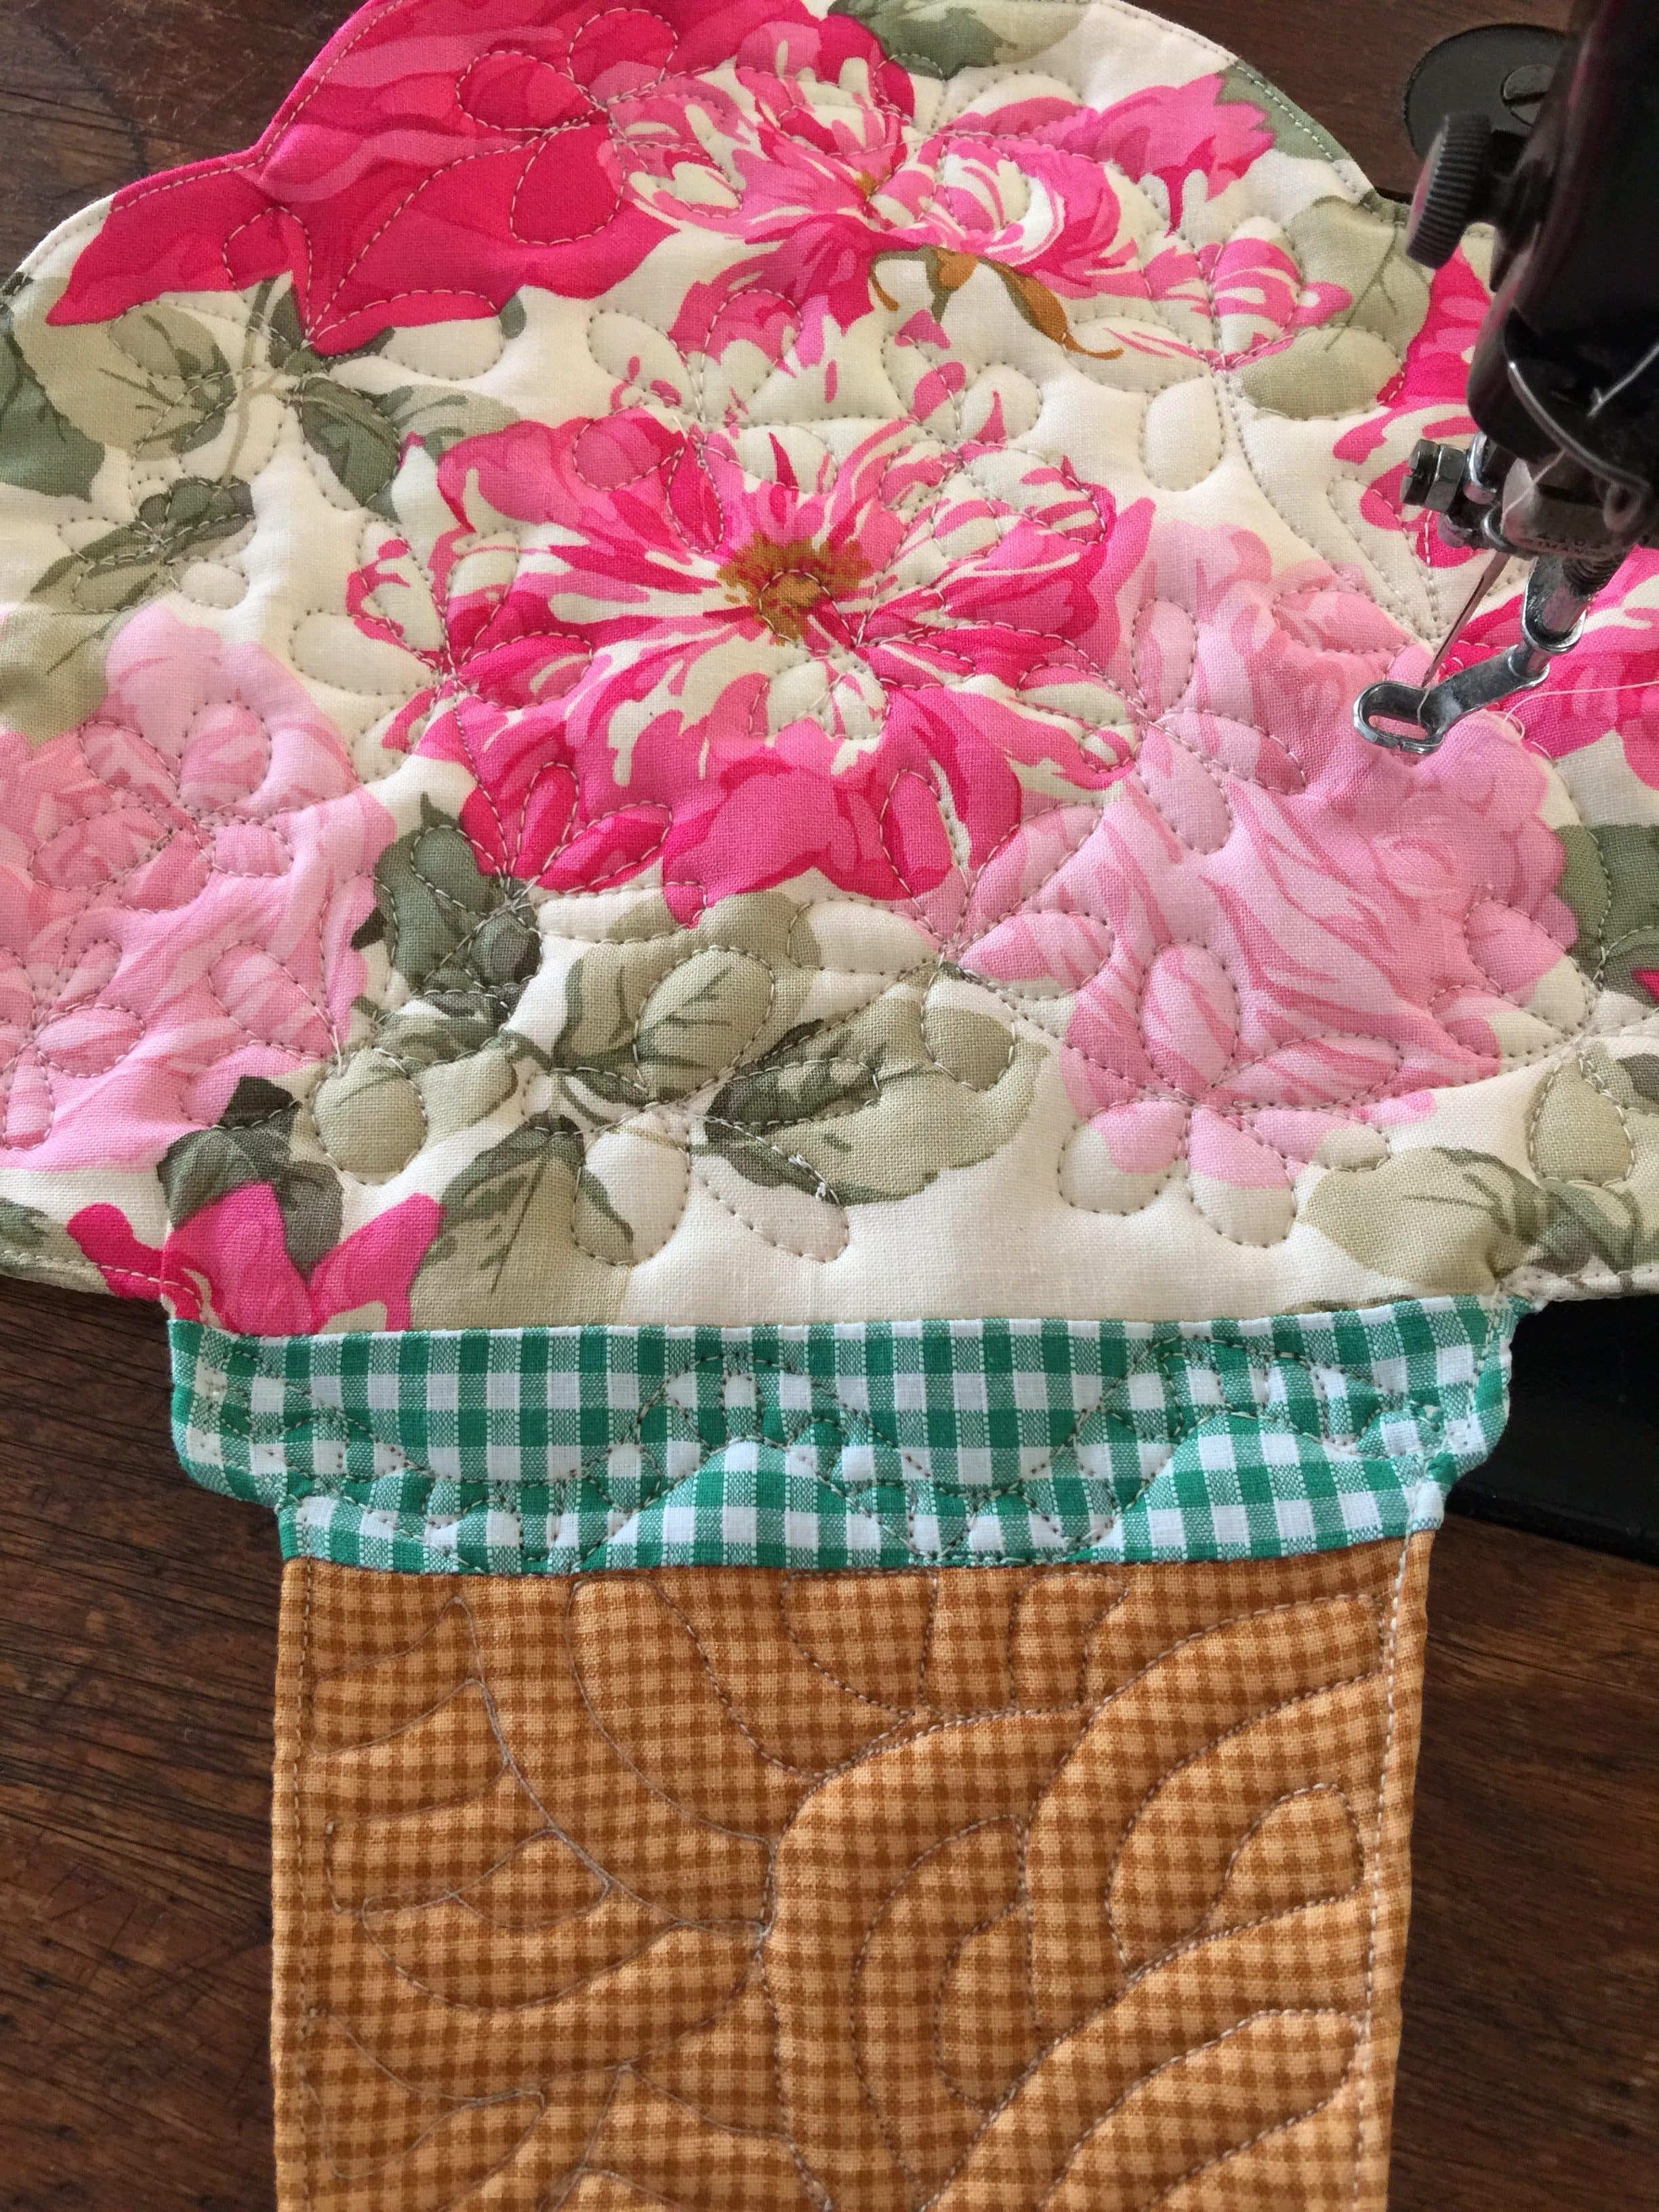
Quilt as desired. I used the opportunity to do some free motion quilting on my Flower Pots.
Here is two completed Pot-Holder Flower Pots.
I hope you enjoy this new project!
If you enjoyed this post, you may also like
or this one,
Susie.


Thanks for a great spring project! I’m going to make some for friends to welcome spring or help with winter not going away. Either way they’ll be fun and practical.
Thanks for this wonderful idea! I really don’t like using Insulbrite because it leaves tiny metal pieces when sewing it, but haven’t found a good alternative until this. Wool batting sounds like a viable material. It would make a nice and quick gift item and who doesn’t need new potholders??
Adorable !! 🌸