Irregular Triangle Foundation Piecing – Tutorial
Hello my Dear Friends and Readers,
So many quilters have used this technique before me. Using a foundation is a way of being able to utilise even the smallest amount of fabric. This can be following a pattern, like with paper piecing or like with “Crazy Quilting”, where small pieces of different size and weights of fabric are sewn together in a random or crazy or “crazed” style, to eventually become one block. The pieces are either carefully pieced to fit together or pieced onto a foundation. The blocks may also be embellished with lace or embroidery or other decorative notions.
Piecing Irregular Triangles onto a foundation block could also be referred to as a type of Improvisational Patchwork. The pieces for these units can be cut by design or, as I prefer, cut by chance then incorporated onto a foundation. Whichever way this technique is labelled, I like the practicality of finding a place for my little scrap triangles.
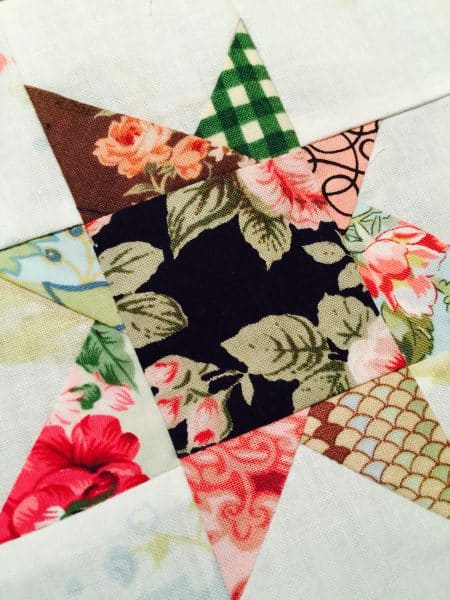
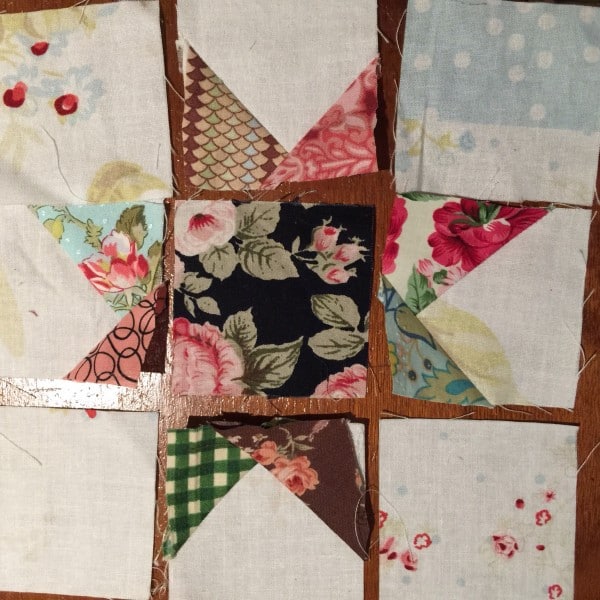
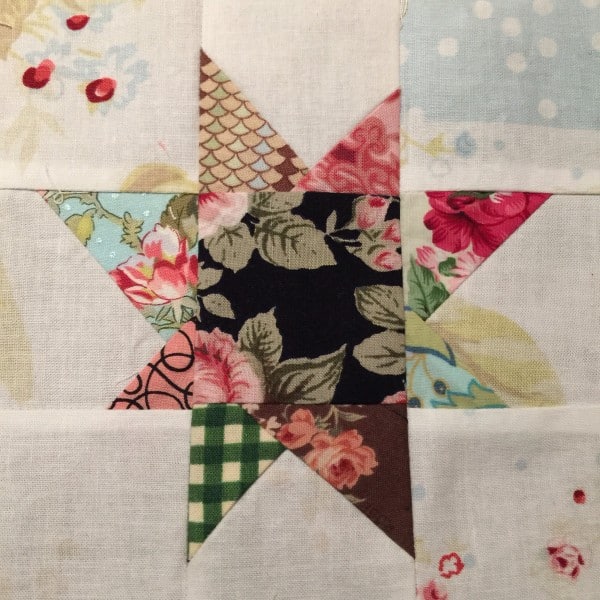
I have to say I really love this method of using small triangle scraps, to make lovely little star blocks. Even if one is not entirely enamoured by irregular piecing, these little blocks are still lovely to look at because they do take on the quality of a star which has irregular strengths of light beams coming from them. Every star will be slightly different and definitely unique from each maker, as little pieces of scrap fabric are incorporated. Using the foundation piecing brings stability to the block.
Practically speaking, you may remember when I posted my “Quilt Pantry”.
Here, I can store small amounts of scrap fabric to be incorporated into another project. Really you cannot overestimate the efficiency of this technique, because, when it comes time to sew, these little pieces, from many sources, have already been cut. Think about how long it would take to now find many different fabrics and cut little triangles for a very scrappy project – many hours I think.
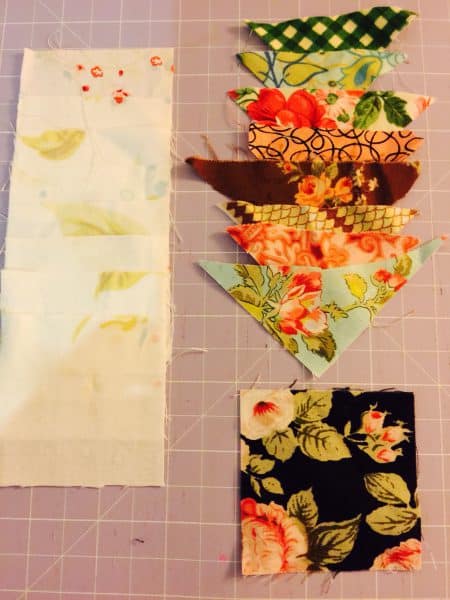
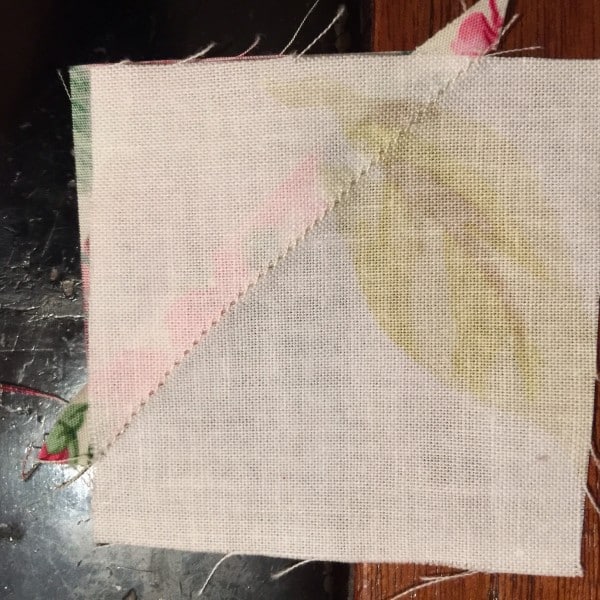
Bear in mind, these can be made in any size you prefer, but for today’s example, I will use 2 1/2″ squares as my foundation and background for the block. Finished block size 6 1/2″ x 6 1/2”.
To make one of these star blocks you will need;

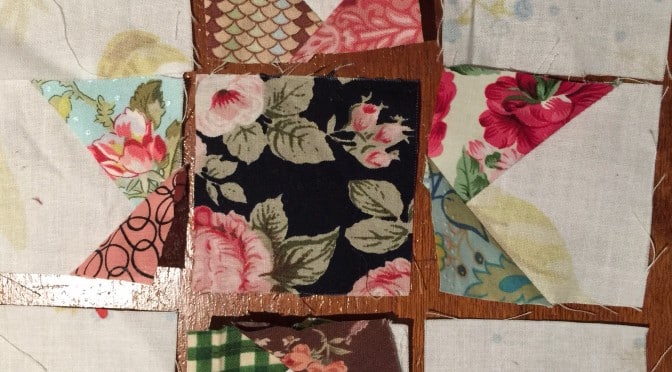
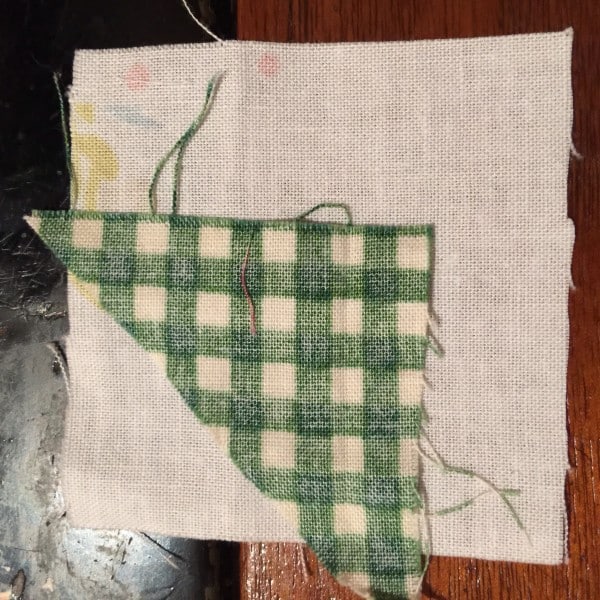
This is a fantastic tutorial since I have been saving all my uneven triangles and refused to get them out of my drawer. So, I need to pull them ALL Out and start this beautiful project you have done. Thank you for an excellent website.