
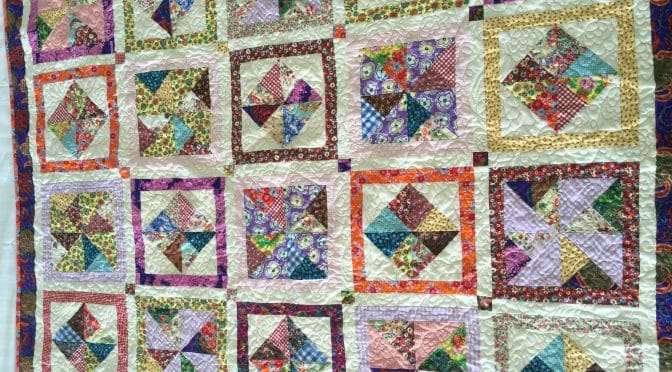
Framing Pinwheels Quilt and Pattern
We make quilts for many reasons. I’ve been having a lovely time making this quilt! Nothing like a new baby in the family coming to inspire a new quilt design!
Incidentally this is a big baby quilt. Approximate finished size 47″ x 55″. This means the quilt can be used as a cot quilt and a lap quilt too! Good for any age. Big enough for a mummy to be under when she is feeding too.
Requirements for the Quilt
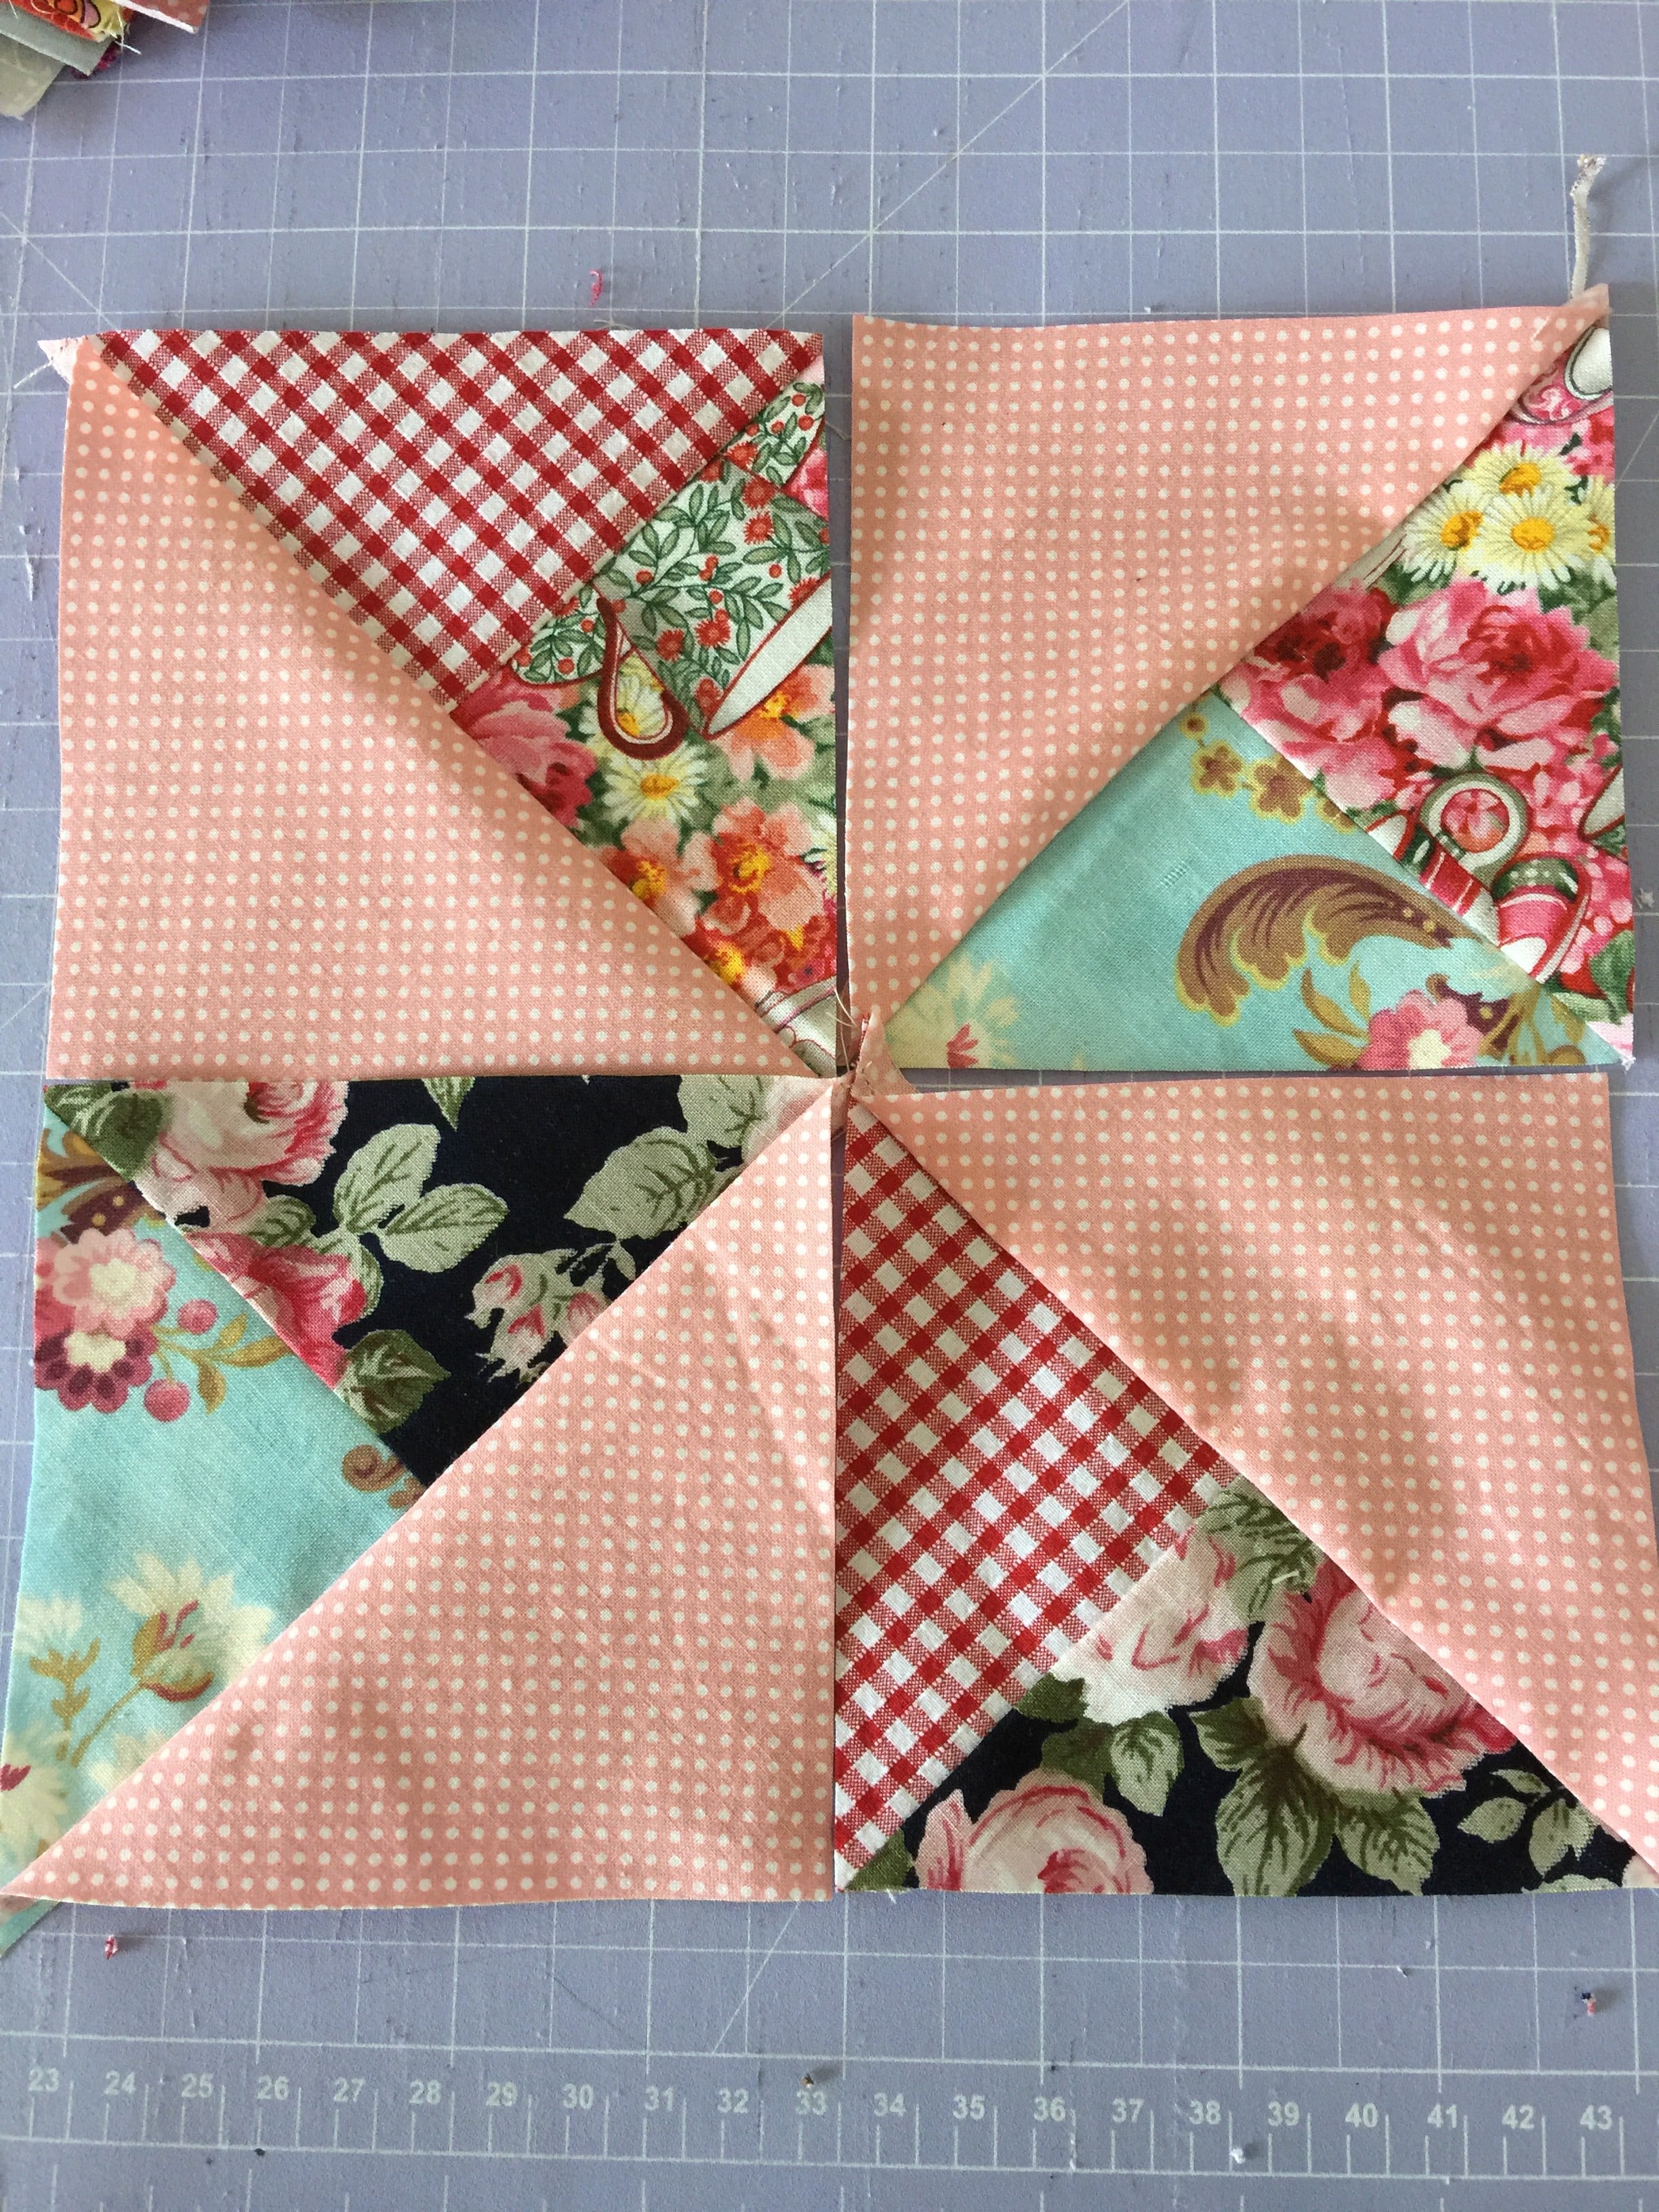
I began by making these easy quilt blocks. I made 10 of each.
Double Pinwheel Block Easy Scrappy Style – Tutorial
And Scrappy Pinwheel in a Square
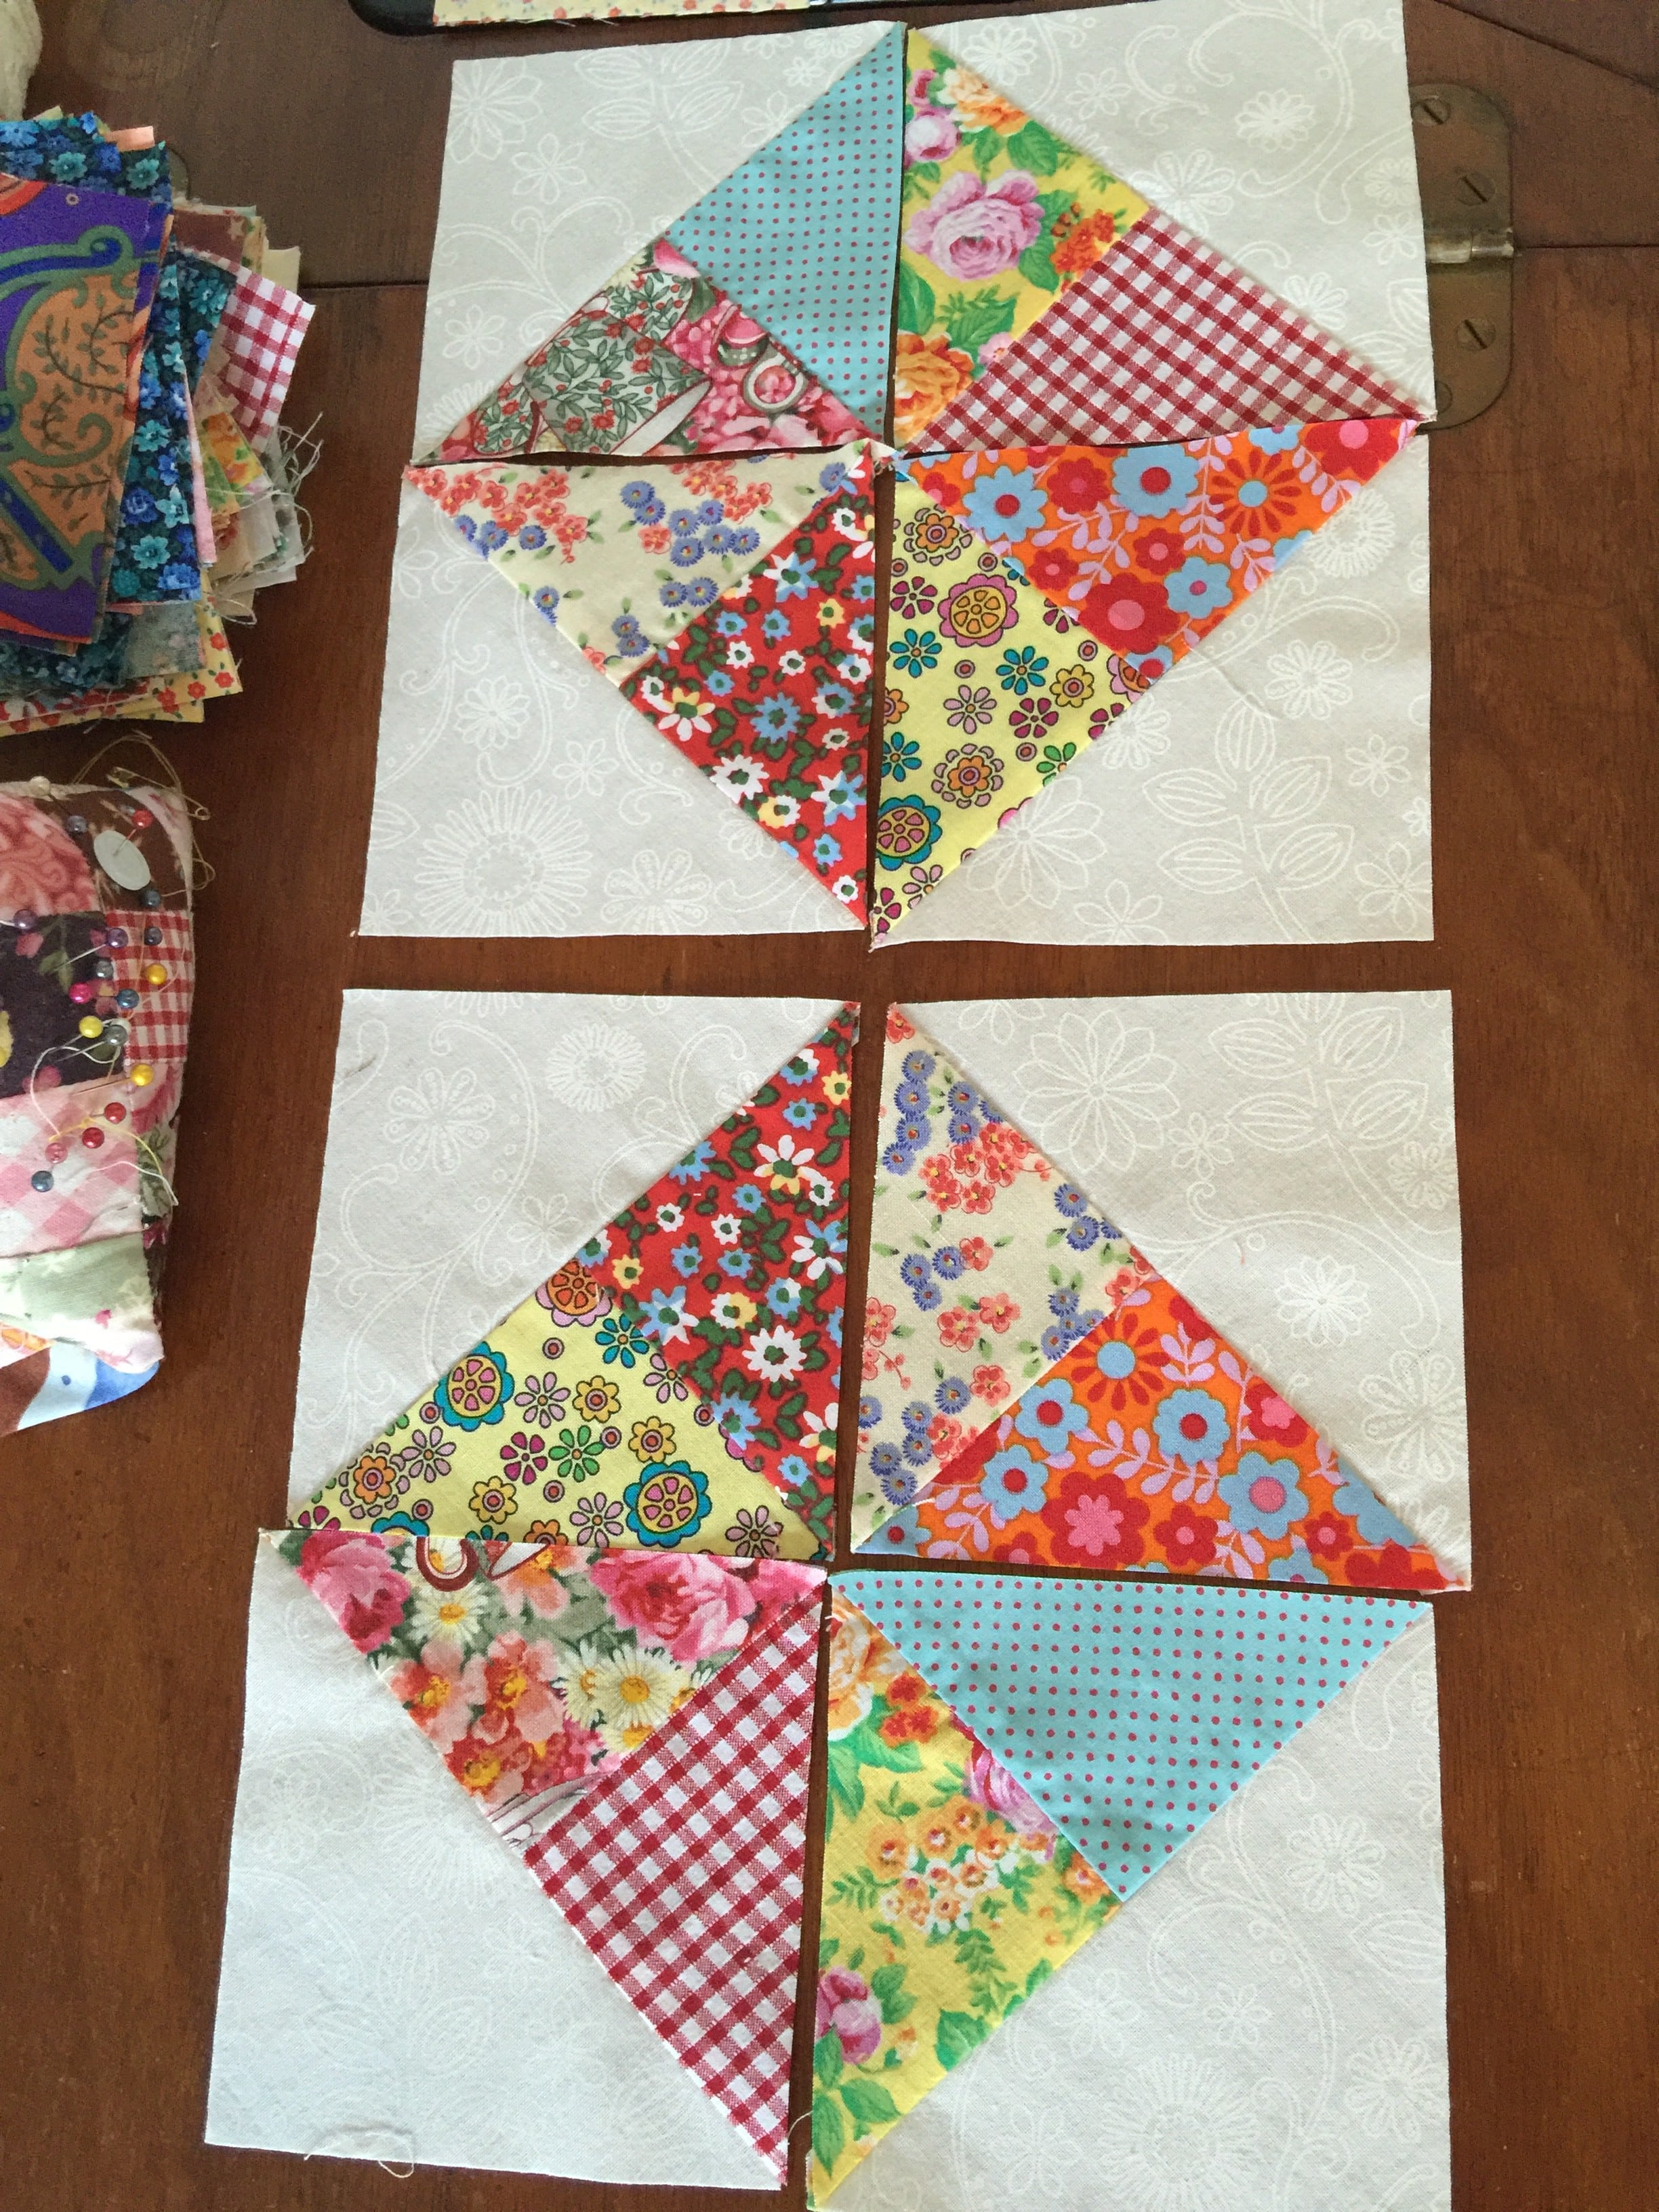
Once the 20 blocks are made, then I proceeded to Scrappy Pinwheel in a Square Part 2.
Scrappy Pinwheel in a Square – Part 2
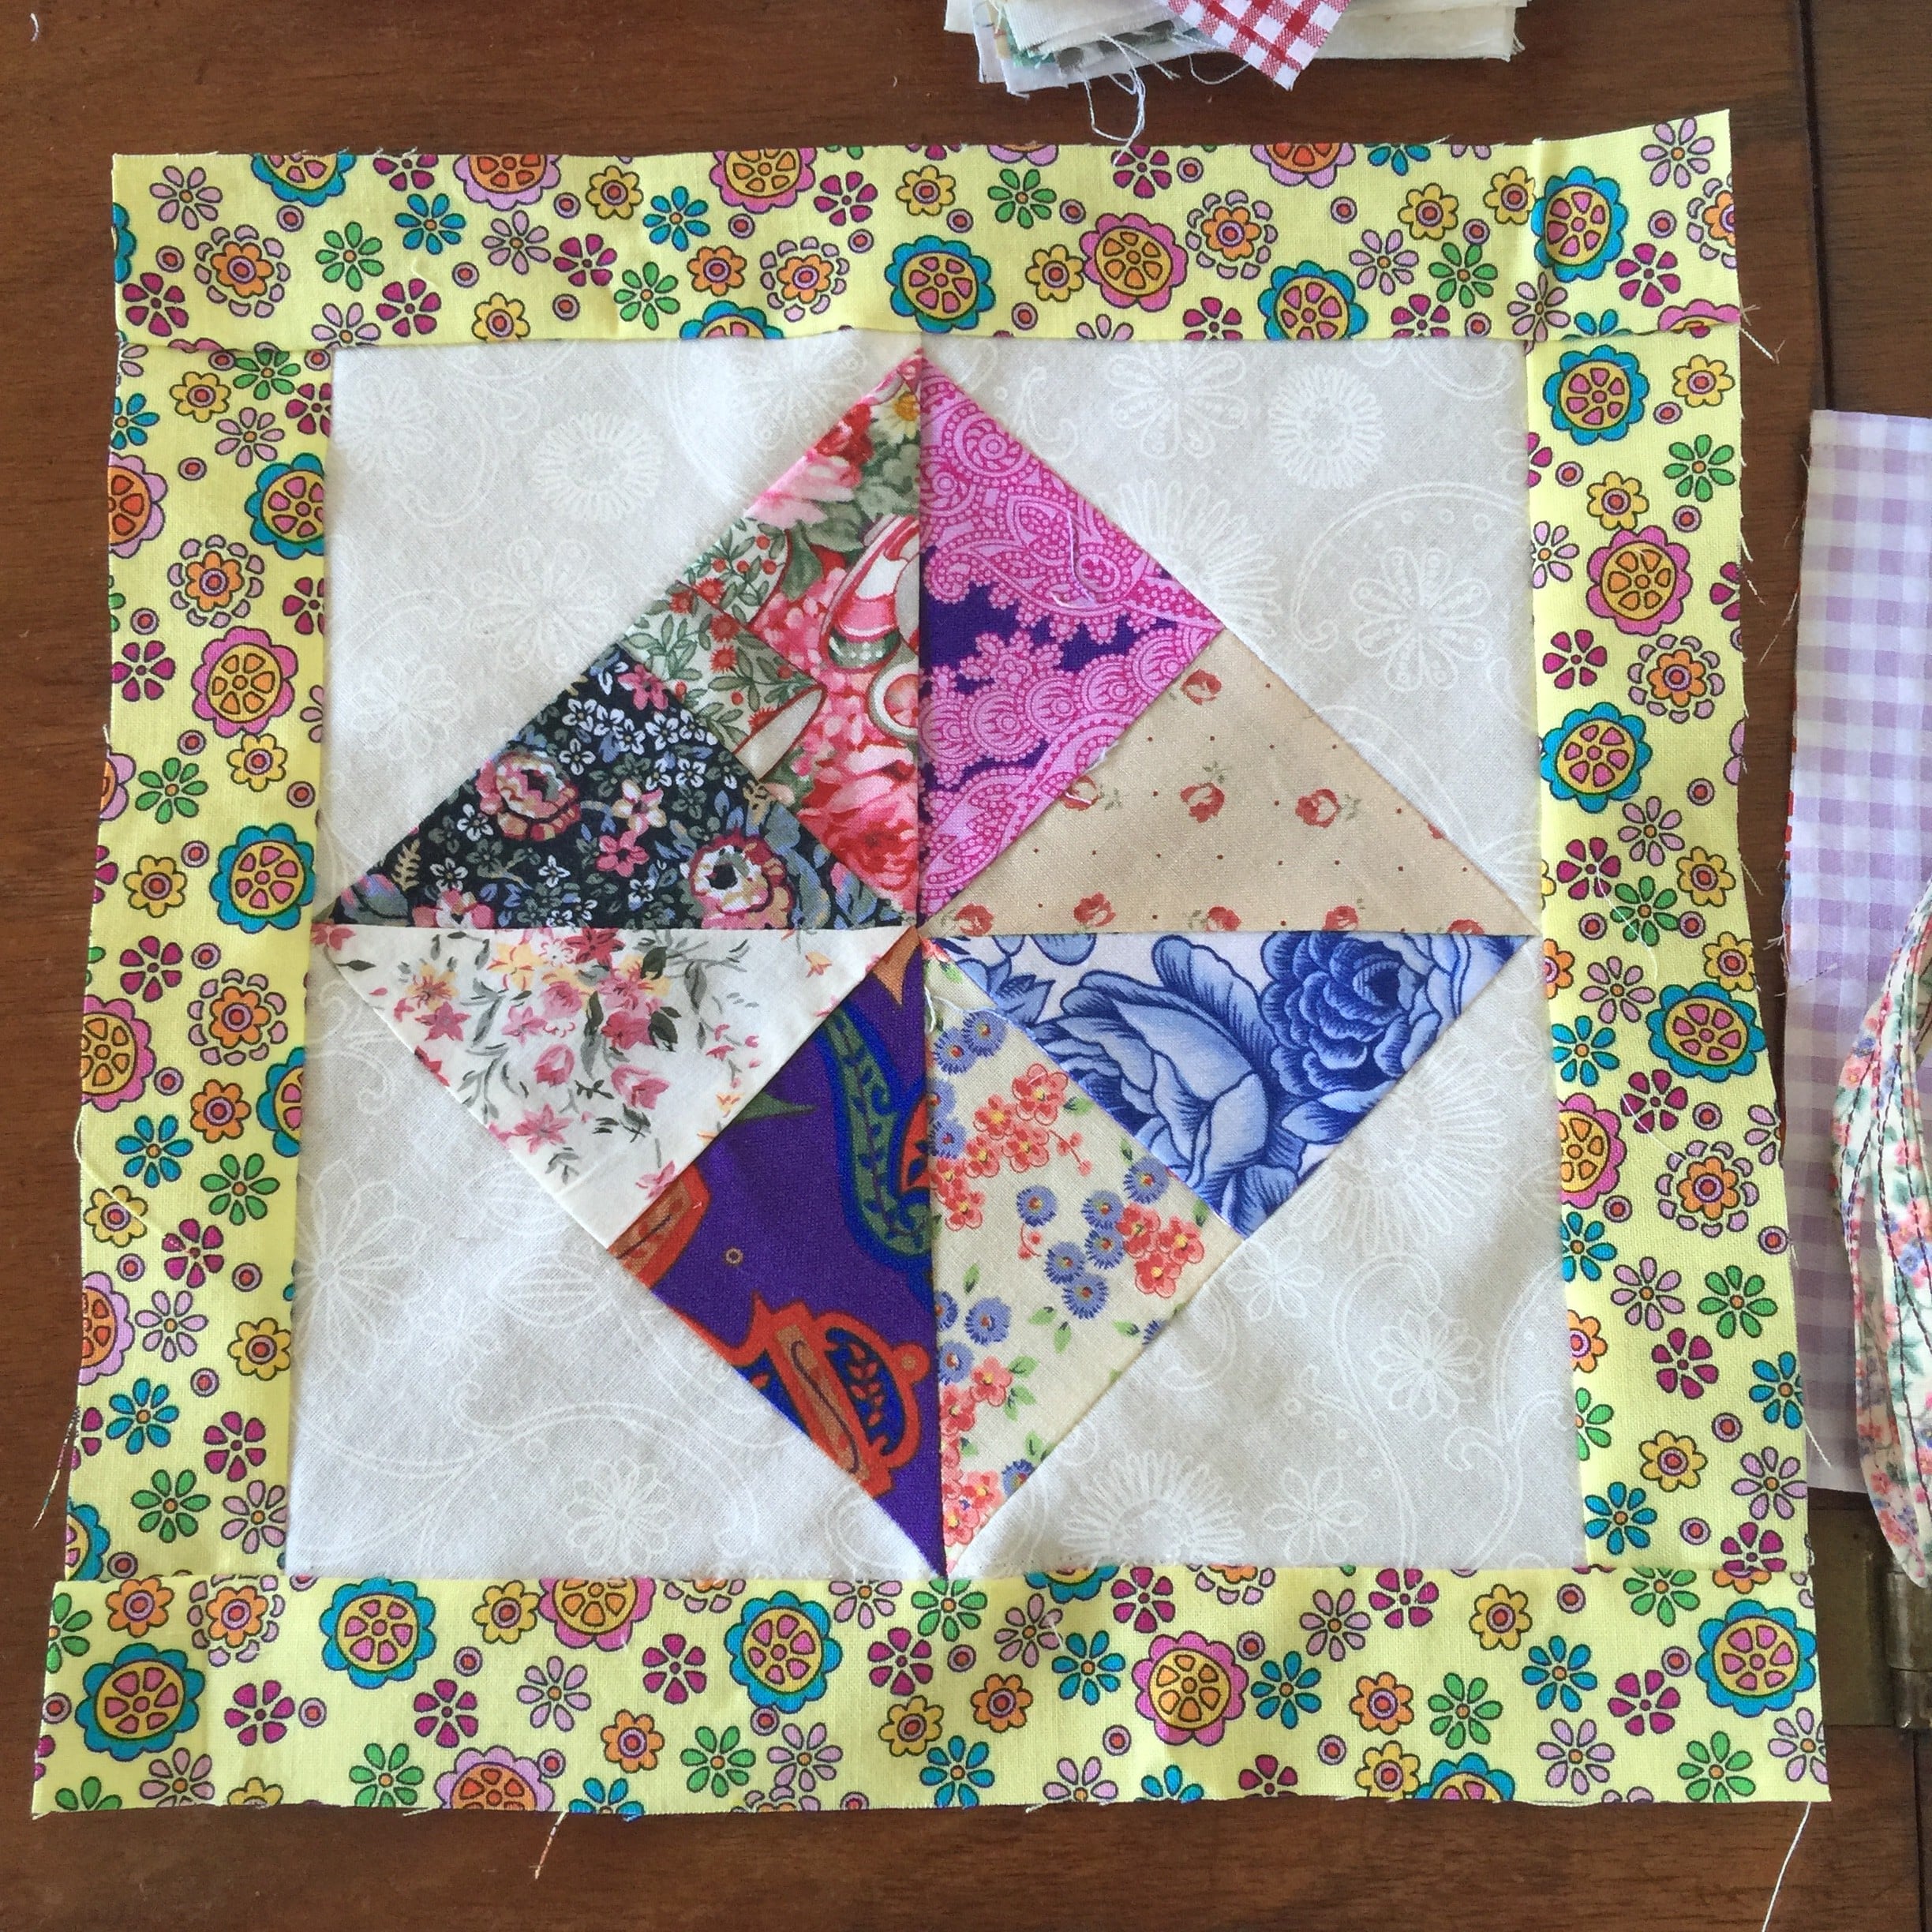
All of the 20 blocks are Framed in the same manner.
Assembling the Quilt
Once the 20 blocks are framed, lay them out in a pleasing arrangement, alternating the two different blocks. Using the 1 1/2″ background fabric strips, sub cut them to make 31 x 10″ strips. These will be the sashing strips. Sew a sashing strip between each block. Use the 12 x 1 1/2″ scrap squares as the cornerstones for the sashings. Make sure to pin each strip well to ensure correct alignment of the strips and cornerstones before sewing.

1st Border
Using 5 of the 11/2″ background strips, make the first border around the outside of the quilt. Measure through the centre width of the quilt to cut the correct lengths for each side as you go.
2nd Border
Using the 2 1/2″ strips, join together, end to end. Then use this continuous strip to make the strips to sew around the perimeter of the quilt to create the second border. Again measure through the quilt centre to determine each length as you go.
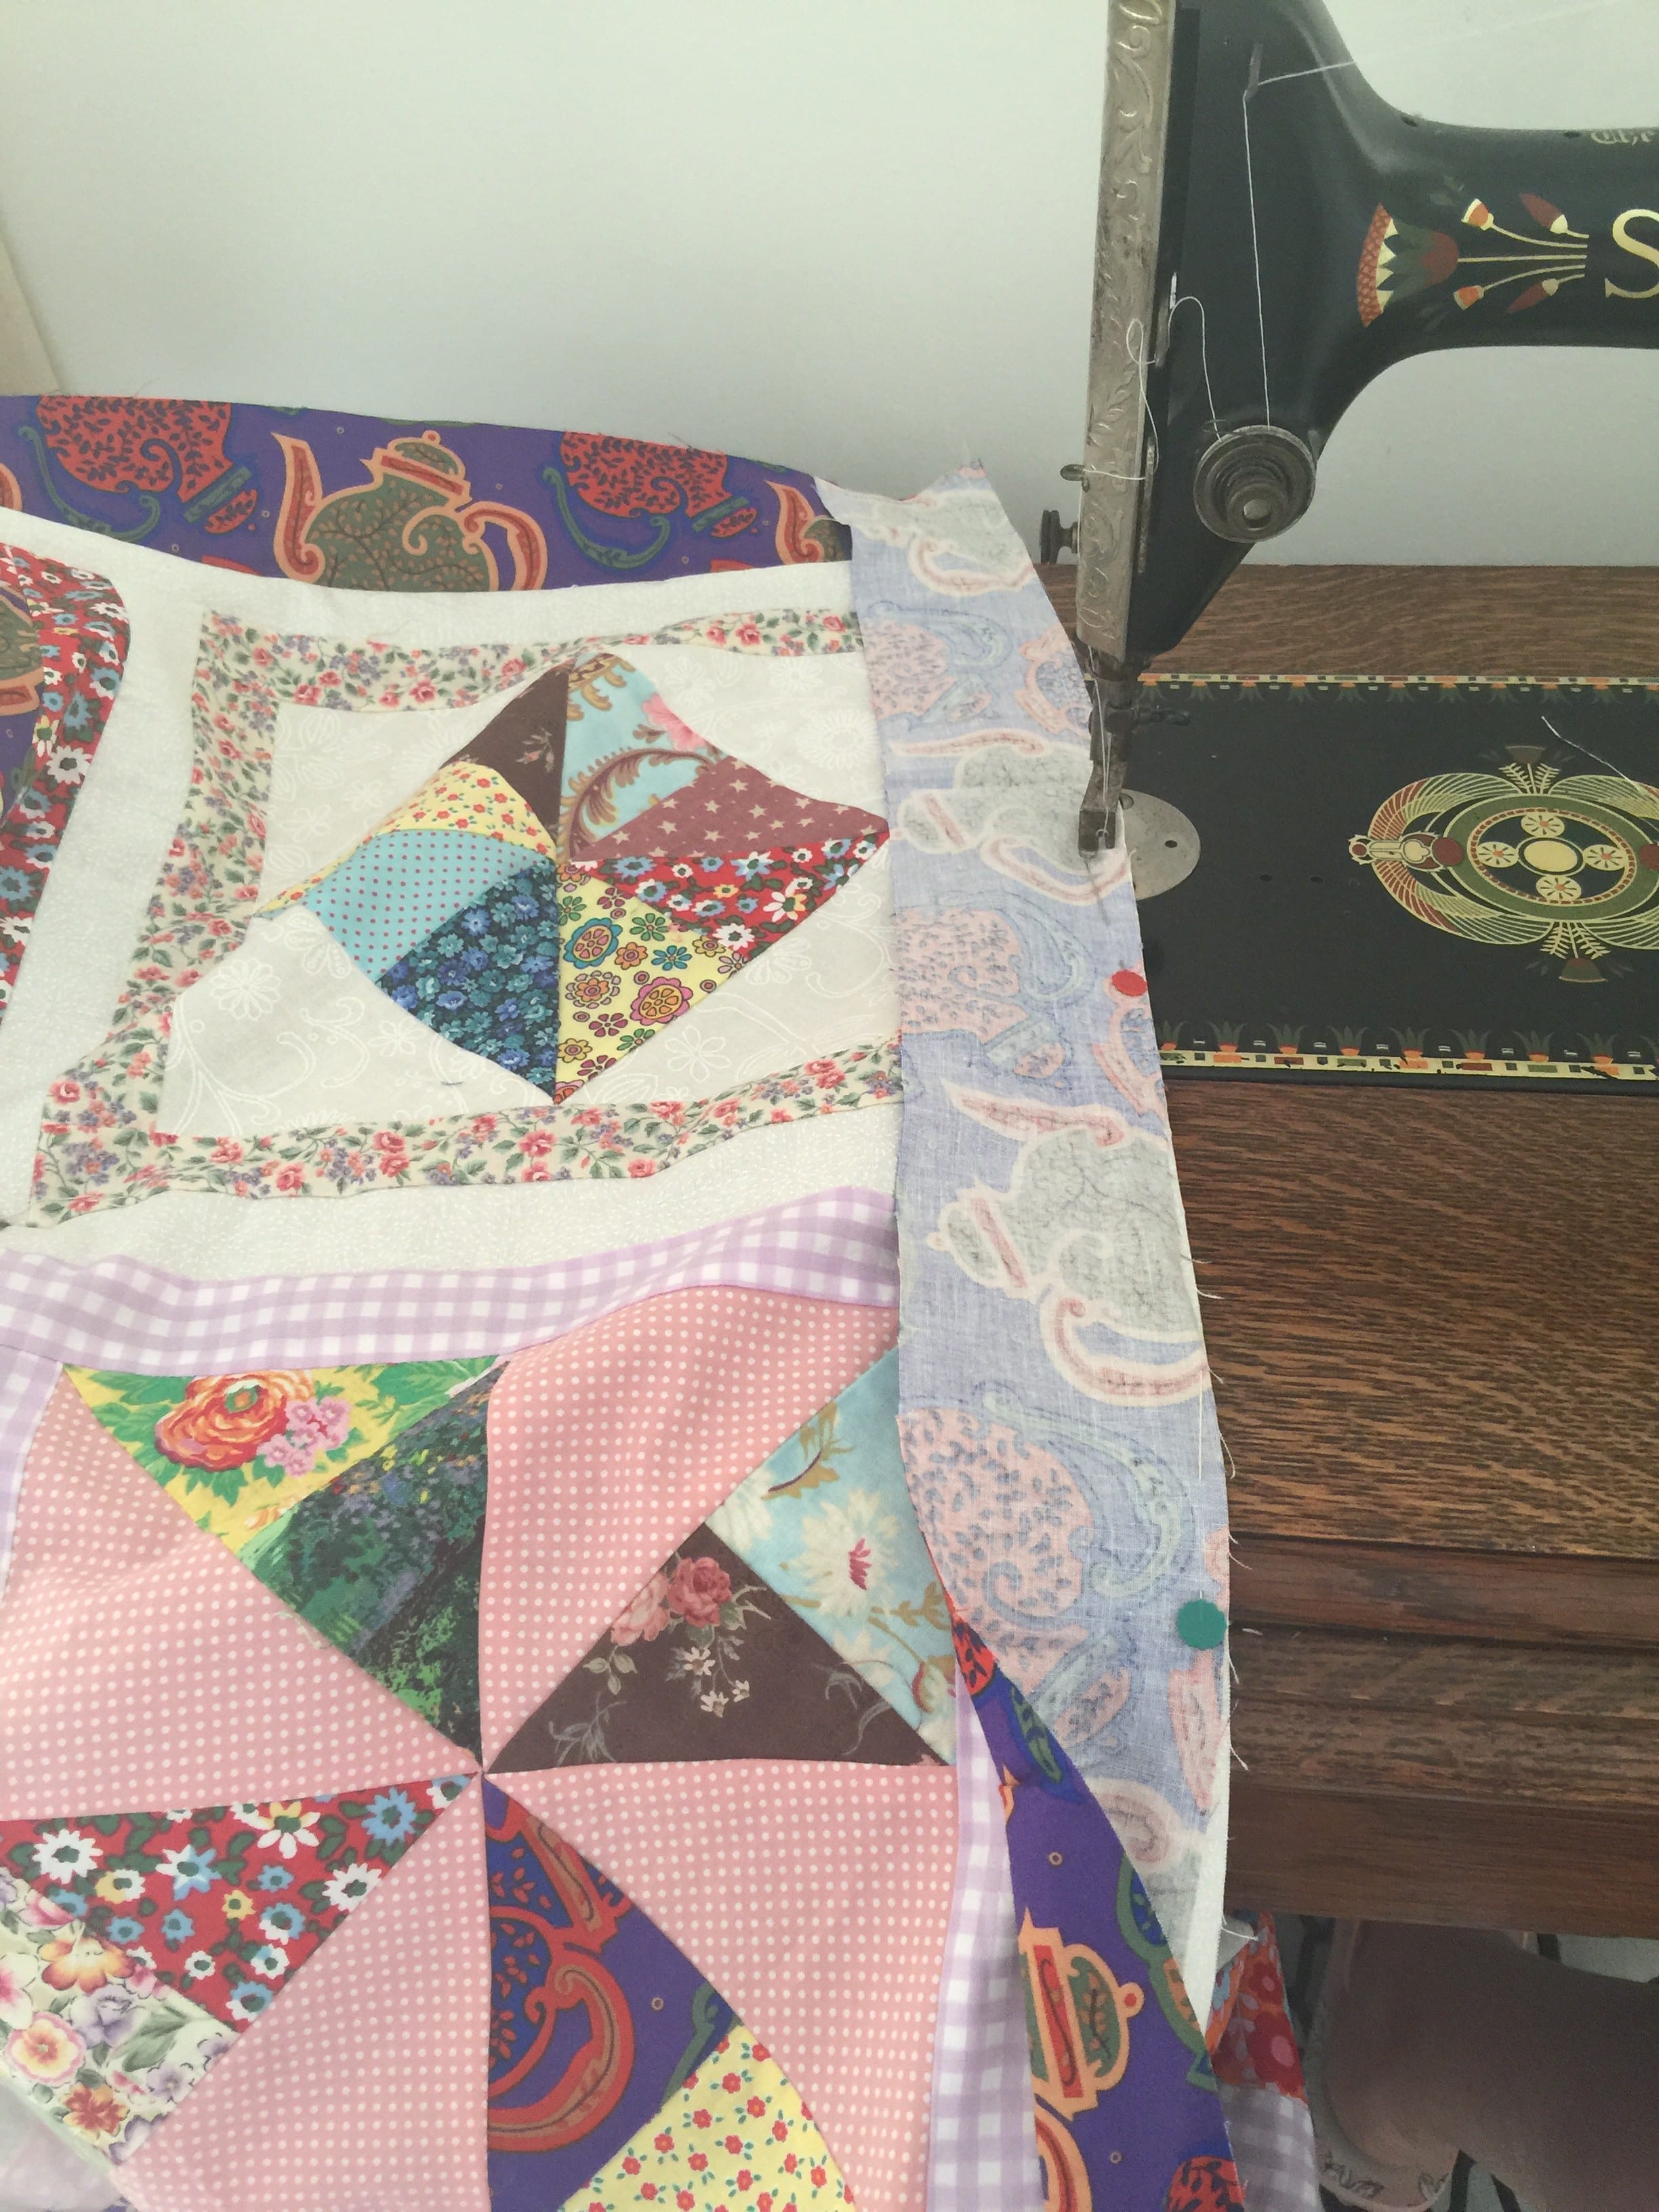
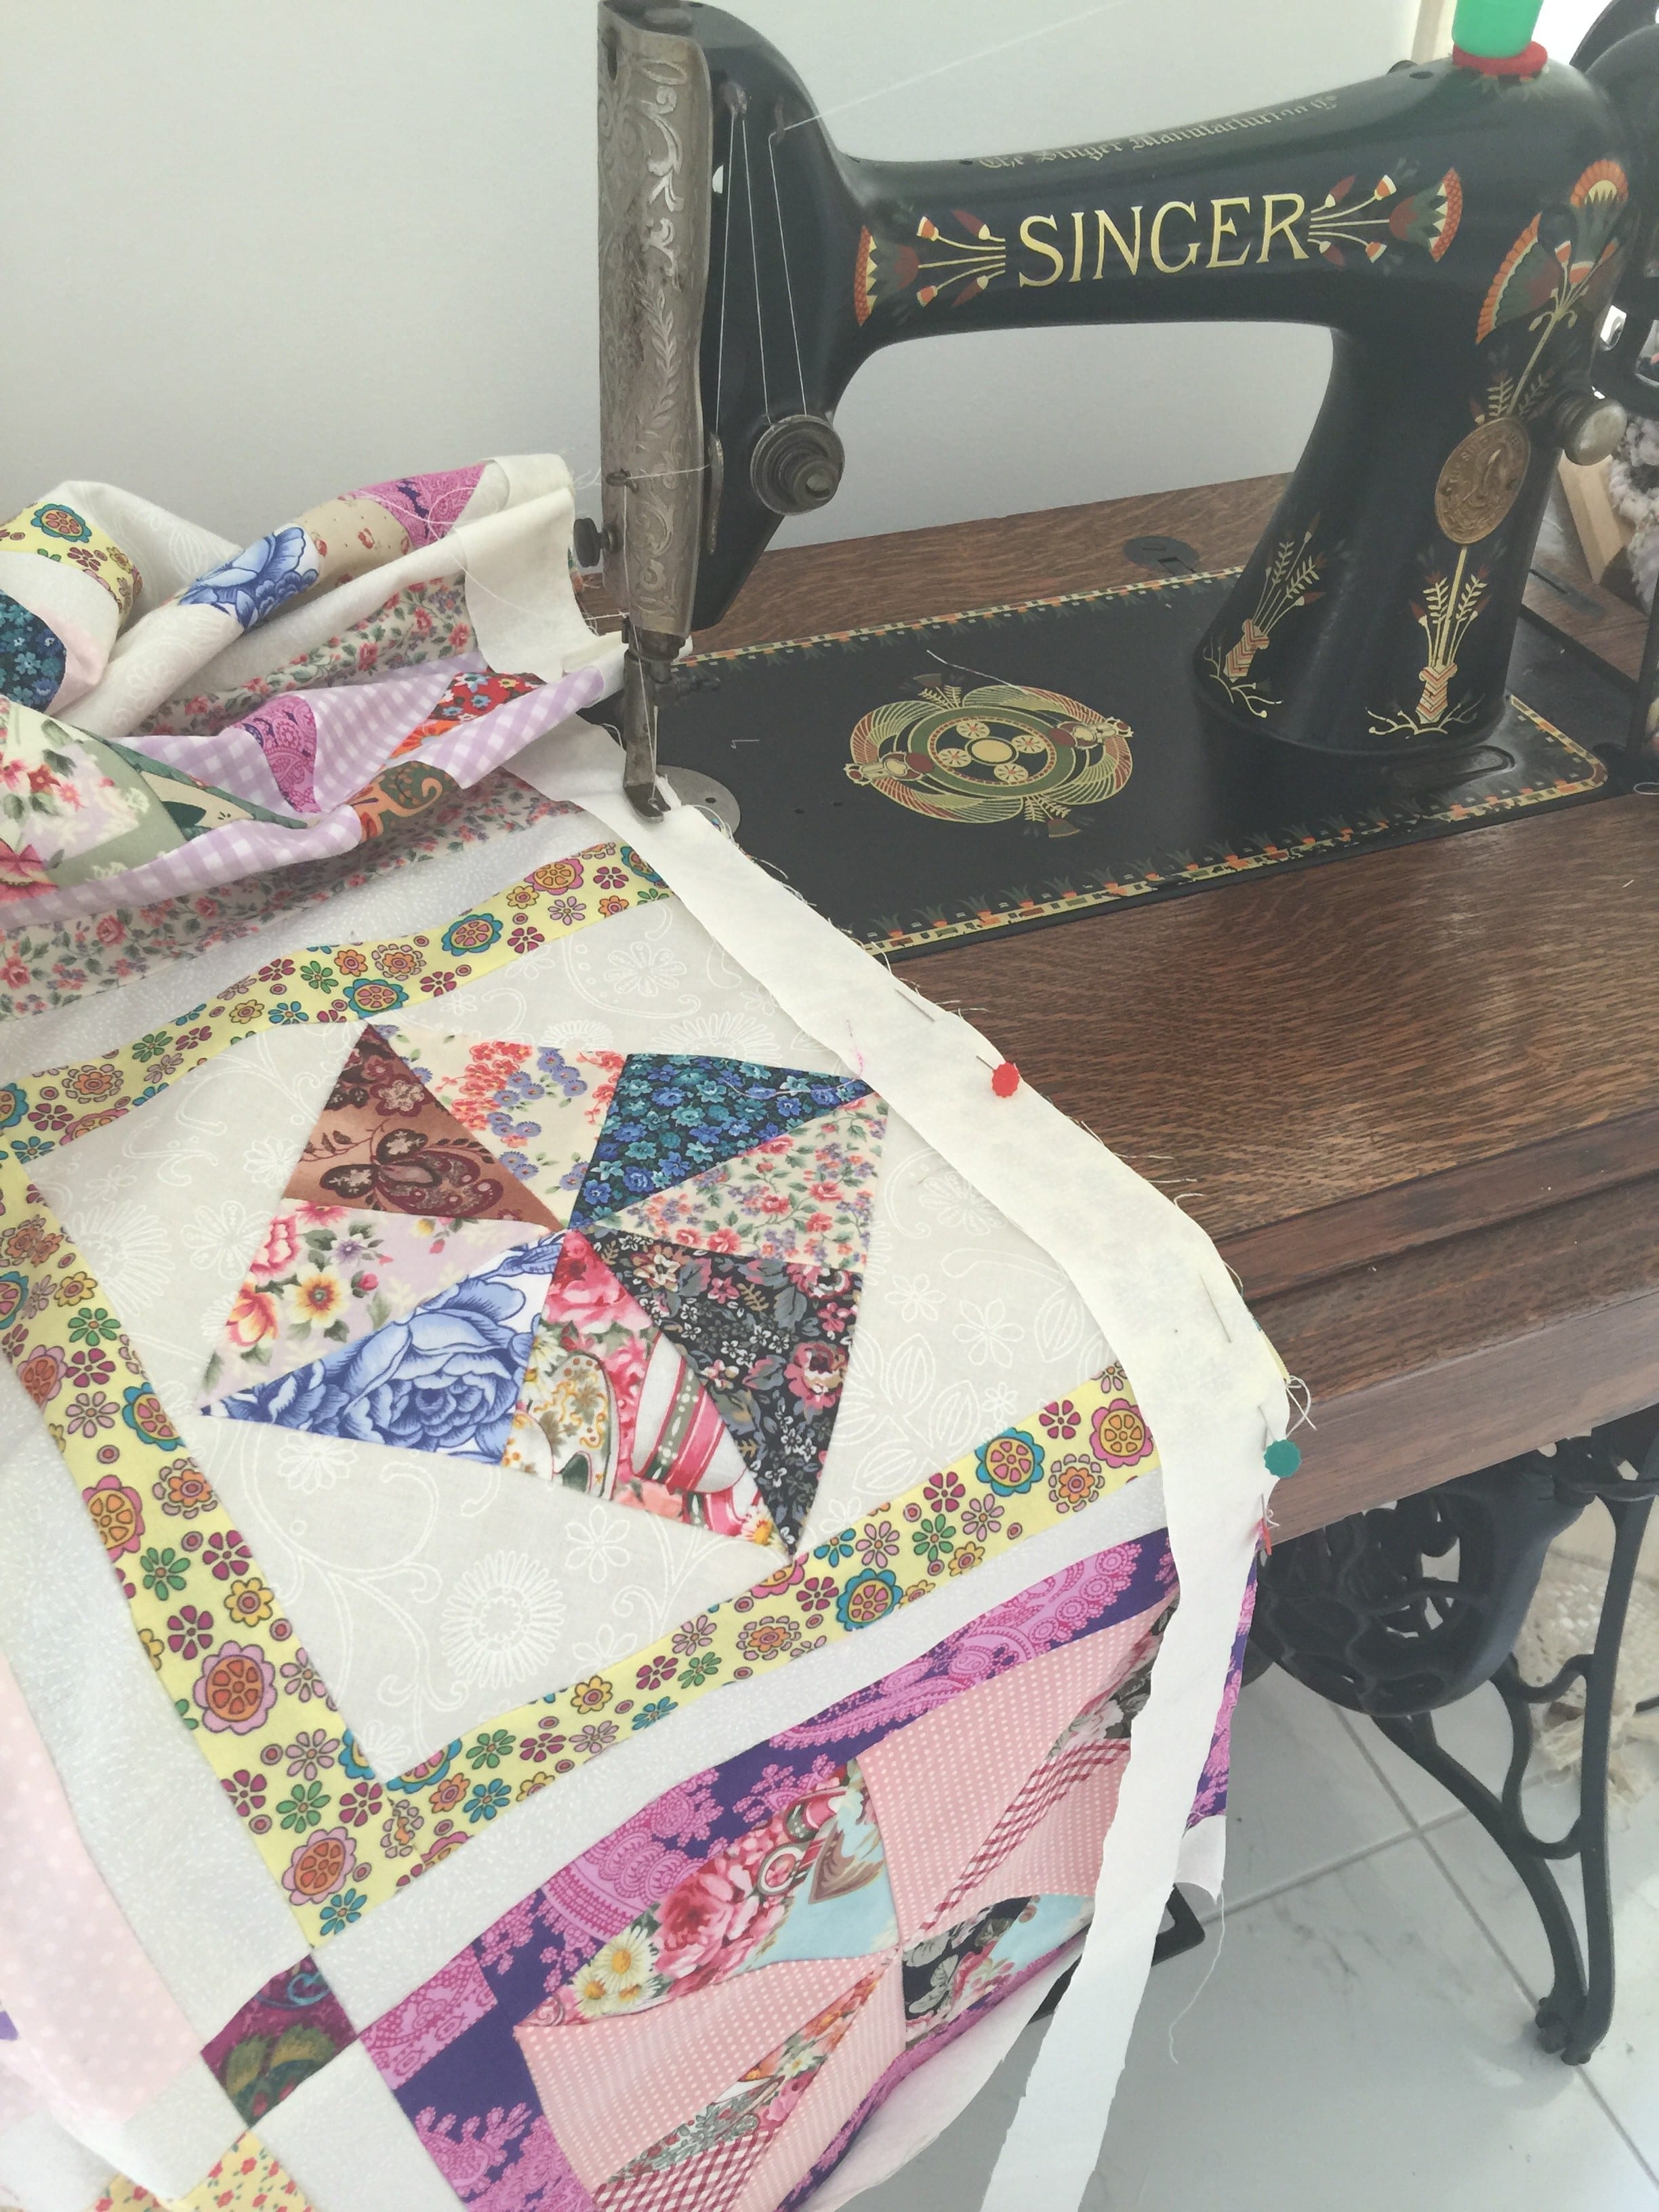
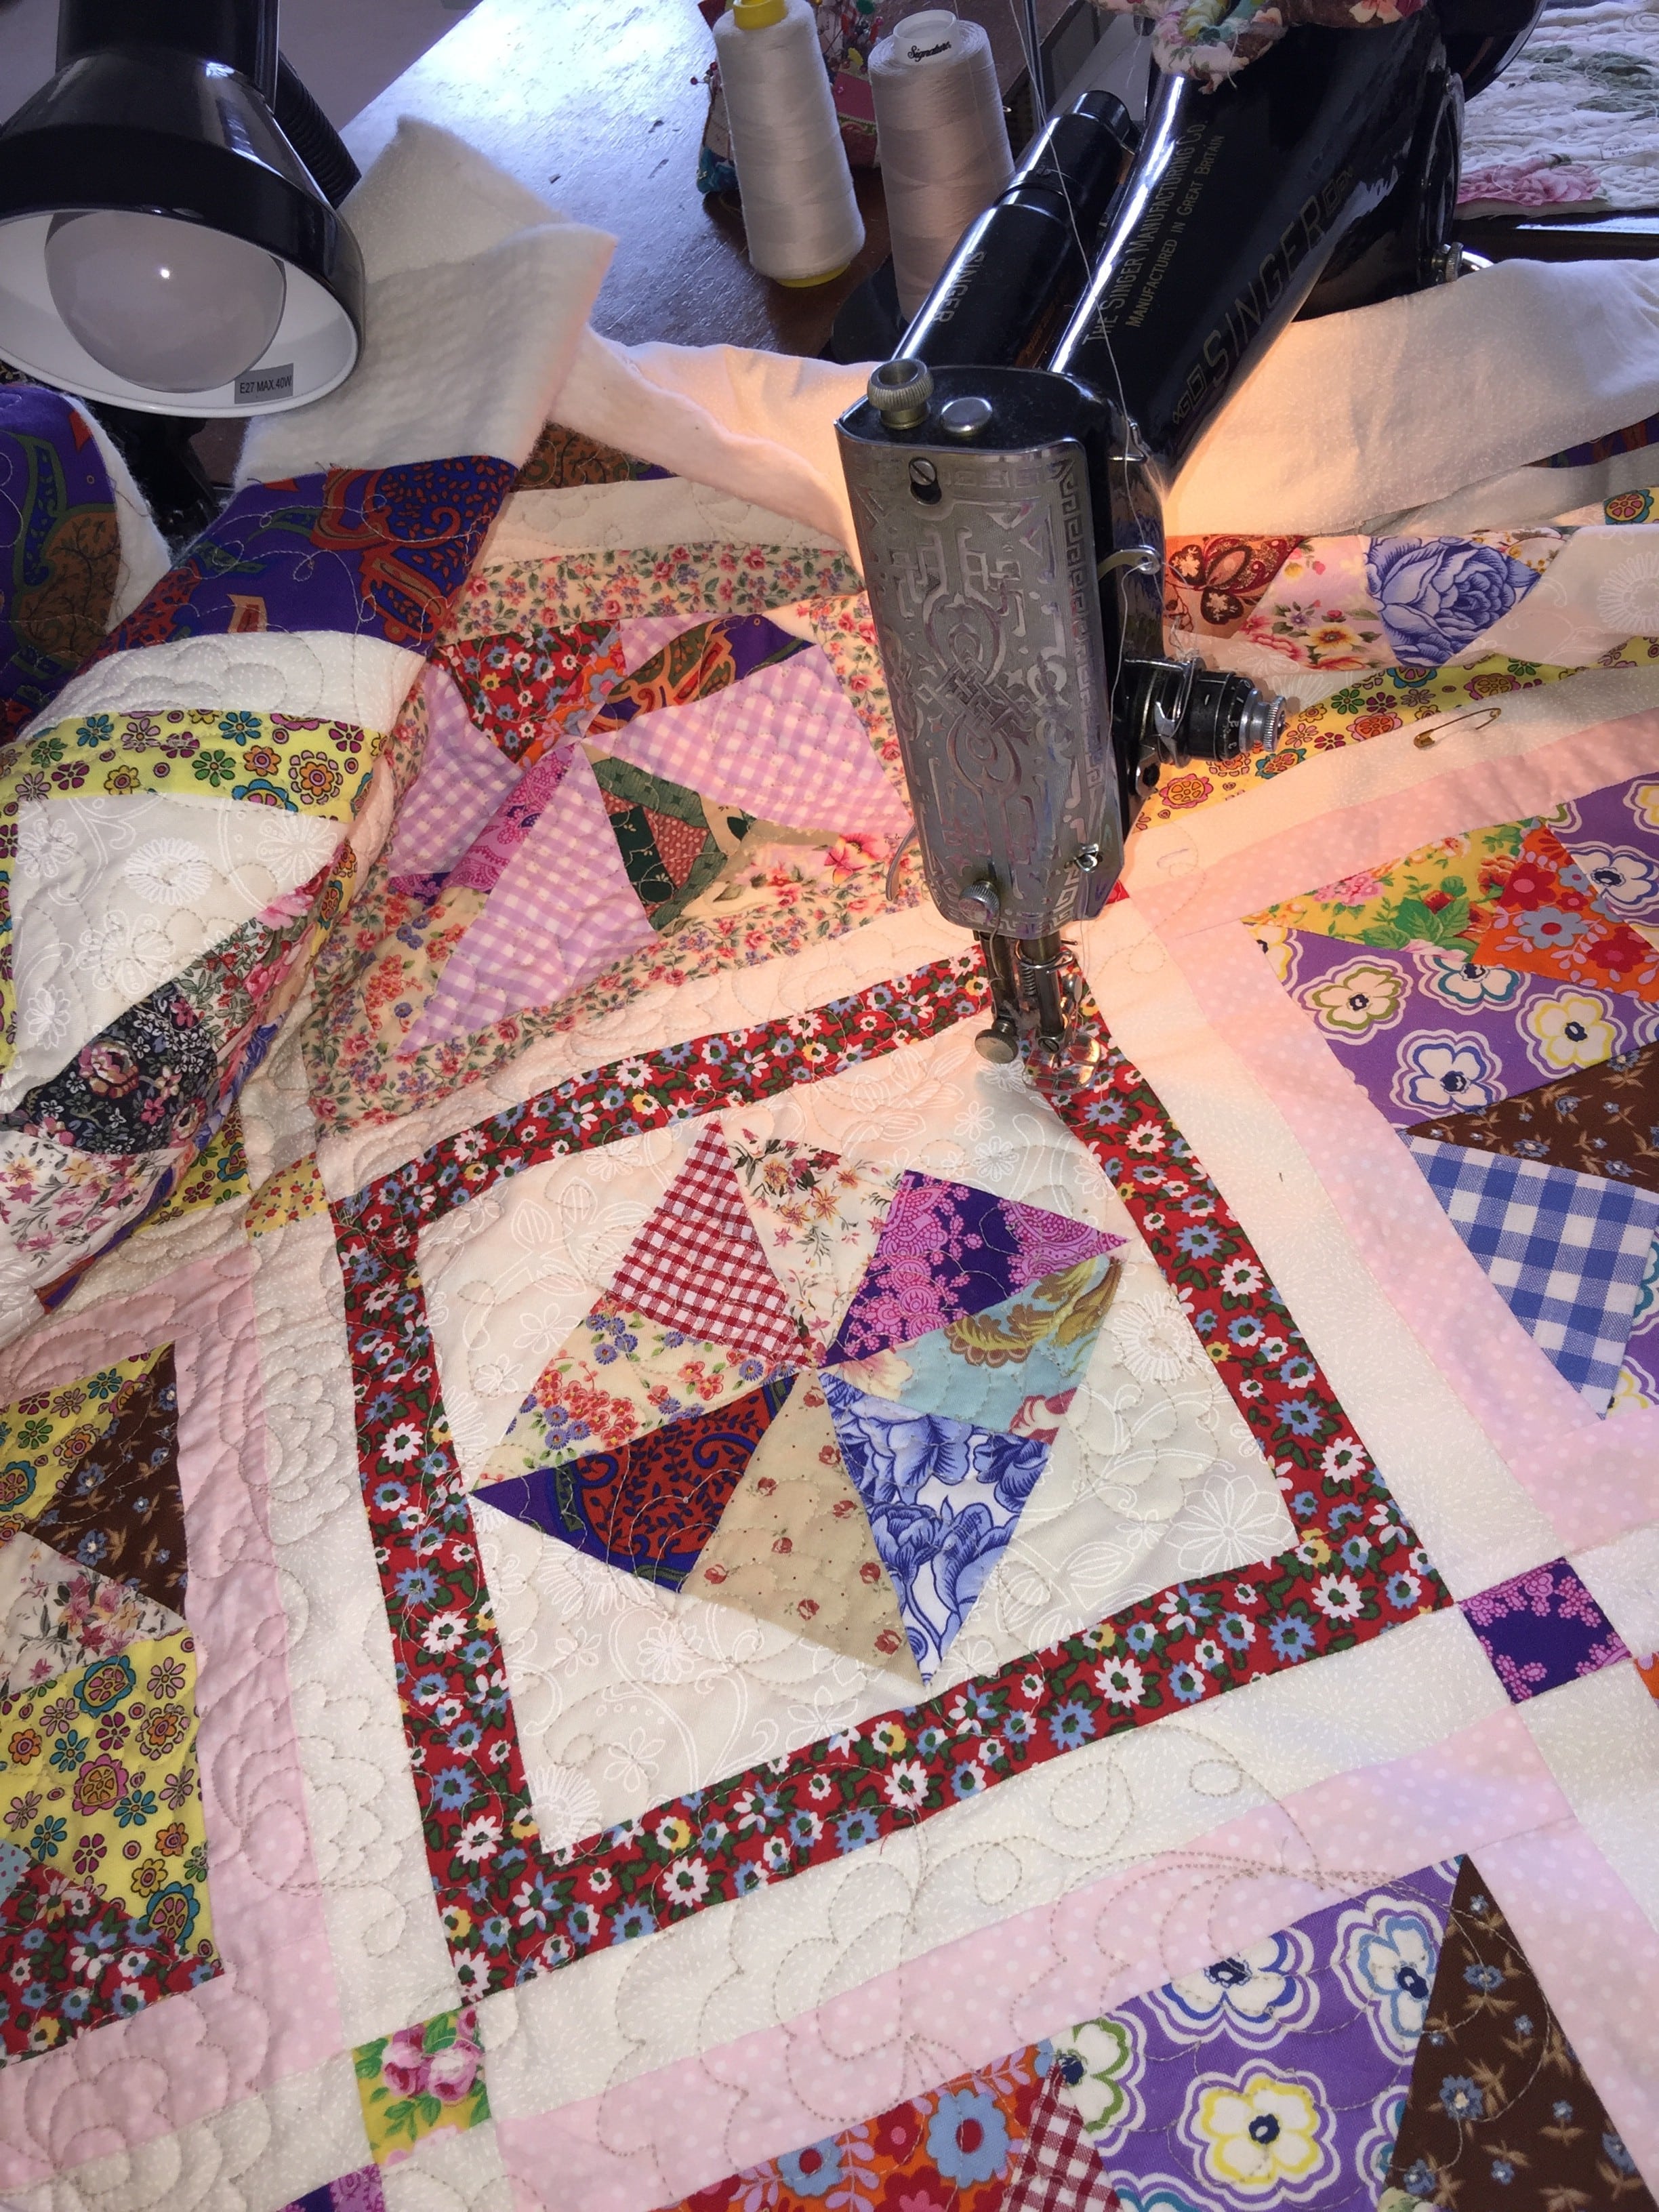
Press the quilt and assemble for quilting. Here I’m quilting dahlias on my vintage Singer 201K. Read more in the link.
Once the quilting is complete. Add your binding. I chose a bright orange print used in the quilt.

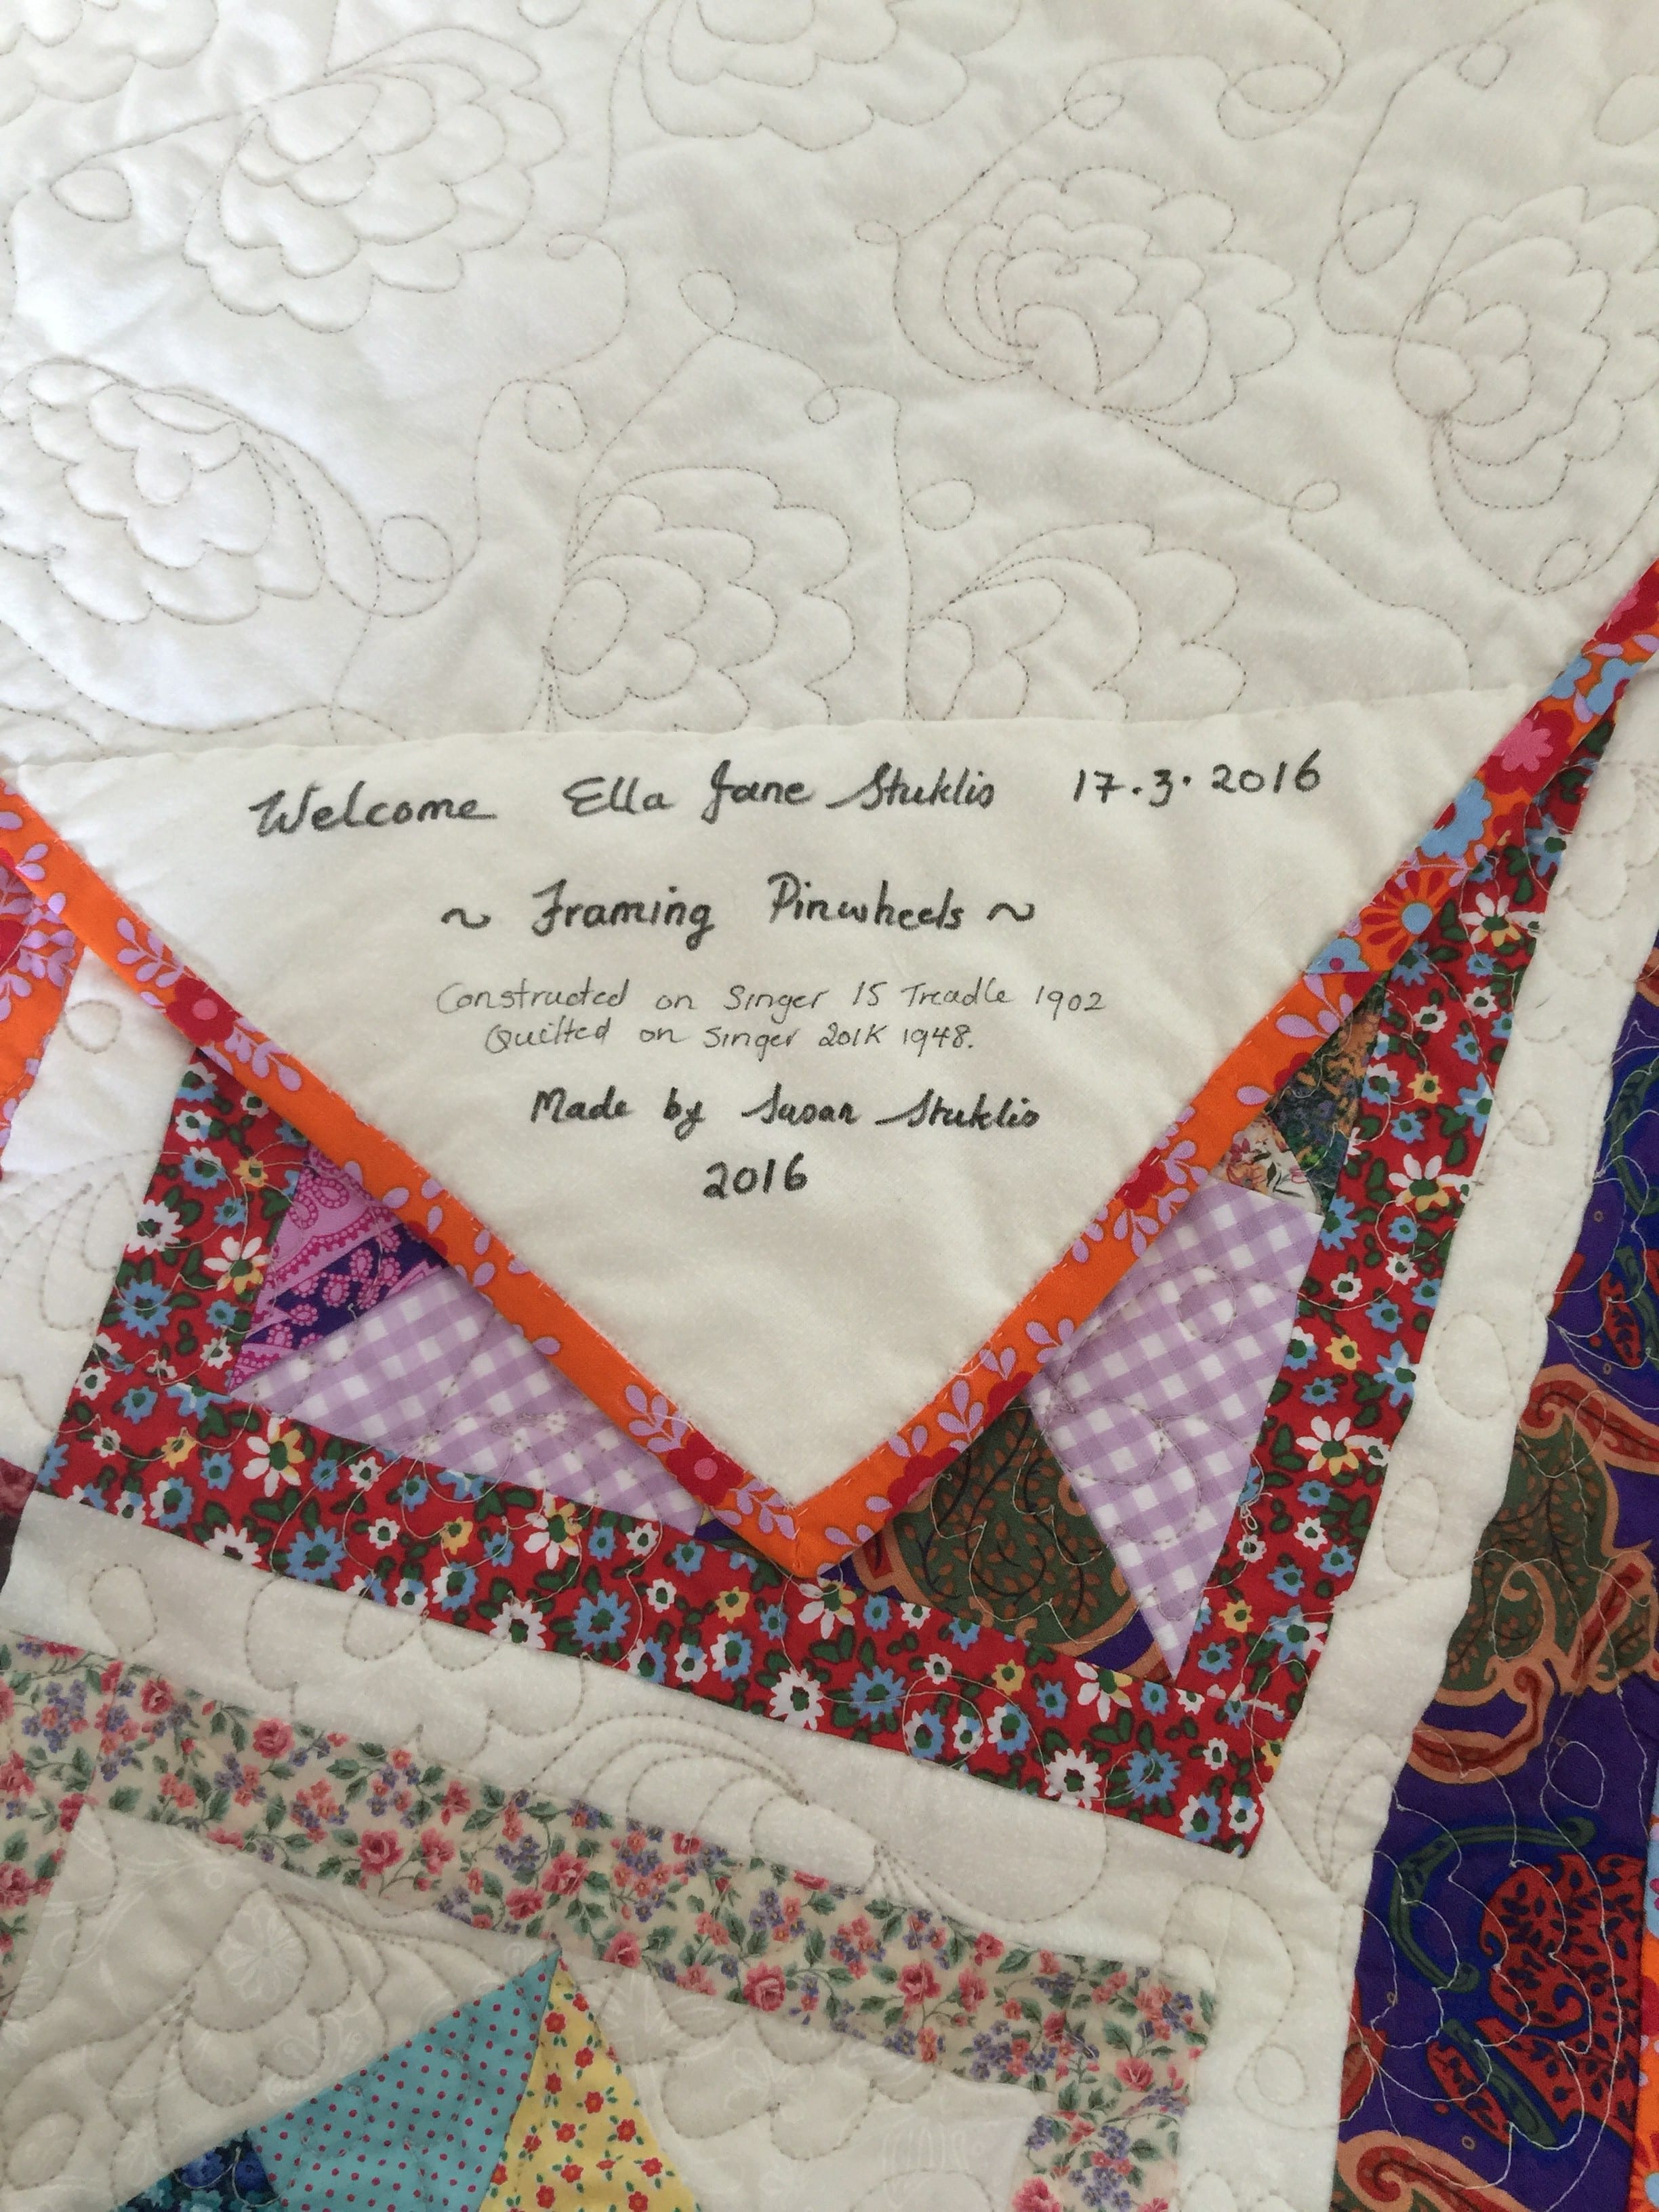
And there we are. Framing Pinwheels Quilt!
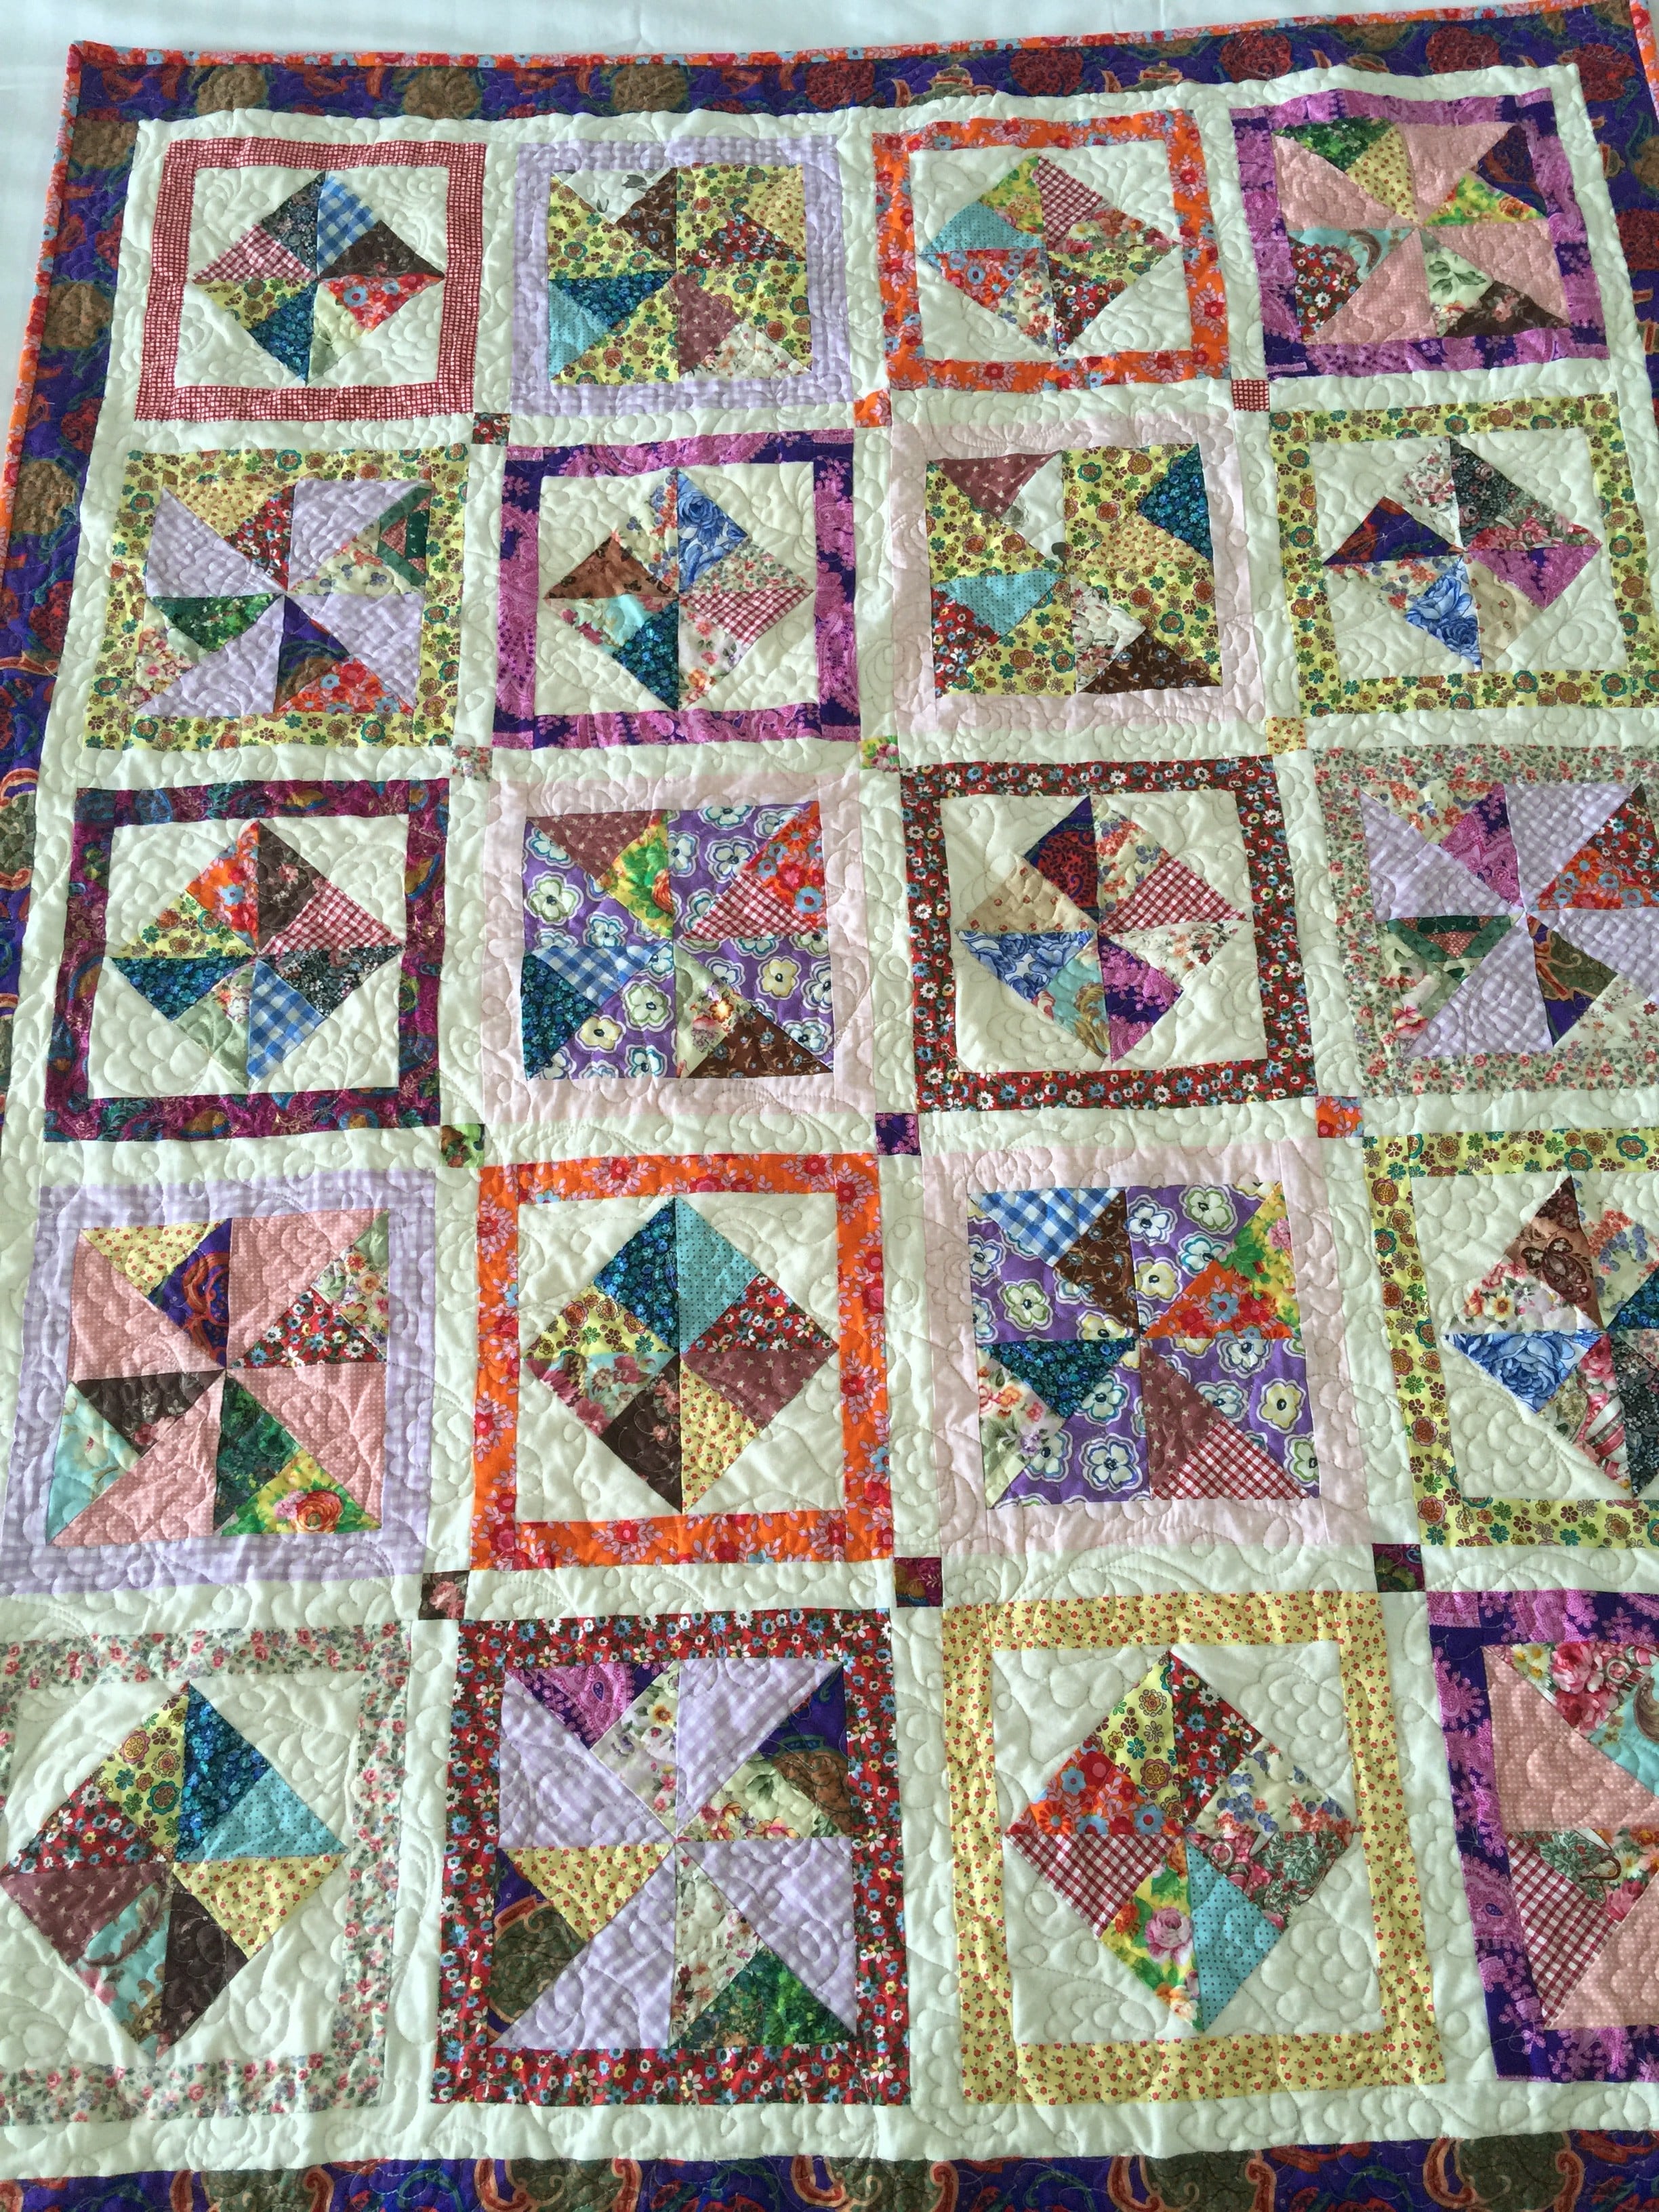
A quilt for Ella Jane.
Just watched your Ohio Star tutorial! I’ve been quilting 42 years, loved it what an inspiration. Going into my studio to make this! Thanks so much! Karen
Just fabulous, as usual. I am not the best at cutting blocks like this, but am still going to give it a try. Love the dahlia FMQ pattern, I tried drawing it to see if I might practice it, but totally failed. Oh well, someday maybe!
can you tell me how to quick piece these pinwheel units in this manner but not scrappy? where each of the units would be the same, just turned different? is this even possible?
Do we really need todo all that stitching on the quilt I personally think we are doing to much let the fabric and work manship shine. Just my opinion!
Stitching (quilting) is as personal as the fabric and quilt patterns. No right or wrong here. I think this is beautiful!
Thank you
It reminder me of a pattern I had forgot about
And sharing is caring
Have a great day
I am fair(not perfect)at free motion quilting. But I’m wondering how you do it on a treadle machine?
I also have a 1902 Singer, but. It doesn’t work. It was my grandmother’s. I just cherish having it for that reason. Happy sewing 🙂
I am new at quilting and I am going to make this. It looks easy and the designs ate great. I am going to send a copy to my mother so she can make this too. Thank you these blocks.
This just made my day! So very pretty and I really like the label you added, including important information about the sewing machine and who made the quilt. Very nice!