Quickest Queen Quilt Ever & Tutorial of a Rag Quilt
Hello Dear Friends and Readers. Quickest Queen Quilt ever. Suitable for layer cakes. If you need a big quilt real quick then this is something to consider. It is a rag quilt. The advantages of a rag quilt is that when you are finished sewing it together, it’s already quilted! And that’s quick. I would say the hardest thing about doing it, is all the snipping around the squares after its finished. Having said that, it’s a good TV job, pretty mindless plus you can have a lovely quilt on your lap while you are doing it!
You might want to consider this method to make it easier.
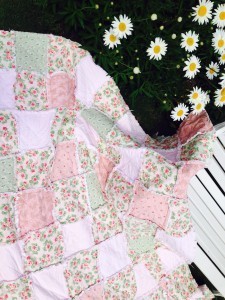
By nature of construction, this is a very cost effective quilt too, because you will not have to pay for it to be quilted. You can use your left over batting pieces too. Use up those leftovers!
Now you might be wondering how to choose fabrics for such a quilt. I think it lends itself to fabrics from the same fabric story. Remembering fabrics I bought that were from the same range which I liked but really had no idea how I was going to use them.
It’s also excellent for the large print fabrics that we are often reluctant to cut up, because they are not always easy to use. This is ideal. It’s a great way of displaying those beautiful fabrics.
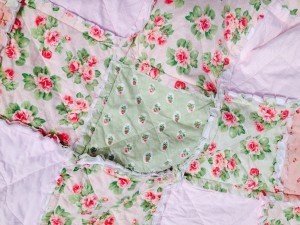
Having said that, a scrap quilt is always lovely and you can bring the quilt together with the choice of backing fabric which will show on the front.
My motivation for making this quilt was, I needed a new quilt big quilt quickly to use between seasons, when you don’t need such a warm cover and as an extra quilt layer when it’s cold. I also wanted it to be all cotton, inside and out, completely utalitarian but still look good. I figured I already had all the ingredients, so why go shopping?
Remember that whatever fabric is chosen for the back, it will show in the front. I chose a plain white homespun because I wanted the back to look continuous and smooth and the white showing through to the front suited my fabrics. If you choose a printed fabric, the wrong side will show on the front too!
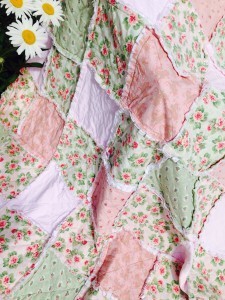
Anyone who can do straight sewing could make this quilt. A minimum of 6 different fabrics required for the front squares. If you use 100 layer cake squares you will be assured of plenty of variation. Again I would encourage you to go to your stash and cut up your own 10″ squares.
Finished size approximately 85” x 85”
Tutorial
Ingredients
TIP
Assuming that the fabric is 42-44” wide and 4 of 10” x 10” squares can be cut from each 10” width of fabric strip (WOF) then 7 ½ yards/metres will be required for the front squares, for each of the batting squares and for the backing squares respectively.
If the fabric is less than 42” and only 3 of 10” x 10” squares can be cut from each WOF strip then 9 ½” yards would be required.
Method for the Quickest Queen Quilt Ever & Tutorial of a Rag Quilt
Take your top squares to the ironing board. Fold diagonally both ways an press to create lines to sew on.
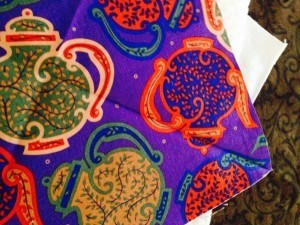
To make each block, take a backing square, a batting square and a front fabric square.
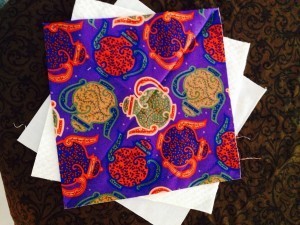
Take a backing square, lay it on a flat surface. Put a batting (or flannel) square on top, taking care to line up all the edges. now add a front square, right way up. Pin the block well to stabilize the layers so it does not shift while you are sewing.
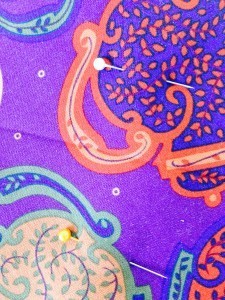
Prepare all the blocks in the same way. Now take to the sewing machine an sew diagonally across from corner to corner. Use a stitch length of 3 to 3.5. The blocks can be chain pieced. Now sew the block from corner to corner in the other direction. (If you have a walking foot that can be helpful)
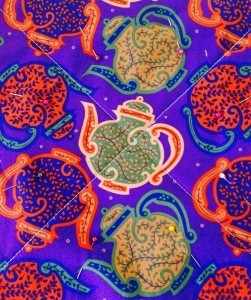
Once all the blocks are completed, they can be joined together. To join the pieces, take two different squares and put the back sides together with the front squares on the outside. Sew a 3/4 inch seam along one side of the block. Repeat and sew on another block until there is a row of five. Keep making rows of five and then sew in to blocks of 5 x 5 of 25 blocks (this will make it easier to handle).
When the four blocks of 25 by 25 are completed sew the four squares together to make a big square. Now sew all the way around the edge of the quilt 3/4″ from the edge. Sew a second line around the edge of the quilt 1/2″ from the edge.
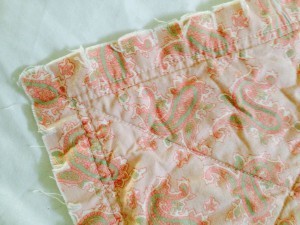
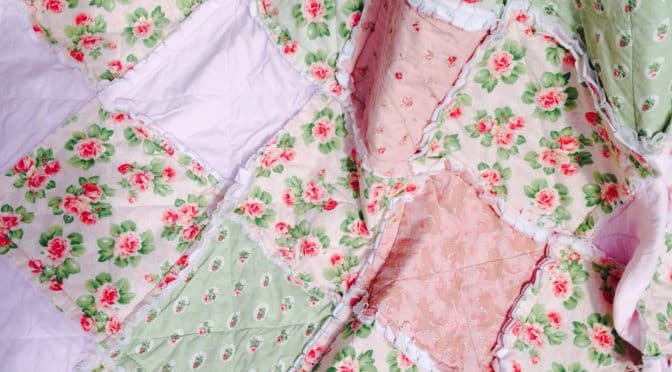
Get comfortable. Using sharp small scissors begin to snip straight cuts every 1/2″ into all the raw edges not quite up to the sewn seams, until you have completed the quilt. Please read the Clip as You Go for extra tipsClip As You Go Technique
Rest your hands periodically, they will get tired. Do the same around the perimeter of the quilt. When all the cuts have been made wash the quilt, shake out well to make the ruffled edges stand out and dry. Or put into dryer to make the ruffles stand out and remove the loose threads.
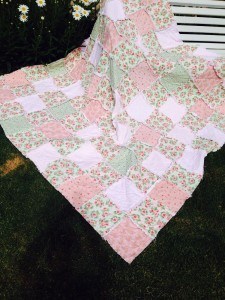
This quilt would also make a great gift. Not every quilt has to be a masterpiece. They are to be used. This is a very useable quilt, but it didn’t take forever to make! This has been a fabulous quilt. I have used it so much. I think I will make another one. 😊
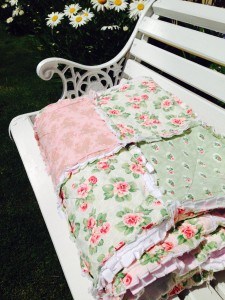
If you like rose inspired quilts, you may also like these posts
Or these
All Heart Mothers Day Quilt and Pattern
Susies Roses Romance Quilt and Free Pattern
And
Country Roses Four Patch Quilt Pattern
Have a wonderful day!
Susie

How many yards would I buy for the reverse side if it’s all one color (queen size, 10″ squares)
Thank you. Good question.
100 fabric pieces each 10″ x10″ (7 ½ yards)
100 batting or cotton flannel pieces each 10″ x10″ (7 ½ yards)
100 backing pieces each 10″ x 10″ ( 7 ½ yards)
Assuming that the fabric is 42-44” wide and 4 of 10” x 10” squares can be cut from each 10” width of fabric strip (WOF) then 7 ½ yards/metres will be required for the front squares, for each of the batting squares and for the backing squares respectively.
If the fabric is less than 42” and only 3 of 10” x 10” squares can be cut from each WOF strip then 9 ½” yards would be required.
Does the batting get trimmed before sewing block together or after?