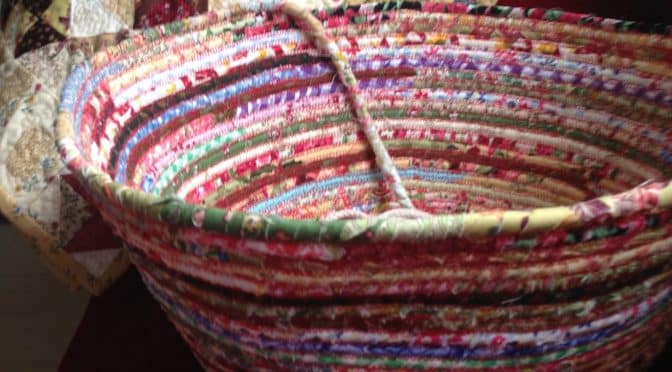
“End of Day” Quilter’s Basket – Free Tutorial
Dear Friends and Readers,
You can easily make this project at home if you have a sewing machine which sews a zig-zag stitch. Set your machine to a wide zig-zag stitch. I recommend using a 100 needle which is new and sharp. If you struggle with the project at any stage – change your needle.
Here is the link to the previous post, where I introduced the “End of Day” Quilters Baskets…
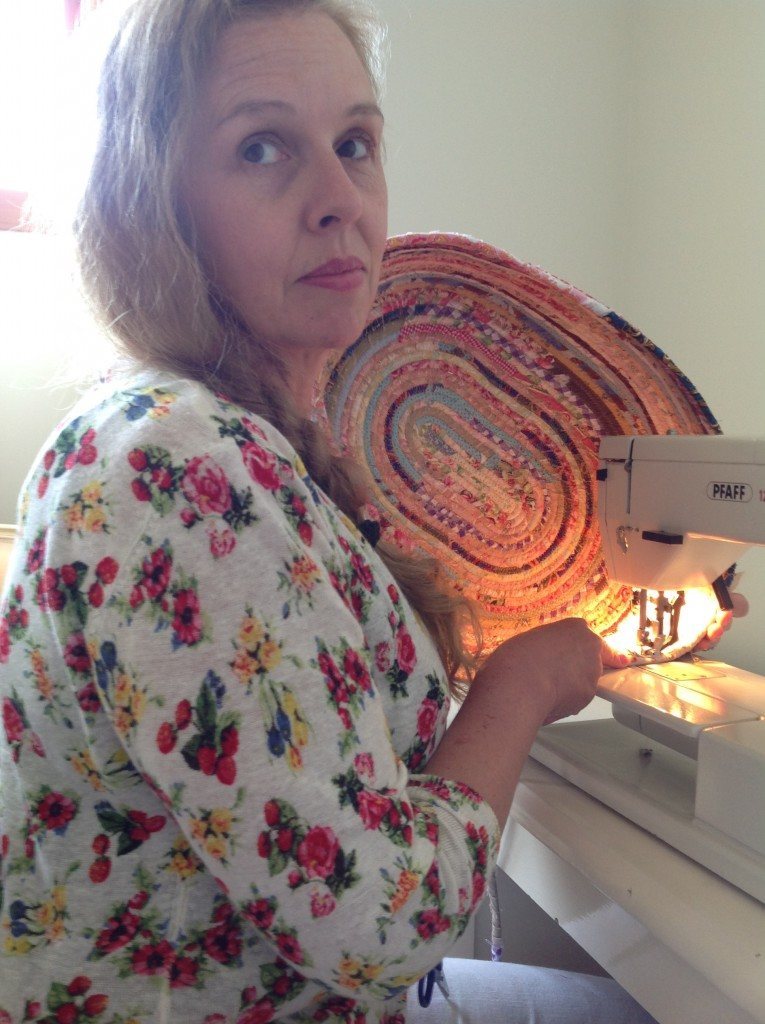
Begin by saving all your string off cuts from quilting. All strings are welcome. With this method it is all created with raw edges. I don’t believe this distracts in any way from the finished product.
You will need 6mm cotton clothesline rope – do not attempt to use any other kinds – no plastics or polypropylene. You will need plenty of pins and thread of your choice of color. The glass head pins are best because you have a good chance of removing them without accidentally sewing through as they stand out better.
As a post script to this tutorial I would also add a thank you to the ladies on FB who also suggested using a glue stick to hold the fabric in place or clothespins. These are both great alternatives,
The number of skeins required will depend on the size of the project you wish to make. If you wish to make a large basket you will need 3 skeins, for a medium basket 2 skeins, for a small bowl 1 skein. Please bear in mind these amounts are approximate. I would recommend beginning with a small bowl but if you are feeling brave and determined, go for a large project.
This is a project done in stages much like quilting. Assemble your strings. A good TV job. Begin by covering the tip of the rope and then wrapping your strings around the rope in a clock wise direction at a 45 degree angle. This will ensure that the rope is overlapped with fabric twice so that no rope shows through.
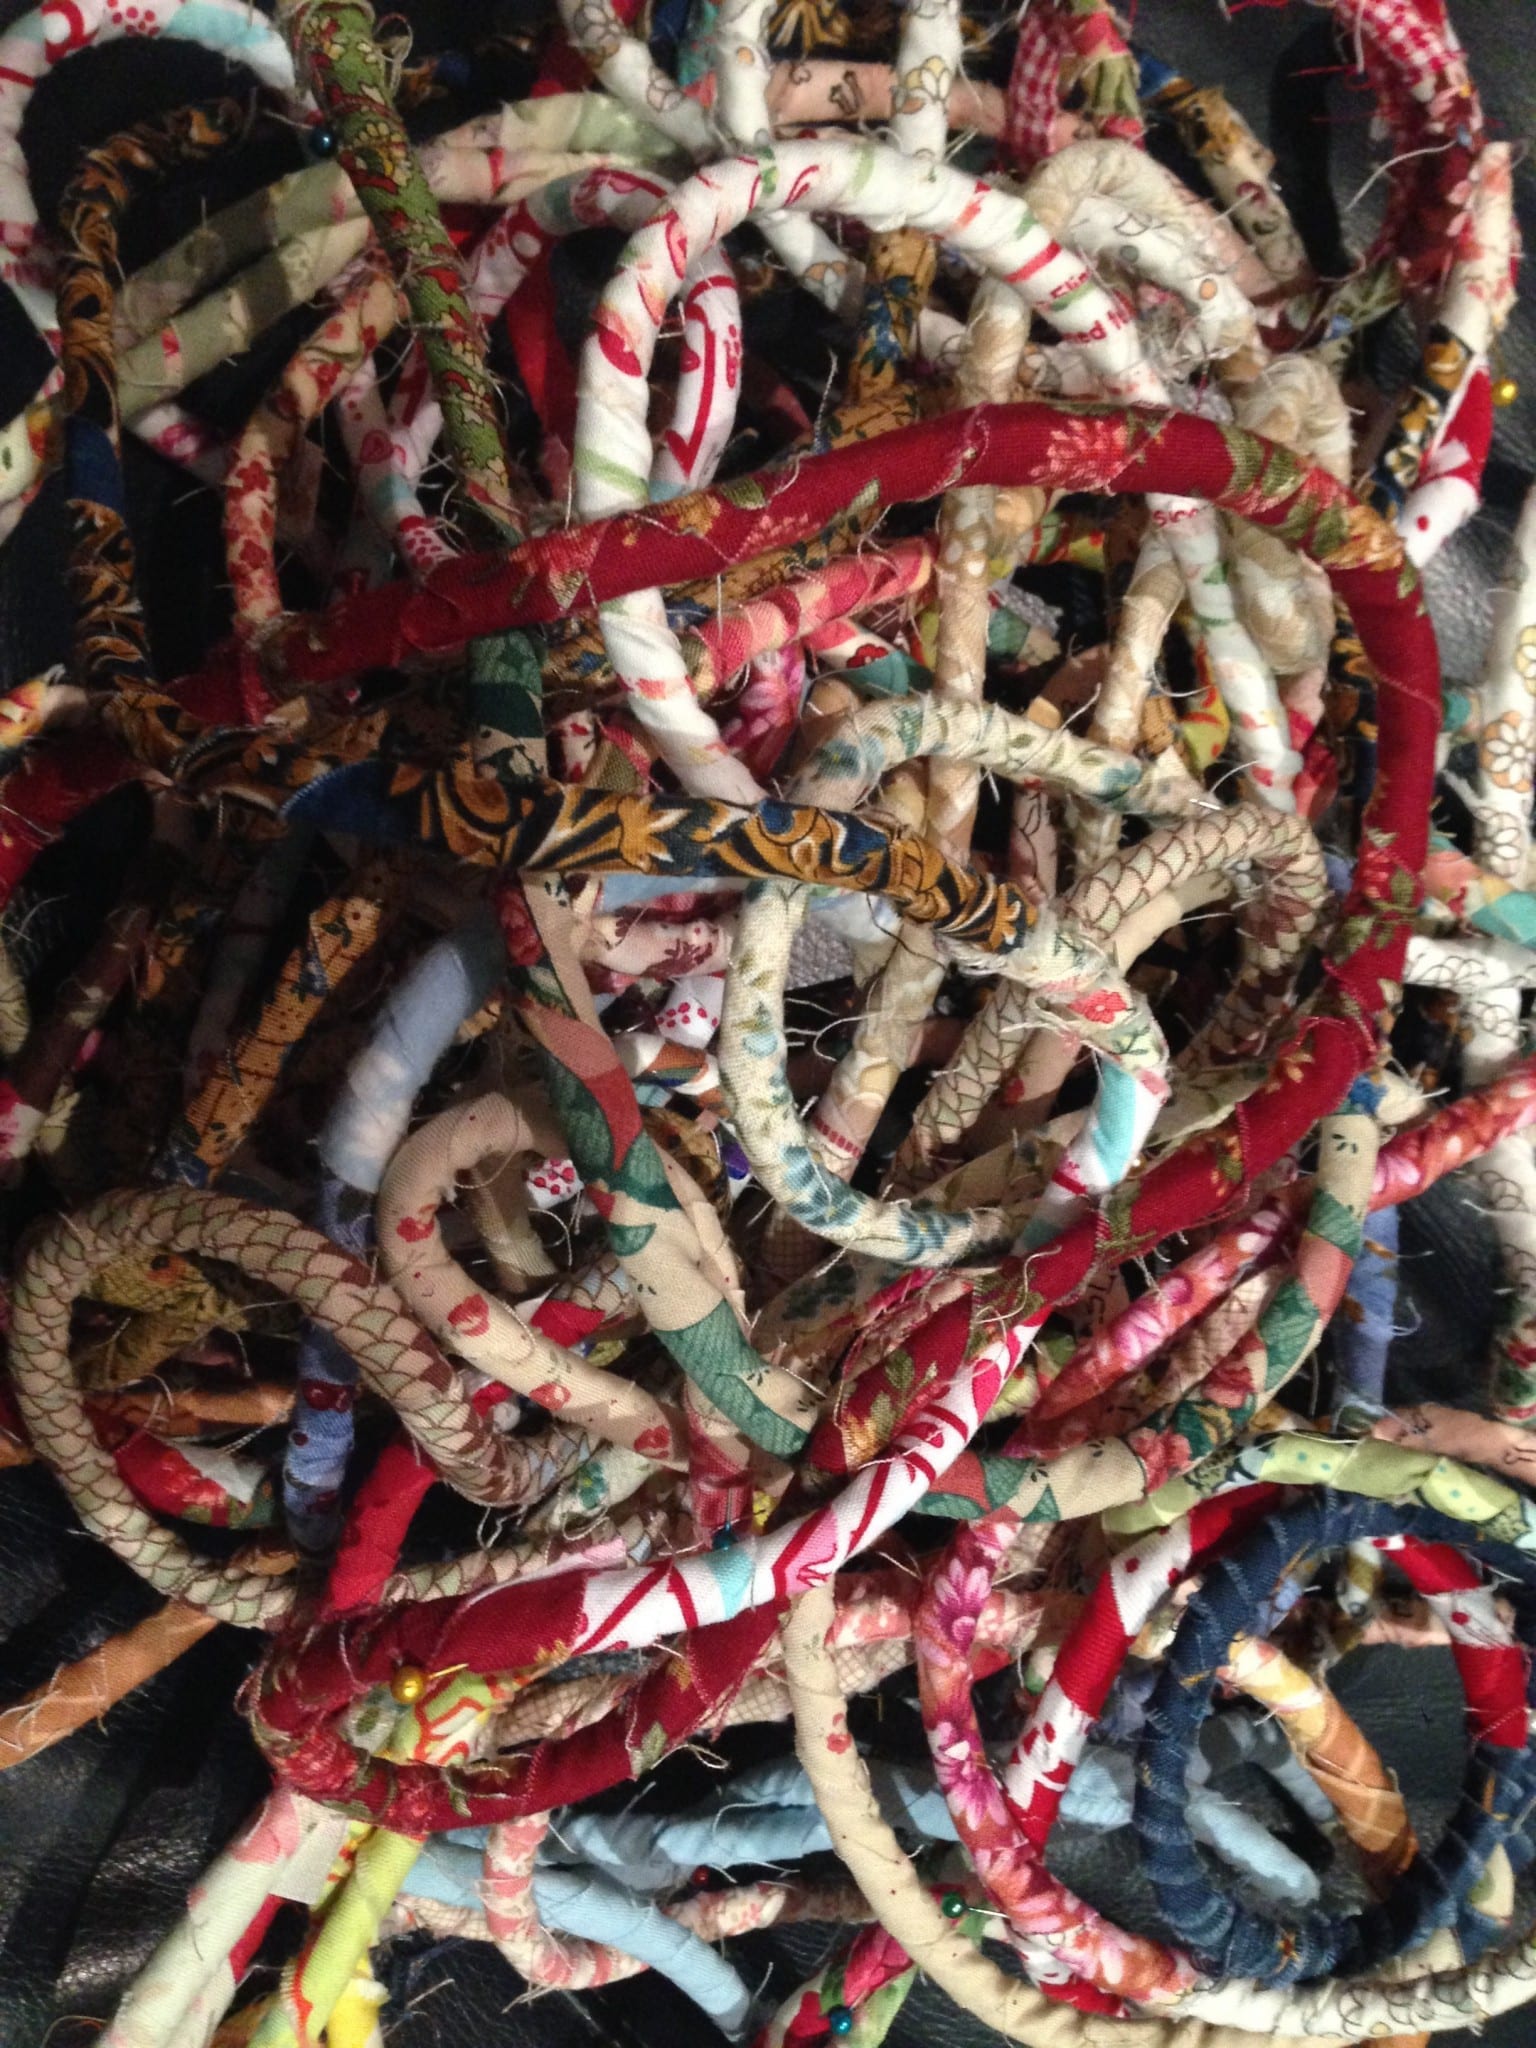
Each time you add a new piece of fabric tuck it under the existing piece then continue wrapping. Add your pins longitudinally, that is insert them into the rope so that they hold the string but then down the rope so that you do not prick your hands every time you pick up the rope. Keep going until you have covered all of the rope and it looks like these!
Now take to the sewing machine and start by making a coil at the tip. Begin to zig-zag and stitch together. Go slowly. Remove pins as you go. You will need to turn the coil to align the zig-zag so that it catches both sides of the flat coil. Ensure that the coil will be emerging to the left of your needle. Keep sewing around to make the base until it reaches the base size that you like. Then the next row you will need to tip the coil onto its side to create an angle (of your choice).
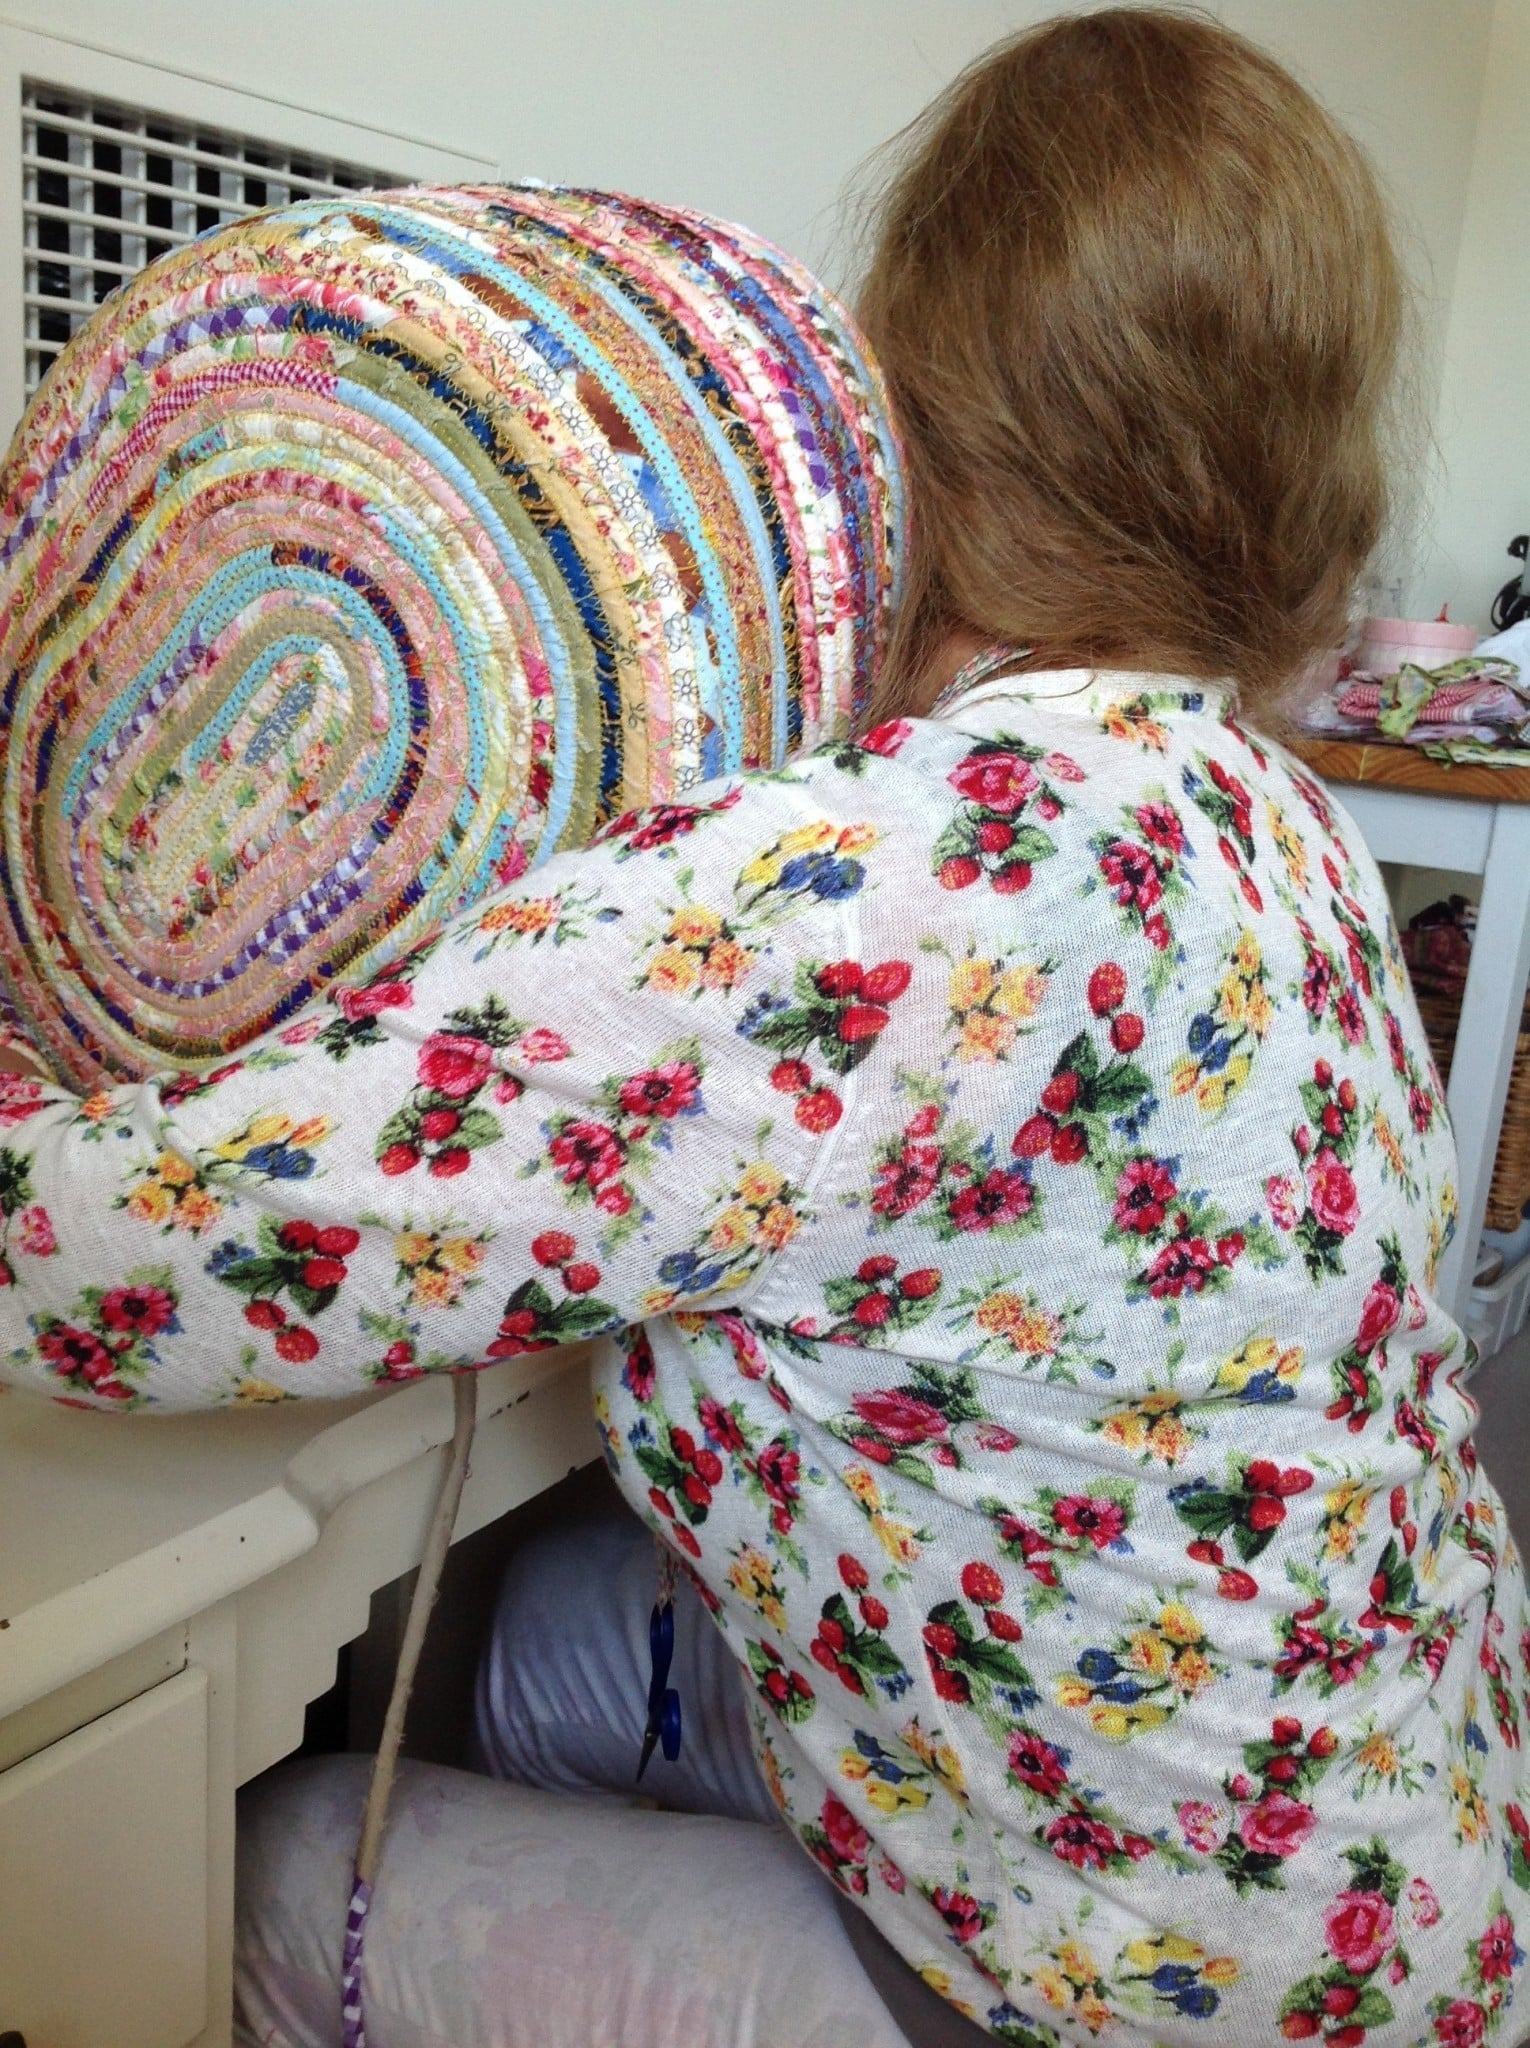
Link to the above basket “Laundry Love”
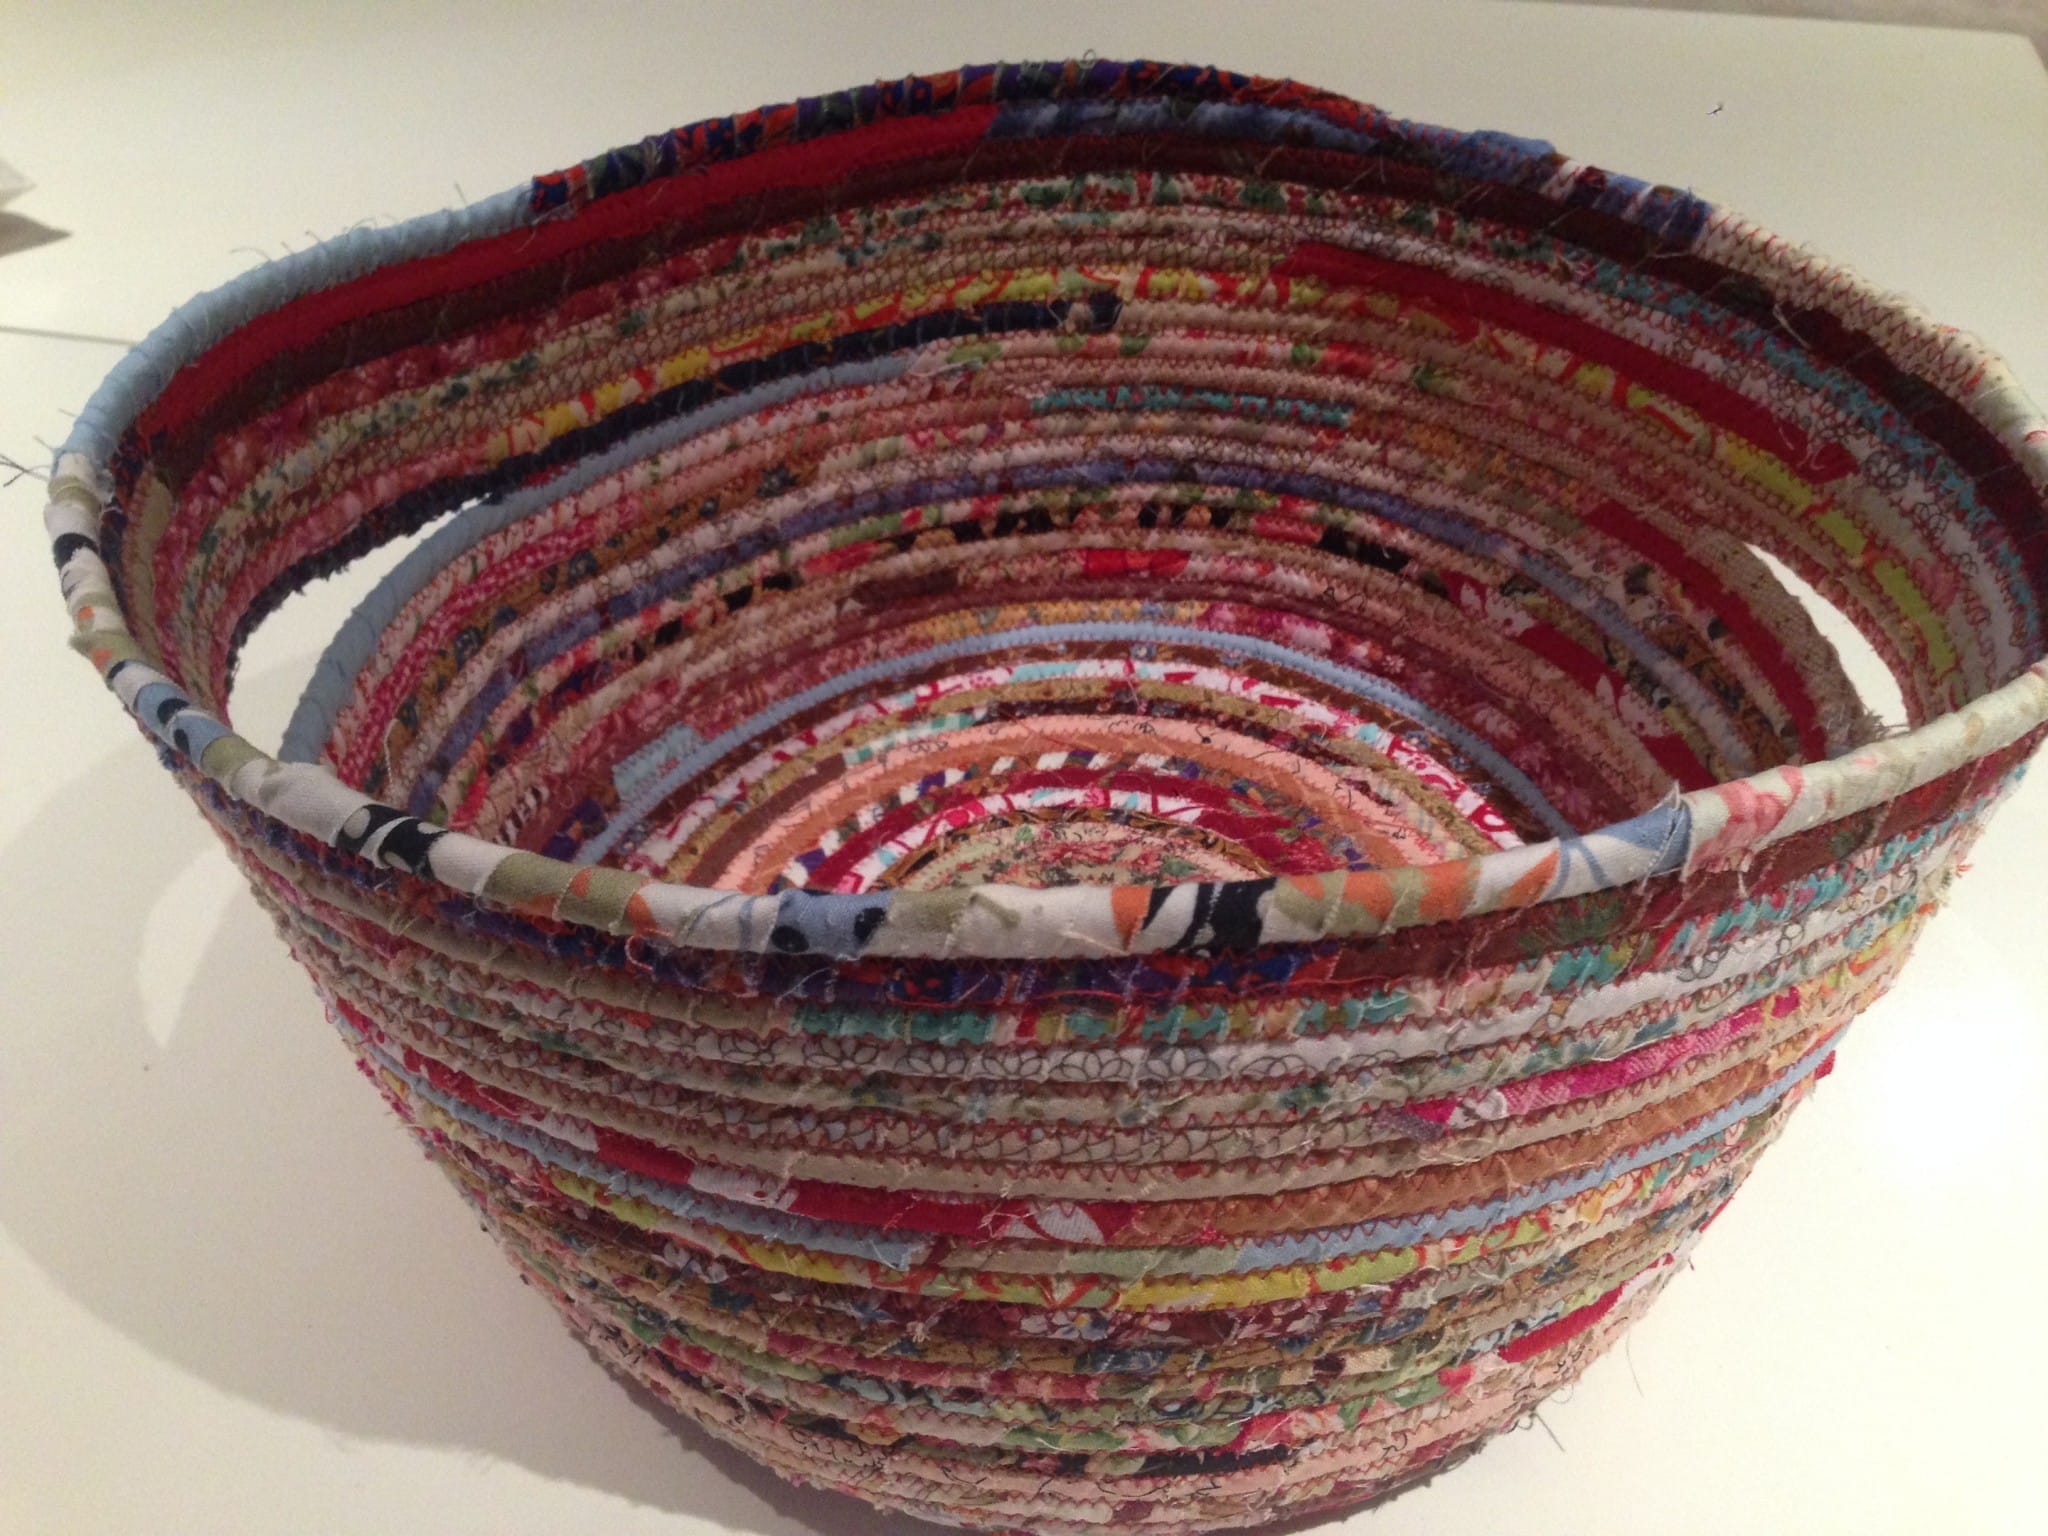
Try to maintain the same degree of tipping especially through that first turning row. The basket will naturally want to splay out as you sew. If you want your sides steeper you will need to ensure that a bit more tension is put uniformly on the basket base to each new row. You will develop a ‘feel’ for it. When the basket or bowl is nearing the size you are happy with decide whether or not handles are required. You can shape the handles as a continuum of the basket by leaving a gap (as pictured below) and then allowing an amount of slack on the rope until it is the length required then recommence sewing. When you are ready to finish off the bowl or basket I like to cut the rope on an angle and then continue wrapping the fabric so that it does not look like an abrupt ending but finishes gradually 🙂
Now that you have the basic idea, you may line to try some of these other basket projects.
Making a new End of Day Quilters Basket
Or…
End of Day Quilters Holiday Basket
Here is a nice little Easter Basket…
End of Day Quilters Chicken Egg Basket & Tutorial
Have a lovely day!
Susie

Excited to get started on the round shoulder bag. I have looked all over for 100% cotton 6 mm clothesline and found 90% cotton with a poly core or 90% cotton and 10% recycled materials. Will the mostly cotton product work ok. DoD you have a link to a specific product. Thanks
Thank you for your comment. I’m sure you will enjoy this project. About the 100% cotton cord, I have previously found it in $2- shops or similar. You might be able to use the ones with the nylon centre, it just depends on whether the needle will go through. My best suggestion is to just do a test one to make sure. The risk is broken needles.
I love these, any chance that you sell them somewhere online?
I”m confused. In the body of the tutorial you write a 6mm cord, then in the comments you write you use a 9mm cotton cord? For us in the US that is 1/4″ versus 3/8″. And I don’t see how long your skeins are? I just ordered 50 meters as that seemed it would be enough.
Great idea! Love the baskets or totes and I have some strings I have really been wanting to use. Thank you for writing this and sharing this idea; it’s fantastic!
Love this idea. Years ago, I made some small baskets (to put jewelry in) using my grandmother’s old and very worn shirts. Very special and a sentimental gift. I may try to make a larger one like yours with the handles “built in” but wondered do you have to do anything to reinforce that (aside from zig zagging back and forth) or have you had any problem with it tearing or pulling away from weight of lifting the basket when full?
I have used these baskets for years, carried heavy shopping, papers and such. Never had any issues. They are still like new. I hand wash occasionally and they come out beautifully. I love your idea of using your grandmother’s shirts. That is indeed sentimental! 💕
I have the clothesline and just not started yet. Will keep these ideas and try this soon. Really like th look of the projects. I have the pattern for a bag. Thanks for the ideas and incentive to start soon.
Thanks for the idea. I didn’t have enough scrap strips so I cut up “ugly” fabric. I love how it looks!
Great tutorial Susie!! I make hot trivets. They are the size of a large dinner plate and you put them under a hot dish on a table. Very easy because you don’t have to lift at an angle you just sew round and round. In the beginning I pin the center turn with pin like a wheel spoke so I can remove the pins then after a couple of rounds I like to sew an “X” over them to hold them in place Also I put a binding on mine for a more finished edge look. Sometimes I put an applique in the middle like a snowflake on a blue colored trivet. I’ve given as gifts and people love them. Fast and easy!!
Thank you Cindy! Love your binding idea too. I willgive it a try.
Forgot to say to cut the binding as a bias binding.
You do beautiful work.I just started to follow you and your work.Thank you
Super duper cute idea! Thank you 😀
I see some Christmas gift making in my future. Thanks for sharing.
Love the ideal going to try it out! Make some rugs. Is there a certain technique that I should be awere of?
Thank you for sharing this technique. I saw it years ago but never tried it. I’m going to give it a whirl.
Very pretty! I save the strings and selvedges for braiding. Instead of wrapping around cord, I braid them and use them for making rag rugs or small baskets. I haven’t tried any this large yet but they’re going on the list to try soon! 🙂
How does the clothesline fit and feed under the presserfoot ?
Dear Wendy. Surprisingly good. My clothesline is 6mm diameter, it’s cotton and soft. I use a heavier needle, 90 or 100. The only time it’s a challenge is if I have used a selvage for wrapping that’s a bit thick.
What the of machine foot do you prefer to use?
Just a regular machine foot.
Dear Susie,
Your basket is one of the loveliest ones I’ve seen, thanks so much for sharing. I’ve been enjoying looking at all the wonderful projects you’ve done and really appreciate the time you’ve taken to make and post the tutorials. i see many things that have made me want to get back into the sewing room!
Dear Nancy. Thank you. 💖 Thank you for taking the time to comment. Many more ideas to come. So glad you are feeling inspired. 🌷🌷🌷
Susie
Thank you for the tutorial. I can’t wait to try it. I’m curious if the needle is going through the clothesline on each “end” of the zig zag stitch or to the outside on each side of the clothesline as the rows are butted up next to each other. I couldn’t get enough of a close up to see it. Thank you.
Dear Sue,
The needle will go right through the cotton clothesline for each side. Use your zig-zag on the widest setting for best results. You can choose to make the zig-zag tighter for strength. if at any time you feel the level of difficulty is increasing, that means its time to get a fresh sharp needle. All the best.
Susie
Thanks I live in Ireland I was able to get it in fabric shop. I’m well on my way to finishing my first basket. Going to do bag next thanks again
Great idea. Will start one tomorrow have to locate cotton rope. How thick should it be
Dear Maria,
The rope I use is 9mm cotton rope. usually can be found in the dollar stores. Good luck.
I’ve made these before and wrap a few pieces of fabric on the clothesline at a time and use a clip clothespin to secure it (instead of pins). Then sew it using the zigzag stitch and then wrap a few more pieces of fabric on the clothesline, secure and sew. I don’t wrap all the clothesline at one time. It doesn’t take me any longer to do this than wrapping all the clothesline at one time especially if I’m using more than one bundle of clothesline. Love your bowls!
Thank you so much. Great idea!
Susie where do you buy your cotton clothesline from, i have been unable to find it anywhere in Melbourne
Dear Jenny. I had this trouble too, but in the end found some at the 2 dollar stores. Try Cheap as Chips or equivalent.
thanks for your prompt reply
Your baskets are beautiful. This is definitely something I’d like to try one day. I guess step one is to not discard of my fabric scraps. Thanks for the tutorial.
I have wanted to try this became hate to waste any fabric but I have just not been brave enough. Thank you for explaining how to do it so well. I think I will give it a try.
Thank you so much for sharing.. I keep almost all my scraps and this is just what I needed to use them up..
Susie this is exactly what I wanted… When I was little my grandmother made her floor rugs like this. I remember the completed pieces of art, but I was too little to remember how to do it. Thank you from the bottom of my heart, you have made my day 🙂
Susie you are amazing & I love your website. Did you have someone design it for you or are you a techno genius as well?
I knew there was a reason I had been saving all those yummy bits of fabric! They are just pretty to throw away! I bet I even have some cotton clothes line hanging around! The wrapping looks like a great mindless tv/movie activity! Thank you so much for sharing this with us! Happy quilting!
I am always looking for something new to try and this is my next project. Thank you for sharing and I hope mine will turn out as good as yours. One can never have enough baskets.
Good Luck with your project Cheryl. Let me know how it turns out!
thank you for the wonderful idea for using up scraps. What do you mean by Strings..is that the selvege edge we usually cut off and throw away….how wide are your strings
Dear Pauline, a string is usually referred to those pieces that you would cut off from your fabrics like when straightening edges and squaring up when beginning to rotary cut fabrics. This certainly can include selvages. The “strings” can probably vary from about 1/2 inch to 1 inch or 1 1/2 inches. They are ofen the WOF or part thereof which makes them quite lengthy at times. They are basically the pieces that are usually considered waste 🙂