

End Of Day Quilter’s Chicken Egg Basket and Tutorial
You know I love to use up all my leftover quilting strings to make beautiful and functional baskets for an almost negligible cost. Yesterday, I had the brainwave that maybe I could make a basket, shaped like a chicken. With Easter on our doorstep, it’s not too late to make one of these, but frankly, I think this one will be gorgeous to have all year around, because it’s so cute! I’ve got some fresh eggs sitting pretty in my chicken! I think my chooky will be in use all year around! For more information on how to prepare for these baskets, click on the links below.
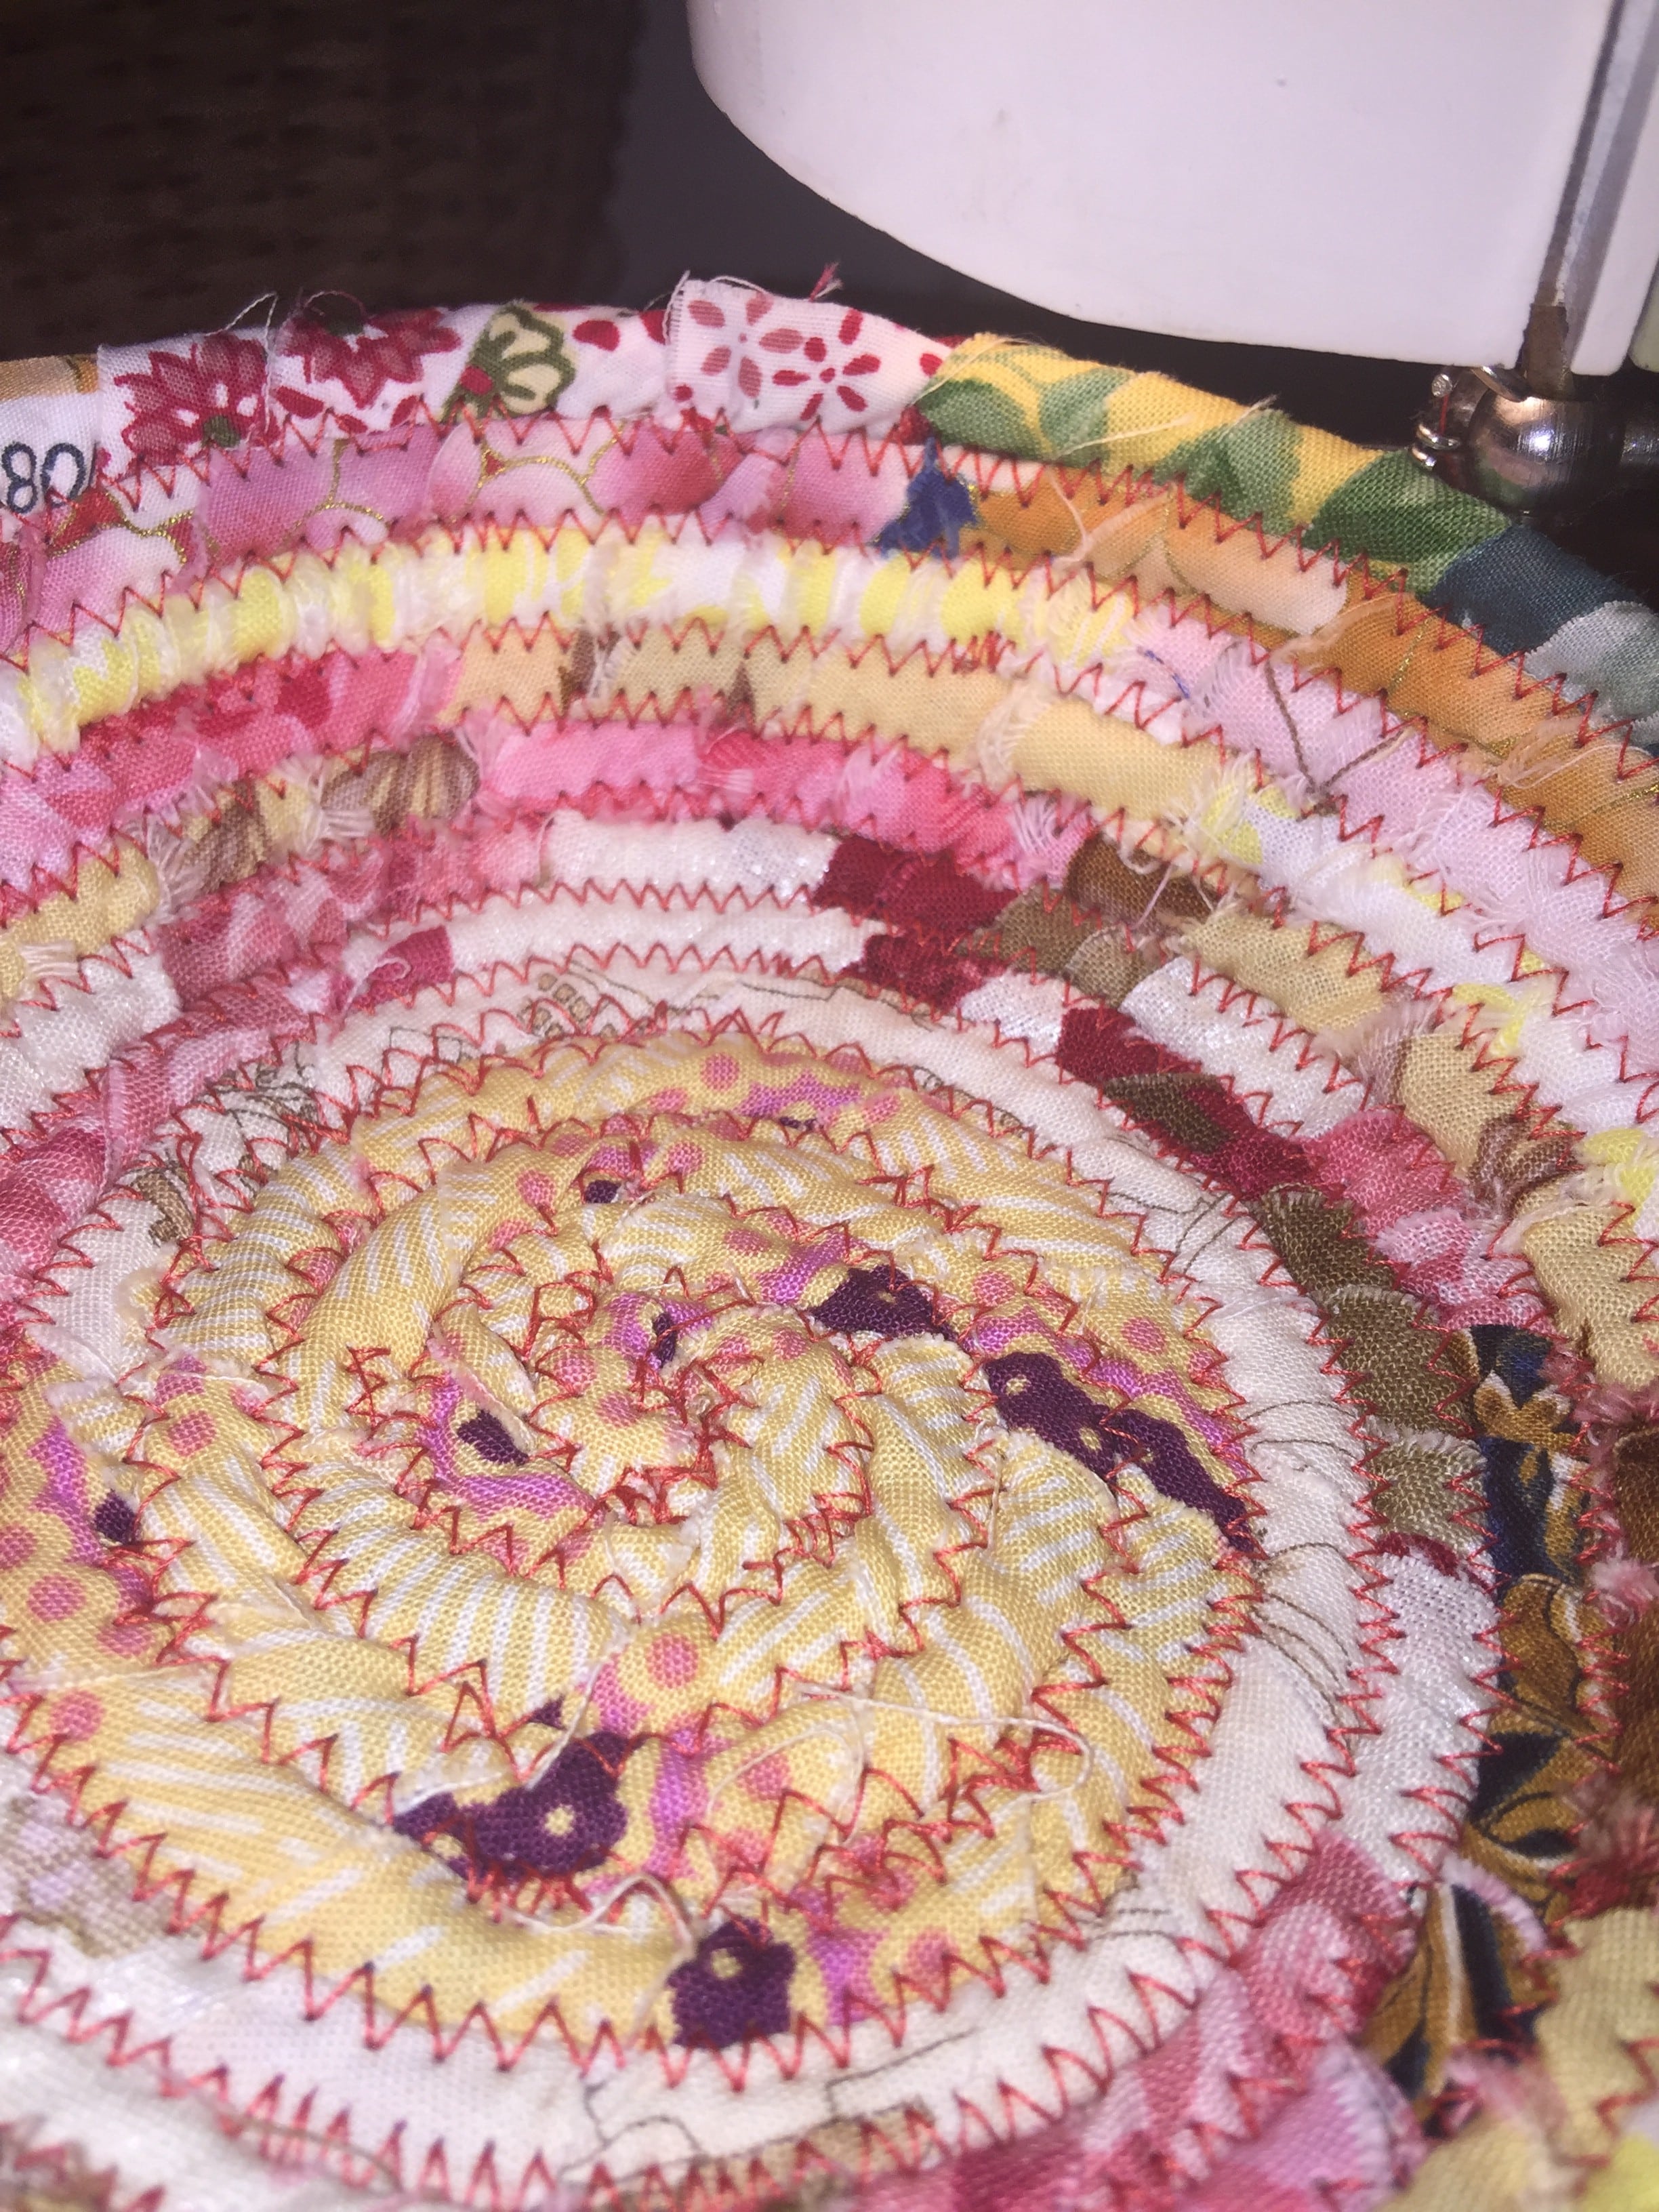
Begin by making a round base with eight rounds.
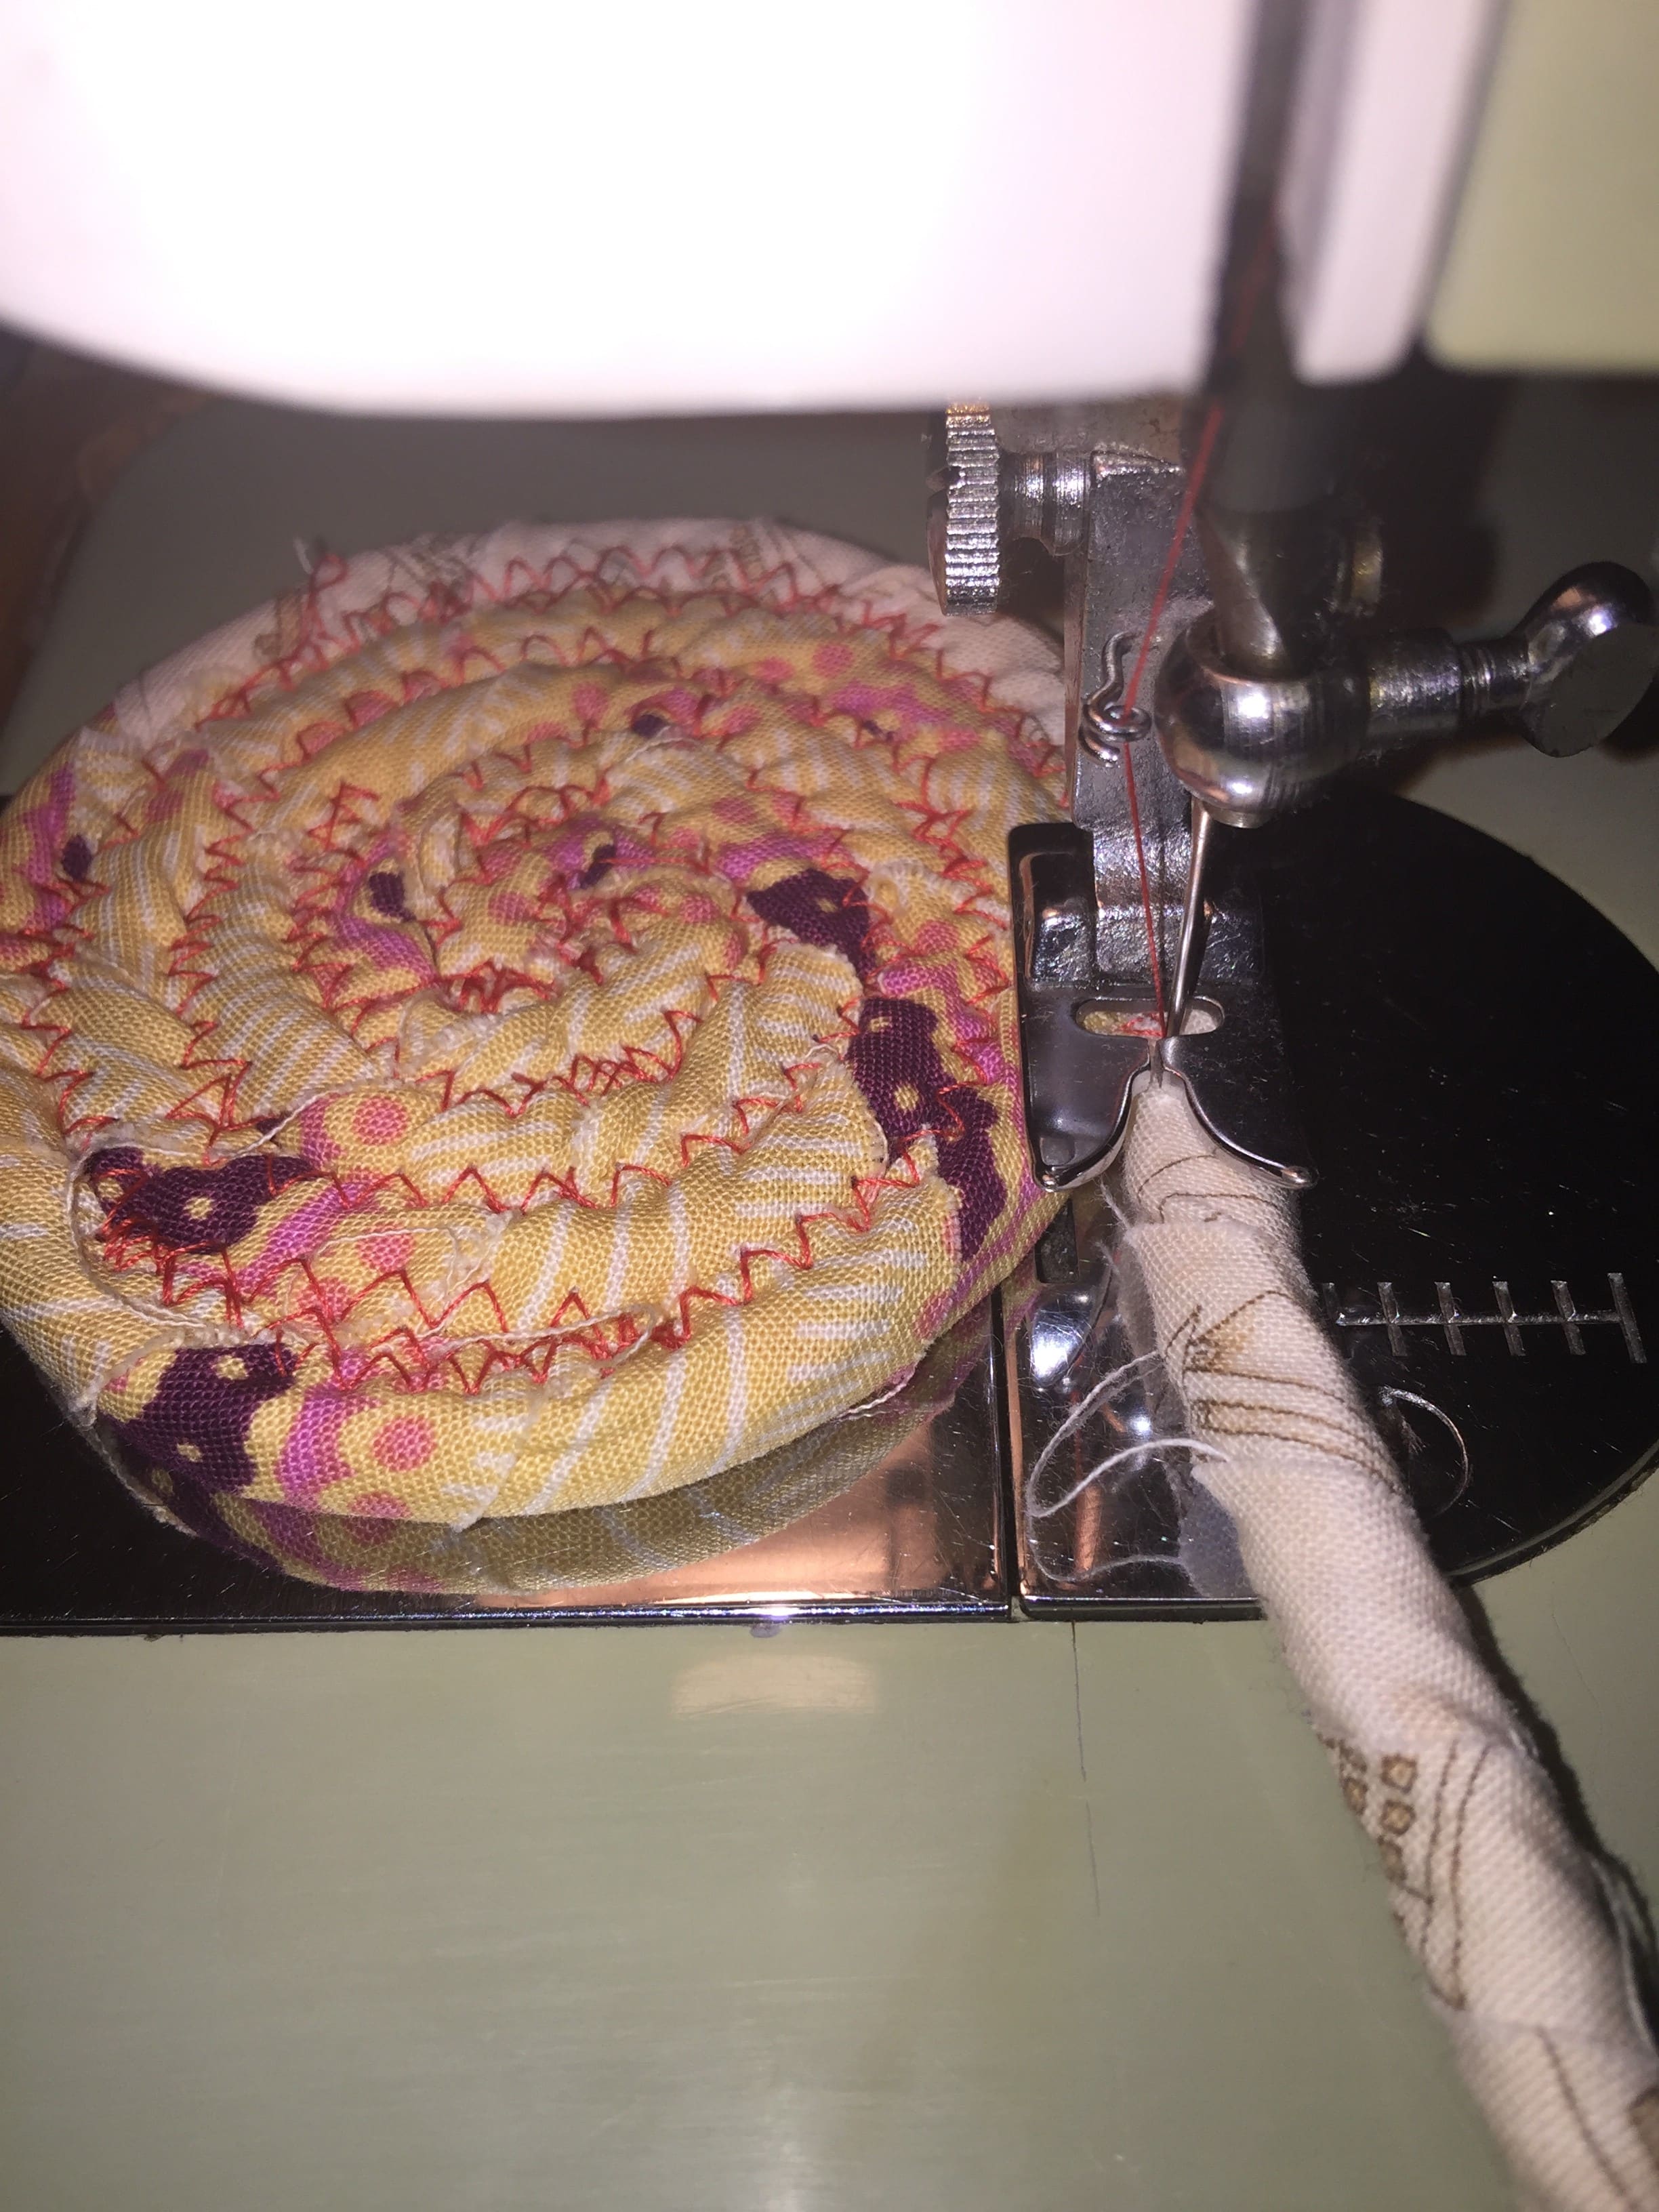
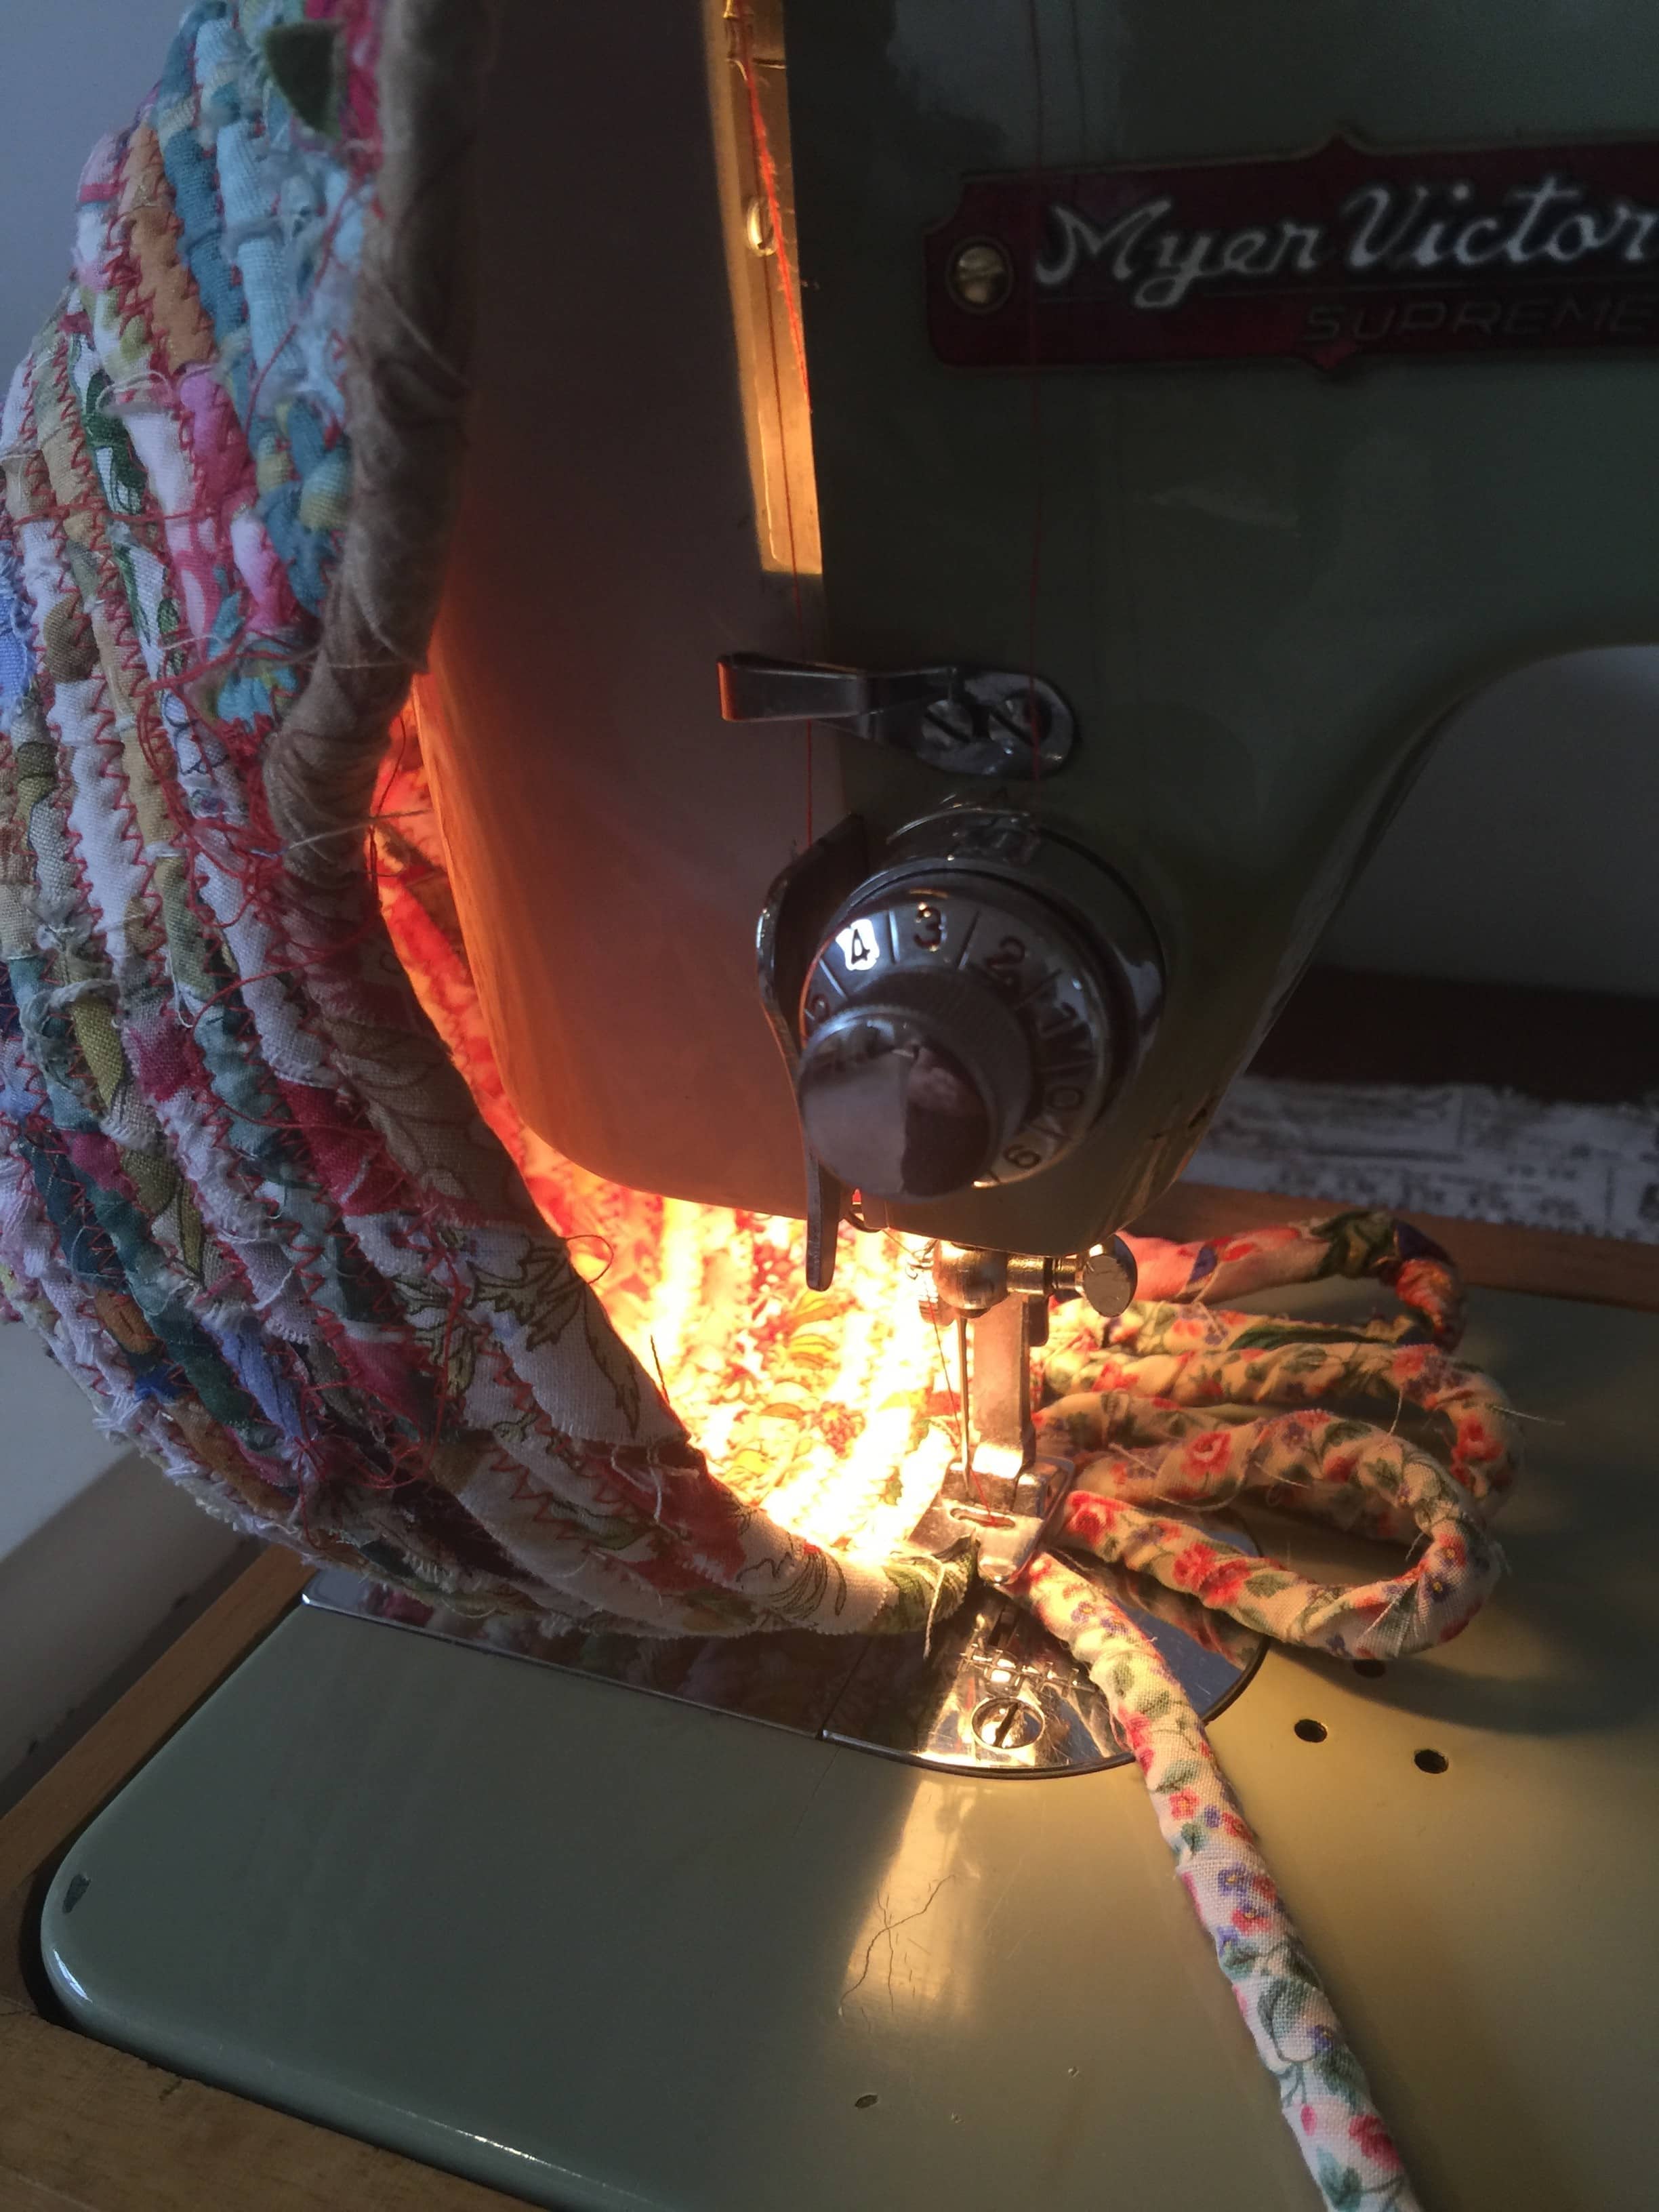
Next tilt the base as vertically as possible whilst attaching the next nine rounds. Today I’m using my Myer Victor Zig Zag Machine to make this basket.
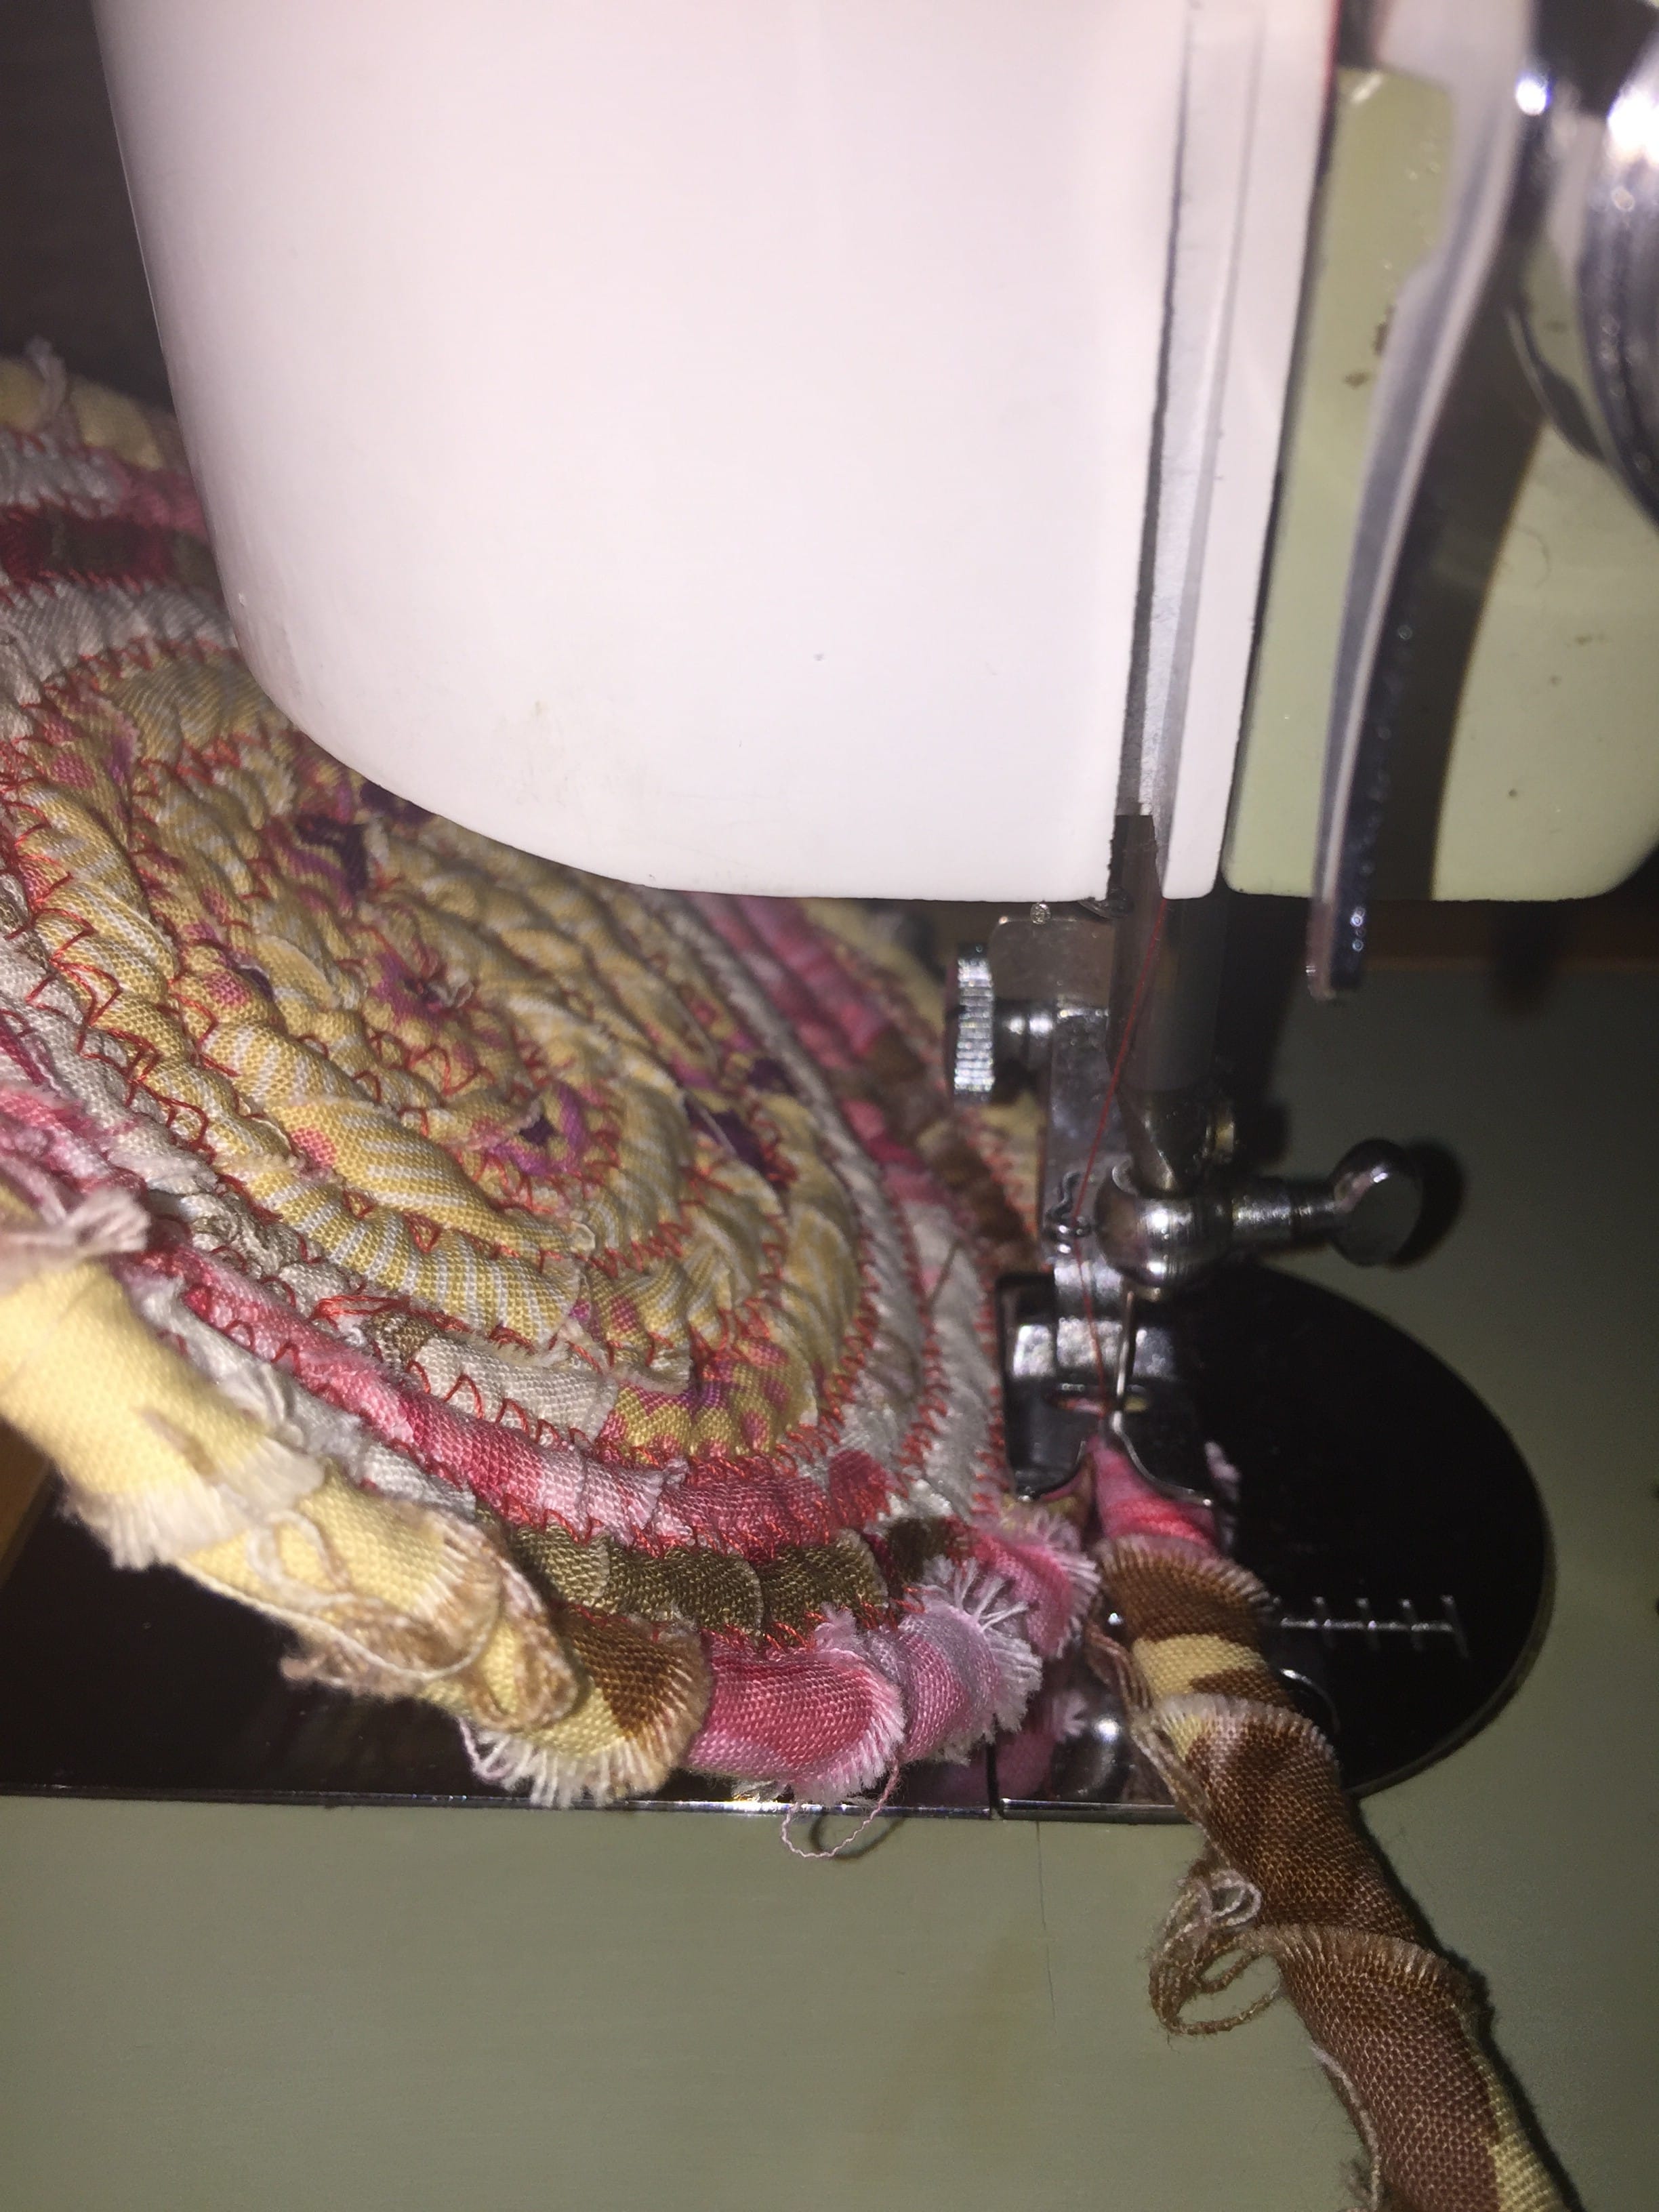
Keep the basket as vertical as possible whilst sewing. Do not cut off the tail end of the rope.
Next, beginning with a fresh piece of rope measure about a 7″ length then fold back on itself. Sew along the length and continue for ten rows with a slight incremental decrease in each row.
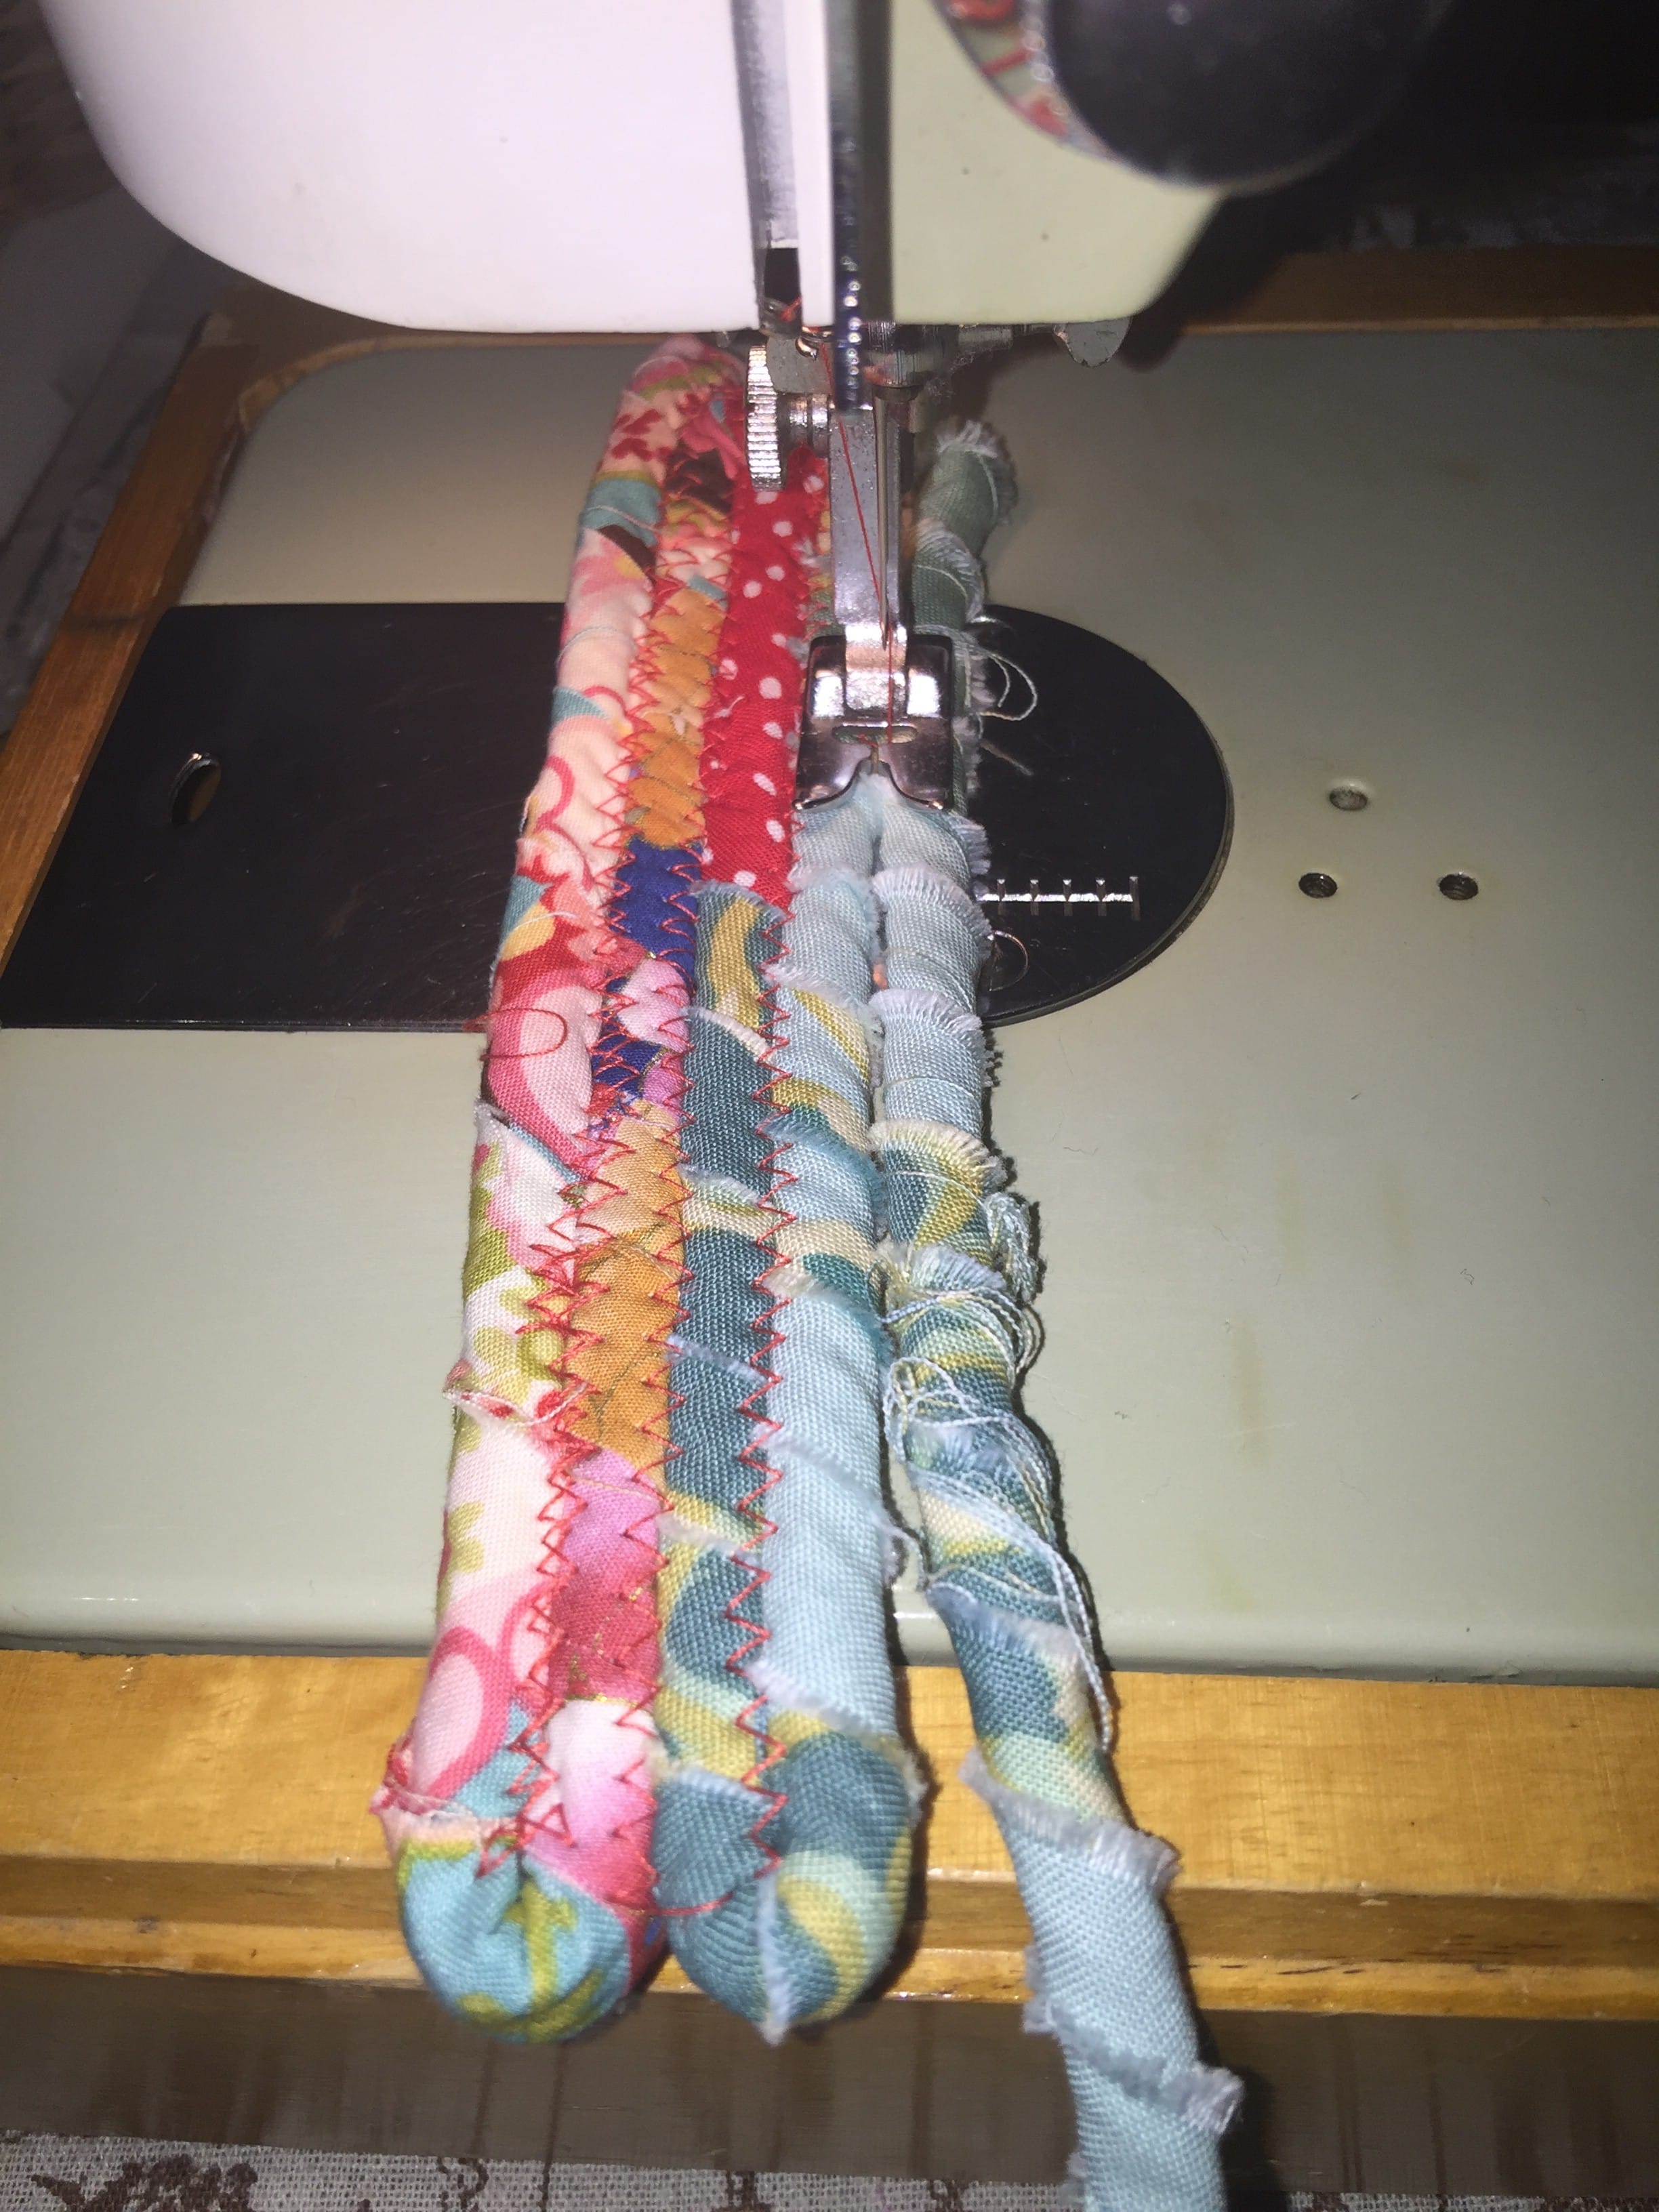
Do not cut off the tail. This piece will be the chickens head and neck.
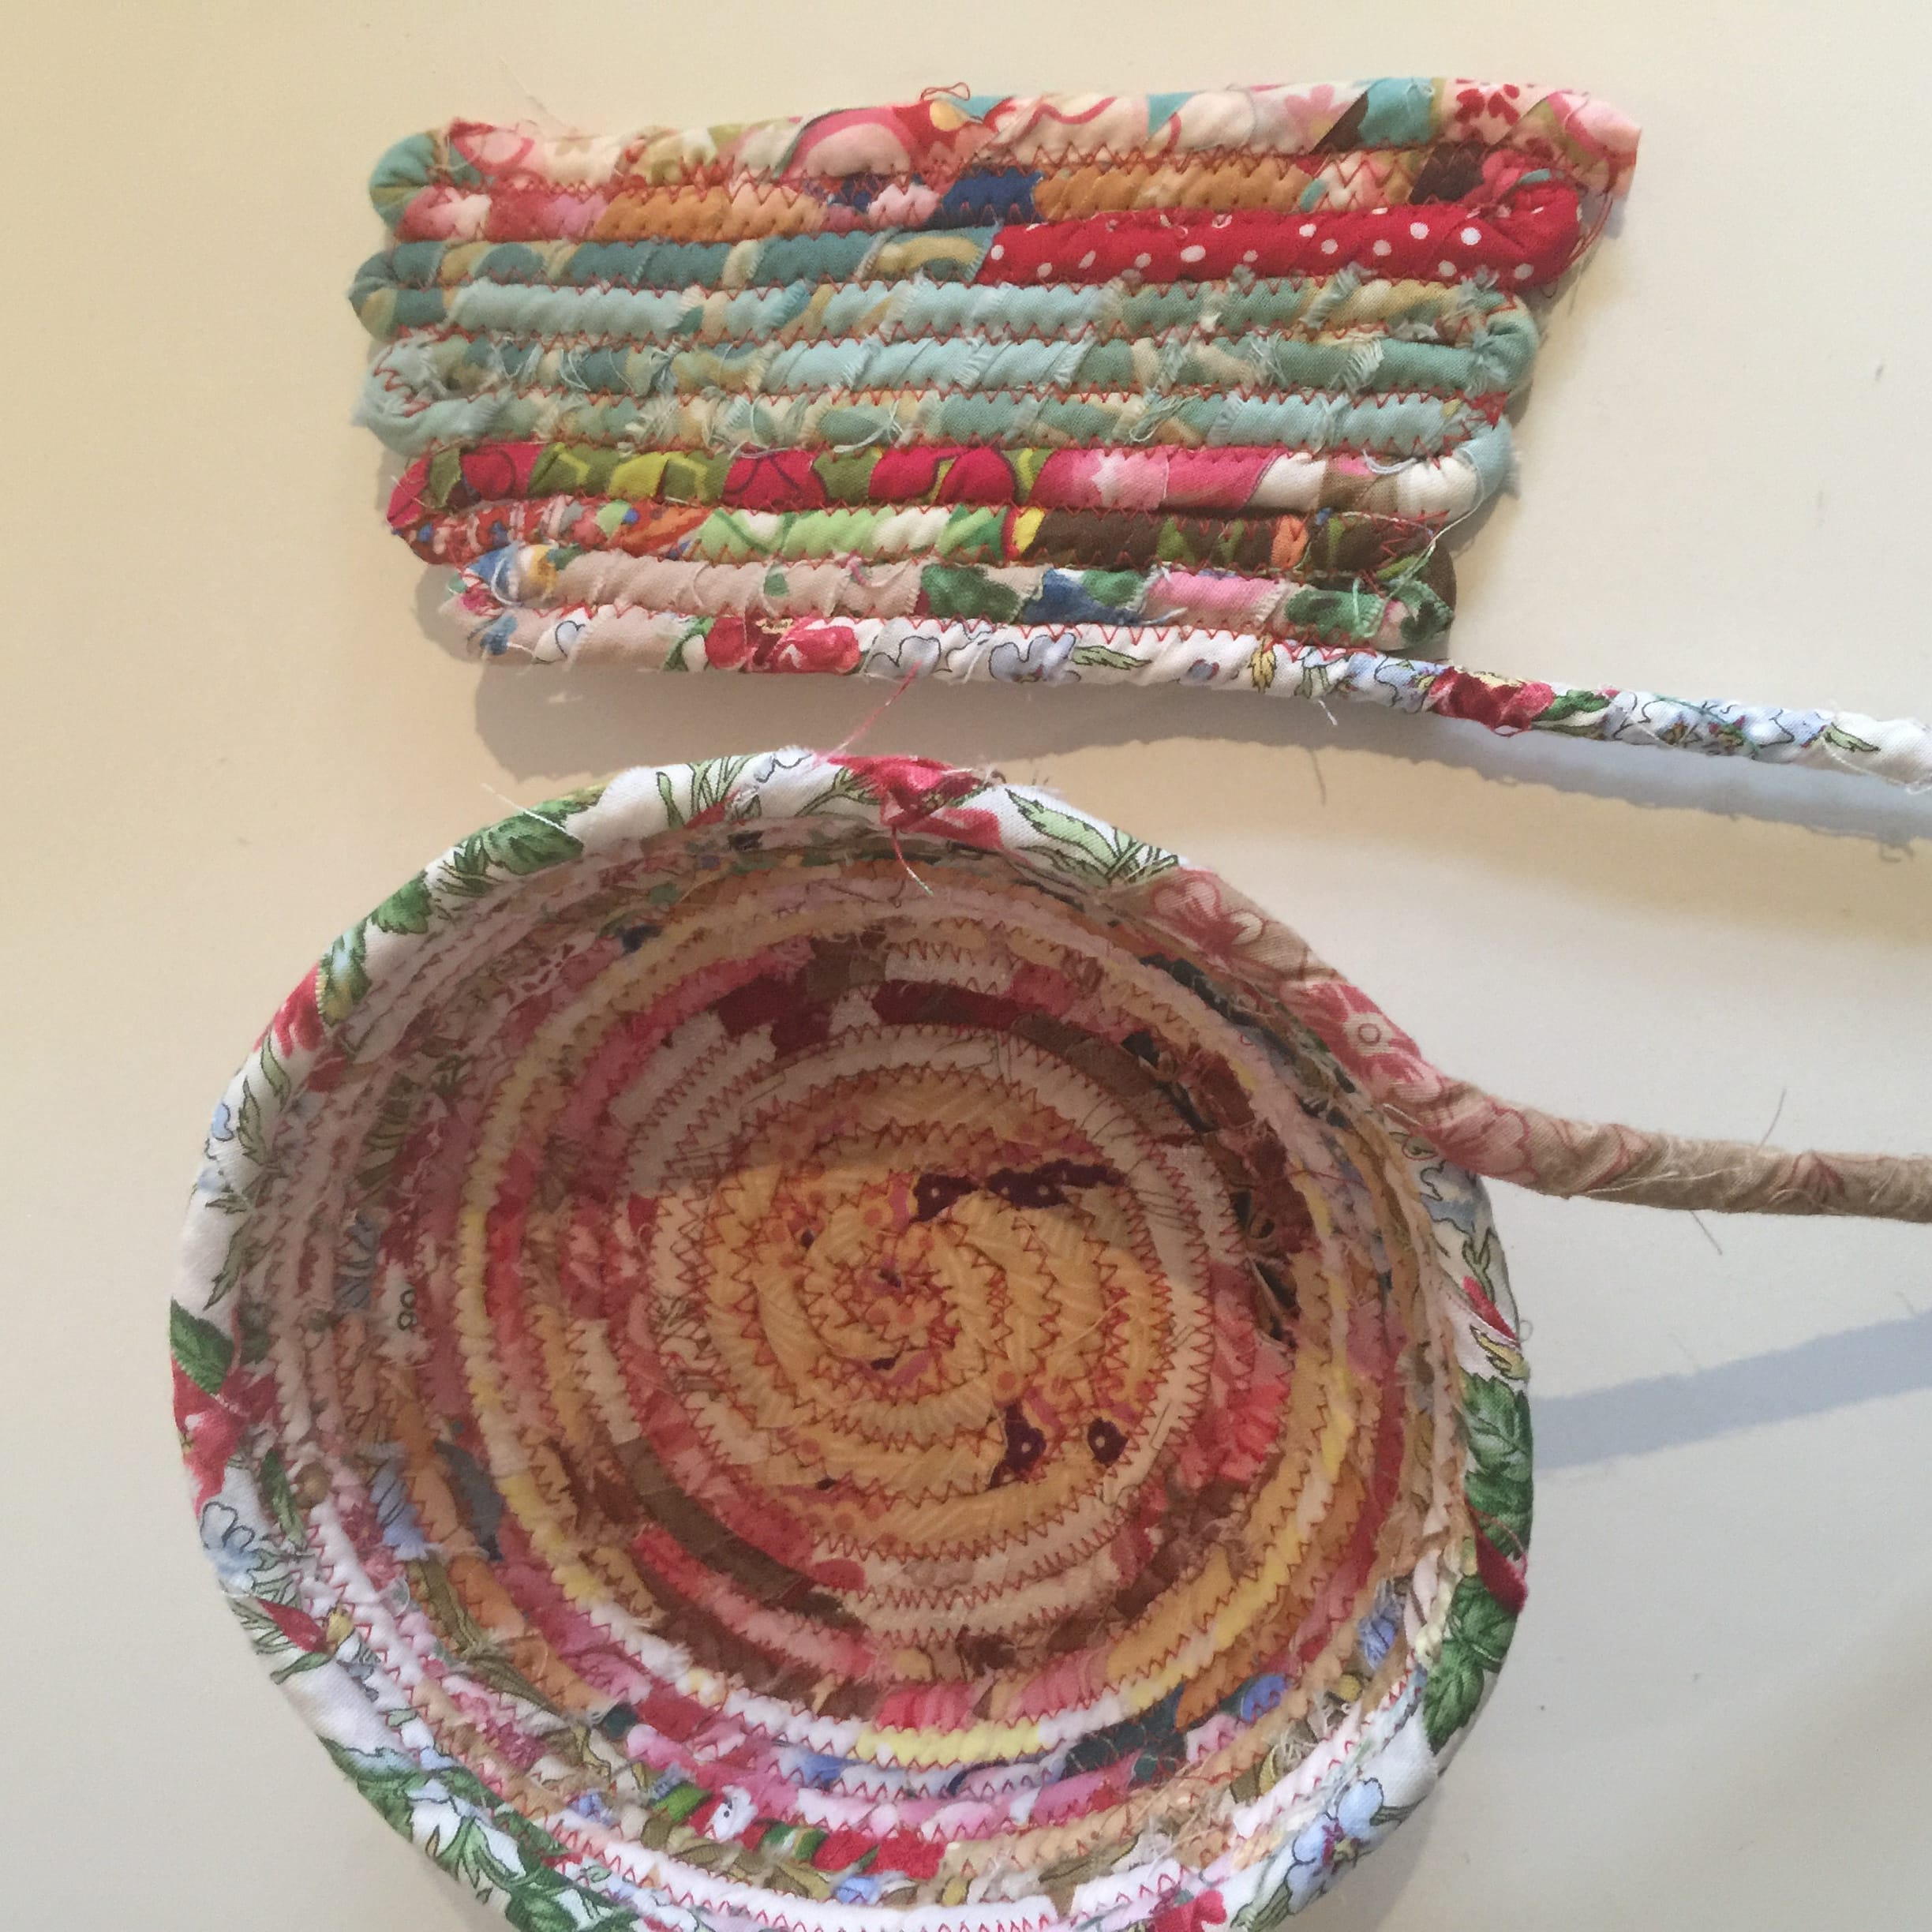
Now you should have two pieces which look like this. Attach the long side of the second piece to the basket base beginning at the junction of where the remaining cord tail is located.

Once the oblong piece is attached to the basket, stop. Determine the halfway point of the back of the basket.

Useing the free end of the rope from the oblong piece to sew down the side of the piece. Now you have a piece that looks like this. continue to sew to almost the half way point, now create three loops, butting up to each other. These will become the tail feathers.
Sew around a few more inches then stop. Going back to the other remining piece of rope. Sew up along the side of the oblong piece. Make three loops again, a bit smaller than the tail loops, abutting each other and sew to one half of the top side of tthe attached piece. Trim.
Go back to the remaining rope, sewing to within one inch of the upright piece,
To make the handle. Turn the free end of the rope toward you so that it is at right angles to the basket. Measure a 12 length, then fold back on itself another 12″. Sew along the length. Bring back another 12″ length and sew down. Now you should have a flat handle of three lengths of rope. Attach to the basket. Trim the rope then attach the free end to the other side of the basket in the mirror position.

This is the view from above, with the handles attached. Now fold the head piece in half at the top. Hand stitch the top of the head together. Attach two black buttons onto the head for the eyes. Use a piece of felt or folded fabric in a triangle to make the beak and hand stitch on.
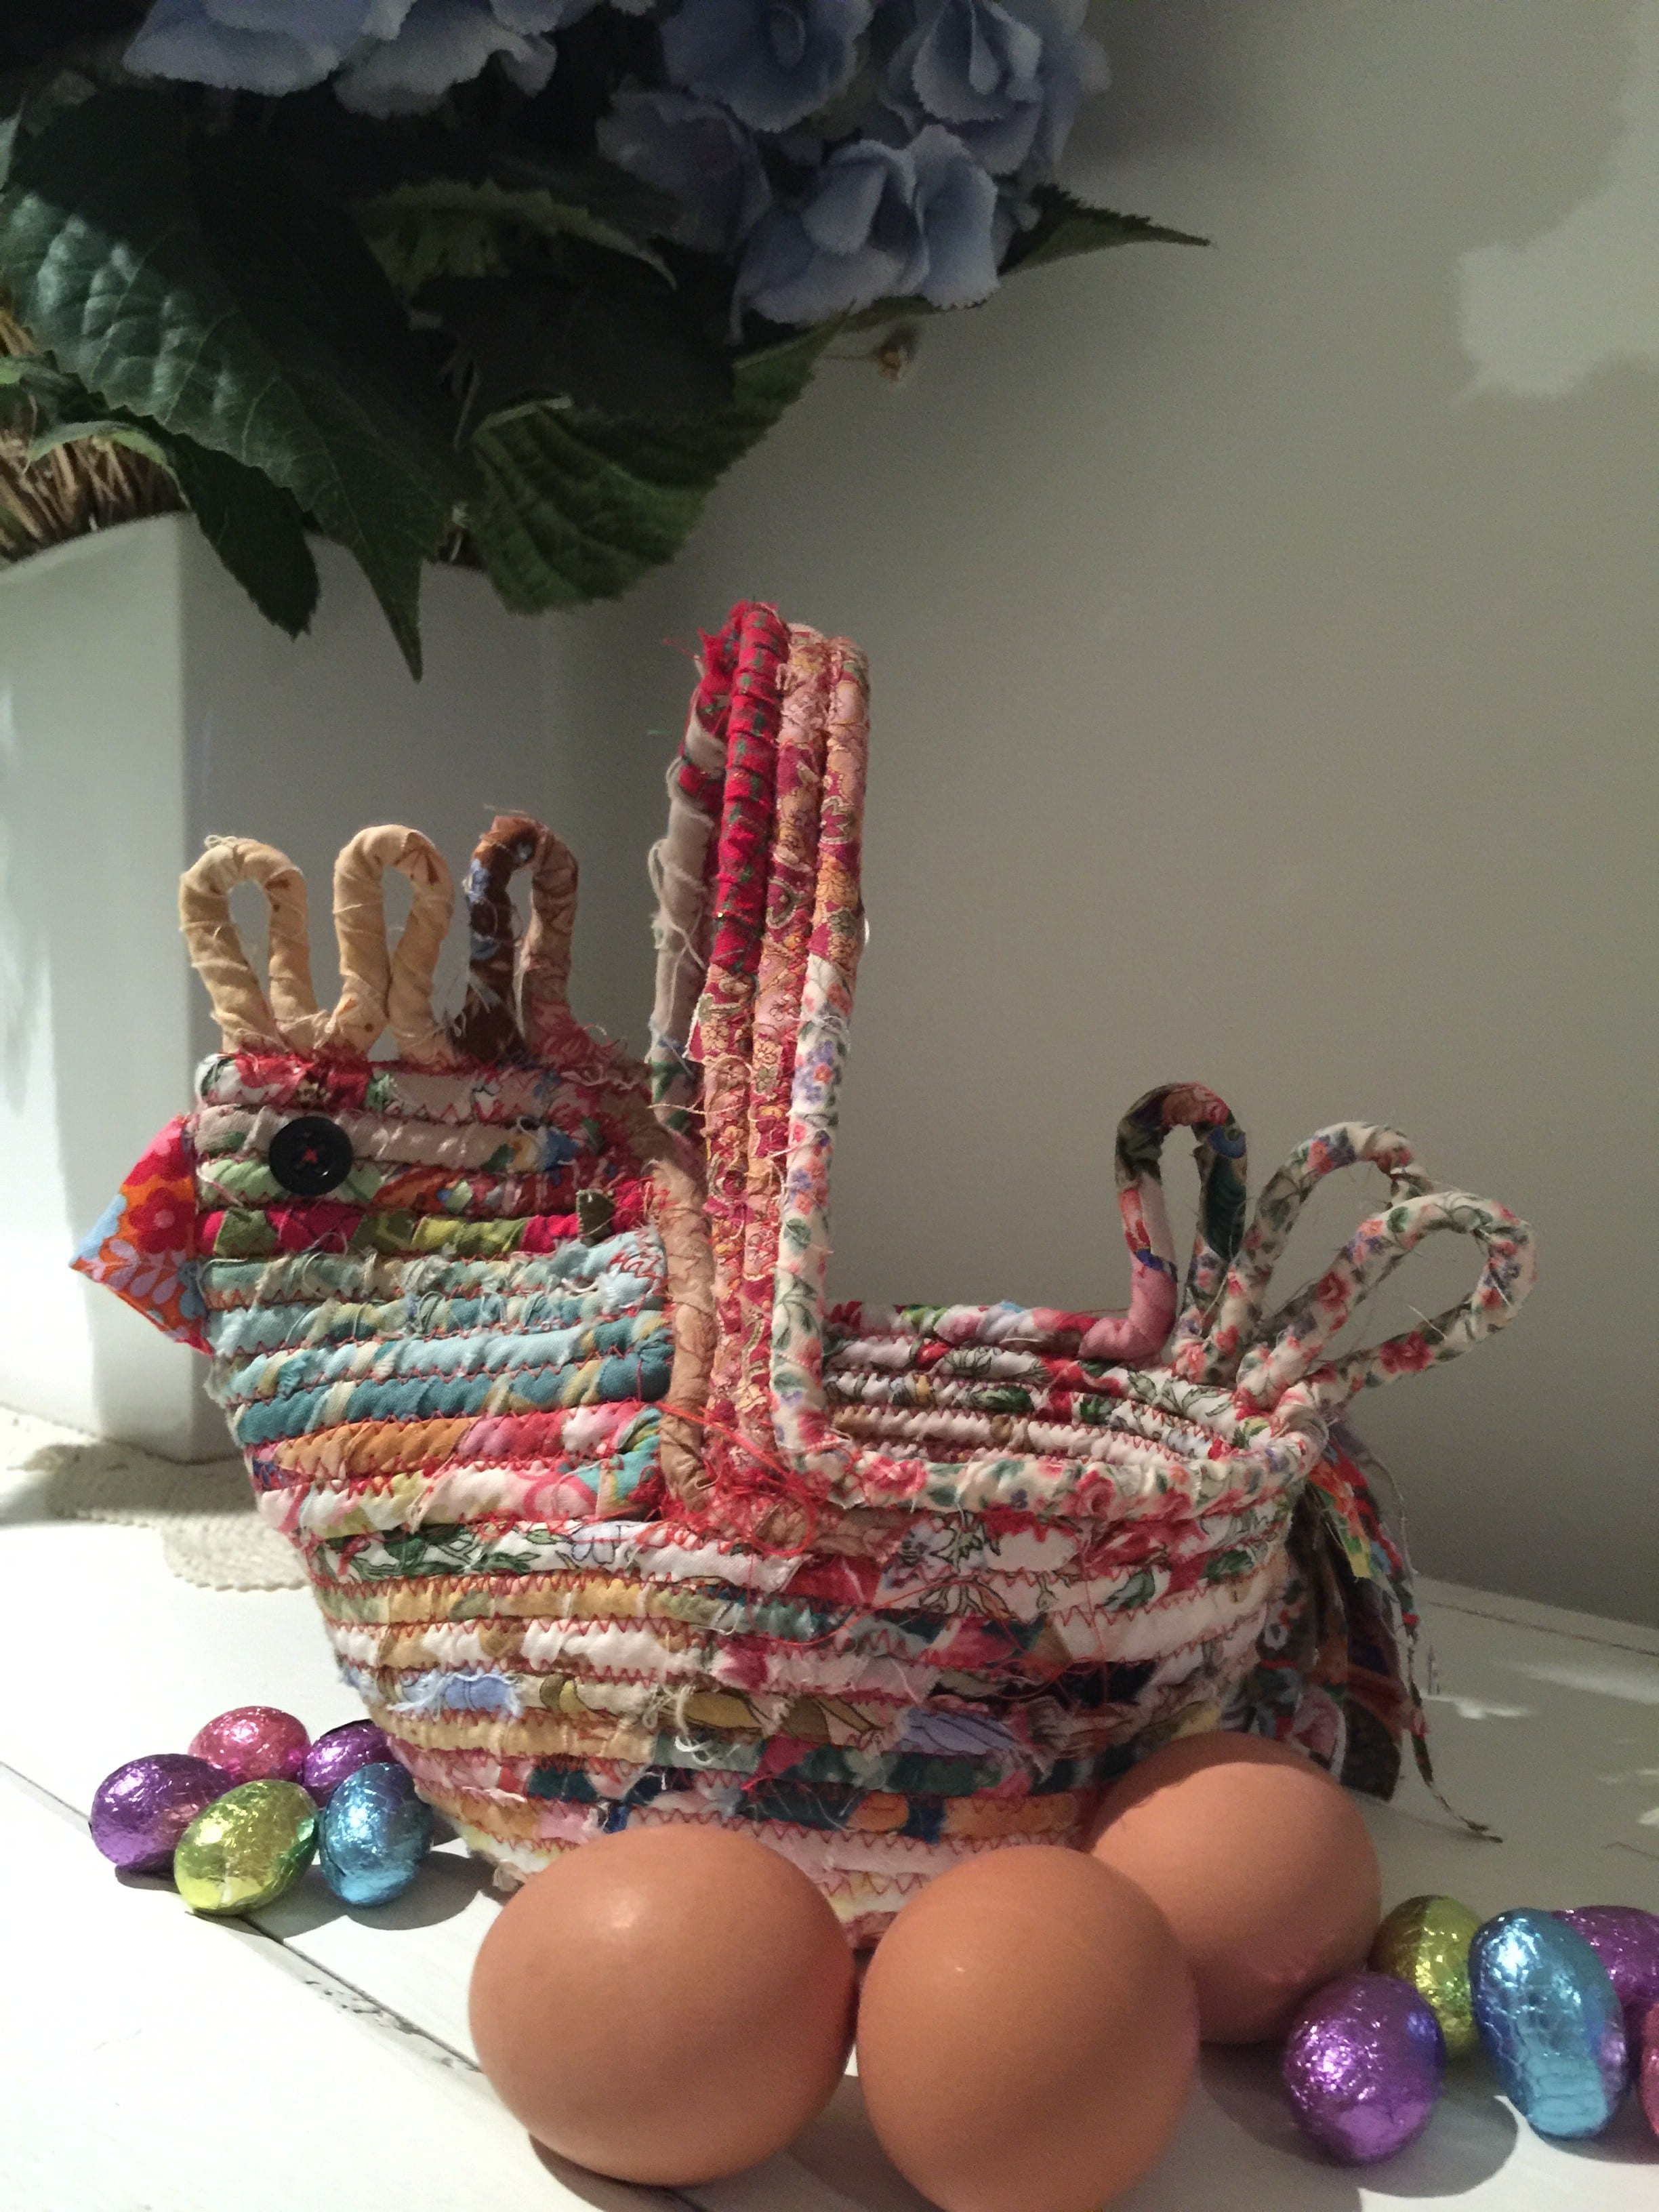
Now you have an Chicken Egg Basket. Remember every chicken will look a little bit different and have its own personality! Please post if you make one! Happy Easter!
Susan Stuklis 2016
I saw one at a quilt show and have been looking to make just a bowl when I found your Chooky. I’m in love making it today!!
I am recovering from hand surgery. Can’t wait to make this!!!
I found your foto from this chicken and could not forget it! I tried it by my selfe. Now I found this side by Pinterest and I am happy to tell you: I made many of chicken like yours!
I would like to send fotos of mines!
Gretings from Sweden! Sabine Mörtz
Thank you so much for this wonderful tutorial. I had so much fun making my own little chicken basket. You are indeed very creative!
What size rope did you use? I can’t wait to make one!
Dear Jennifer, I used 6mm rope. Have fun!
You are miss creativwe person Susie.