
Antique Tile Block Made Easy Tutorial
The Antique Tile Block is one which I have always admired, but never quite got around to making. Its a fabulous block for scraps, and lets face it we all have some. It is an awesome block on is own or alternated with a plain block, sashings, stars, or on point, really wherever your imagination takes you. Its also an excellent block for a “Transparency” style quilt due to the overlaid appearance of the block.
According to Barbara Brackman, (Encyclopedia of Pieced Quilt Patterns, 1993) this Block was first published by Nancy Cabot in 1938. A little more about Nancy Cabot in this link.
http://www.quiltindex.org/essay.php?kid=3-98-40
Moving on, I was thinking about the Disappearing Nine Patch Quilt and variations of such.
Disappearing Nine Patch Baby Quilt
I was pondering that idea, when I saw something on Pinterest about a Reverse Disappearing Nine Patch, that got my attention. On further investigation I noticed that “Teresa Down Under” has posted a similar tutorial. I quickly realised that this is block can easily be made into the Antique Tile Block in a very simple manner.
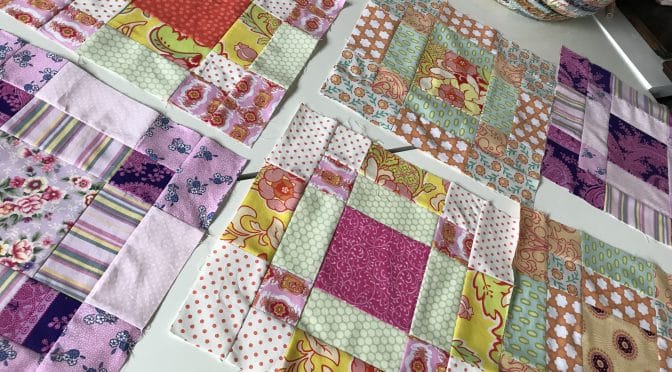
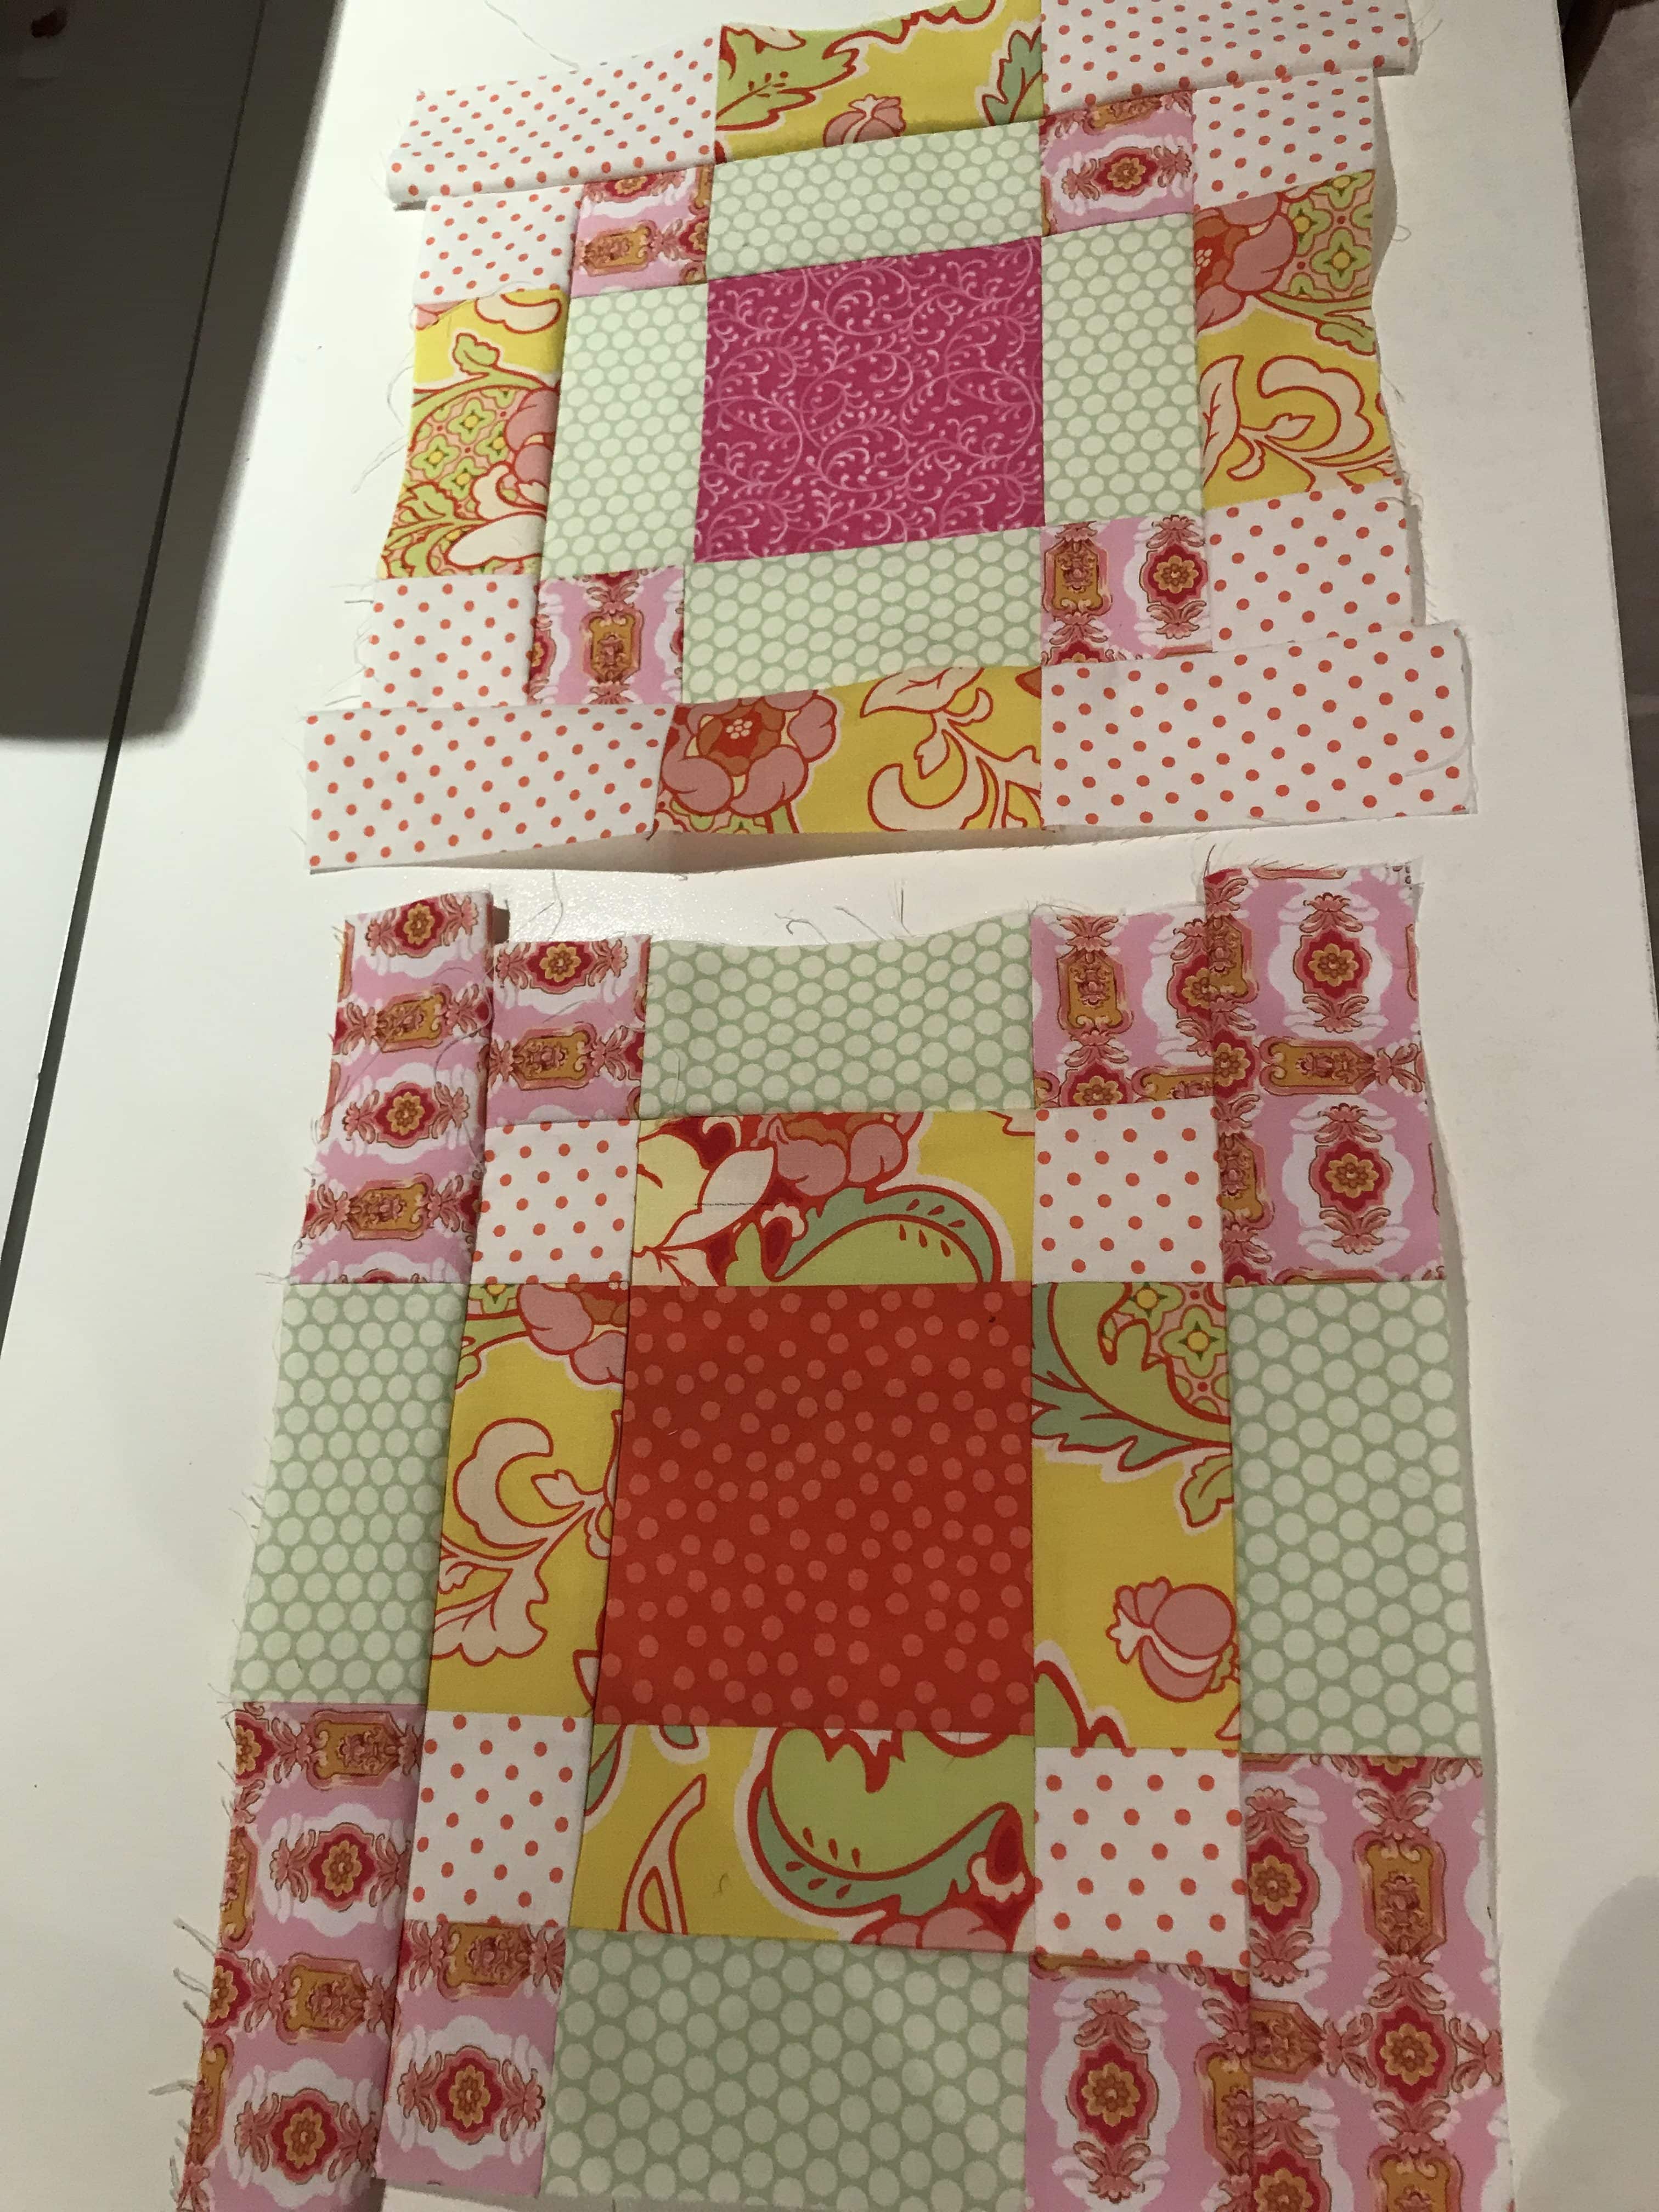
I’m excited to share this with you today. This tutorial will give instructions for making 2 blocks at a time.
Block size 13” x 13”
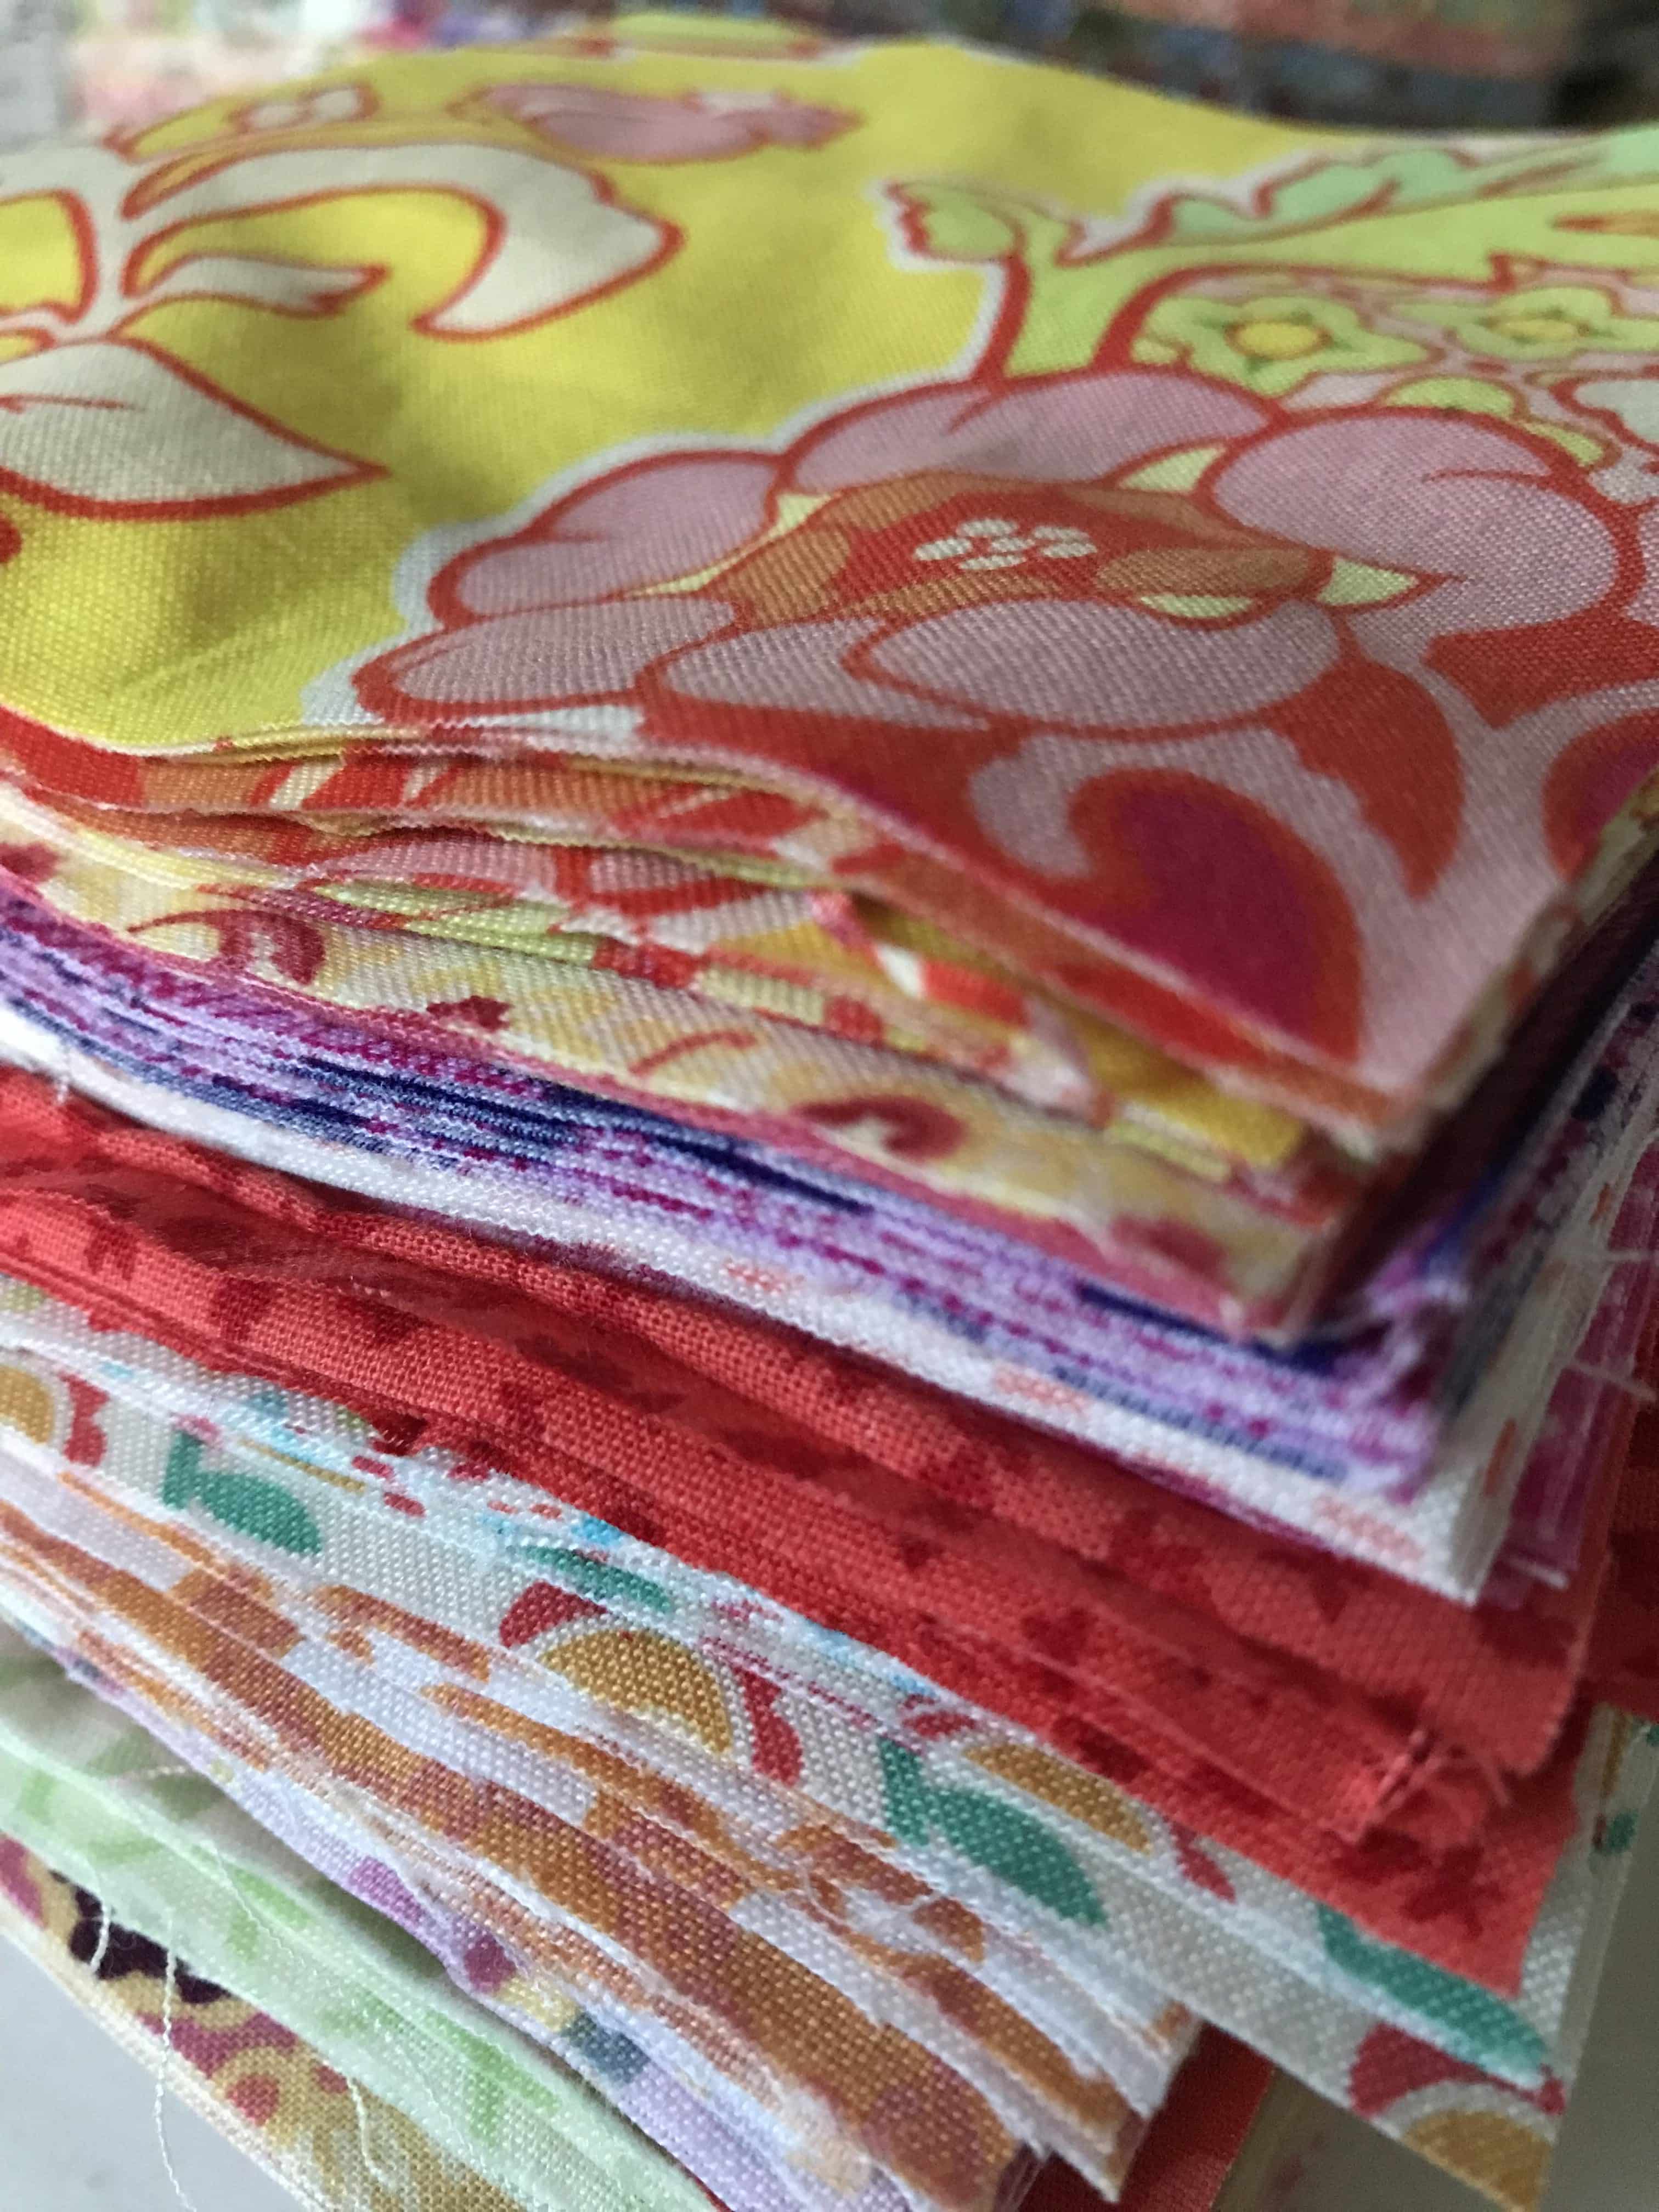
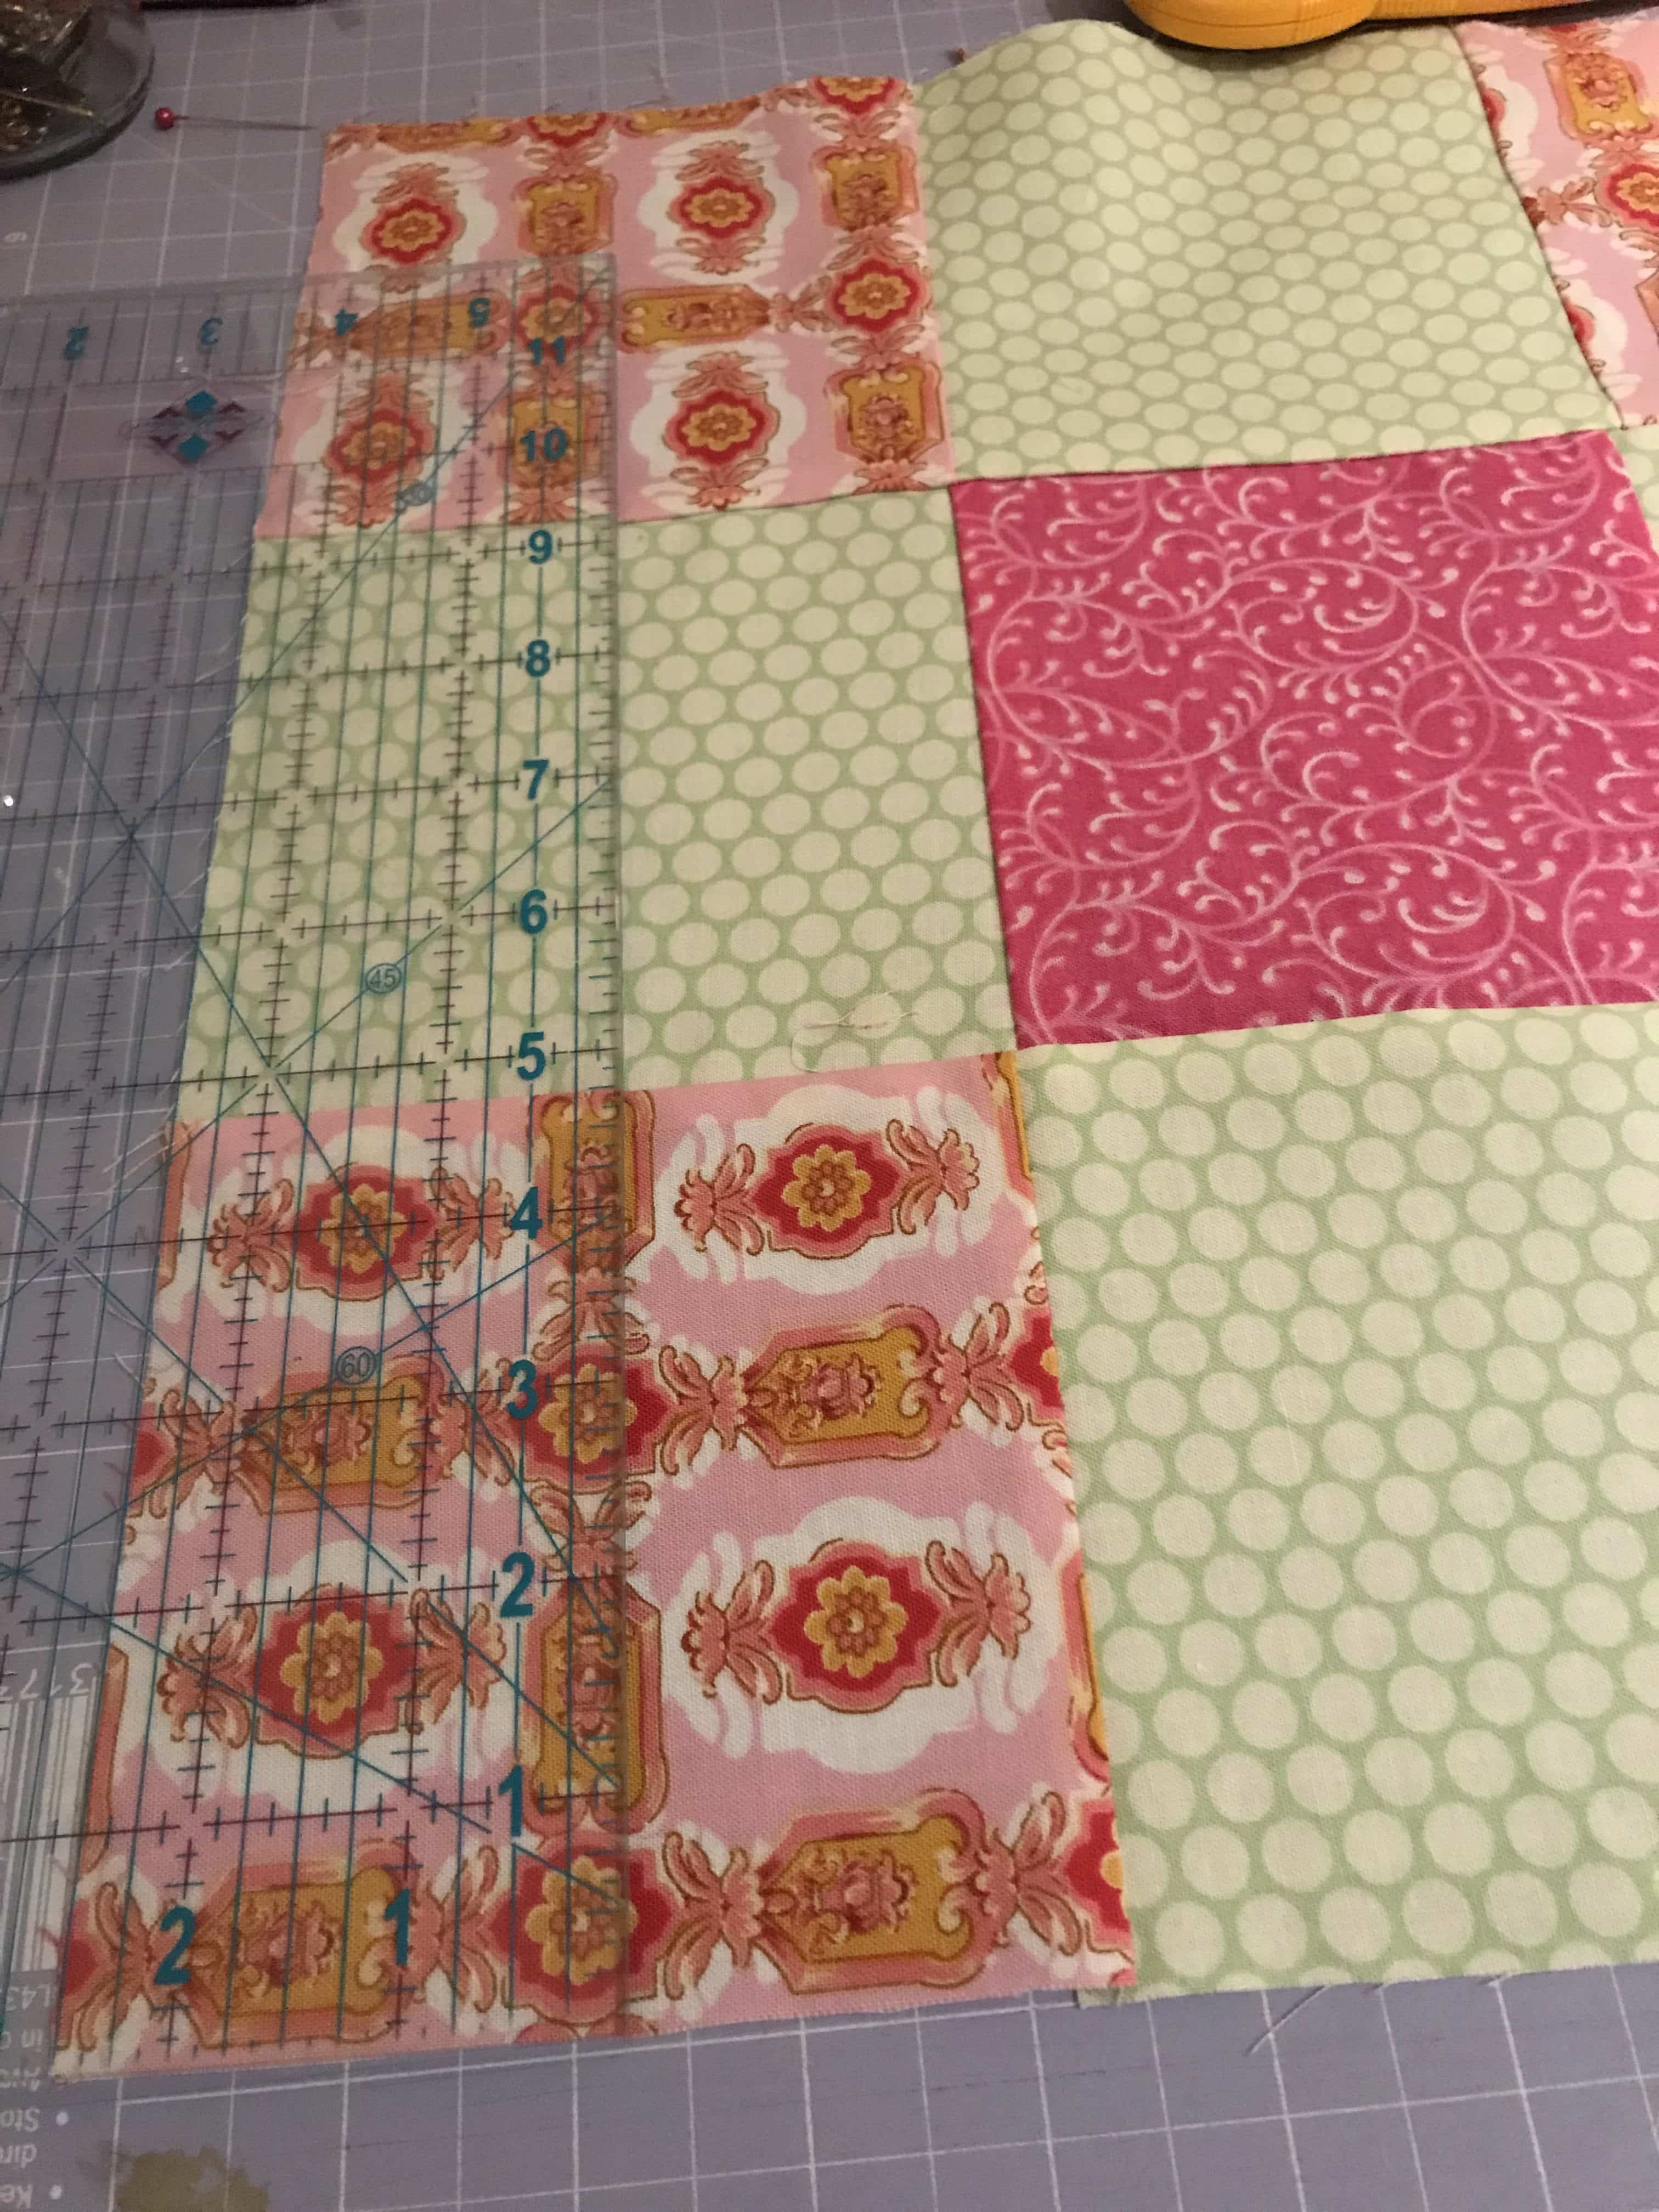
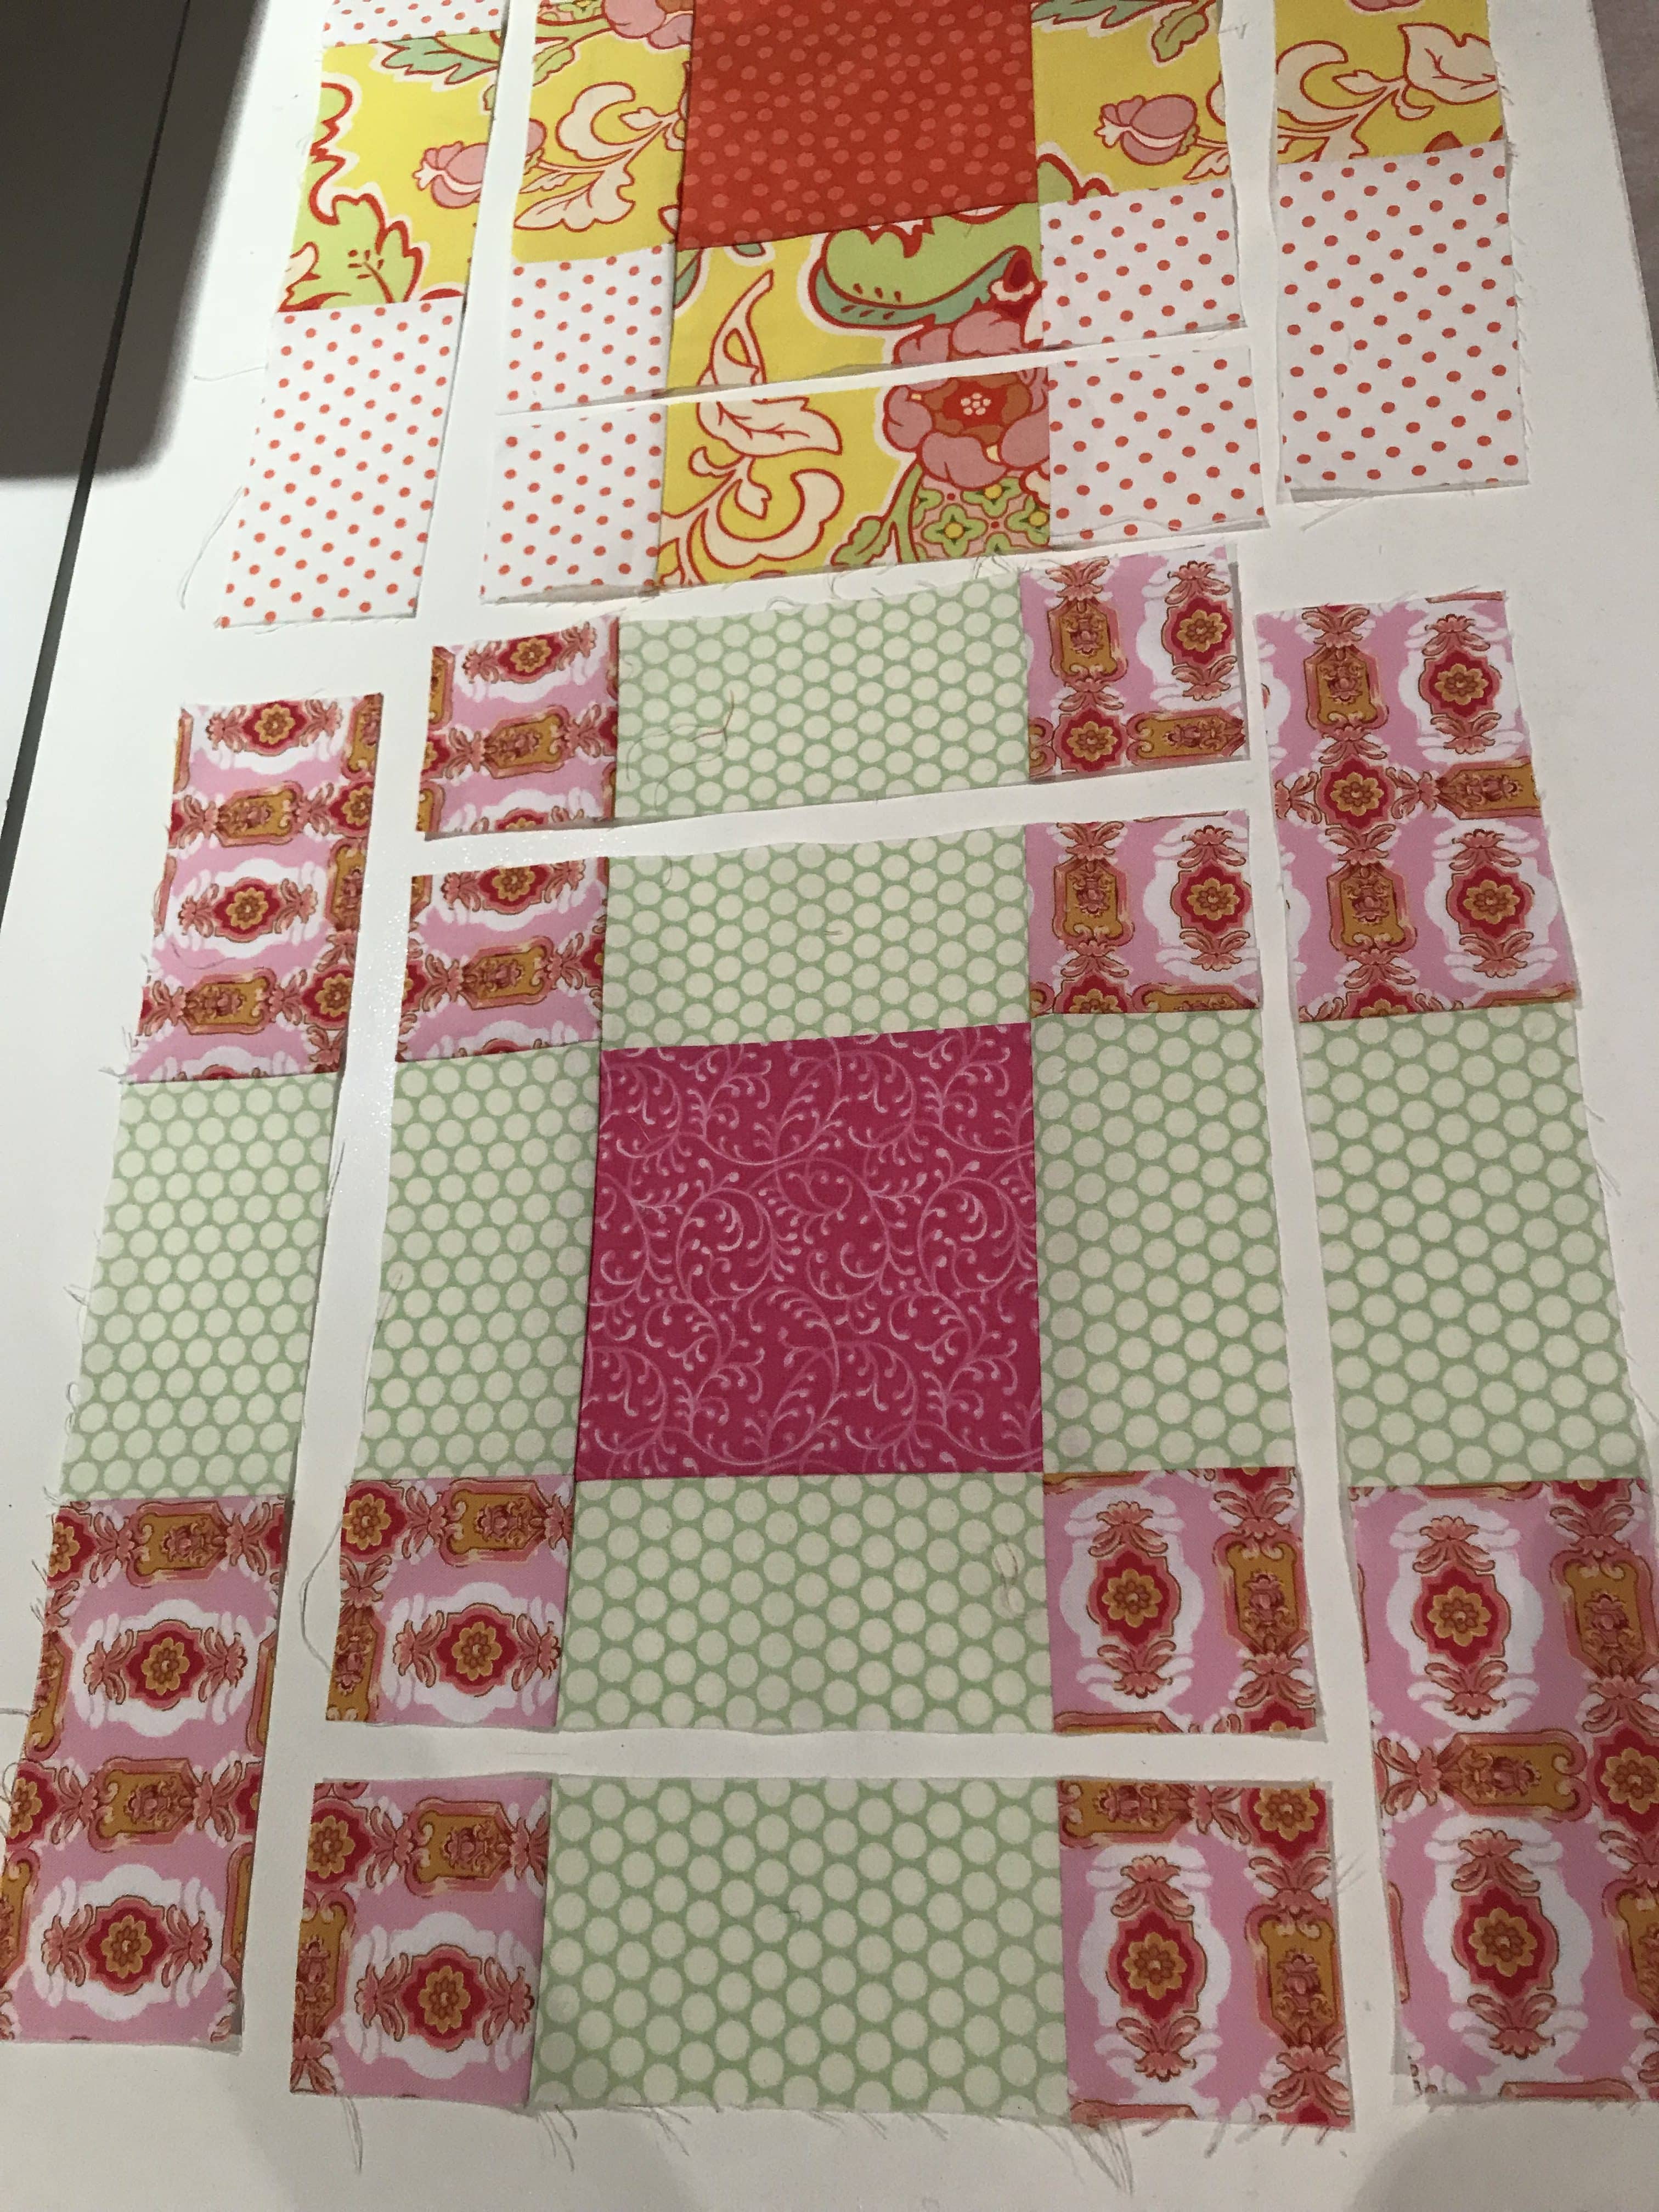
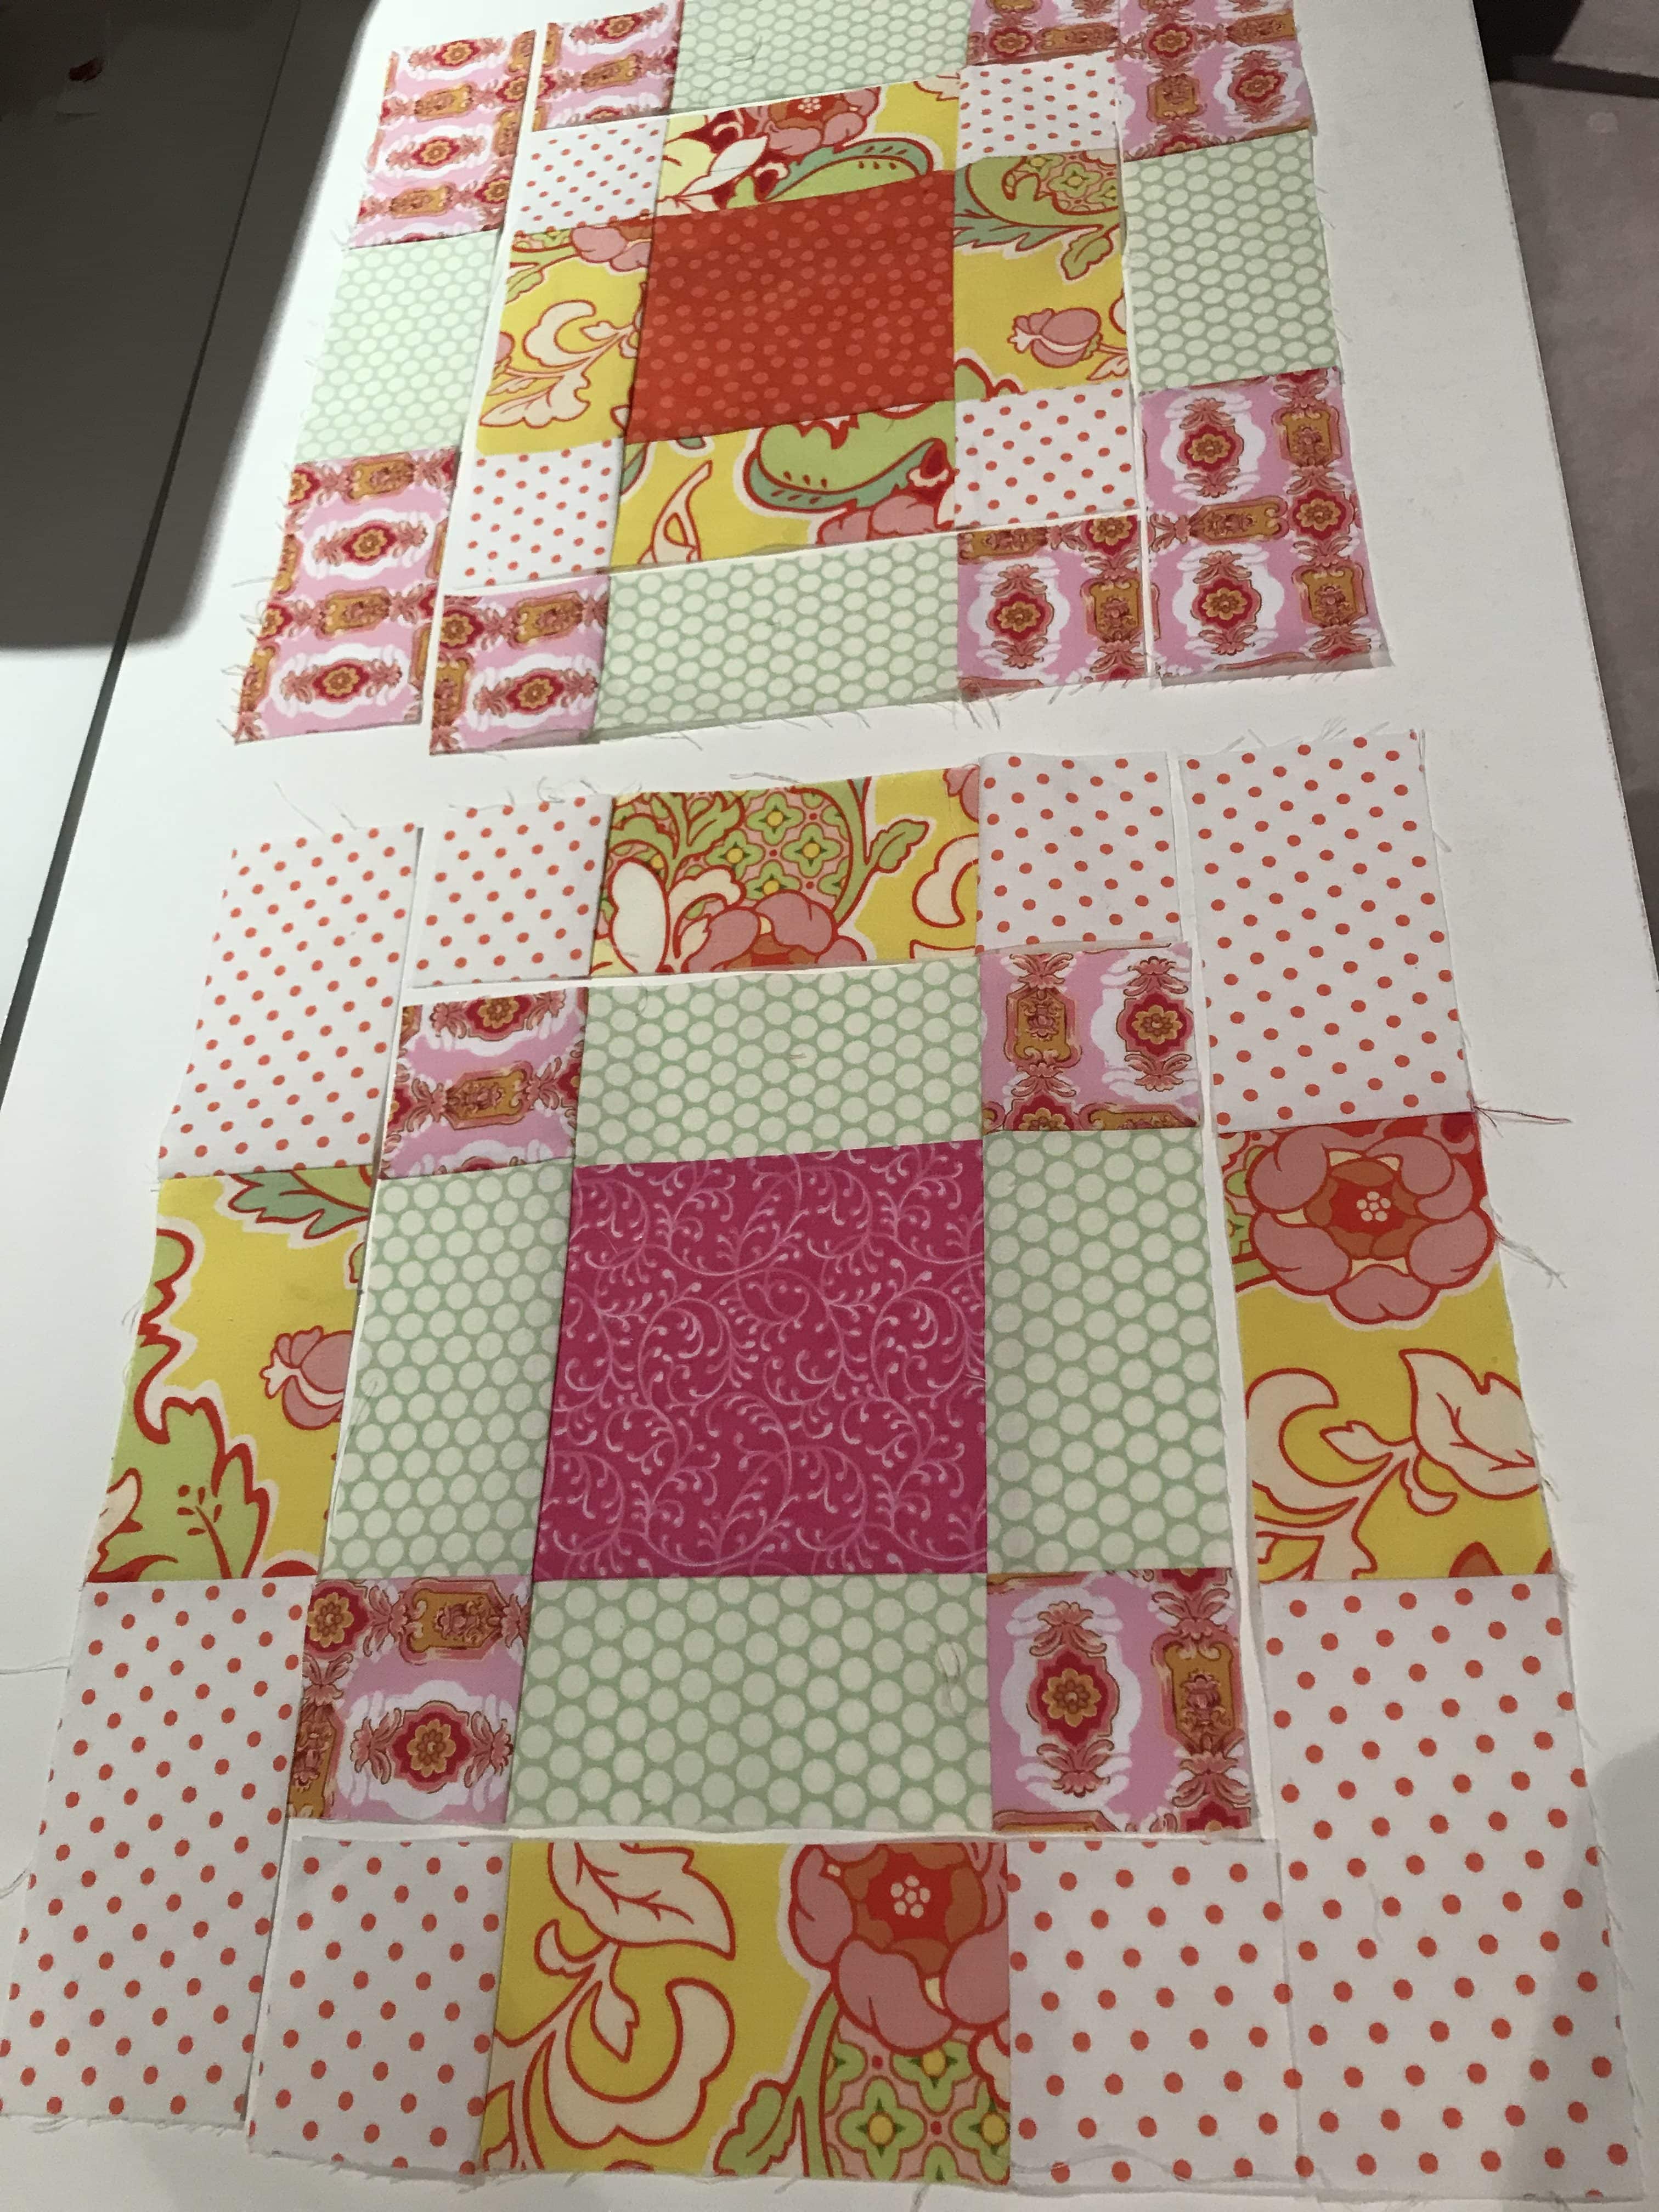
Requirements for 2 Antique Tile Blocks Made Easy
Here is a stack of 5″ x 5″ squares I have just finished cutting.
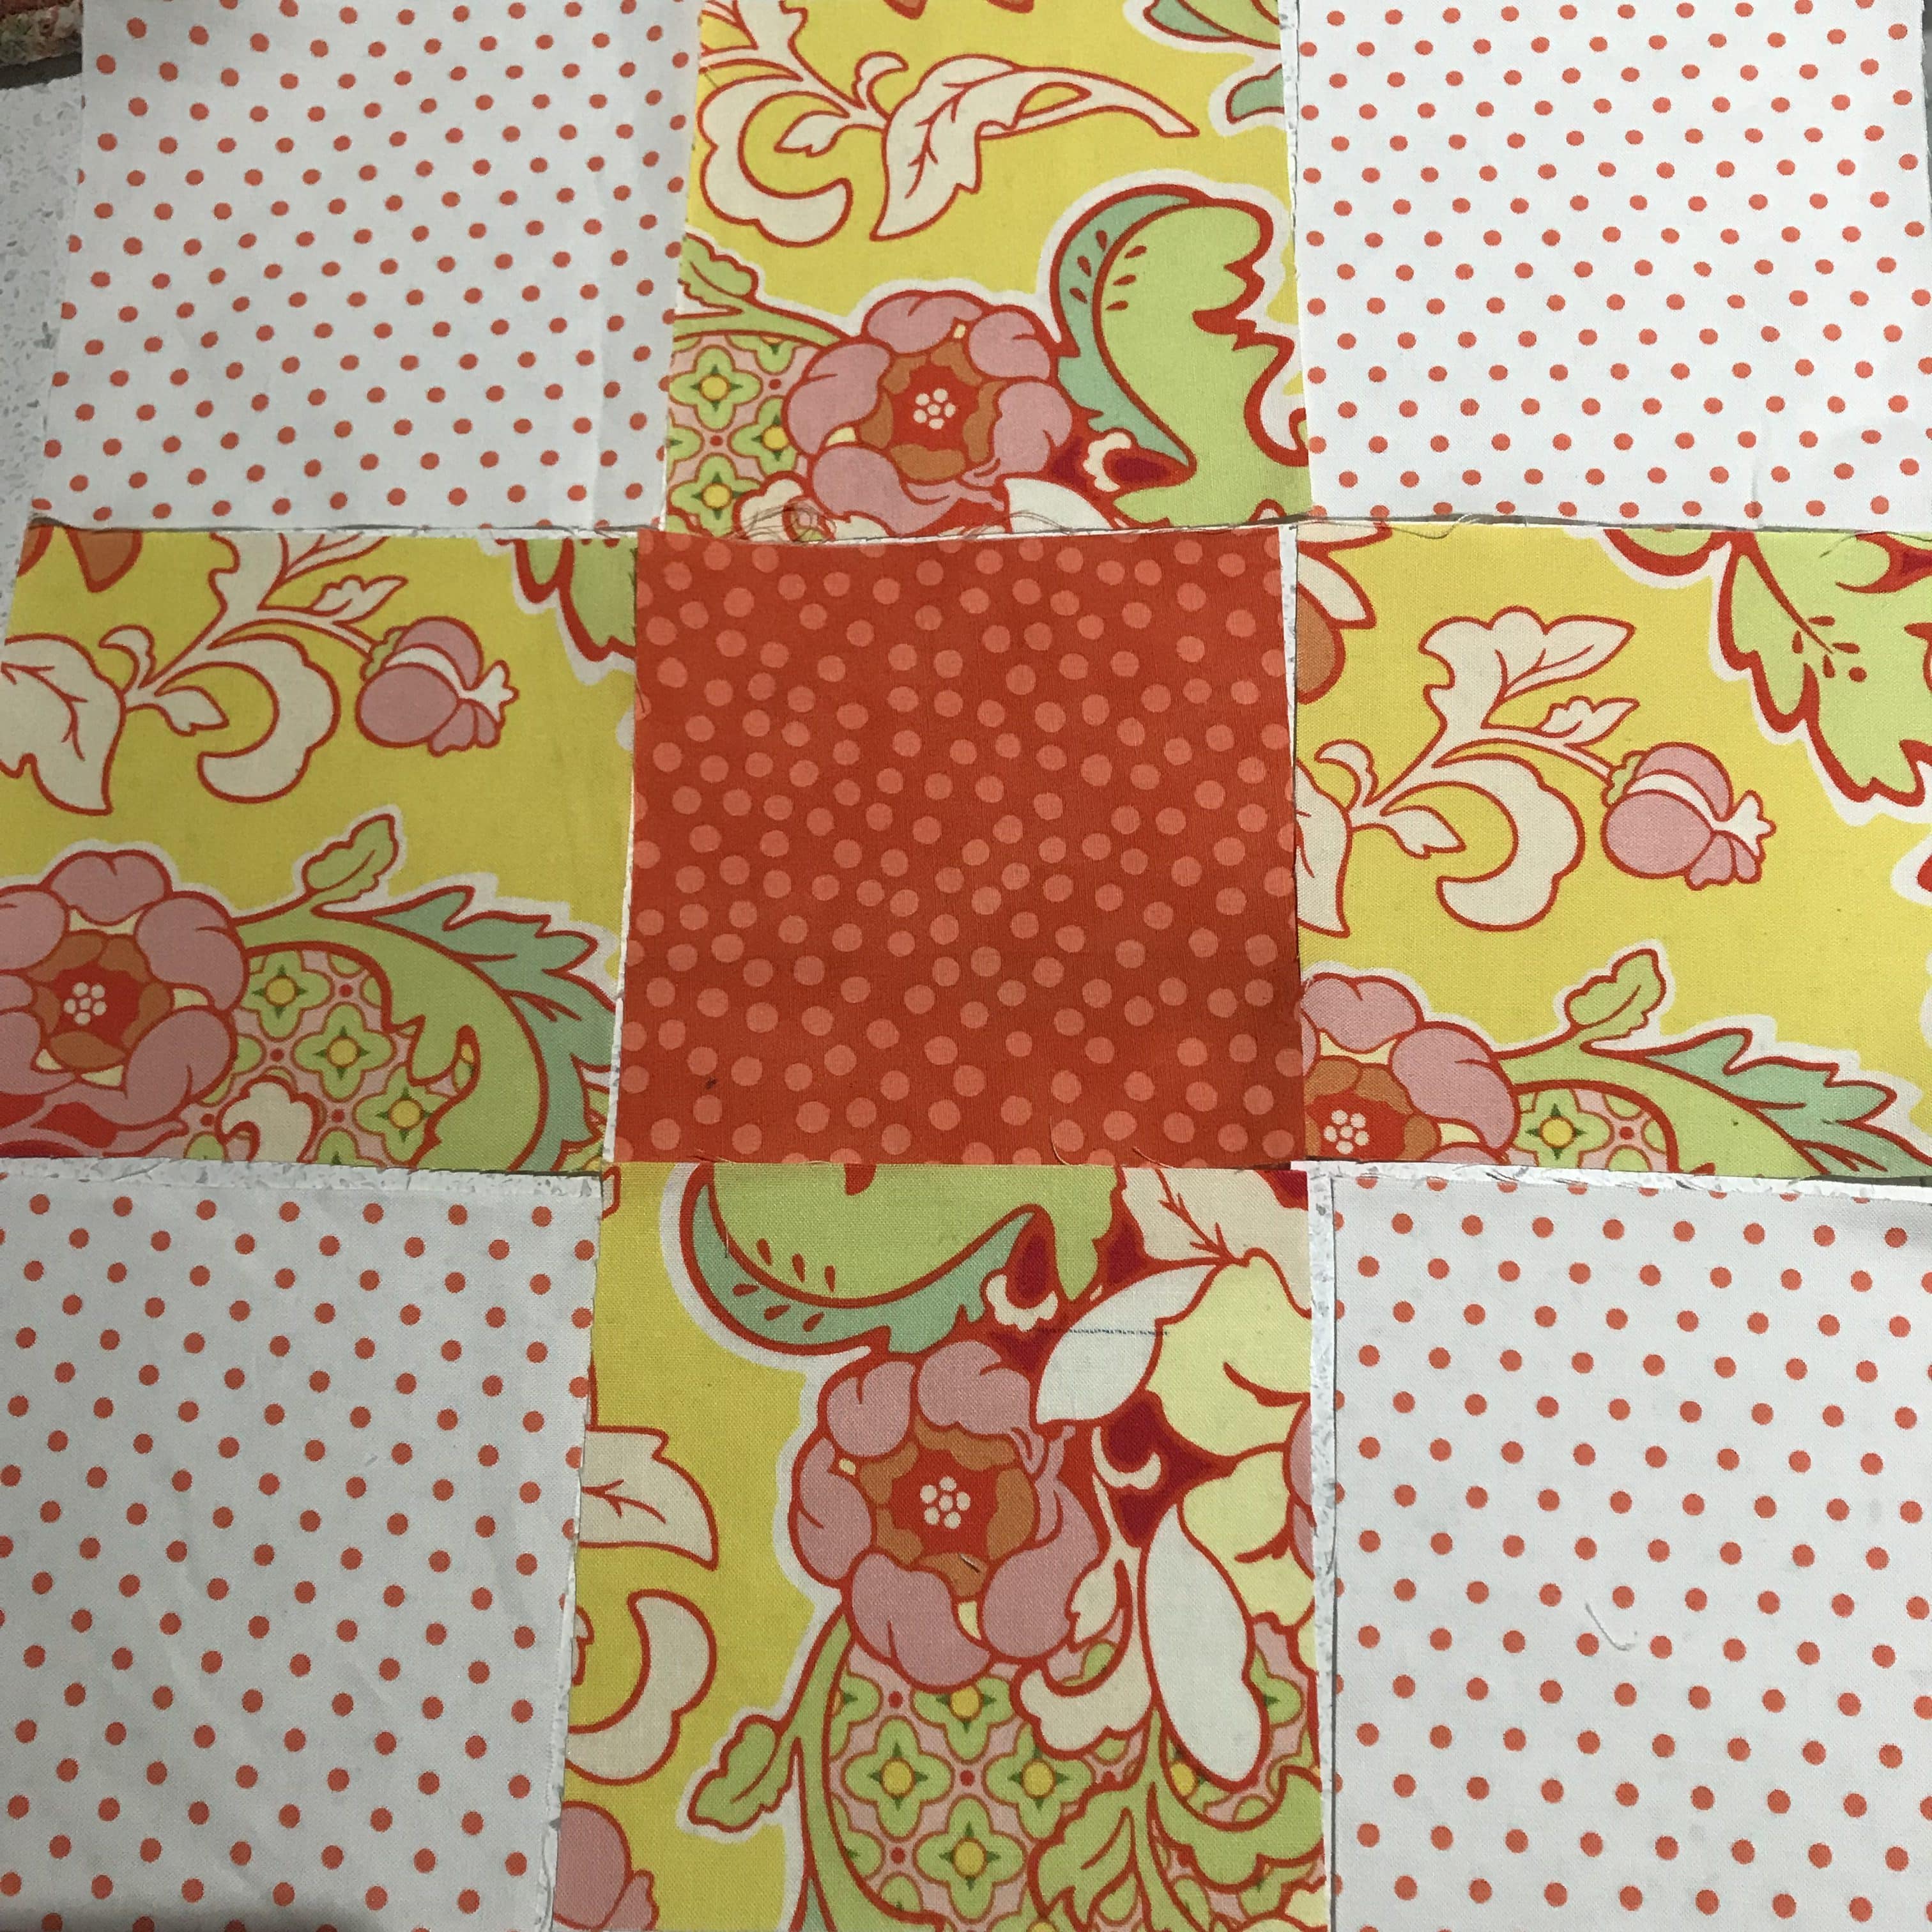
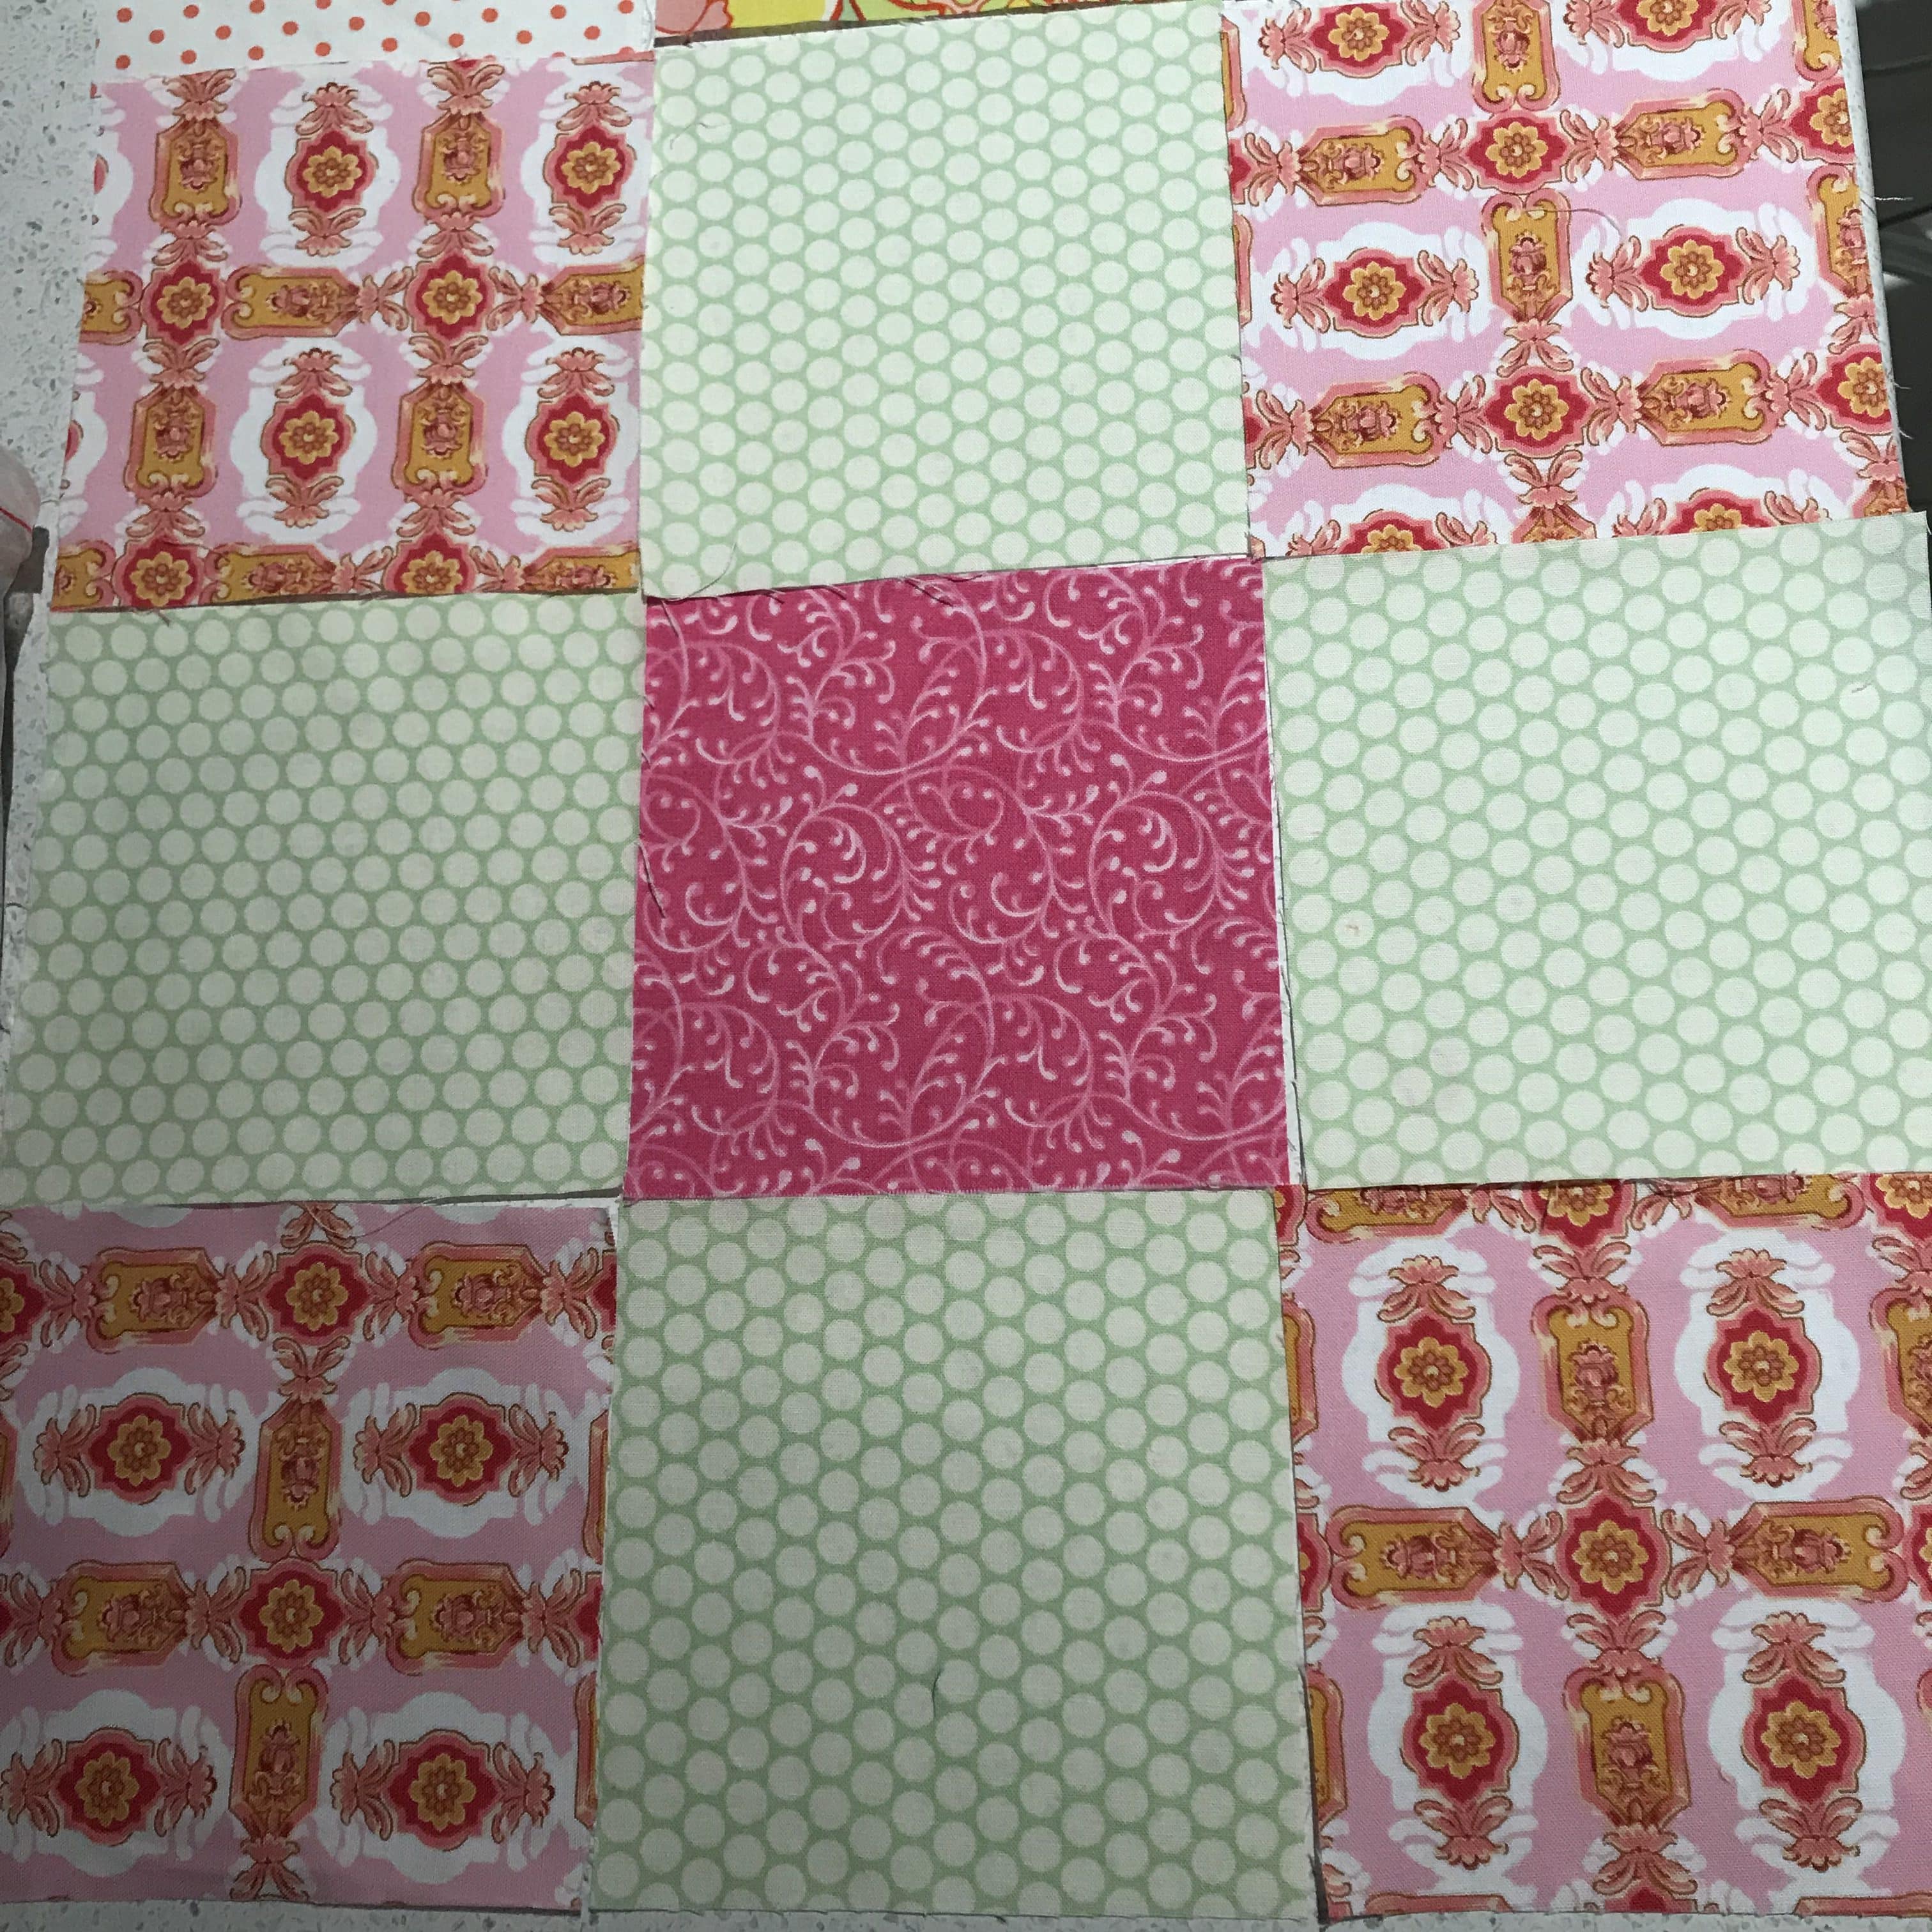
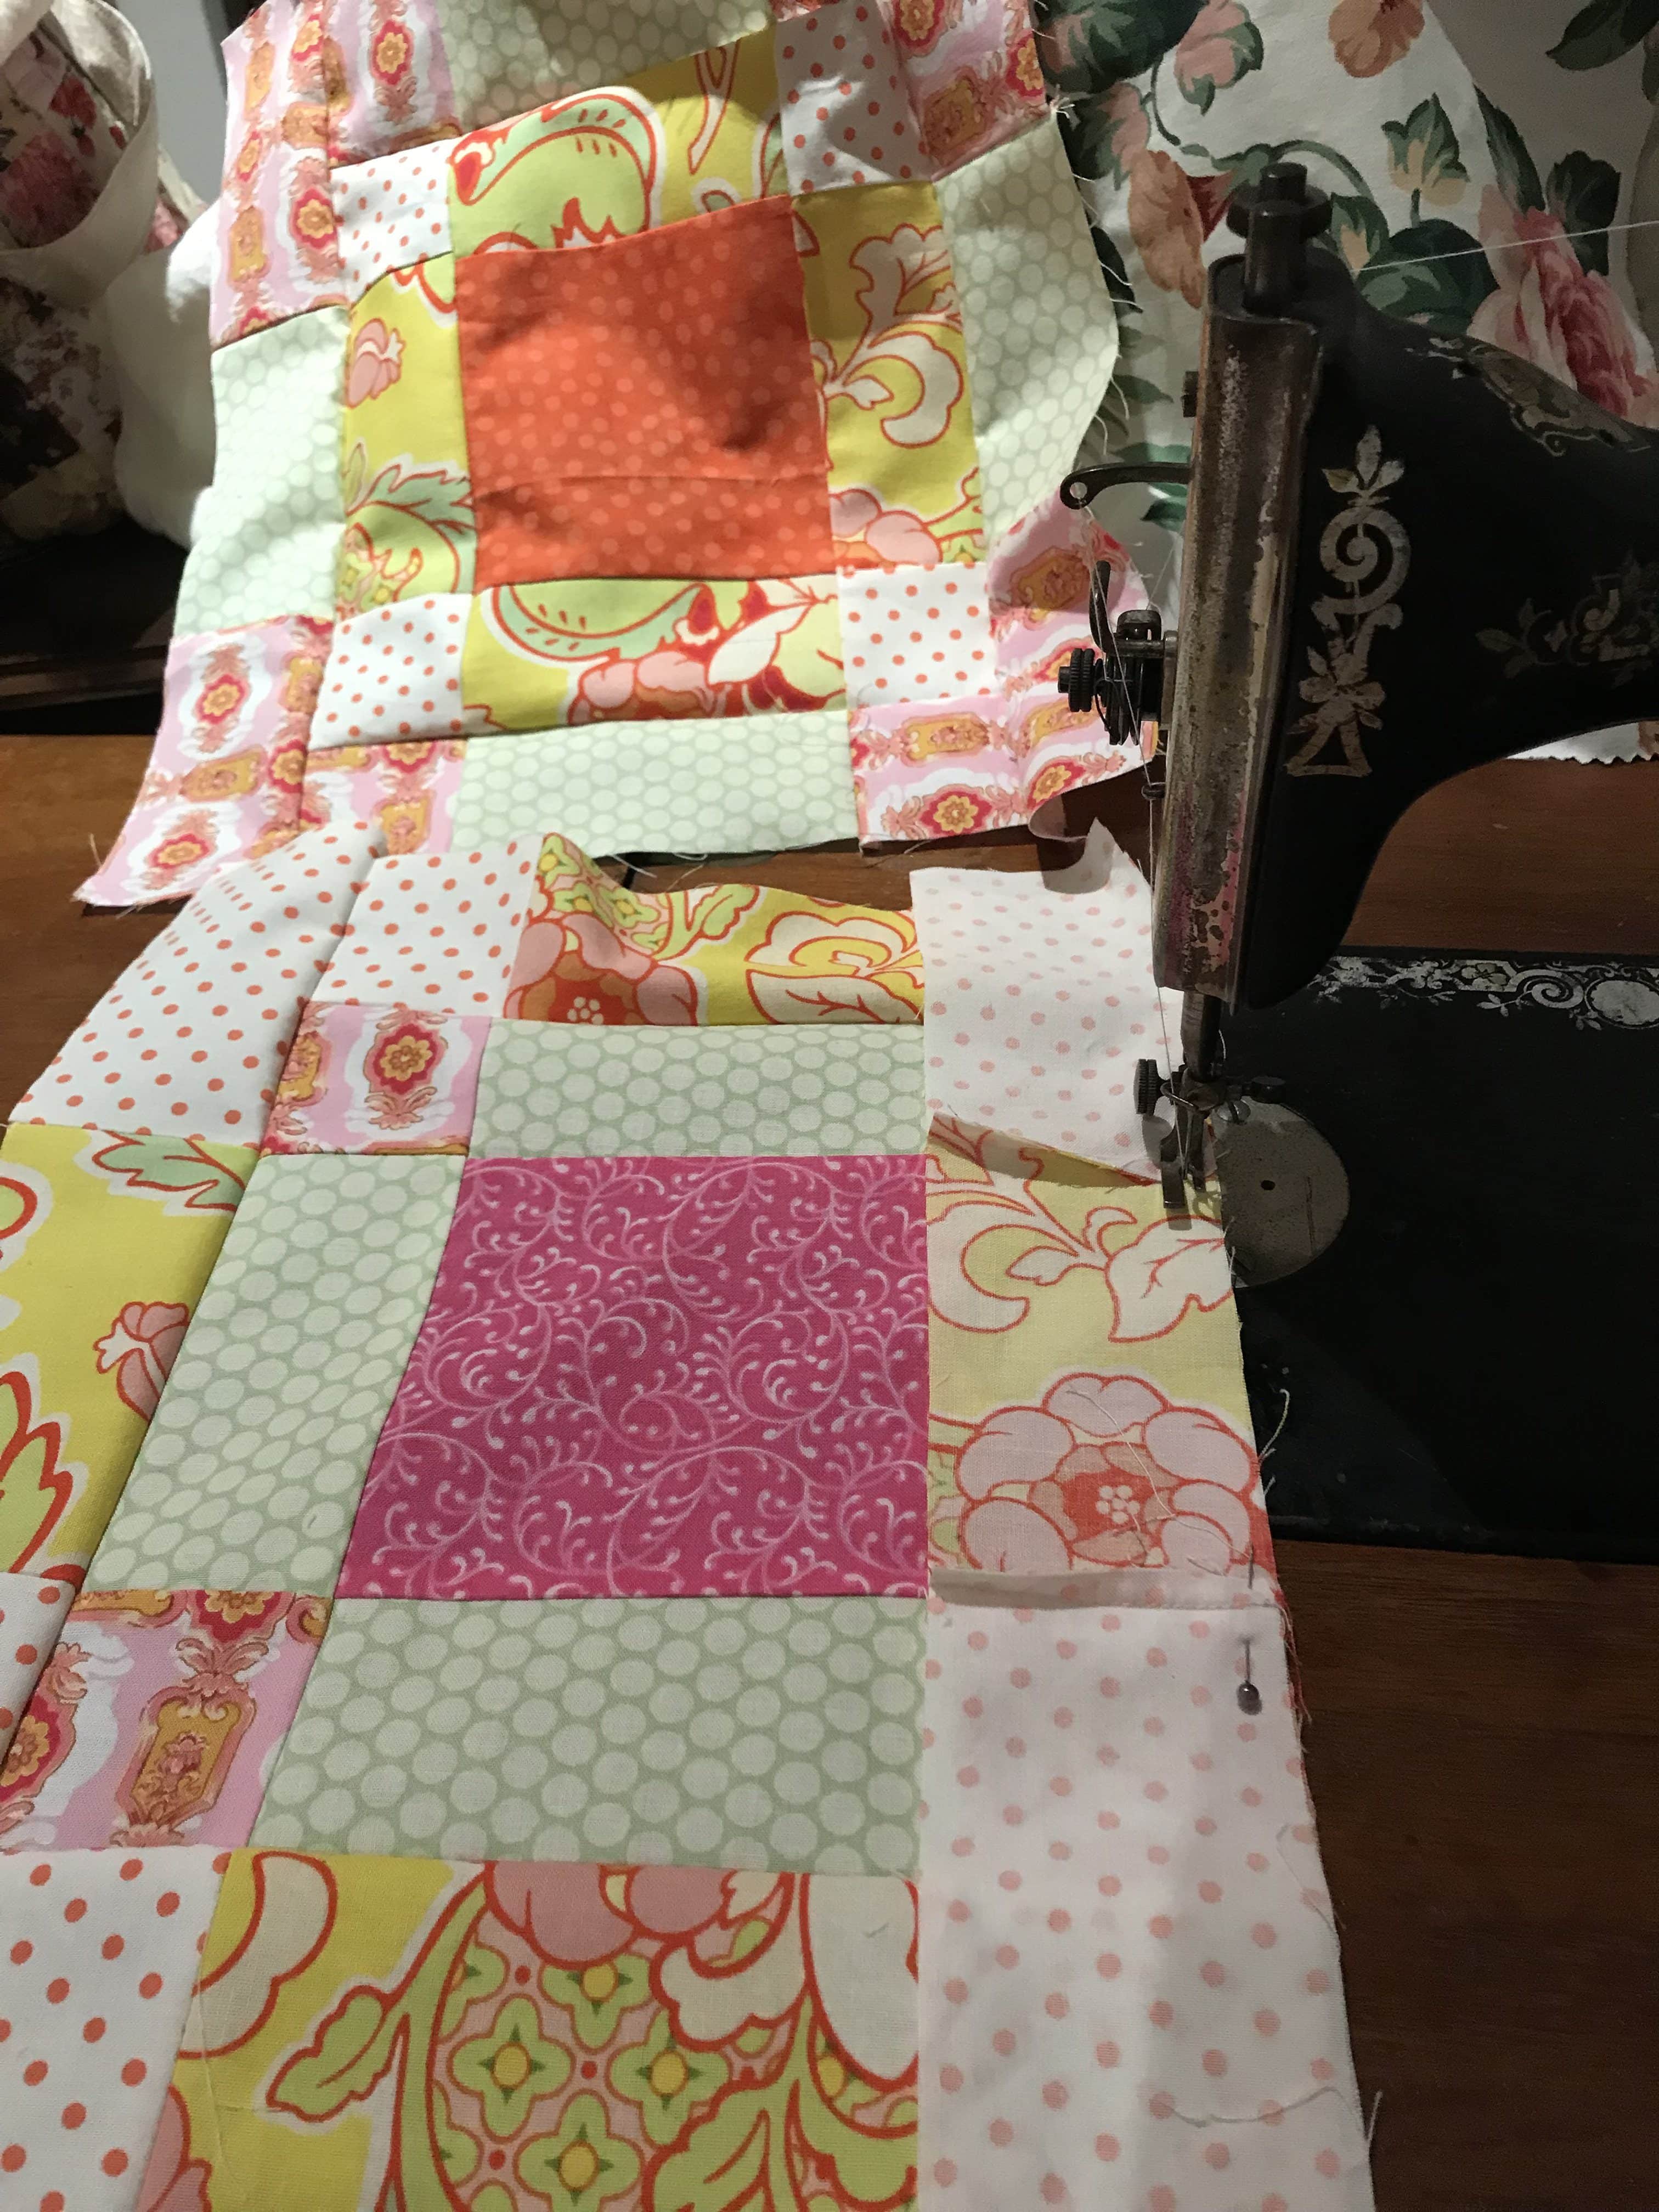
Method for constructing two Antique Tile Blocks Made Easy
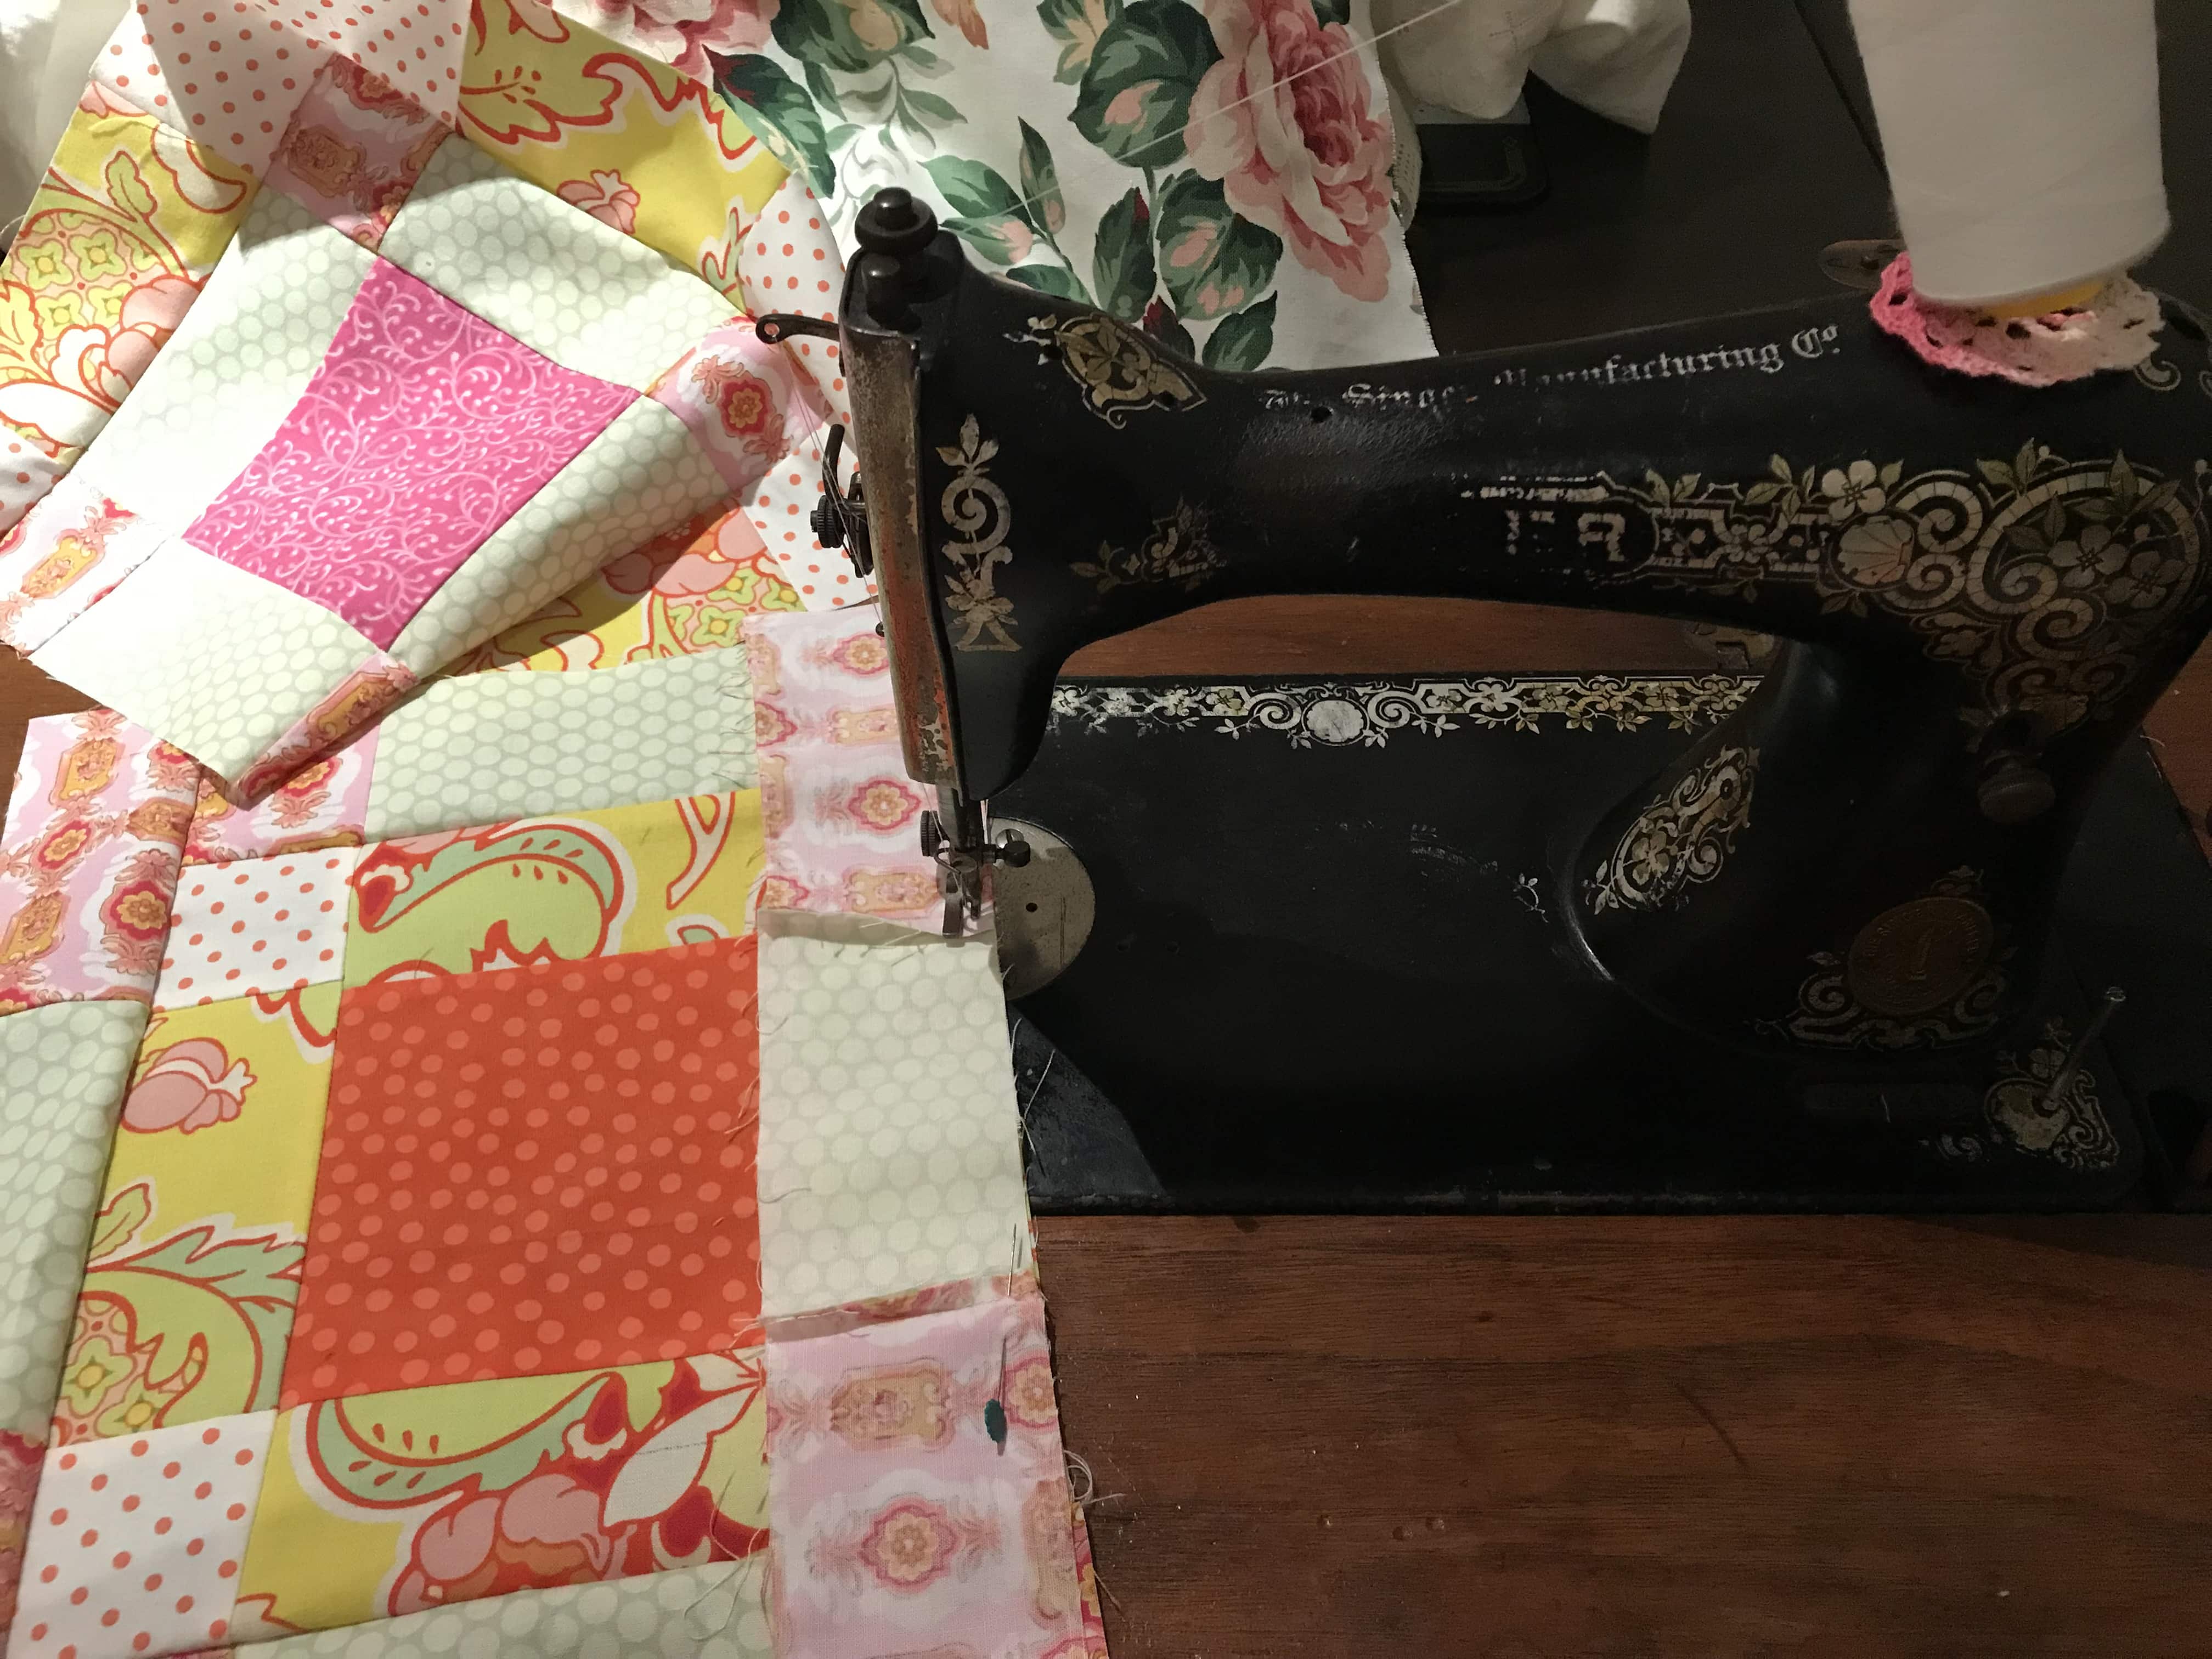
Make some more! This will grow very quickly!

I have made two quilt tops now from this block
And…
On The Tiles Quilt and Pattern
Enjoy!
Thank you for all these timeless, fabulous quilt patterns. Now my many scraps can be used efficiently.
Thank you for sharing al these fabulous, timeless quilt patterns and ideas. My piles of scraps can now be used efficiently.
Another great idea Susie. Thanks for the inspiration 🙏
I love the quilts you make; saving scraps for a rope basket or two as well but I love the look of this. Thanks for all the work in preparing this demonstration.