
Schlep It Good Bag and Pattern – Part 1
From the age of twelve, I was so delighted when I was able to get a job, in our local delicatessen. I thought this was great fun. I suppose it wouldn’t happen much these days, being employed at 12, but they trusted me to serve customers, take money, add up and provide correct change. I was even allowed to use the meat slicer! Although I was young and didn’t get paid a wage as such, the shop owner would kindly allow me to take some things home as a reward for my time. I thought this was wonderful, as I was able to provide my mother with little luxuries and surprise provisions. So from that time on I regularly came home with all sorts of goodies like chocolates, sliced ham, magazines and milk.
And so that was how it began. From that time on, I have continued to arrive at my Mother’s, with something for her, although it progressed to home made preserves, jams, cordials, breads, fresh fruits and vegetables and a myriad of other things. So it has become somewhat of a joke between us that she will stand on the front veranda despairingly chastising me in German ” Warum schleps do so immer?”. Which means why are you always carrying things.
So I can’t believe I asked someone recently “what is a schlep bag?” durr…..I must be the greatest schlepper of all time!
Moving on, I had made all sorts of these style of bags before and have always associated them with being of a Japanese origin, because of their origami style cleverness and their history of Komebukuro rice bags which I absolutely adore.
Here is an example of another bag project.
Patchwork Bottle Bag and Pattern
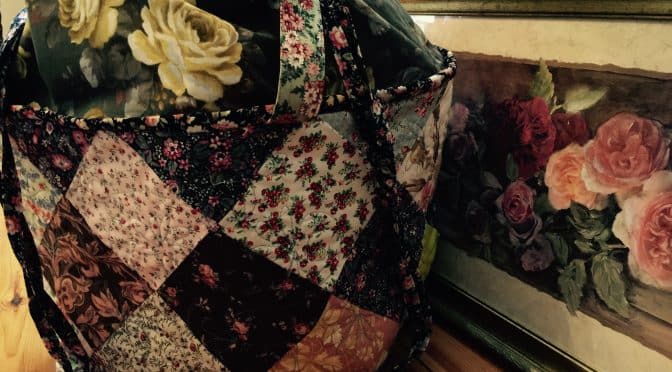
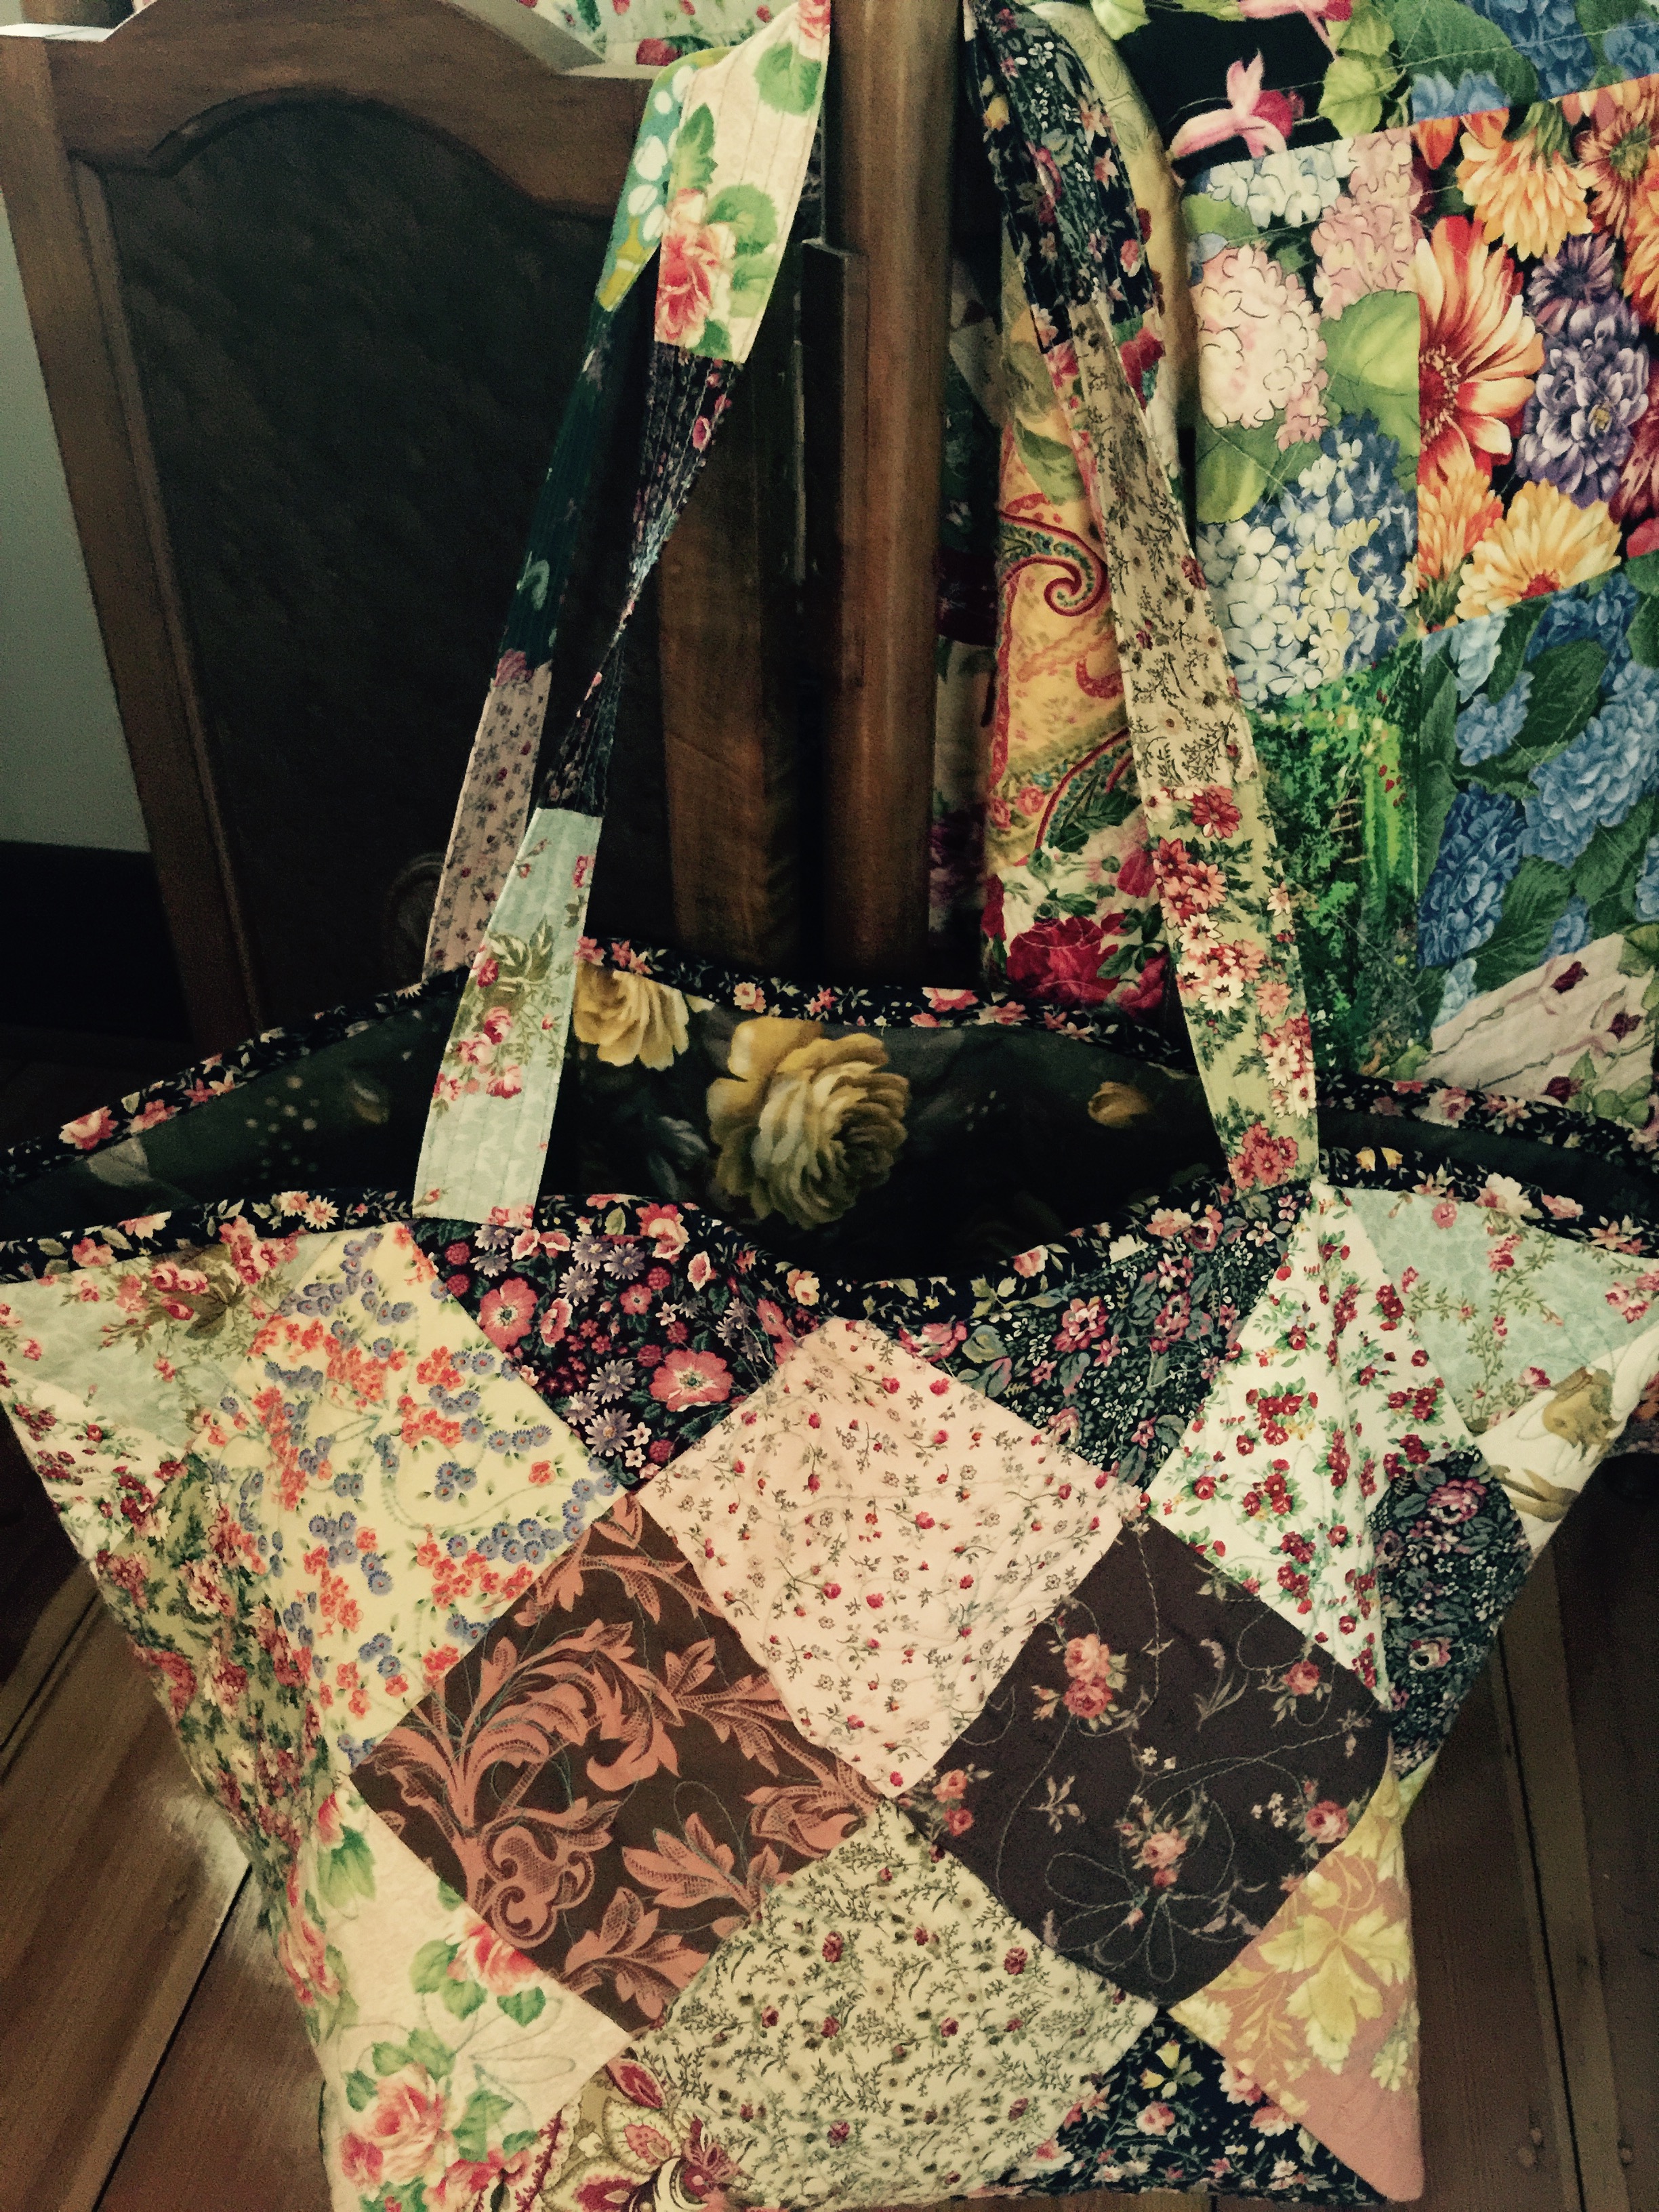
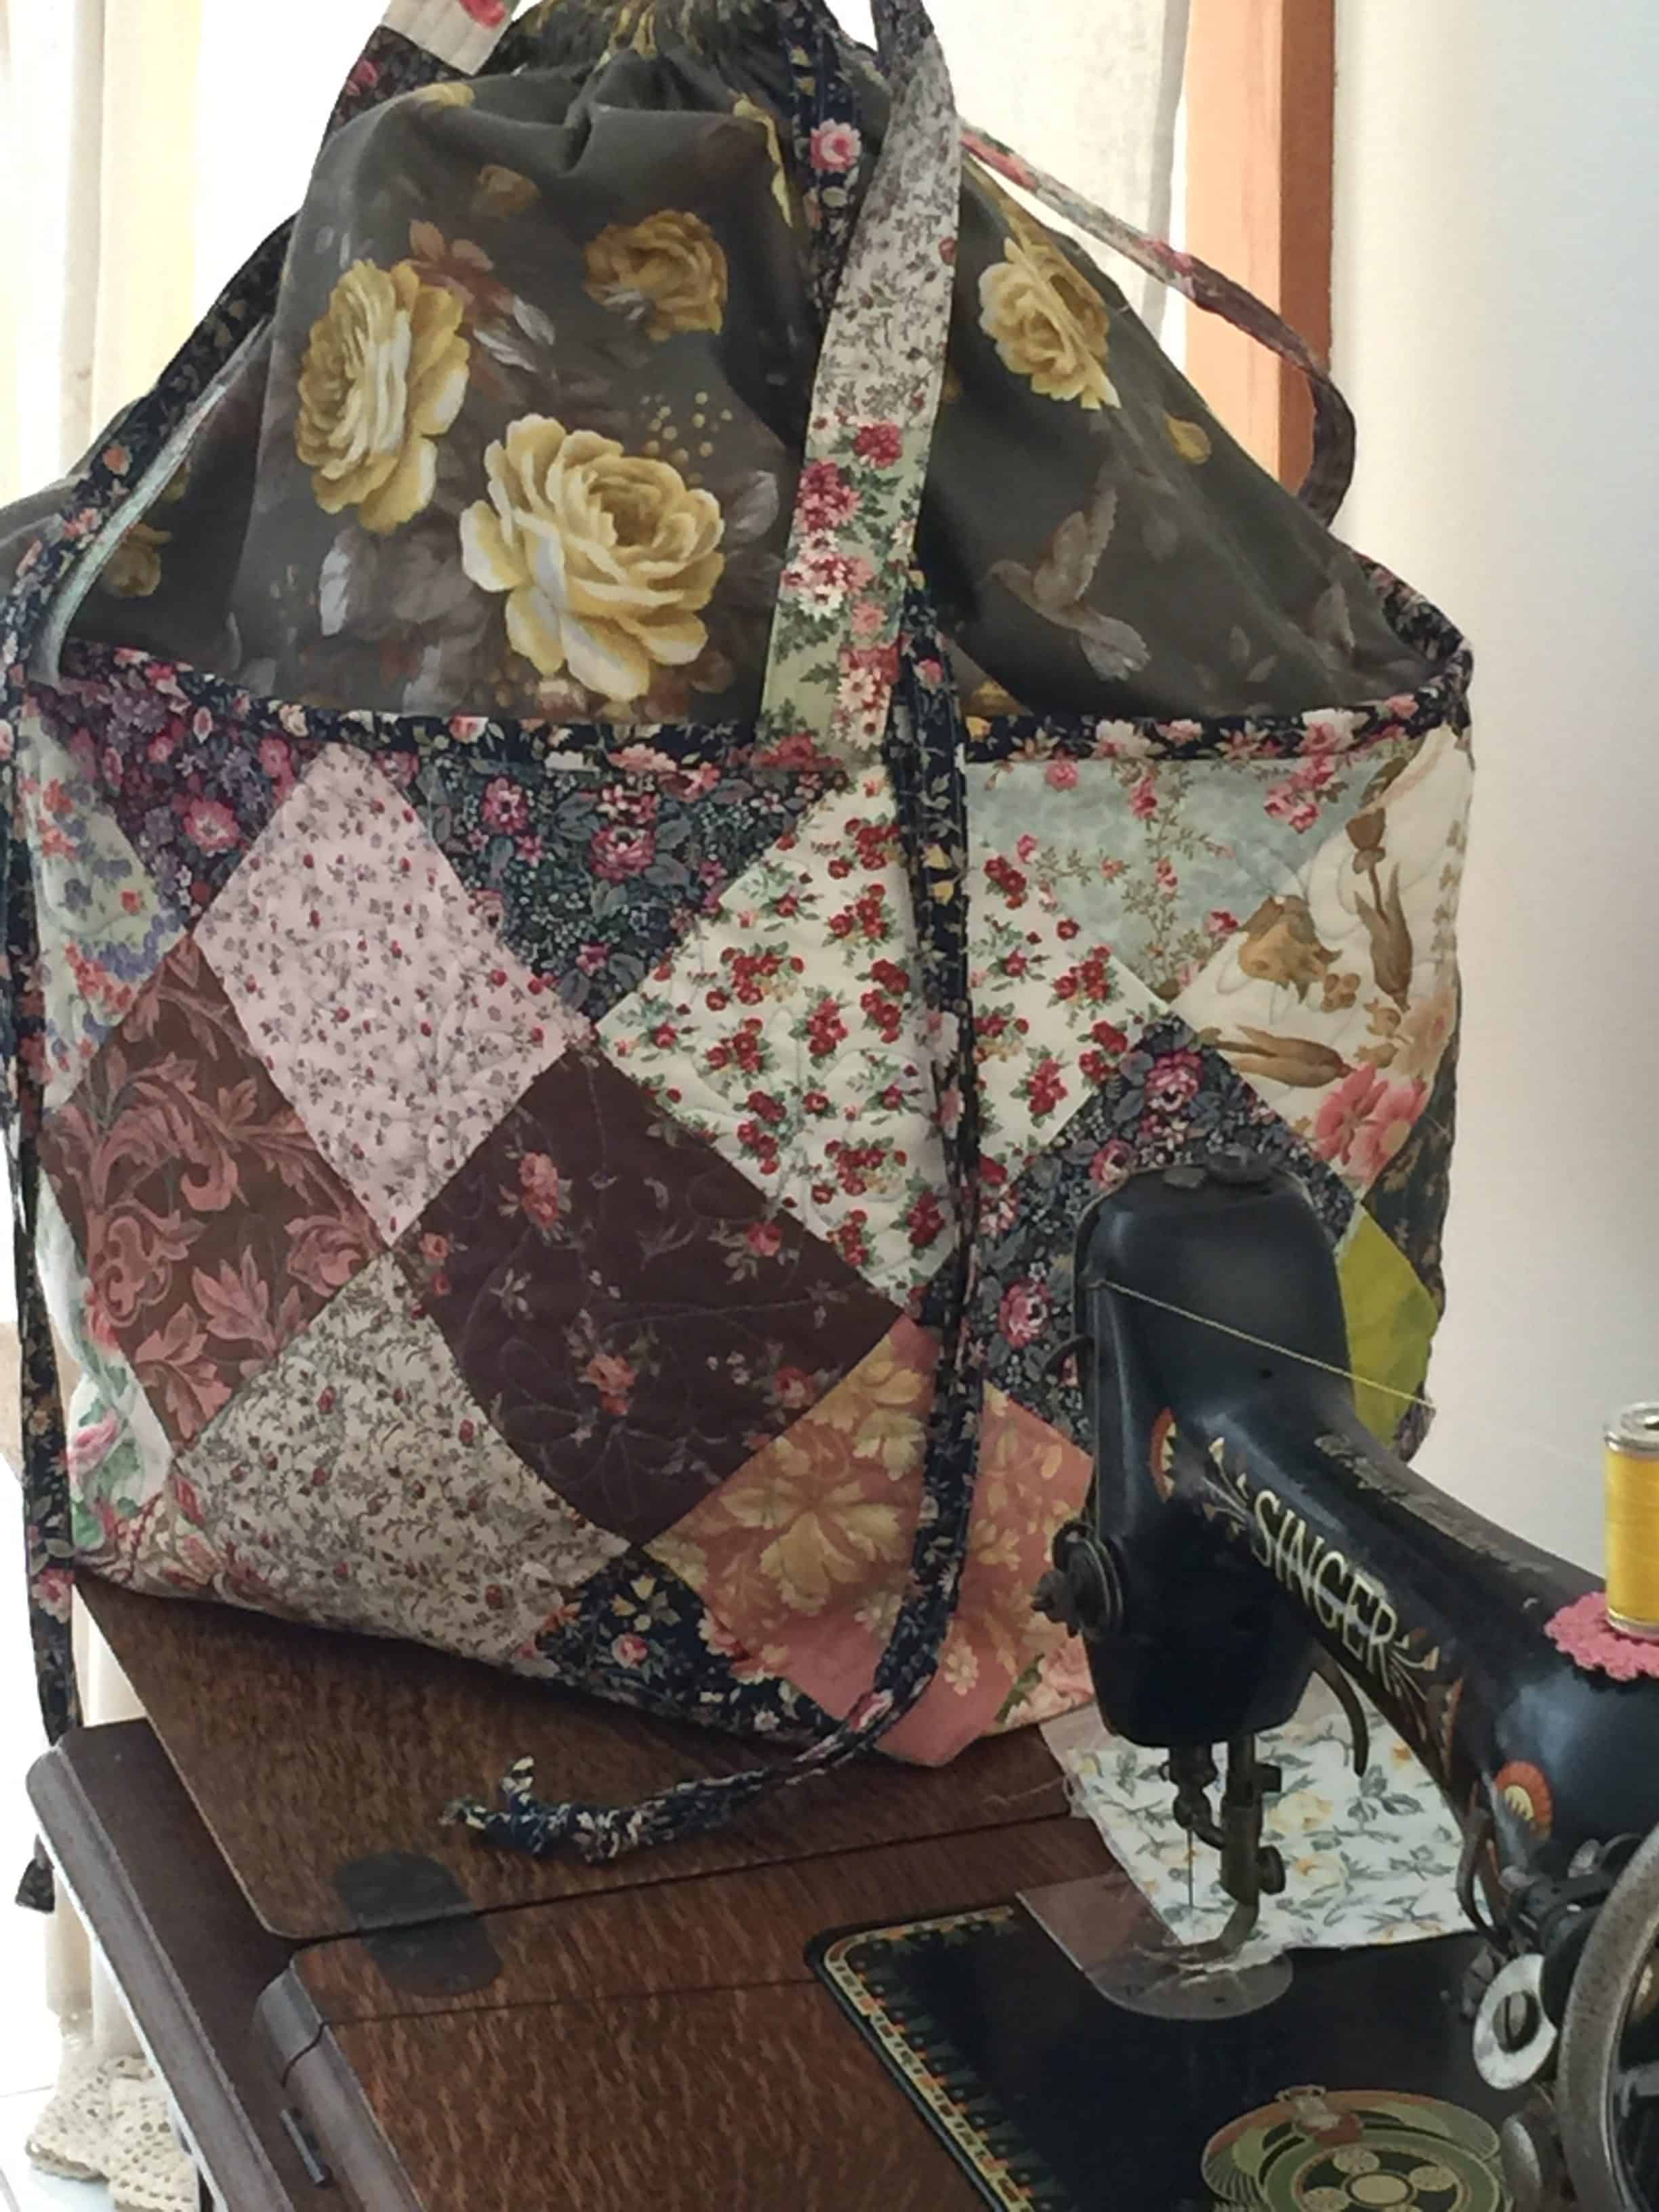
Today, I’m excited to share with you, this project I have been working on for a while. It’s inspired by my need to provide and carry many items, especially food, quilts and fabric! This is a big Schlep or carry bag.
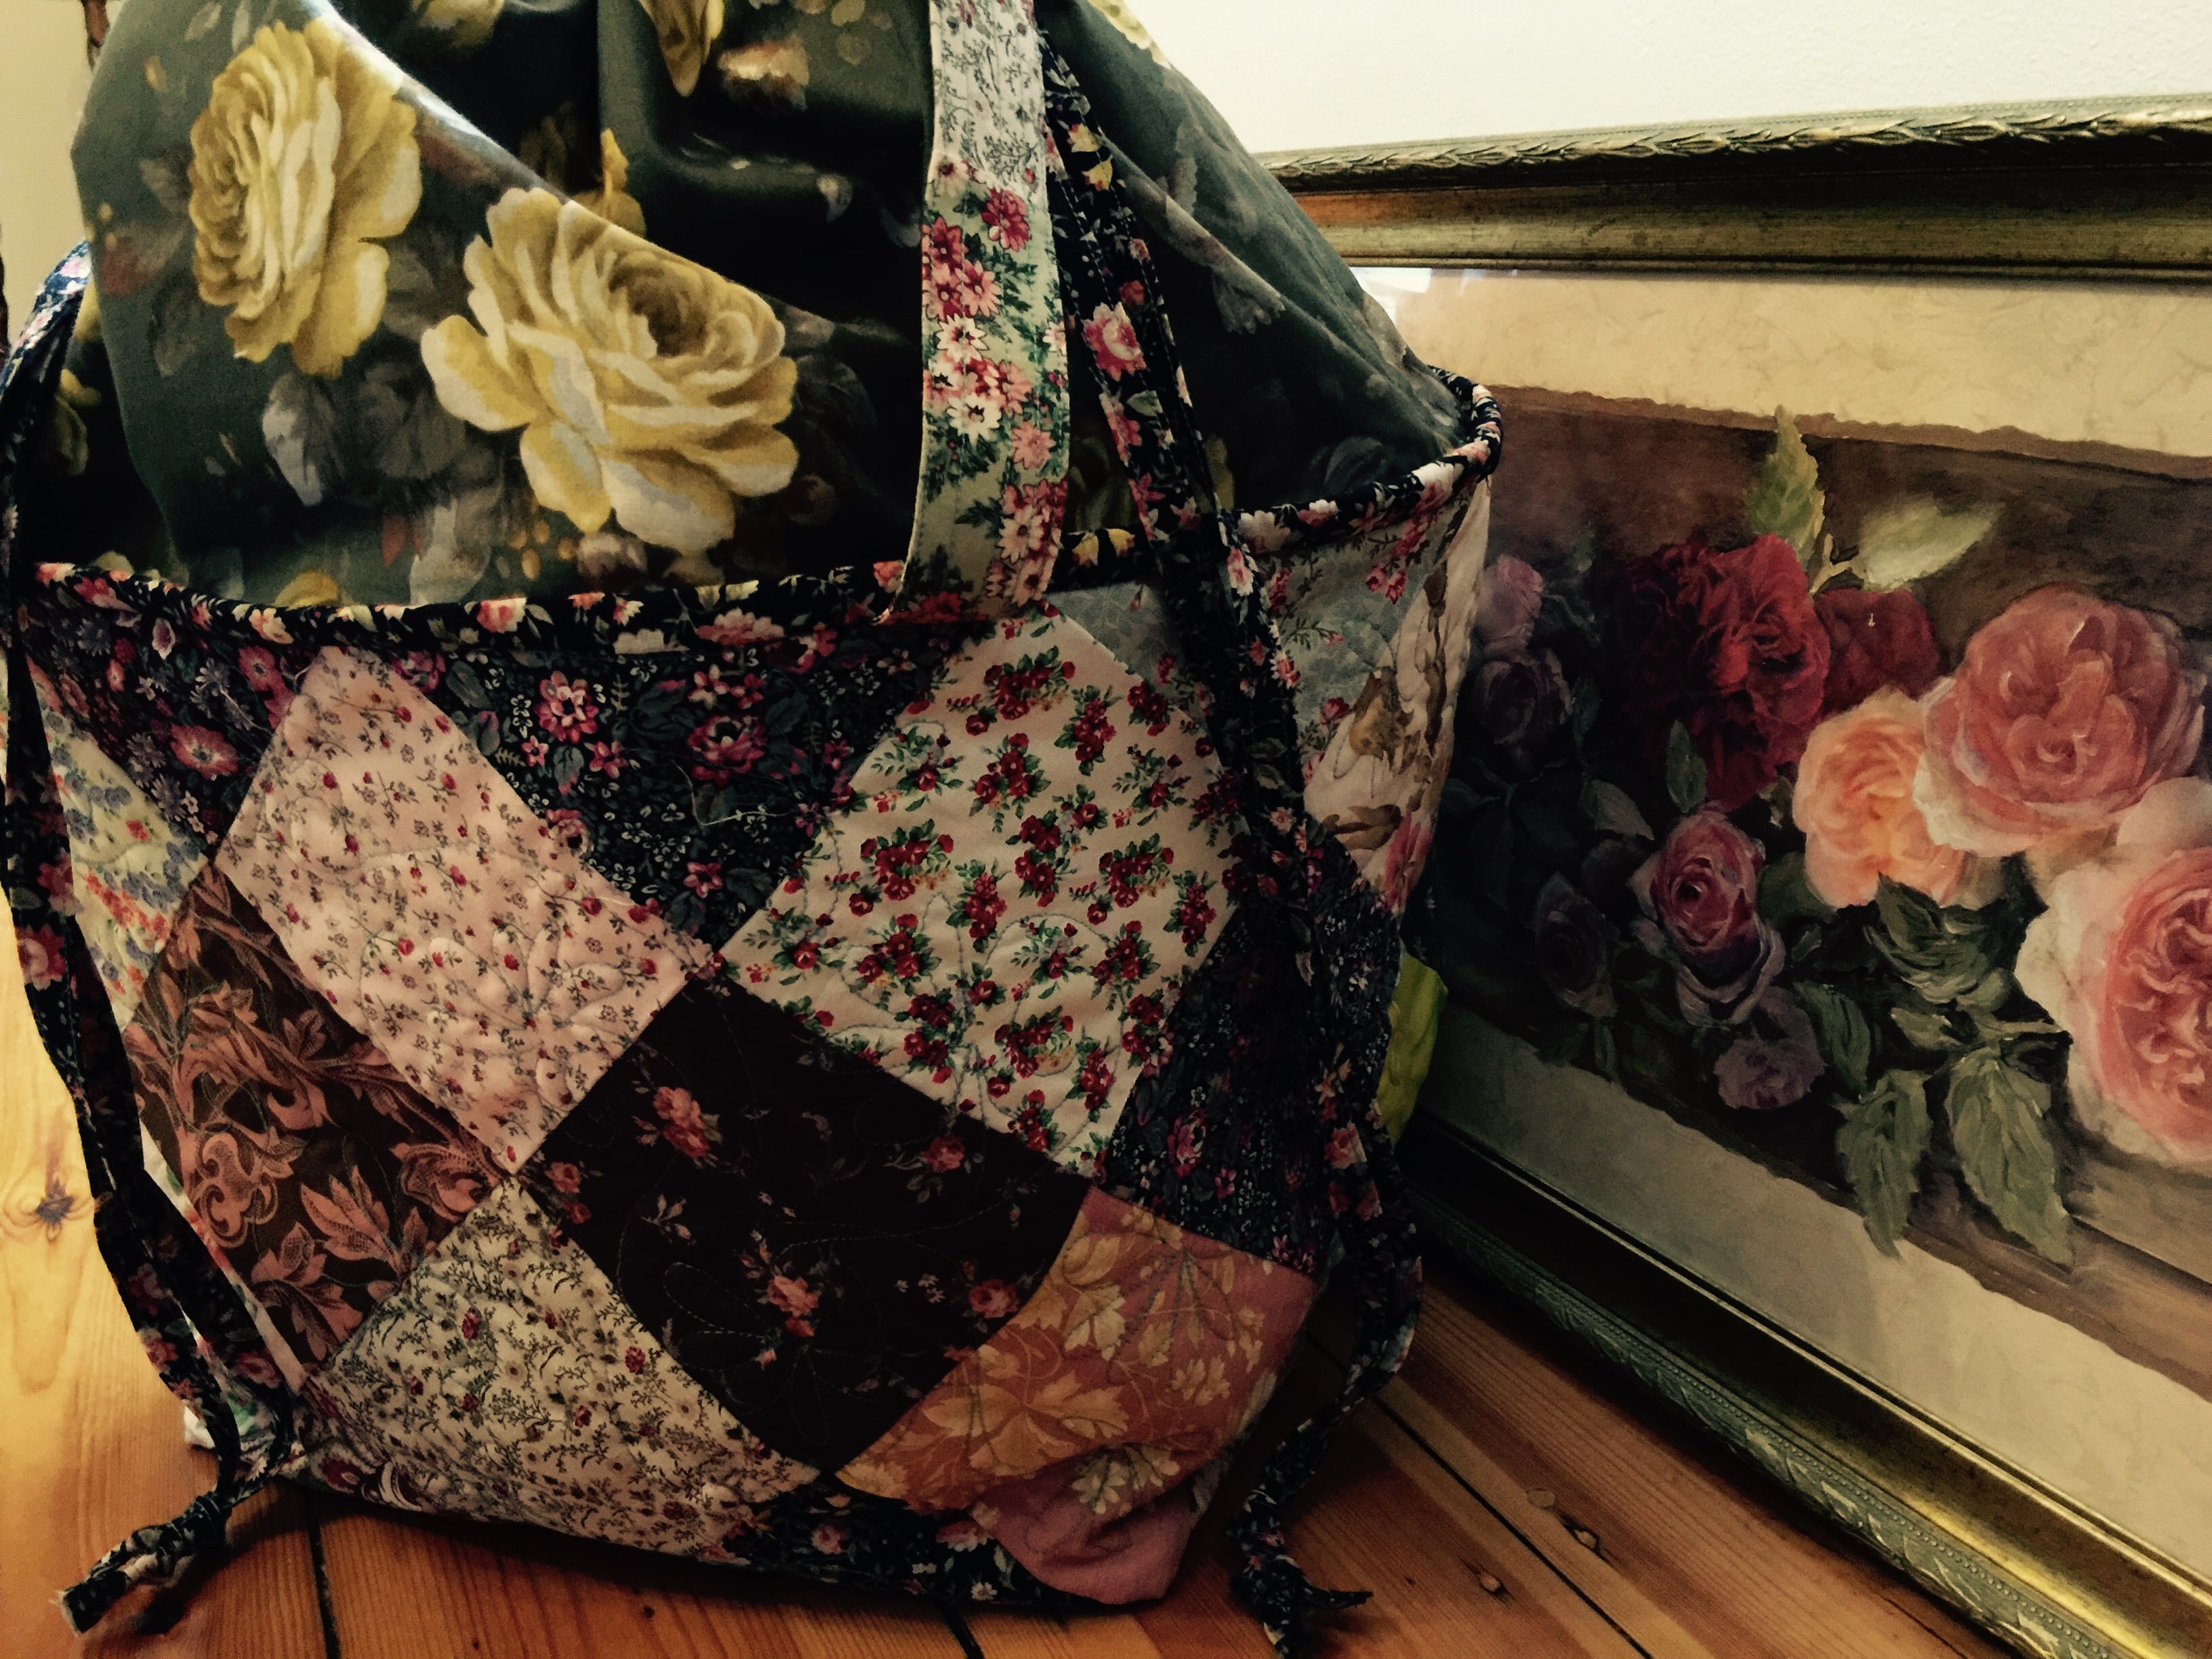
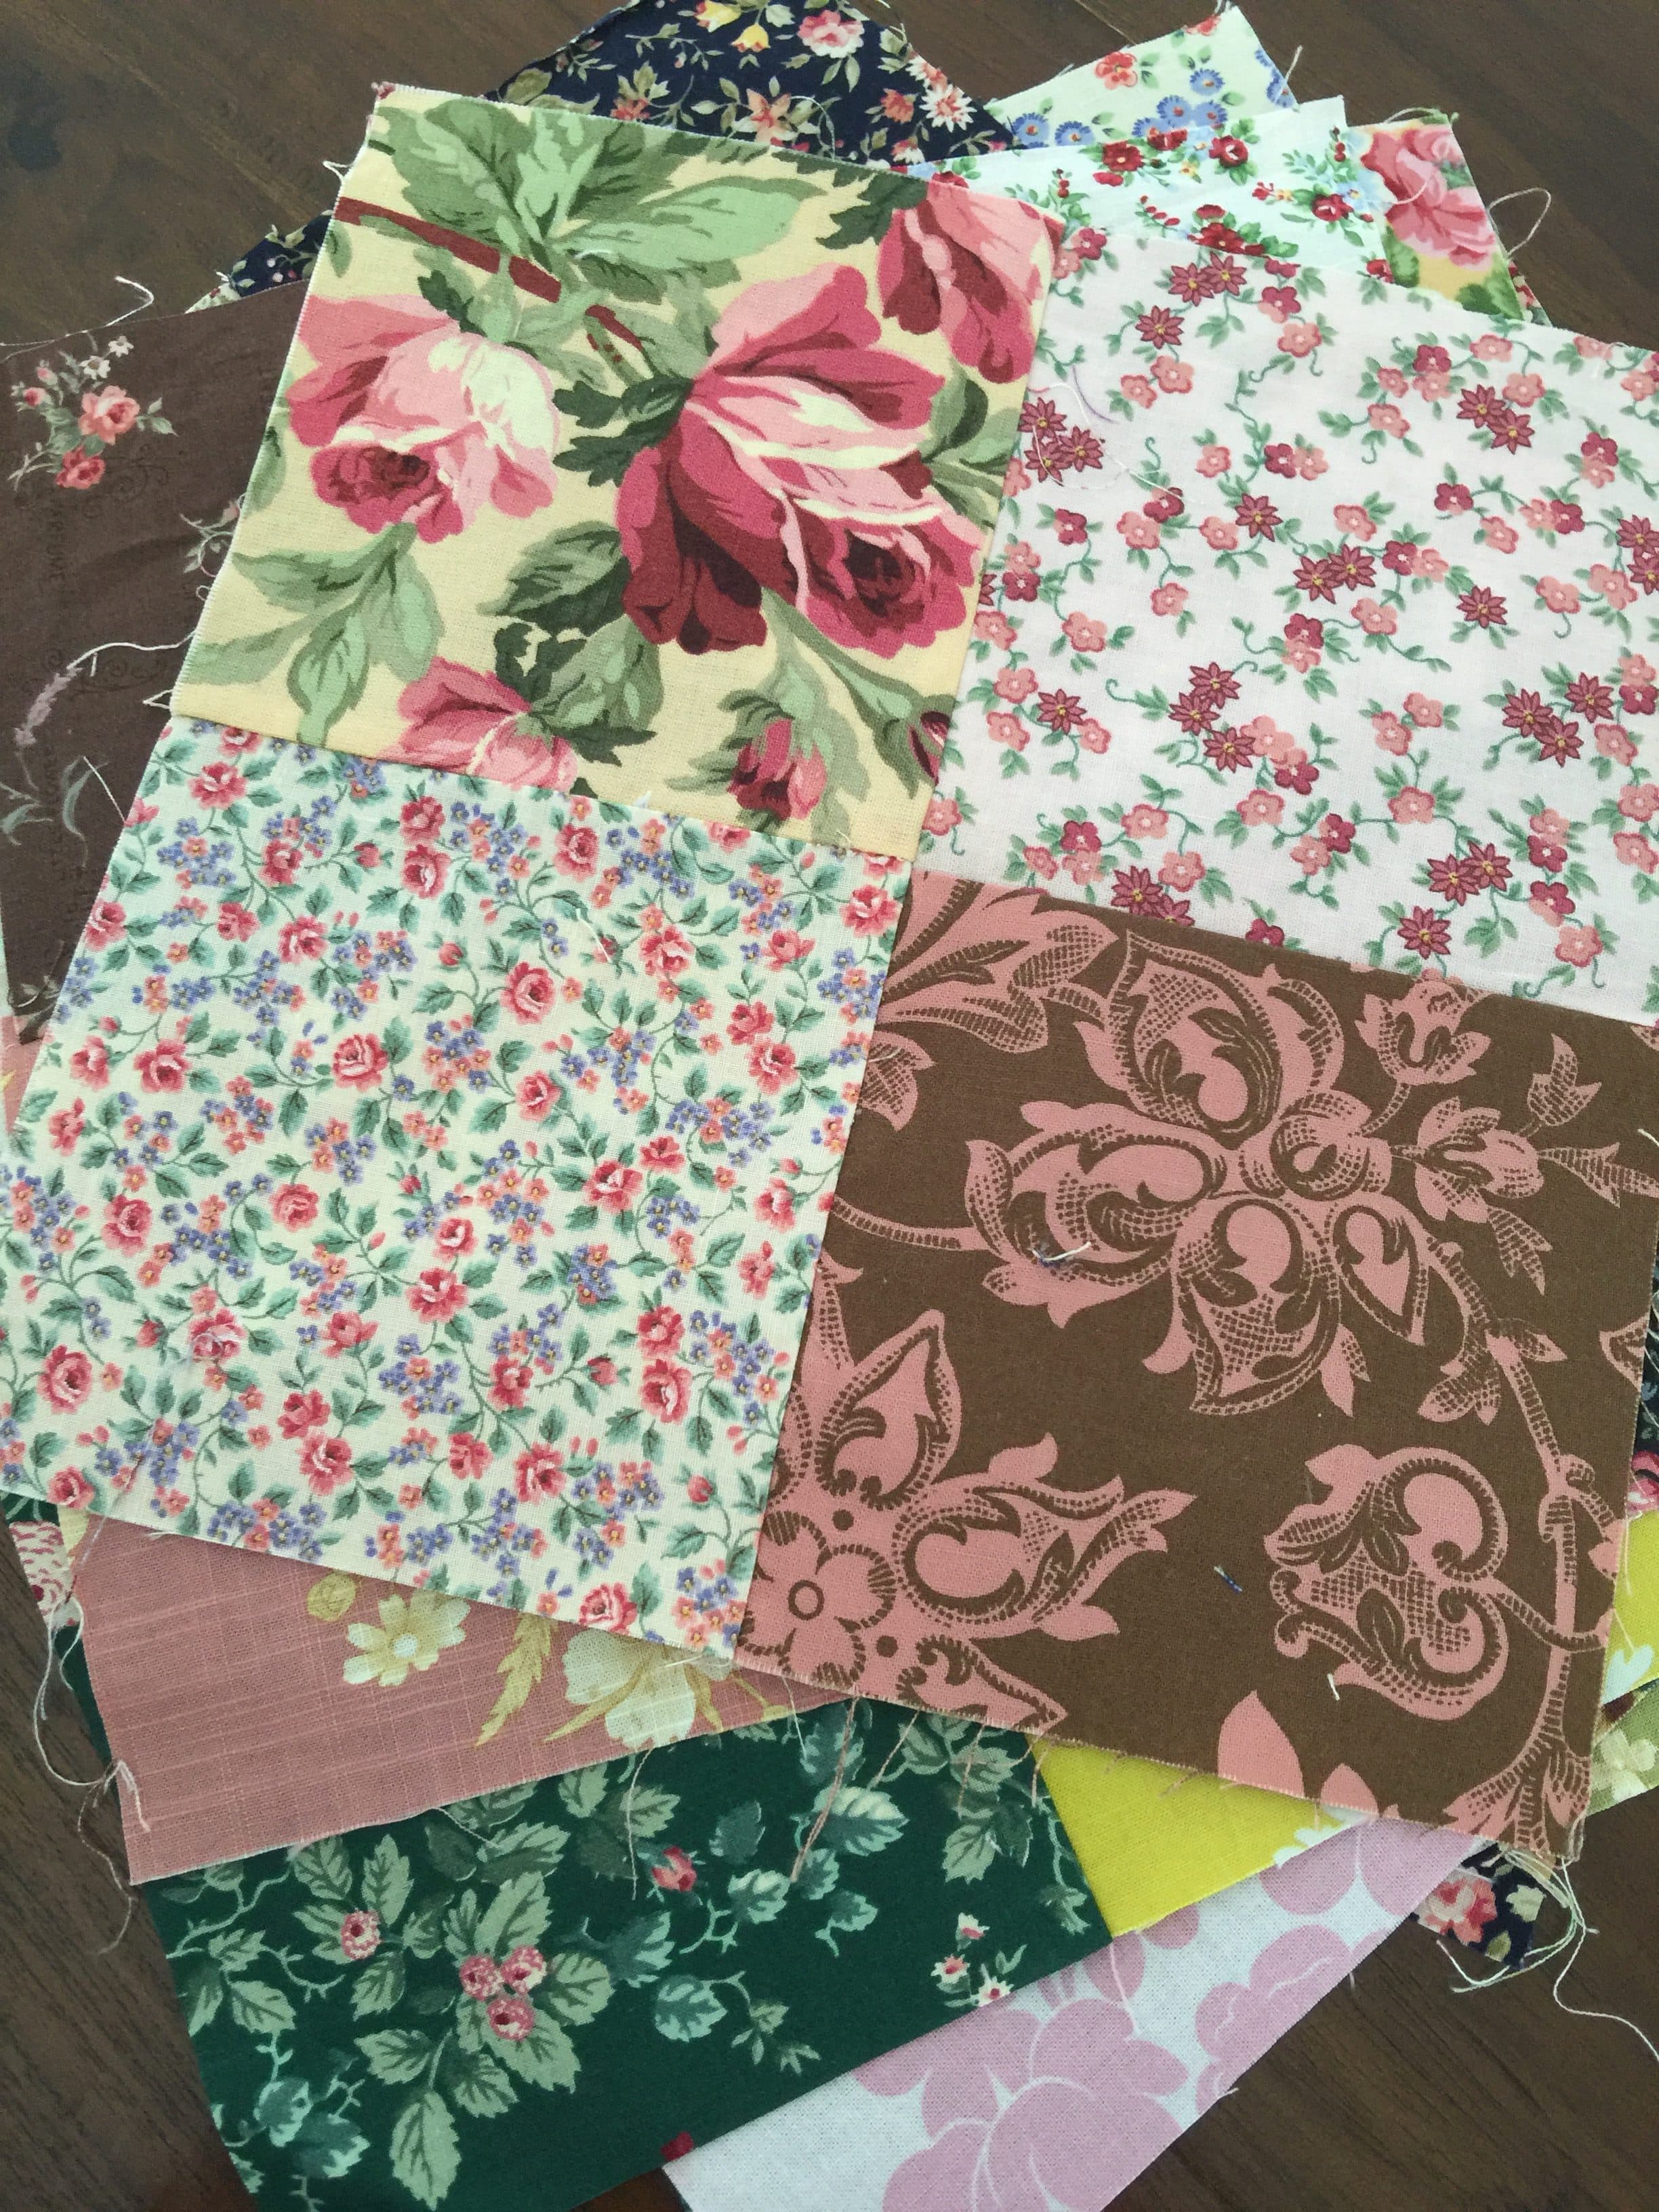
This is a wonderful way to use up some scraps or 5″ squares of quilting fabric and make them into a big bag which will have so many uses. I’m even thinking it will make a good overnight bag. (I can easily throw an outfit, toiletries and a quilting project into this one! These are all leftover 5″ squares which I had previously cut. I wanted to use them up. I only used new yardage for the lining and drawstring cover. Choose fabrics you love!
It has the advantage of a drawstring cover which will increase capacity enormously and conceal the contents, or it can be left inside the bag and used as a big open style carry tote, as pictured below.
So here we have it. If you would like to make one of these lovely carry bags, this one is a little different. I begin with 5″ charm squares.
Incidently I always pre wash my fabrics. You can read more about that here.
To Wash or Not to Wash?…This is the Question
And…
Seams are based on 1/4″ unless otherwise stated.
Requirements for one Schlep It Good Bag
3 x 2″ WOF strips for the drawstring
Method
Sew the 40 x 5″ Charm Squares into 10 four patch blocks. Press.
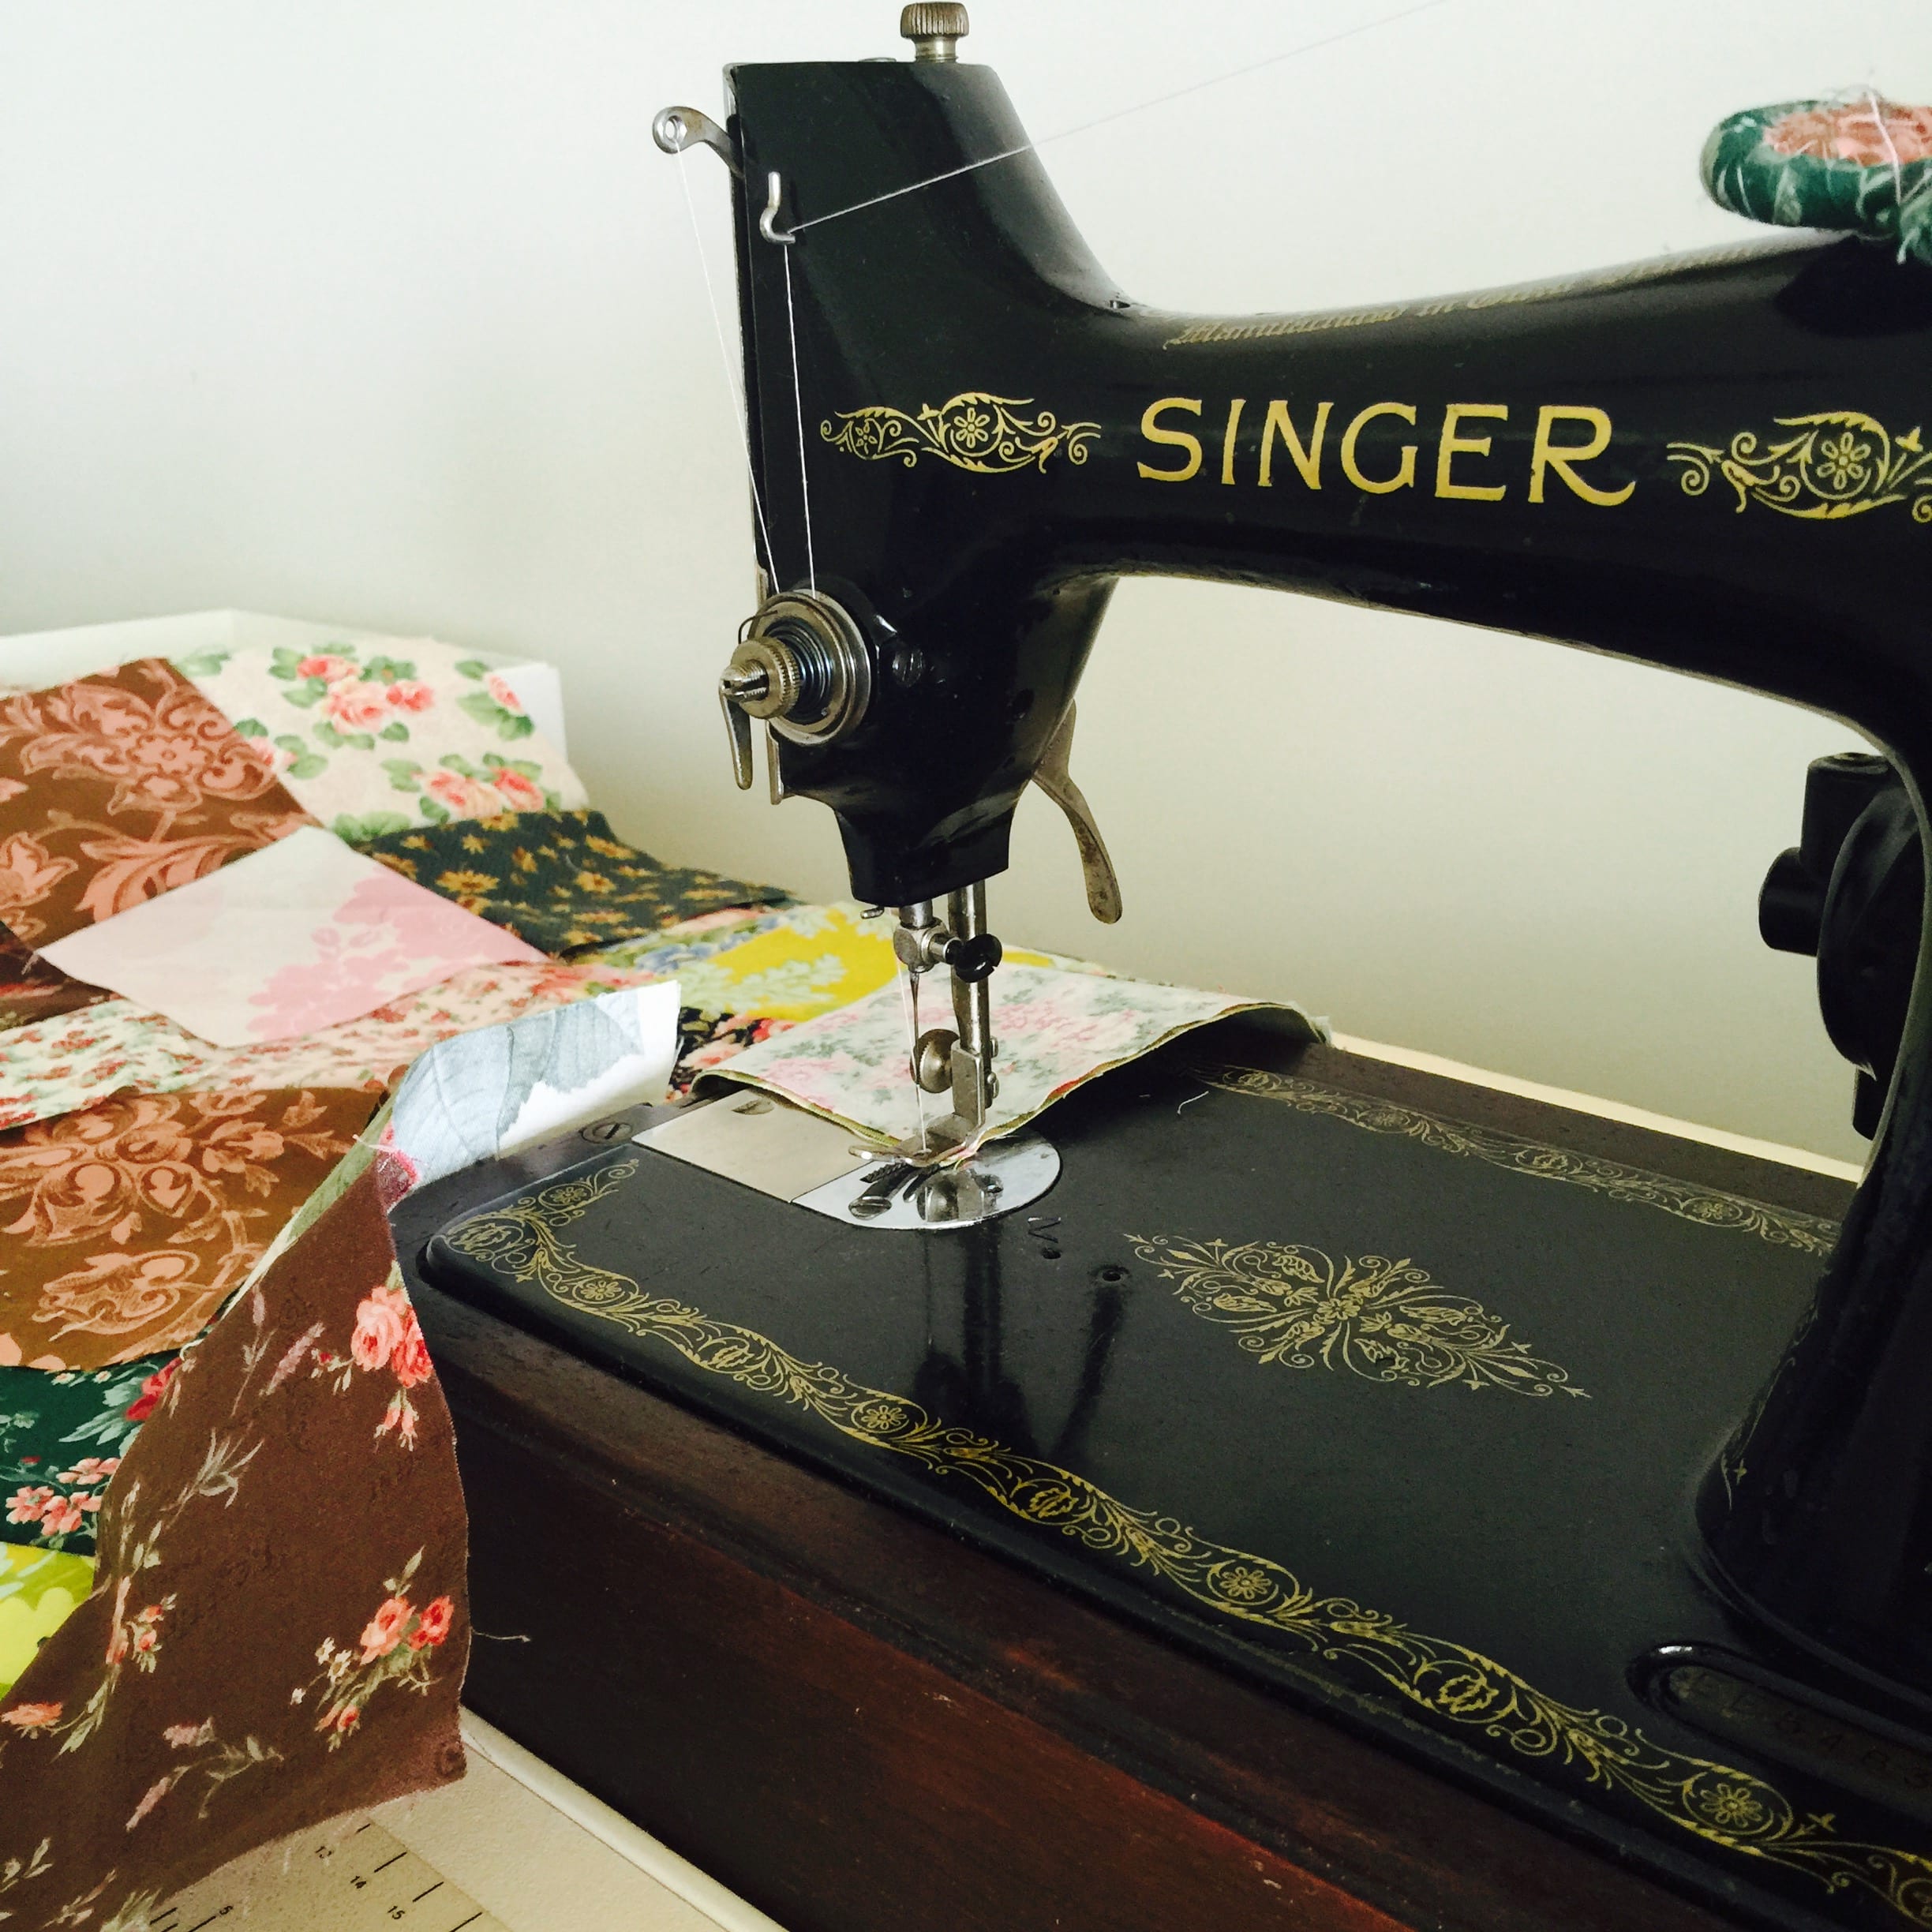
Incidentally, today I am sewing on a Singer 99K which laid idle for about 50 years. You can read more o the story about this lovely machine in the link below.
Keep eight of the four patches as they are. Slice the remaining two four patches once across the diagonal to revel four triangles.
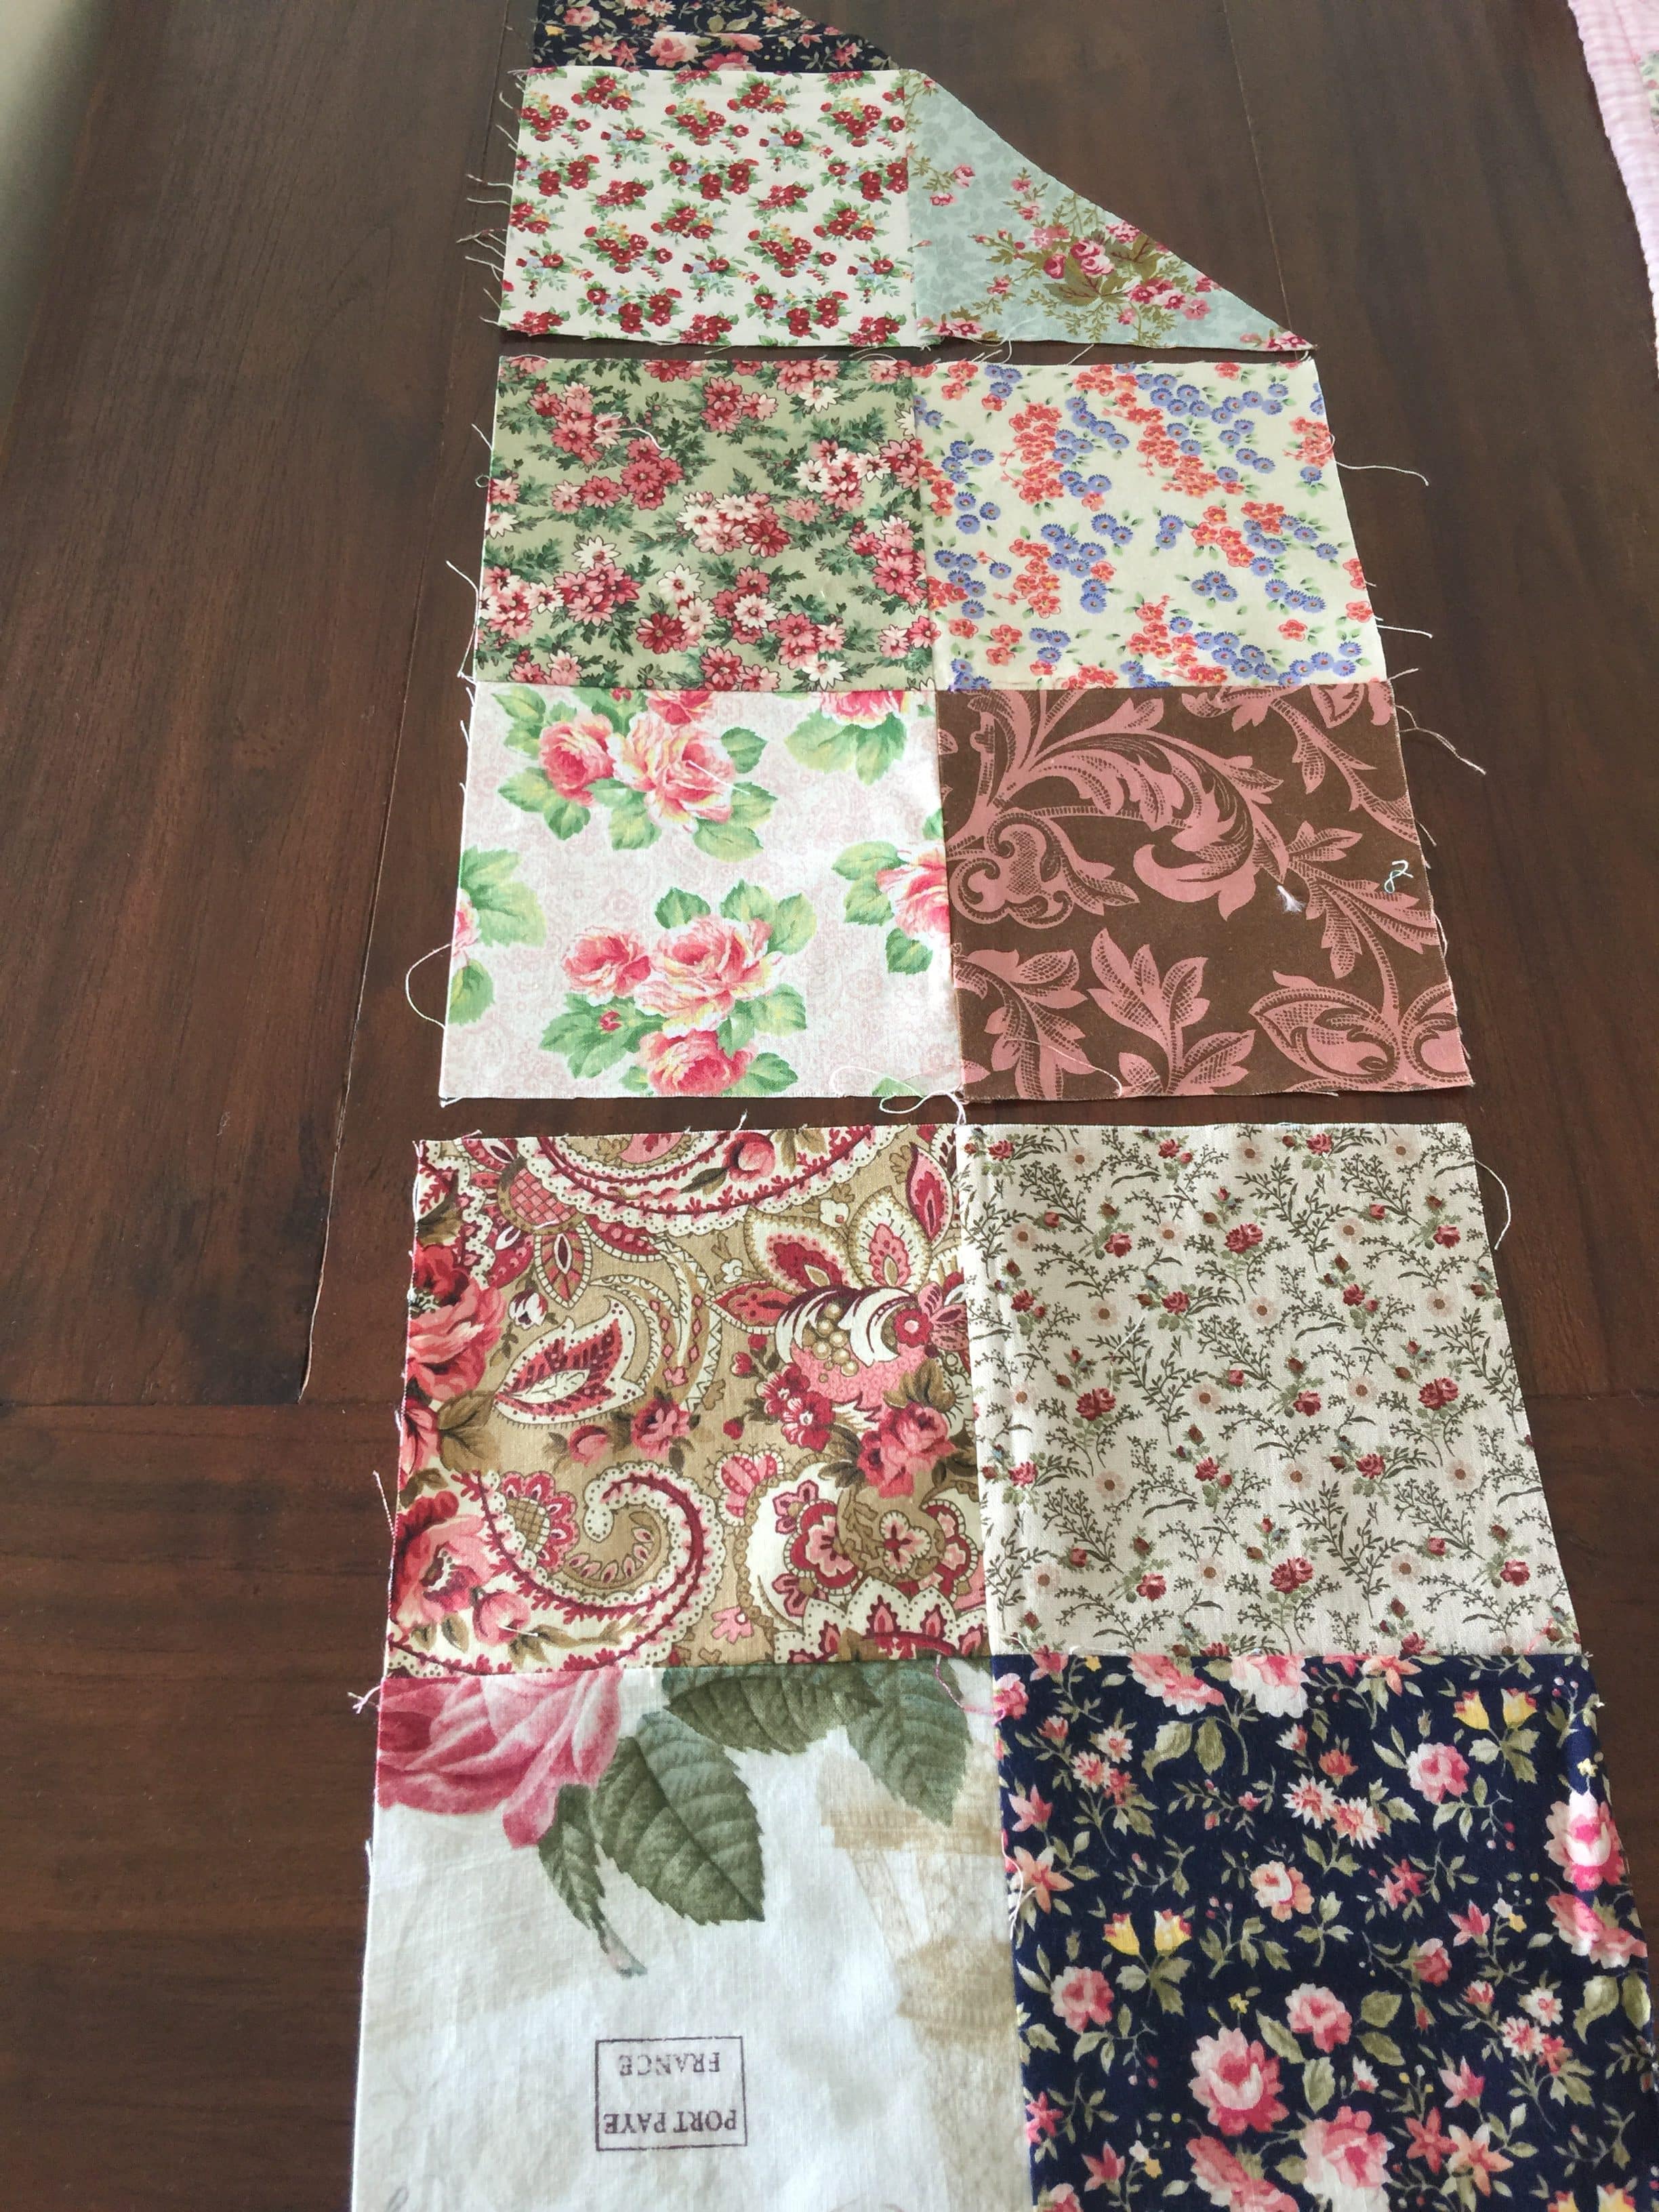
Lay out two four patches and one triangle block in a strip as pictured. Sew together. Repeat with the remaking blocks to make four of these units.
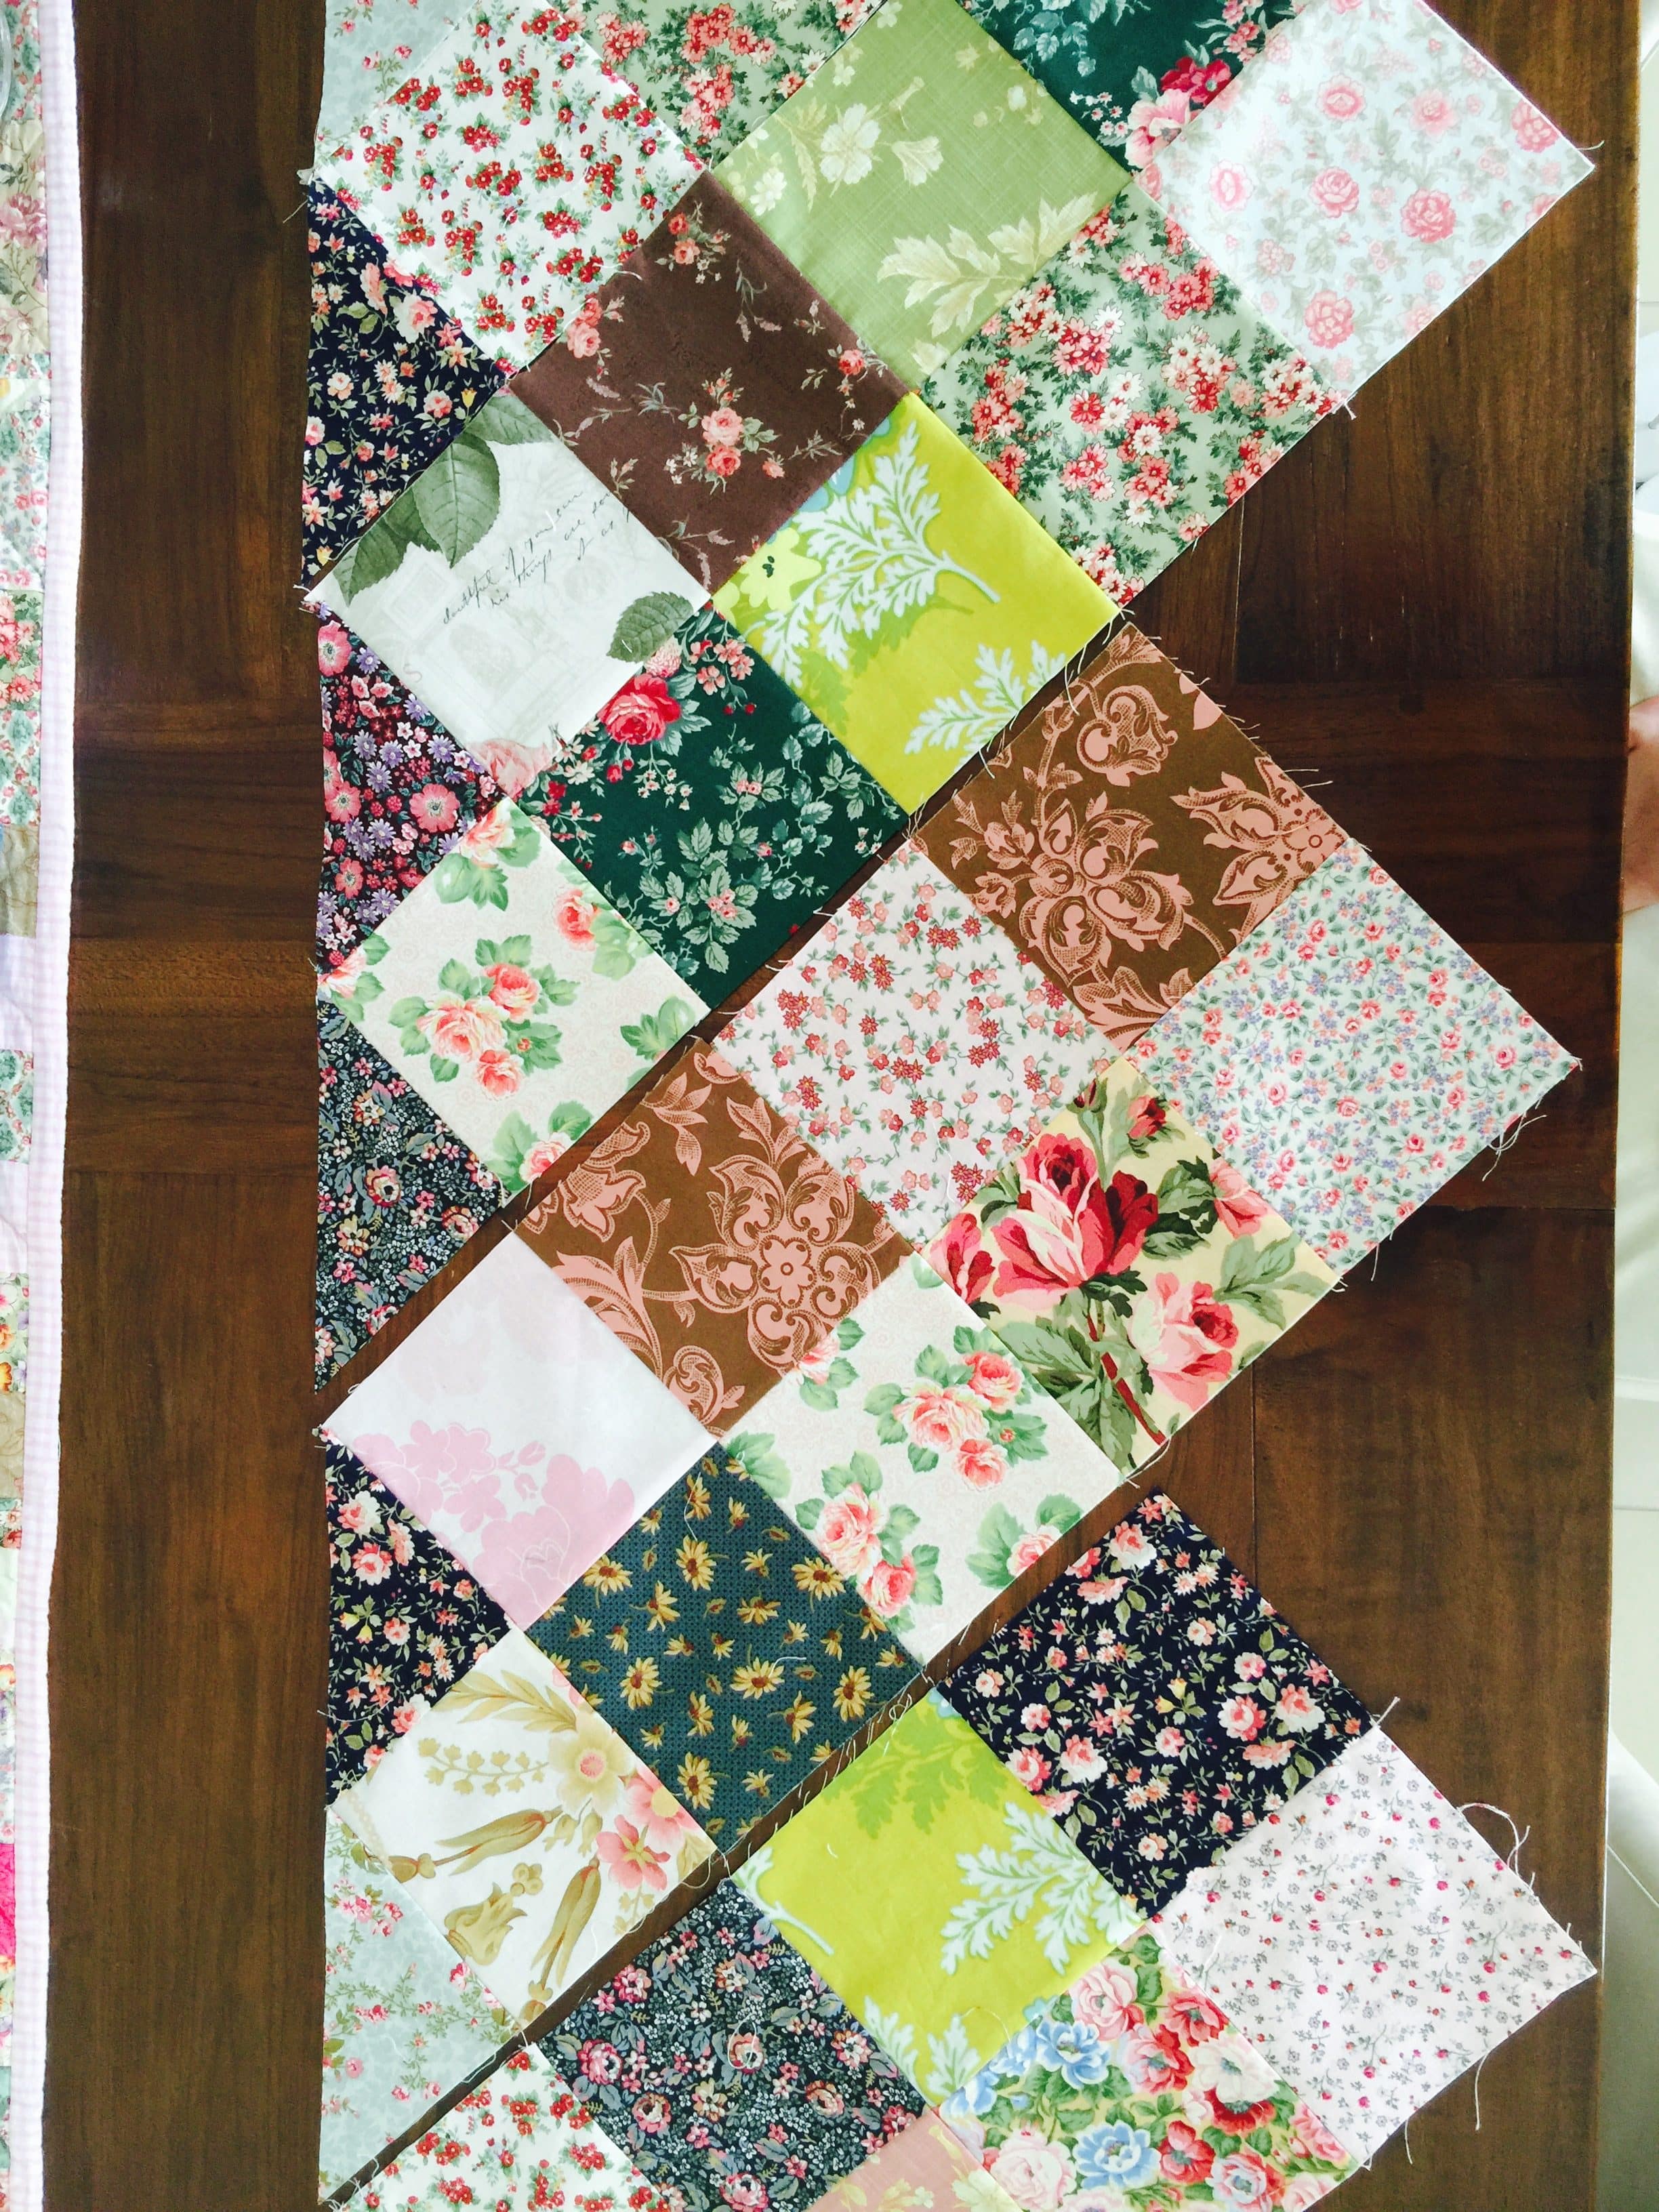
Lay out the four units one next to another, offsetting them as shown above so that the hypotenuse of all the triangles all line up.
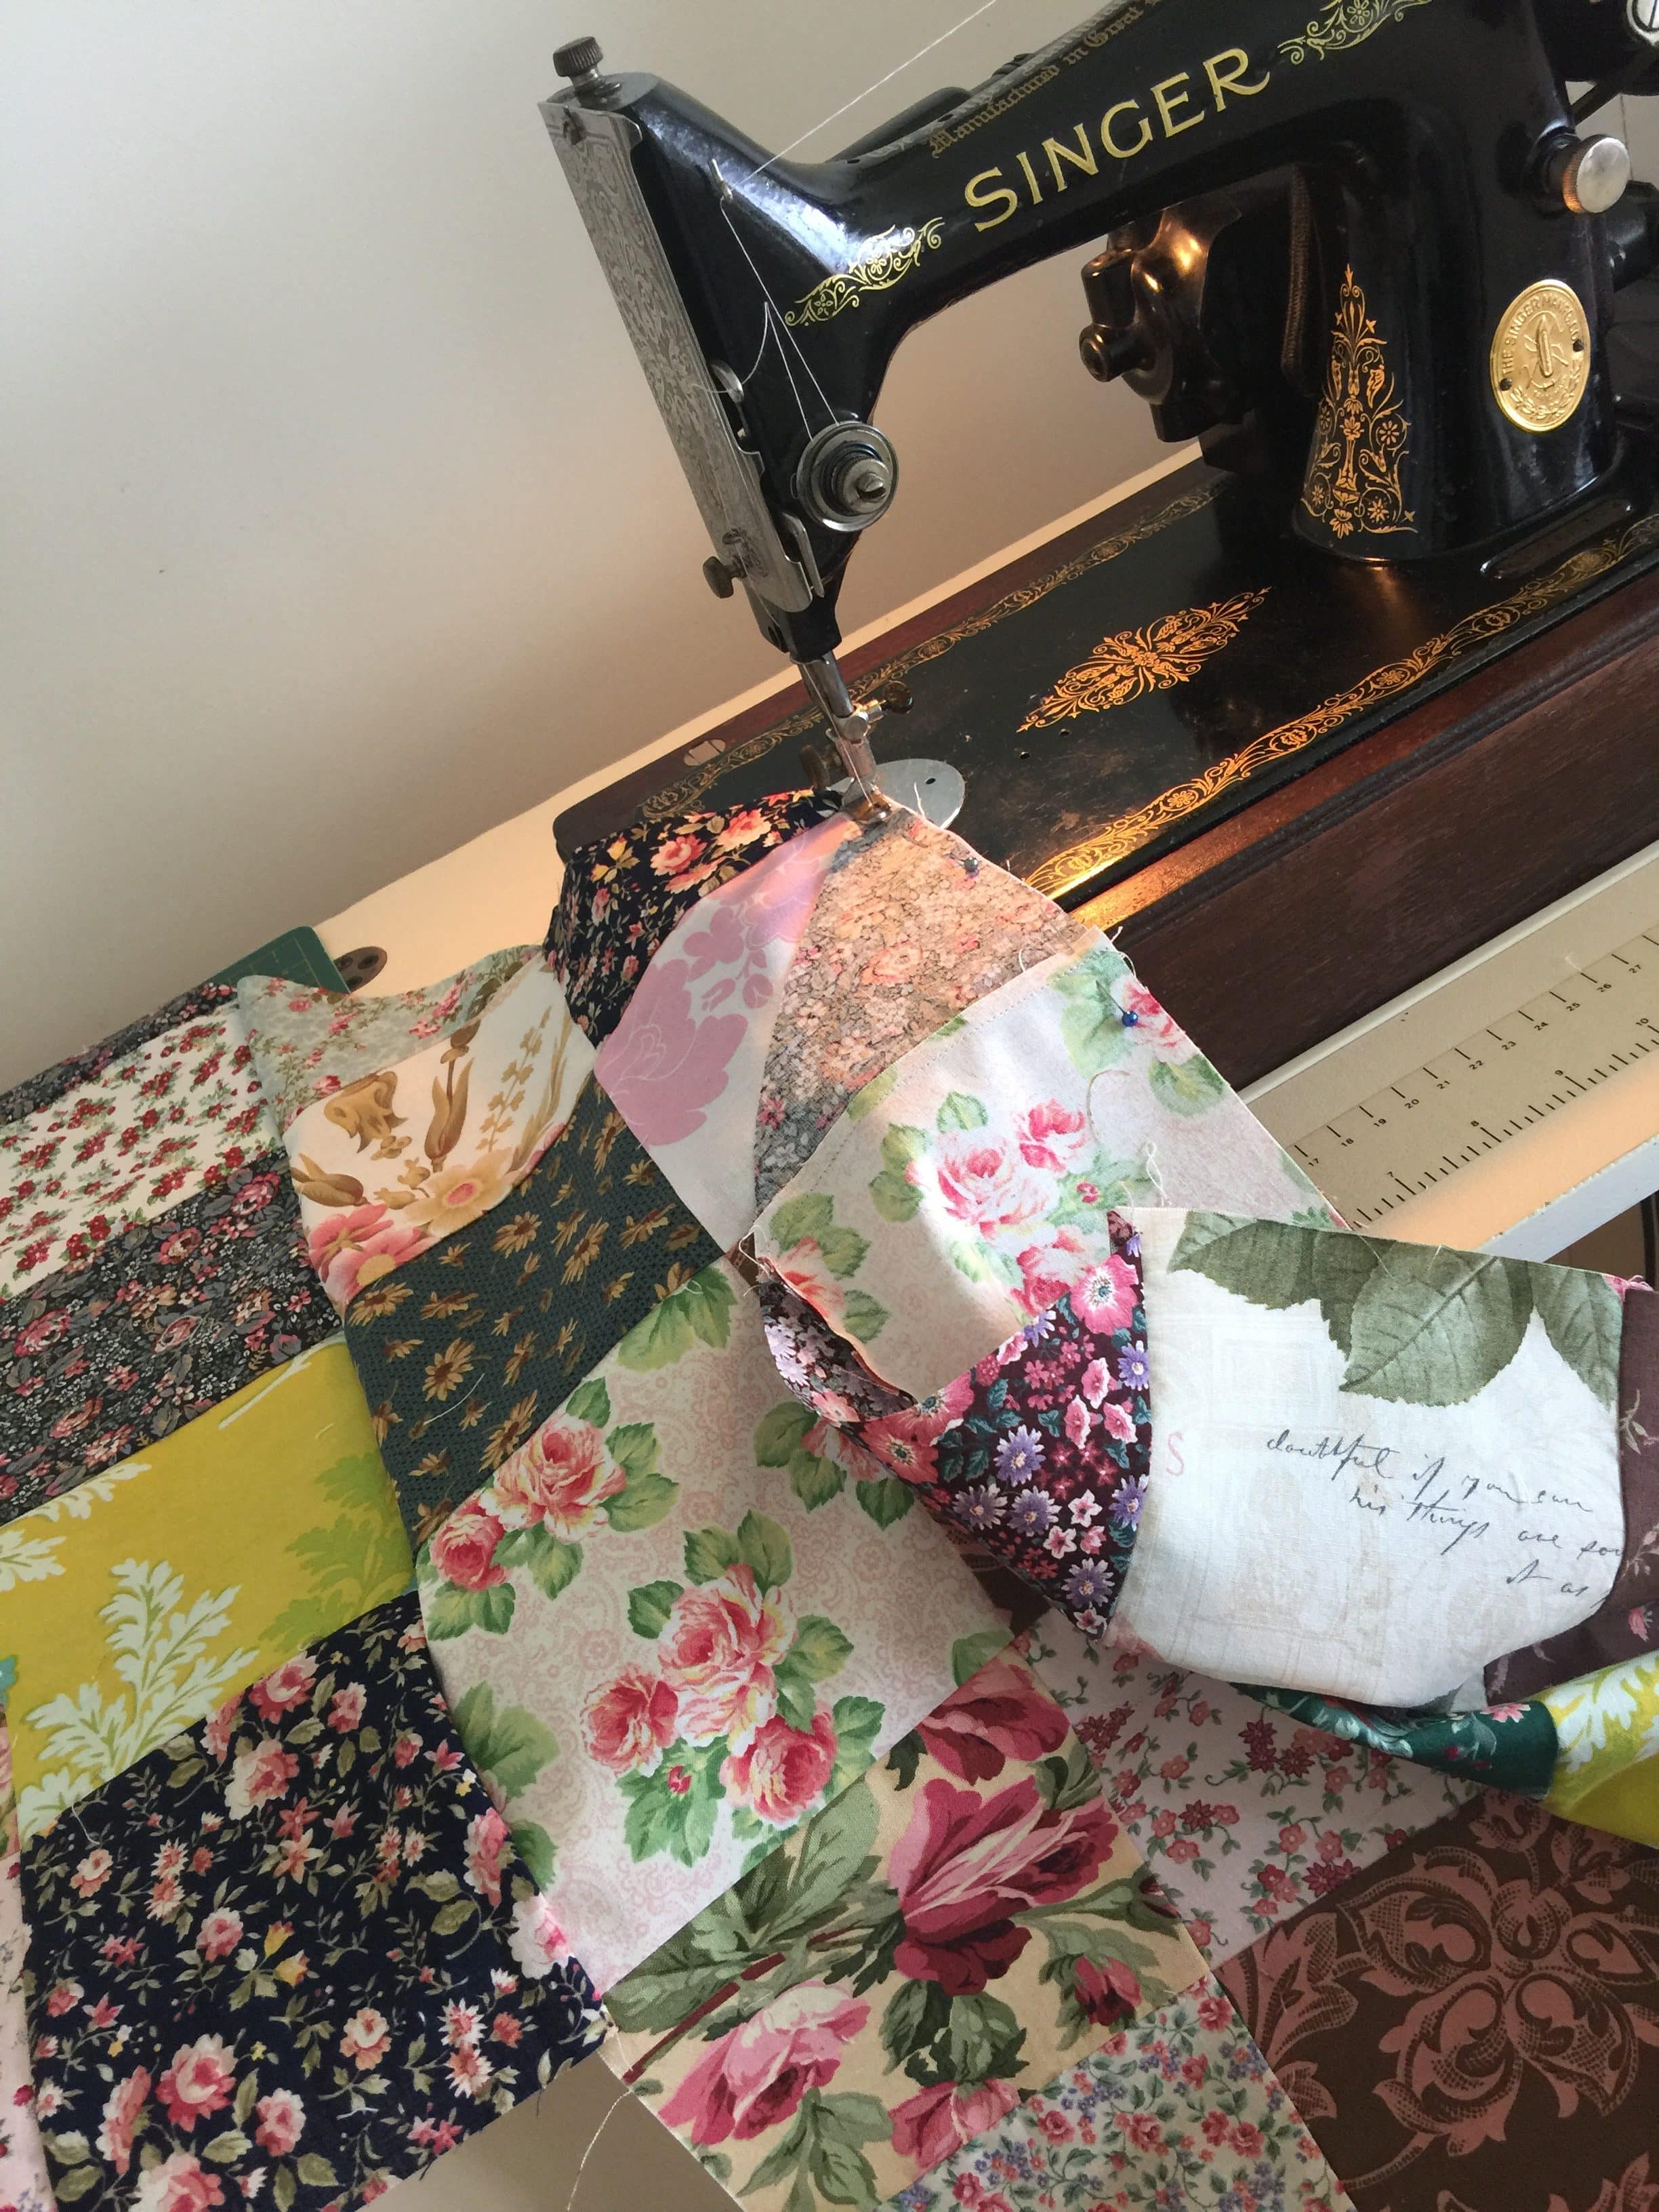
Now sew each of the strips together. Press well
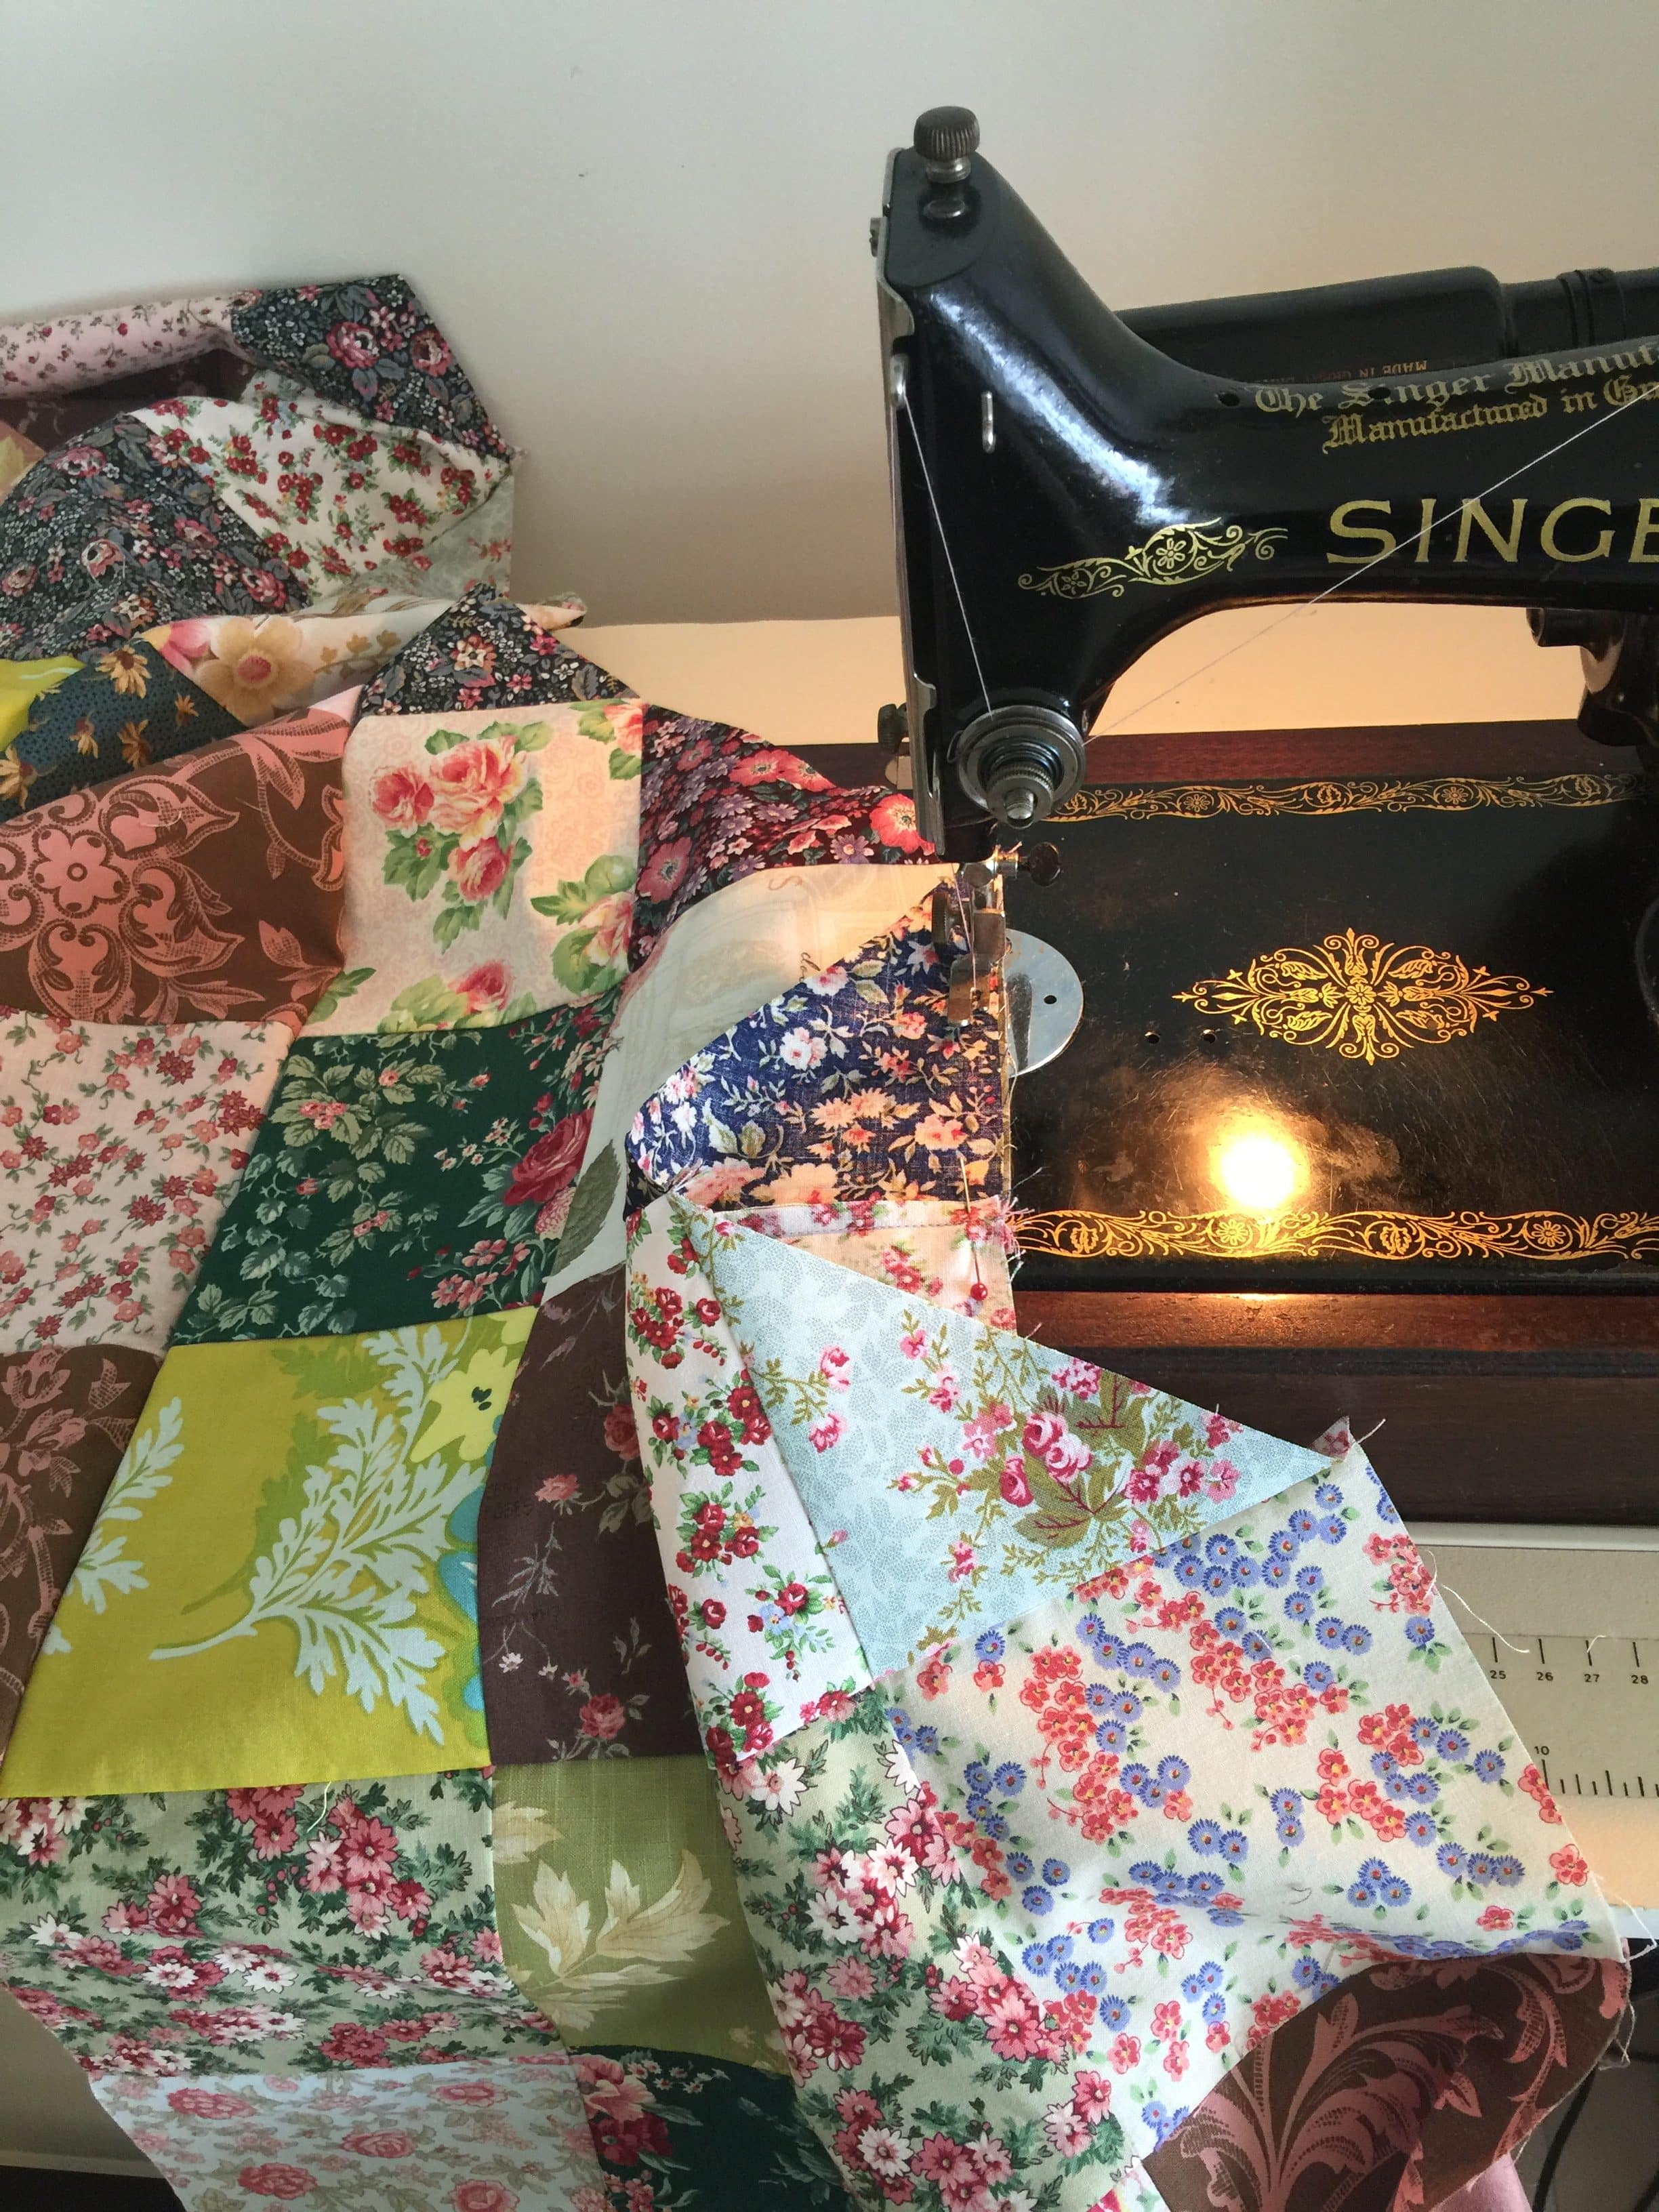
Lay the finished unit on some batting. Quilt as desired.
To be continued in Part 2……Click on the link below to continue..
I love the word schlep and use it often. I love the way it rolls around your tongue and spills out of your mouth with a soft plop.
I hadn’t heard the term schlep bag but I really like the one you have made.
I’m sure I have a friend who will see your post and probably make one while I’m still talking about it. 💖👍😉. She know who she is 😉
Your posts are my favourites. Always so informative. You share so much of yourself. Thank you 😊
Thank you Jan x