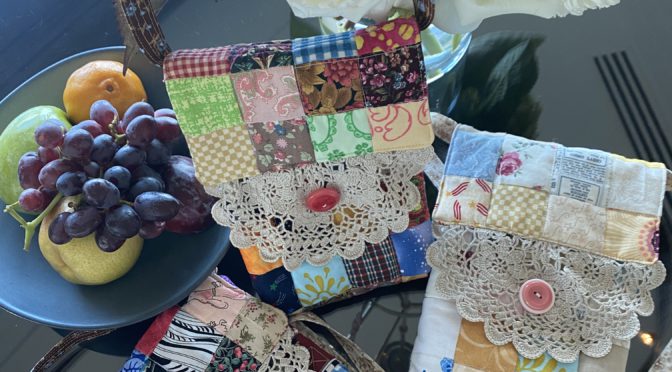
A lovely small and very useful scrappy project for you today!
Have you noticed that many clothing items do not have any pockets or not enough pockets? Even many men’s shirts I noticed several years ago had stopped putting a pocket on the front of the shirt, or tucks in the back. I suppose it is partly fashion and partly economics. The jeans pockets are sometimes not large enough to put a phone into, or there are no pockets, just pretend ones.
Historically women carried small bags called pockets which could be simply pieced or elaborately decorated. They were tied about the waist with a thin tie a bit similar to an apron. They could be single pockets or sometimes they were also made as pairs of pockets so there would be one on each side.
For the same reasons as above, I also, made a pocket to use at home when I didn’t have a physical pocket. I found it so helpful. I have been “On Call” for Cardio-Thoracic Surgical cases and emergencies for so much of my nursing career, that I had to have a pager or now a mobile phone with me all the time. When I made the pocket, it was really an experiment, but I used it so much. After while I realised that I didn’t really have to tie it around my waist but I could put a bow in the long strings and just use it as a cross body pocket, which was easy to take on and off.
Then, few years ago I made a small bag that I could take on social outings when a large bag was really not required and would in fact just be a burden. It needed to be able to contain my keys and phone and maybe a credit card. With a long shoulder/cross body strap it meant that I could have hands free which I think is important. There is nothing more awkward at a social occasion, when you are mingling with people and often in a professional capacity, than trying to juggle a handbag, a drink, meeting people and then canapés. So, something had to give, so the little bag was awesome. Very liberating, in it’s own small way.
Fast forward to the era of Covid-19, that little bag has become so useful. Again, the mobile phone has to go everywhere, to check into any place I might visit. A few people have admired it and the ease at which I could find my phone and quickly check in. I still take a bag, but that is seperate. This is just like an extra pocket. So the fact that others were interested spurred me on to make a similar bag, but scrappy of course!!!
So that is the project that I am sharing today.
Finished size 8” x 5” x 1 1/2” plus the strap.
All seams based on 1/4” unless specified otherwise.
Requirements for one Scrappy Pocket Bag
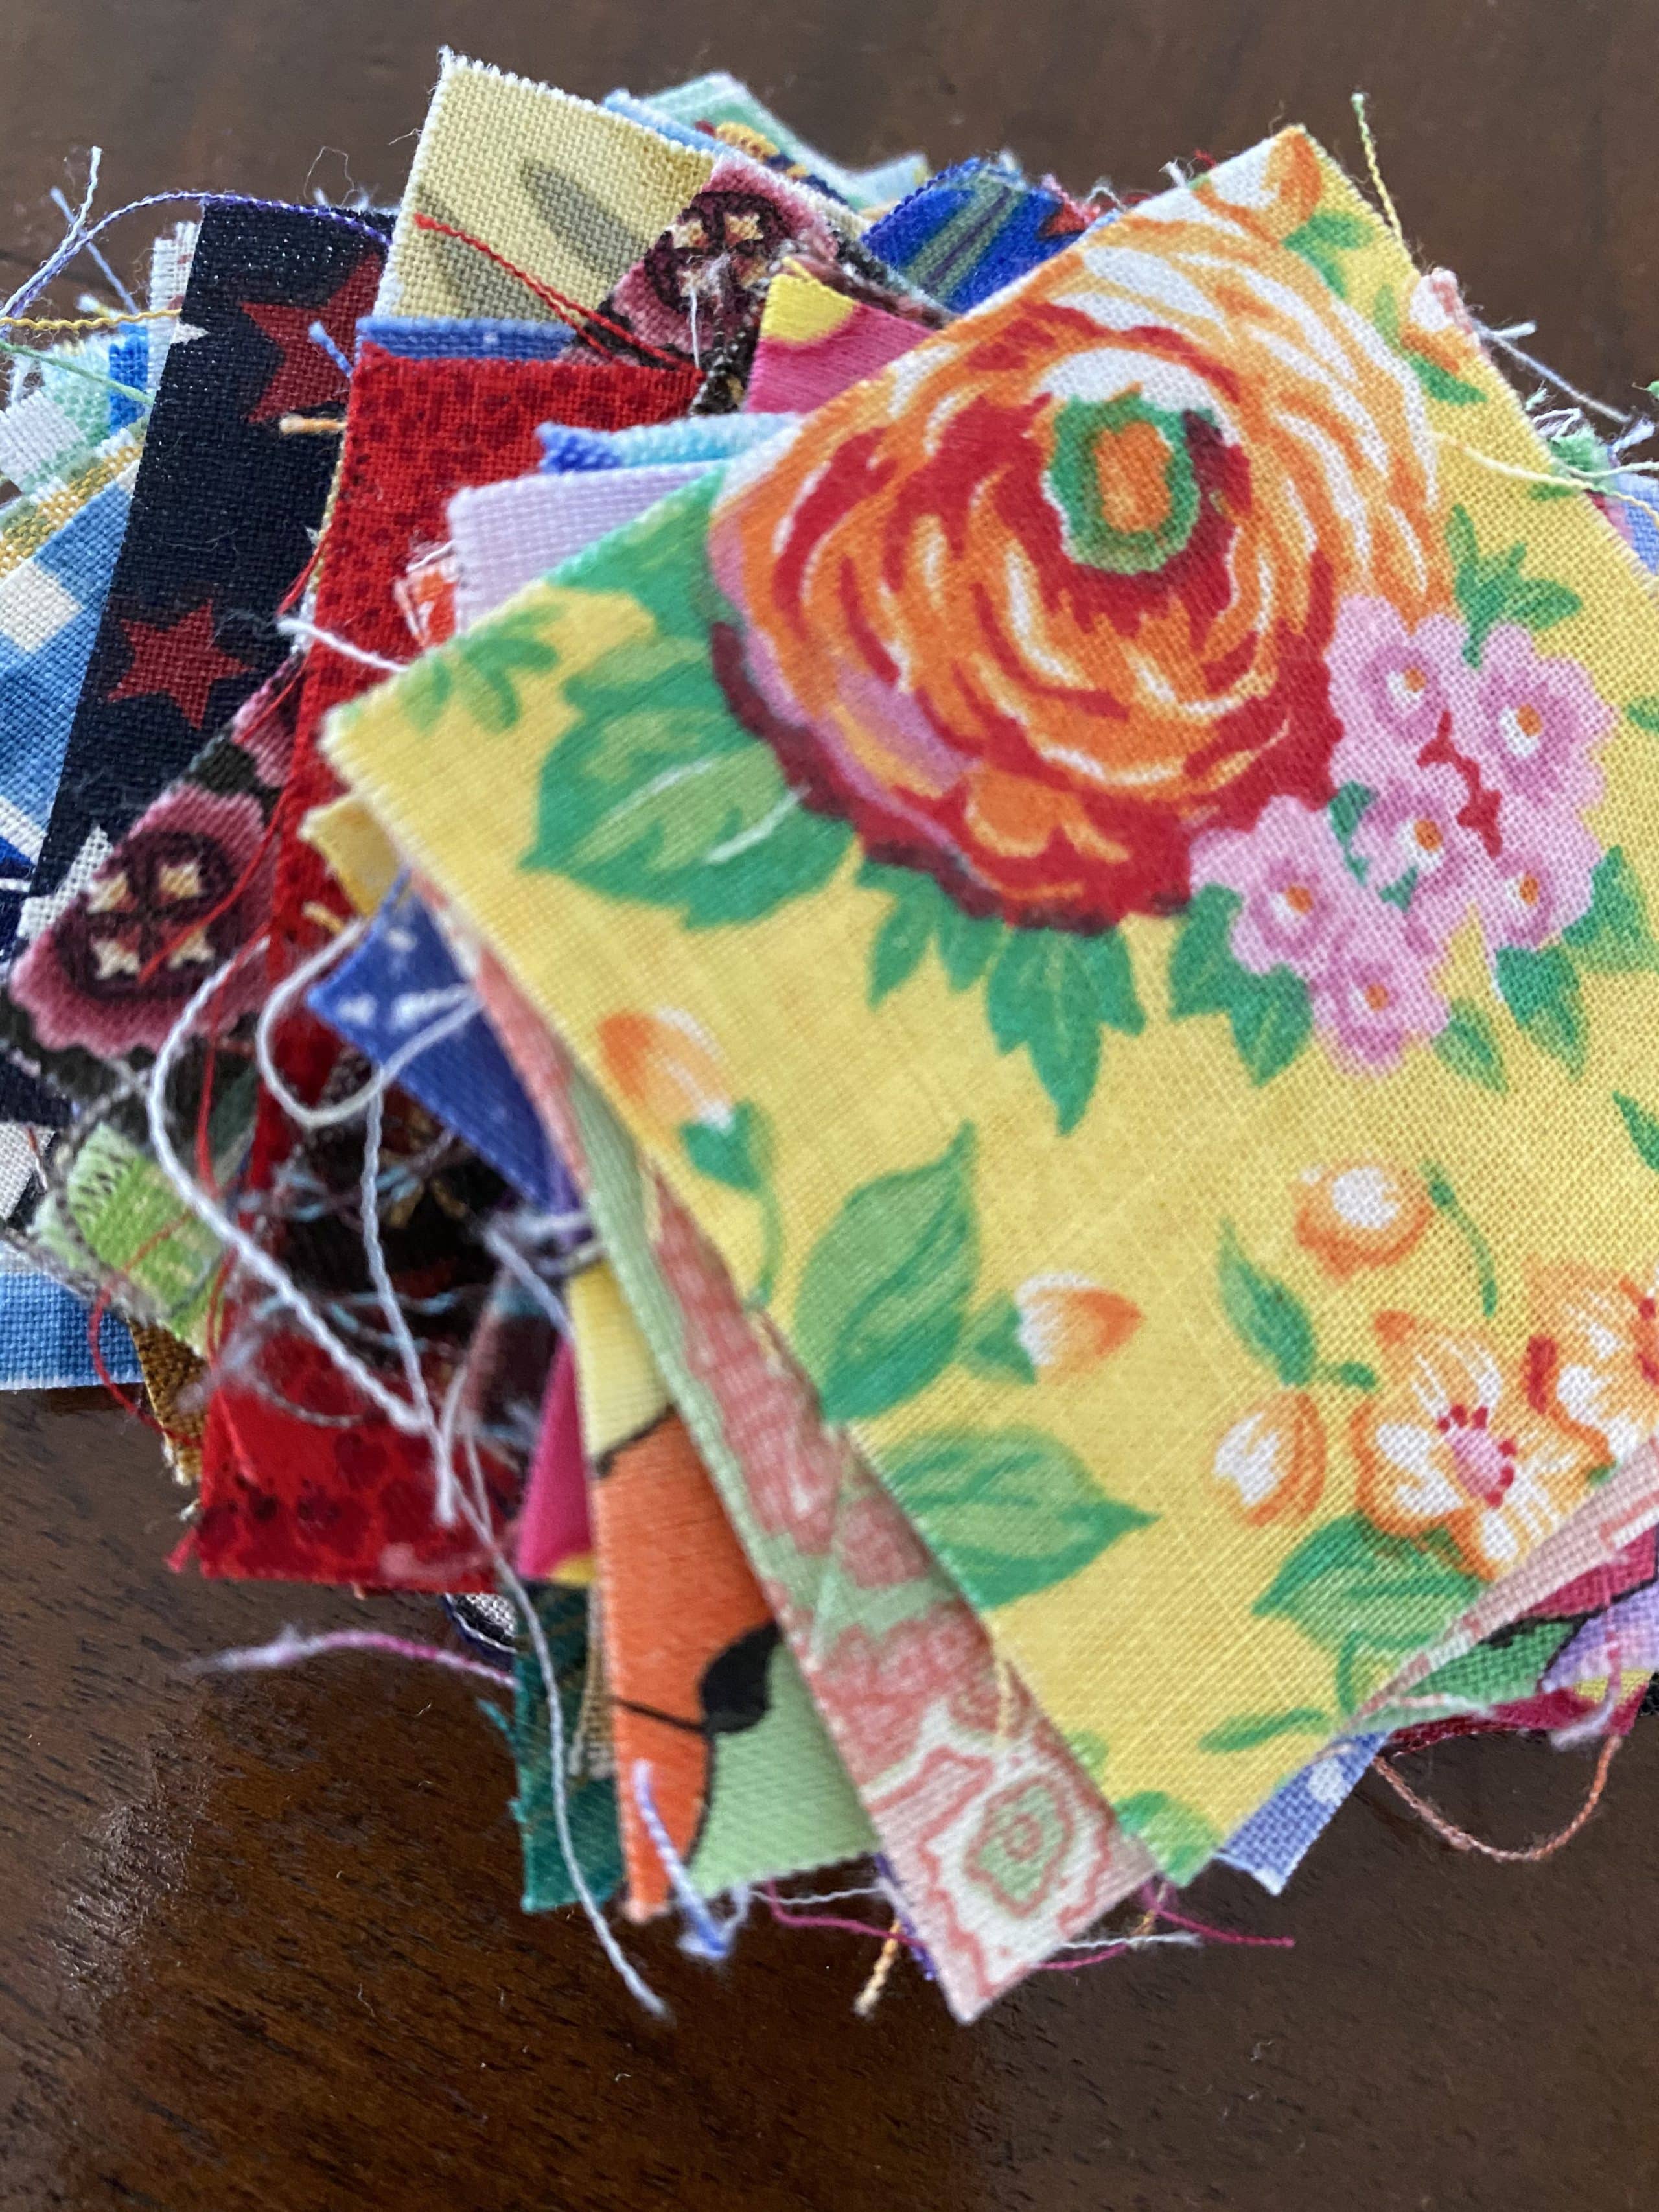
68 of 2” x 2” scrap fabric squares
1 and 1/3 length of 2 1/2” width of fabric strip for the strap (approximately 52”)
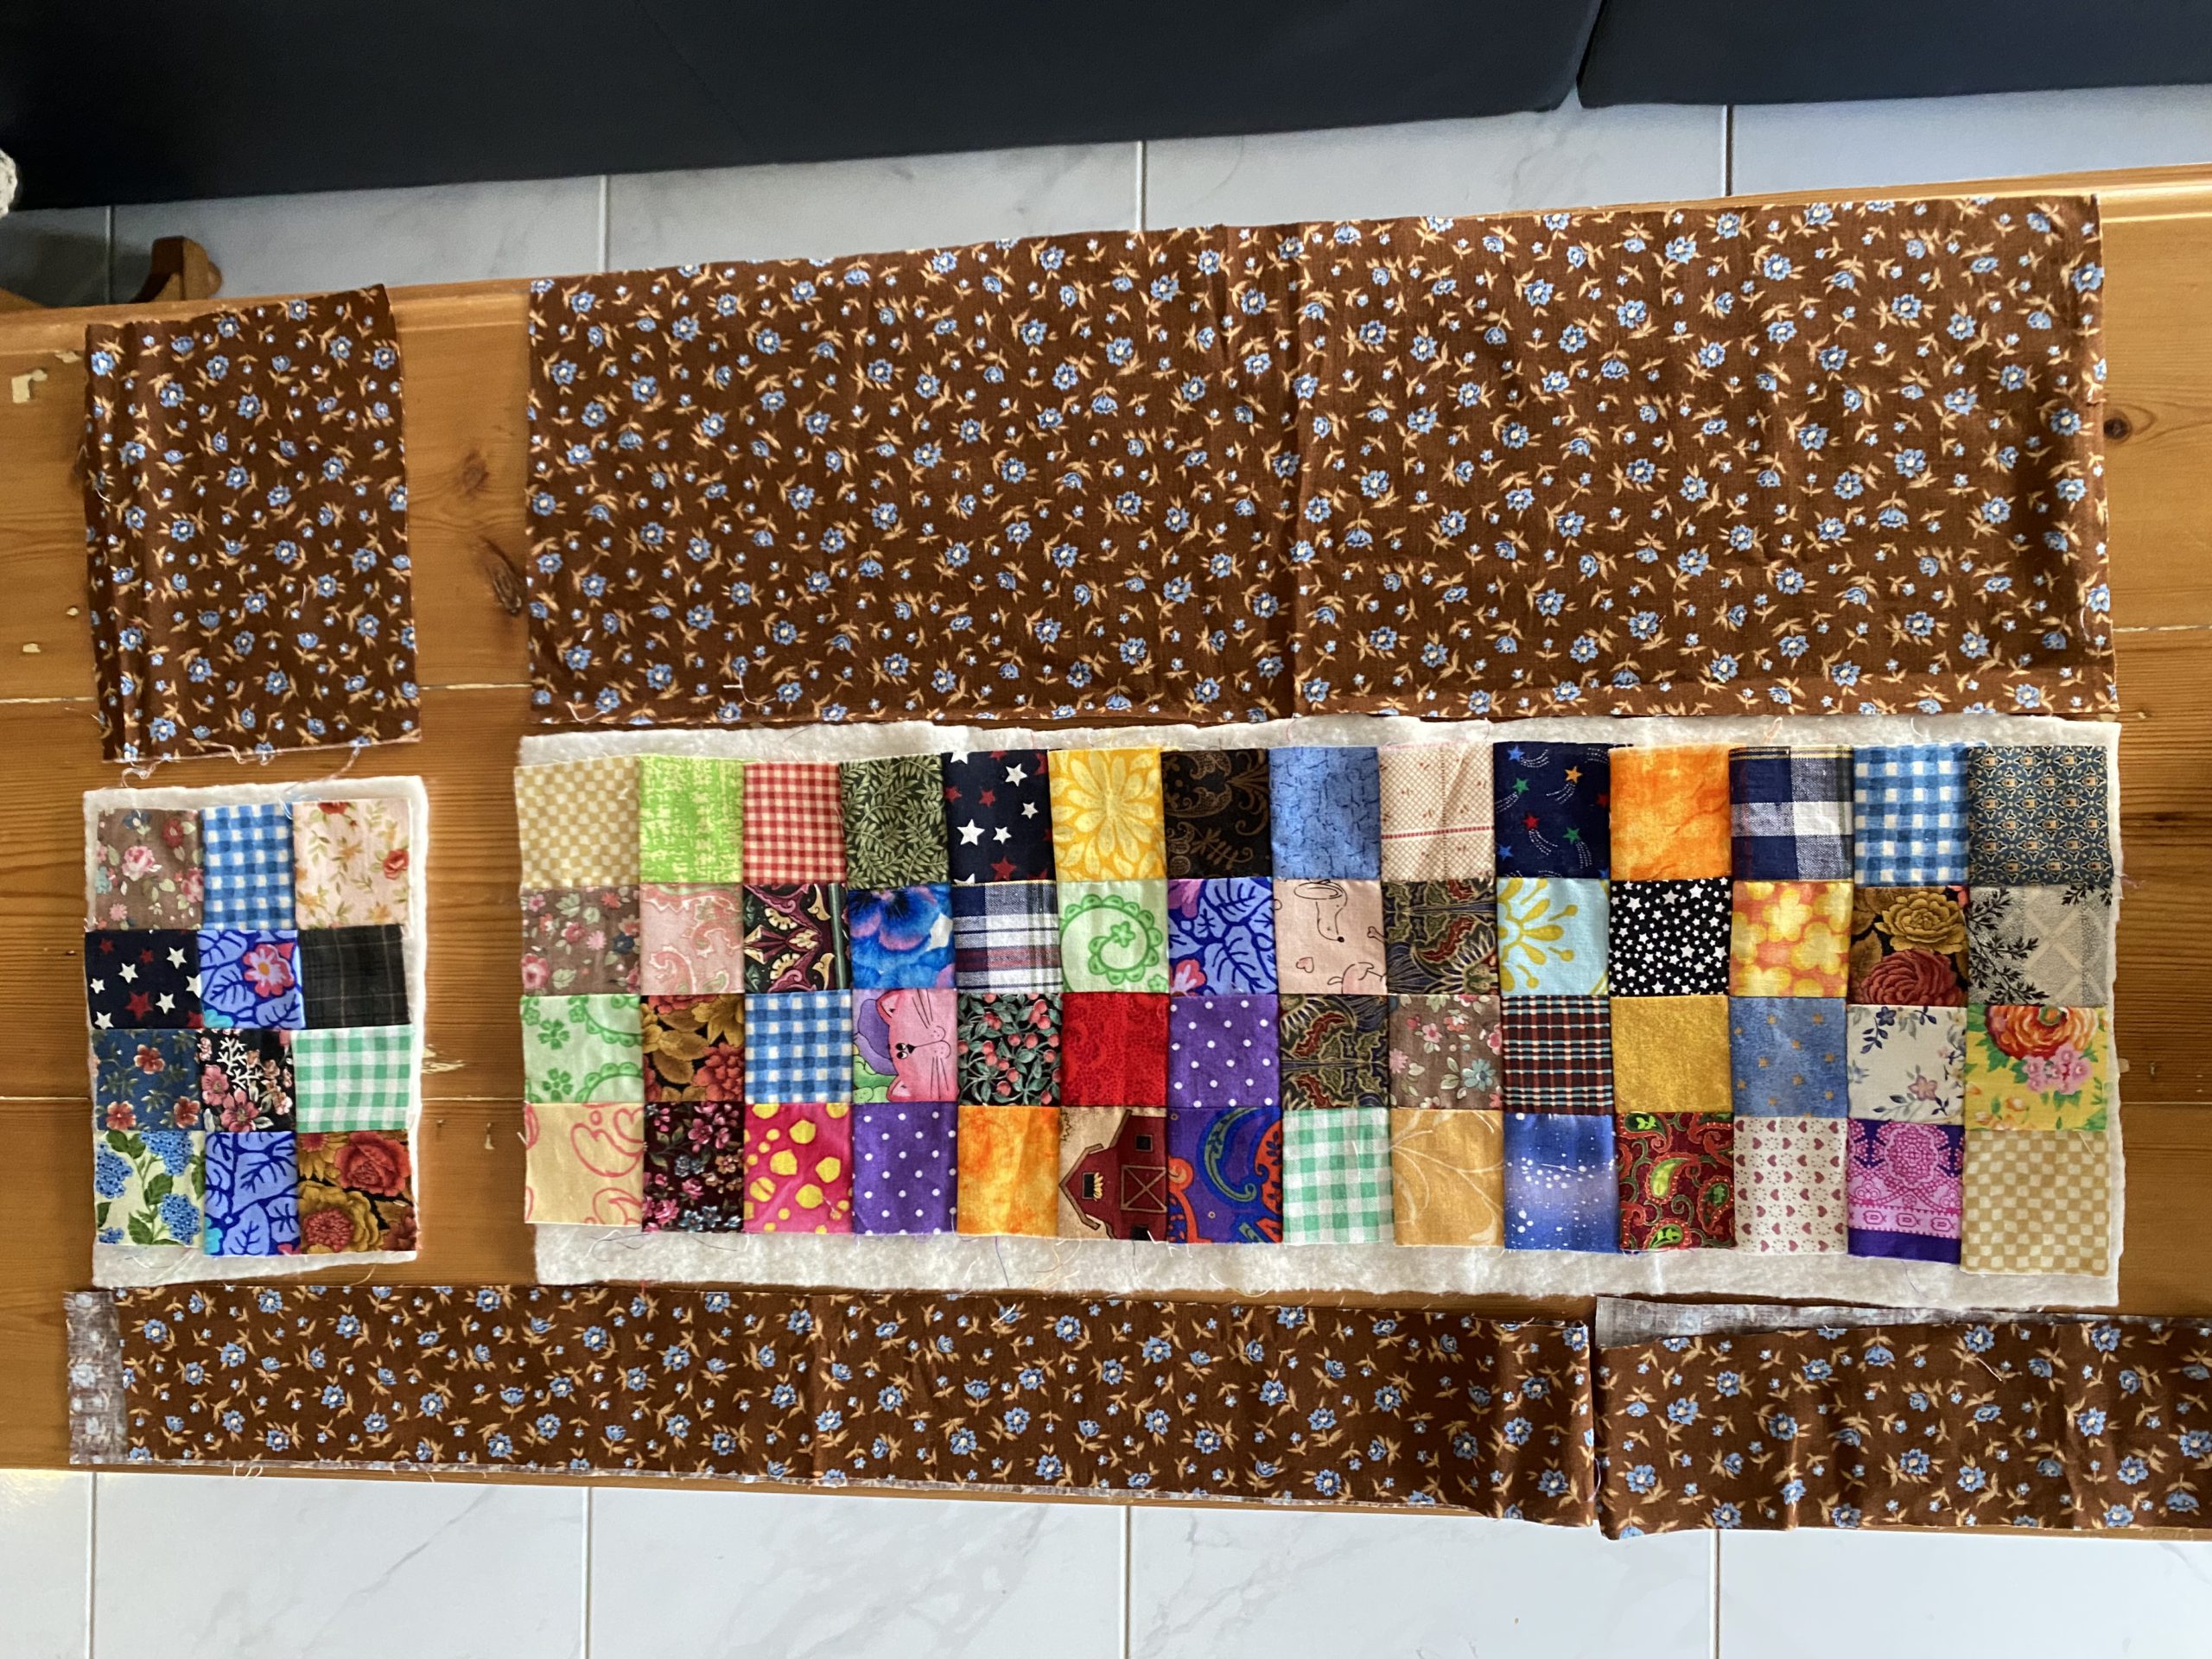
For the lining fabric cut, 1 of 21 1/2″ x 6 1/2” and 1 of 5” x 6 1/2″
Scrap batting pieces the same or a little larger size as the lining pieces
1/2 of a 6” round crochet doily
2 buttons a large button and a small, to weight the doily
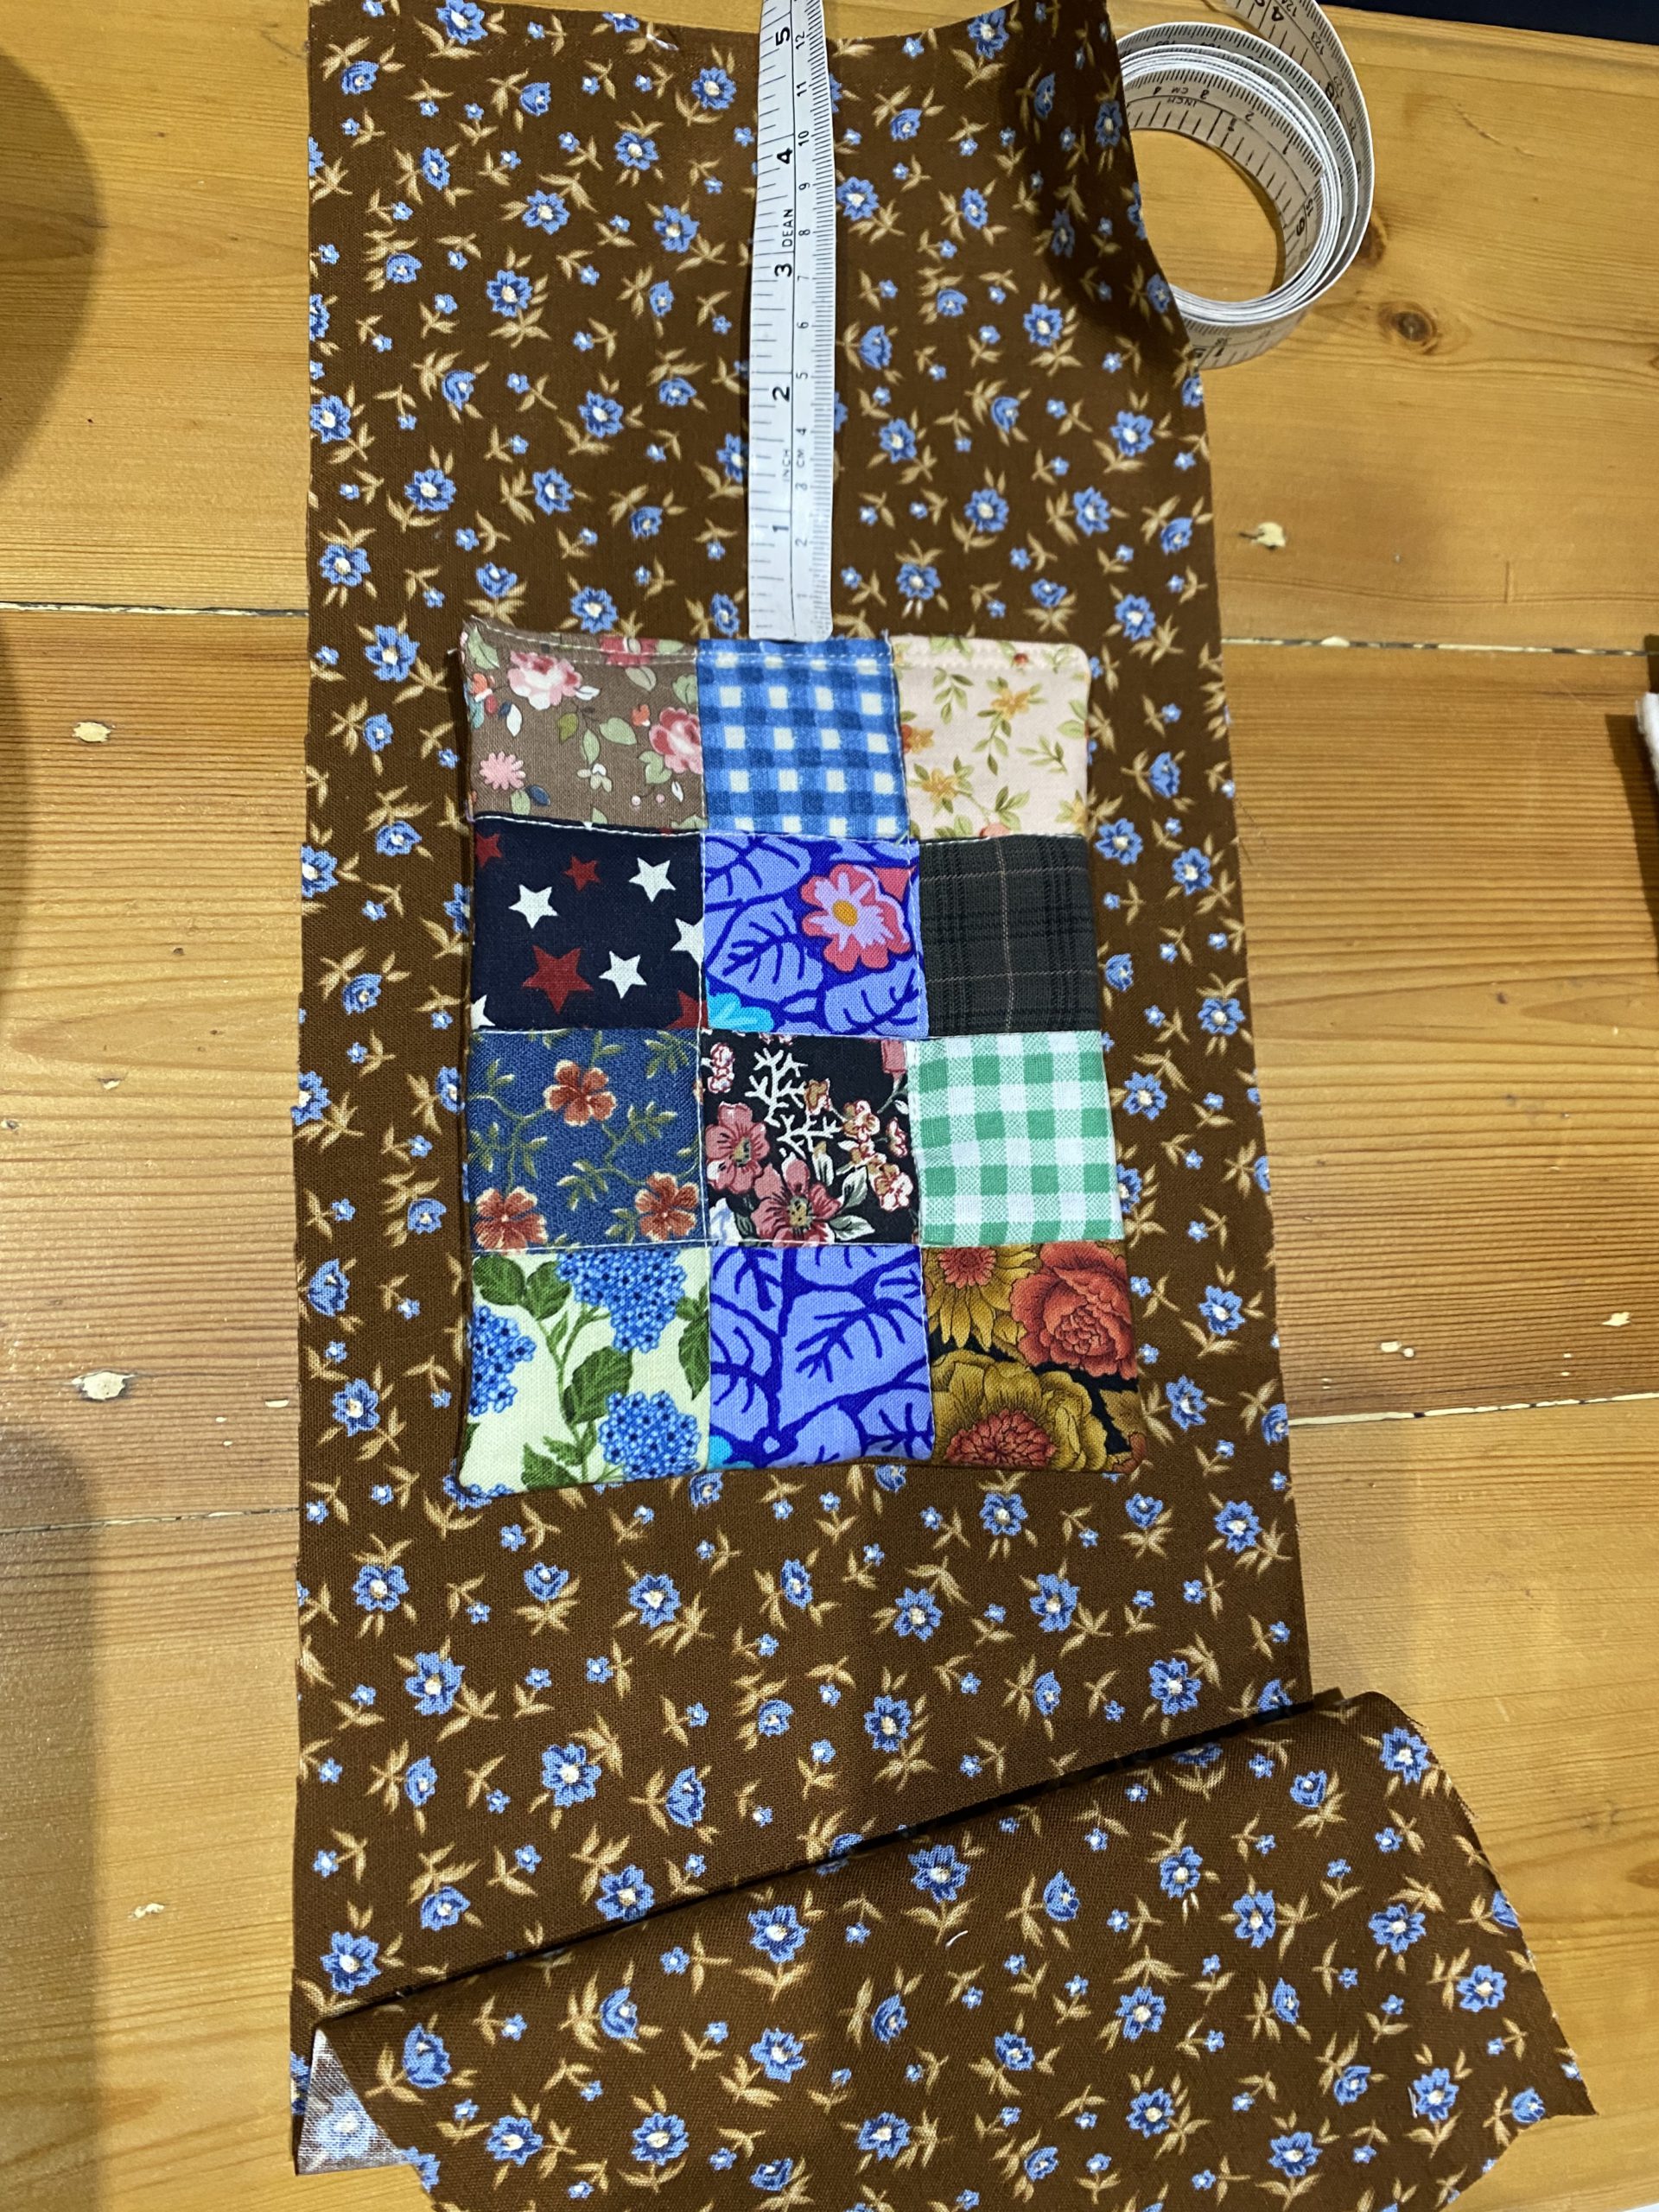
Here’s a little pile of the 2” squares. These are all just scraps cut from other project leftovers.
From the 68 of 2” squares, make two grid pieces. One 4 x 14 (56 squares). One 3 x 4 (12 squares). Press.
Scrappy Pocket Bag
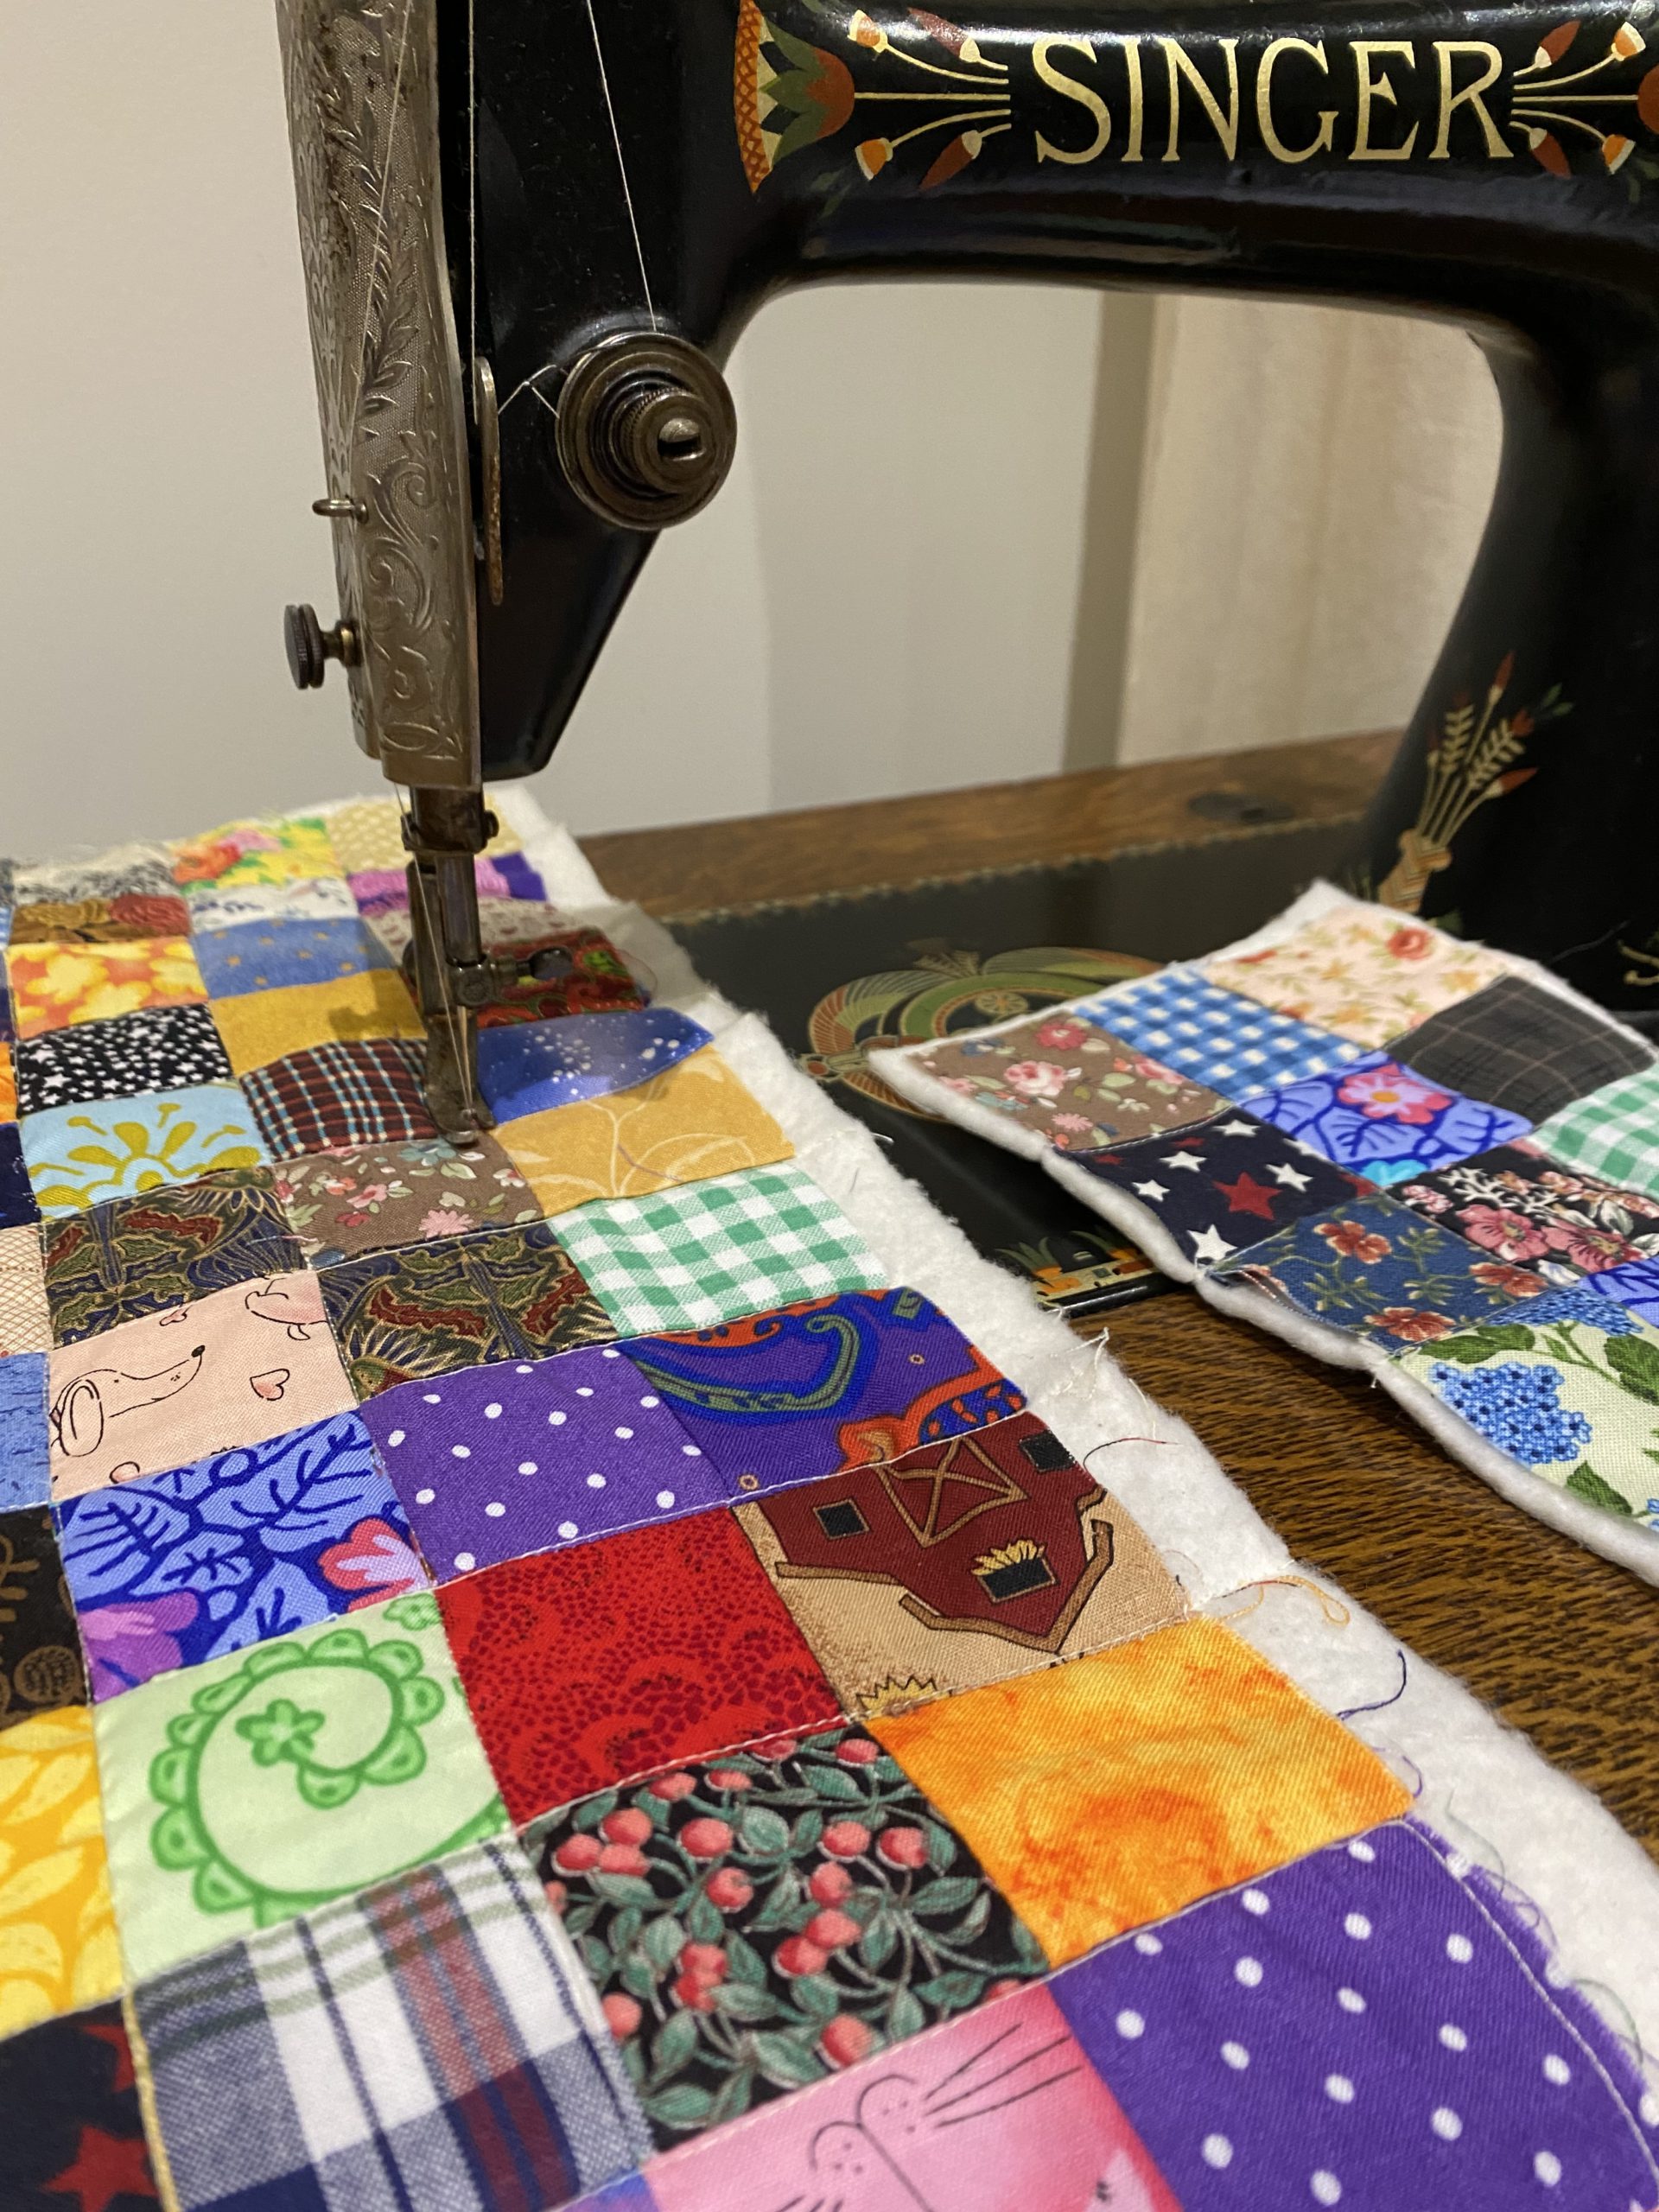
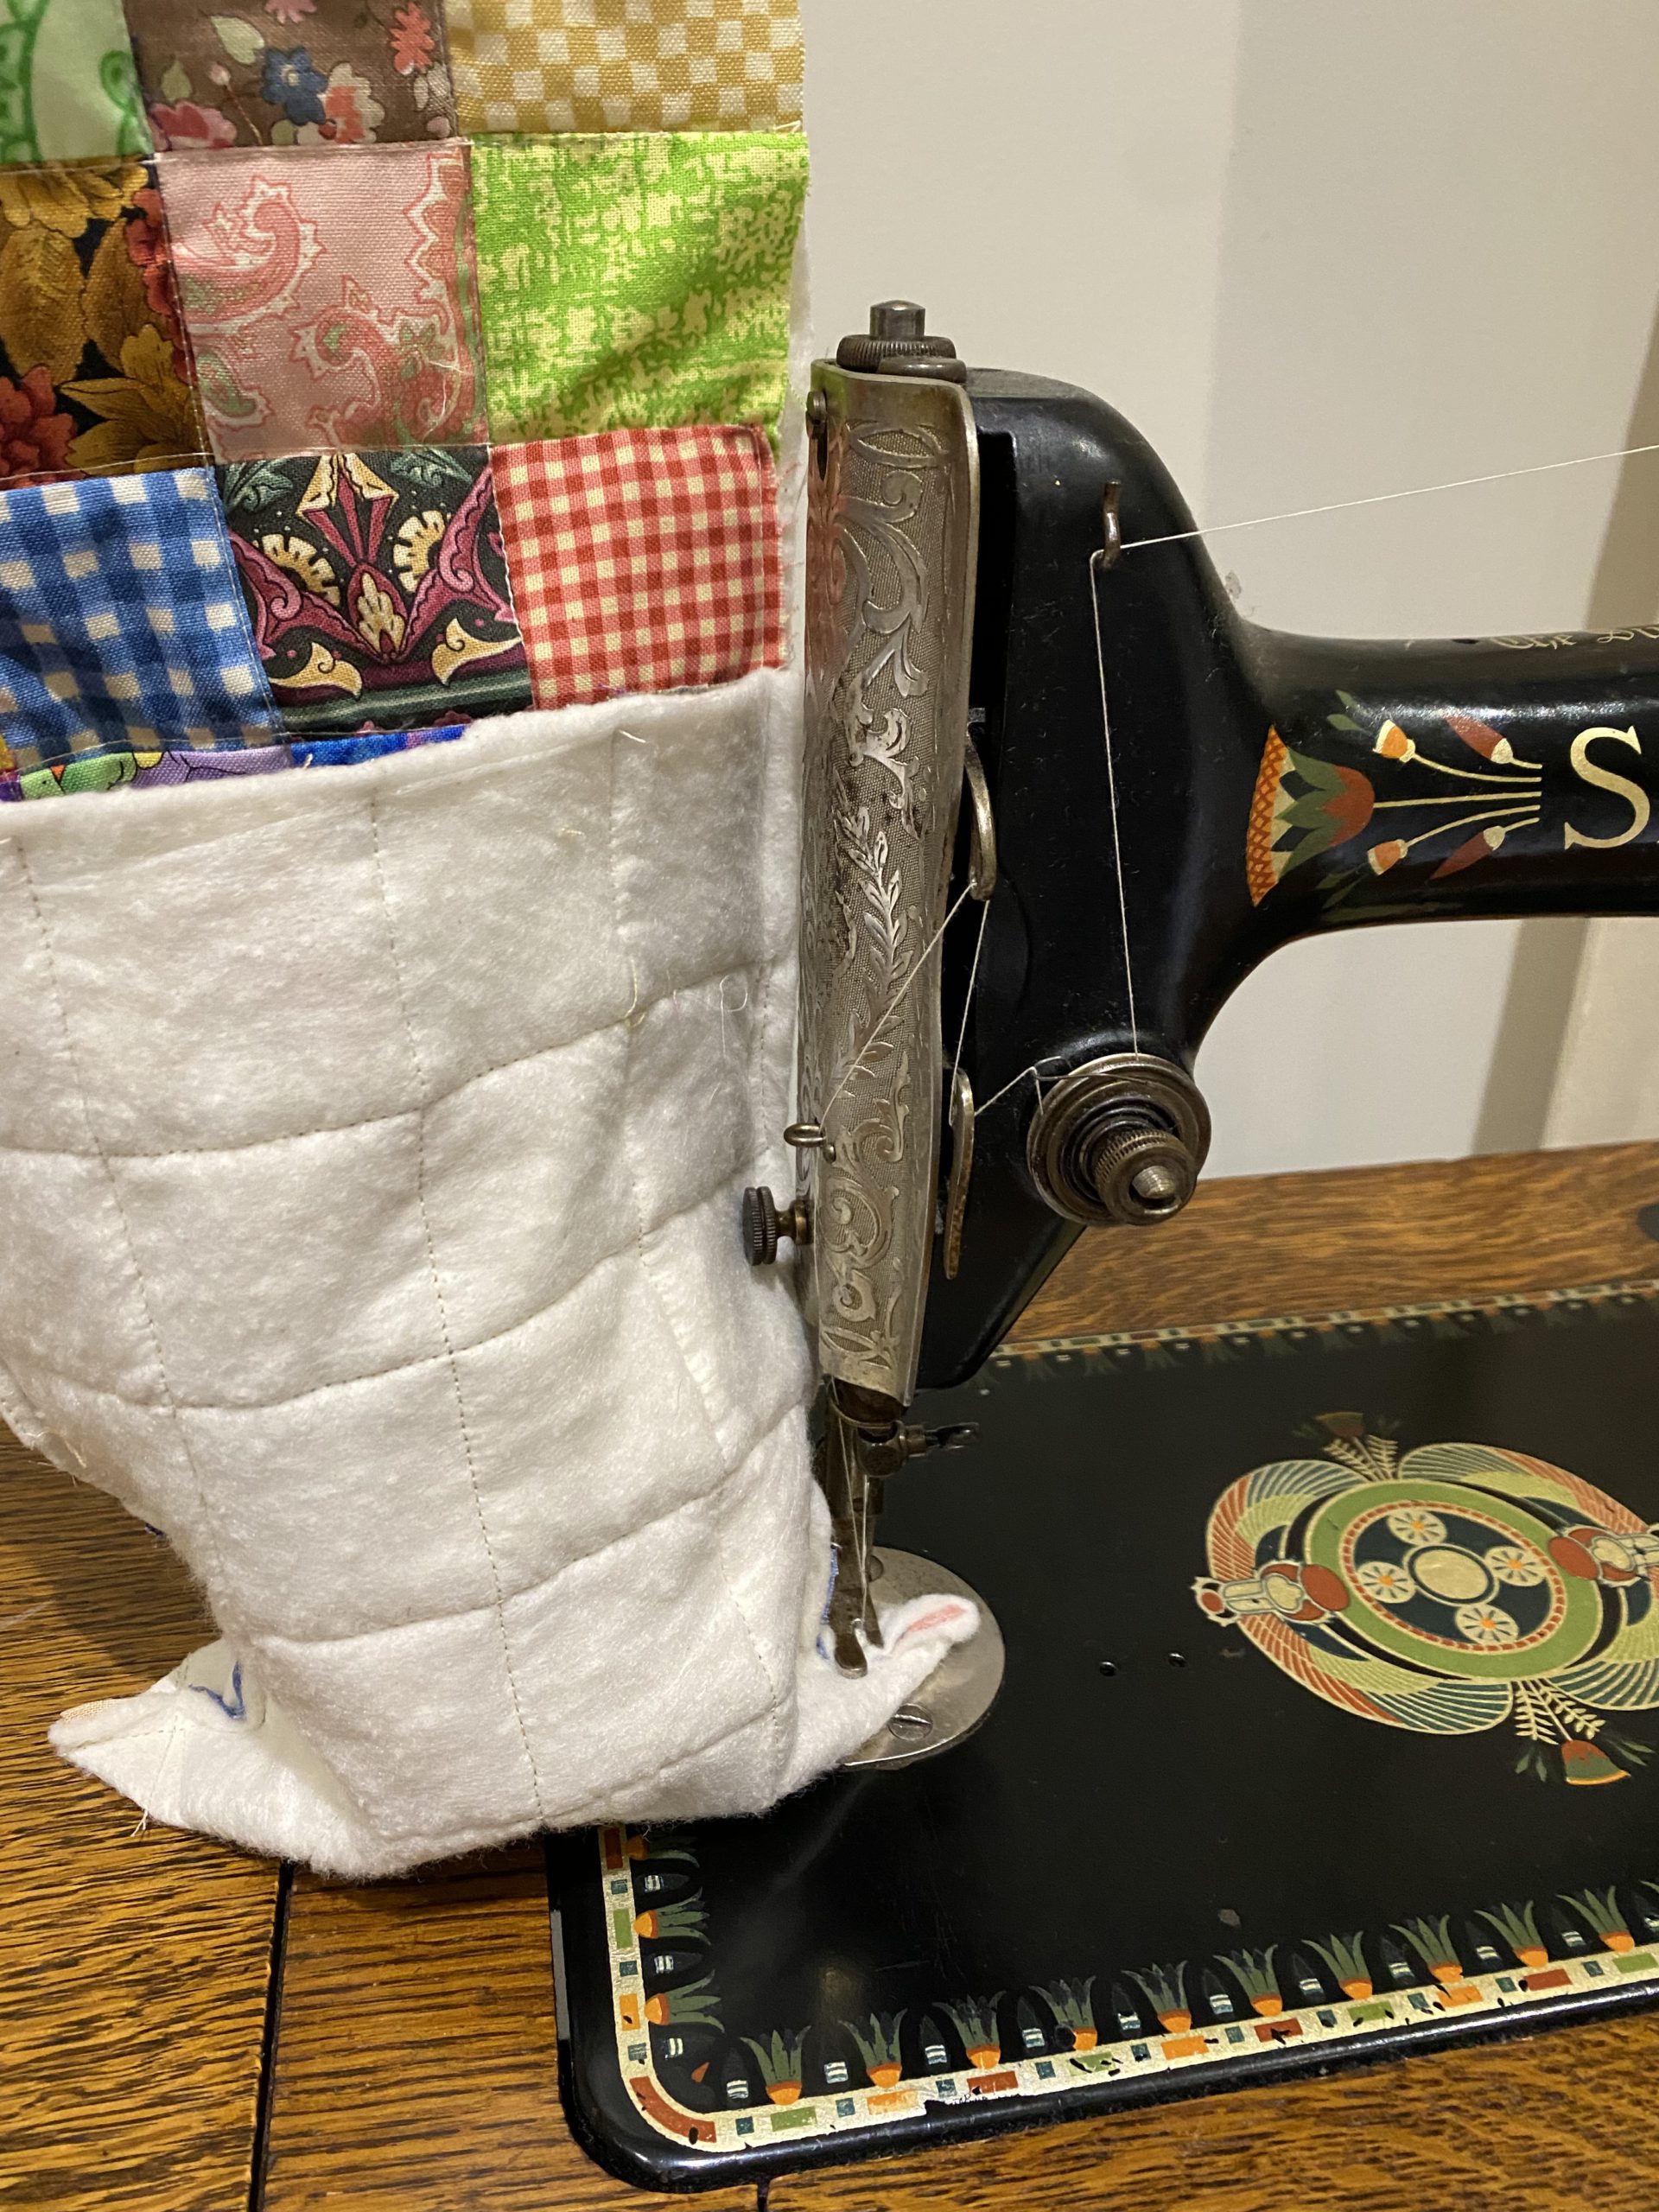
Lay the two pieces on their matching batting piece. Quilt the two pieces as desired. I just stitched in the ditch.
Scrappy Pocket Bag
Trim the excess batting to match the edges..
Make the pocket.
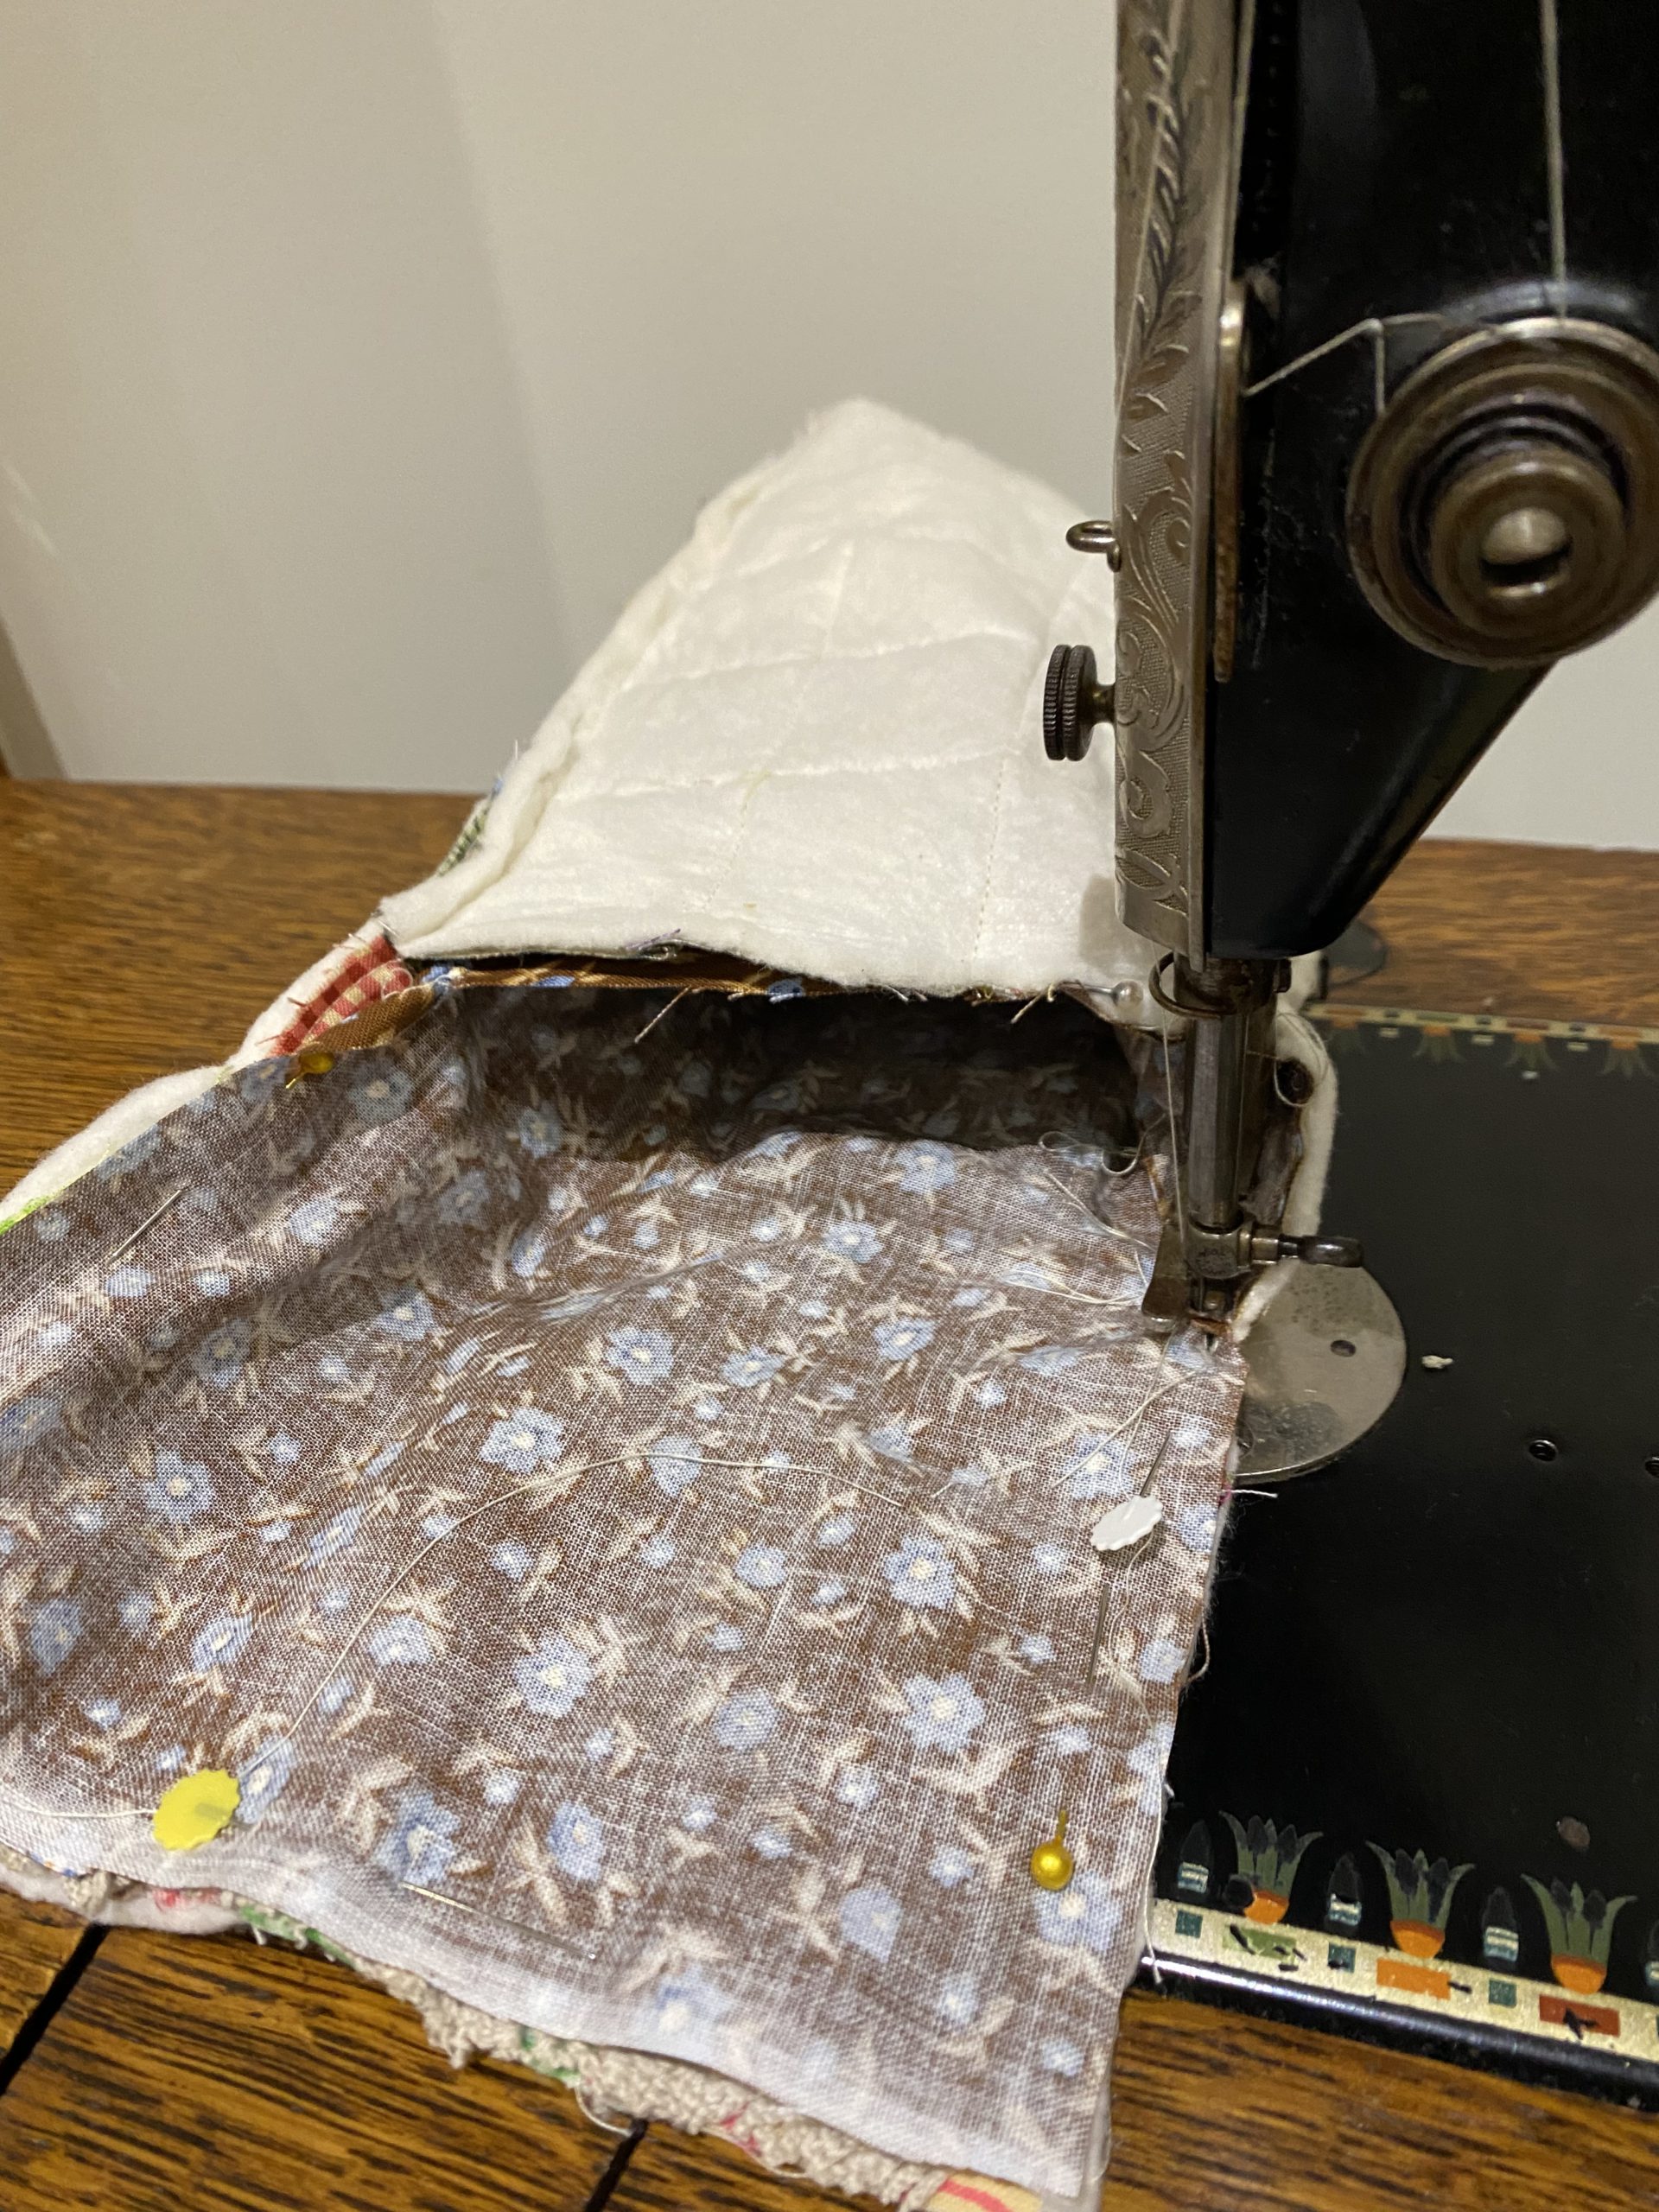
Put the pocket piece 5” x 6 1/2” right sides together with the matching lining piece. Sew 1/4” seam most of the way around. Leave an opening for turning. Clip the corners. Turn to the right side. Turn in the seam allowance. Topstitch the opening.
Place the pocket onto the 6 1/2 “ x 21 1/2” lining piece. Position the short side 5” from the top the right side up. The pocket opening at the top. Stitch around the three sides to secure.
Scrappy Pocket Bag
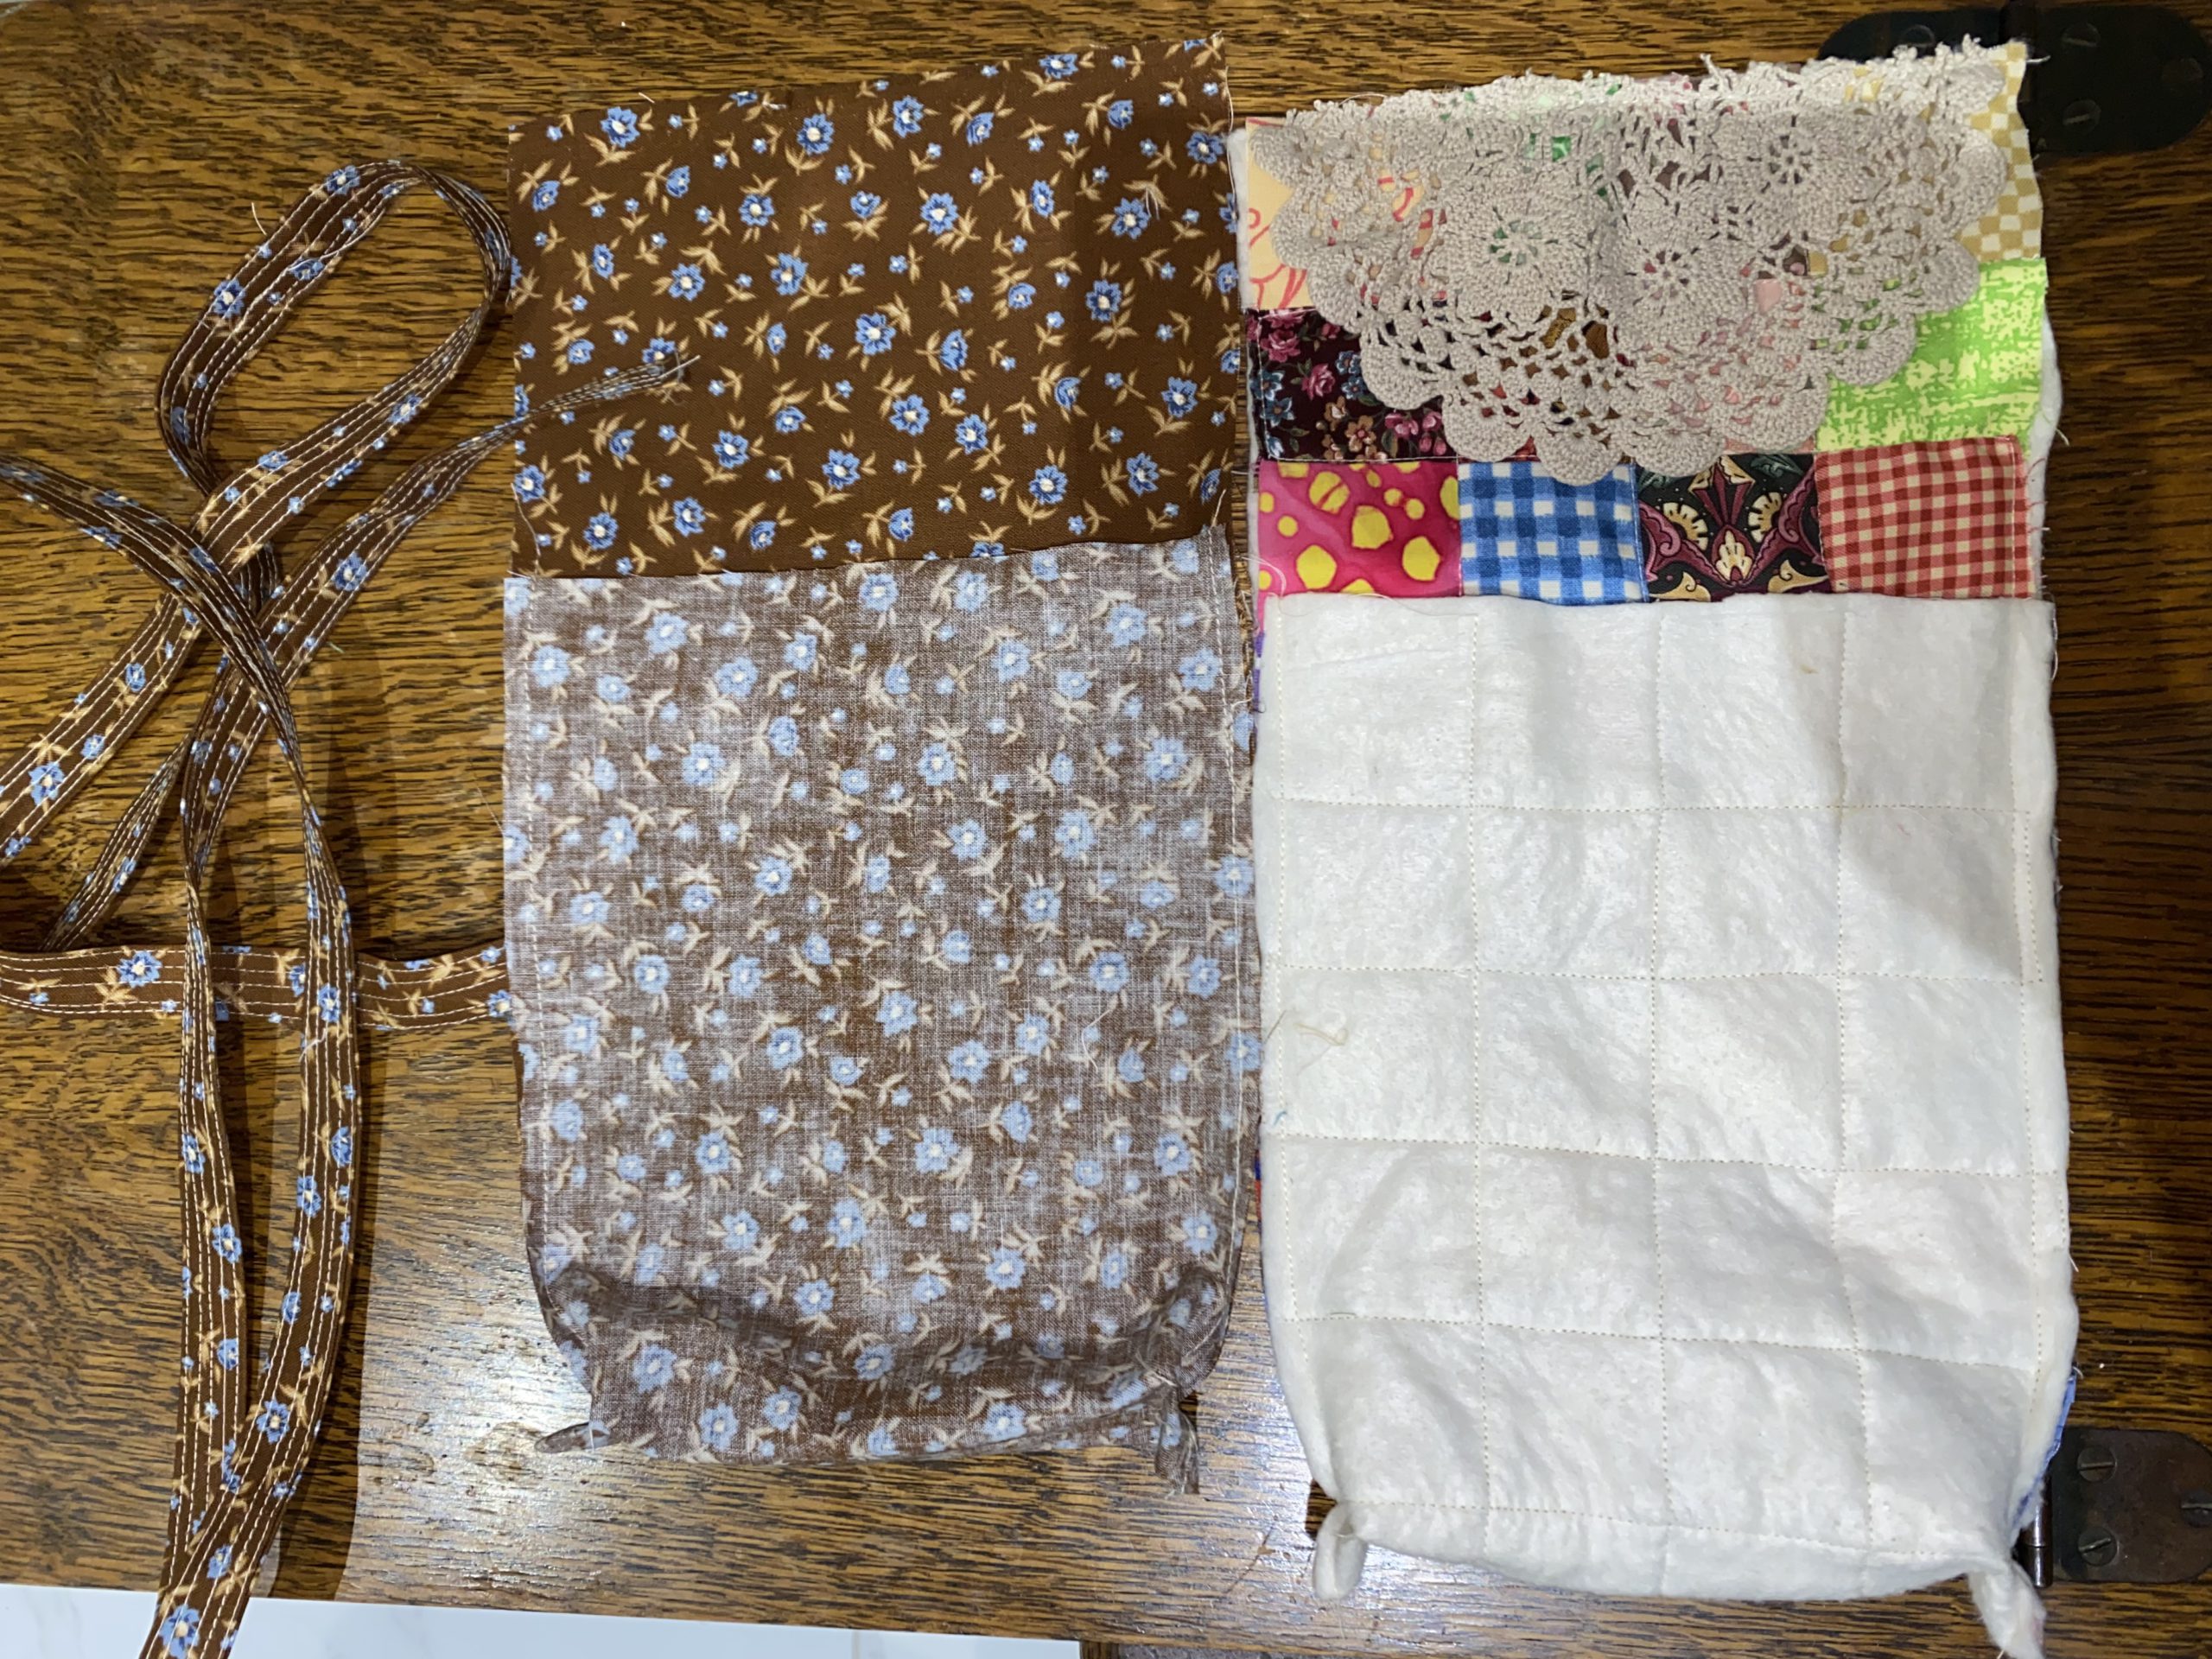
Make the strap.
Put the two strap pieces right side together so that two short ends meet. Sew together along the short side to make one long piece.
Turn in the two long sides of the strap to the centre, right side showing. Then fold the whole in half lengthways so that the folds meet as exactly as possible. Pin along the whole the length. Sew down each side close to the edges. Then sew another stitching line right down the centre. Sew another stitching line each side of the centre line and equidistant to the side seams. This will make the strap more sturdy, prevent rolling and it just looks more professional.
Scrappy Pocket Bag
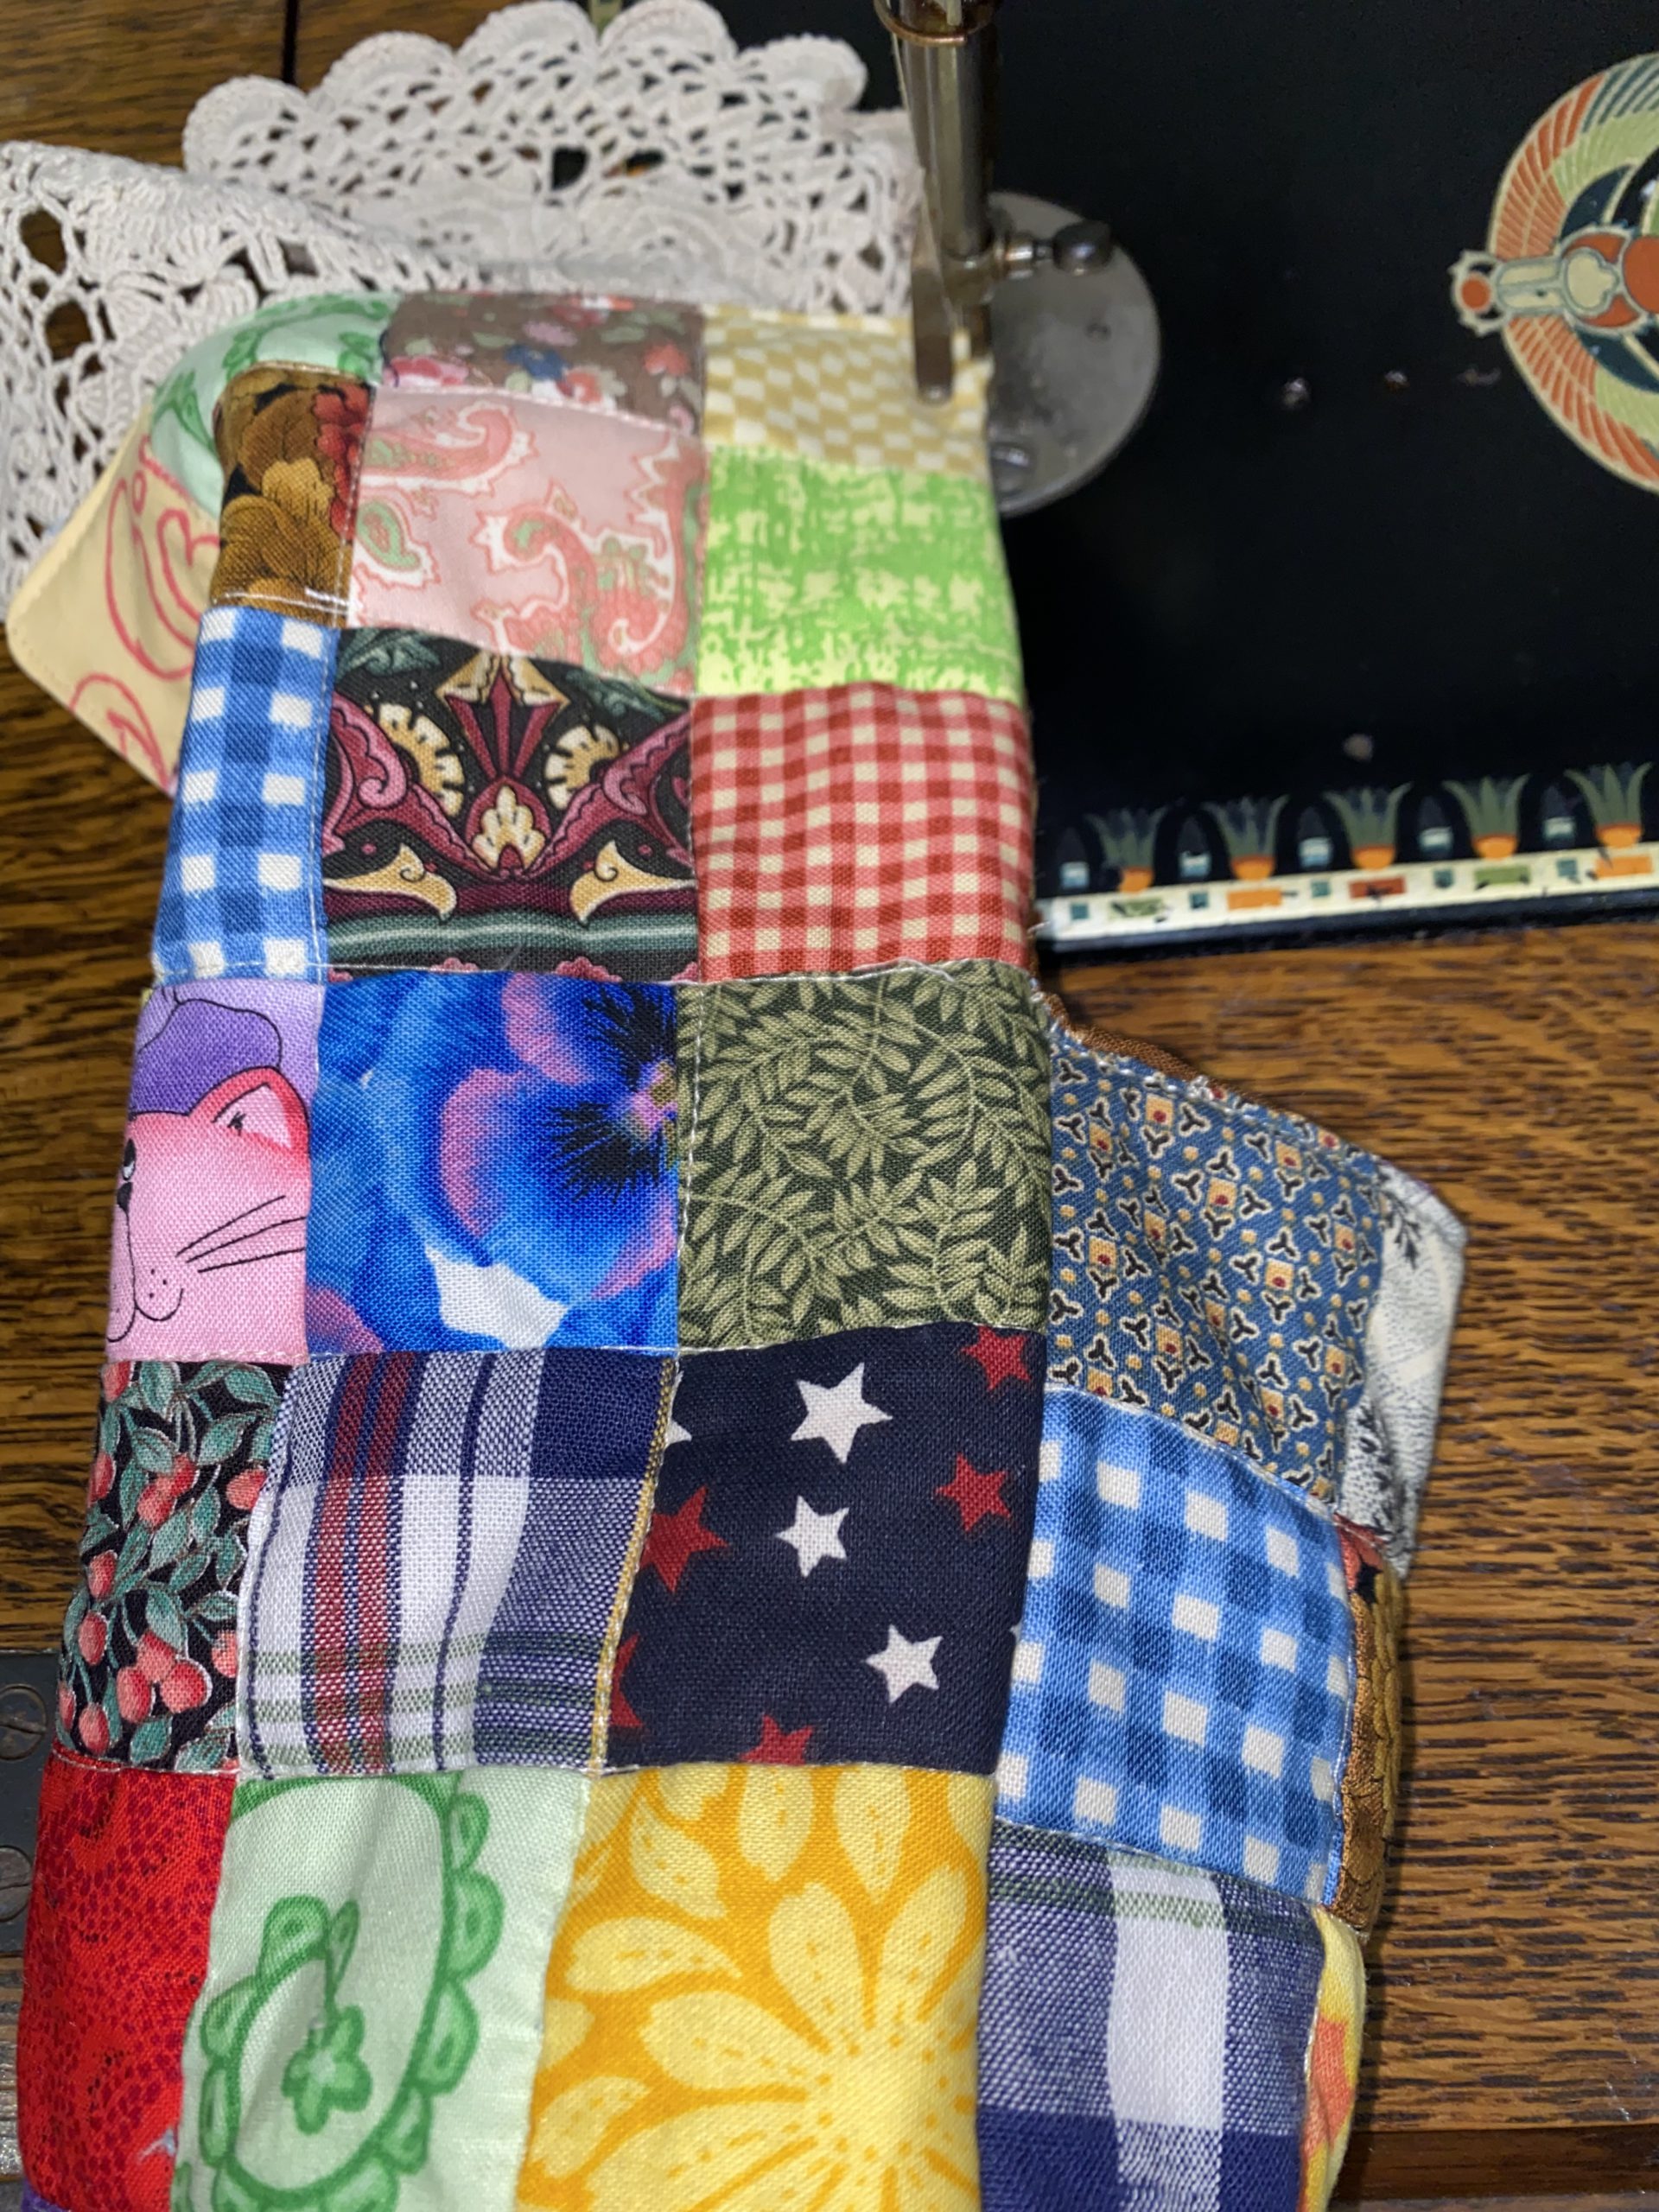
Make the bag outer.
With right sides together, turn up one end towards the top leaving it three squares from the top for the flap. Sew down each side. Open the corners of the base to 45 degrees and sew across each corner 1” from the corner to square up the base.
Scrappy Pocket Bag
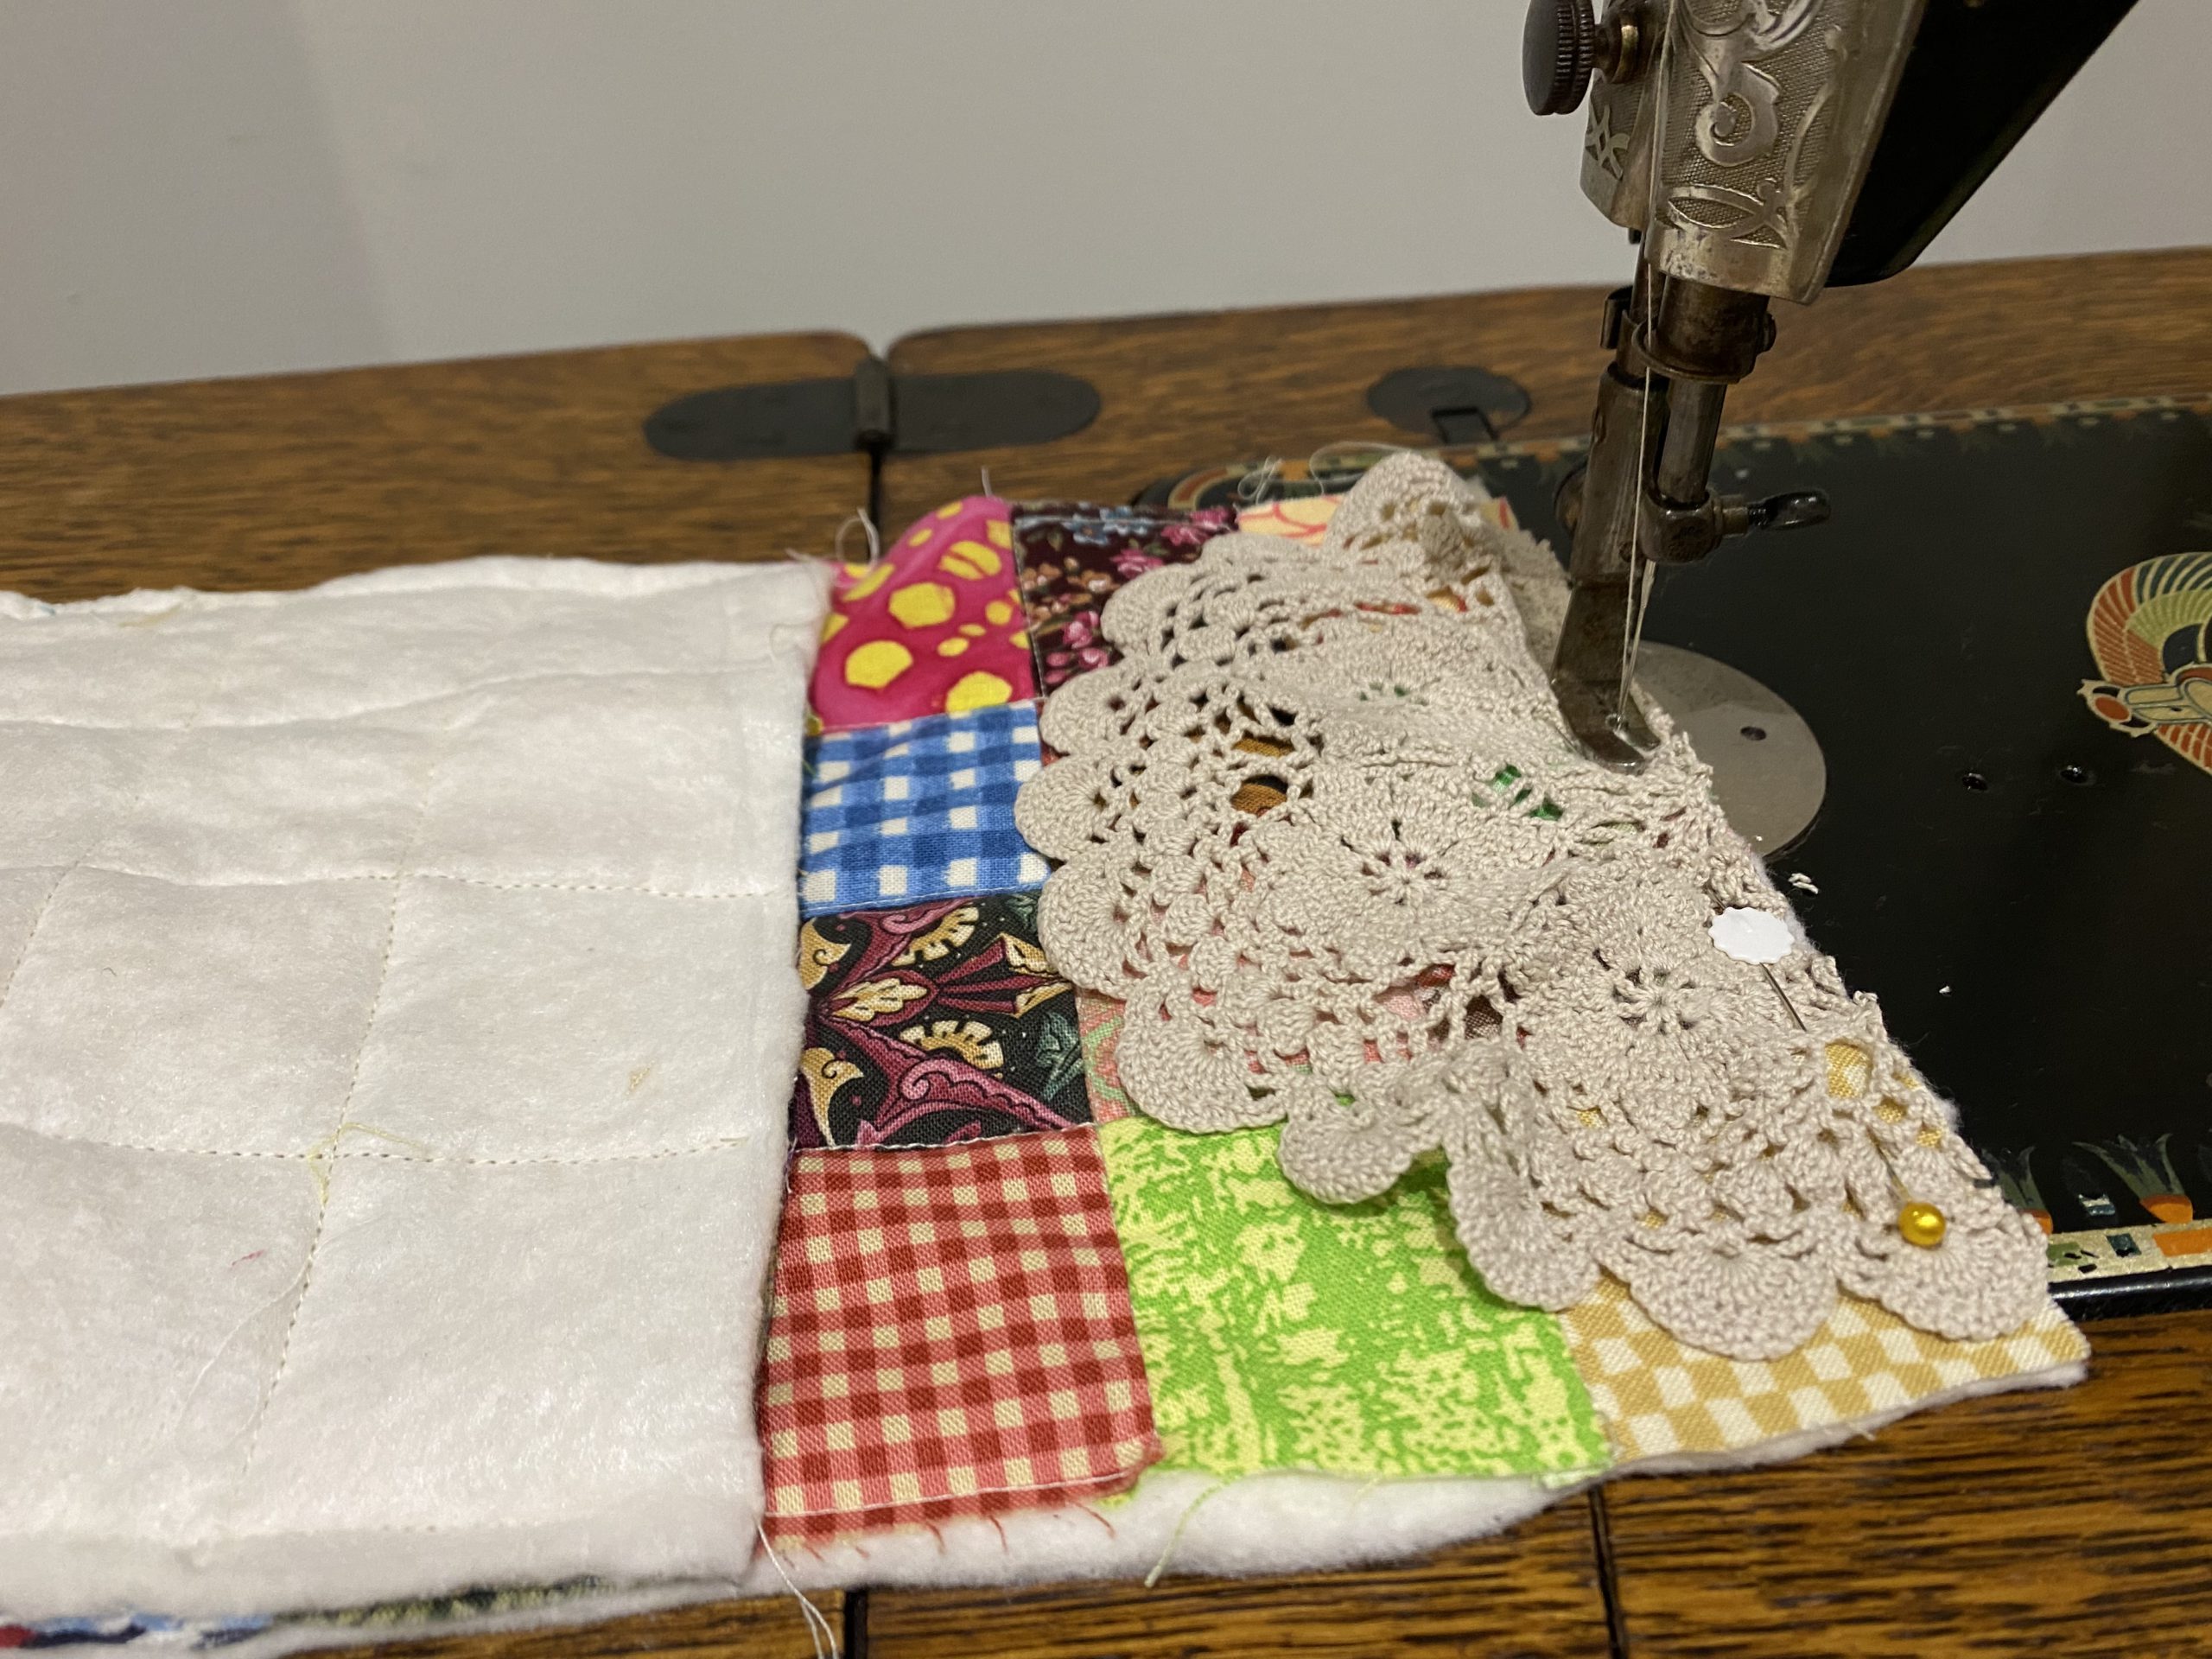
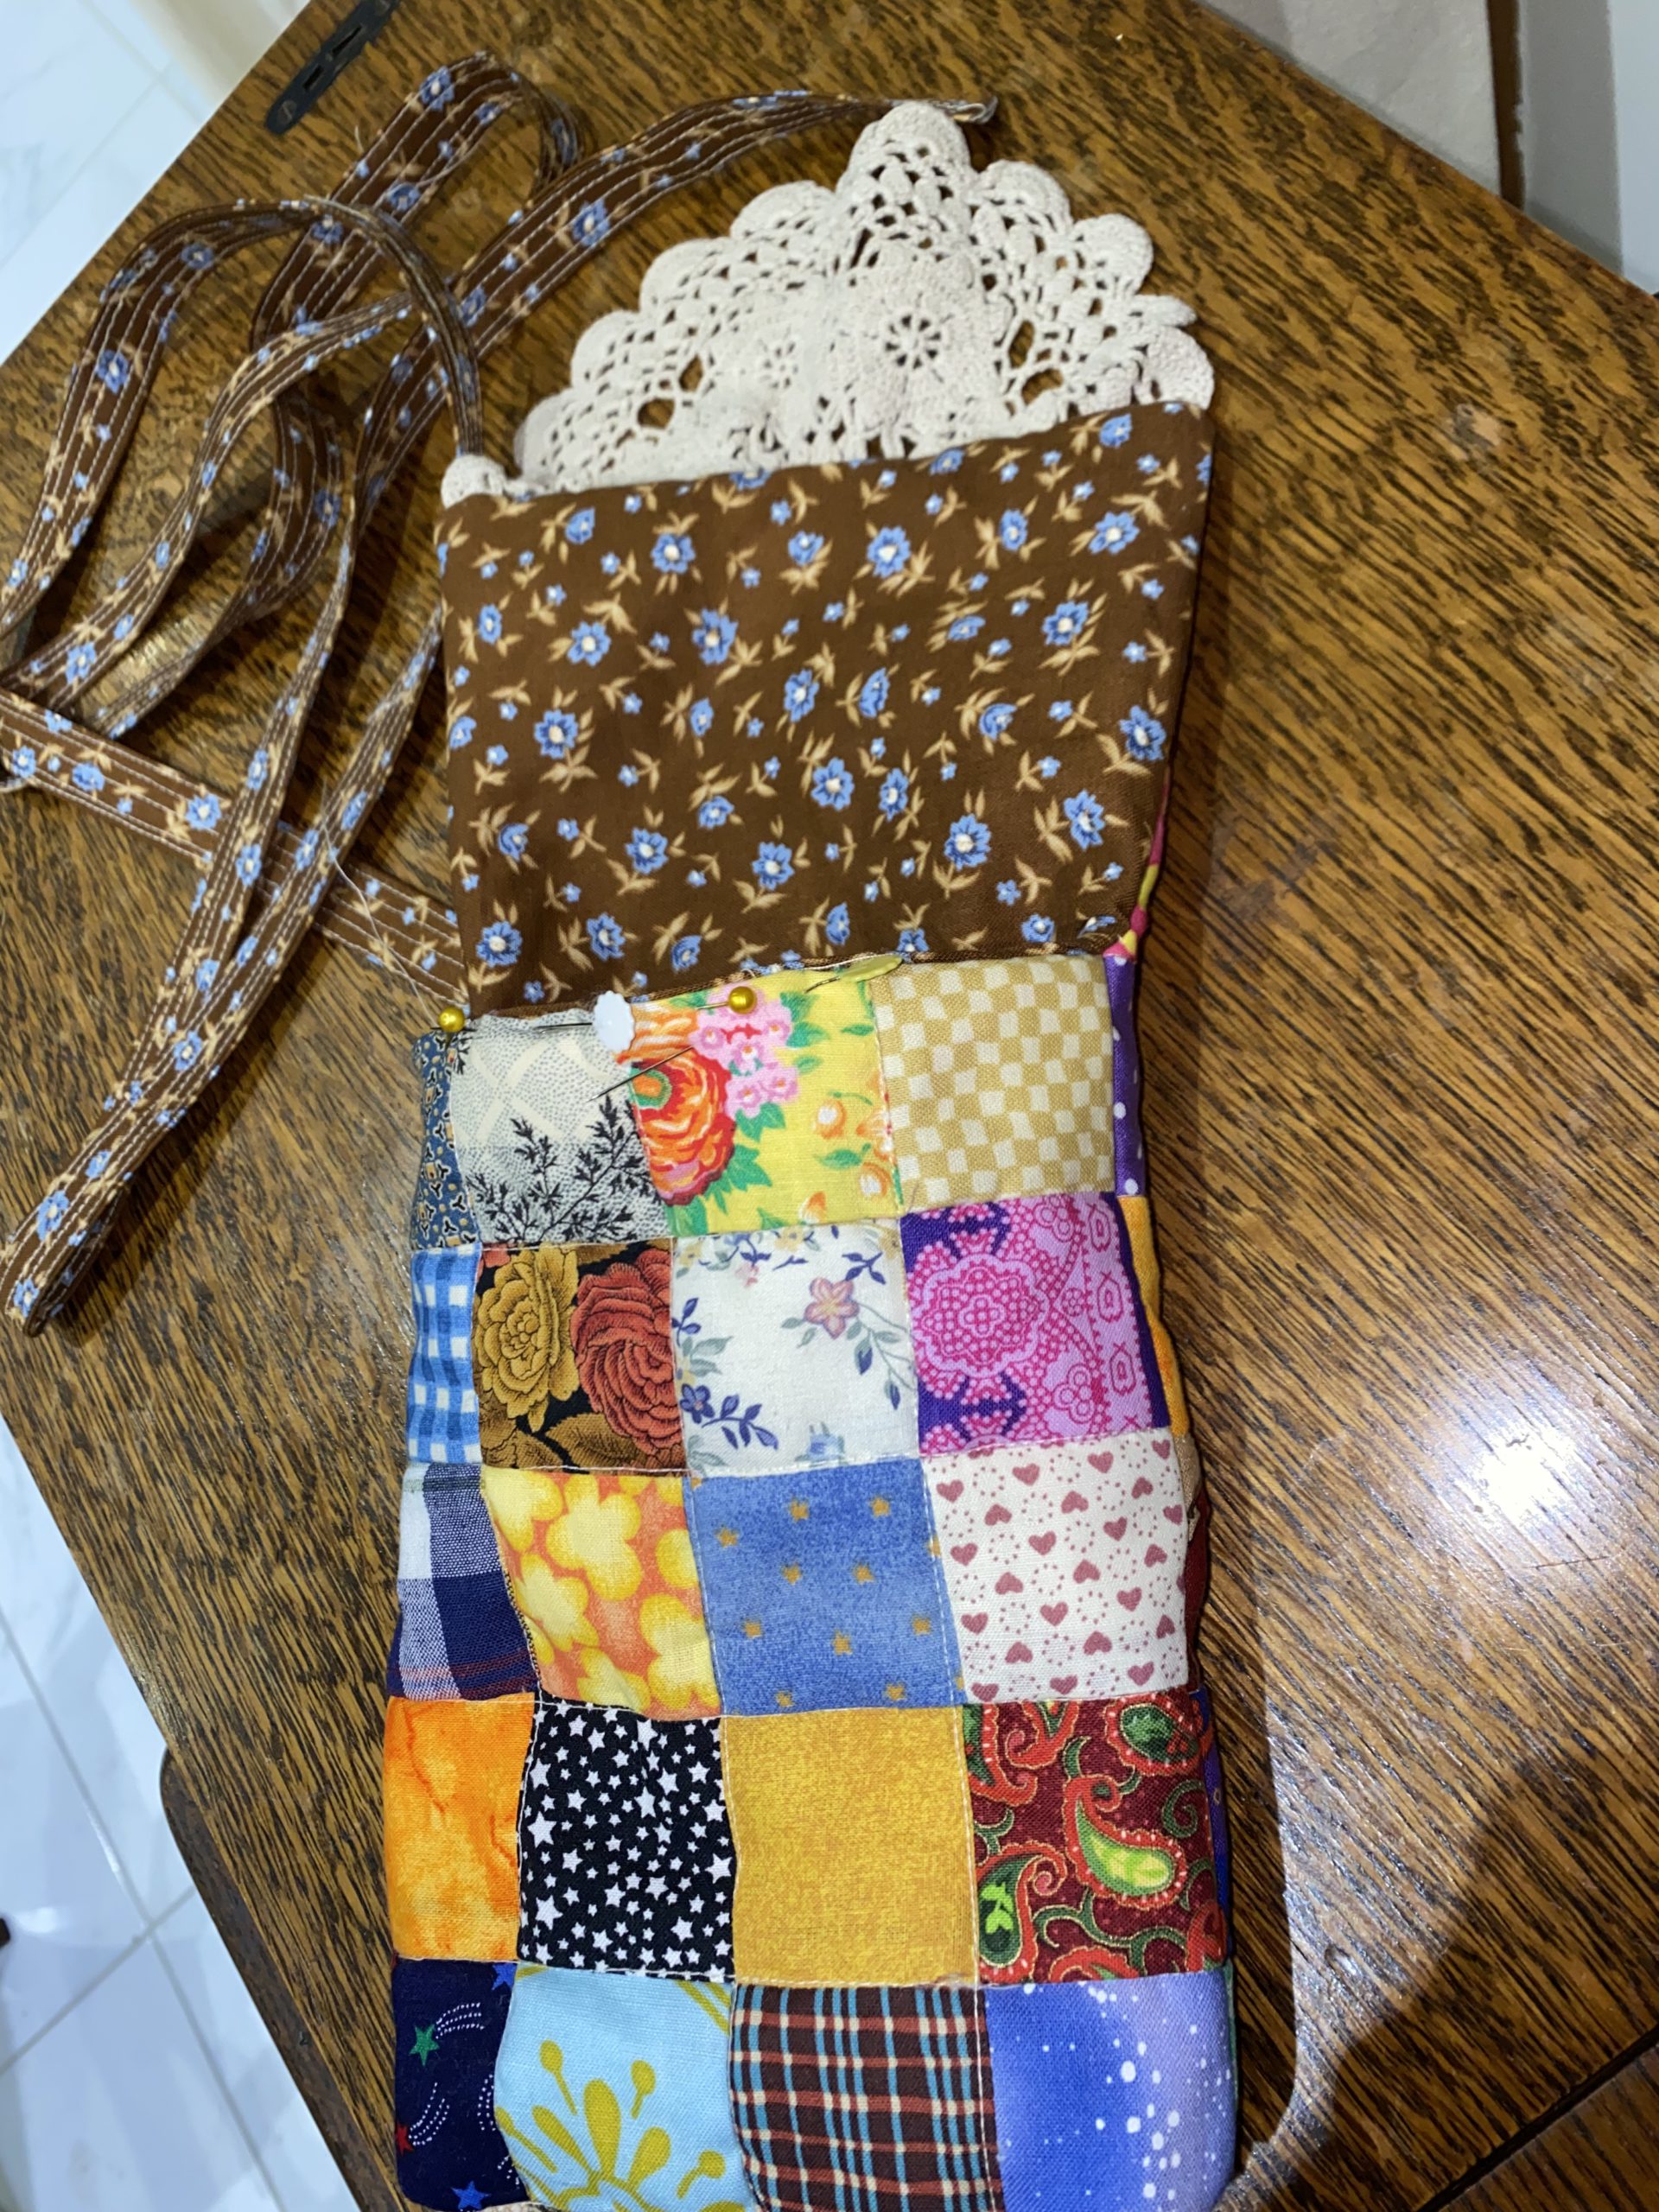
Lay the half circle of doily onto the end of the flap right sides together, so that the straight edges are aligned.Stitch across to secure.
Scrappy Pocket Bag
Make the lining.
Turn up the lining piece from the long end, right sides together and so that it is 4 1/2” from the top. NB, check to make sure your pocket opening is there at the top. Stitch down each side as with the bag outer. Open the base as with the bag outer and stitch across the corners to make the base.
Scrappy Pocket Bag
Turn the lining piece to the right side. Insert it into the bag body so that right sides are together, side seams are aligned, and the bag flaps are together. The doily should be hidden between the two flaps. Leaving an opening to turn, stitch around the flap and the bag front.
Scrappy Pocket bag
Finish the bag.
Turn the whole to the right side and push the lining into the bag.
Scrappy Pocket Bag
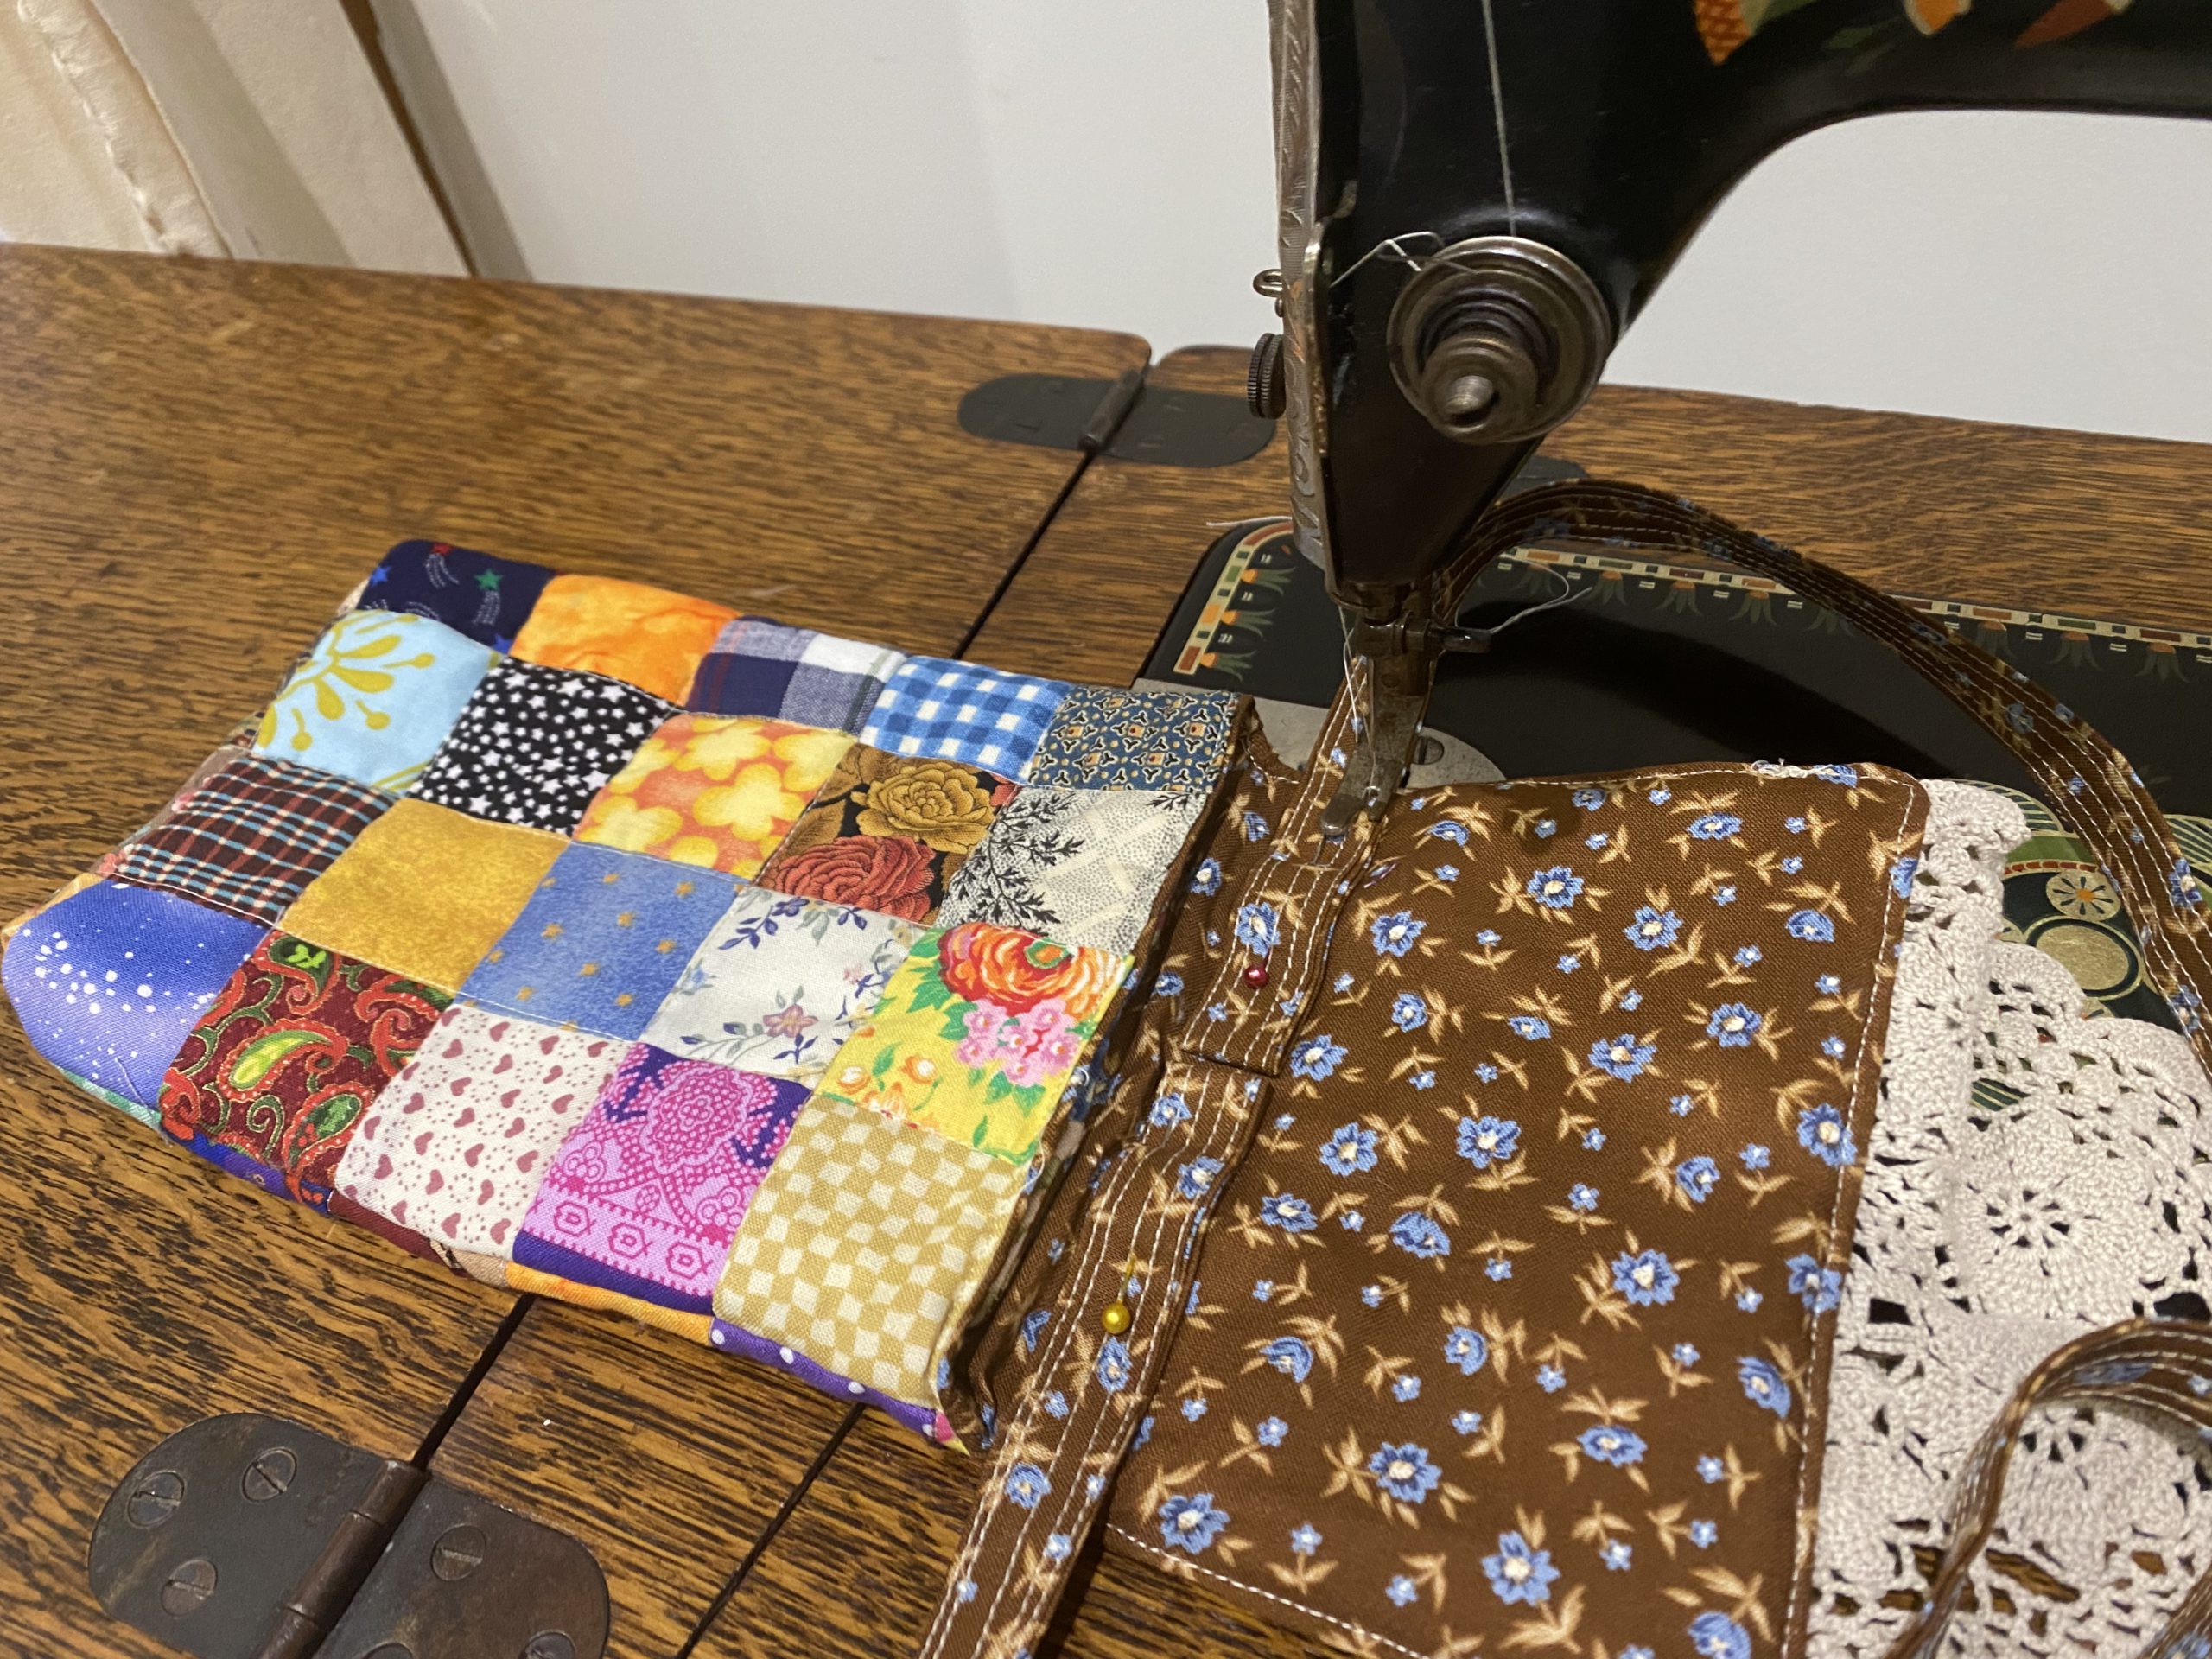
Turn in the front seam 1/4” on each side amd top Stich across and all the way around the flap.
Scrappy Pocket Bag
Add the strap.
Turn over the ends of the strap approximately 3” at each end. place the turned edges right side down, on the lining side, at the base of the flap and adjacent to the top opening of the bag. At this stage ensure that the strap is not twisted. Pin in place. Slowly stitch around the edges where it sits on the flap, like a long rectangle. This is a bit thick but it will sit firmly.
Scrappy Pocket Bag
Make the loop if necessary to adjust length (optional)
Put the bag on. I wear mine on the right. If you want to wear it on the left then do the reverse.
Bring the strap together into a small loop at one side of the bag edge. Make sure that the loop will be on the inside of the strap. Make the loop so that the bag is a comfortable length for you. Stitch across the loop. It should sit inside the bag and you can use it for keys.
Hand stitch the two buttons to the centre of the doily to give a bit of weight to the flap.
Use your pocket bag. 😀
Scrappy Pocket Bag
Thank you for joining me in this useful project. I would love to wish you all a Happy Mother’s Day or Mothering Day ( because we are all Mothering in our own way….