
Free Motion Quilting – Part 2 – Sewing Set Up
In the previous post I talked about having a machine for free motion quilting and how I went about it.
Free Motion Quilting Part 1 – The Machine
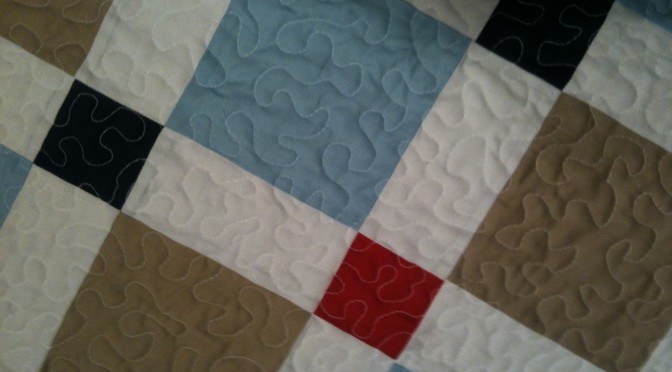
Just about any machine can be set up for free motion quilting. Having said that, making the decision to free motion quilt can be intimidating. Having spent a lot of time money and energy in piecing a quilt top it can be a hard decision about how to quilt it and who should quilt it. If you have never free motion quilted before, choose a simple project. It’s probably not wise to start with a queen size quilt for example. Choose a baby quilt or small table runner or even wall hanging or doll quilt.
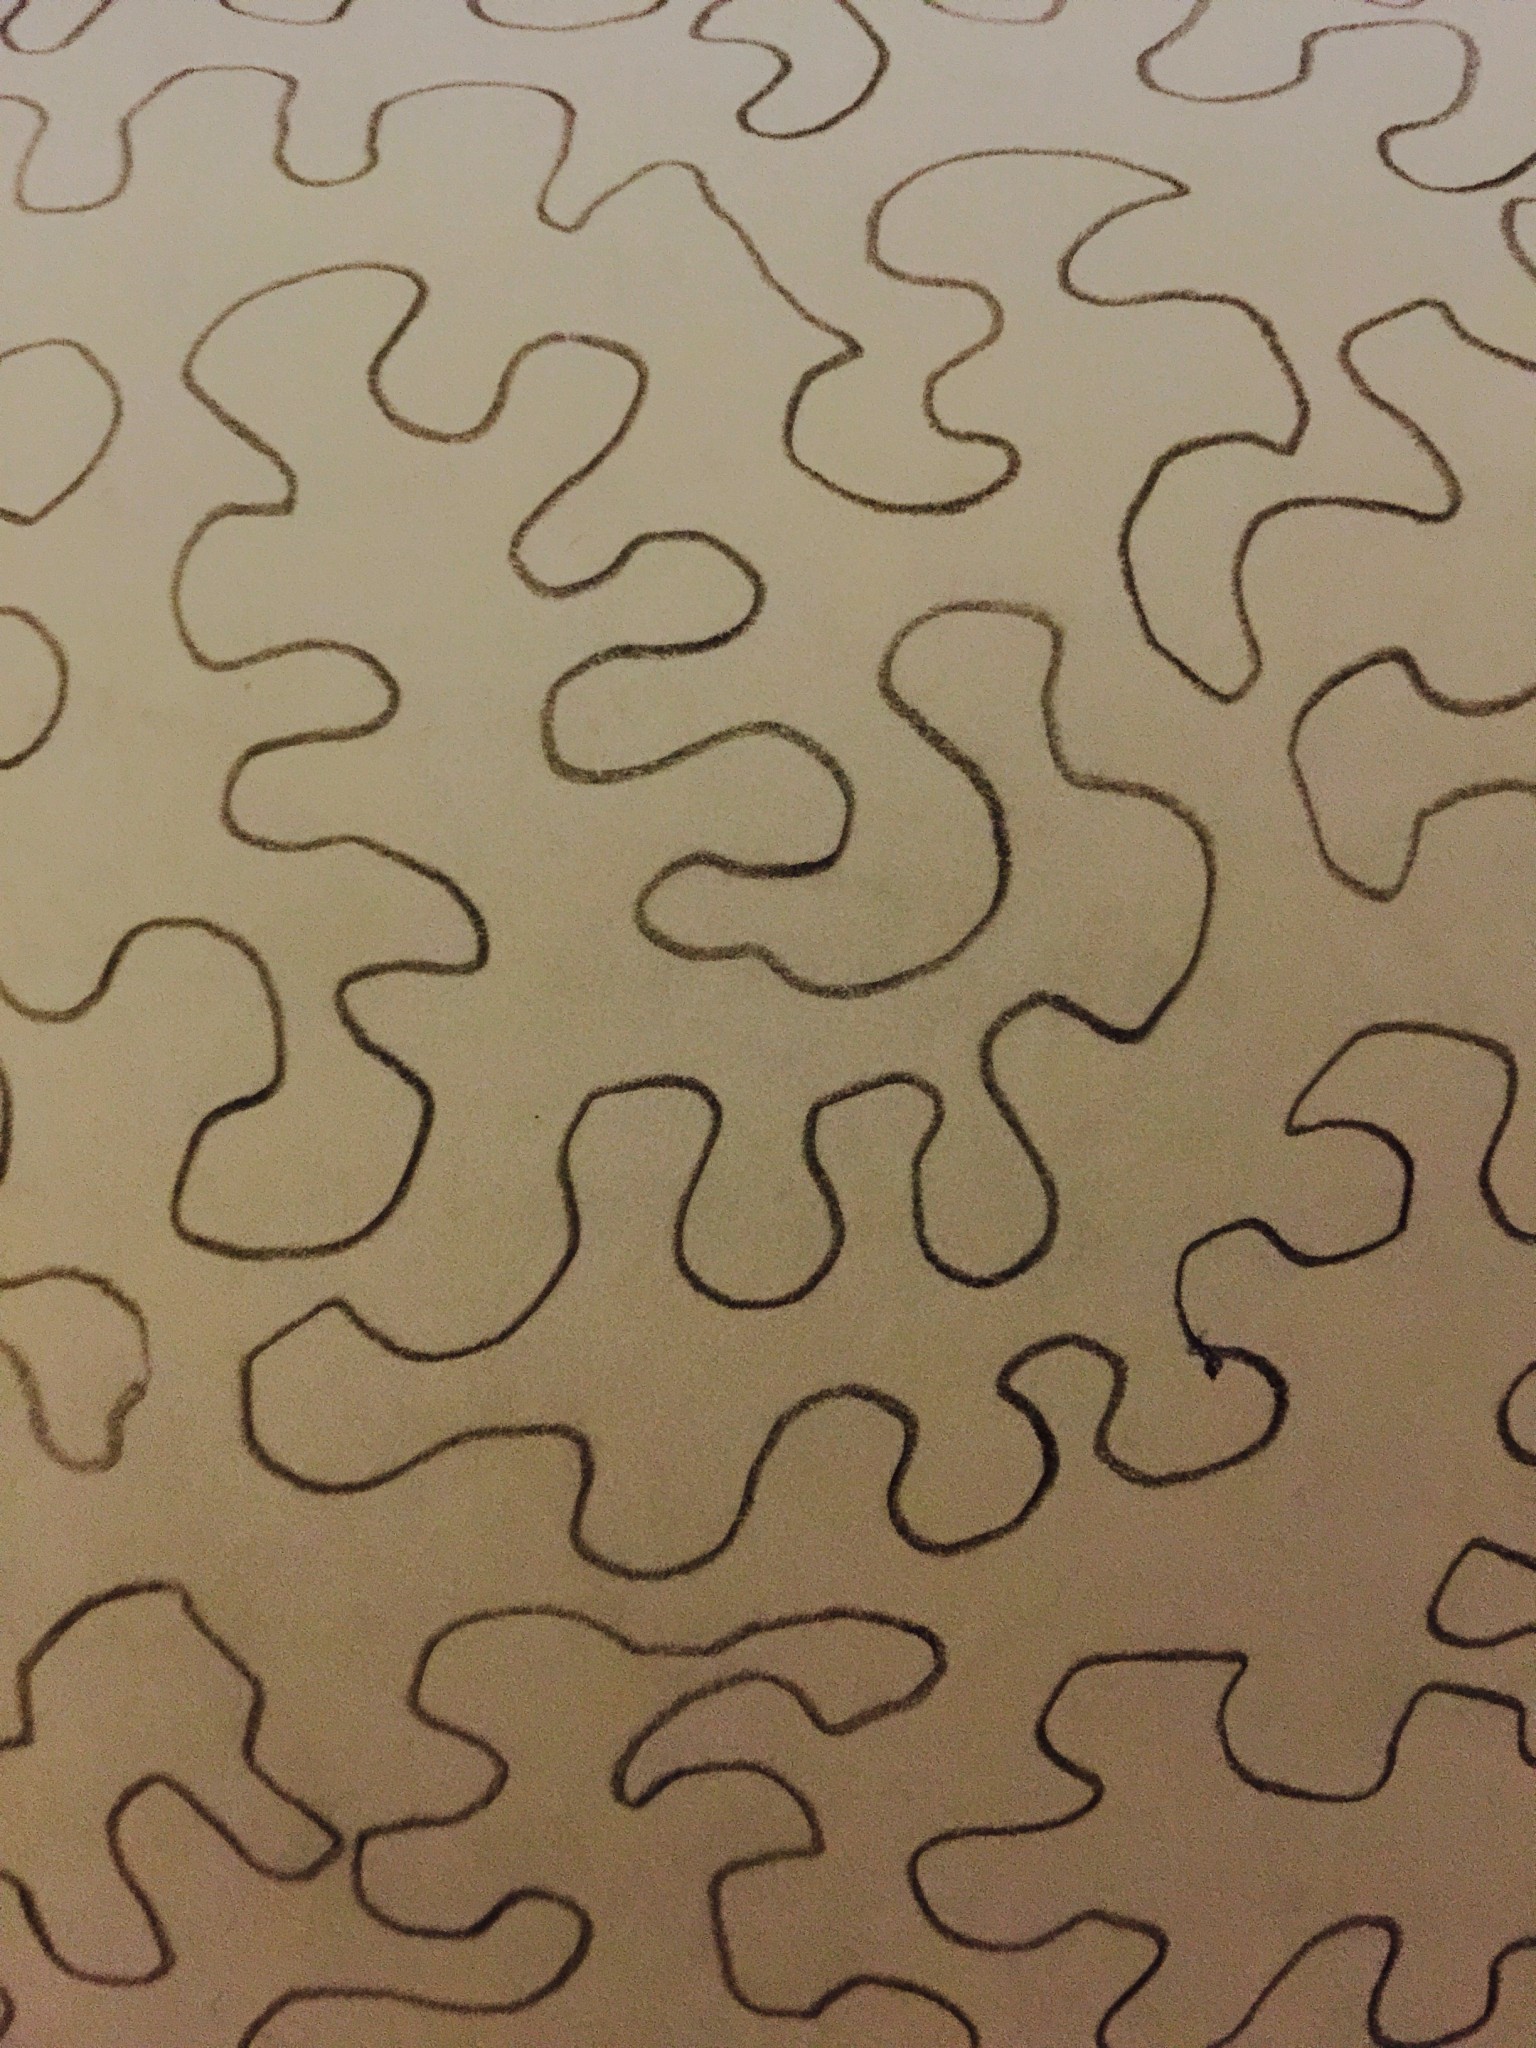
Before you begin to free motion quilt I would highly recommend taking a pencil and paper and doing some doodling. This may seem obvious or too simple, but I think its very valuable. Free motion quilting is a continuous line drawing. That needs to be prepared in your mind and with your hands before you try it on a quilt. Once you begin doing it on paper, it will become more obvious about how to move around, how much space the design needs and how to work around in a space and move to new spaces in the quilt. Begin with simple stippling, and it doesn’t have to be small, try a larger design, medium and small, to get the feel of it.
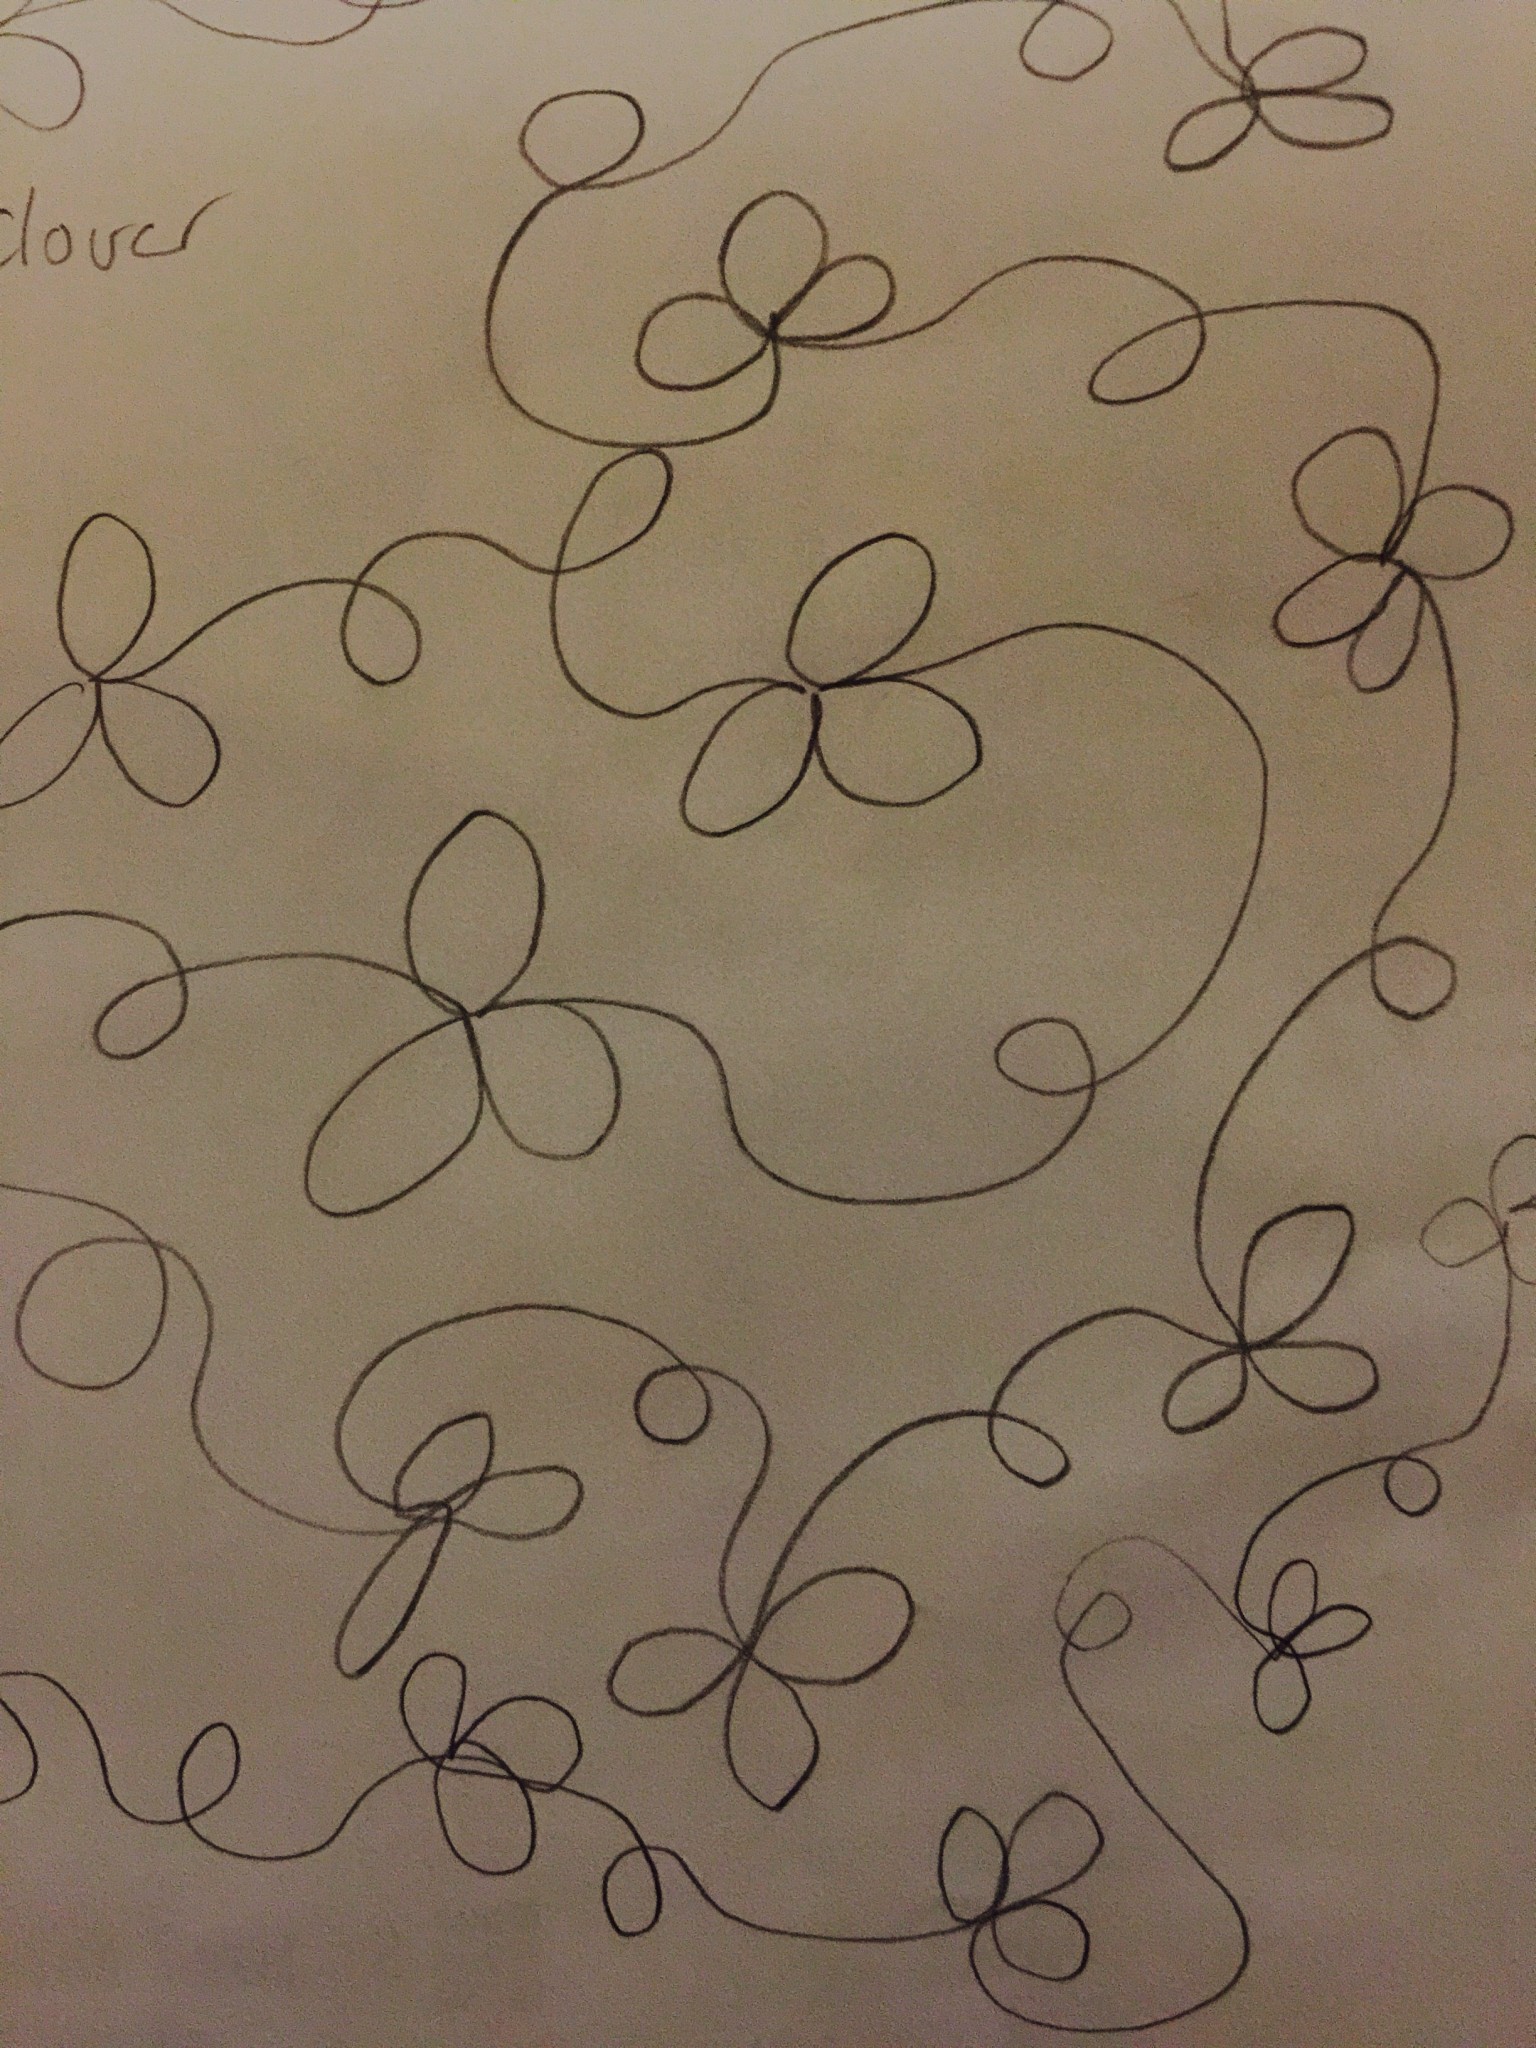
You can see from this drawing it’s not perfect but the main thing with stippling is to keep a continuous line and not cross the line. The stippling design is very easy to fill spaces. Because of its simplicity it’s a good beginners leaning style. Try some other continuous line designs, thinking of how it would work on a quilt.
When you are ready to try it out the machine needs to be set up.
This is how I do it.
Drop the feed dogs, check your machine manual to see how to do it for your machine. Note well, with some vintage machines it may not be necessary to drop the feed dogs. You may need to experiment.
Ensure the machine is clean, oiled and has a new needle.
Change the presser foot to a quilting / darning foot, preferably with an open foot so that you can easily see your work.
Stitch length set to zero.
if you have flatbed machine that’s great, if not adding one of the slippery sheets for quilting to your machine bed will help.
Choose your thread wisely. It’s a good idea in the beginning to choose a colour which blends in until you become more proficient. Have the same thread in the bobbin as the spool.
Ensure your bobbin is full and it is the correct bobbin for the machine.
Recently I’ve enjoyed using a Rasant thread, cotton coated polyester thread 50 wt.
Wear gloves, the stretch gardening type.
Once you have all of these changes in place you are ready to start.
Take a test piece to the machine. I find using two 10″ layer cake squares or some unused quilt blocks with batting in between are good tester pieces. They can be turned into Little Kitchen Quiltlets afterwards, so they won’t be wasted.

Now click to the next link for more tips on assembling the Quilt Sandwich
Free Motion Quilting – Part 3- The Sandwich
If you enjoyed this post you may also like…
Or this post
Free Motion Egg Flower Quilting
Happy quilting!
Susie