Hexagons Charming Free and Easy
Or should I say more correctly, the gentle art of English Paper Piecing with Hexagons.
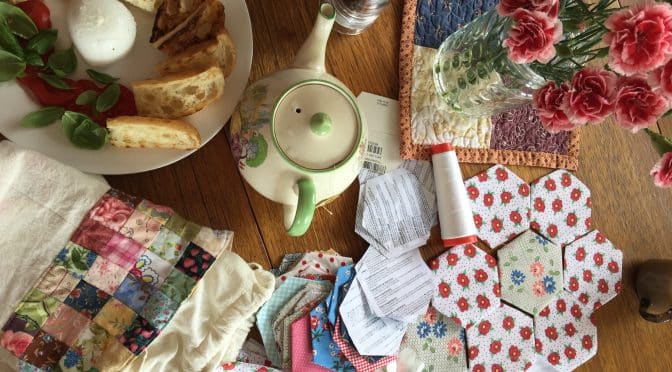
What a lovely relaxing Saturday afternoon. A light lunch of Buffalo Mozzarella and Turkish bread with some hand stitching. In as much as I do love patch work and quilting by machine ( especially treadle as you know), hand stitching is rather special because it can be done in the company of others. It’s a beautiful way to make memories in your mind. The quilt will have special memories of where you were and the company one was in.
Having a slow stitching project is excellent for times when you are away from home or not near a sewing machine….
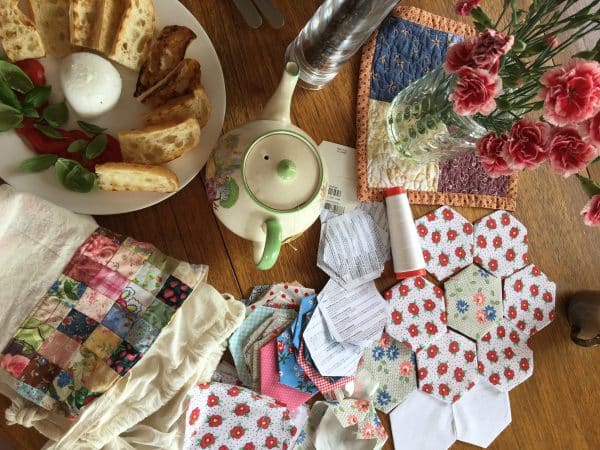
Here is my previous slow stitching project….
This is another in a different style…..
Hand Pieced Spool Blocks with Instructions
I started this project because I wanted to make a Grandmothers Flower Garden, reminiscent of the 1930s. My rationale was to make big flowers in the naive and charming style of that time. It’s such a happy design! I decided to make big hexagons. They are 2″. The size of the sides is the measure of the hexagon.
I also wanted to make it in the old fashioned method and make my own papers. That’s why I say it’s free because there is no need to buy papers.
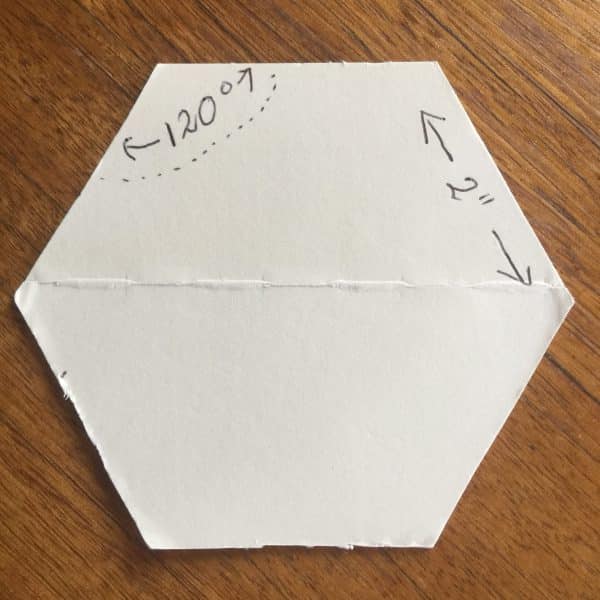
I did this by first making my Hexagon Templet. I made it from sturdy cardboard. You could also use stiff plastic, maybe recycled from an empty container.
Here is my Hexagon Templet. Each angle must be 120 degrees and each side must be exactly 2″.
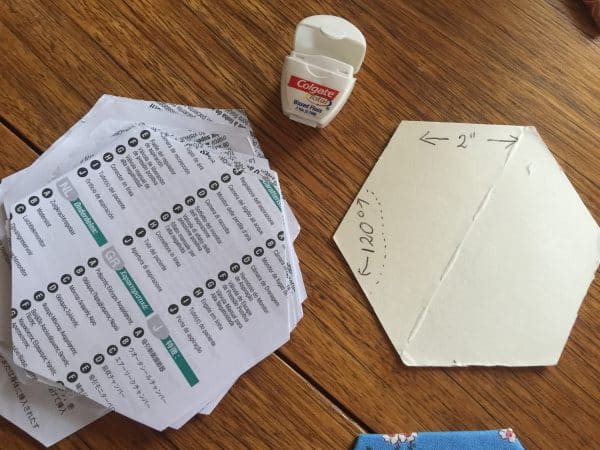
Then I used some sturdy leaflets to make the papers. I used the Templet to cut them out. Actually it’s amazing how quickly they start to stack up. Here’s some of my papers from leaflets. I keep a dental floss container with them as a thread cutter in case I am flying.
Once I had plenty to make a start, then I needed to cut the fabric.
For quite a while I collected fabrics which are reminiscent of the 1930s Art Deco Style. That is, fabrics which most often have a white background and/ or a limited colour palette, like the many beautiful Feed Sack fabrics. A design might have maybe one, two or three colours with white like these.
https://www.mequiltshoppe.com/history-of-the-1930s-feedsack-fabric.htm
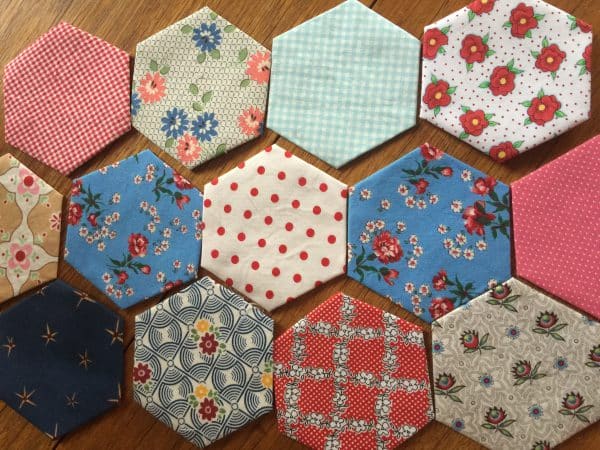
Rightly or wrongly, I didn’t want to spend hours cutting the fabric, so I cut my fabric into 5″ Width Of Fabric strips and then sub cut them into 5″ x 5” units.
I used a wide running stitch, to secure the fabric around the paper. I did not sew through the papers as I want to be able to easily remove them.
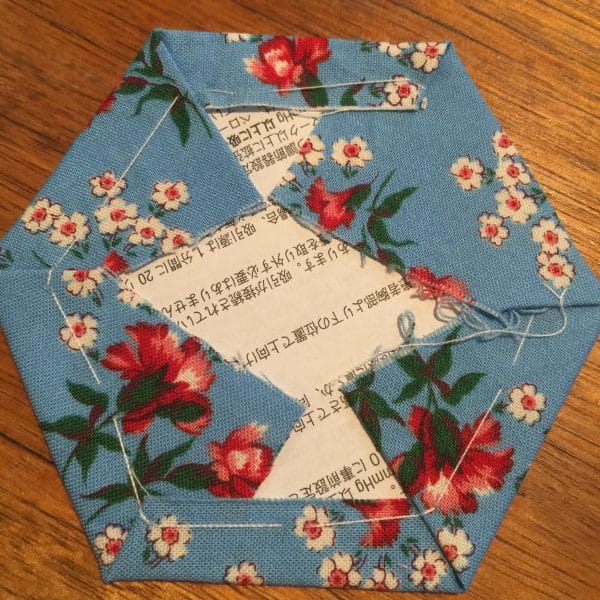
The excess fabric can easily be cut away later if desired, once they have laid flat for a while……Days…Months…?? I am going to leave them as they are.
This project will grow quickly as the hexies are large.
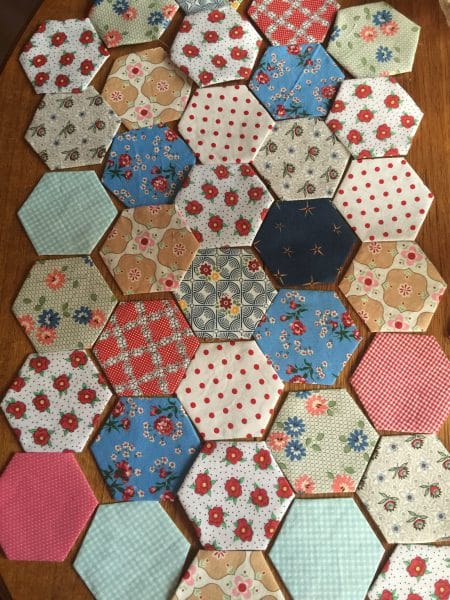
Now of course they need to be stitched together!
I used a very small whip stitch to sew the hexagons together. Periodically I would take a locking stitch to stop it coming undone. And especially at the corners.
I sewed 6 matching hexagons around a different patterned centre.
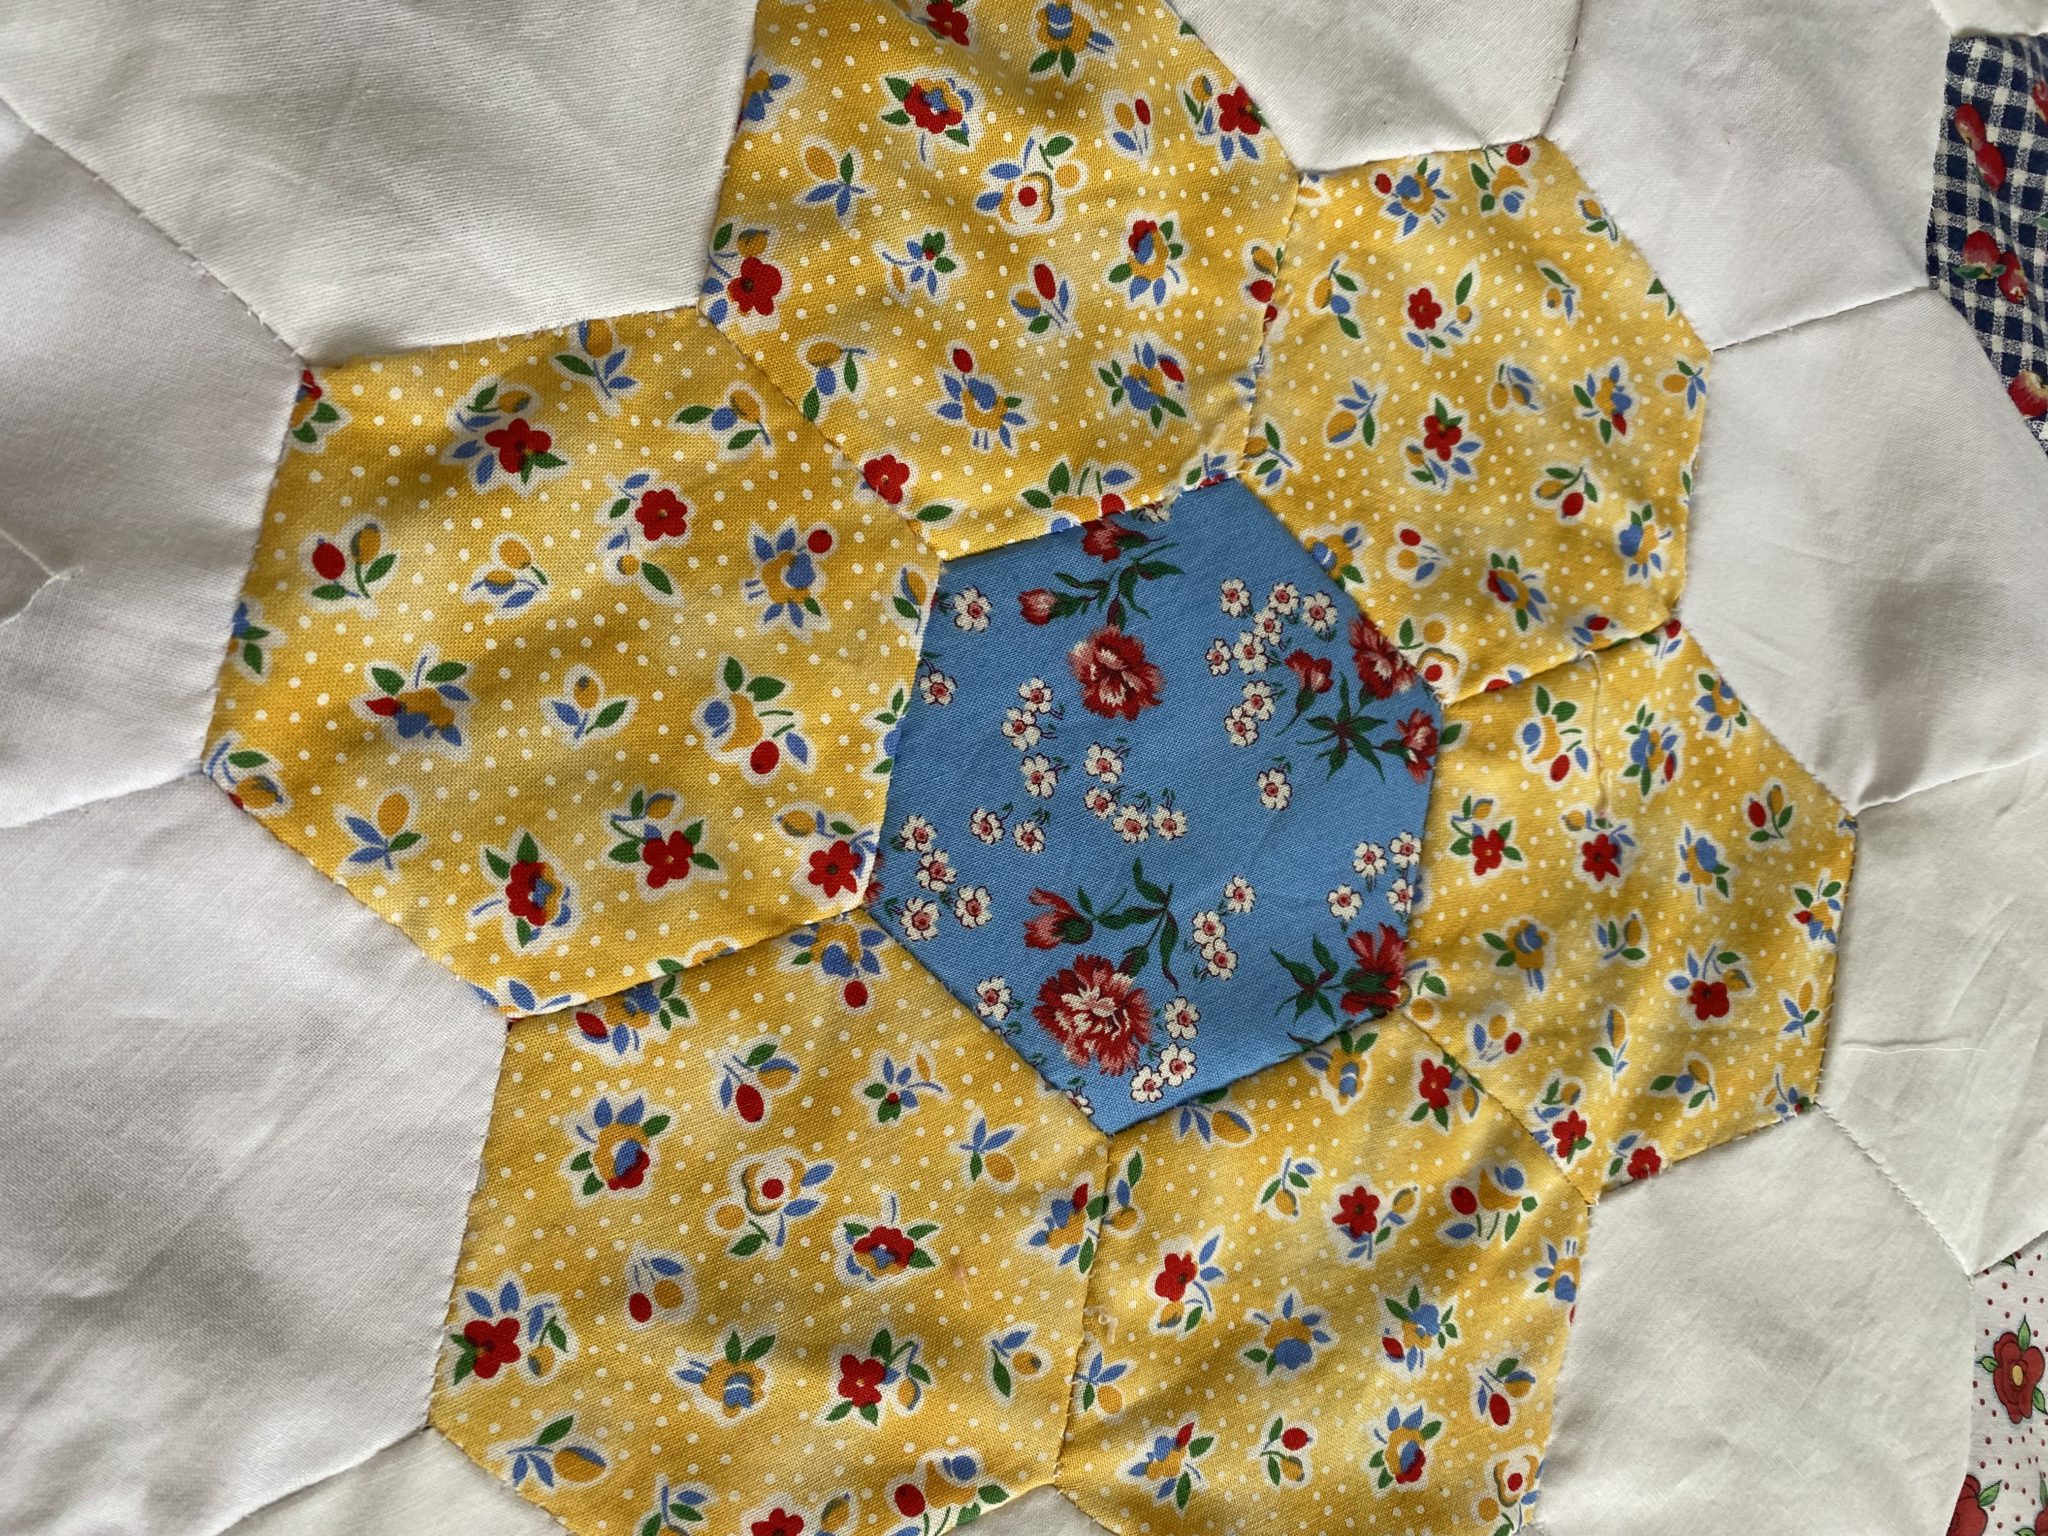
If you enjoyed this post you may want to see the continuation of this quilt here.
Happy stitching.
Susie

I just love hexes and yes are looking great….I want to make bigger ones to…I have a Grandmother’s flower quilt that my mom and I worked on….I love it so warm…plus it’s made of polyester!! Fun! No waste and I’m so frugal too…loving yr method too…I need to make me one too…
Why oh why do you have to use papers? Do you take the papers out at the end? What is the purpose of the papers? Maybe you can email me with an answer.
I want to make my granddaughter a Grandmother’s Garden quilt.
Dear Brenda,
What an excellent question. You do not have to use papers. If your hexagons are cut accurately and your seam allowance is consistent, there is no need to use papers. Enjoy making your Grandmothers Garden Quilt.