Hello Dear Friends and Readers and a warm welcome to today’s post.
I never ceased to be amazed at how the oddest old scraps can come together and create a thing of beauty. In a previous post Sixteen Across Quilt Block I put together 2 ½” scrap squares to make the block. The only decision ,was to decide whether a scrap was light or dark.
Today I am starting to put these together to make a larger block which I have named Rings Eternal Quilt Block.
Again, this is put together quite simply, however, I believe it yields a very nice result. I am using a selection of scraps of various blues and greys to make the background sashing strips. When it is complete, the ring is formed from the dark scraps through the diagonal of each block.
So let’s get to it.
Block size 18“ x 18“
Seams based on 1/4”
Requirements for one Rings Eternal Quilt Block
Four of the 16 across quilt blocks
Four 8 1/2“ x 2“ strips in various blues and greys for the sashings
One of 2“ x 2“ white on the white square for the centre
Rings Eternal Quilt Block susies-scraps.com
Making the Rings Eternal Quilt Block
Rings Eternal Quilt Block susies-scraps.com
Lay out the four Sixteen across Quilt Block in a square. The four blocks are placed so that the dark diagonal of the centre creates the shape of a ring.
Place the various blue and grey sashing pieces between the blocks. They should all be different pieces. Place the white square in the centre.
Stitch together like a nine patch. I have been making these blocks on my trusty Singer 201K treadle. Singer 201K Treadle C1947
Rings Eternal Quilt Block susies-scraps.com
Place a sashing strip,right side down onto the top right hand side of the first Sixteen Across Block. Continue chain piecing and place the white centre square right side down on the next sashing strip and sew down. Follow with the next Sixteen Across Quilt block and place a sashing strip right side down and sew the seam.
Rings Eternal Quilt Block susies-scraps.com
Next row. Sew the next Sixteen Across Quilt Block to the sashing strip. Then sew the end of the next sashing strip to the white centre square.
Follow with the next Sixteeen Across Quilt Block. The diagonal of each block rotates around the centre square to form the ring.
Rings Eternal Quilt Block susies-scraps.com
Turn the whole Rings Eternal Quilt Block. Pin the remaining seams. Ensure that all the seam allowances are sitting correctly. Sew down each side of the centre sashings.
Press the Rings Eternal Quilt Block.
Here is the finished block. It is a nice big block.
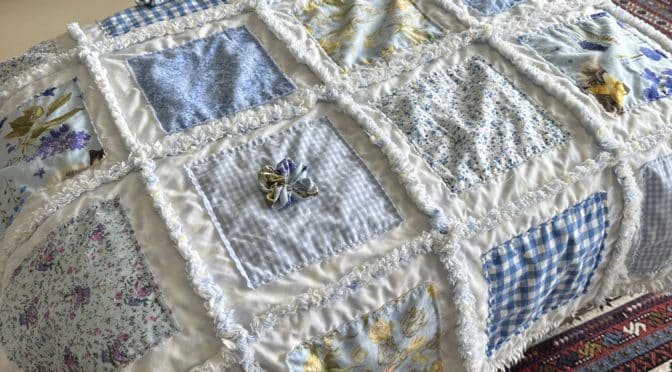
Hello Dear Friends and Readers. In as much as it is so lovely to make complex quilt projects, sometimes it really is such a delight to make something quick and simple and yet still quite gorgeous I think. And…. lets face it, quilts are meant to be utilitarian, so what could be more so than a rag quilt. Often I have seen people on line complain that their quilt they gave was not appreciated. I think it is good to understand that not everyone has that appreciation and sometimes a smaller time investment may indeed be better for both parties.
I have made some rag quilts in the past which have been well used and are still performing well today and have been extraordinarily useful. So when I was recently blessed by chance, by two of my friends Ellie and Wendy who gifted me with some flannellete, I just knew it was time to make another. I have also been inspired particularly by a gal in the Rag Quilting Group who posted a quilt which was made with recycled sheets. To me that epitomises what a rag quilt can be. Being made with recycled fabric makes it a true rag quilt and to be fair, they do require quite a bit of fabric. I just happened to have a set of queen sheets which I could no longer use and I had planned to make them into a crochet floor rug like this Crochet Floor Rugs – Updated
However when I saw what that lady had done, I was inspired to use the sheets for a quilt.
I know what you are thinking – but it is difficult to cut all the ragging! Well I have to say doing it with recycled sheets that were sooooo soft, it was easy. Plus I have developed this idea which helps too. Best not to cut it all at once Clip As You Go Technique
The flannelette has blue and yellow flowers and that is why I chose blue squares for the decorative part of the blocks. a little bit of blue will peek through with the ragging.
Why I called it a shadow quilt? The patterned flannelette can been seen a little through the white sheet from either side.
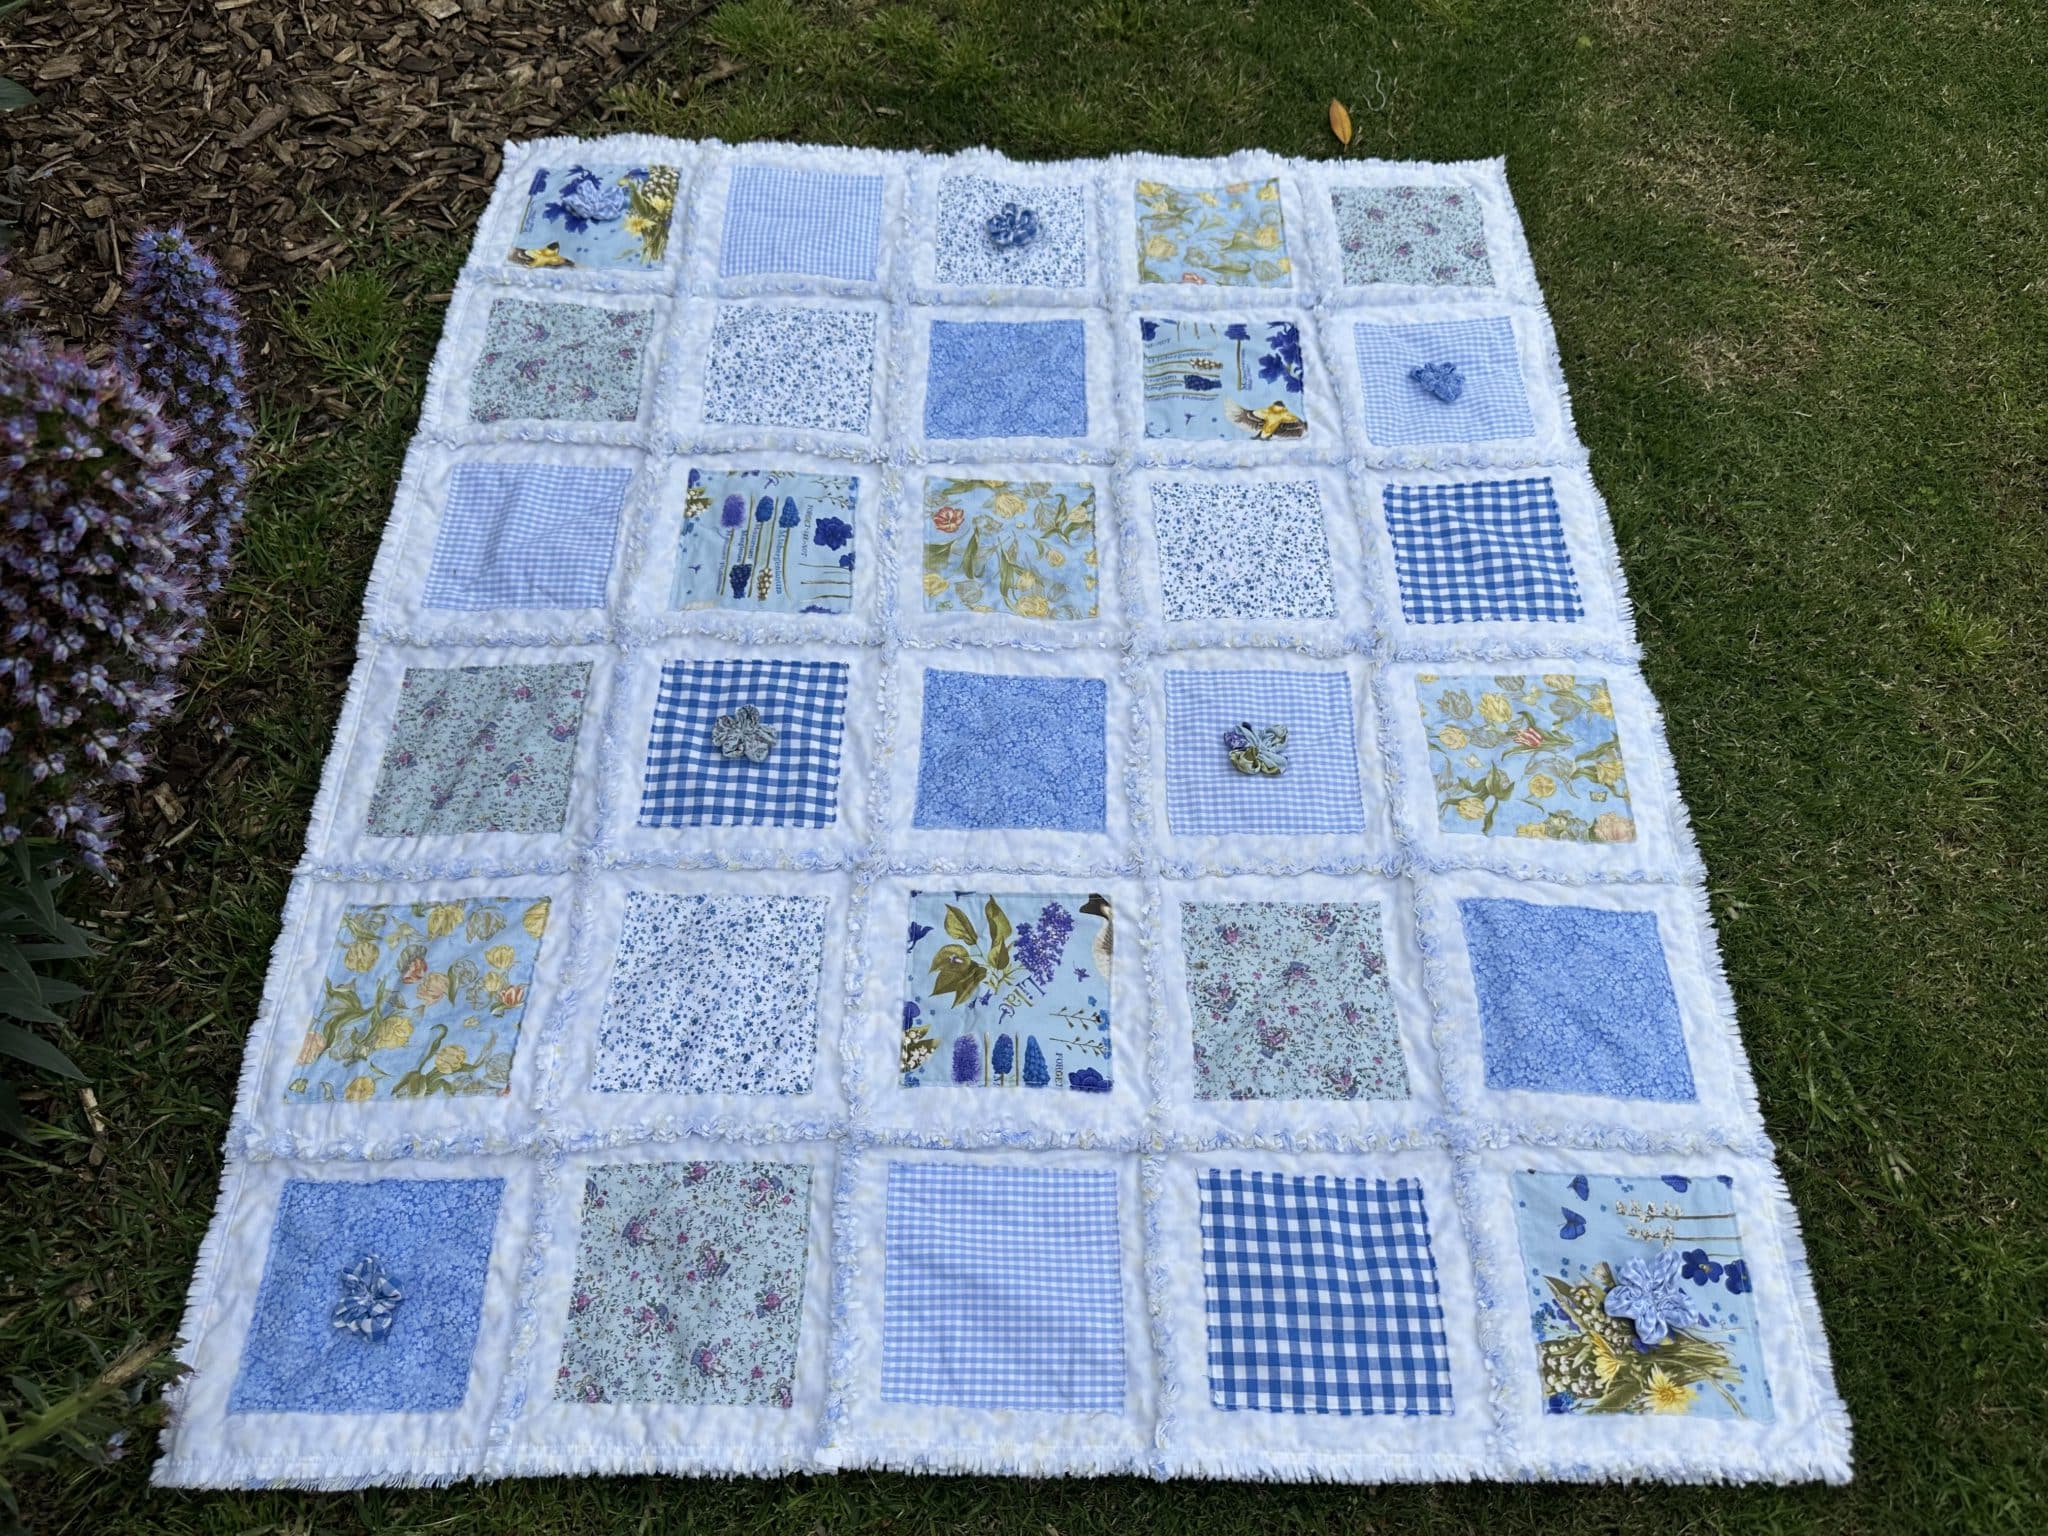
Finished quilt size approximately 48 1/2” x 40 1/2”
Flannelette is notorious for shrinkage so please wash fabrics before using.
Requirements for Ragtime Blues Shadow Quilt
60 of 9” x 9” white cotton squares. I used a recycle white queen sheet and tore it up into the squares
Patterned flannelette 30 of 9“ x 9“ squares
30 squares of 7 different blue cottons cut 6“ x 6“.
Rag Time Blues Shadow Quilt and Tutorial susies-scraps.com
Layering the Ragtime Blues Shadow Blocks ready for Quilting
Lay down one 9“ x9“ white sheet square. Add a flannelette 9“ x 9“ square right side up, lining it up as neatly as possible with the underneath square, now add another white sheet square to the top. Place one of the decorative 6“ x 6“ blue squares into the centre. I just eyeballed it. Make sure all layers are nice and smooth. Pin if desired.
Rag Time Blues Shadow Quilt and Tutorial susies-scraps.com
Take the block to the sewing machine and stitch the perimeter around the 6‘ x 6“ square approximately 1/4“ in from the edge of the blue square. If you have a walking foot that would be an advantage but not essential. I didn‘t have one.
Repeat for the rest of the centre blocks, 30 in total.
Now join all the blocks together in a 5 x 6 configuration. using a 1/2“ seam allowance
Tip
When joining the blocks, it is wise to snip a gap upto the seam line at the half inch mark for each block so that it is easier to sew through the join. ( it will make the clipping easier too)
Rag Time Blues Shadow Quilt and Tutorial susies-scraps.com
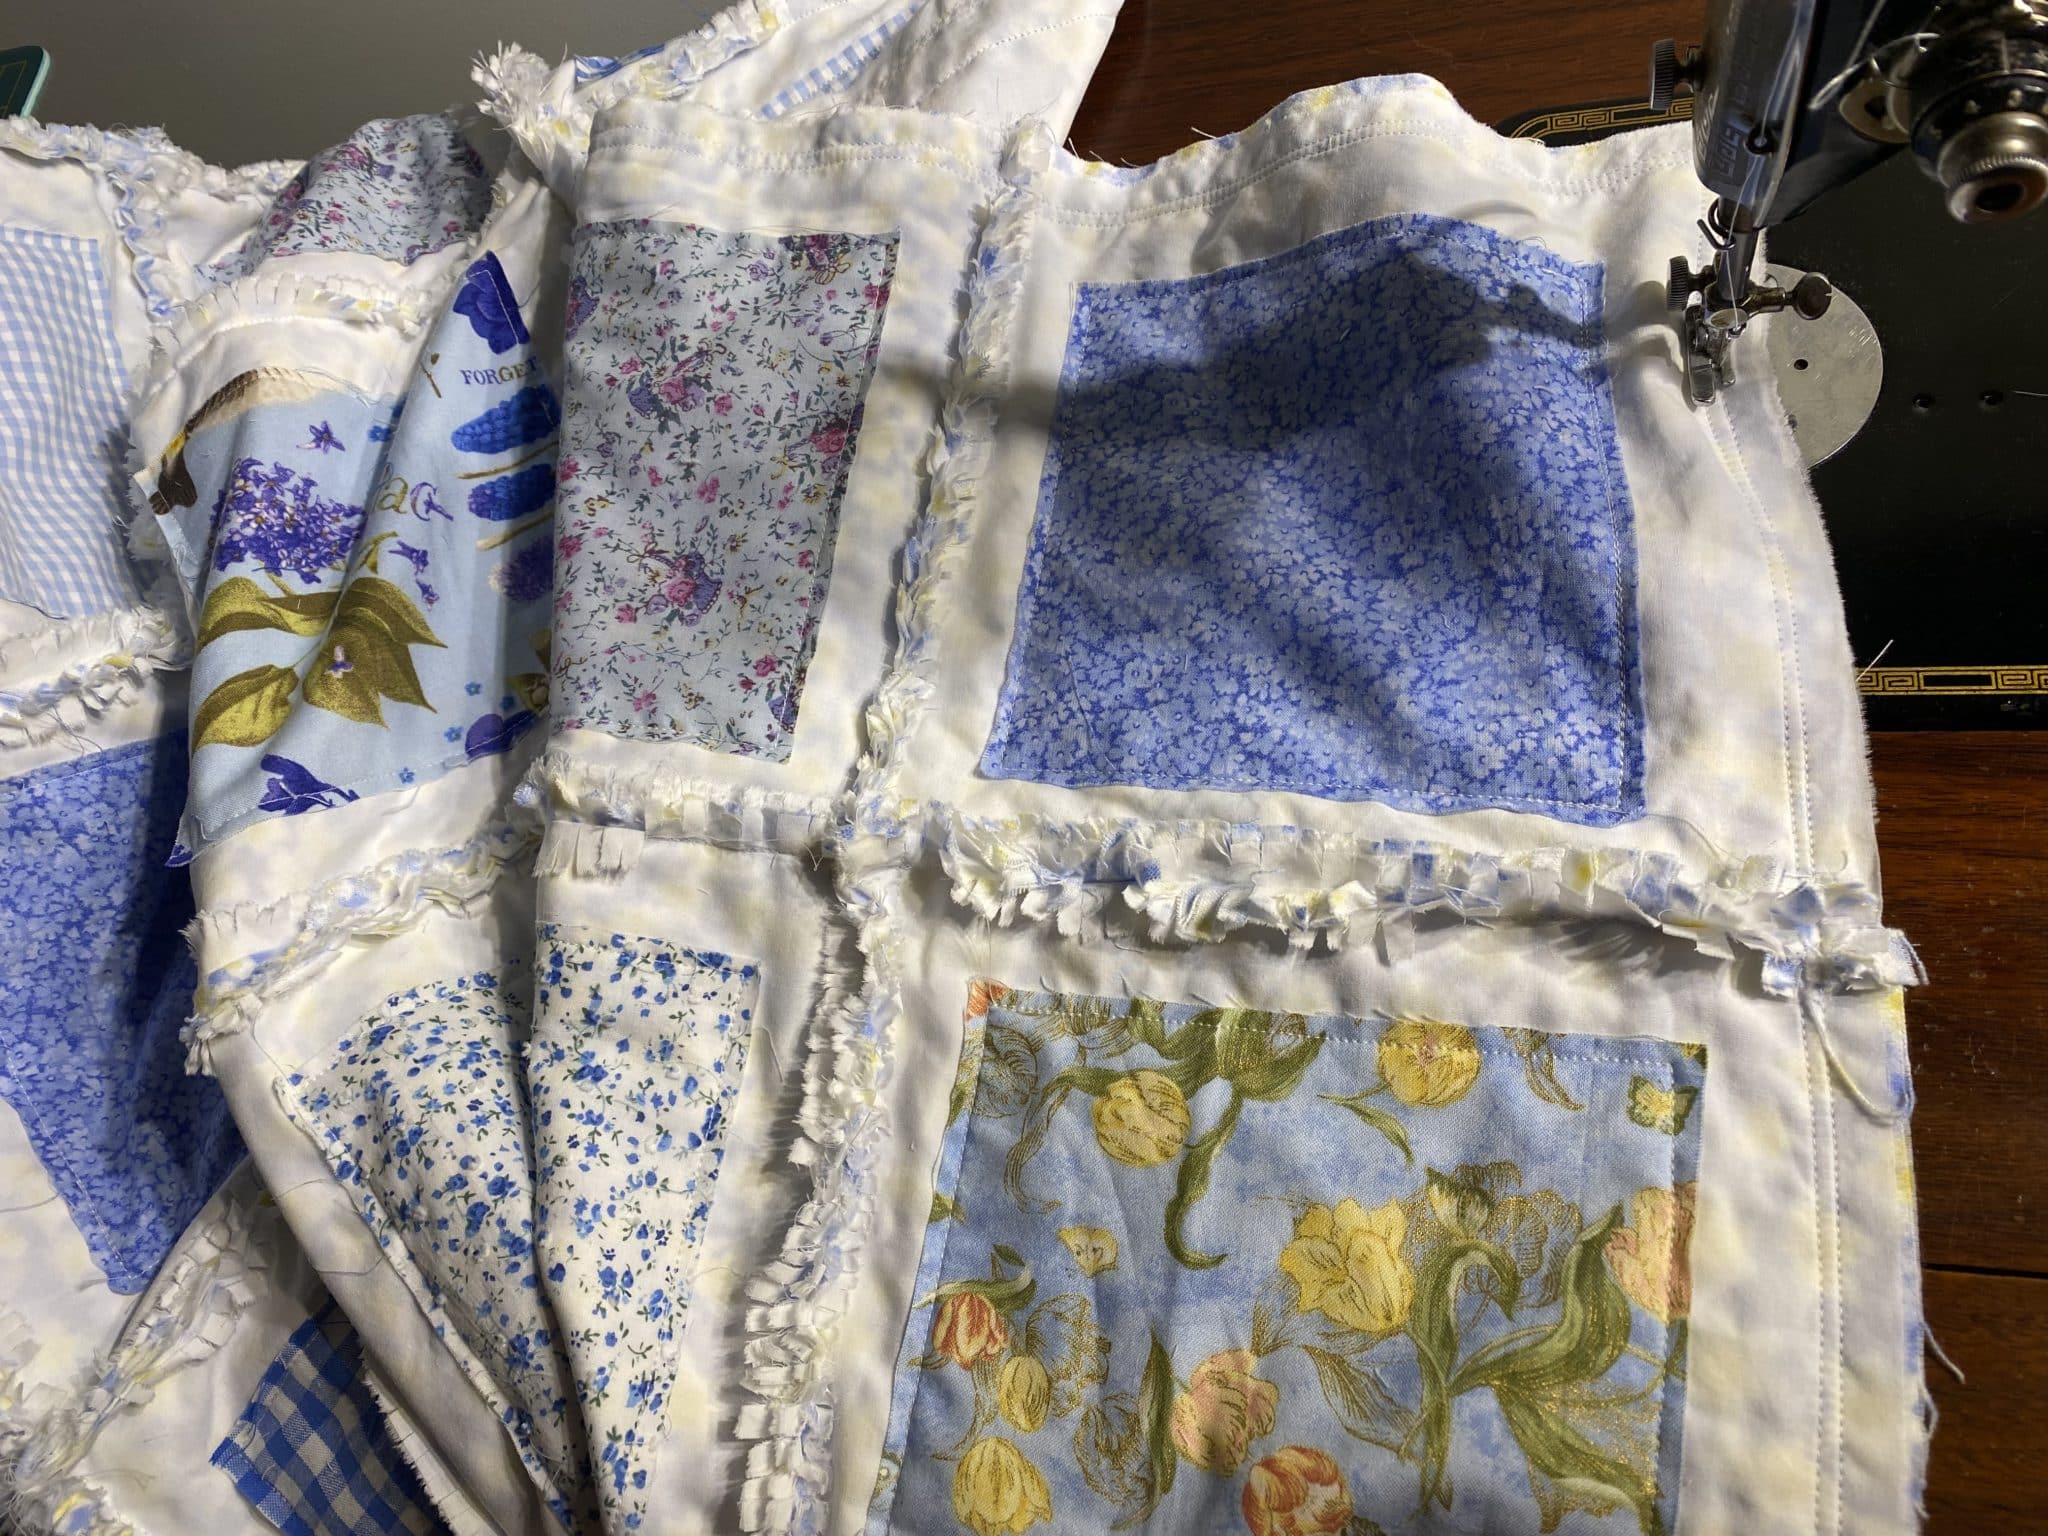
Once all the blocks are together the seams can be snipped. Or… if joining the blocks together in small groups, the seams can be clipped as you go. Clip As You Go Technique
Rag Time Blues Shadow Quilt and Tutorial susies-scraps.com
This image show how some of the seams have already been clipped before the next row is being added.
The seams were clipped at approximately 1/8th to 1/4” of an inch. (3/16ths)
After clipping the seams, take it to a flat surfeace (preferably outside) and rub over the seams with the back (blunt) side of a knife. This will release a lot of the threads and make the seams fluffy.
Once the quilt is assembled. I sewed two seams approximately 1/2” away from the edge around the complete perimeter. Then I clipped all the edges and washed the quilt.
Rag Time Blues Shadow Quilt Finish
Rag Time Blues Shadow Quilt and Tutorial susies-scraps.com
There were a few leftover 6” squares that I had cut so I made them into Yo-yo Daisies and used them to embelish a few of the squares.
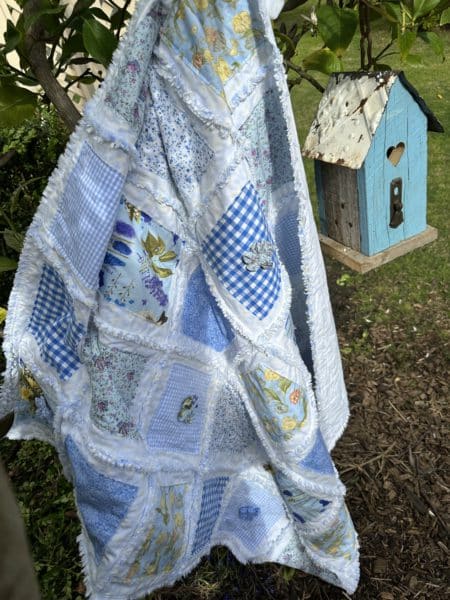
This Rag Time Blues Shadow Quilt is very soft and cuddly.
Rag Time Blues Shadow Quilt and Tutorial susies-scraps.com
This is a very quick quilt to assemble. A perfect lap or cot quilt size.
Hello Dear Friends and Readers and welcome to another scrappy episode! I have to confess to a feeling of accomplishment with this quilt top. It really does use the scrap strips up!! Not only, are they used up, but it is a very rewarding way to clean up the sewing space! With this project, I have incorporated every scrap without prejudice into it. Even things I didn’t like that much, they went in. I have learned from my previous Log Cabin Free Motion Quilting that the pieces of fabric that I thought were the most unsuitable, turned out to be the highlights in the quilt. The less they match, the better it is. This is a very achievable quilt top.
I believe it is turning scraps into art. The beauty is revealed when one stands back from the finished top. Here is a nice concise article about log cabin quilts and their design history.
With this Weekend Scrappy Half log Cabin Quilt – Vintage Inspired, not only is it a big top but all those bits have become something. It is also a good time to let go, and not overthink the placement of the blocks. Meaning, these blocks can also be made to create many of the patterns which are achievable with the traditional Log Cabin design, however, I am going to just let the scraps do their thing. There is so much going on. I am setting the blocks straight, all the same way, no border. There is just a mad and wonderful array of colours and prints and and variation of light and dark which keep the eyes moving over the quilt.
I also realised that the maths for this is just fantastic. I worked out that by making the 72 blocks, it is actually the equivalent of almost 8 yards or metres of fabric, which was already in pieces or small strips. anyway. That is a lot of fabric and no hauling out big yardage to cut.
Every block actually uses the equivalent of two width of fabric strips. (Apart from the centre square). Isn’t that great! Another advantage, is that it is easy to calculate how many of each strip length is required as it is the same for each block. For example, I am making 72 blocks, so I will need 72 of 10 1/2” dark strips and so on..…
So go ahead, make a cot quilt with 12 blocks, a lap quilt with 16 or 20 blocks or a medium bed quilt with 36 or 42 blocks, or a big queen one with the 72 blocks like this one.
Finished quilt size 80½” x 90½”
Requirements for the Weekend Scrappy Half Log Cabin Quilt – Vintage Inspired
72 of 3” x 3” Red Squares
All strips are cut from 2” widths in light and dark.
Light Strips 72 lengths each of 3”, 4½”, 6”, 7½, 9”
Dark strips – 72 lengths each of 4½”, 6”, 7½”, 9”, 10½”
Now is the fun of putting them together. Here are 72 blocks all laid out on the floor ready to be put together. It will look better when they are sewn together.
Here we go. I am using my trusty Singer 15K from 1902. She makes a beautiful stitch. Treadle Tinkering I sewed all the vertical seams first. This is done by sewing nine sets of two together in a chain piecing manner. Do not cut the chains. Then go back to the start of that vertical row and sew another nine blocks to the sides of the second row. Again, do not cut the chains. Repeat for rows, four, five, six, seven and eight. Now all the 72 blocks are together.
Optional: Sew some seams of a block from another project between the rows to keep the chain chain going easily, then snip the seam end between the block and the quilt top. This saves having a lot of extra thread ends to tidy up and some progress can be made on some other project. See image below.
Now carefully lay out the top and check that all the blocks are facing the same way. Now turn the quilt top to begin sewing all the horizontal seams in the same manner. It will be easy as the chains are holding the whole piece together. Ensure that the seams are facing in the correct direction and pin for ease as the seams are quite long. sew the eight horizontal seams.
I should mention that this layout means there is minimal seam matching and consequently minimal seam bulk. Also all the seams are laying out in the same directions which will ensure success.
Here is the Weekend Scrappy Half Log Cabin Quilt – Vintage Inspired all laid out. I have chosen a big bold bright print for the backing which I have prepared and it is now ready for pinning and quilting. I think I will bind it in red…..
While I was cutting the strips, any leftovers were trimmed into 2” squares to add to my scrap bag. I am pleased with how quickly this top came together and it has used a good amount of scraps. Maybe you see one of these coming up in your weekend soon?
Hello Dear Friends and Readers, I do not think I ever tire of pinwheels. Do you? They are especially nice when the points are clean and they are quick to make!. Pinwheels are always so cheery and create movement in a quilt. I wasn’t really planning on making any at the moment….. however, have just had a lovely email from Michelle. Her request, was whether it is possible to make a quick pinwheel block, similar to Scrappy Pinwheel in a Square, but not scrappy, as seen in this post.
I was immediately intrigued myself. As you know putting blocks on point will require more work when setting the blocks. Of course it would be nice to set them on point without much effort.,,,,, So I had a think about it, and this is what I came up with. However, I must remind you that this is an unconventional block construction because it means that the edges will be on the bias, however if you treat them gently it will work well and come together very quickly. Also the pinwheel points always come out so nice and crisply. For that reason, I love it.
For this tutorial, you will need to make two blocks at a time. Also the pinwheels will each flow in the opposite direction. Fun!!!
Anyhow, this is how I did it..
All seams based on 1/4”.
Makes two blocks 6 1/2“ x 6 1/2”.
Requirements for two Pinwheels On Point Blocks – Made Easy
4 of 3″ x 3 ” dark squares
4 of 3″ x 3″ light squares
2 of 5 1/2″ x 5 1/2″ background squares
Pinwheels On Point Block – Made Easy
Arrange the eight 3” x 3″ squares into two four patches alternating the dark and light fabric in each block. Sew the four patches together.
Pinwheels On Point Block – Made Easy
Turn over and cut the little connecting thread at the intersection and spin your seams.
Press.
Pinwheels On Point Block – Made Easy
lLay a four patch right sides together with the 5 1/2″ x 5 1/2” background square. Sew a 1/4″ seam around the perimeter.
Pinwheels On Point Block – Made Easy
Take to the cutting board. Carefully cut once on each diagonal.
Pinwheels On Point Block – Made Easy
Remove the excess little triangles from the centre. .
Pinwheels On Point Block – Made Easy
Open the units. Finger press. Trim off the doggy ears.
Pinwheels On Point Block – Made Easy’
Use two units from each of the sets and arrange into two pinwheel blocks.
Pinwheels On Point Block – Made Easy
Sew together like a four patch.
Pinwheels On Point Block – Made Easy
Tun over and spin the seams at the back to make the blocks nice and flat.
Pinwheels On Point Block – Made Easy.
Gently press the blocks.
Pinwheels On Point Block – Made Easy
There we are. That was fun! Nice and quick too. I feel another baby quilt coming on……I hope you enjoy them.
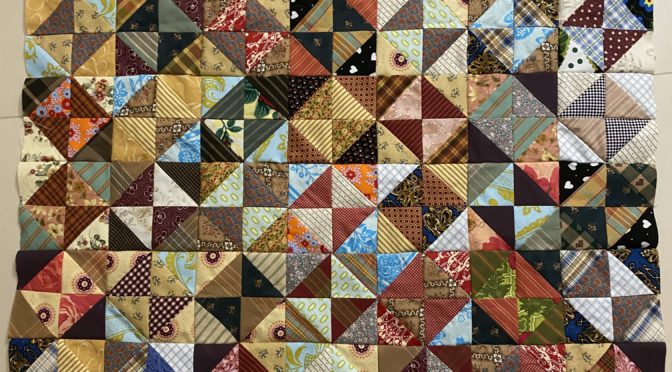
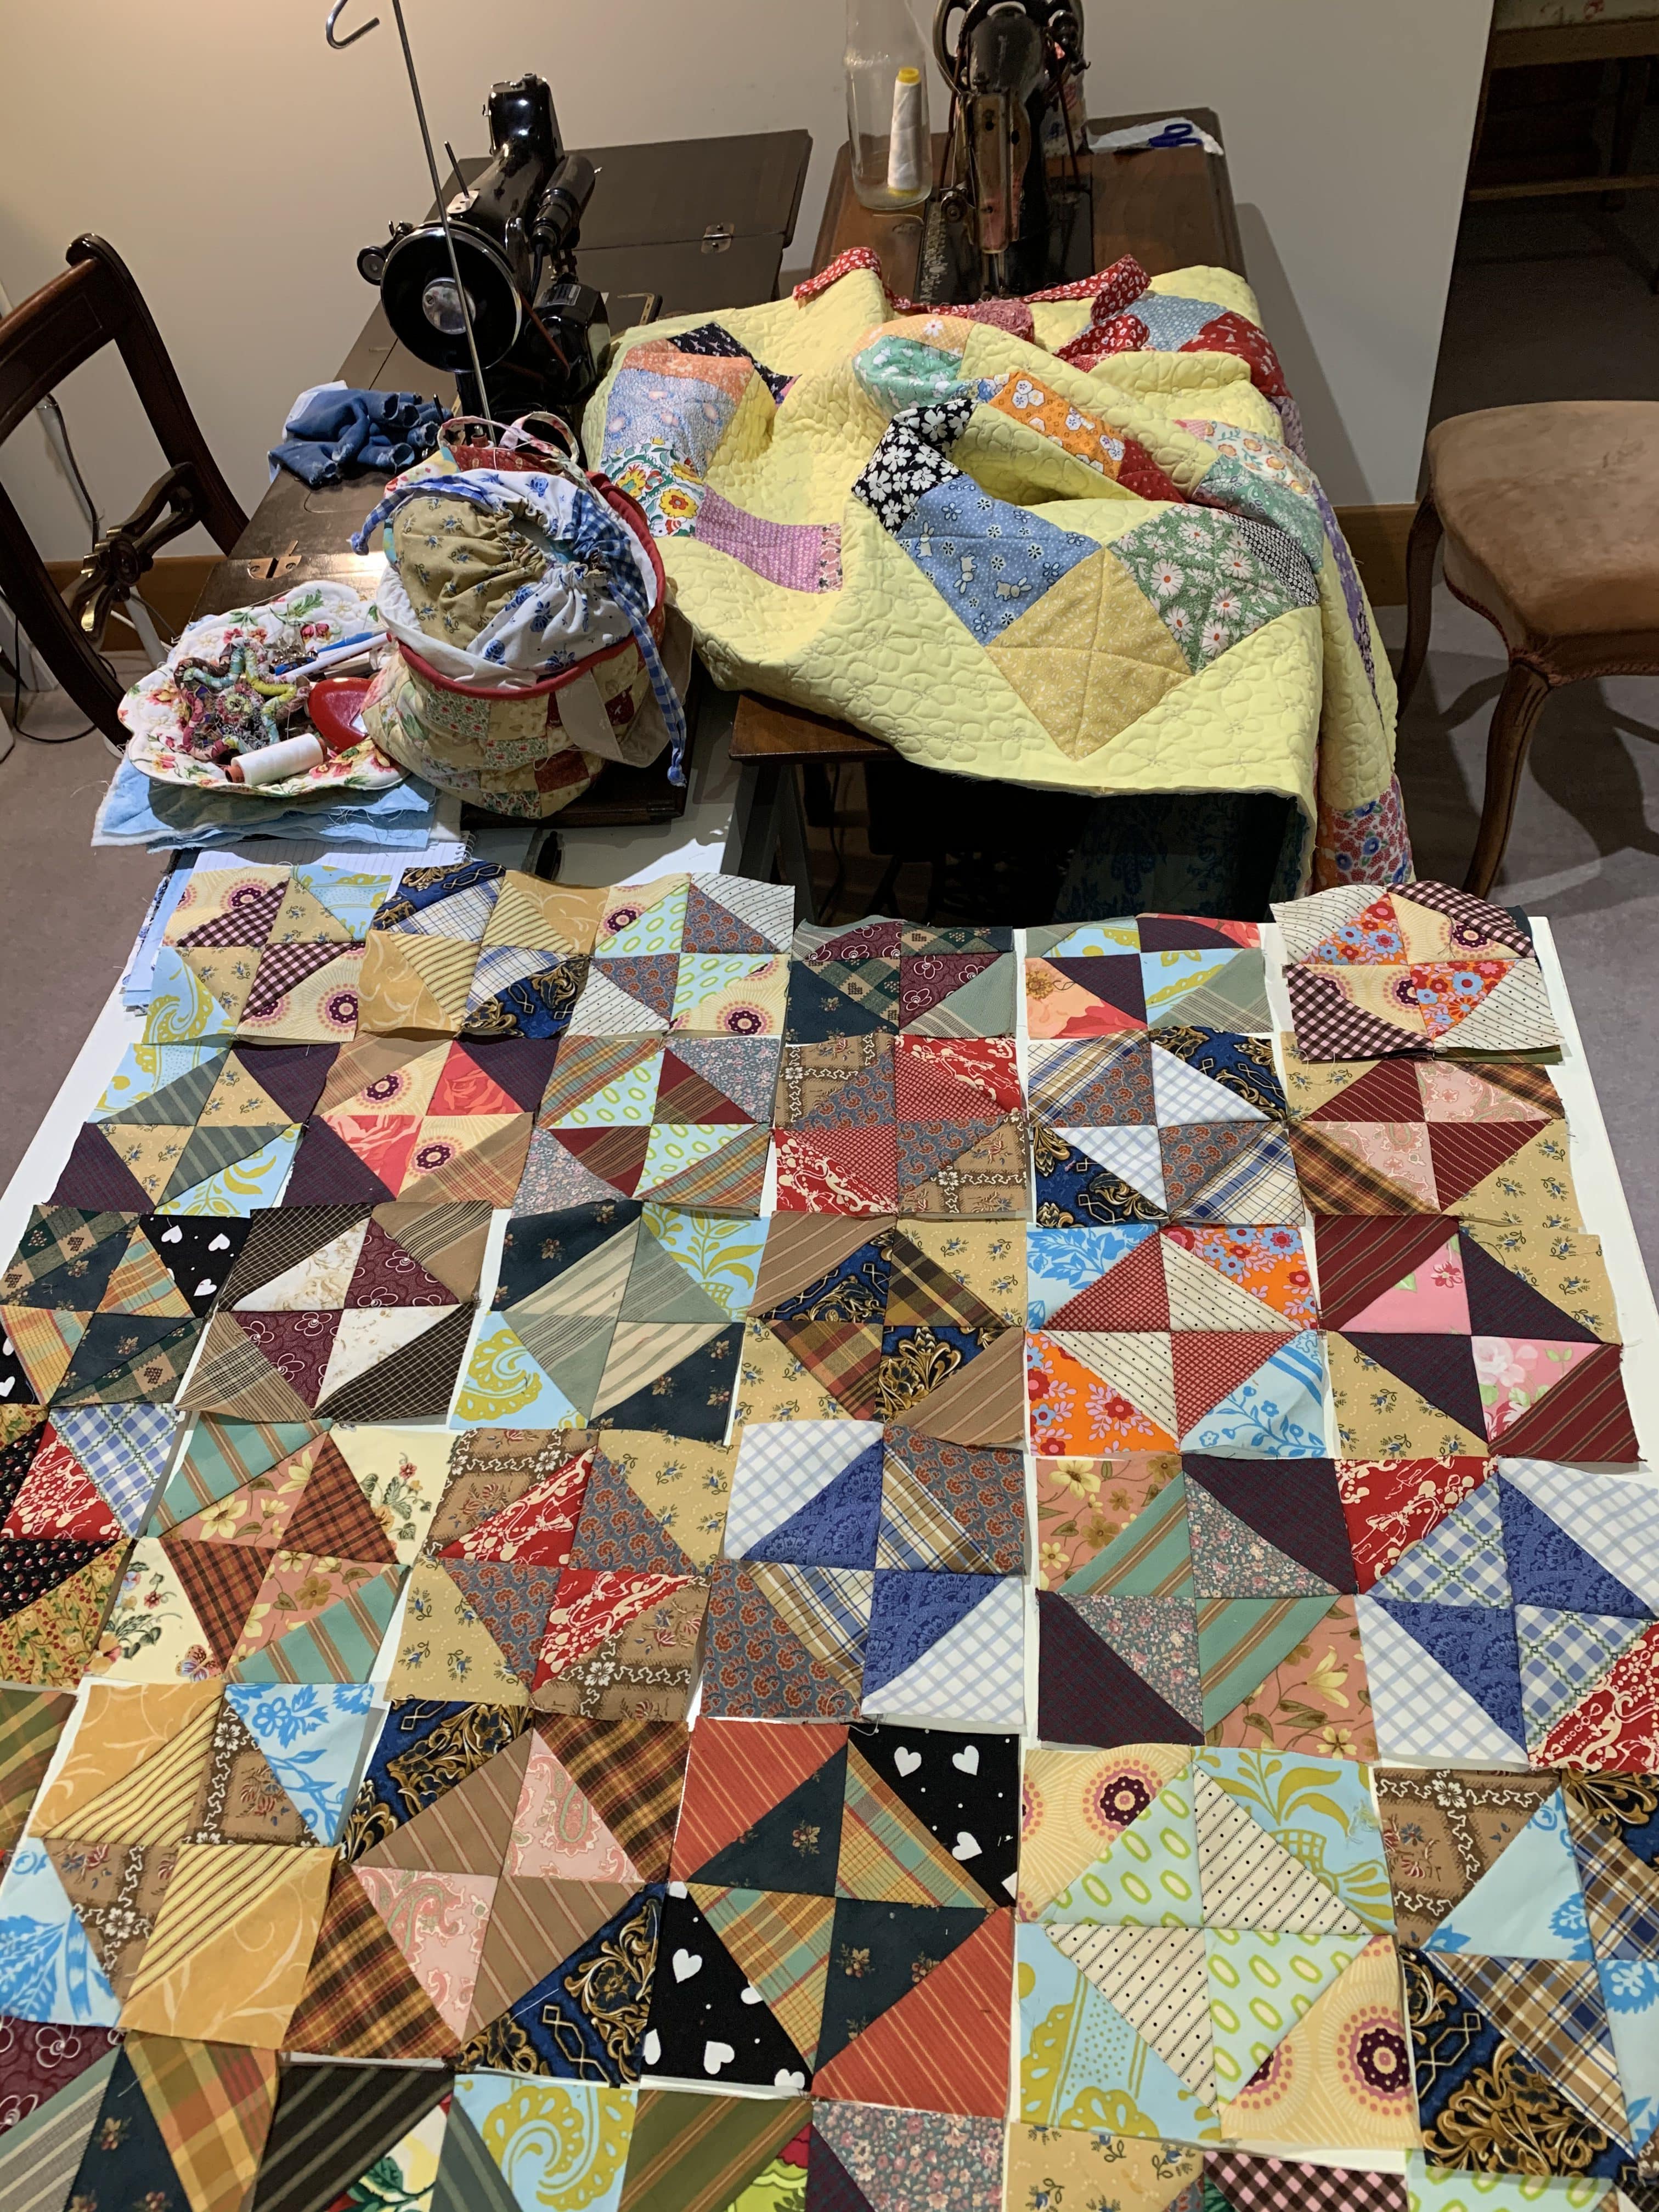
Reflecting on antique Dutch quilts, I will immediately think of stars, hourglass, tumbling blocks and broken dishes in the quilt designs. Of course there are others too, but this is what comes to mind for me. The appeal is timeless and the beauty of the play of light and dark is marvellous. I think just about any fabrics could be used for these designs to work as long as there is some contrast. I know I have mentioned it before but I prefer to make quilts for babies that will stand the test of time and still have appeal no matter what the age. That is my inspiration for this quilt.
Here is another antique Dutch inspired quilt so that you can see what I mean…
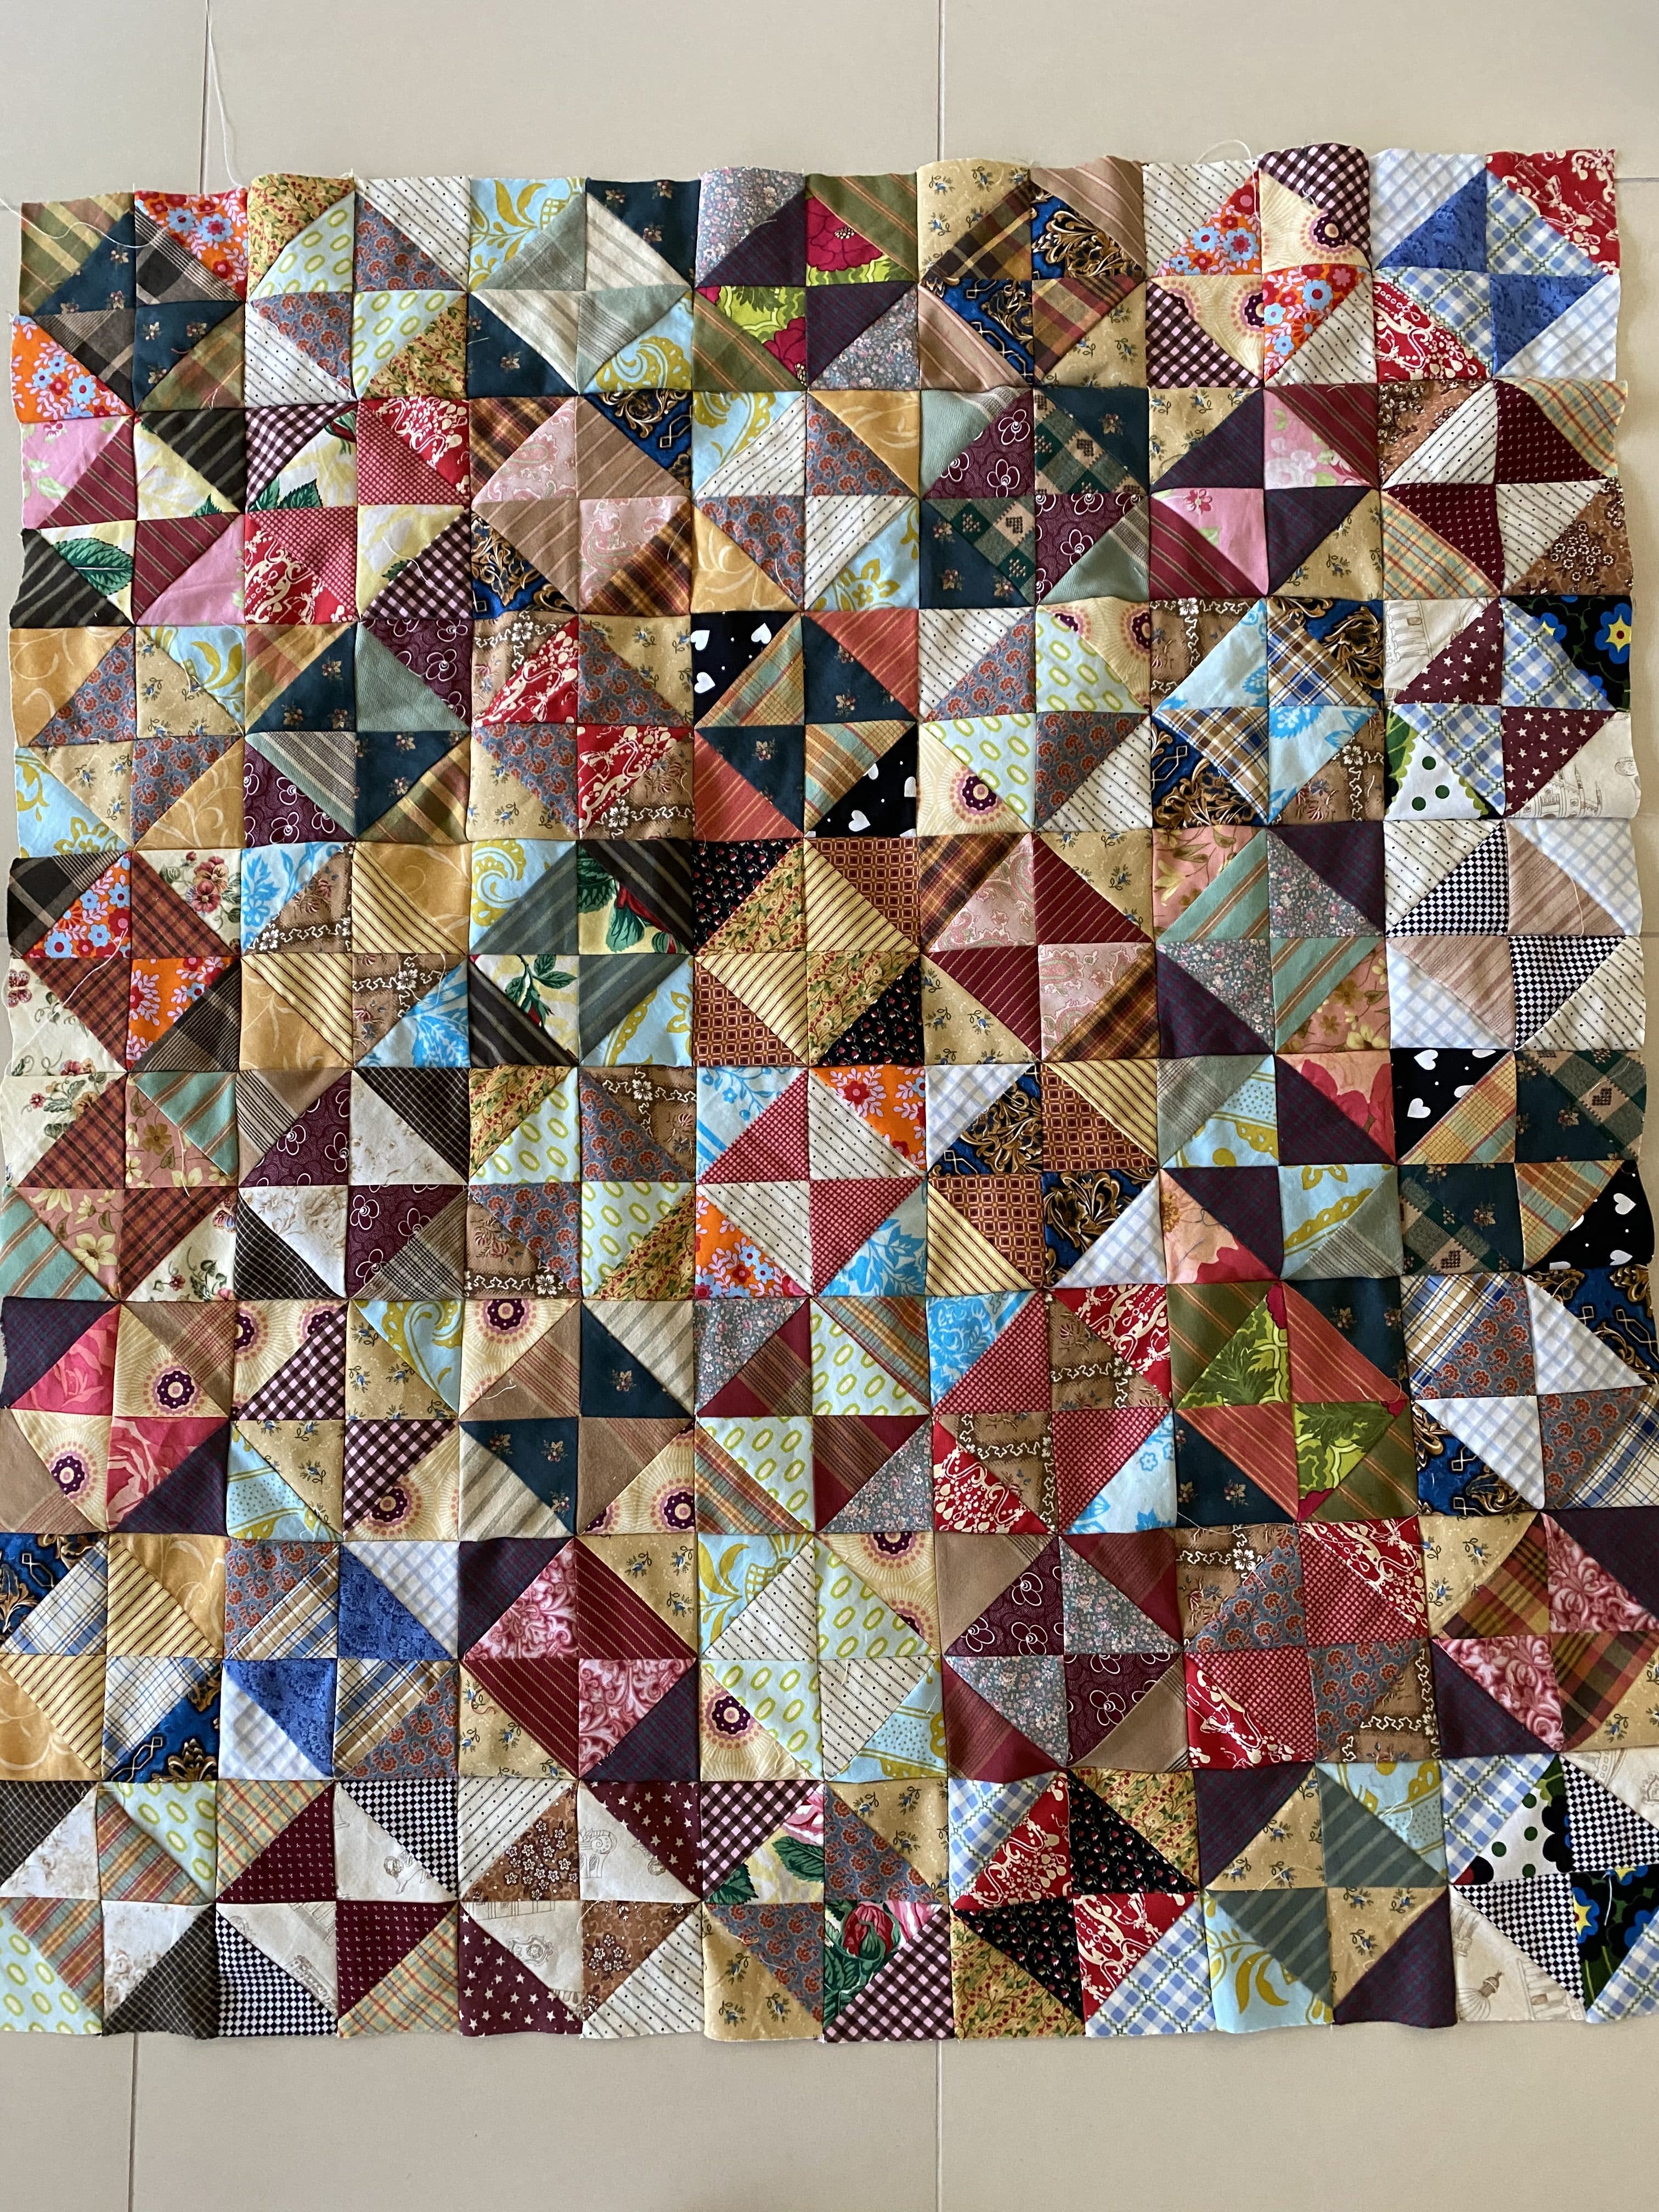
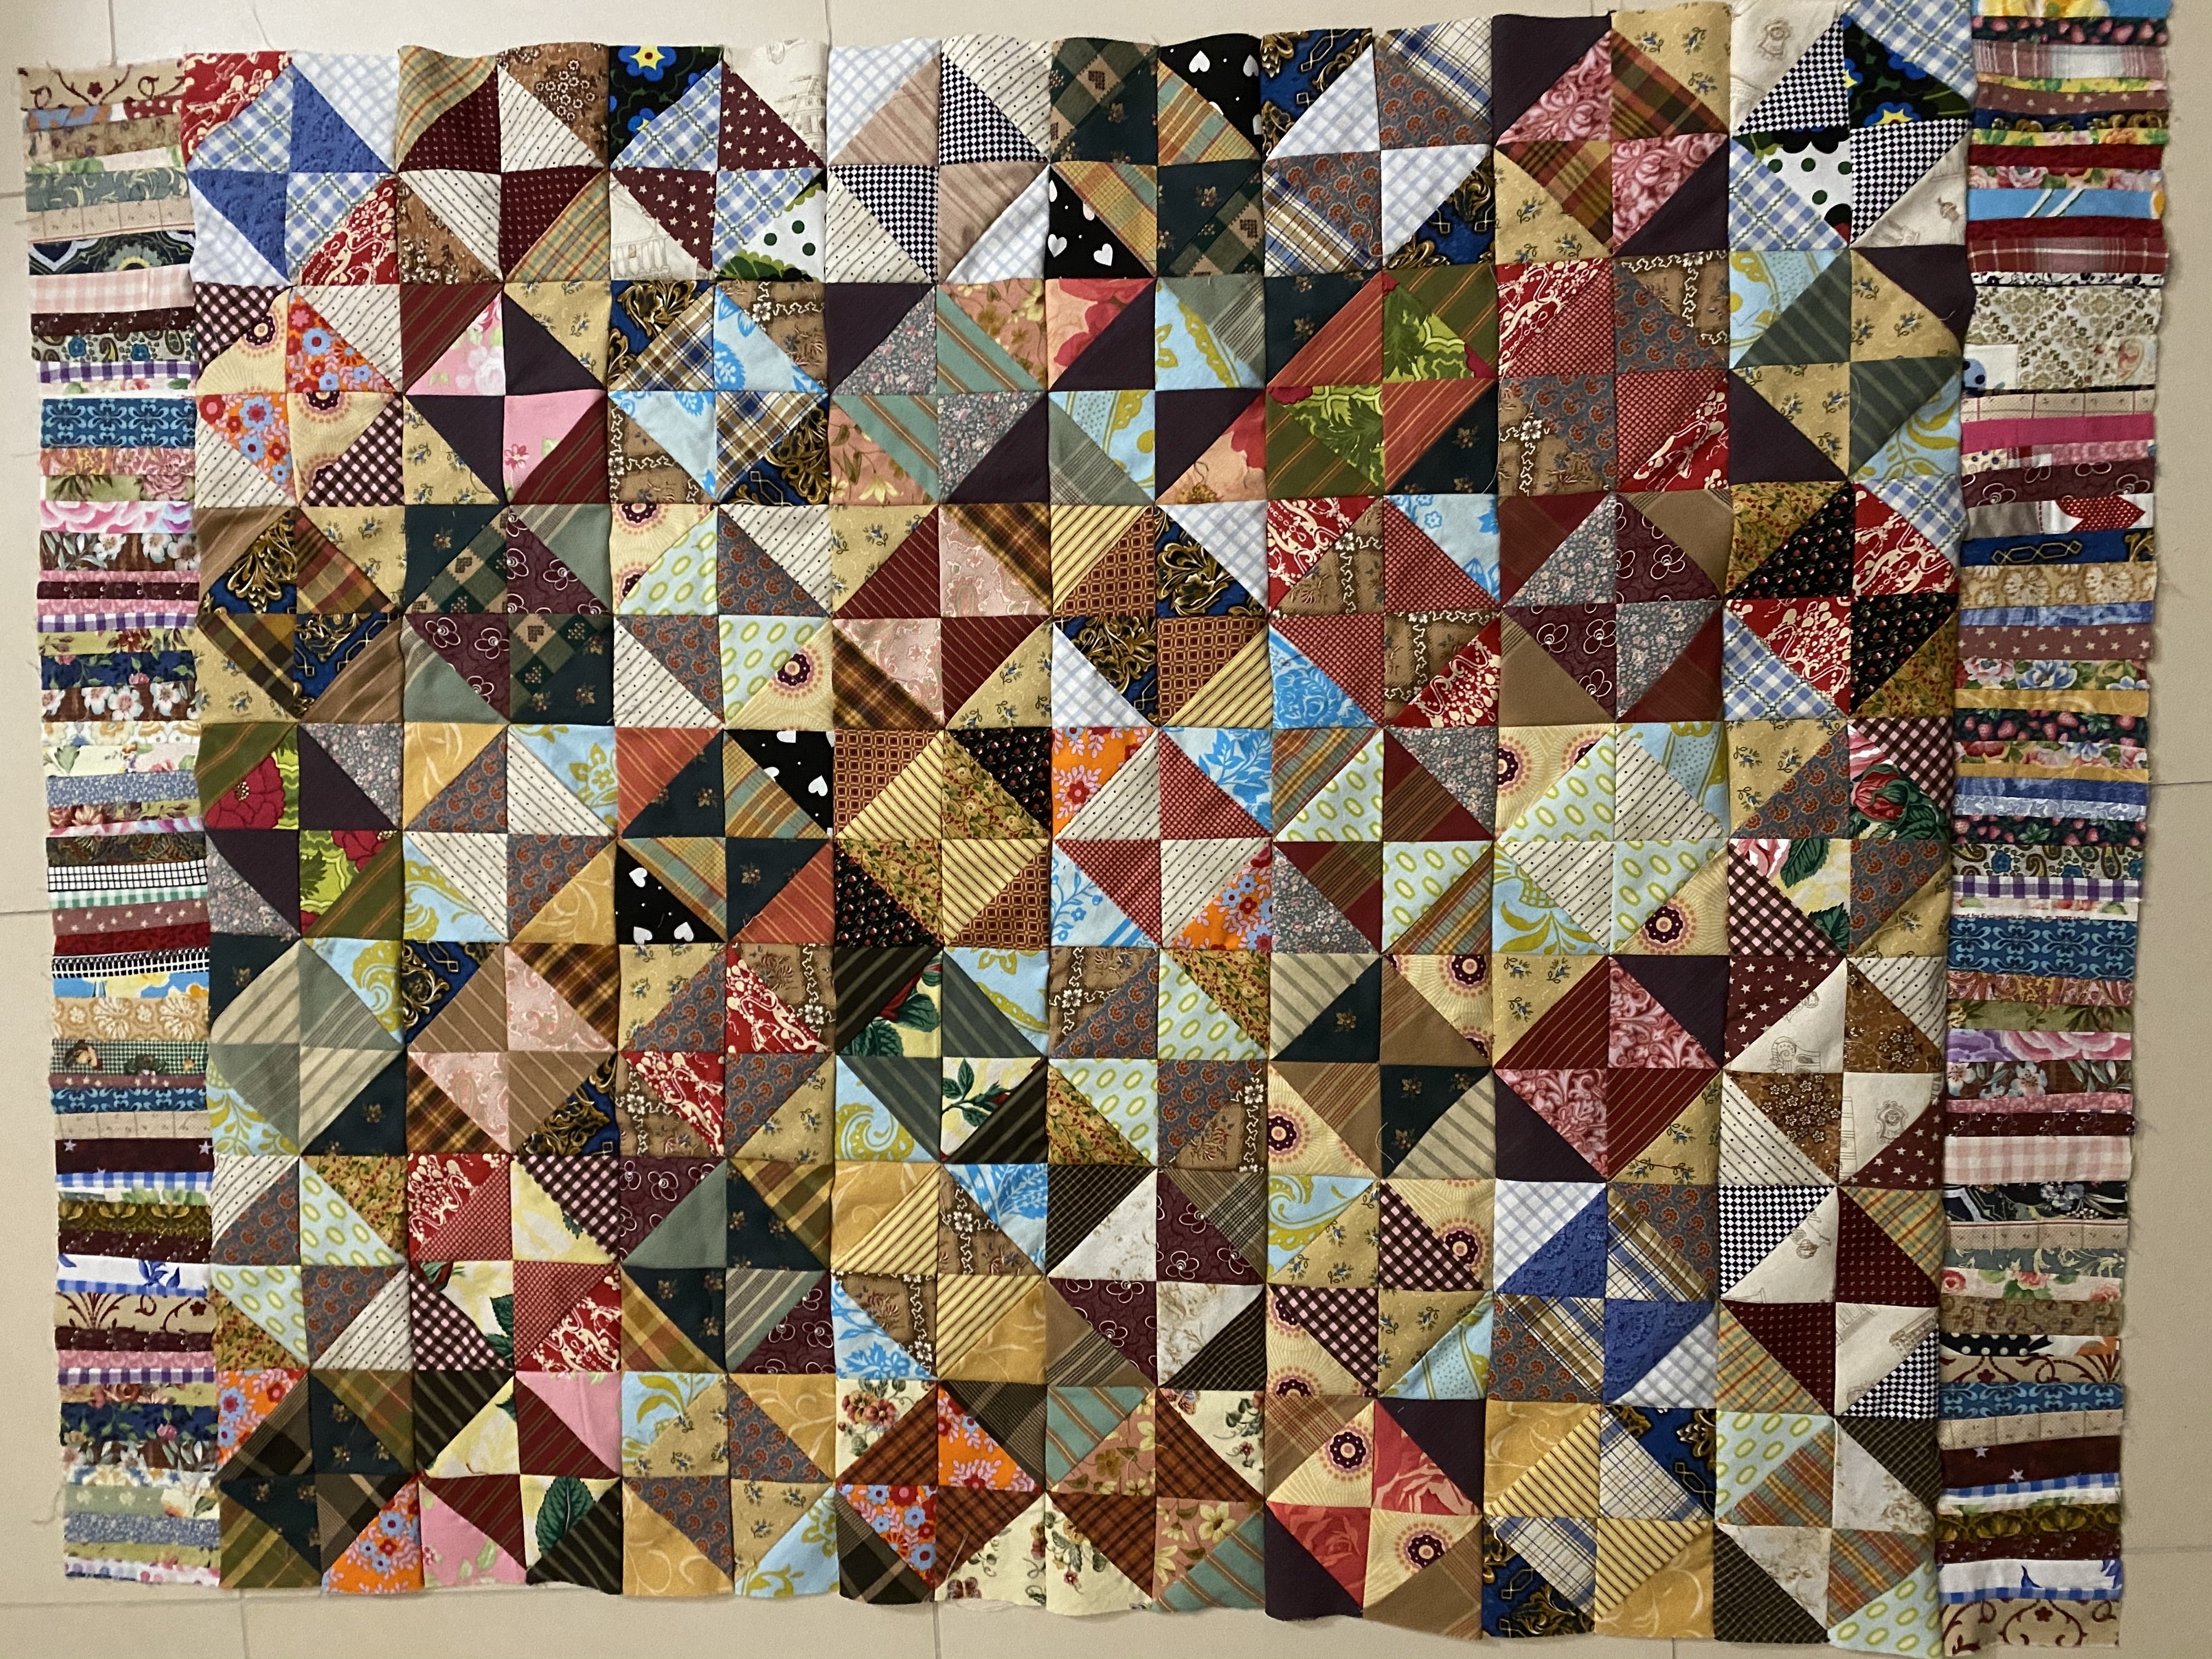
I had some squares of plaids and stripes which I wanted to put into this quilt for a baby boy. I added some other more modern fabrics which honestly at the time I wondered if I was doing the right thing, but now that I have put it together, they seem to really work!
Its also amazing how the overall colour almost looks brownish even though there is a big range of blues, browns, greens, red, pinks and even some black. I think it will be perfect for a boy and I can just imagine him dragging it around the house as a toddlerand then still being a nice lap quilt or even fabulous wall hanging for him later on when he is grown up.
Scrappy Broken Dishes Quilt – Antique Inspired
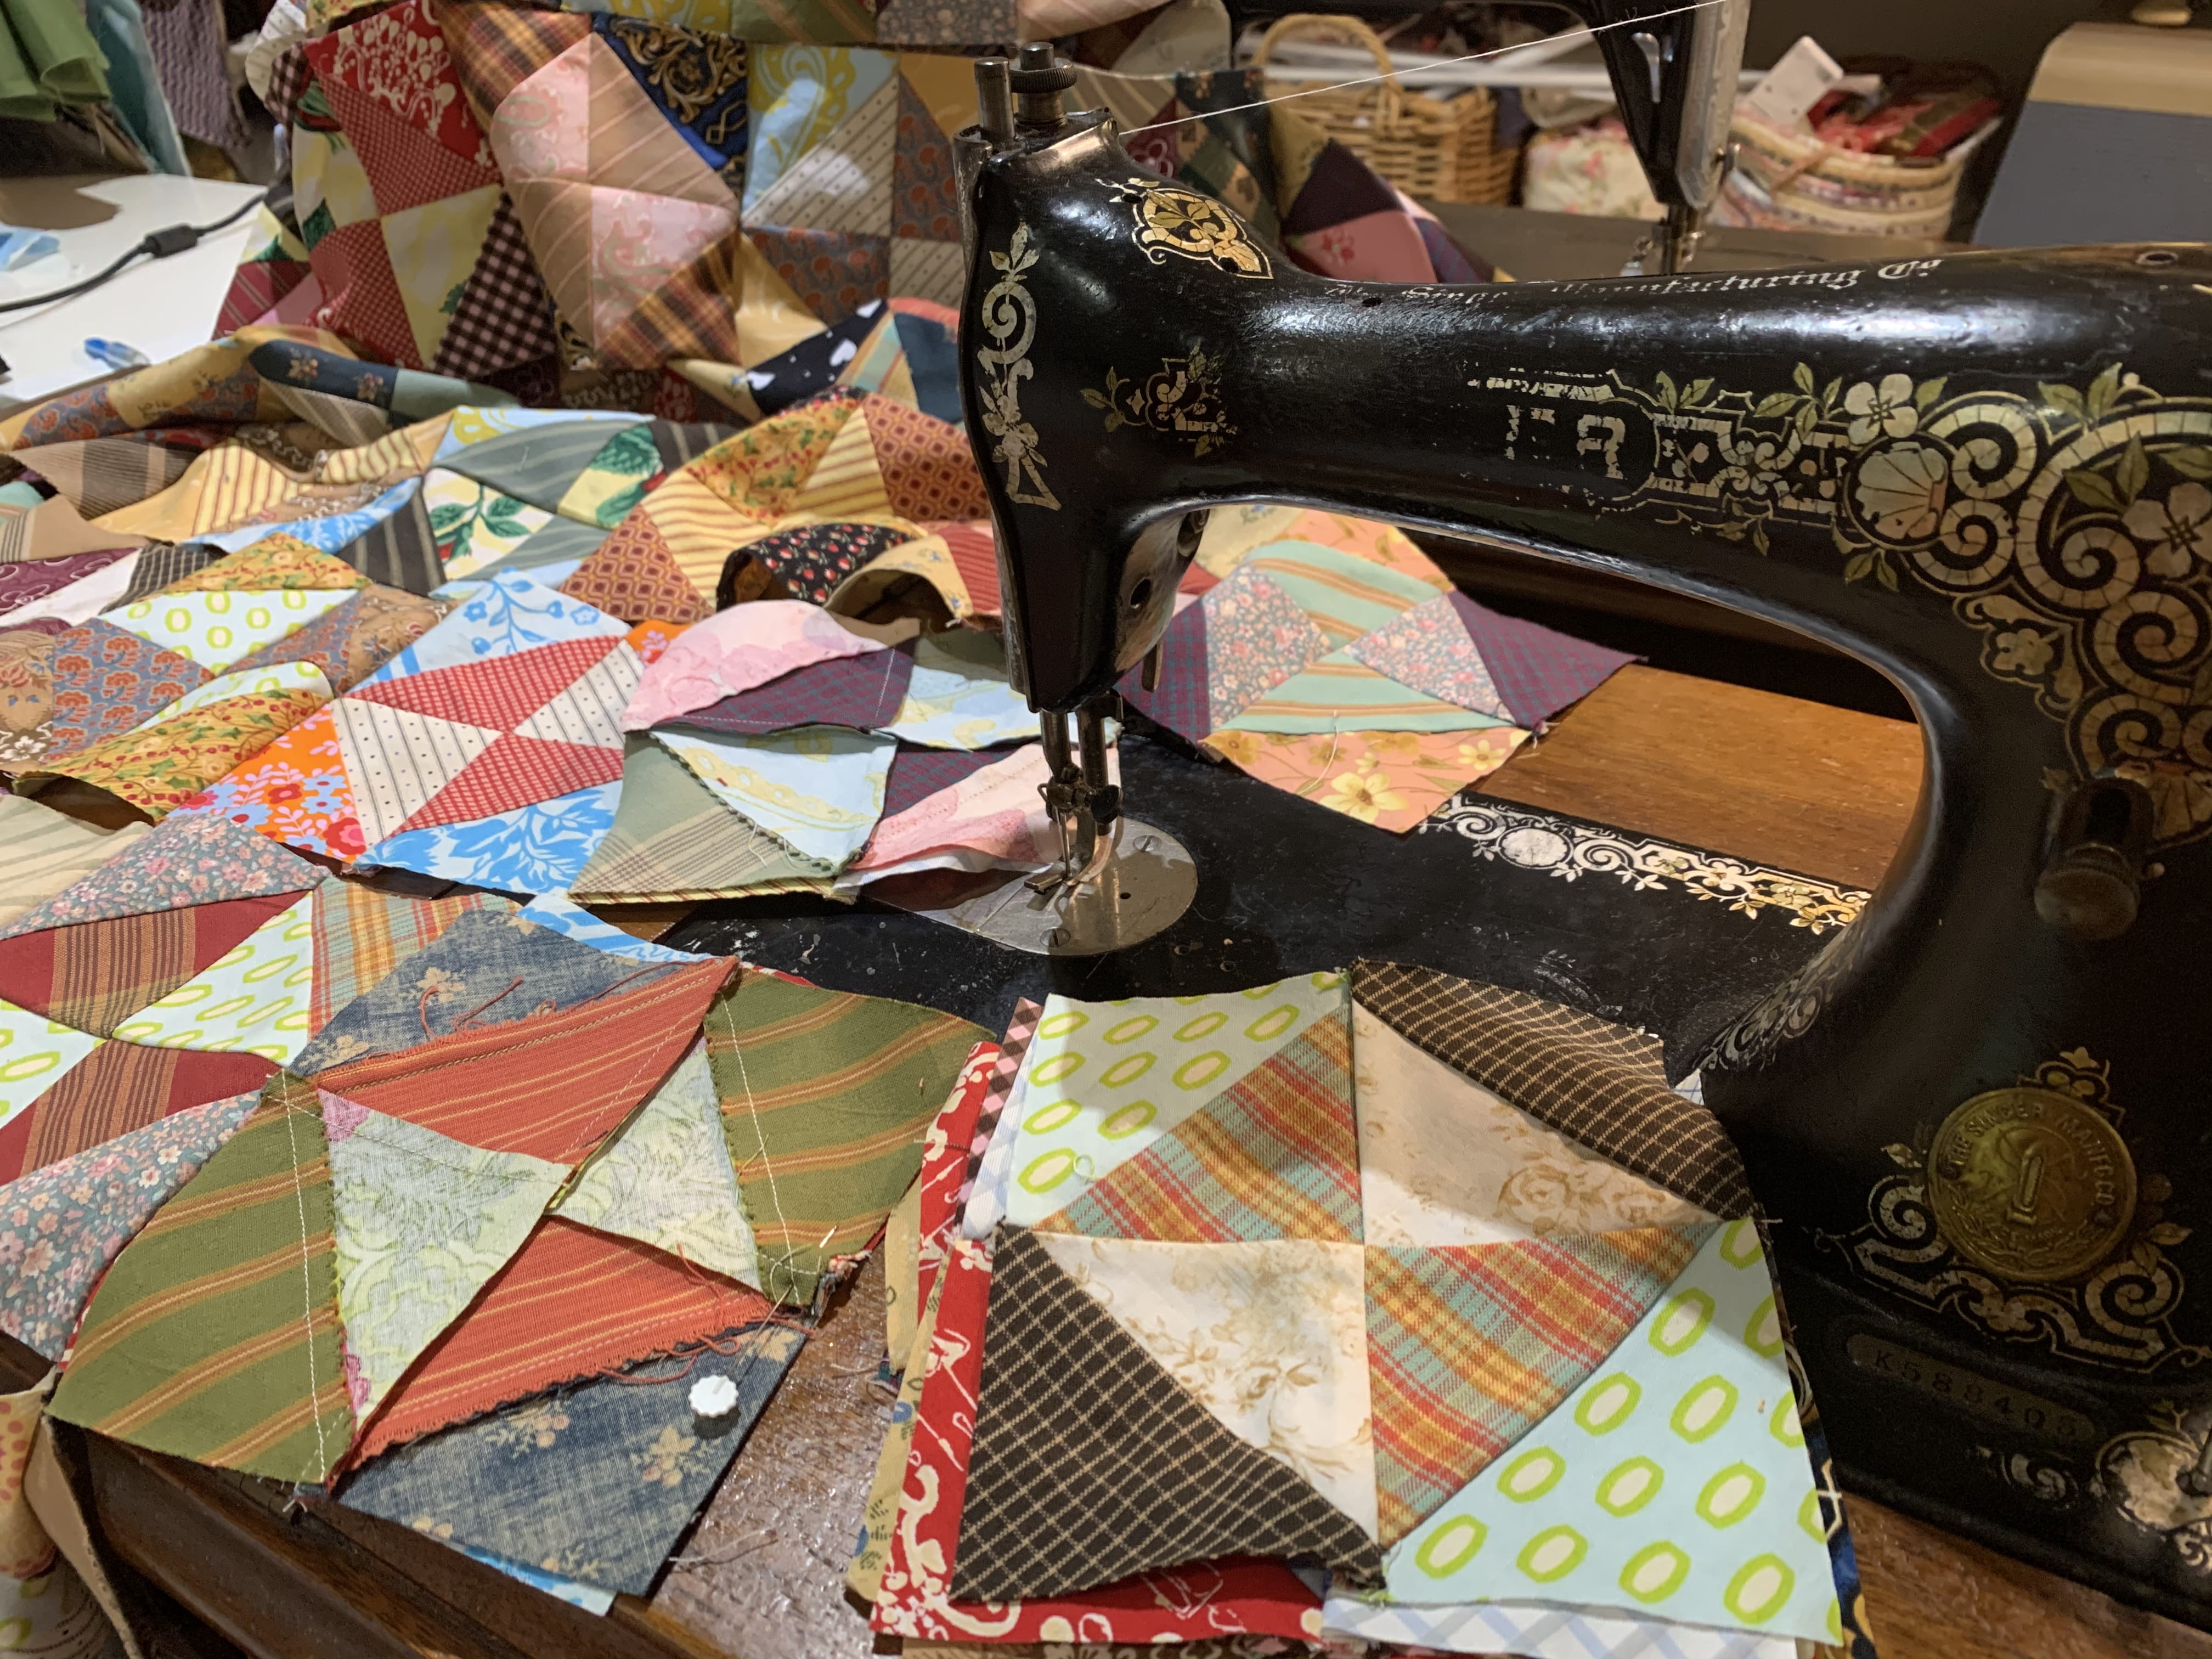
I have “broken” (ha ha) the“rules“ when making these quilt blocks so am taking care not to stretch the edges until its quilted, but I’m really happy with the look of it.
Approximate quilt size is 35 ½” x 48 ½”
Here is how I did it.
Requirements for Scrappy Broken Dishes Quilt Antique Inspired
56 of the Totally Scrappy Broken Dishes Blocks – here is the link
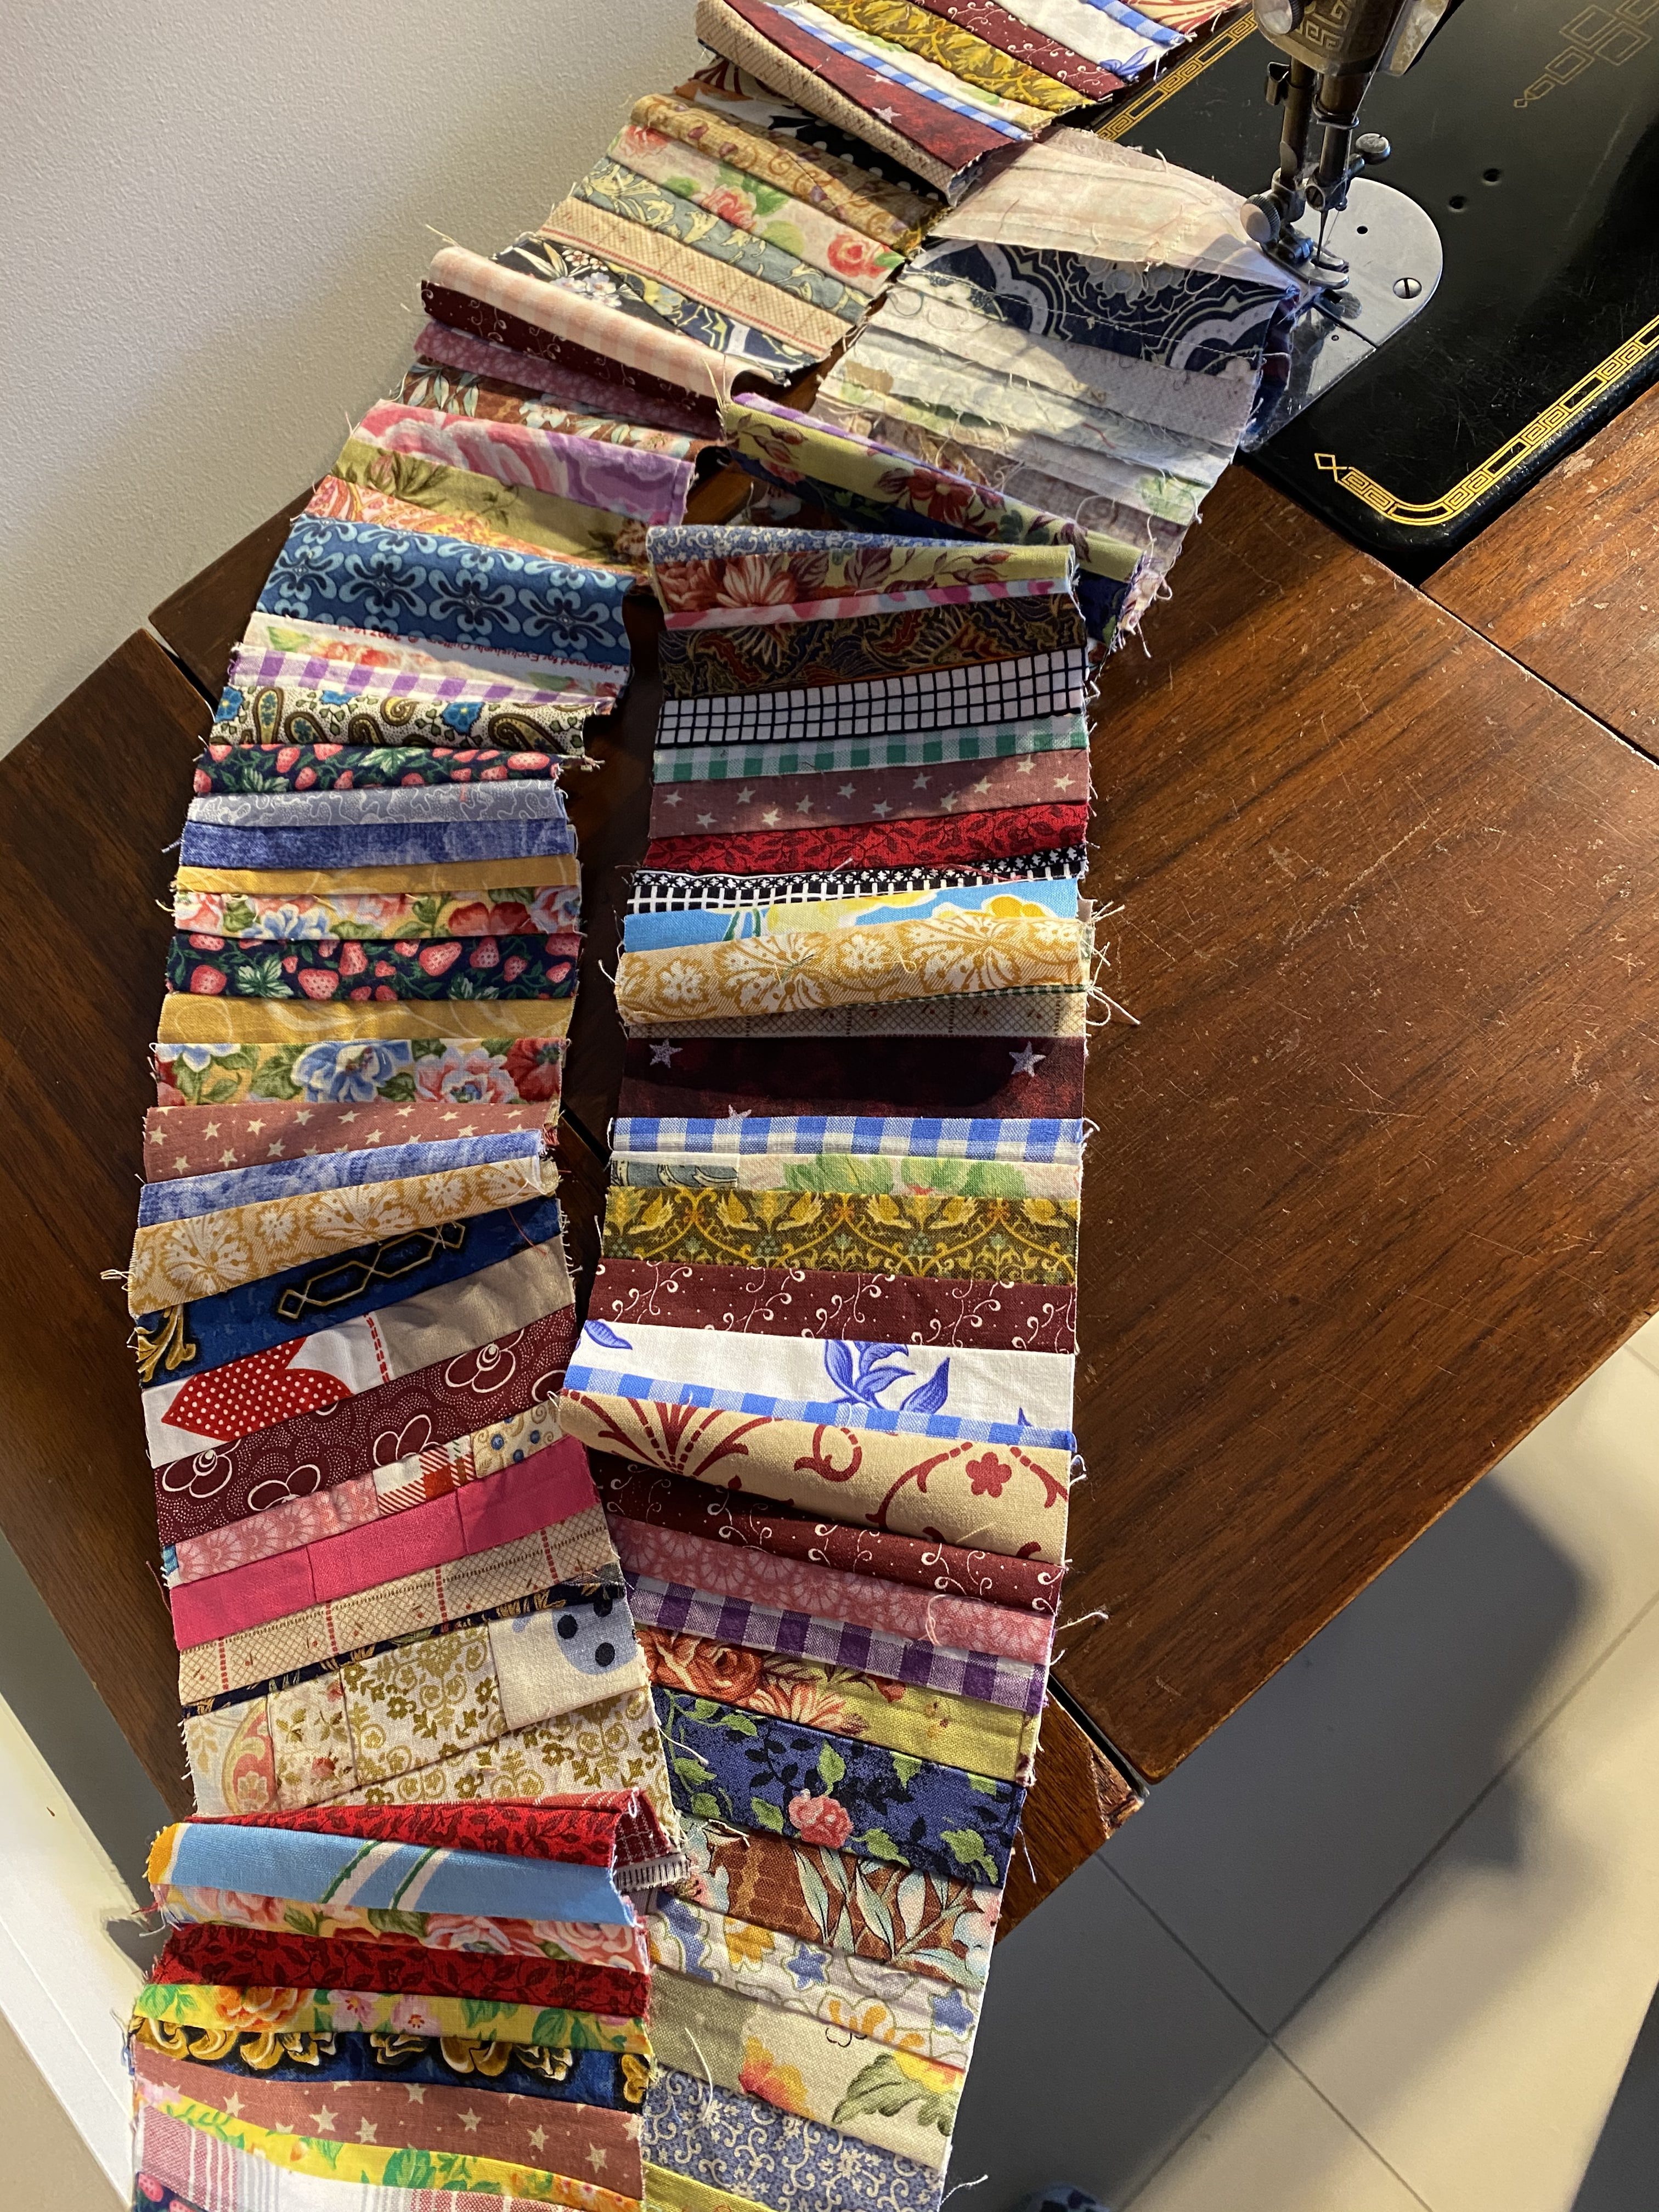
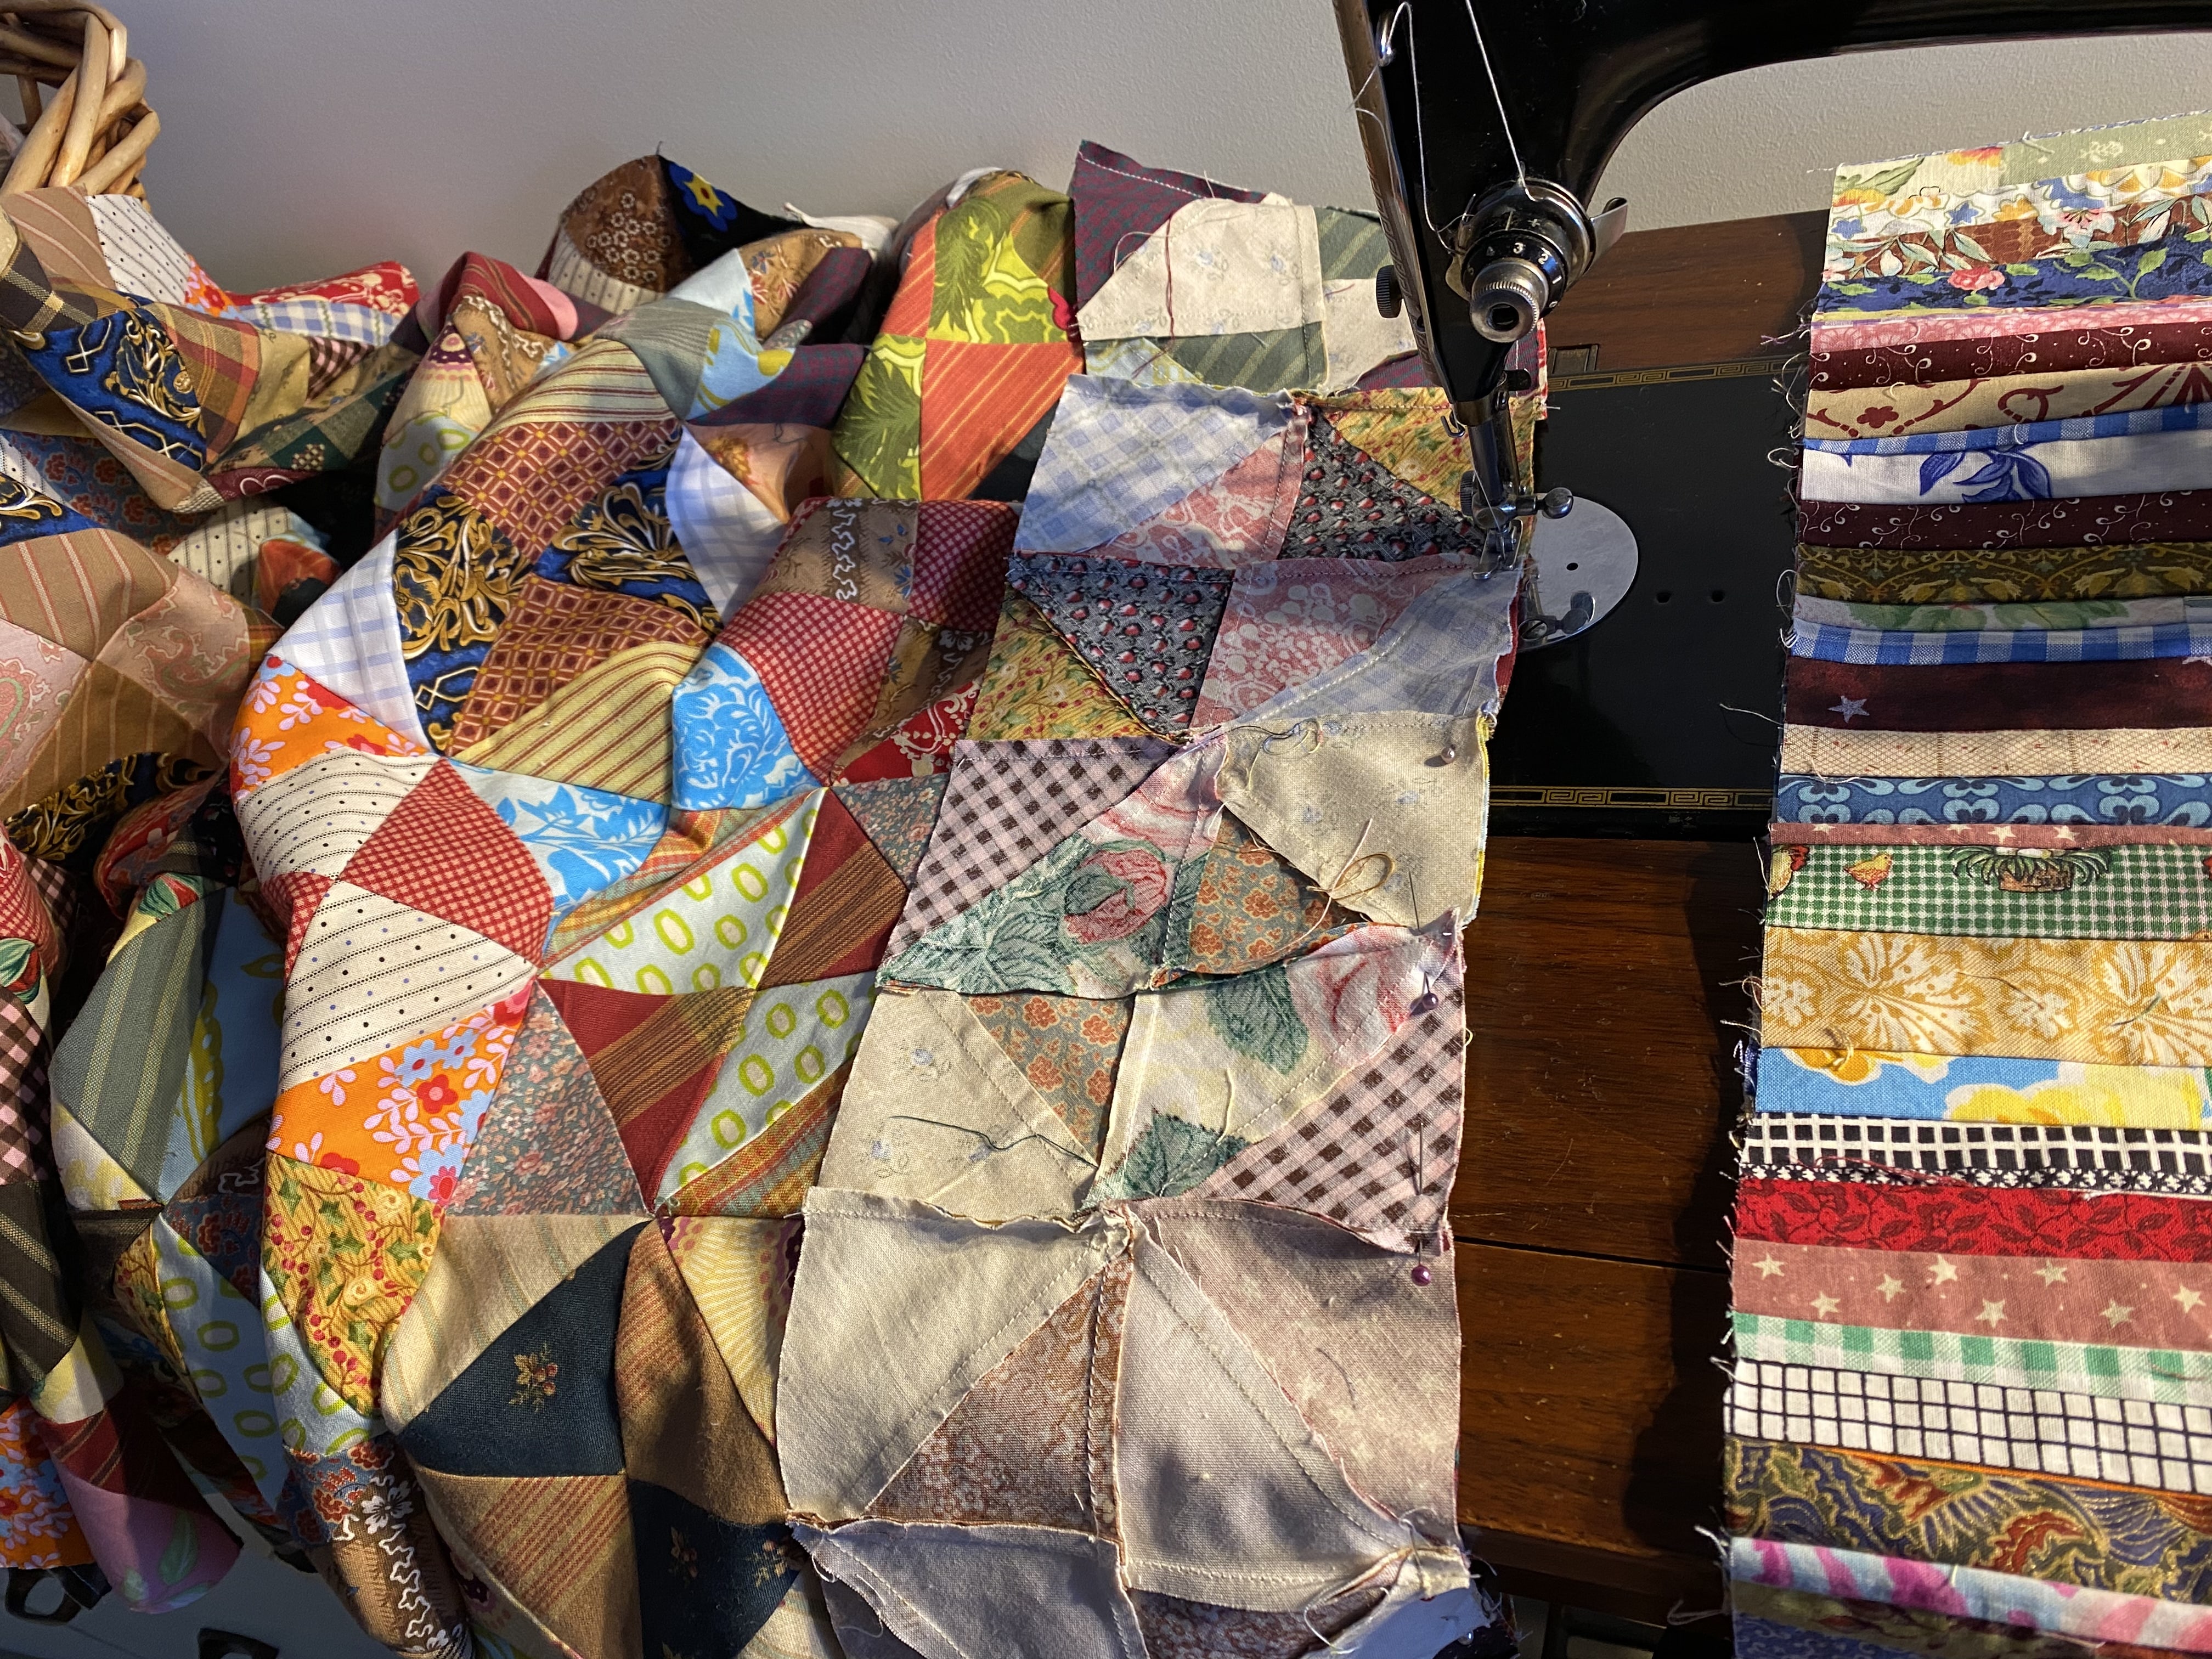
Sew the Strings and Things blocks end to end into two longer strips of 7 blocks each to make the top and bottom borders on the shorter ends of the quilt top. Trim the ends if necessary to square up.
Scrappy Broken Dishes Quilt – Antique Inspired
Sew the two string strips to the top and bottom edges (the short sides) of the quilt.
Scrappy Broken Dishes Quilt – Antique Inspired
Now for the quilting!
Scrappy Broken Dishes Quilt – Antique Inspired
I decided to free motion quilt a Sashiko design on this quilt and you can see how i did that here.