This post will primarily discuss the fabric requirements and cutting. All the links listed will give instructions for each part of the construction.
For those of you, who are new to this quilt, it is all rotary cut from strips and hand pieced. Quilt as desired. I chose to hand quilt this one.
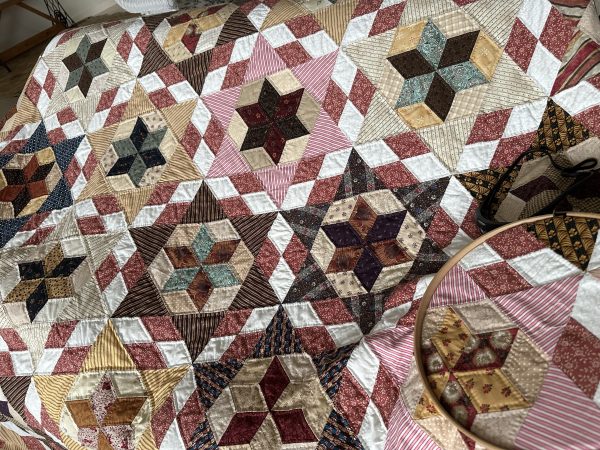
I was delighted to finish this quilt for my son. It started about four years ago as a portable hand stitching project from Civil War Reproduction print scraps. Here are all the previous posts and instructions all the parts of making this quilt.
From at least 42 assorted 2 1/2” width of fabric strips in medium and dark prints. (approximately 3 yards/metres or a jelly roll) for the six pointed stars. Sub Cut 252 60 degree diamonds to make 42 of the Six Pointed Stars Antique Inspired.
From assorted neutral fabrics cut 42 of 2 1/2” strips. Sub Cut 252 of 60 degree diamonds from assorted light coloured neutral fabrics. As many different neutrals as available. Use a neutral jelly roll or approximately 3 yards / metres assorted neutral fabrics.
12 assorted striped fabrics for the large star points. At least 3 yards / metres in total.
Cut 22 of 4 3/4 width of fabric strips. Sub Cut 266 of 60 degree triangles for the large star points and includes 14 extra to finish two of the opposing sides of the quilt.
This is a wonderful quilt to make. The journey was lovely. It is a good size and I really like the antique look. Maybe you will join me? Feel free to email me with any questions or comments.
Scrappy Housetop Log Cabin Variation Quilt Top Vintage Inspired
Hello Dear Friends and Readers, I know I have been on a bit of a Log Cabin fest recently, but hey, the scraps are being put to good use. If you have been joining me on this journey I would really like to encourage you to use those scraps especially the ones you don’t care for that much! They will be transformed!! ????
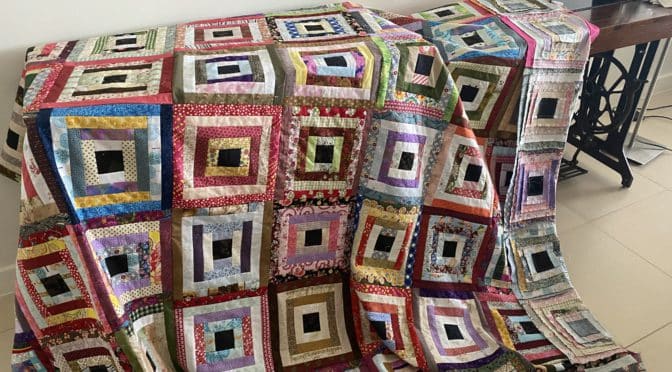
I have to admit to feeling a sense of accomplishment today. I have cut up lots of 1 1/2” fabric strips ready for making this Scrappy Housetop Log Cabin Variation Quilt Top Vintage Inspired. (Technically it is a Courthouse Steps variation)
Honestly this is quite a lot of fabric, collectively approximately 8 yards / metres of scraps which are going to have a home in this Scrappy Housetop Log Cabin Variation Quilt Top Vintage Inspired.
For this quilt top, my constant is the black centre squares, which are also scrappy. I have used all kinds of prints without discriminations, so it is a true scrappy quilt. In this quilt there is a myriad of prints including novelty, plaids, brights, batiks, reproductions, florals, directional prints, plaids, ginghams, shirtings, solids, moderns and Japanese prints. All I had to decide is whether they were light or dark!
Previously I posted the directions for making the block here.
If you can’t decide whether it is light or dark, make sure it lies next to a more contrasting fabric, OR, for example if you need light but it looks more medium, turn it over and use the reverse,
Scrappy Housetop Log Cabin Variation Quilt Top Vintage Inspired susies-scraps.com
Now they are all cut up and ready to go! Check it out
Scrappy Housetop Log Cabin Variation Quilt Top Vintage Inspired susies-scraps.com
Requirements for the Scrappy Housetop Log Cabin Variation Quilt Top Vintage Inspired
72 of black centre squares 2 ½ x 2 ½
All the strips are cut from 1 ½” width of fabric strips. The cutting goes quite quickly because we are using 2 each of each strip size and fabric for each block.
Light strips – 144 each of 2 ½, 4½”, 6 ½”, 8 ½” lenghts.
Dark Strips – 144 each of 4 ½”, 6 ½”, 8 ½” and 10 ½“ lenghts.
Scrappy Housetop Log Cabin Variation Quilt Top Vintage Inspired susies-scraps.com
I like the dramatically visual effect that the black centres help create along with the contrasting light and dark fabrics,
Scrappy Housetop Log Cabin Variation Quilt Top Vintage Inspired susies-scraps.com
Here I have made 40 blocks. They are not put together yet. They look pretty striking.
I have been sewing all these blocks by treadle. Its very nice just being in the zone. I think its a bit like meditation. Very enjoyable and relaxing. no stress as they are just scraps!
Now I have made the 72 blocks. Here are the blocks laying out. not pressed yet.
Scrappy Housetop Log Cabin Variation Quilt Top Vintage Inspired susies-scraps.com
Now the blocks have been nicely pressed and I am sewing them together. Im using this Singer 201k treadle which is such a beautiful little stitcher. She sews like a dream.
Scrappy Housetop Log Cabin Variation Quilt Top Vintage Inspired susies-scraps.com
TIP
When sewing the quit together, after sewing the first column of blocks, pin the edges of the first column of blocks together. This prevents the blocks from getting tangled as the subsequent columns are added. This is a great time saver! ????
Build the Scrappy Housetop Log Cabin Variation Quilt Top Vintage Inspired
Warning!! Ha ha, this is a very easy quilt top to put together. There is very little seam matching except for joining the blocks and ensuring the seams are nicely nested!!
When laying out the blocks I have alternated the blocks so that there is no seam matching.. That is the last long 10 1/2“ strips of each block alternate, vertical horizontal vertical and so on.
Scrappy Housetop Log Cabin Variation Quilt Top Vintage Inspired susies-scraps.com
I like to chain sew the whole quilt top together by adding all the blocks in columns and then turning the whole top to sew all of the rows. This scaffolding technique makes building the quilt very easy and the seams lay nicely. See the tip above for a smoother experience. This link explains this technique using a small block.
New Scrappy Double Four in Nine Patch Jacobs Ladder Quilt Block Variation
Hello Dear Friends and Readers. Welcome to todays post. I think you might really like today’s new scrappy quilt block. I do believe it is a New variation on the Jacob’s Ladder Quilt Block. I have been working on this for quite a while and am excited to share it with you all. It’s a way in which small and medium scraps can be combined into a very interesting yet simple block. There is lots of movement and opportunity to vary colours to create an eye catching quilt with secondary and tertiary designs emerging from the blocks. A wonderful way to use your collection of little scraps.
Are you ready for a new challenge? Maybe something to make over the holiday period. ….
Jacob’s Ladder is an old block with some biblical meanings which can also go by a number of different names depending on colour placement among other things. One of the things I like about it is the inevitable secondary designs which can occur muck like is found with Log Cabin blocks.
Method of Construction for the New Double Four in Nine Patch Jacob’s Ladder Variation Quilt Block
To make the Half Square Triangle units. Rule a diagonal line across the back of the taupe squares. Lay each ome right side together with a white square. Sew a line 1/4” from the line on each side of the line. Use a rotary cutter and ruler to cut through the drawn line. Open each one to reveal four blocks. Trim the doggy ears and trim block to 4 1/2” x 4 1/2”.
New Scrappy Double Four In Nine Patch Jacobs Ladder Quilt Block Variation susies—scraps.comNew Scrappy Double Four In Nine Patch Jacobs Ladder Quilt Block Variation susies—scraps.com
Lay out the five of Double Four Patch blocks in a Nine patch configuration placing one in each corner and one in the centre. Make sure that all of the small four patches are running in the same diagonal direction.
Put the Half Square Triangle units in the four remaining positions making sure that the taupe side of the triangles face toward the centre of the diagional.
New Scrappy Double Four In Nine Patch Jacobs Ladder Quilt Block Variation susies—scraps.com
Sew the block together like a Nine Patch.
New Scrappy Double Four In Nine Patch Jacobs Ladder Quilt Block Variation susies—scraps.com
Press the block. Now you can make some more.
New Scrappy Double Four In Nine Patch Jacobs Ladder Quilt Block Variation susies—scraps.com
There is the New Scrappy Double Four In Nine Patch Jacobs Ladder Quilt Block Variation.
I hope you will enjoy making these blocks.
If you love making four patches like I really do, you might also like these four patch related posts
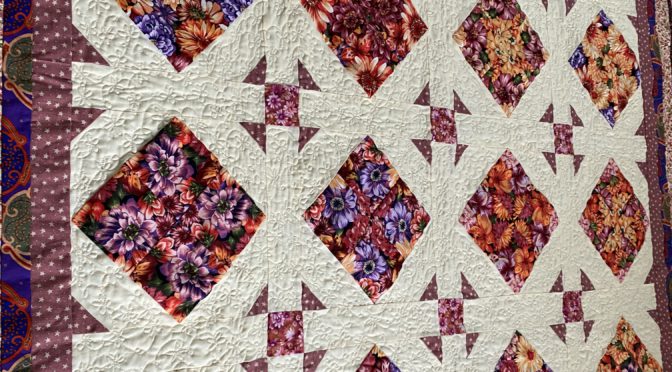
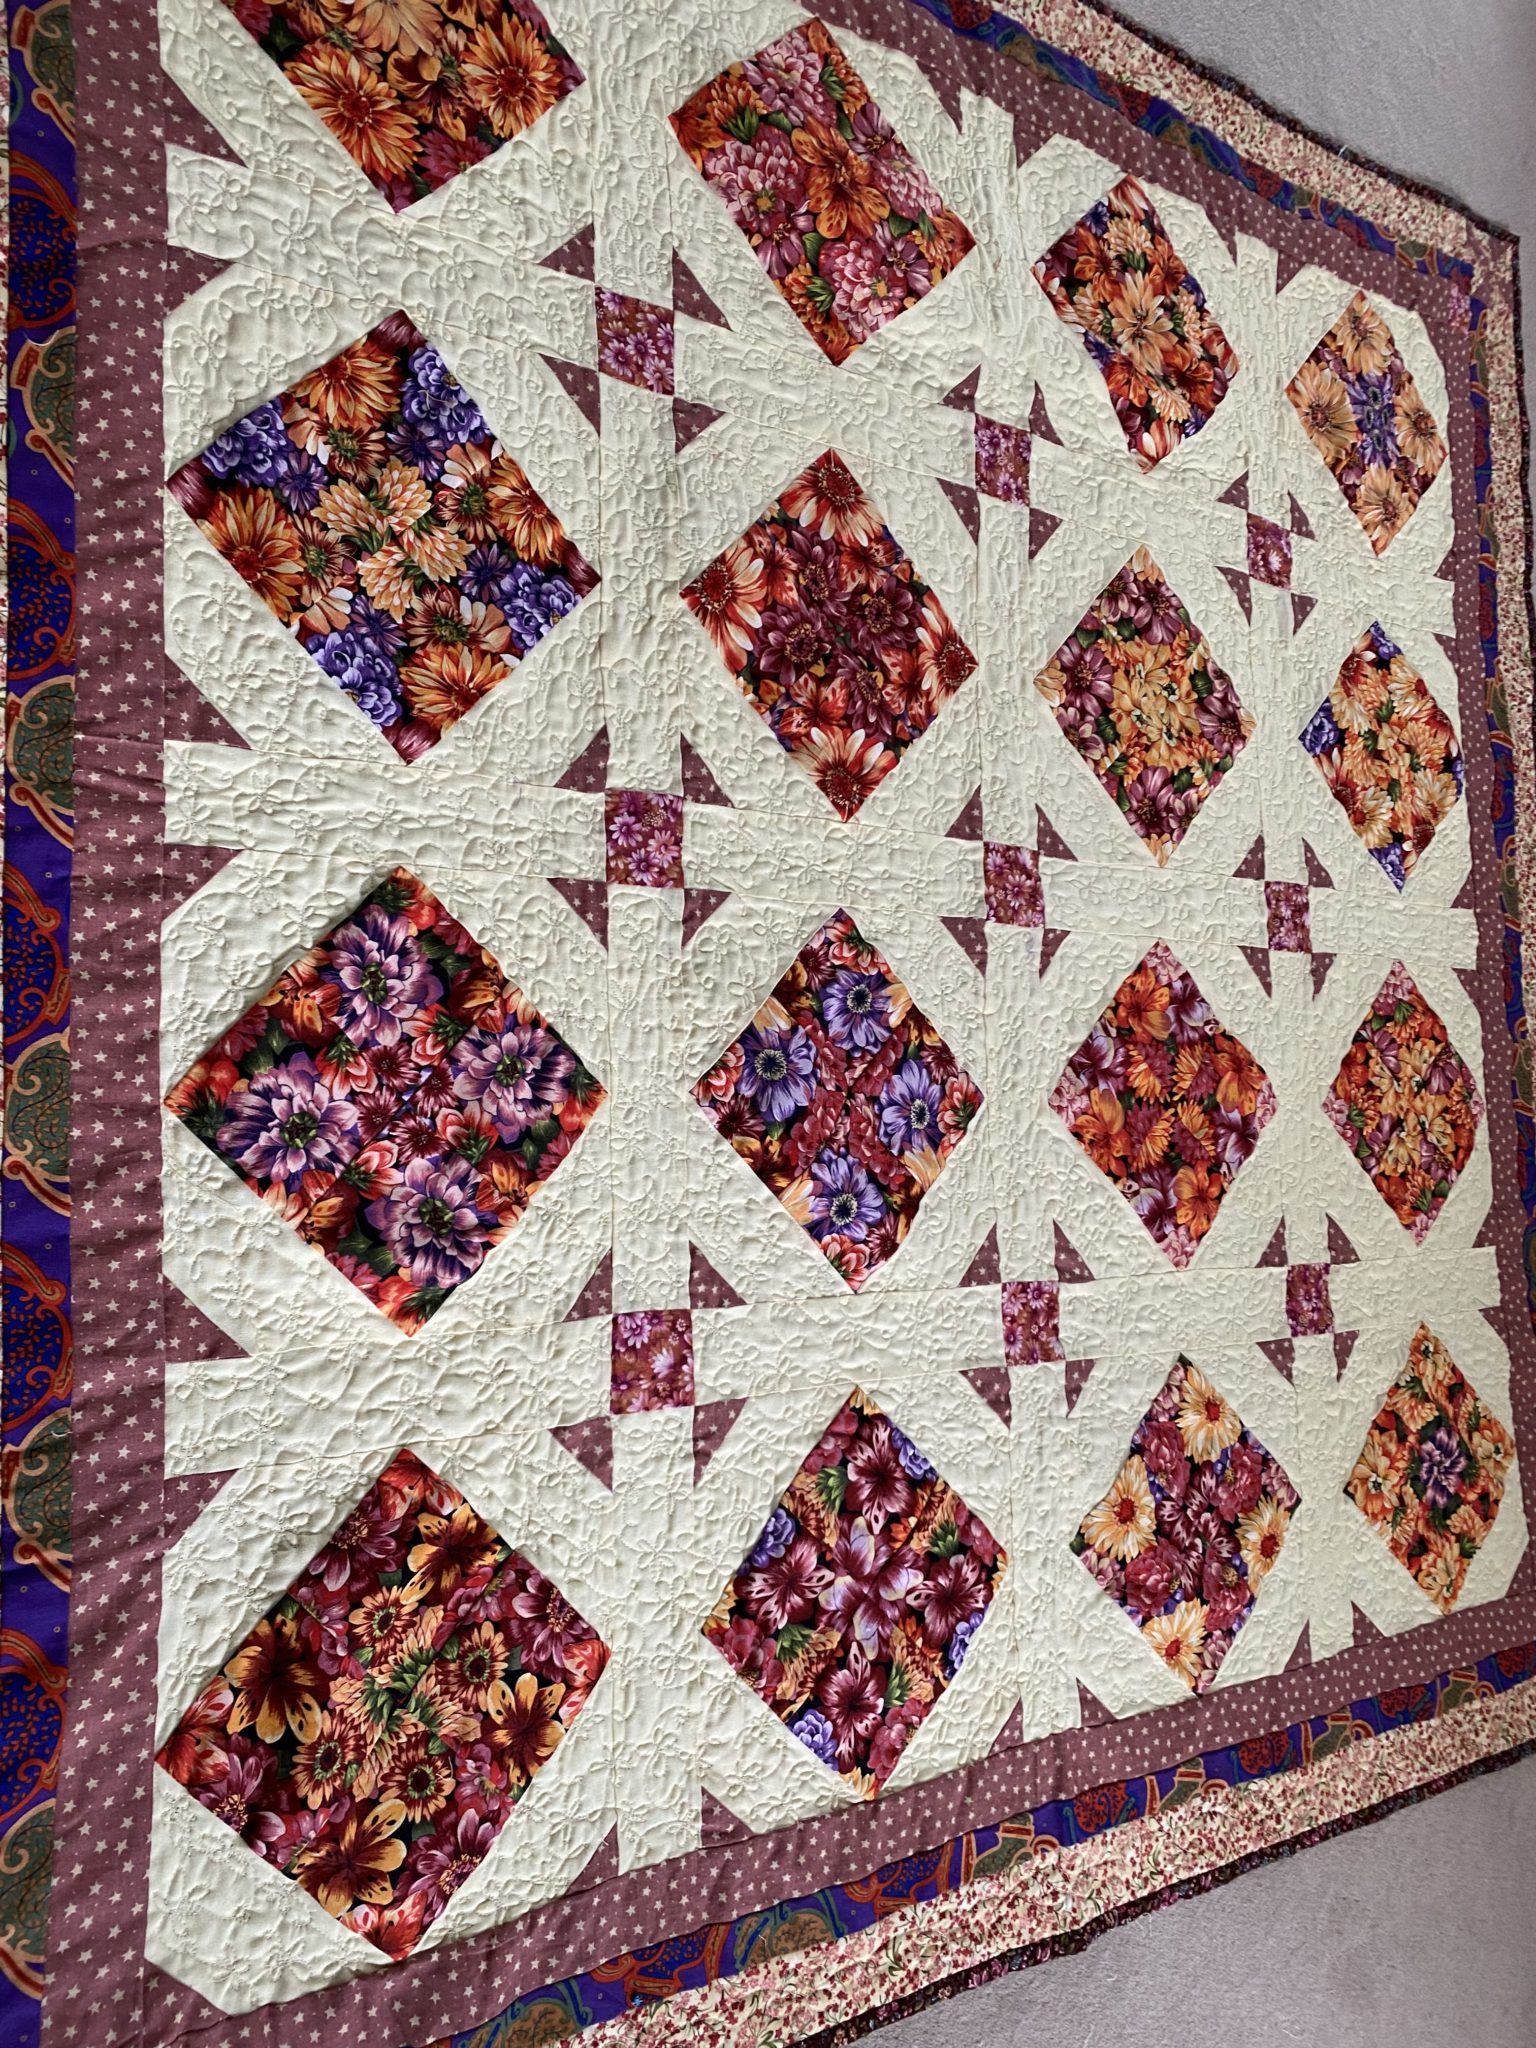
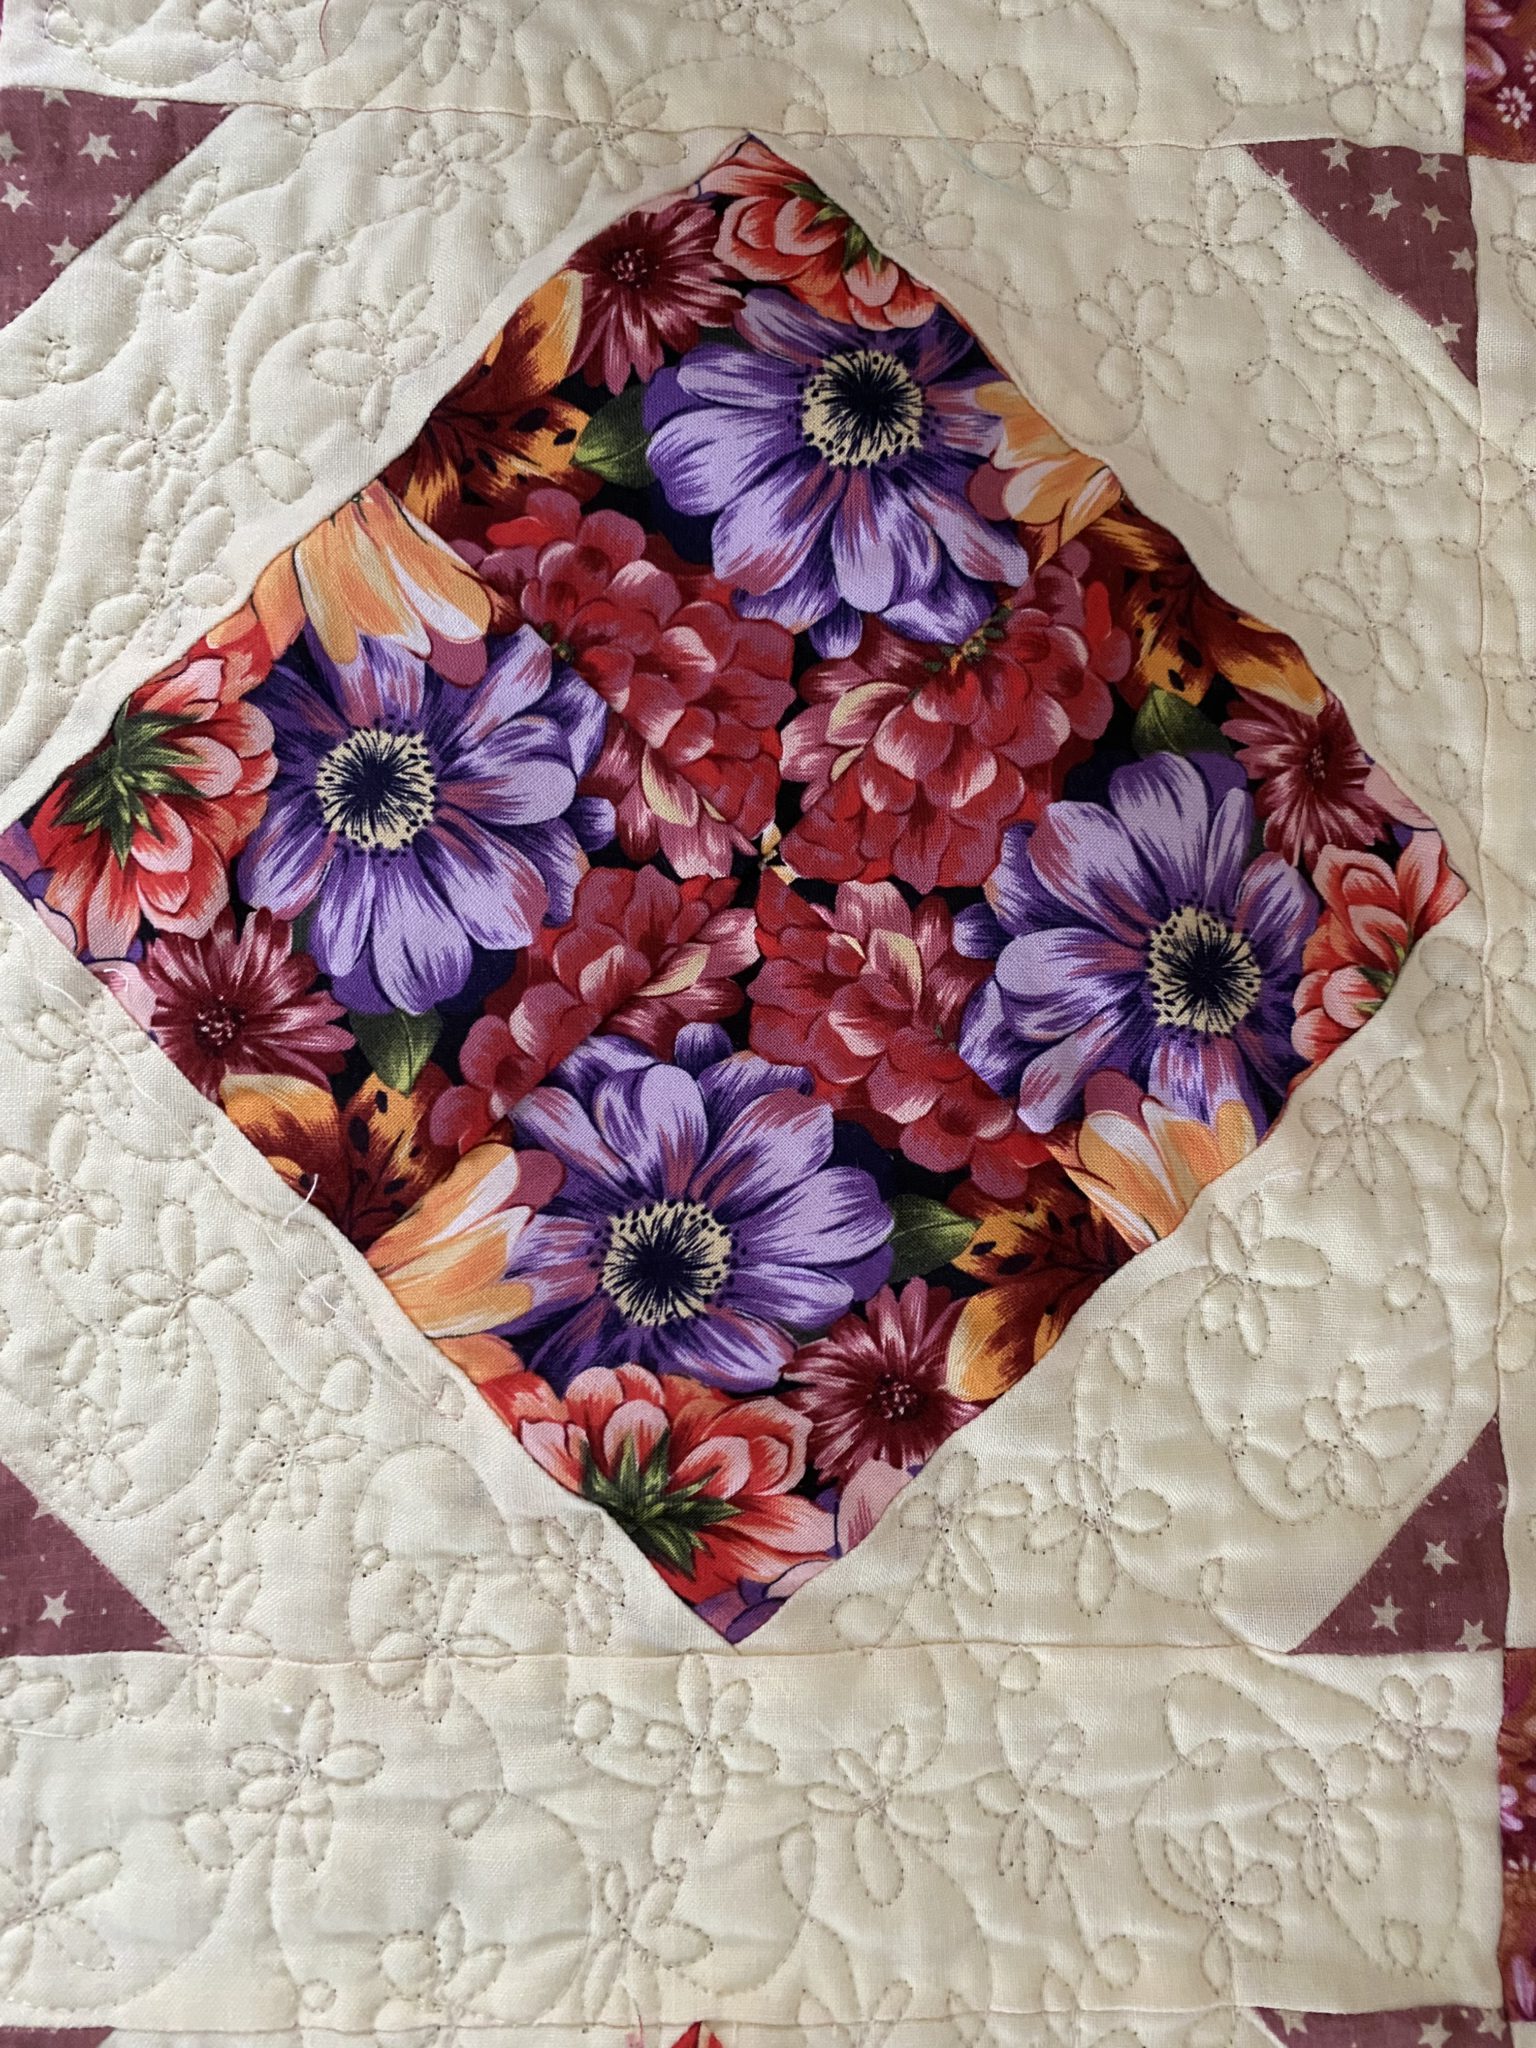
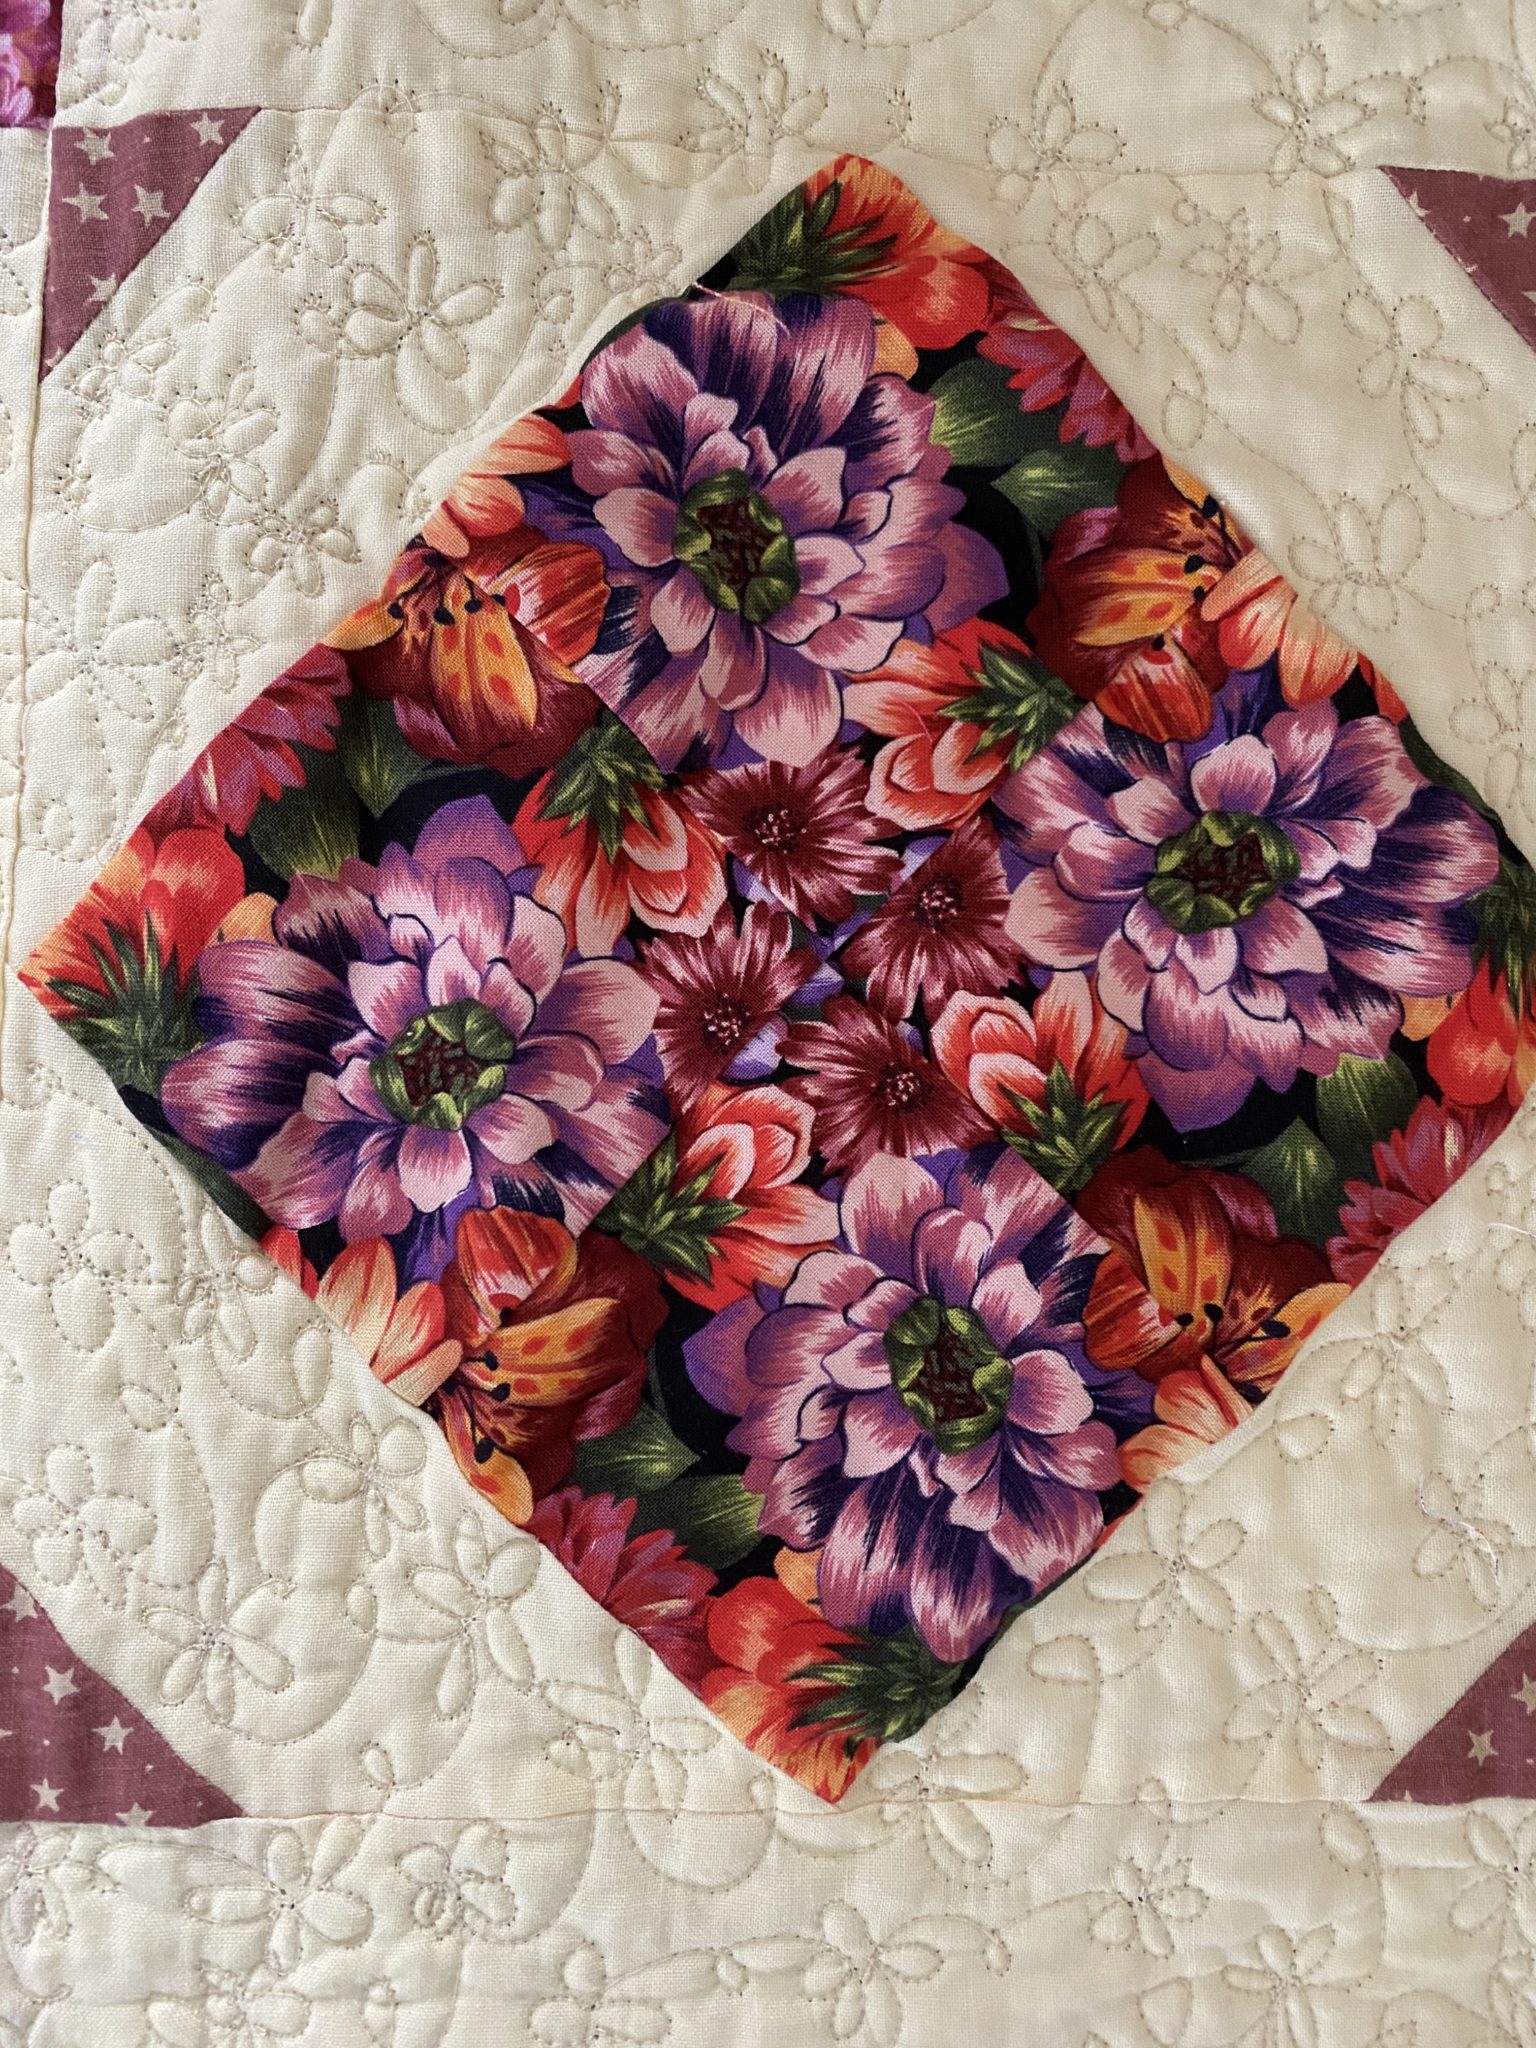
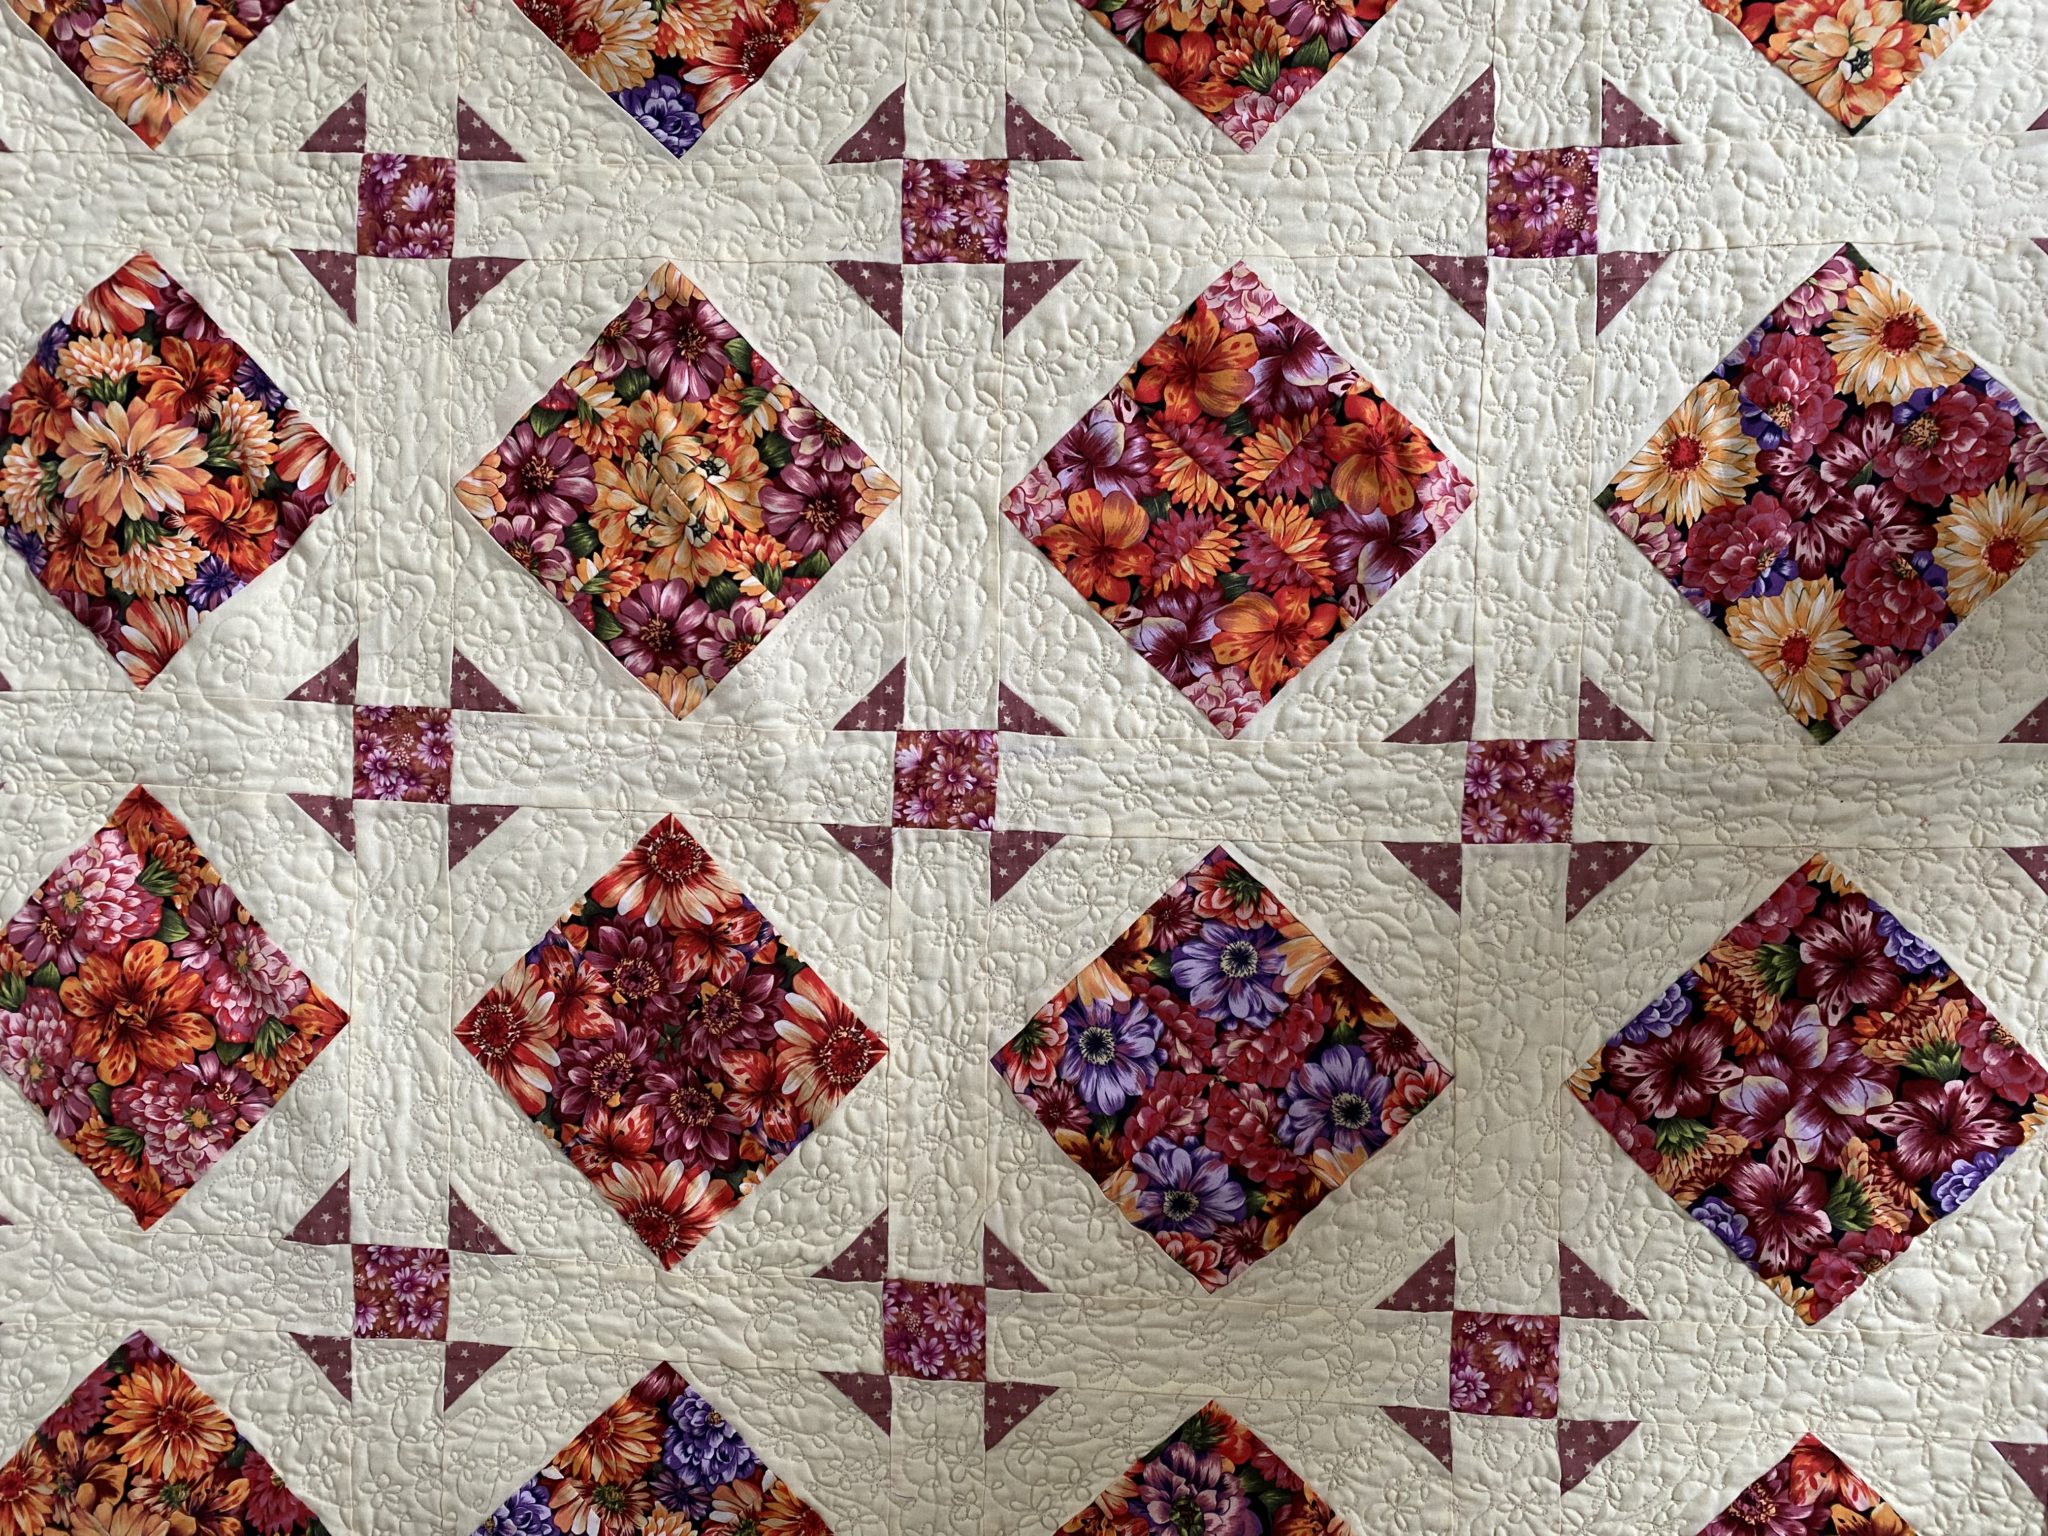
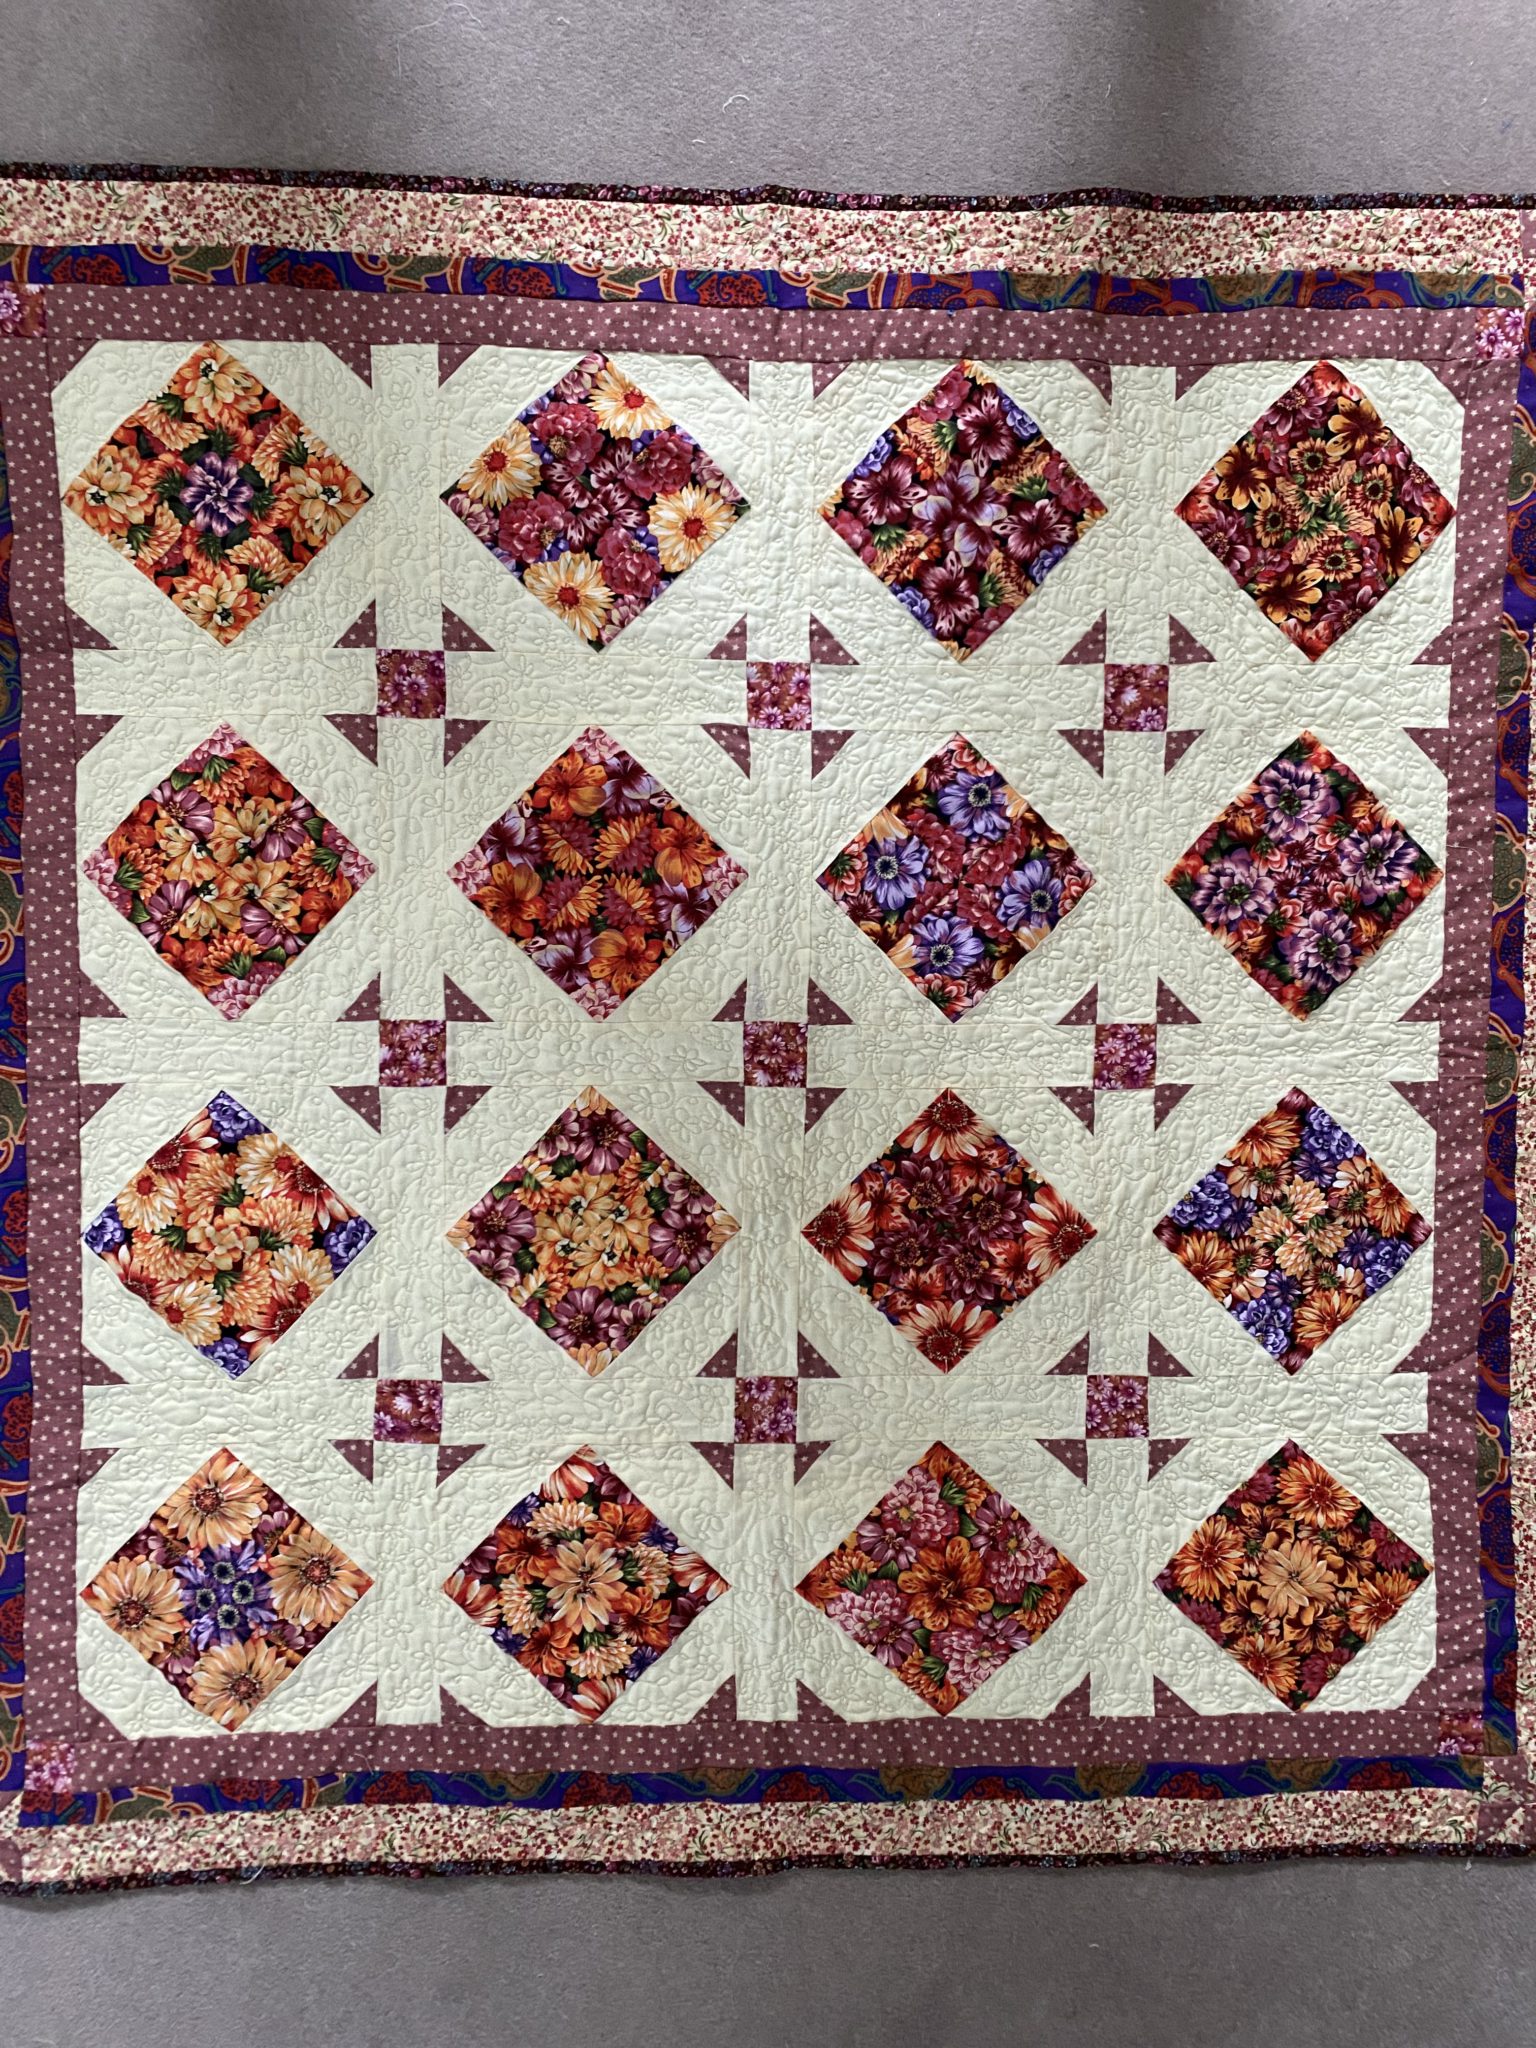
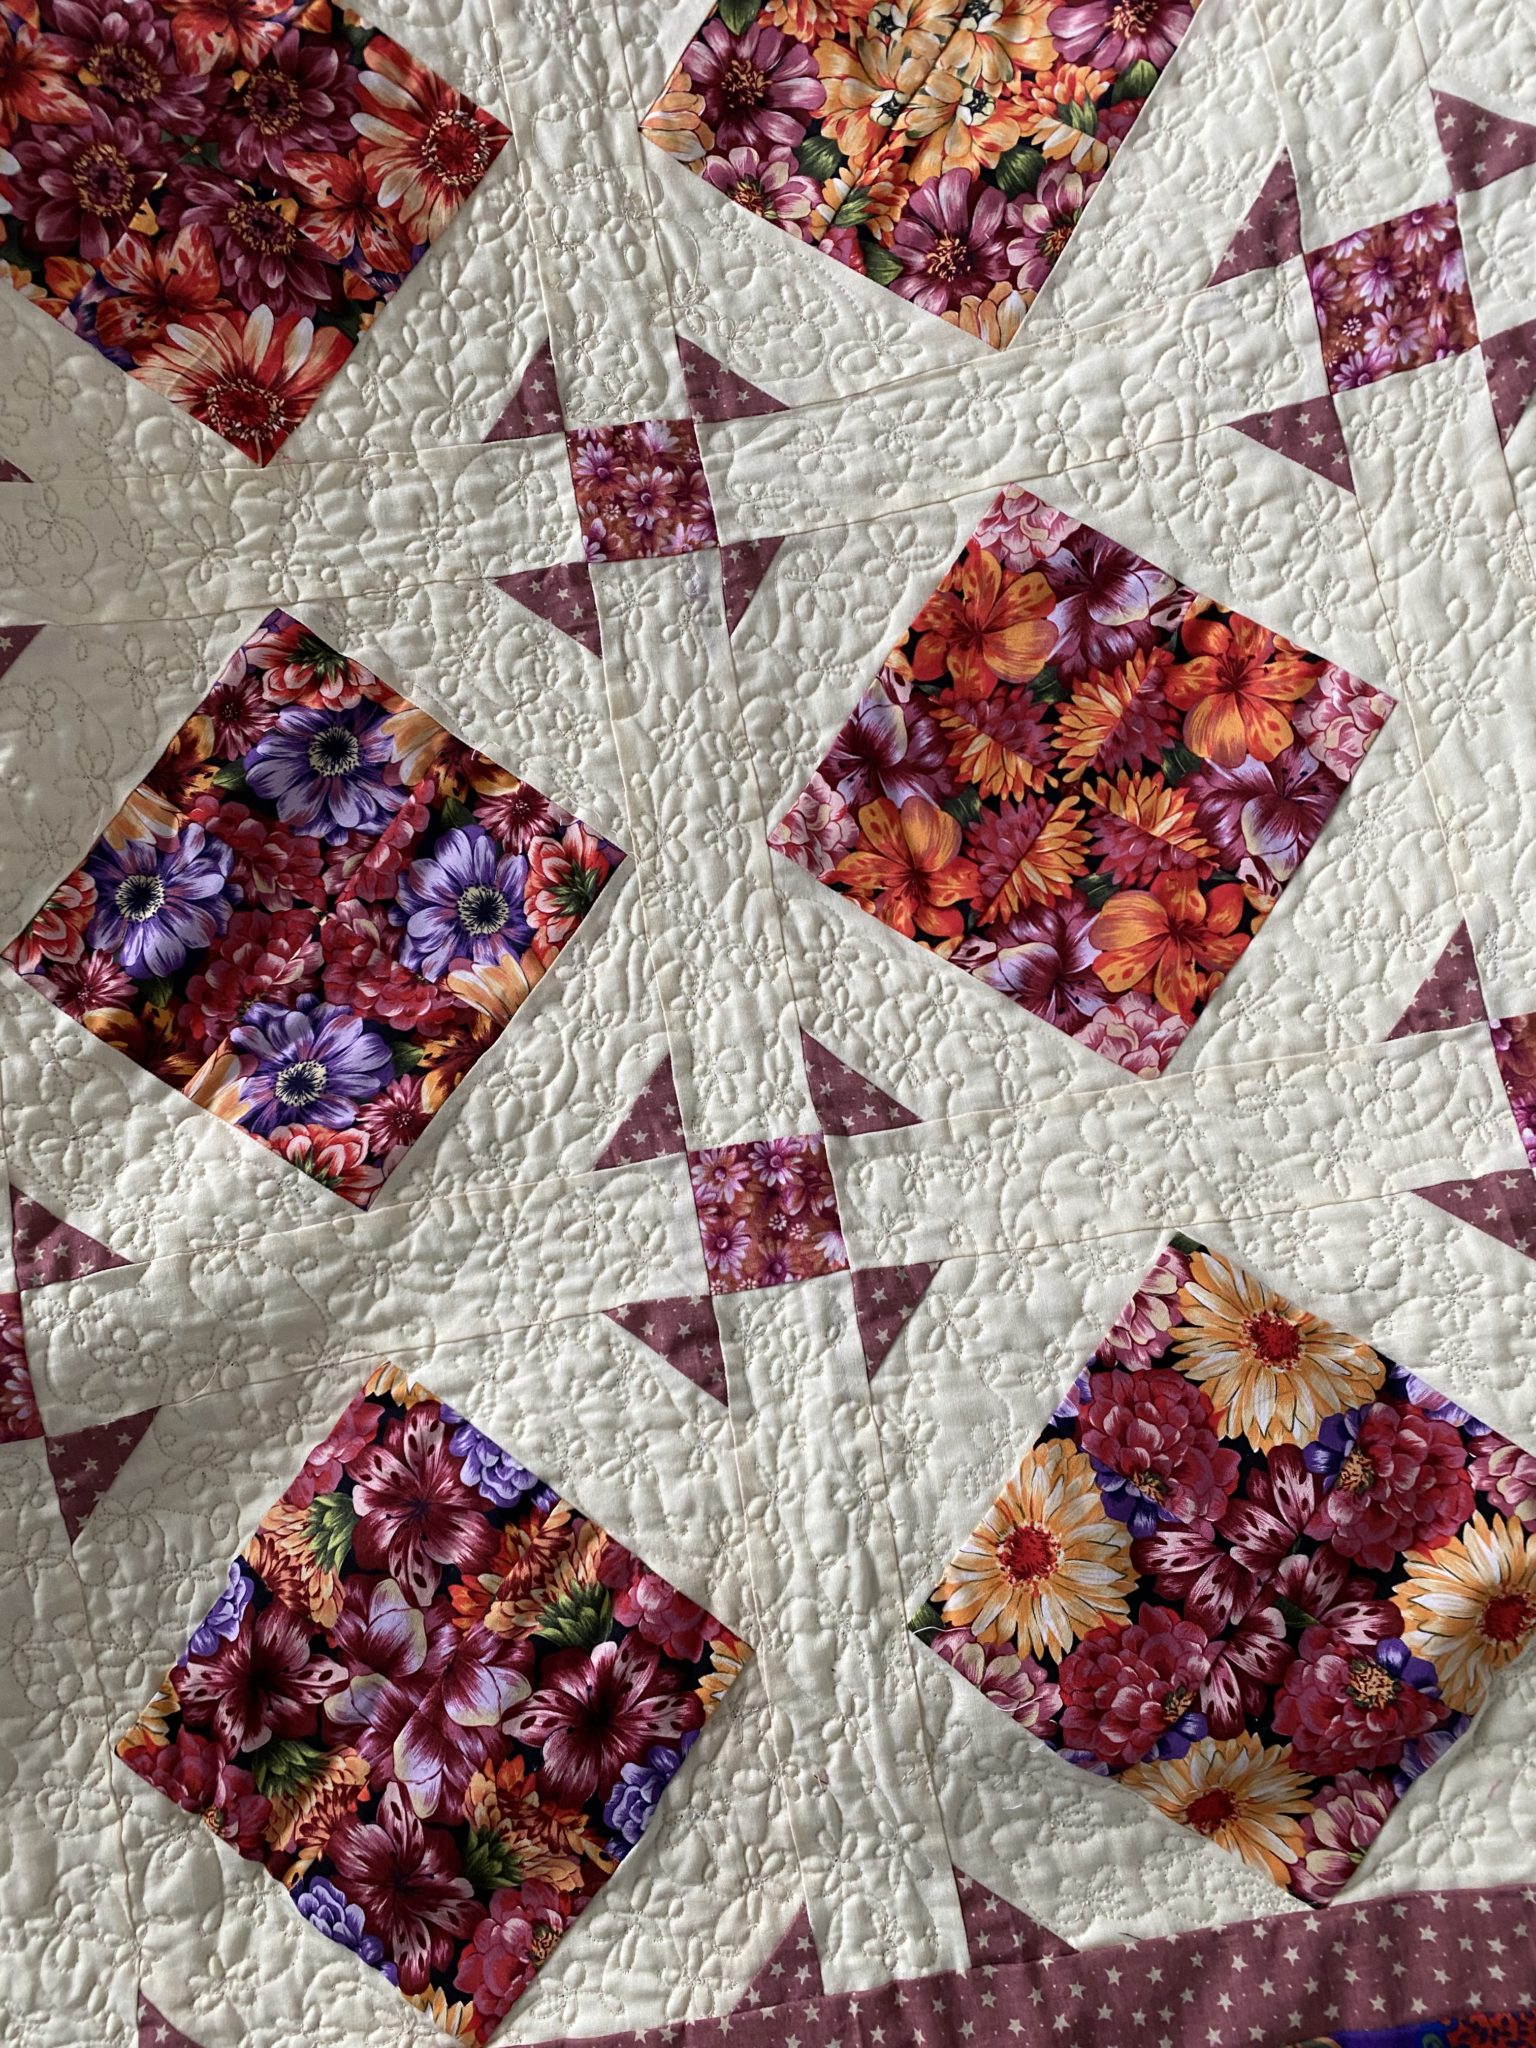
This quilt is called Purple Posies On Point Quilt. I had a length of an orangy purple and pink floral print which I wasn’t sure how I would use, or even if I liked it anymore, but I think the way I used it turned out nicely. Setting the blocks on point with the solid background fabric gives the quilt a fresh and happy lift.
I was also aware that the piece of fabric was not big enough for something like a border either, so that was when I decided to make the four patch posies out of the the fabric. I had just enough to make sixteen blocks which was perfect for a lap quilt.
It is really nice, I think, to take up the challenge of using something from my stash and combine it with what is already there and make it work. Another thing, I would love to hear your thoughts on this, I love purple, as a colour but I’m somewhat reticent about using it in quilts. I’m not saying I don’t, but rather that I use it cautiously as a dominant or theme colour. Maybe its because, purple doesn’t really seem to be the most popular colour in interior design, but, having said that, eggplant is a colour that has been used a lot more recently. Funnily enough, purple has traditionally been used as a royal colour or a religious colour. Here is an interesting article about purple.
For me, I have decided that mixing various hues of purple seems to work well in quilts. Here is another quilt I made with some purple fabrics I had on hand.
Moving back to todays project, lets get on with it. Think about a big print you may have in your stash. It might just become part of a lovely lap quilt!
Finished quilt size 51 1/2” x 51 1/2”
Finished Block size 9” x 9”
All seams based on 1/4”
Purple Posies On Point Quilt susies-scraps.com
Requirements for the Purple Posies On Point Quilt
16 Posies On Point Blocks. Here is the link to make them.
1 yard/metre of a light background fabric, I used a solid lemon homespun
14” of pink print for the snowball corners, 1st border and pinwheels
1 of a 2 1/2” Width of Fabric strip of a secondary pink print for the sashing cornerstones and 1st border cornerstones.
10” of purple print for the second border
15” width of fabric of contrasting small print for the 3rd border and pinwheels
14” width of fabric of contrasting but complementary fabric for the binding. I used purple.
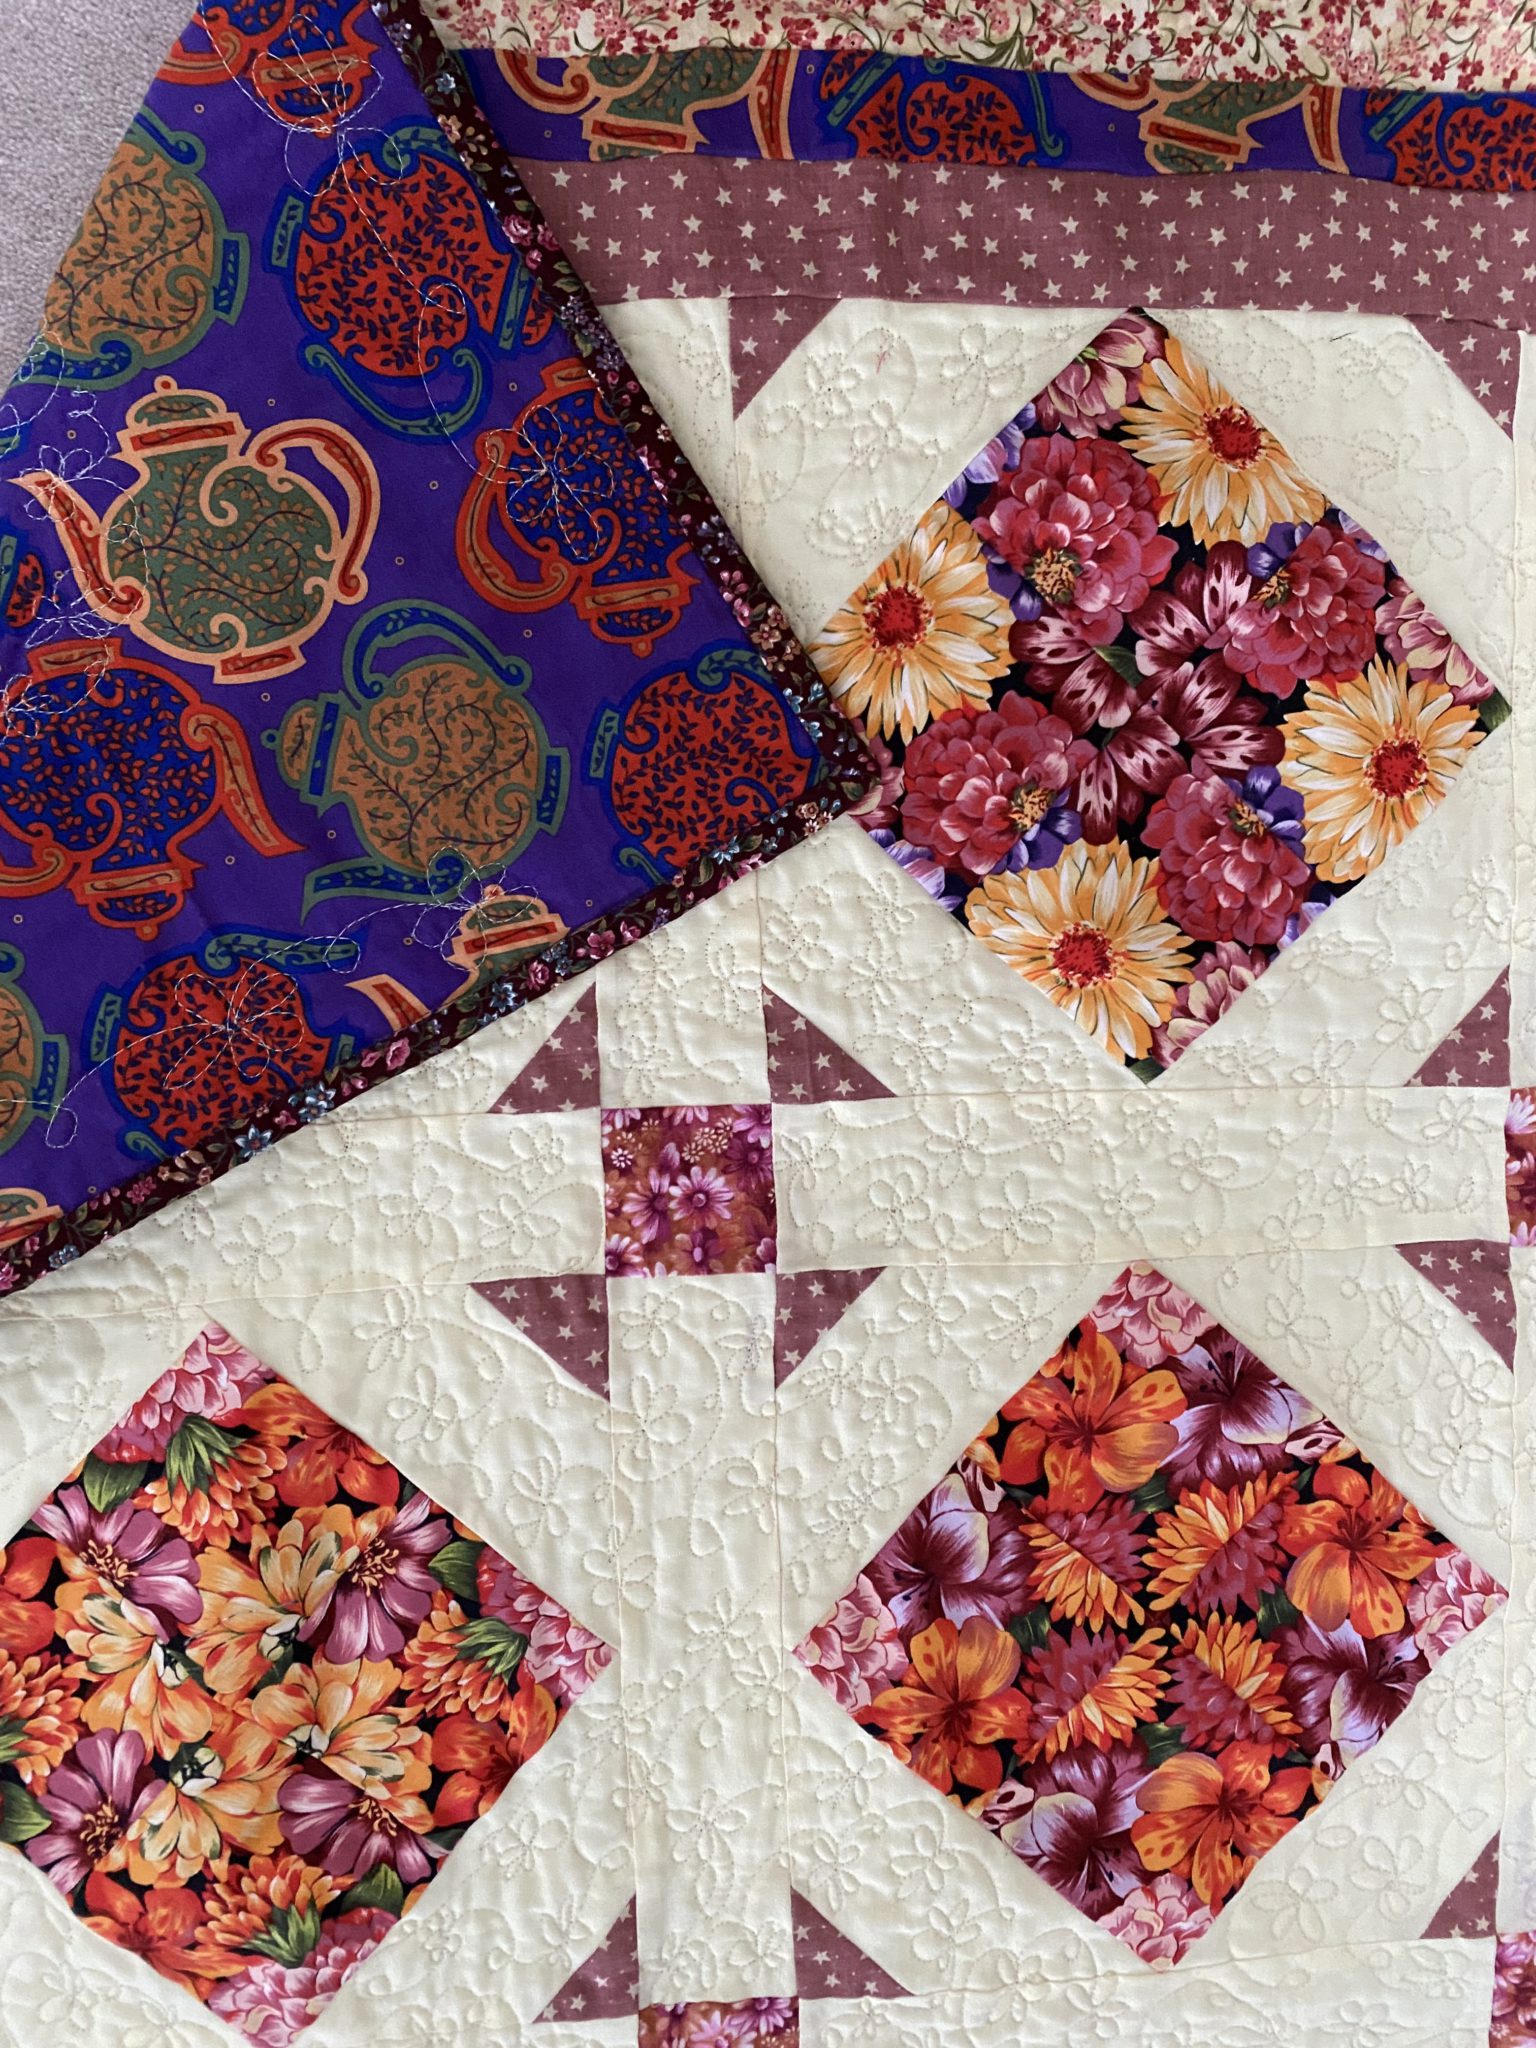
3 1/2 yards/ metres of backing fabric. I used a purple print.
Cutting the fabrics
From the background fabric, cut 6 of 2 1/2” width of fabric strips for the sashings. Sub cut 24 of 9 12” x 2 1/2” strips
From the pink print fabric, cut, 6 of 2” width of fabric strips, and subcut 80 of 2” x 2” squares
From the secondary pink 2 1/2” strip, subcut, 9 of 2 1/2” x 2 1/2” squares (for the cornerstones) and 4 of 2” x 2” squares (for the 1st border cornerstones)
From the purple print fabric, cut 5 of 1 1/2” width of fabric strips for the second border
From the contrasting small print, cut five of 2 1/2” width of fabric strips and 16 of 2” x 2” squares
From the binding fabric, cut 5 of 2 1/2” width of fabric strips
Method of Construction
Complete your 16 Posies on Points Blocks as mentioned in the link.
Take 64 of the 2” x 2” pink squares and the Posies On Point Blocks to the machine. Lay a 2” square right side down on one corner of the Posie block. Sew across the diagonal. If you like you can draw a line on the wrong side of the square or fold it on the diagional to give a guide for your seam. Trim to 1/4” and flip the triangle back toward the corner. Repeat for the remainder 63 corners of all the Posies on Point Blocks.
Now they should look like this. Press the blocks.
Purple Posies On Point Quilt susies-scraps.comPurple Posies On Point Quilt susies-scraps.com
Assemble the quilt top
Lay out the Blocks in a pleasing fashion in a 4 x 4 configuration. Place the sashing strips in between each block and the cornerstones to complete the gaps.
Take the 24 of 9 1/2” x 2 1/2” background sashing pieces and the 9 of pink 2 1/2” x 2 1/2” cornerstones to the machine. Assemble the quilt by adding a sashing strip in between each block and the pink cornerstones.
Purple Posies On Point Quilt susies-scraps.com
When the top is sewn together it will create this secondary shoo fly pattern at each cornerstone.
Measure through the centre of the the quilt to check your measurements. It this stage it should measure approximately 42 1/2” x 42 1/2”.
Use the pink print 2” WOF strips to make 4 lengths equal to the length / width of the quilt and use the 4 of 2” x 2” secondary pink squares for the cornerstones. Attach a strip to each side of the quilt top with a pink square cornerstone in each corner.
Assemble the 2nd and 3rd Border
Use the 1 1/2” width of fabric purple strips and the 2 1/2” contrasting small print strips to make the second and third borders. Attach each of the two strips to each other to make four strips approximately 42 1/2” x 3 1/2 long.
Make the four PinwheelCornerstones
Use the 32 remainder 2” x 2” squares of pink print and contrasting small print to make the pinwheels. Put one of each of the squares, right side together and sew once on the diagional. Trim excess from one side leaving a 1/4” seam allowance. Open the block and press. Repeat to make 16 1/2 square triangle units. Set them into groups of four and into a pinwheel configuration. Sew together like a four patch. Press.
Purple Posies On Point Quilt susies-scraps.com
Attach the 2nd and 3rd borders
Sew two of the previously made lengths of the purple and small print borders to two opposite sides of the quilt top. Attach a pinwheel block to each end of the remainder two strips. Now attach these two strips to the other two sides of the top. Ensure the cornerstones are nicely nested.
It should look like this.
Press the top.
Purple Posies On Point Quilt susies-scraps.com
Quilting the Purple Posies On Point Quilt
Join two equal lengths of the purple backing fabric. Put the three layers together of the backing fabric, batting and quilt top. Smooth it out well. If you have joined your backing fabric like me then make sure the centre seam is sitting straight at the back. I usually try to use it as a guide and “feel” through the layers to line up the quilt centre. This is how I put my layers together.
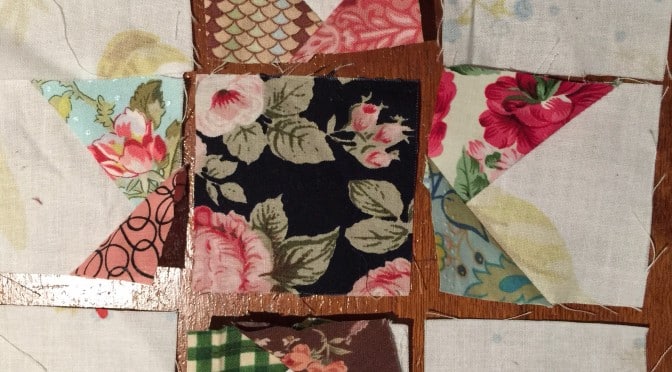
So many quilters have used this technique before me. Using a foundation is a way of being able to utilise even the smallest amount of fabric. This can be following a pattern, like with paper piecing or like with “Crazy Quilting”, where small pieces of different size and weights of fabric are sewn together in a random or crazy or “crazed” style, to eventually become one block. The pieces are either carefully pieced to fit together or pieced onto a foundation. The blocks may also be embellished with lace or embroidery or other decorative notions.
Piecing Irregular Triangles onto a foundation block could also be referred to as a type of Improvisational Patchwork. The pieces for these units can be cut by design or, as I prefer, cut by chance then incorporated onto a foundation. Whichever way this technique is labelled, I like the practicality of finding a place for my little scrap triangles.
Irregular Triangle Foundation Block
I have to say I really love this method of using small triangle scraps, to make lovely little star blocks. Even if one is not entirely enamoured by irregular piecing, these little blocks are still lovely to look at because they do take on the quality of a star which has irregular strengths of light beams coming from them. Every star will be slightly different and definitely unique from each maker, as little pieces of scrap fabric are incorporated. Using the foundation piecing brings stability to the block.
Practically speaking, you may remember when I posted my “Quilt Pantry”.
Here, I can store small amounts of scrap fabric to be incorporated into another project. Really you cannot overestimate the efficiency of this technique, because, when it comes time to sew, these little pieces, from many sources, have already been cut. Think about how long it would take to now find many different fabrics and cut little triangles for a very scrappy project – many hours I think.
Bear in mind, these can be made in any size you prefer, but for today’s example, I will use 2 1/2″ squares as my foundation and background for the block. Finished block size 6 1/2″ x 6 1/2”.
To make one of these star blocks you will need;
Eight small scrap triangles. Different sizes and colours are okay.
Eight x 2 1/2″ x 2 1/2” light background squares
One x 2 1/2″ coloured square
Irregular Triangle Foundation Block
To make the star points, take one background square, right side up. Place one scrap triangle, right side down as per the photo, ensuring that the edges of the triangle overhang each side. Sew across the long edge (hypotenuse) of the triangle 1/4″ from the edge.
Irregular Triangle Foundation Block
Turn the triangle back. Finger press. Both sides of the triangle should over hang the corner somewhat. Trim the edges off to match with the foundation block. Then trim out the excess foundation from under the triangle.
This shows the block from the wrong side before trimming, with one triangle attached.
Irregular Triangle Foundation Block
Add the next triangle, on an adjacent corner in the same manner. Trim as previously. Make four of these units. Assemble all the pieces in a nine patch configuration as shown.
Irregular Triangle Foundation Block
Sew the nine patch together ensuring all seams are nested. Press.
Irregular Triangle Foundation Block
I have to confess I still really love these little star blocks. They are so pretty! I never tire of them. Maybe you will try one of these pretty star blocks. See what you think! Once I had made few of these blocks I created this quilt.