
Quick Bind Every Time Improved
Hello Dear Friends and Readers, and a warm welcome to todays post. When it comes to binding, I have to say I think it is easy to underestimate how much work is required to get the quilt finished. The binding needs to be nice and crisp, as even as possible and should feel full. One of the things I have noticed over the years is that after trimming the edges and applying the binding strip is that it can be tricky at times to avoid pesky little tucks, pleats or wavy stretching of the quilt edge occurring in the quilt top as the binding is applied. Also keeping the distance of the binding to the edge of the quilt can also be a little challenging and lead to unevenness of the fullness of the binding. I hope that makes sense. Previously I discussed binding in a quick method here Quick Bind Every Time – Tutorial. Today will be an update on that post ands hopefully an improvement. I have used this method on my last two big quilts with great success and hopefully you might find it helpful too.
Let’s get to it.
Requirements for Quick Bind Every Time Improved
A quilted top which has not been trimmed.
Binding strips sufficient to go all the way around the perimeter of the quilt in your preferred width. Today I am using 2 1/4” width strips.
Large sharp dressmaking scissors.
Method for Quick Bind Every Time Improved
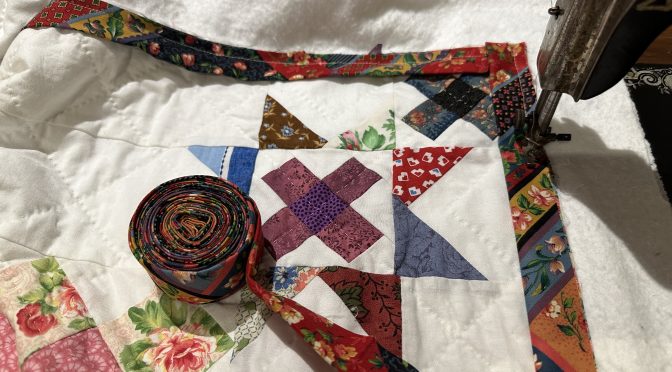
Essentially the method remains unchanged except, the quilt will not be trimmed prior to adding the binding.
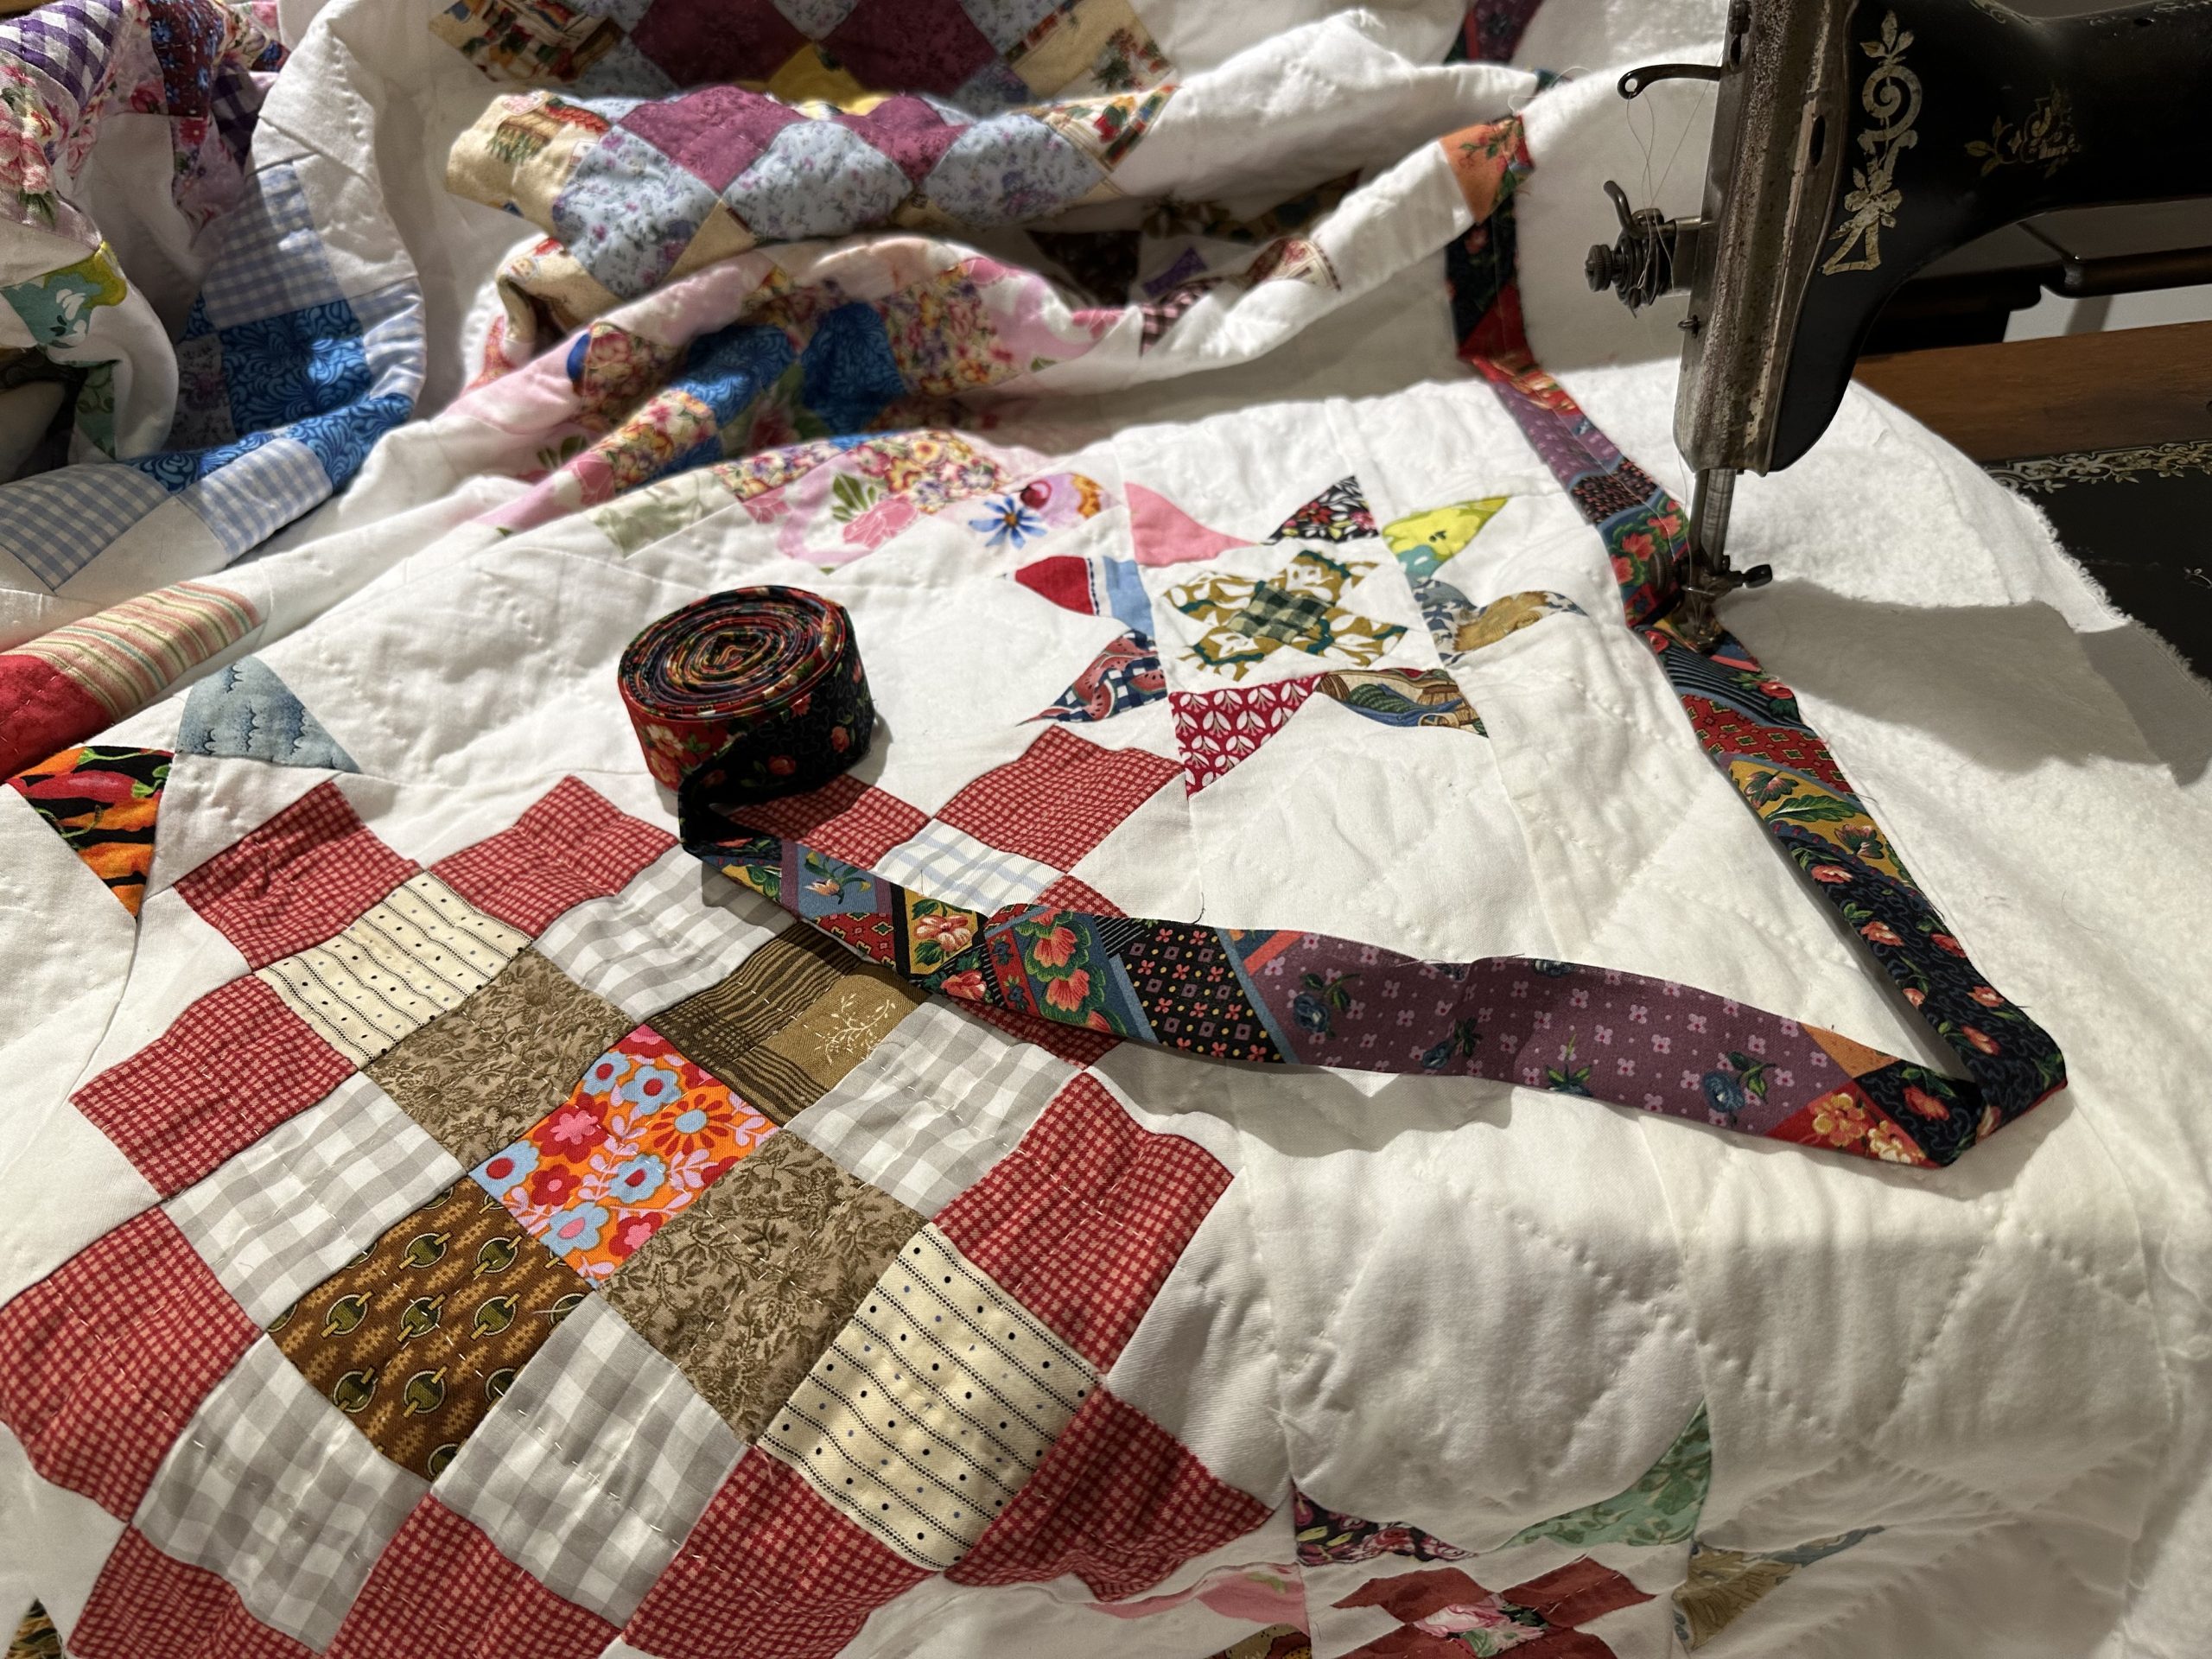
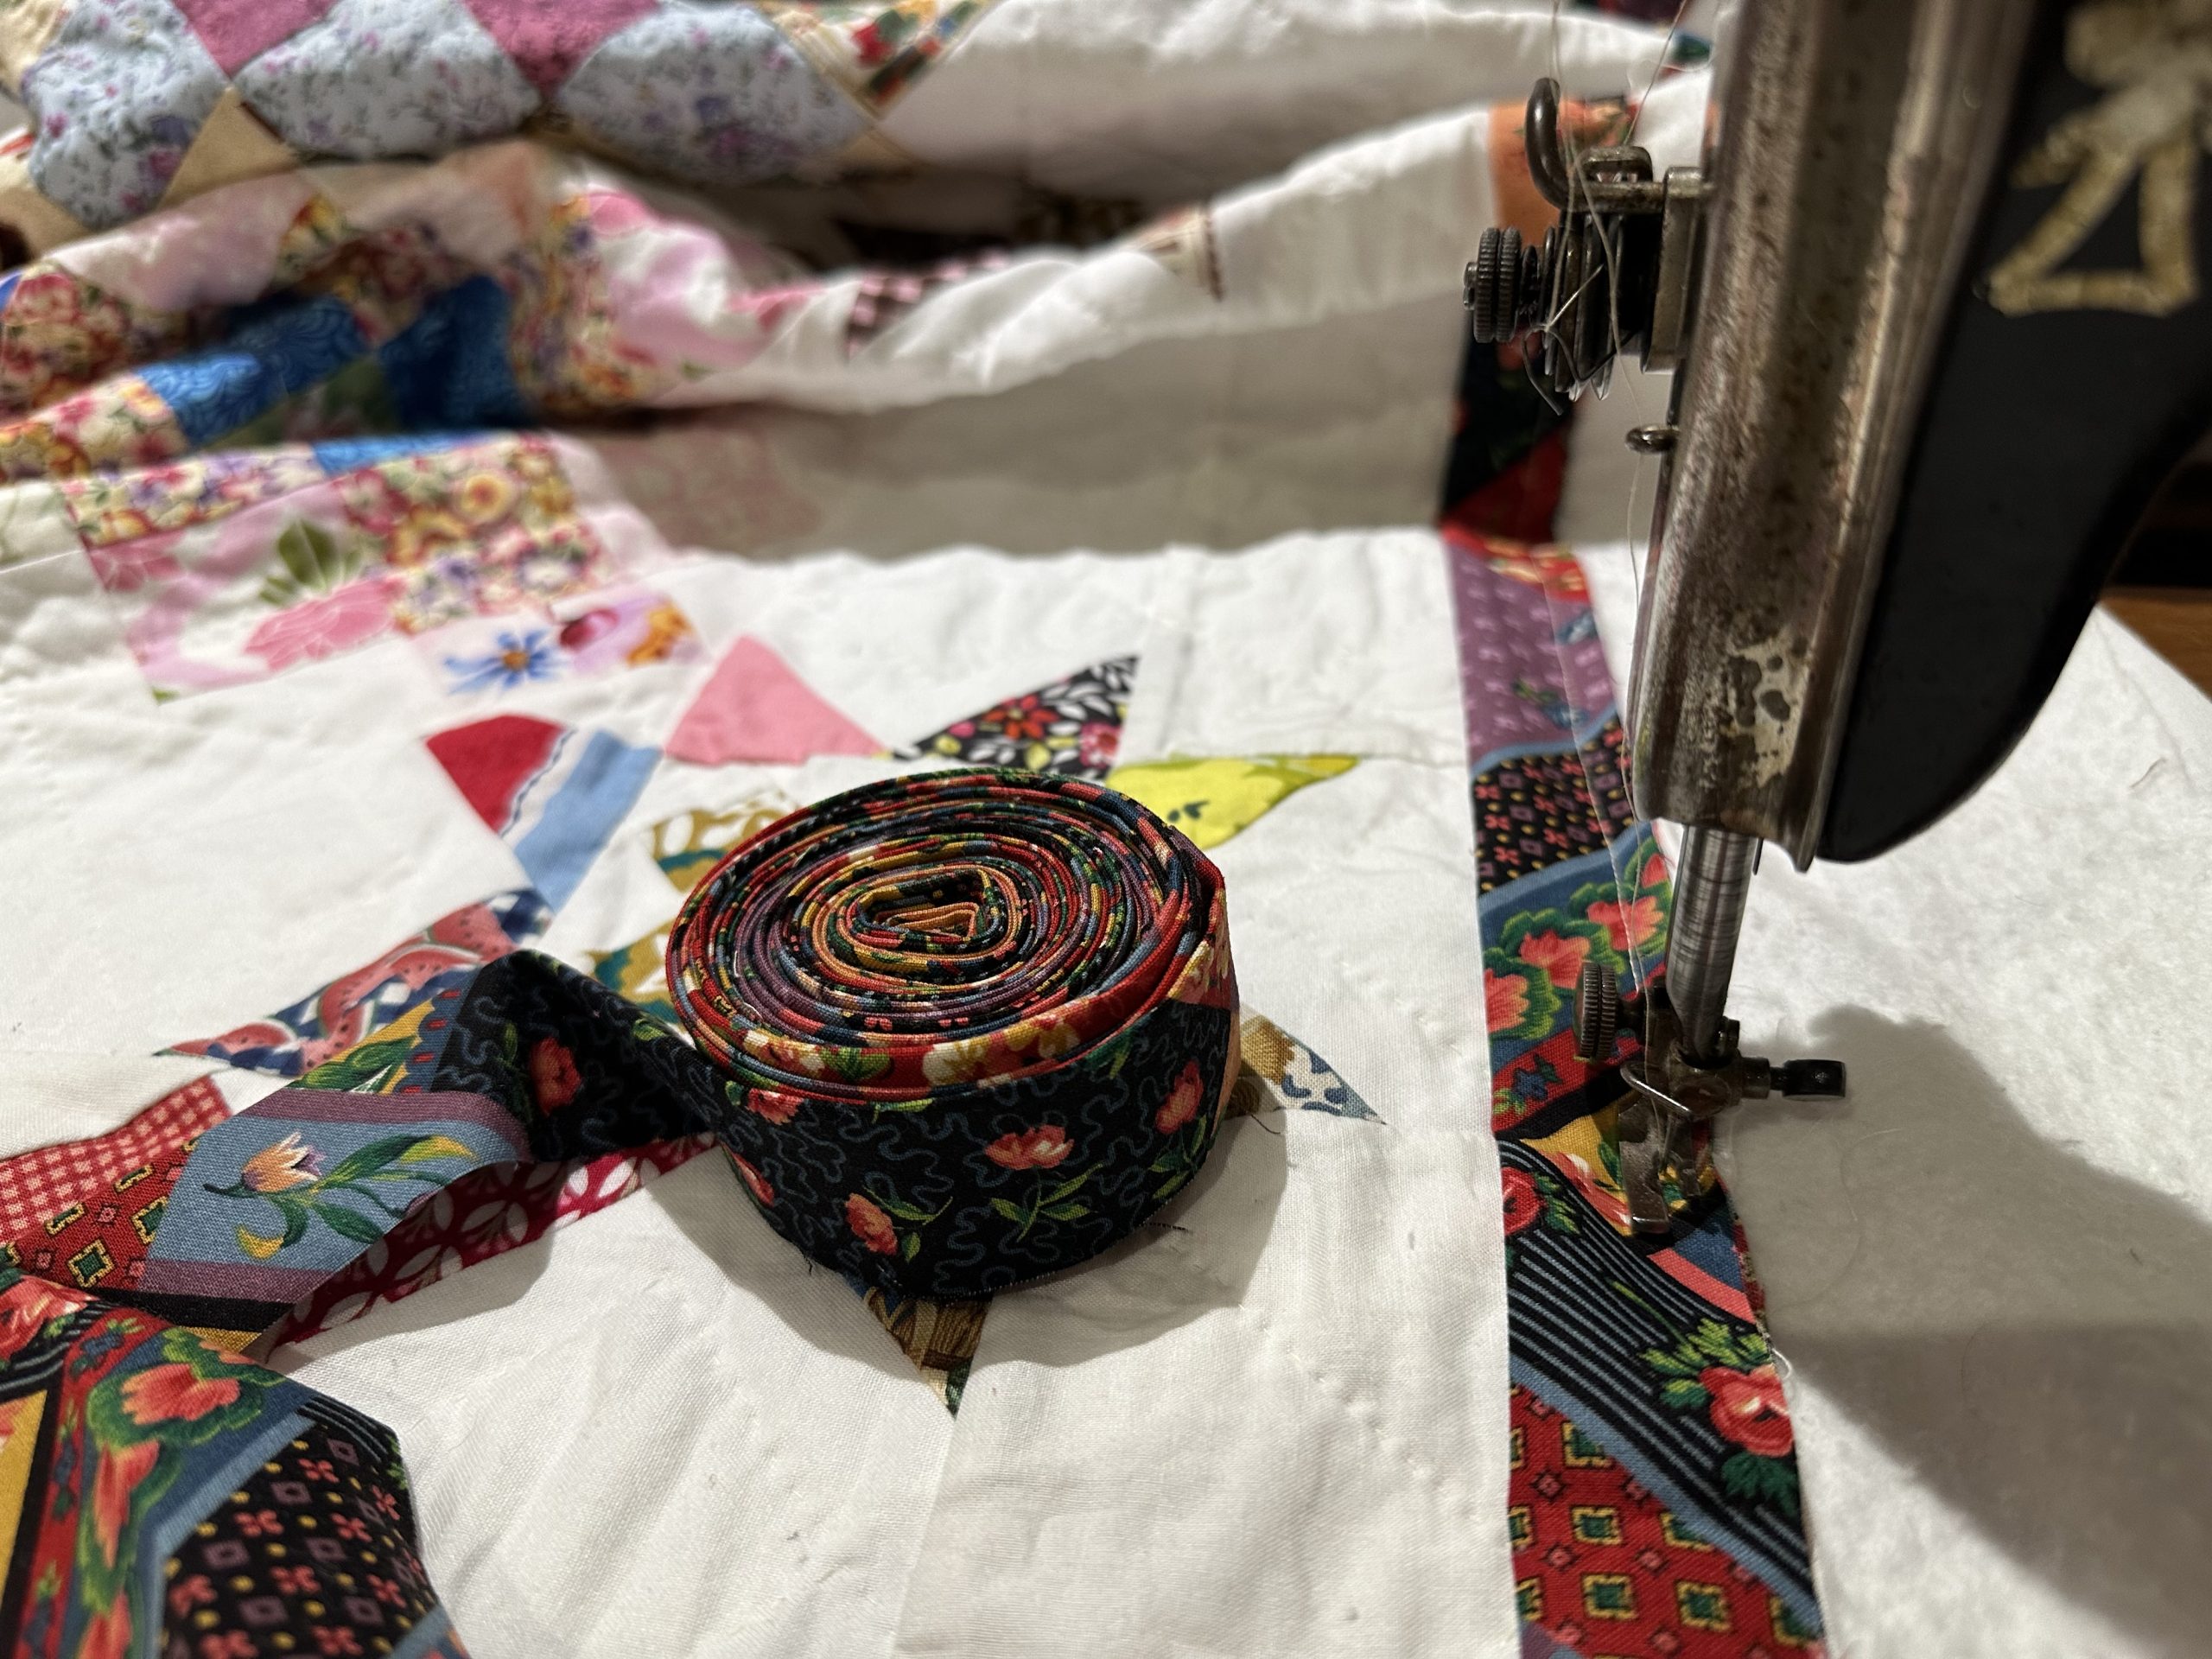
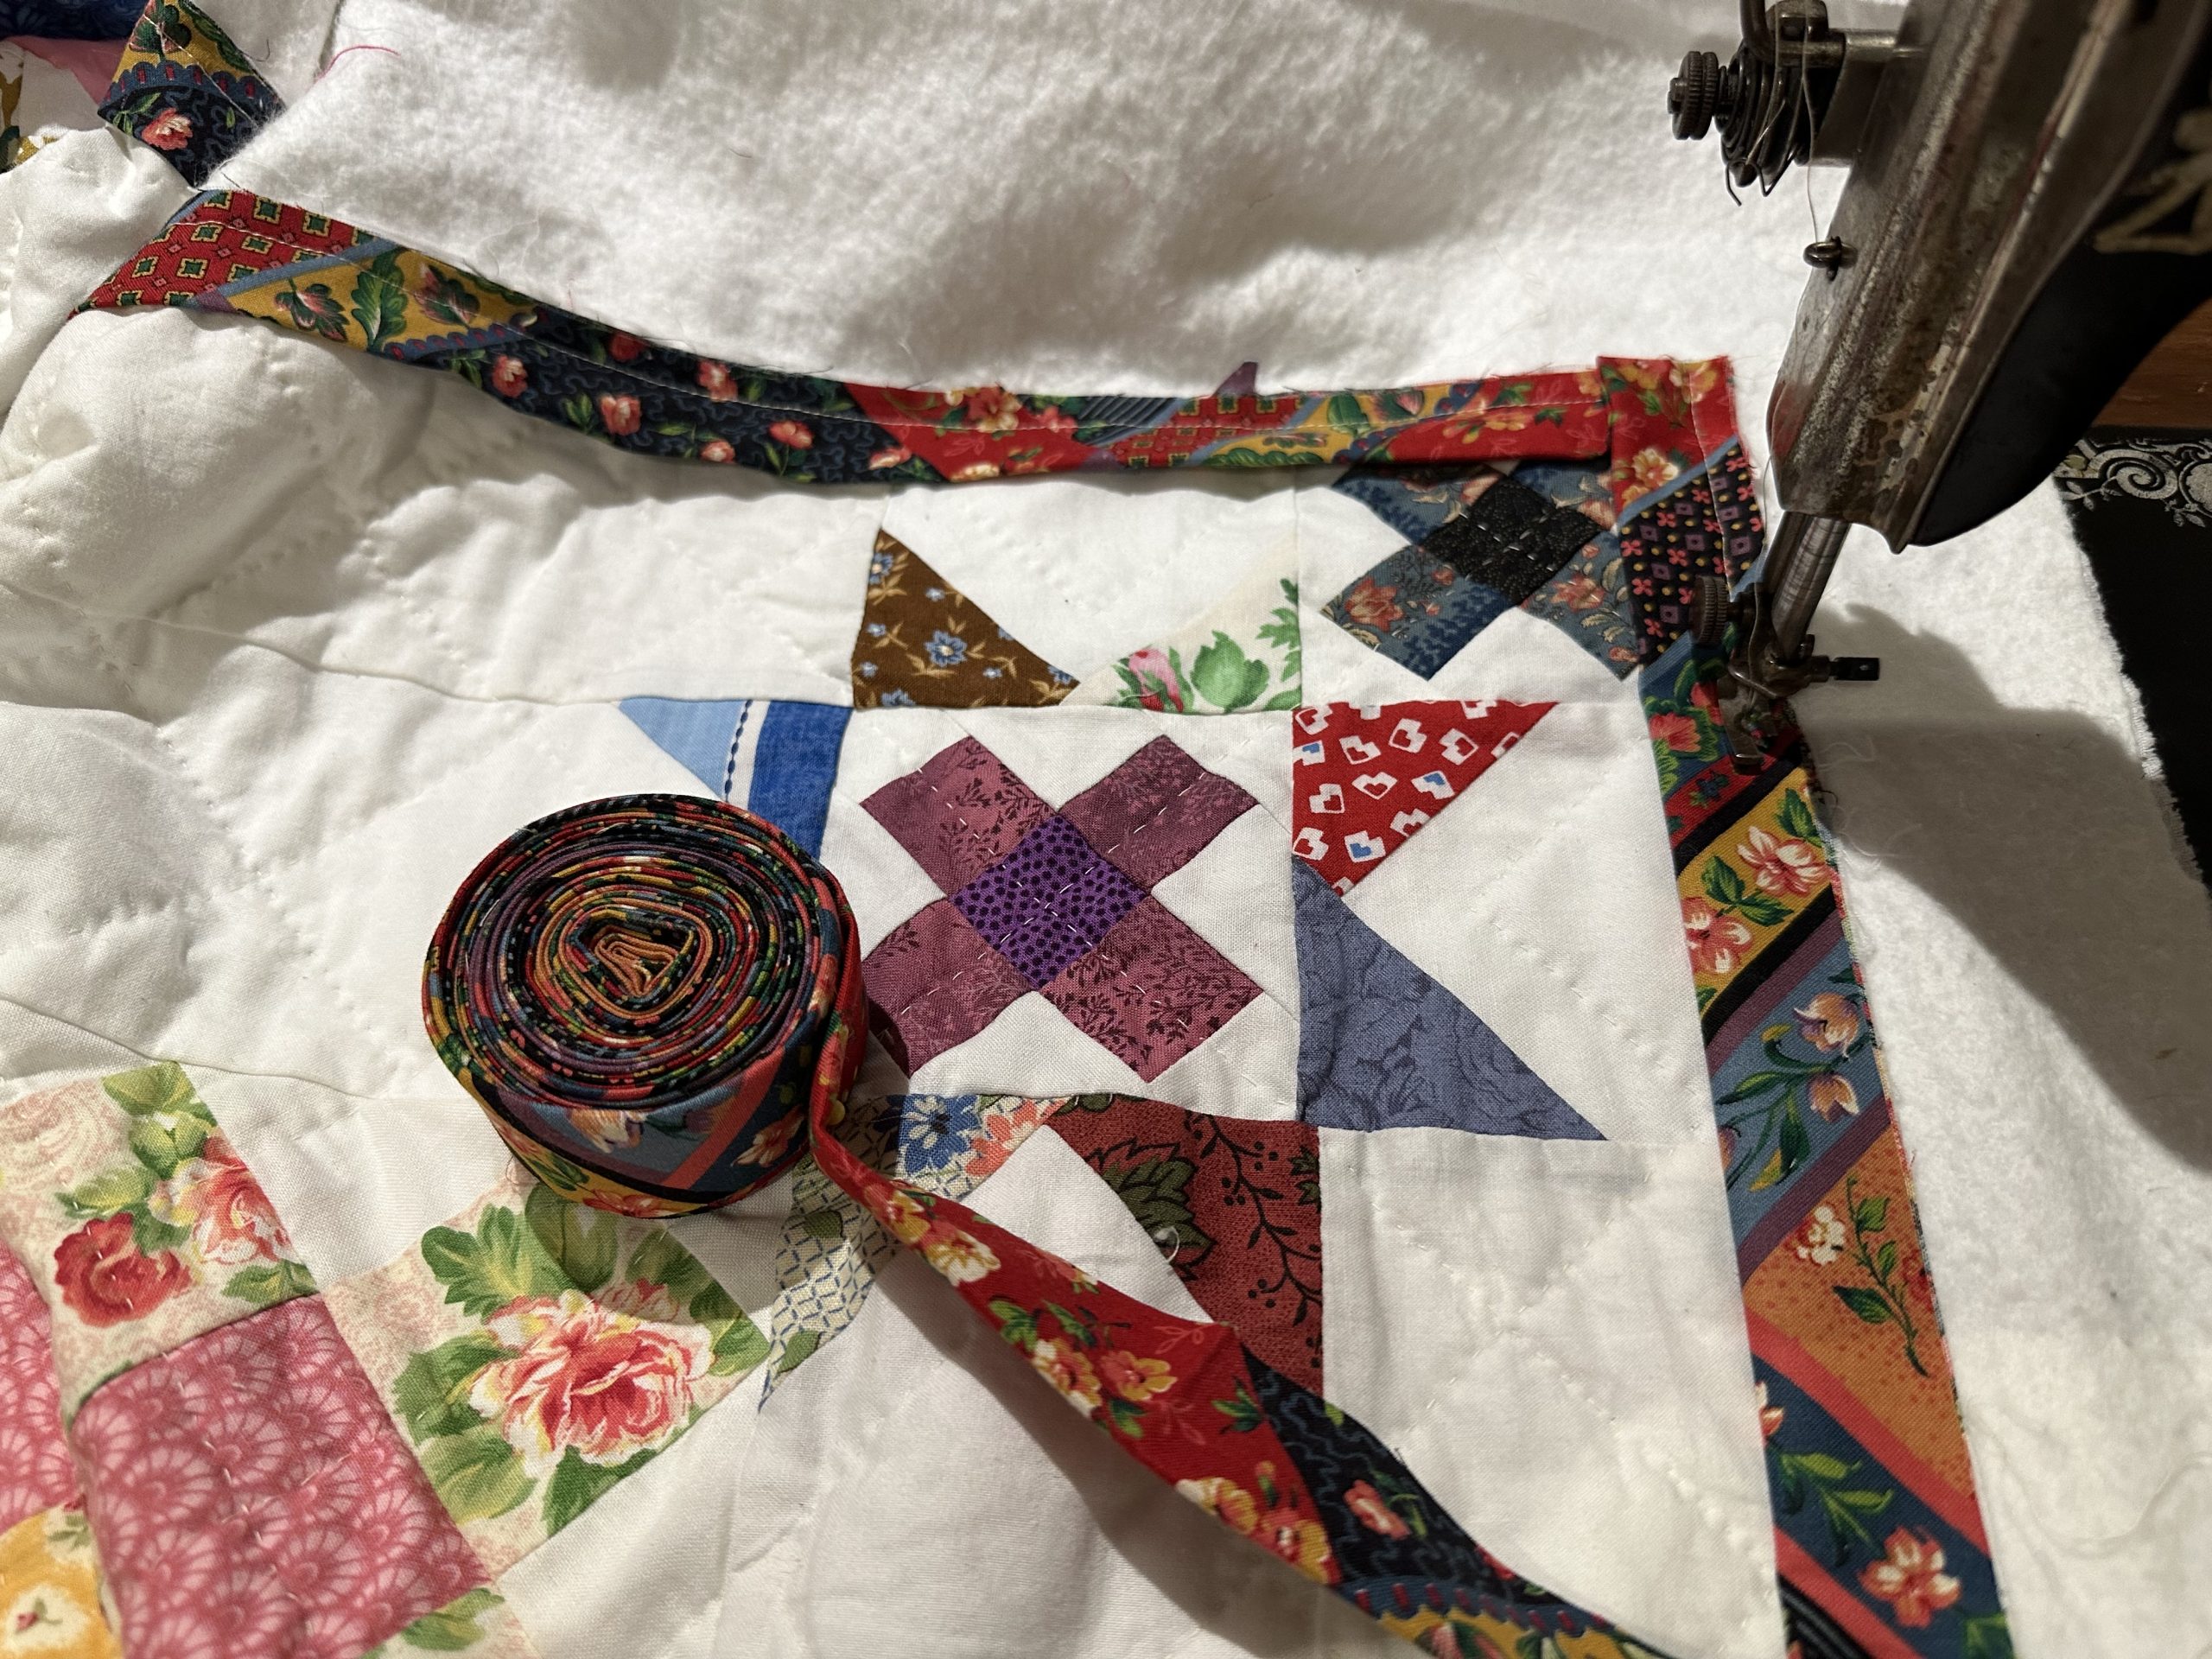
Beginning part way along one side and leaving a good 10 -12” tail of the binding strip, lay your binding strip along the edge of the quilt adjusting for any areas which might be uneven lay your strip as straight as possible and begin sewing 1/4” from the edge of the binding strip.
TIP
Be sure that your backing is nice and flat underneath. Check from time to time especially after changing direction.
Pivot at the corners as usual.
When the binding is complete, check the back to make sure there are no tucks.
Trim the Quilt Top
Take the whole quilt to a large flat area and using dressmaking scissors, very carefully trim the waste from the edges of the quilt top in line with the edge of the binding strip.
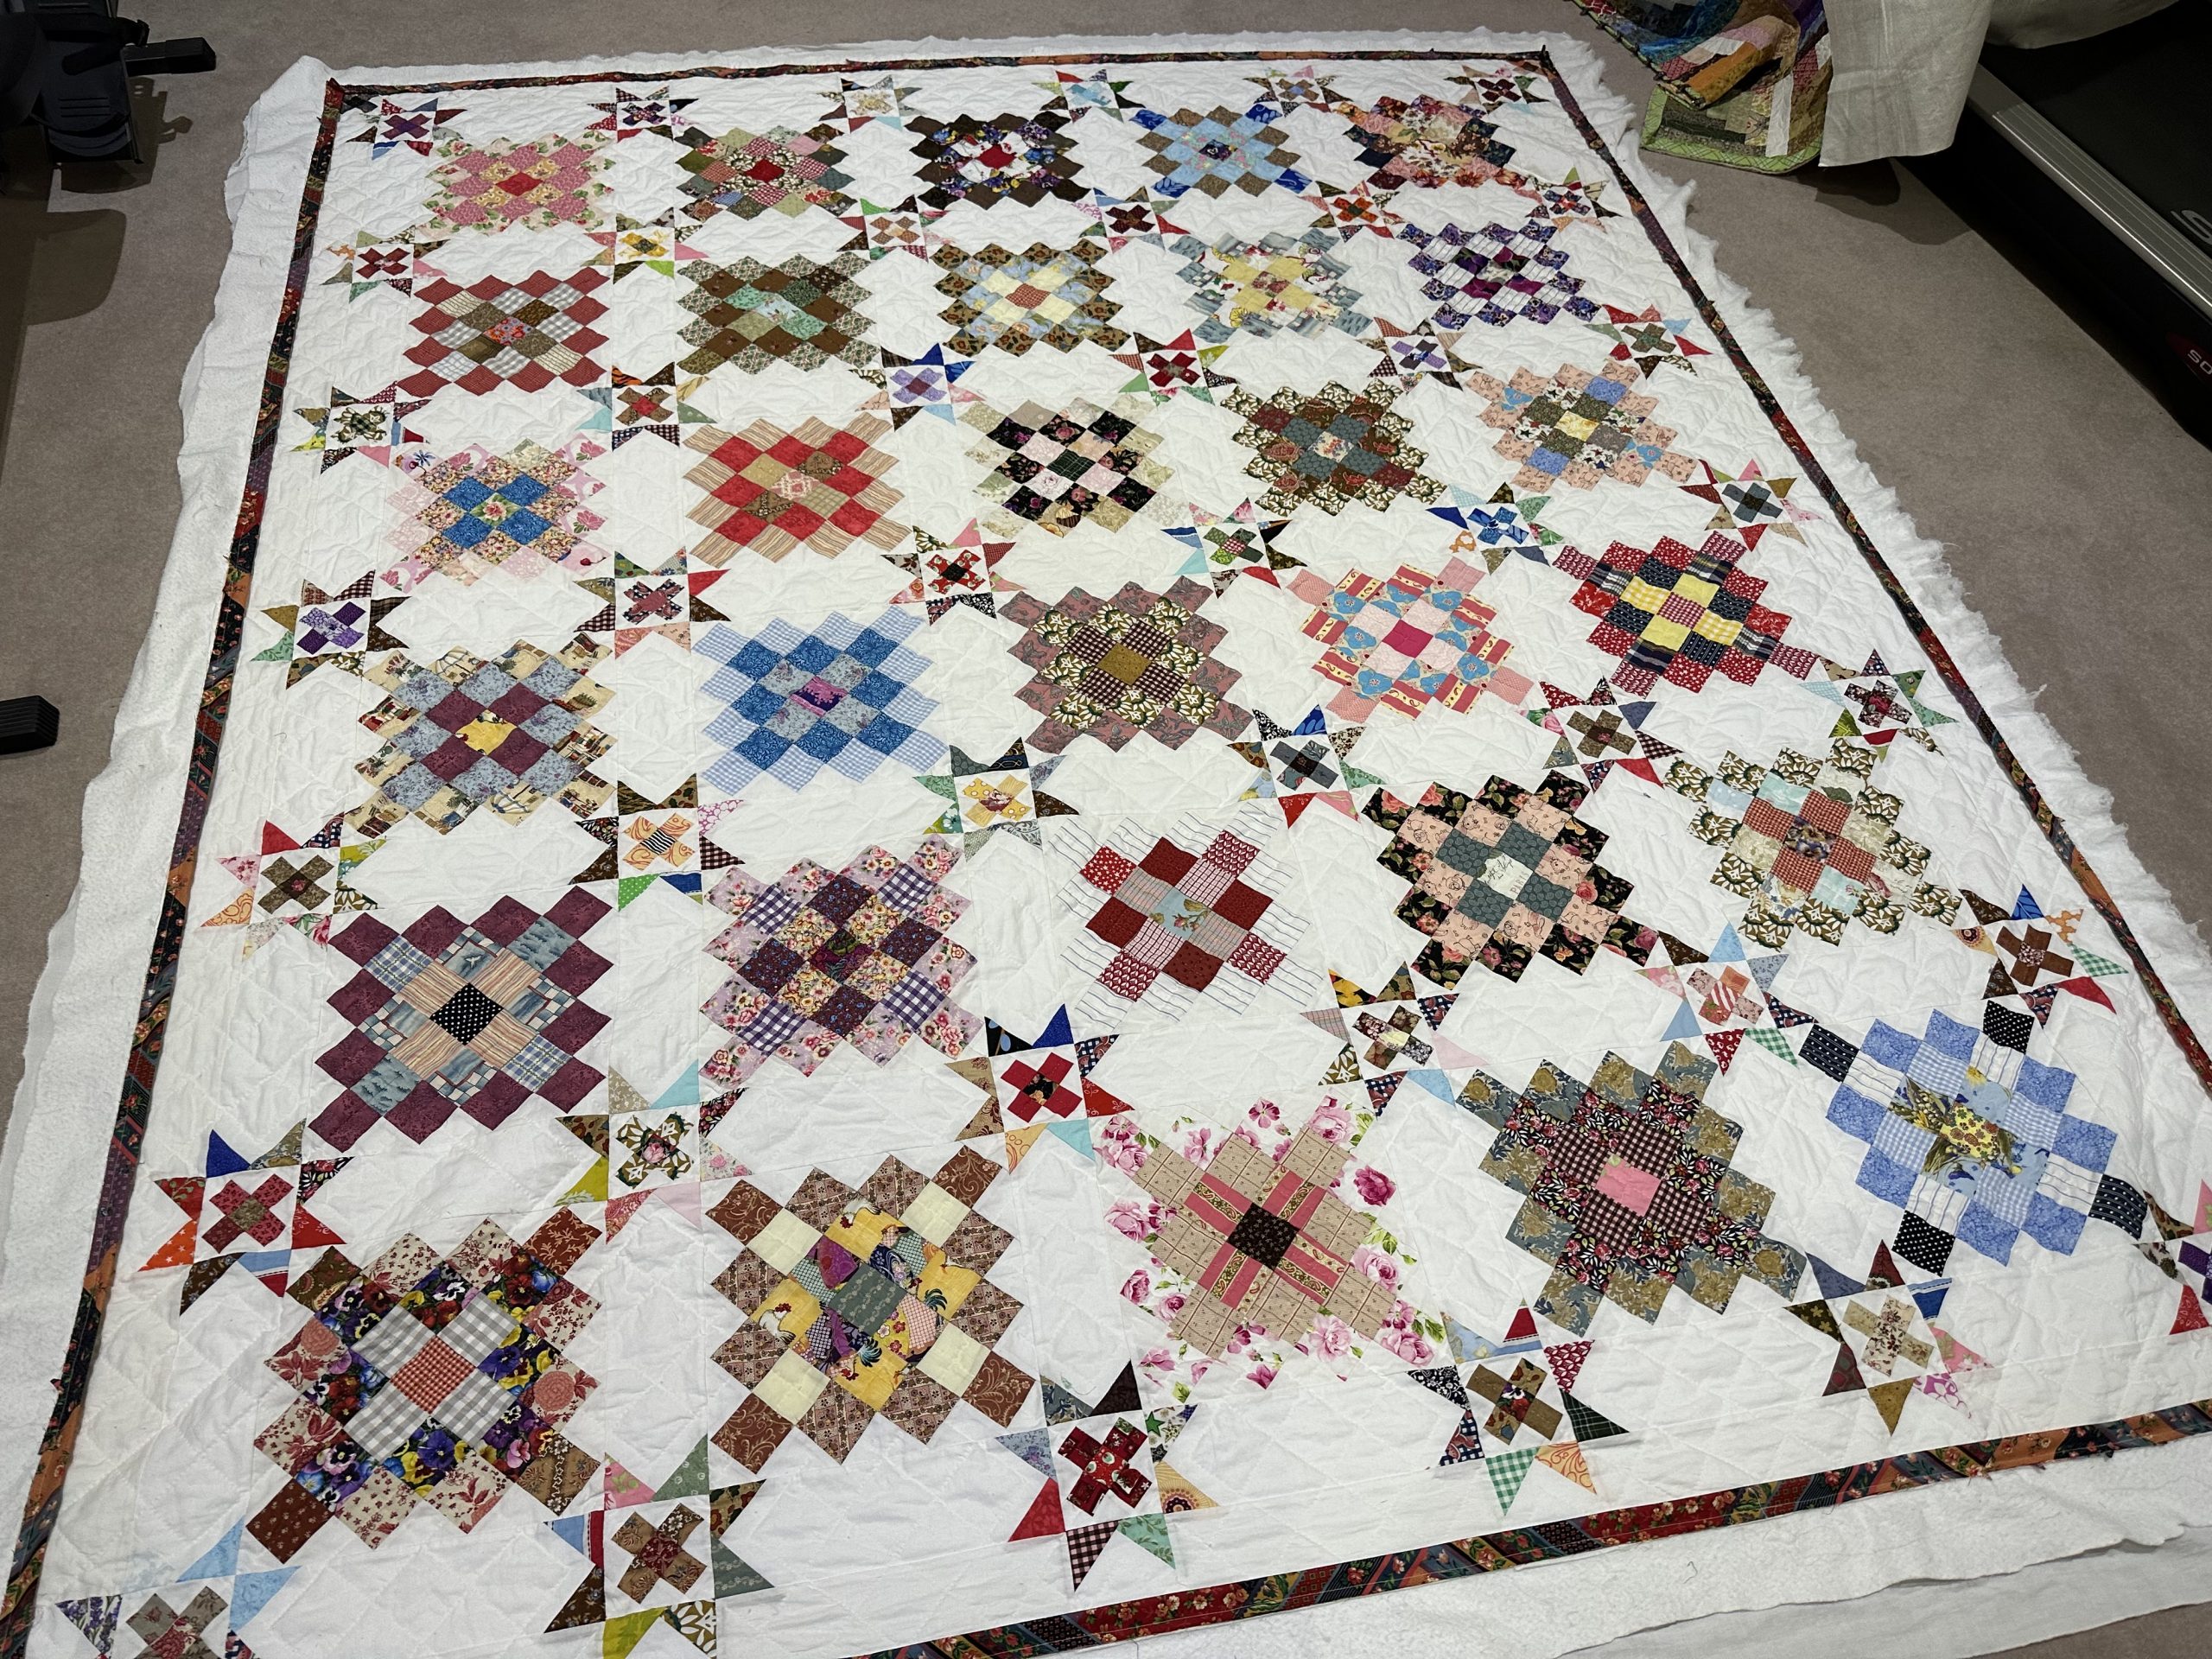
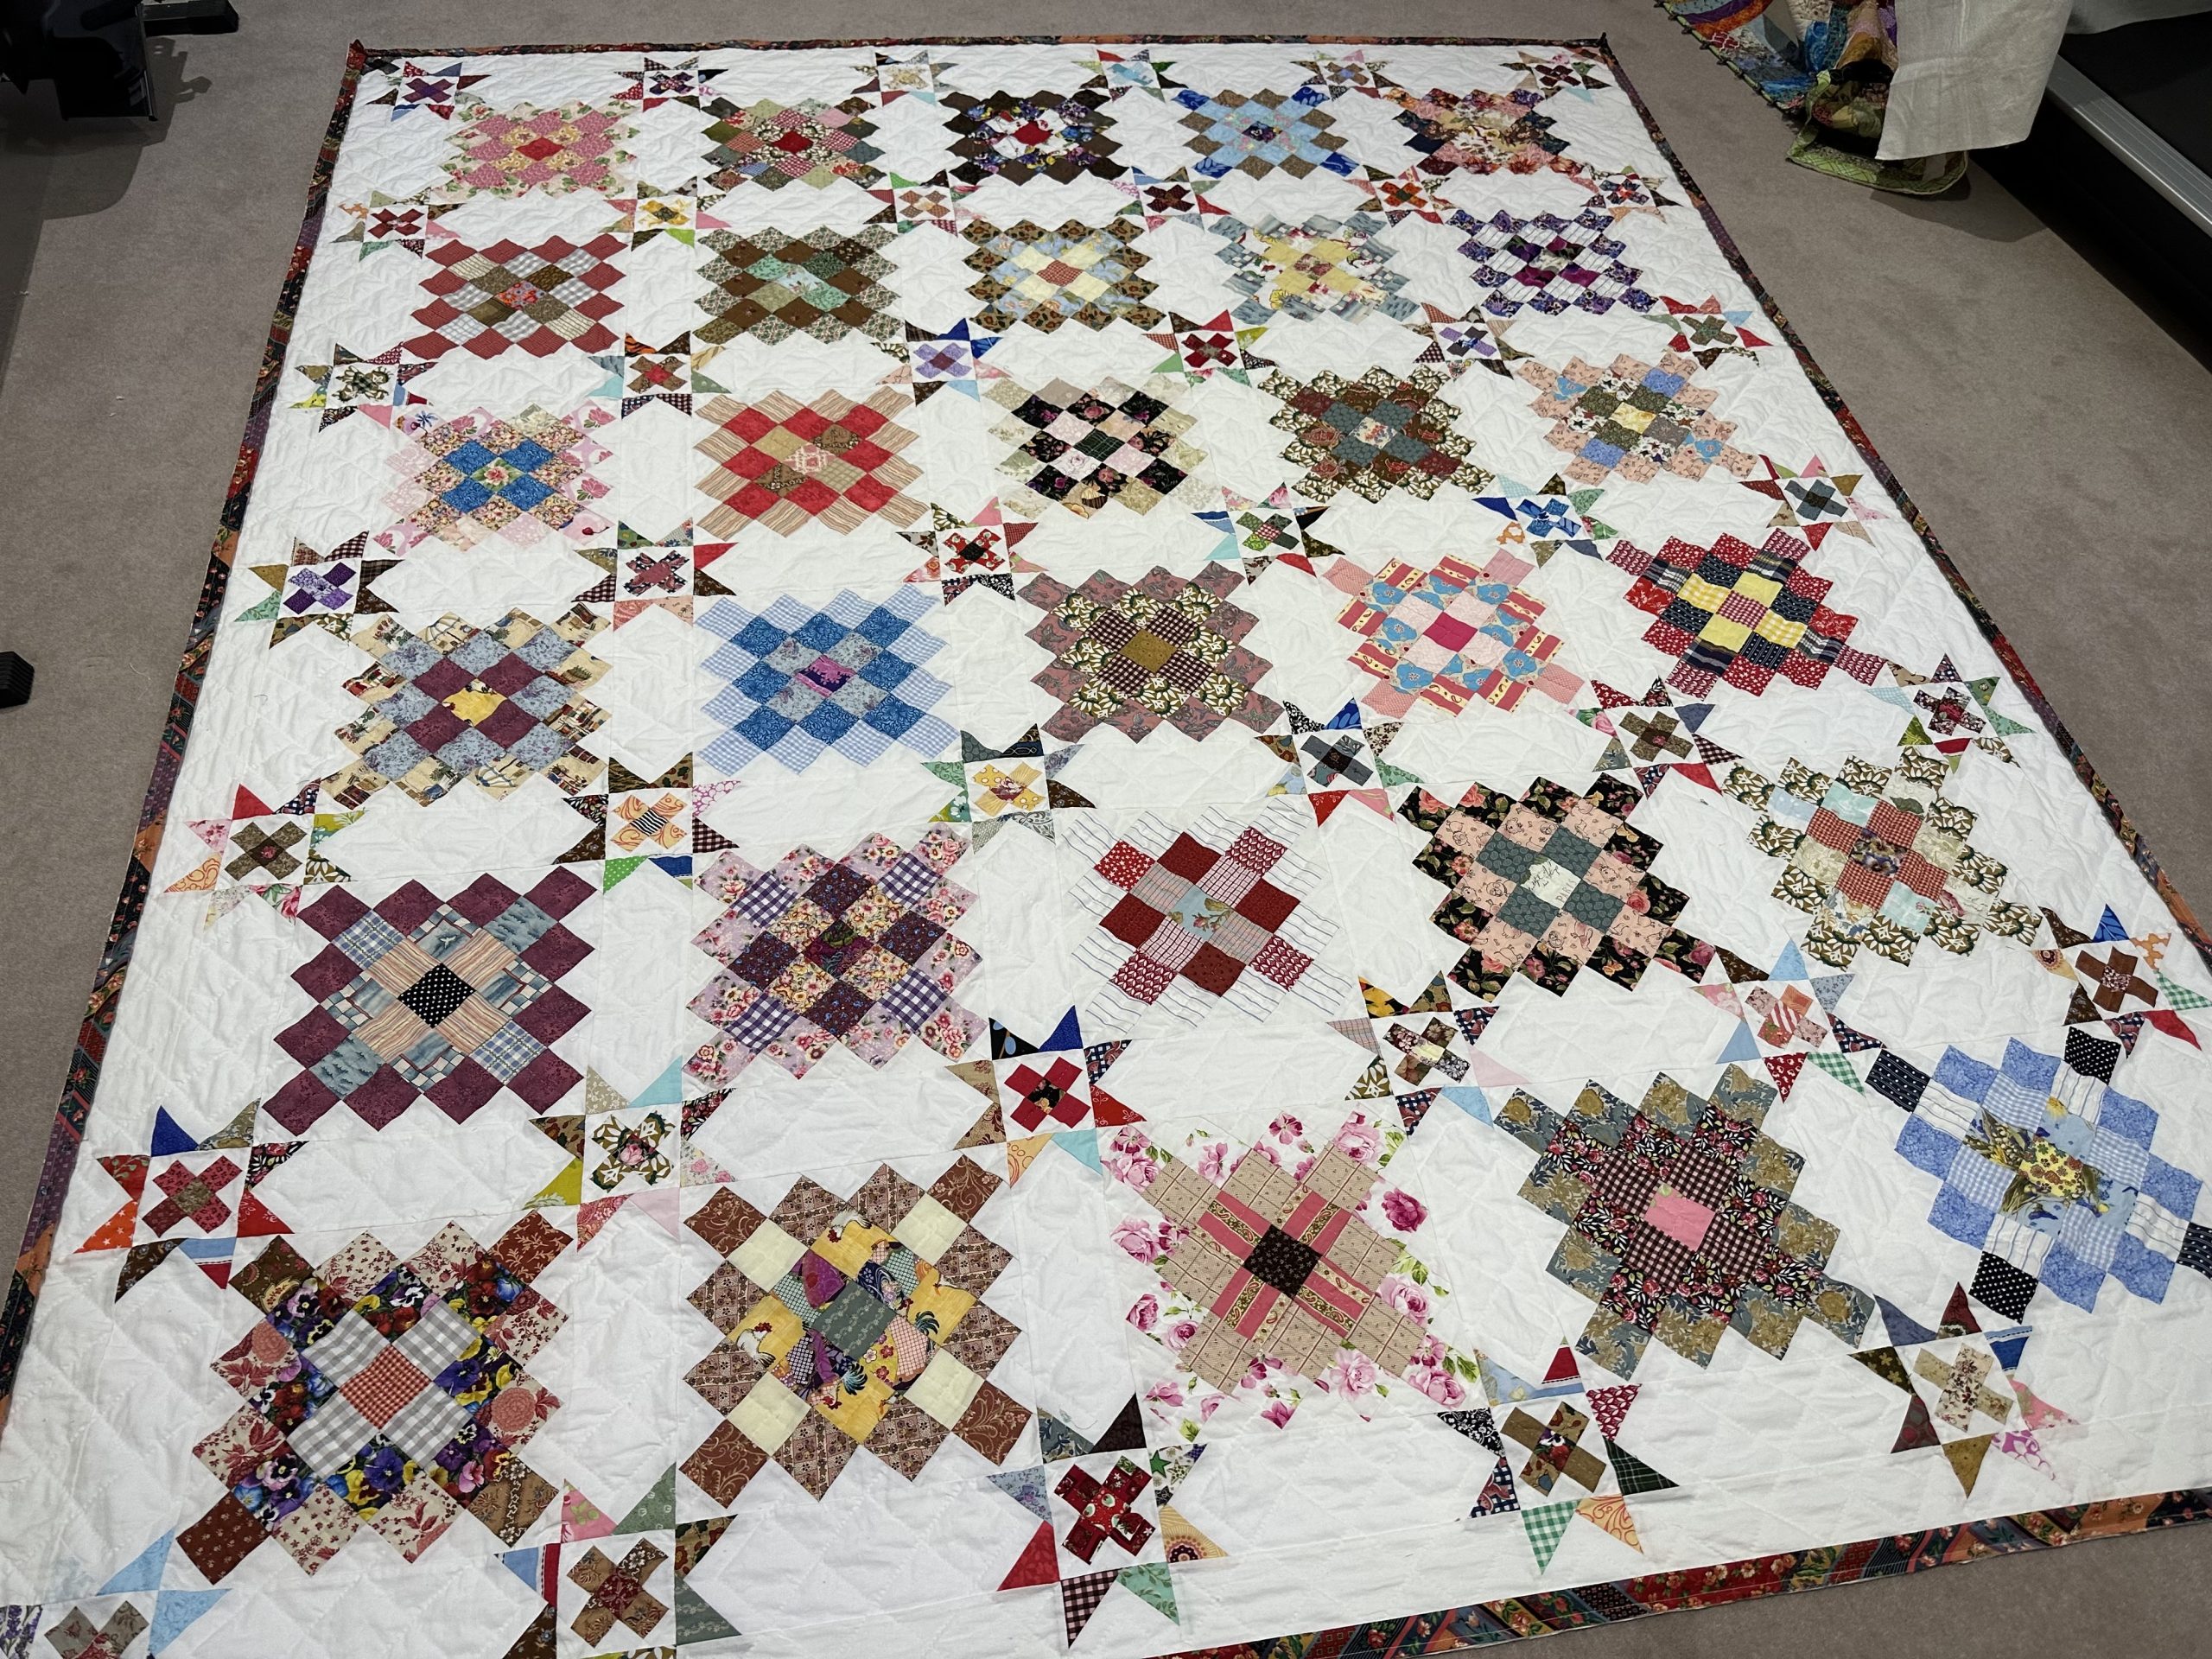
Turn the binding strip back and hand stitch in place. Here is the result. A nice firm full straight binding, without the struggle.
I hope you find this helpful. .
If you enjoyed this post, you may also like
Prepare binding strips for quilts – Tutorial
Bias Binding for Hexagon Quilt
Hand Sewing the Binding on a Quilt Tutorial
Best wishes to everyone,
Susie
© Susan Stuklis 2023