Veterans Cross Quilt Part 5 Quilting and Binding
Hello Dear Friends and Readers and a warm welcome to todays post. This is the final post in the Veterans Cross Quilt series. Today I will show you how I quilted this quilt.
Bear in mind this is just a suggestion. You -can quilt it any way you like.
Here is the link to previous post Veterans Cross Quilt Part 4 Making the Borders
A Reflection on the Quilting Process
Just a small reflection on the quilting process. I believe it is very easy to overthink this part of the quilting process. After all, finished is better than perfect. I think it is good to know that at the end of the day we don’t necessarily need fancy equipment to get it done.
In the interests of simplicity, I opted to use a navy wideback with a small white motif for the backing. I used lots of quilting pins to hold the layers together. The batting is cotton.
One of my favorite quilting tools are vintage sewing machines which are set into a table. You can read a bit more about this here.
Free Motion Quilting – Part 4 – Begin FMQ
Quilting using a Vintage Singer Treadle
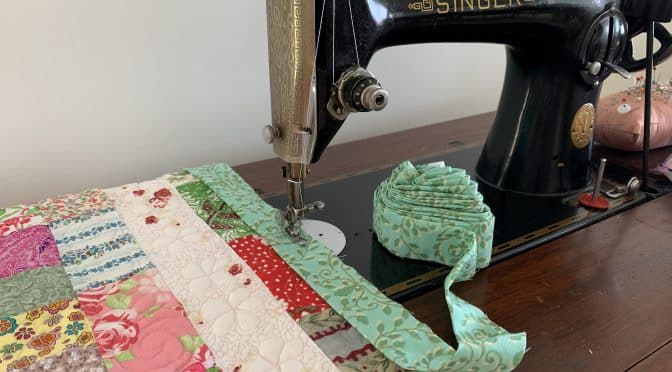
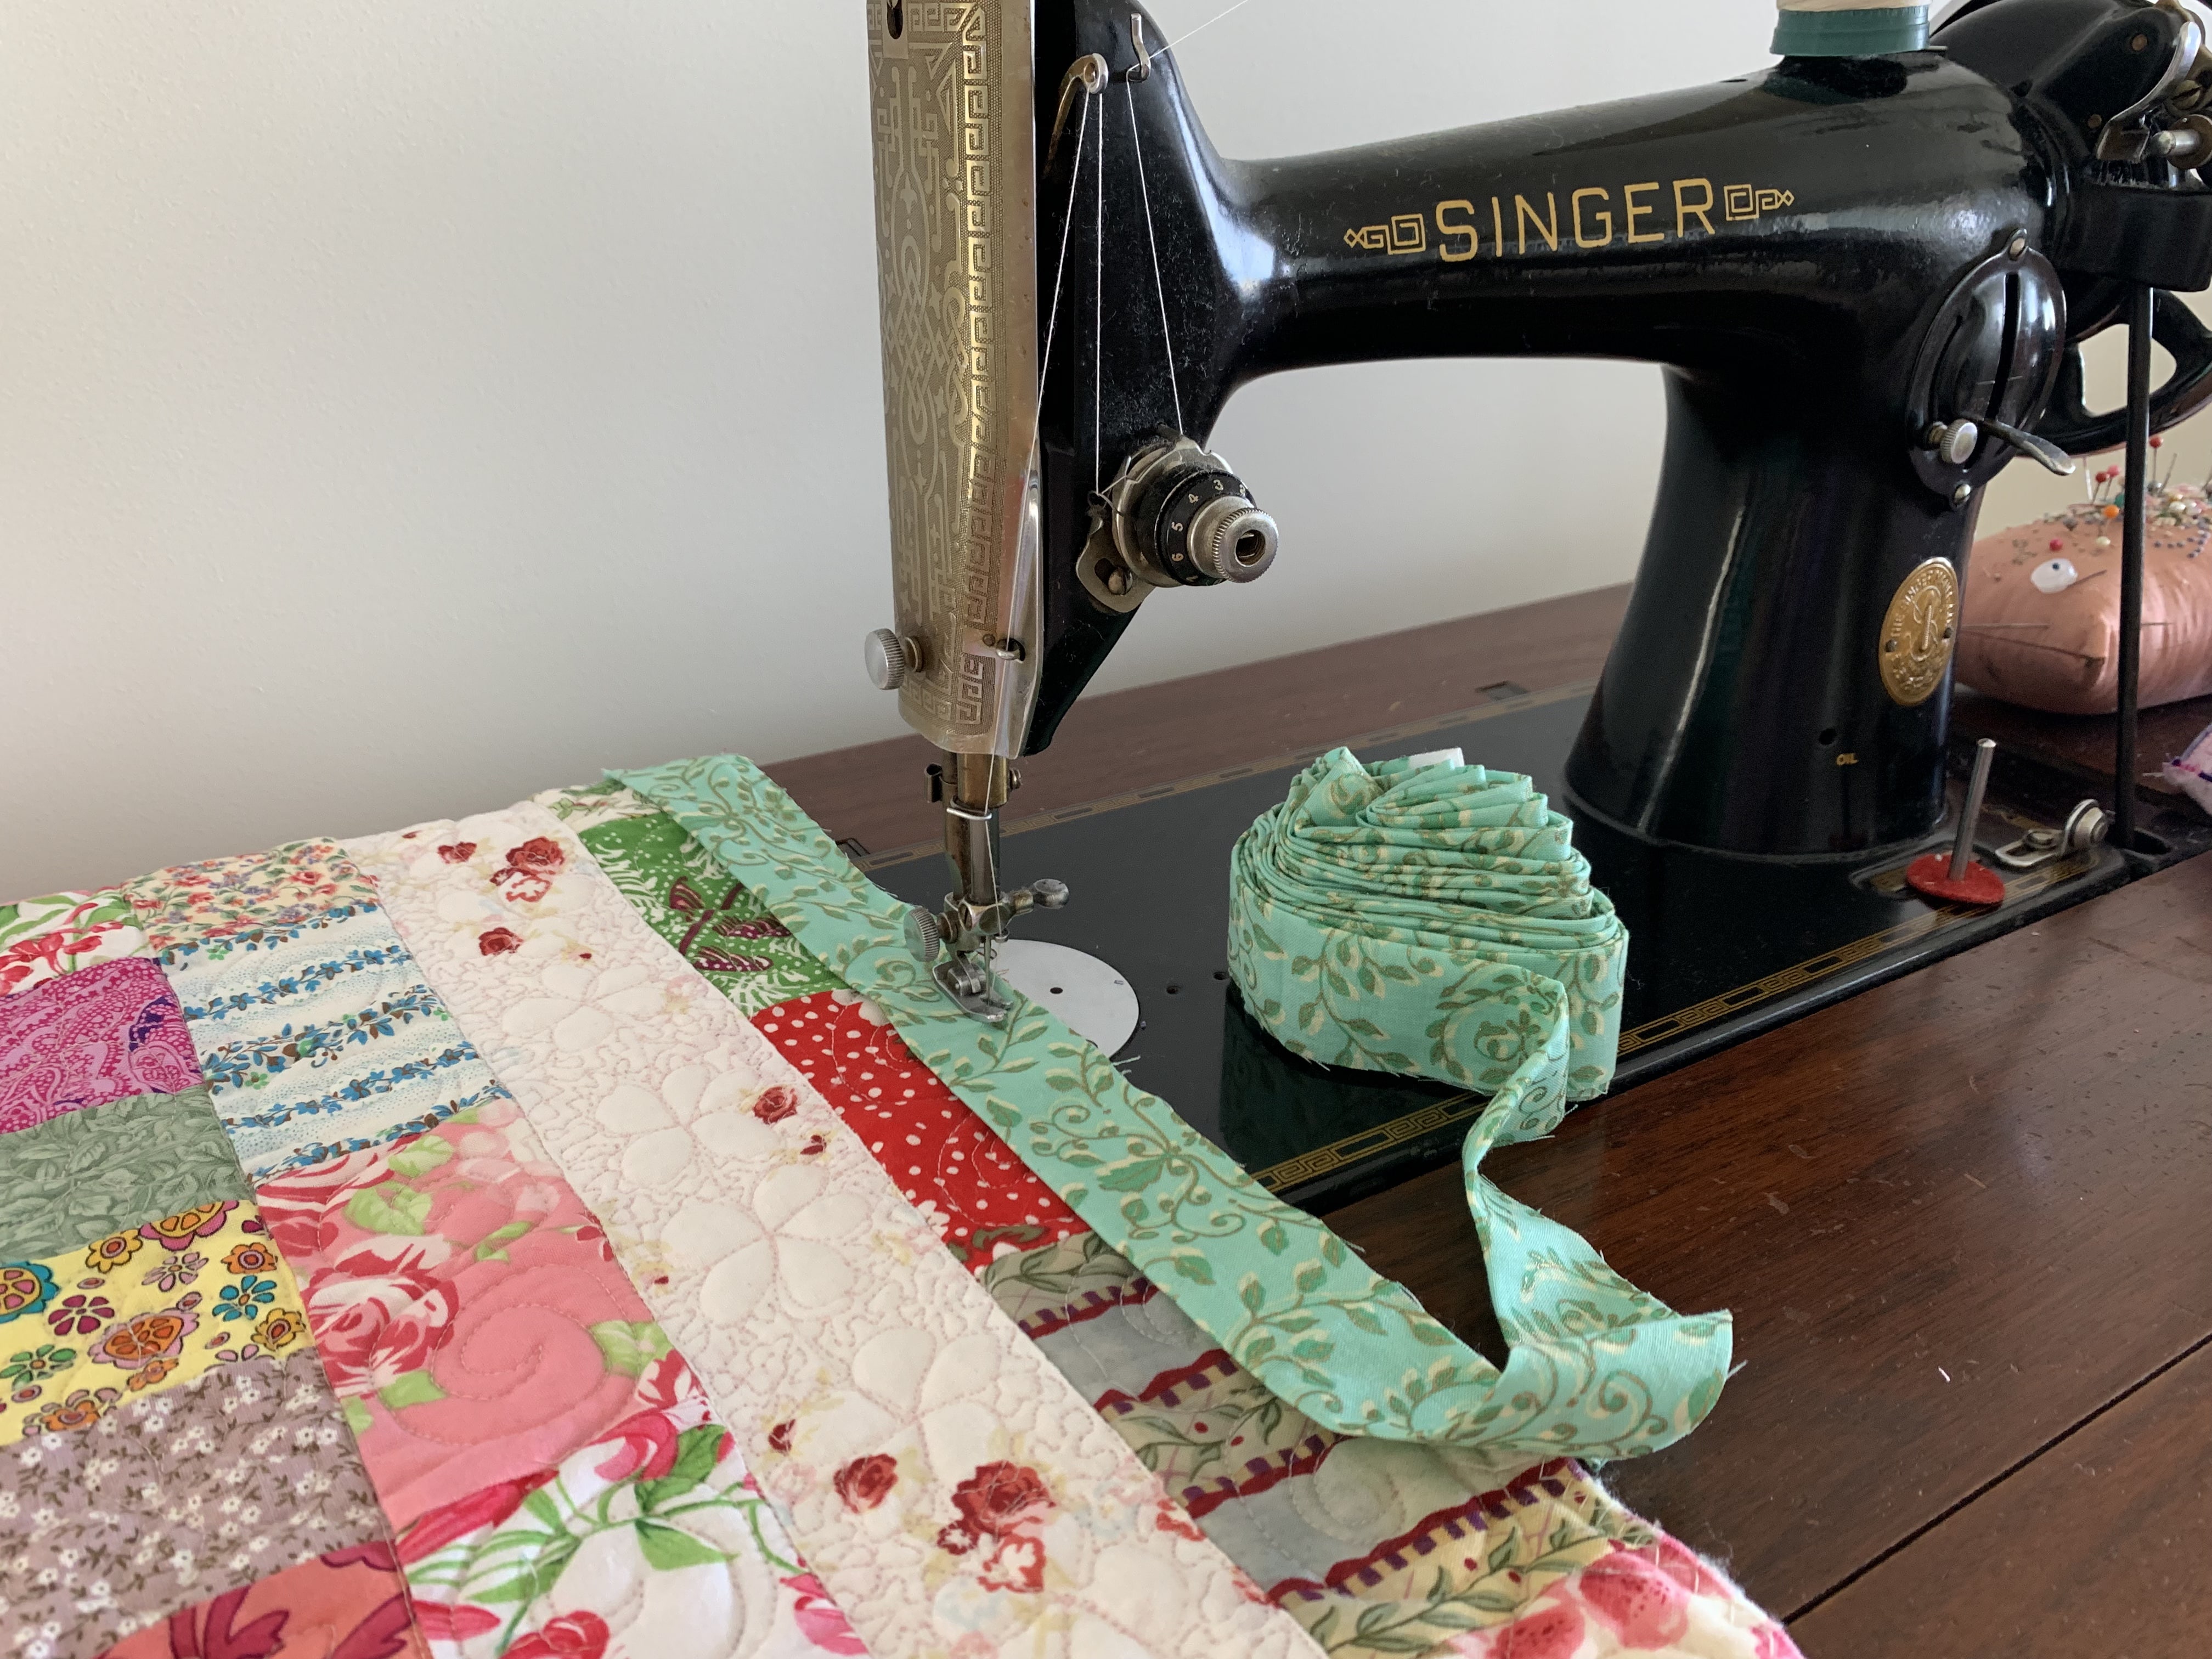
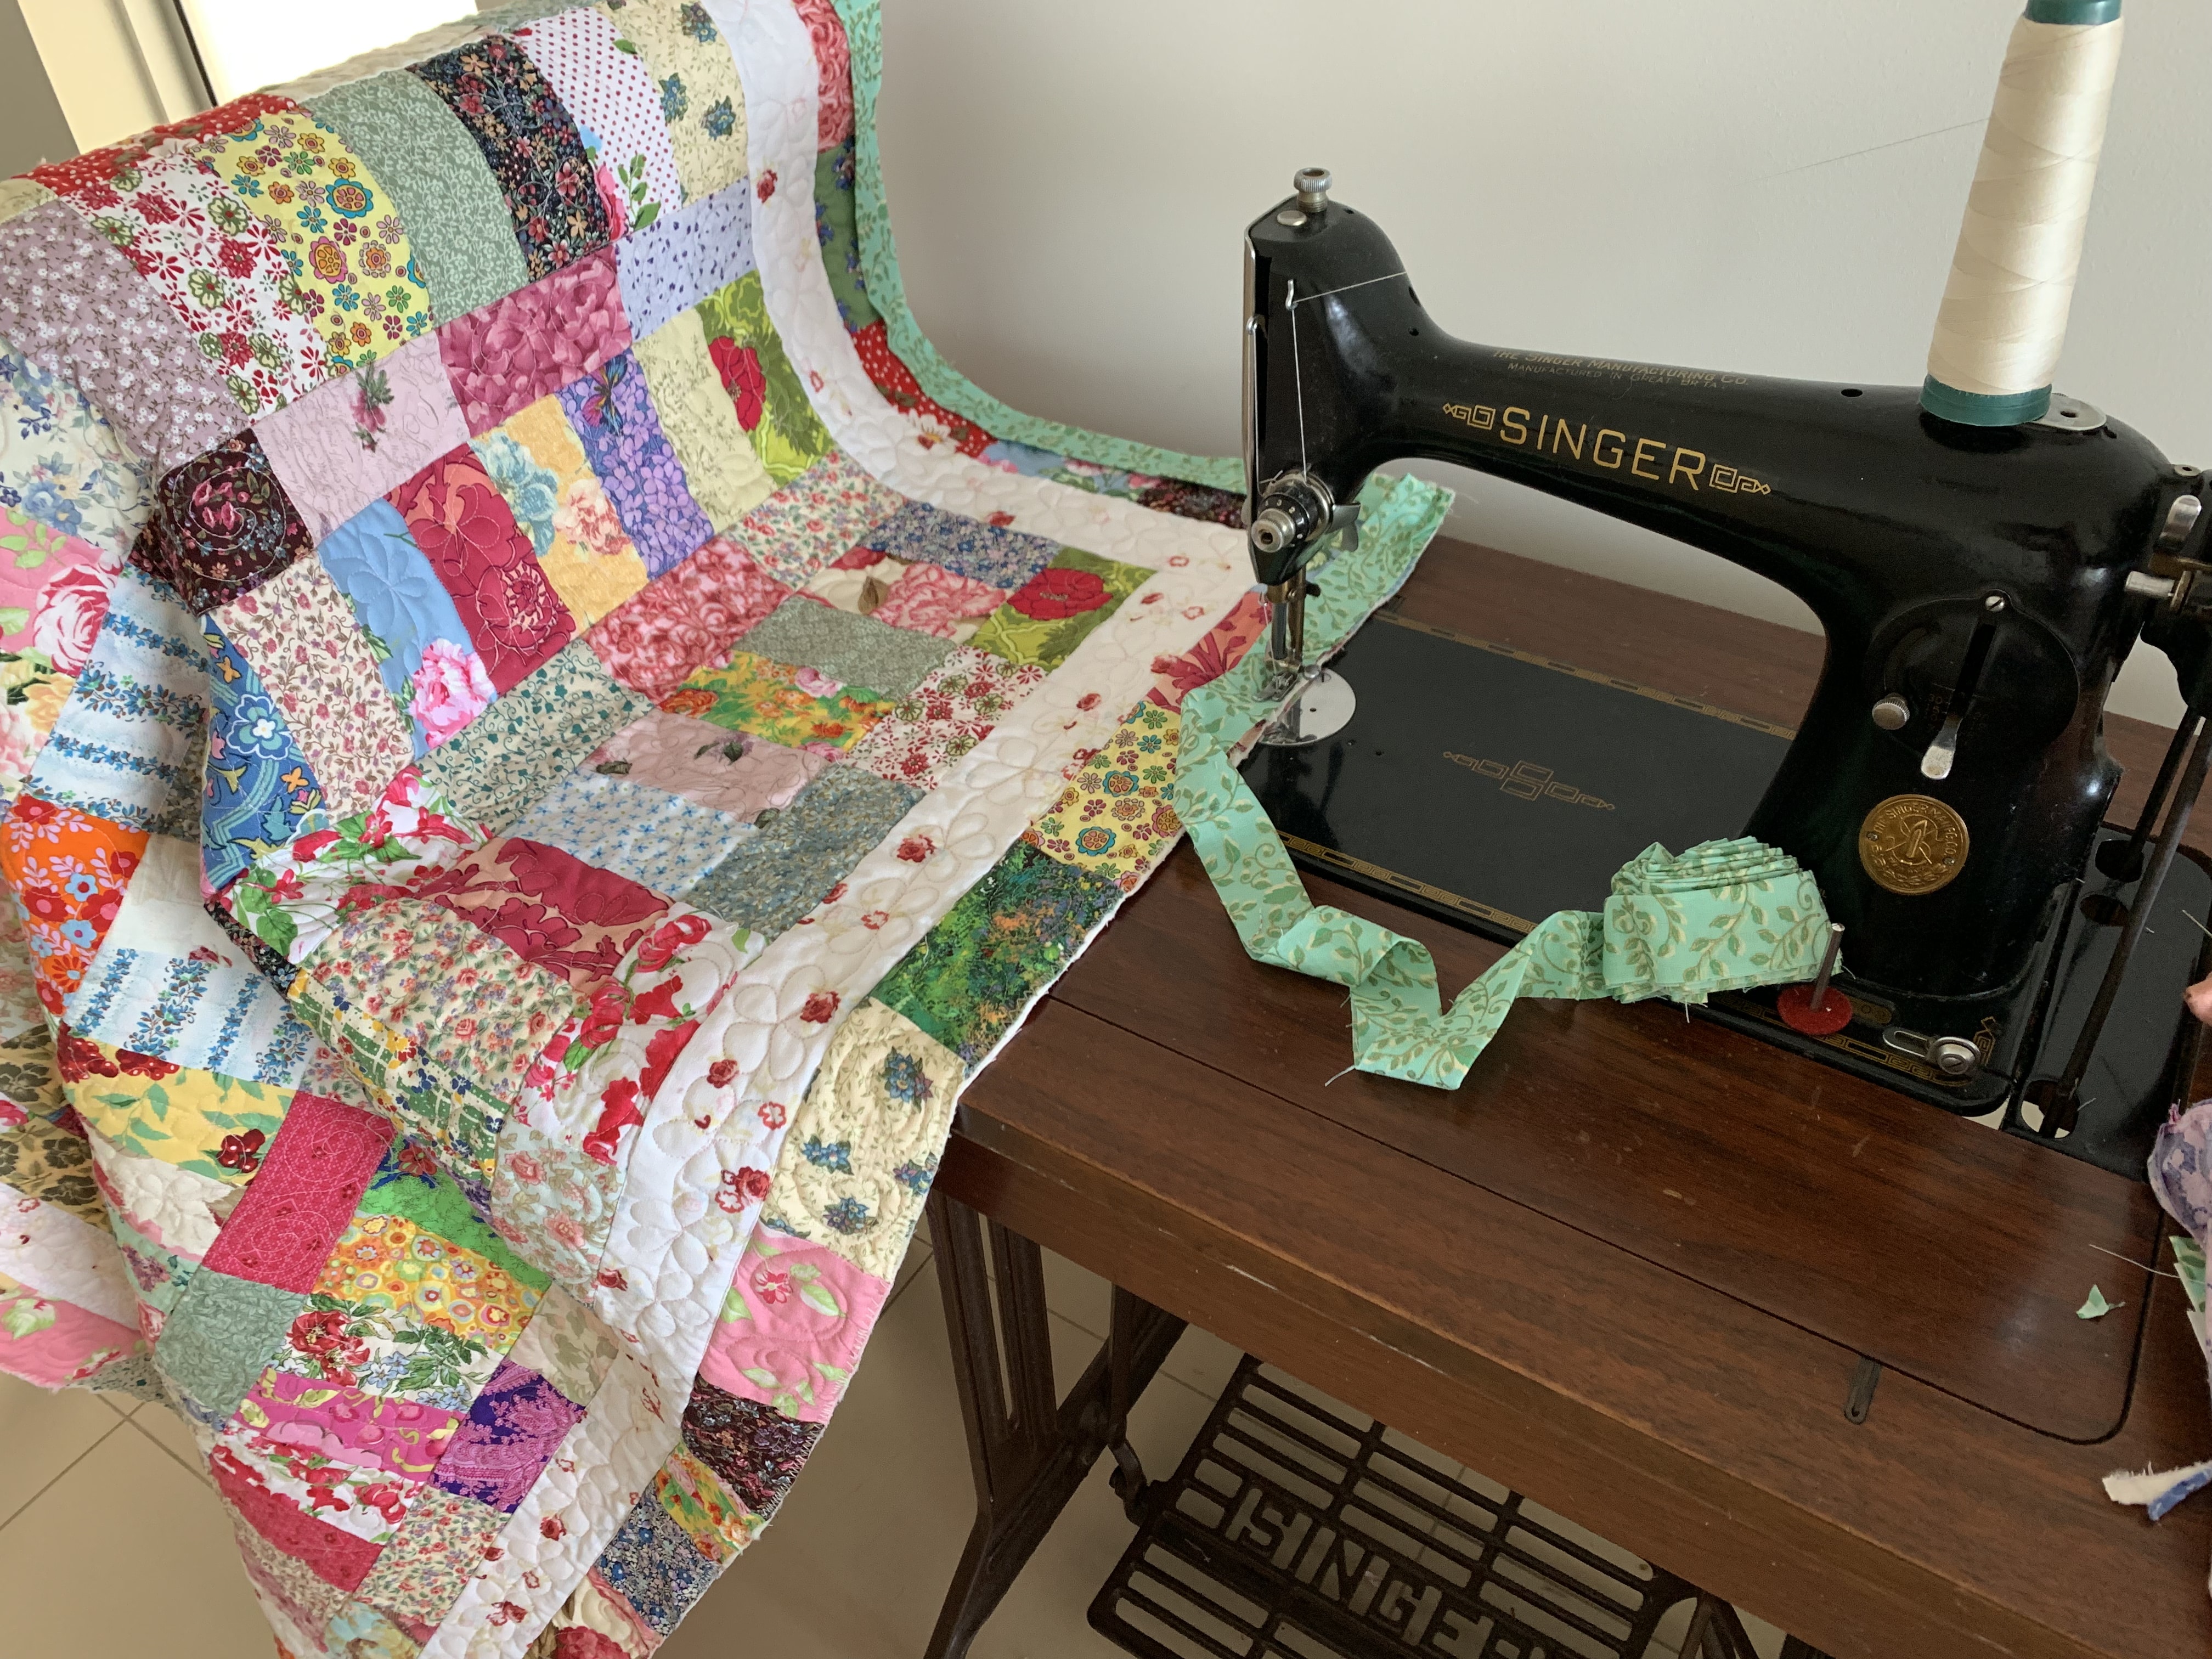
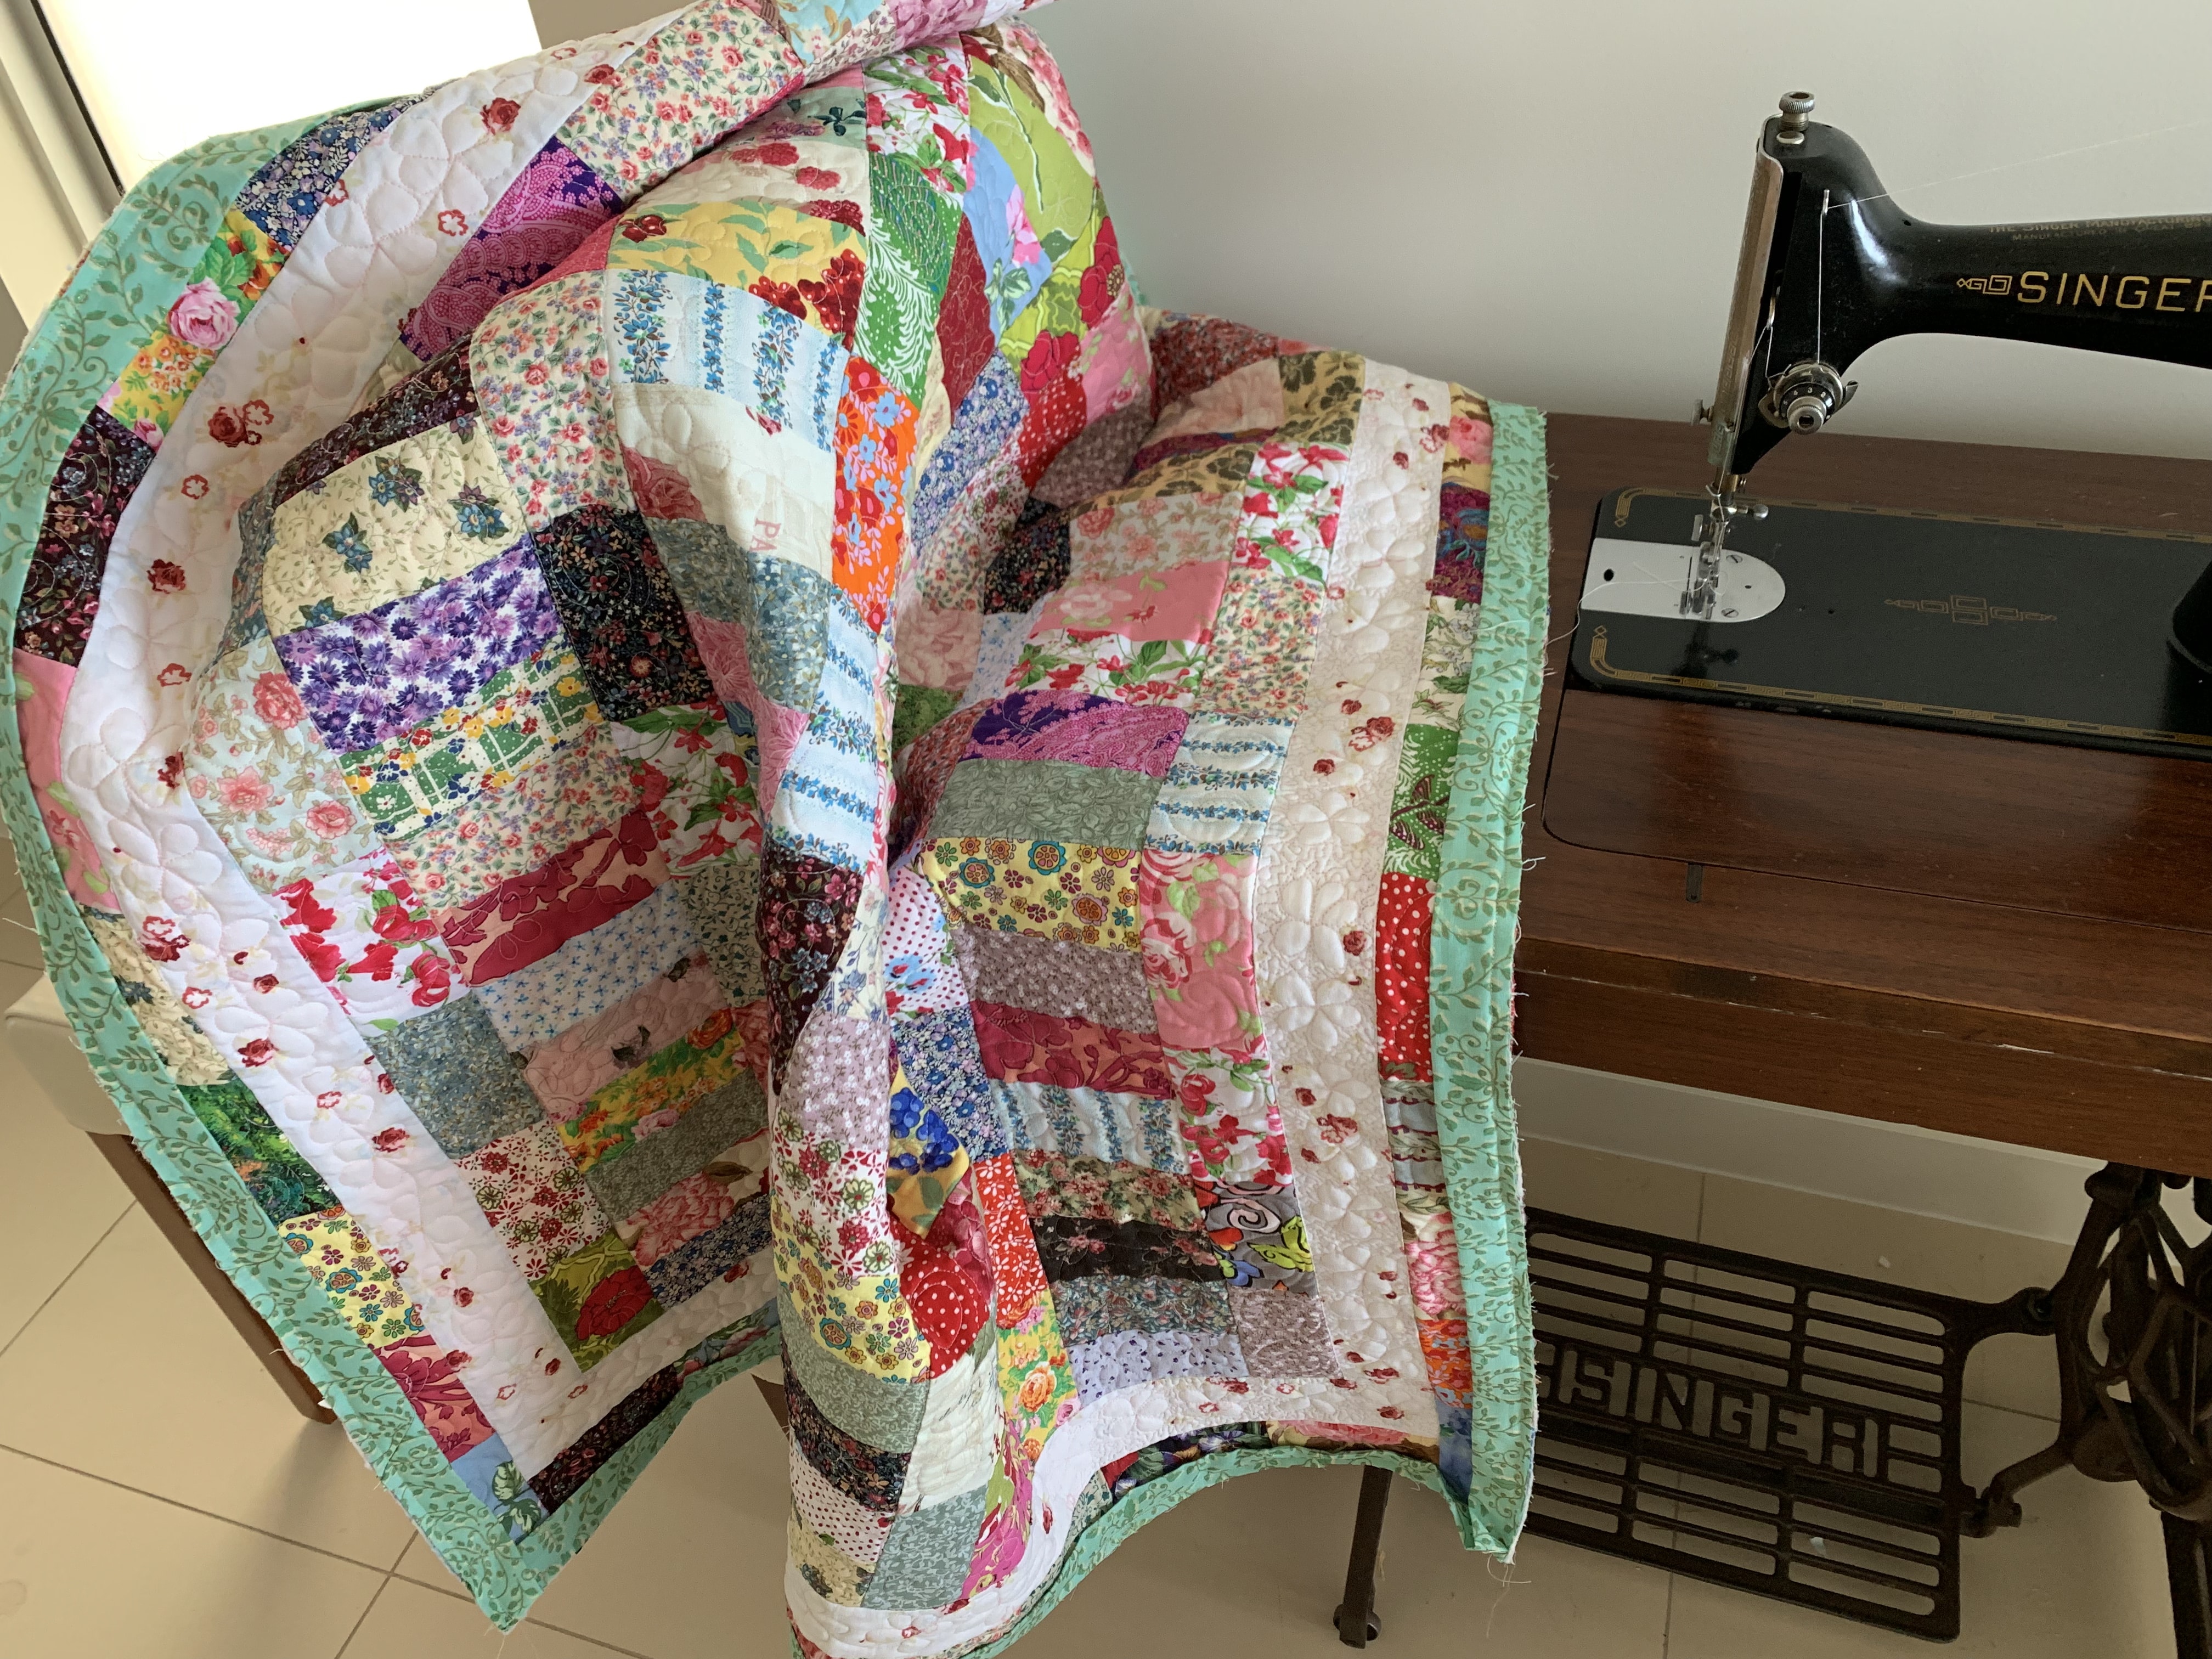
This quilt top was quilted using a Vintage Singer 201k Treadle. It meets my requirements nicely. It is a treadle which means it is in a flat bed already. I always make sure the machine is well oiled before commencing. This is one of the most important maintenance tasks. It is very quick and easy.
I used a recently acquired walking foot to complete the task using straight line quilting. When I say straight line, it is a little bit tongue in cheek. This is because, maybe it should be called “somewhat” straight line quilting ha ha!! Seriously though, once the whole quilt is done, these minor imperfections are not really noticeable. I am happy with the result. This quilt is intended to be used.

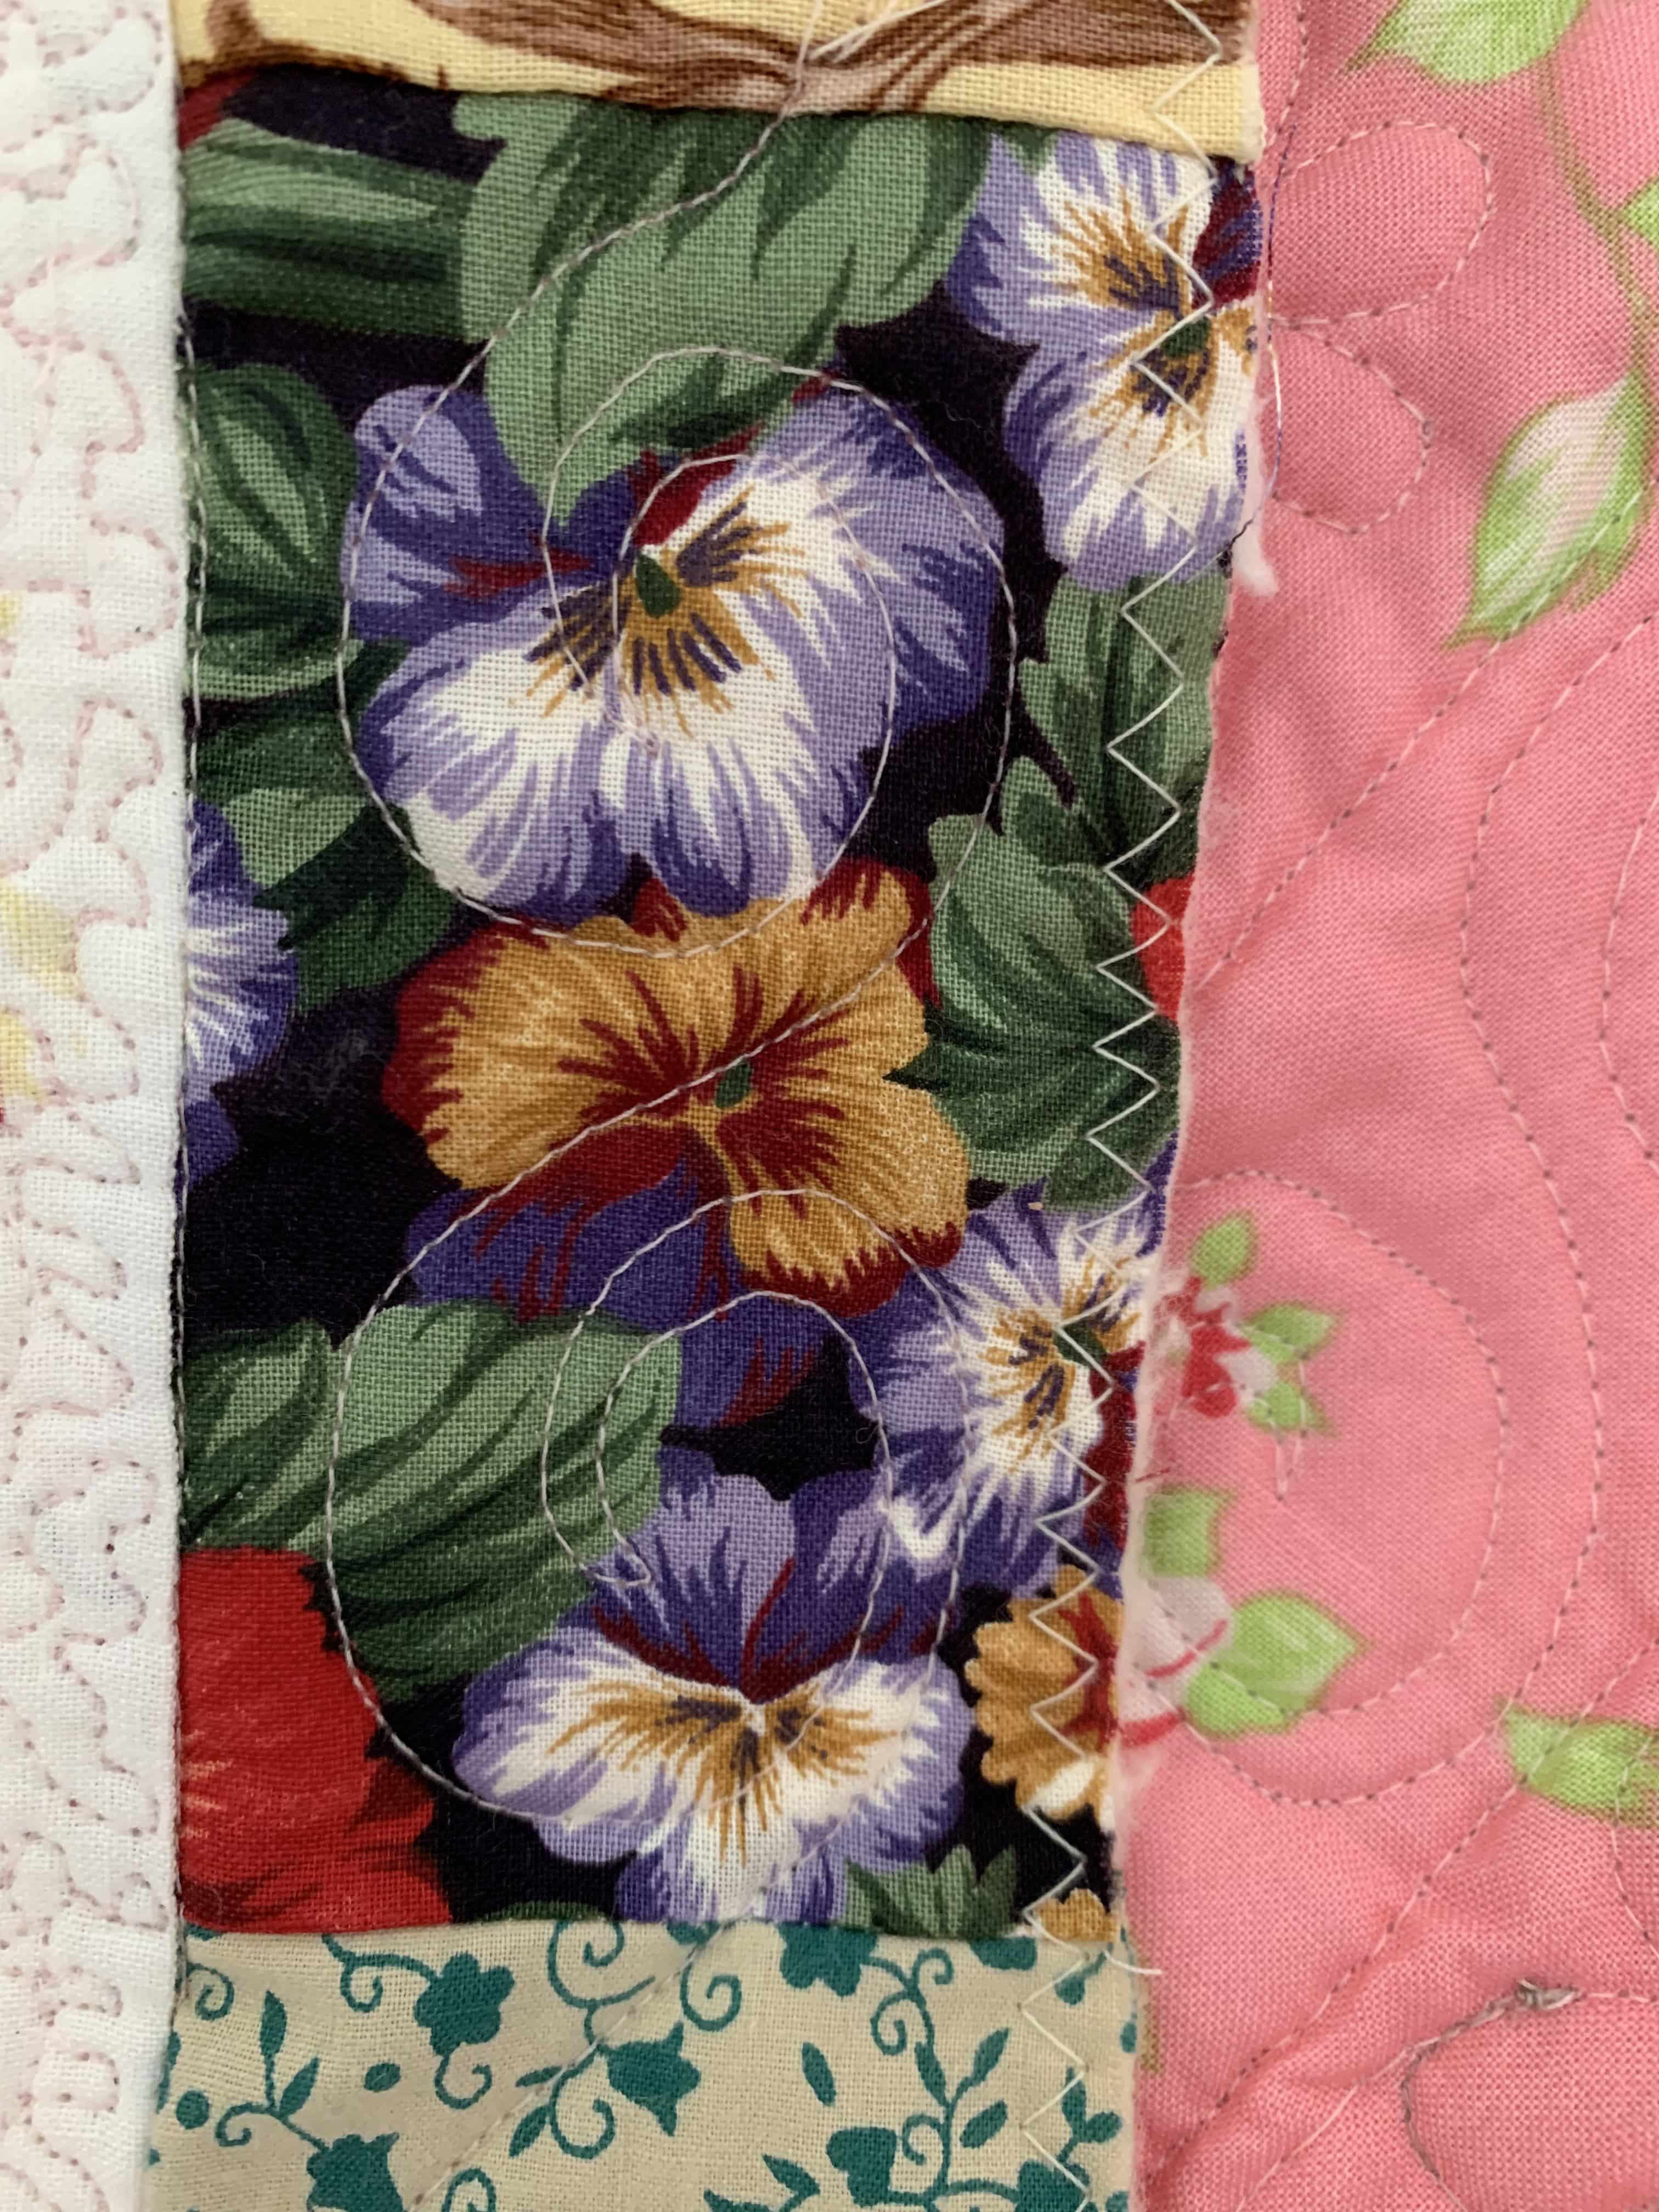
I used the same idea for quilting this quilt as described here Working with Geometry Quilting Courthouse Steps. For this quilt, I used vertical and horizontal quilting lines rather than quilting on the diagonal. There was a reason for this. Because this is a big quilt, which is a bit more challenging, I did not want to stress the bias of the quilt pieces and risk having tucks in the stitching. I hope that makes sense.
Starting from the centre of the quilt and working outwards, I can recommend quilting all the parallel lines, ie horizontal before commencing the vertical lines to create the crosshatching. This seemed to produce the most even result.

Adding the Binding
It seemed logical to me to use a striped fabric for the binding. I chose navy and white.

To me, it is very complementary for the overall design. Here are some posts about binding.
Quick Bind Every Time – Tutorial and Quick Bind Every Time Improved

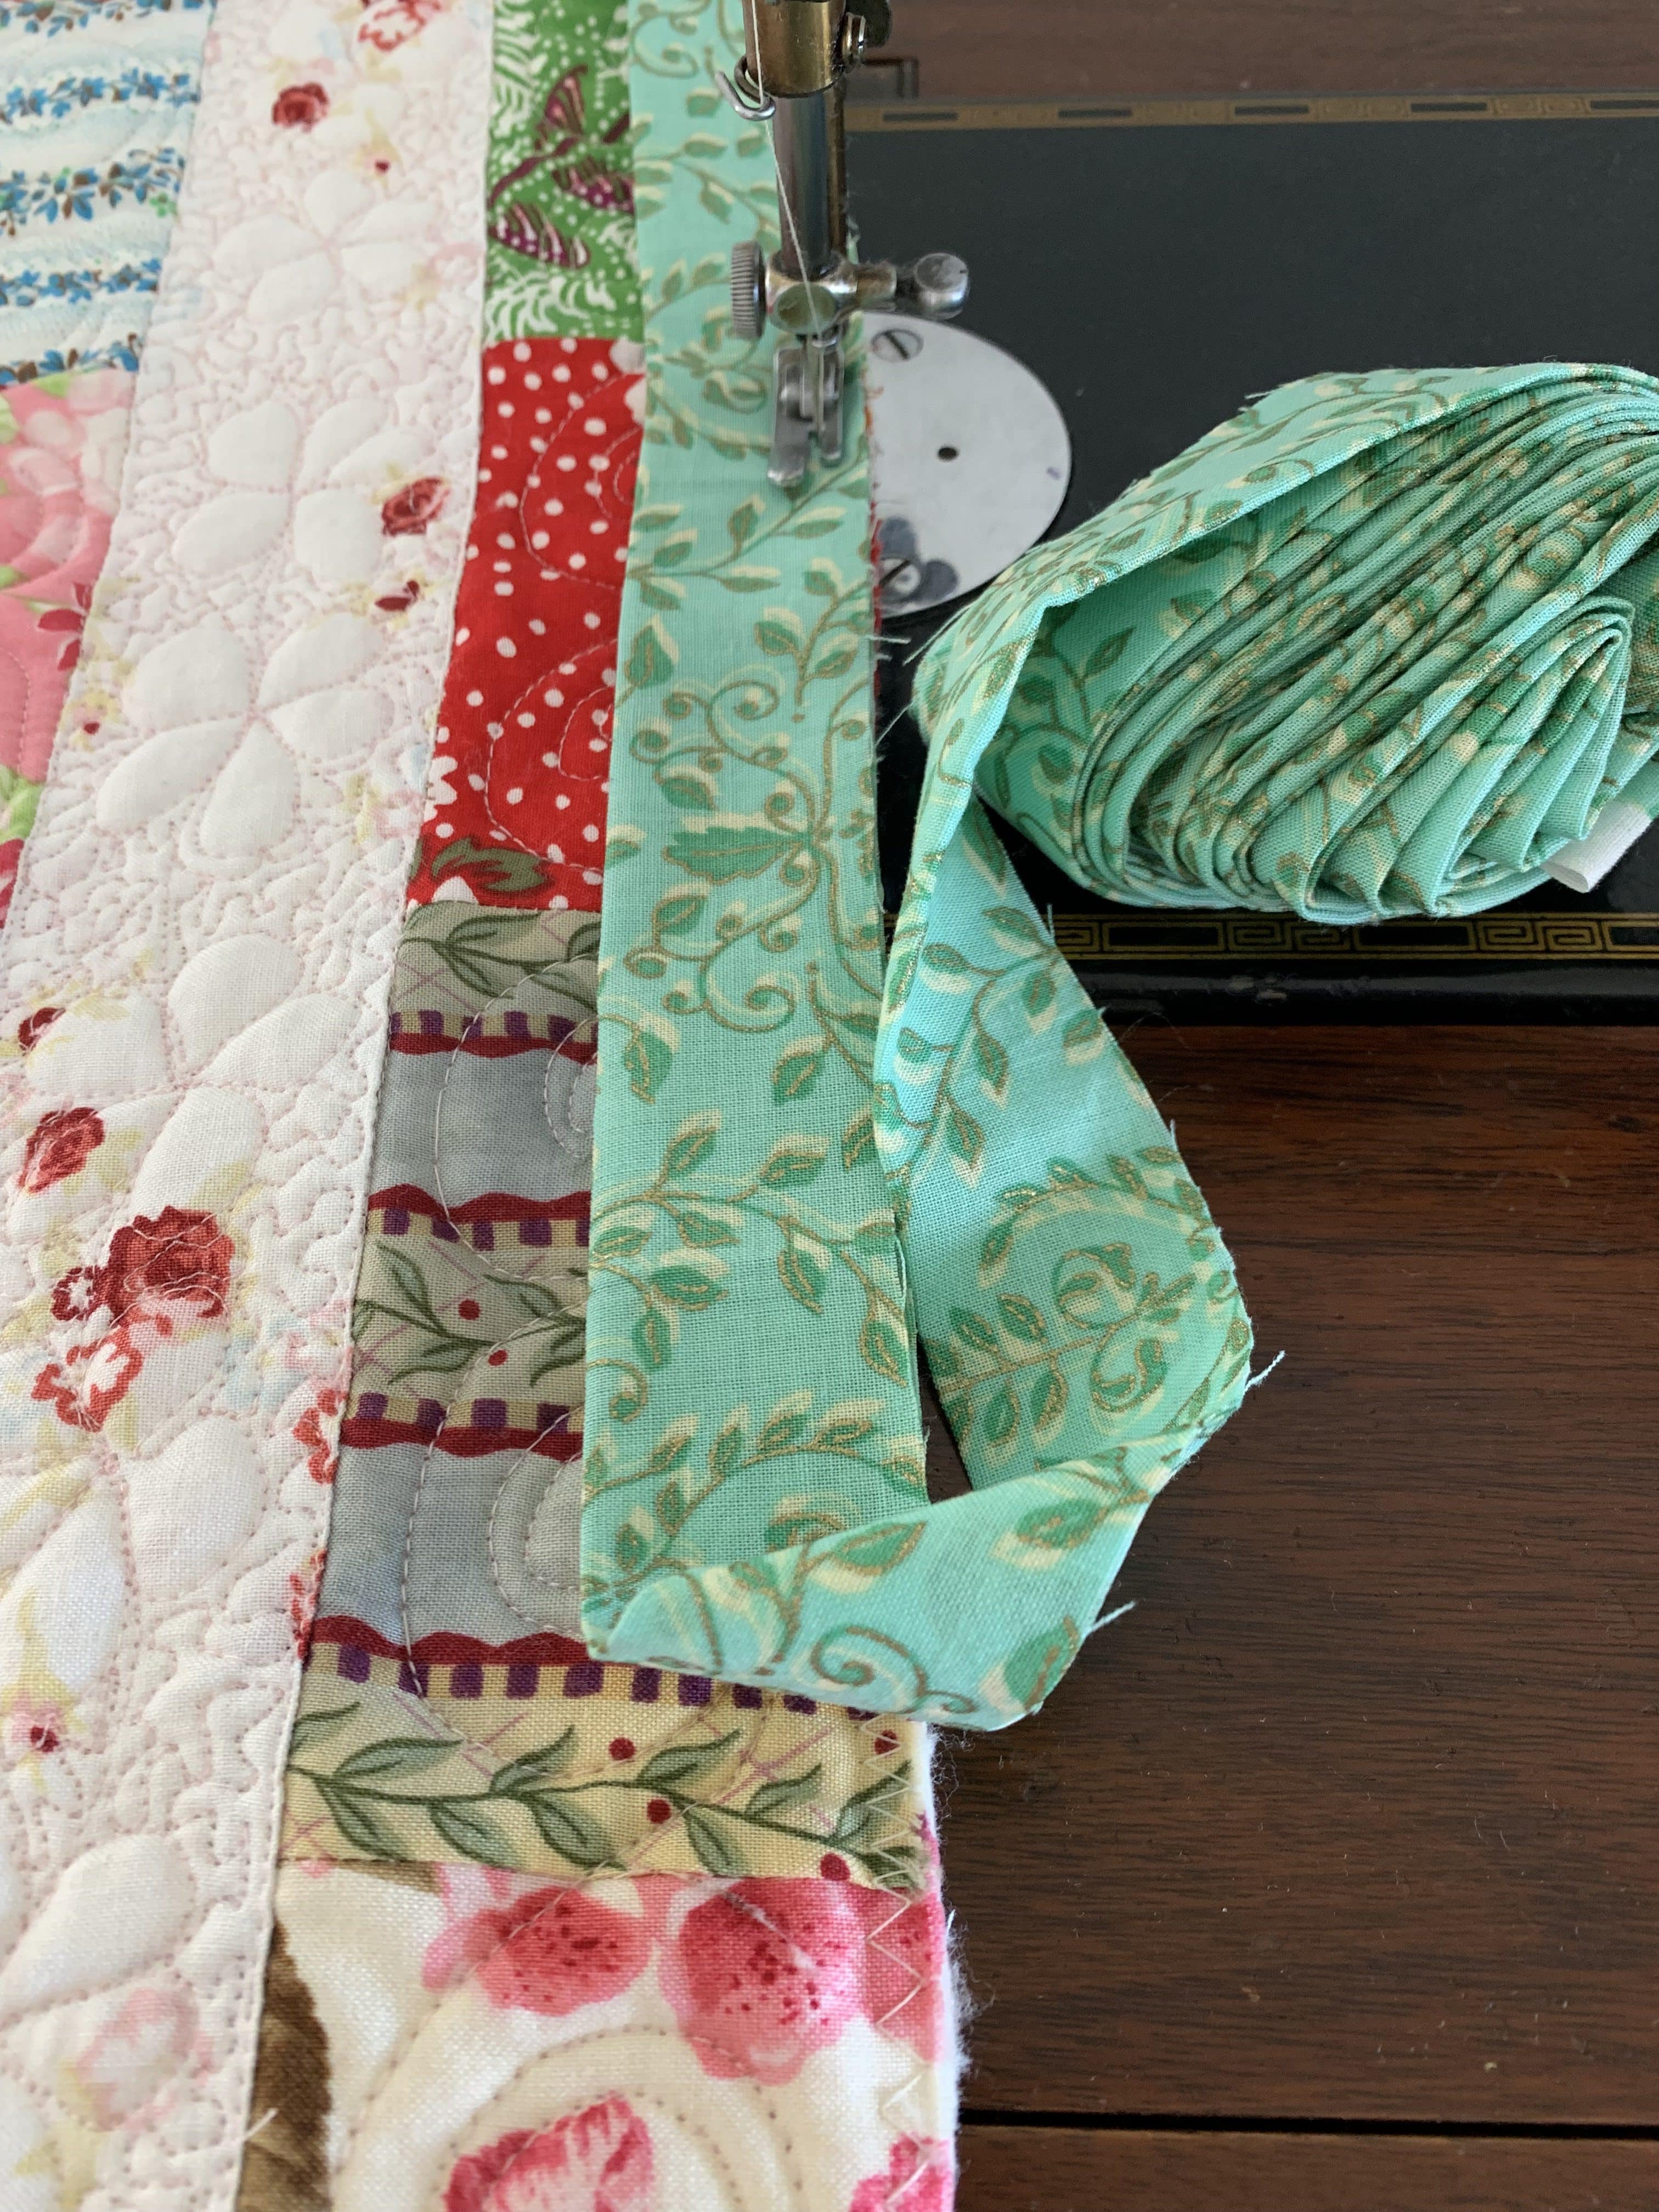
The Singer walking foot was used to apply the binding as well.

Thank you for joining me on this quilting journey. Don’t forget to label your quilt. Maybe you have someone special in mind who would like a quilt like this.
I have someone special in mind.
If you enjoyed this post, you may also like
All In Hand – Lessons In Hand Quilting
Free Motion Quilting – Part 4 – Begin FMQ
Happy Stitching,
Susie
© Susan Stuklis 2026