Ohio Star Blocks and Tutorial.
Hello Dear Friends and Readers.
These Ohio Star Blocks are so much fun to make. Although it seems like a lot of piecing, I’ve developed an easy way to make these blocks, and the best thing is, you can use up all sorts of fabric making them . In essence, when you break it down, this is a nine patch variation. It’s not hard and this method will give lovely clean points as you can see.
Maybe you would like to quilt along with me and make this Ohio Stars Quilt? This is the first step.
Remember when Jenny Doan from the Missouri Star Quilt Company, showed us her method of making pin wheel blocks by sewing around the outside of two squares right side together? And then slicing them on the diagonal to make the 4 half square triangle blocks?
I know there would be some quilters who would object to this method and find it’s technically incorrect because it means the bias is on the outside of the block, however this can be most advantageous for matching points.
Well I took this a step further and this is what I came up with.

Before you start, I must point out that I do always pre wash my fabrics. Read why here.
To Wash or Not to Wash?…This is the Question
This block will finish at approximately 8″. Seam allowances are a scant 1/4″.
Requirements for one Ohio Star block
2 x 5 1/4″ squares, one medium to dark and one light, neutral or low volume
4 x 3″ squares in a light, neutral or low volume fabric
1 x 3″ square in a complimentary medium to dark fabric for the centre
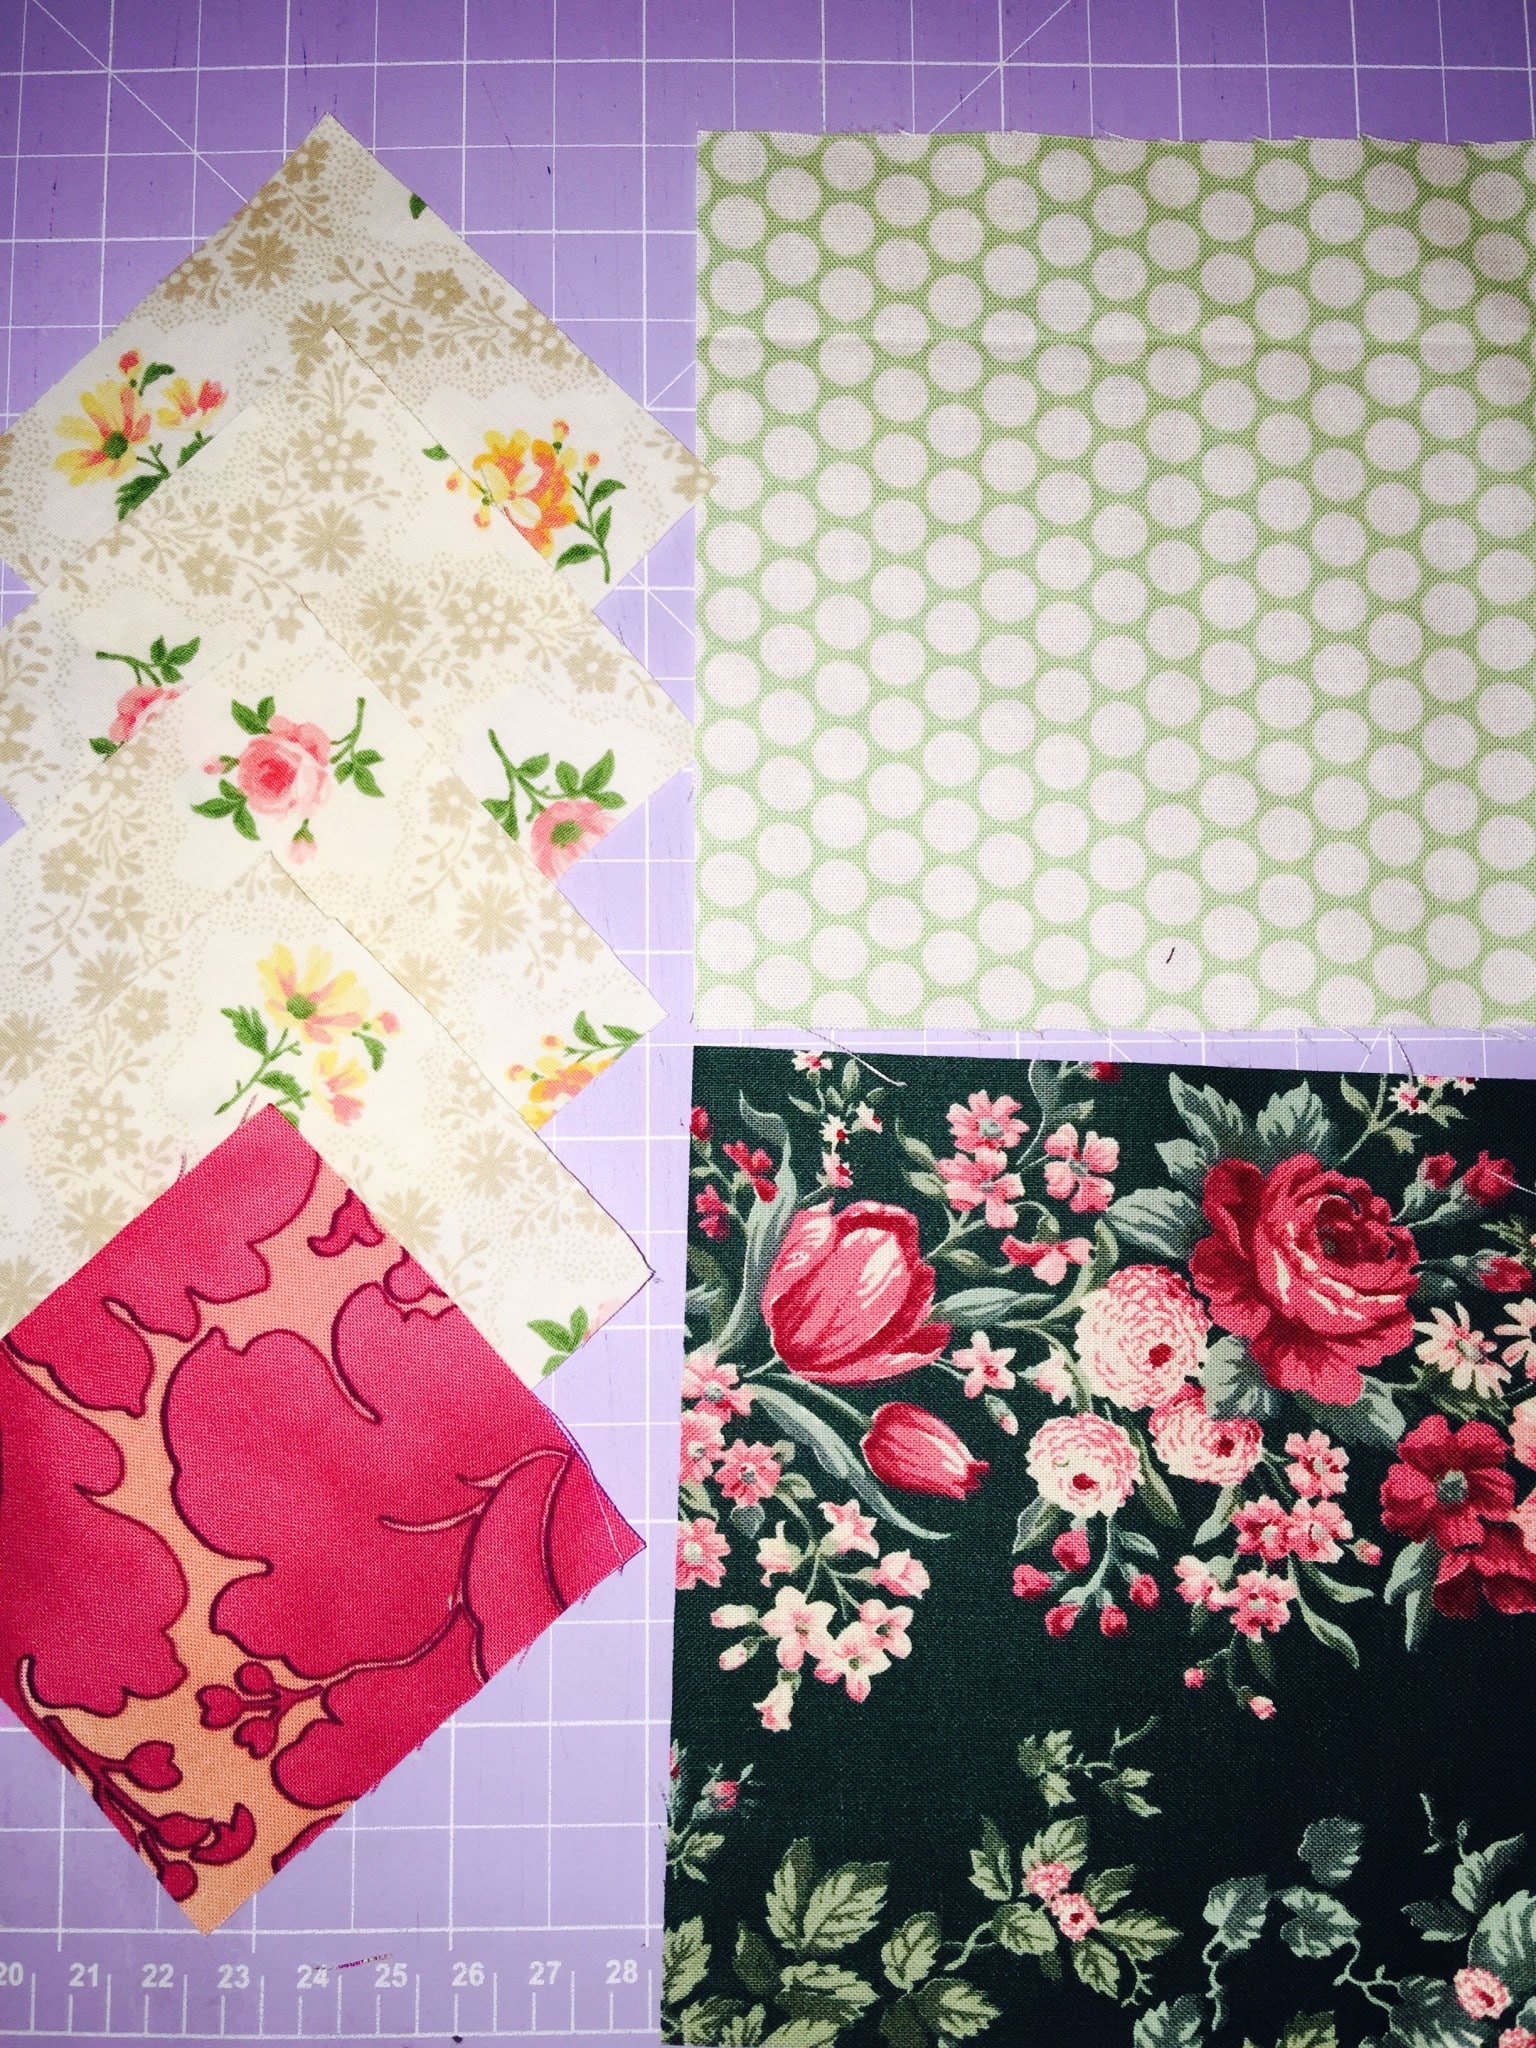
Method
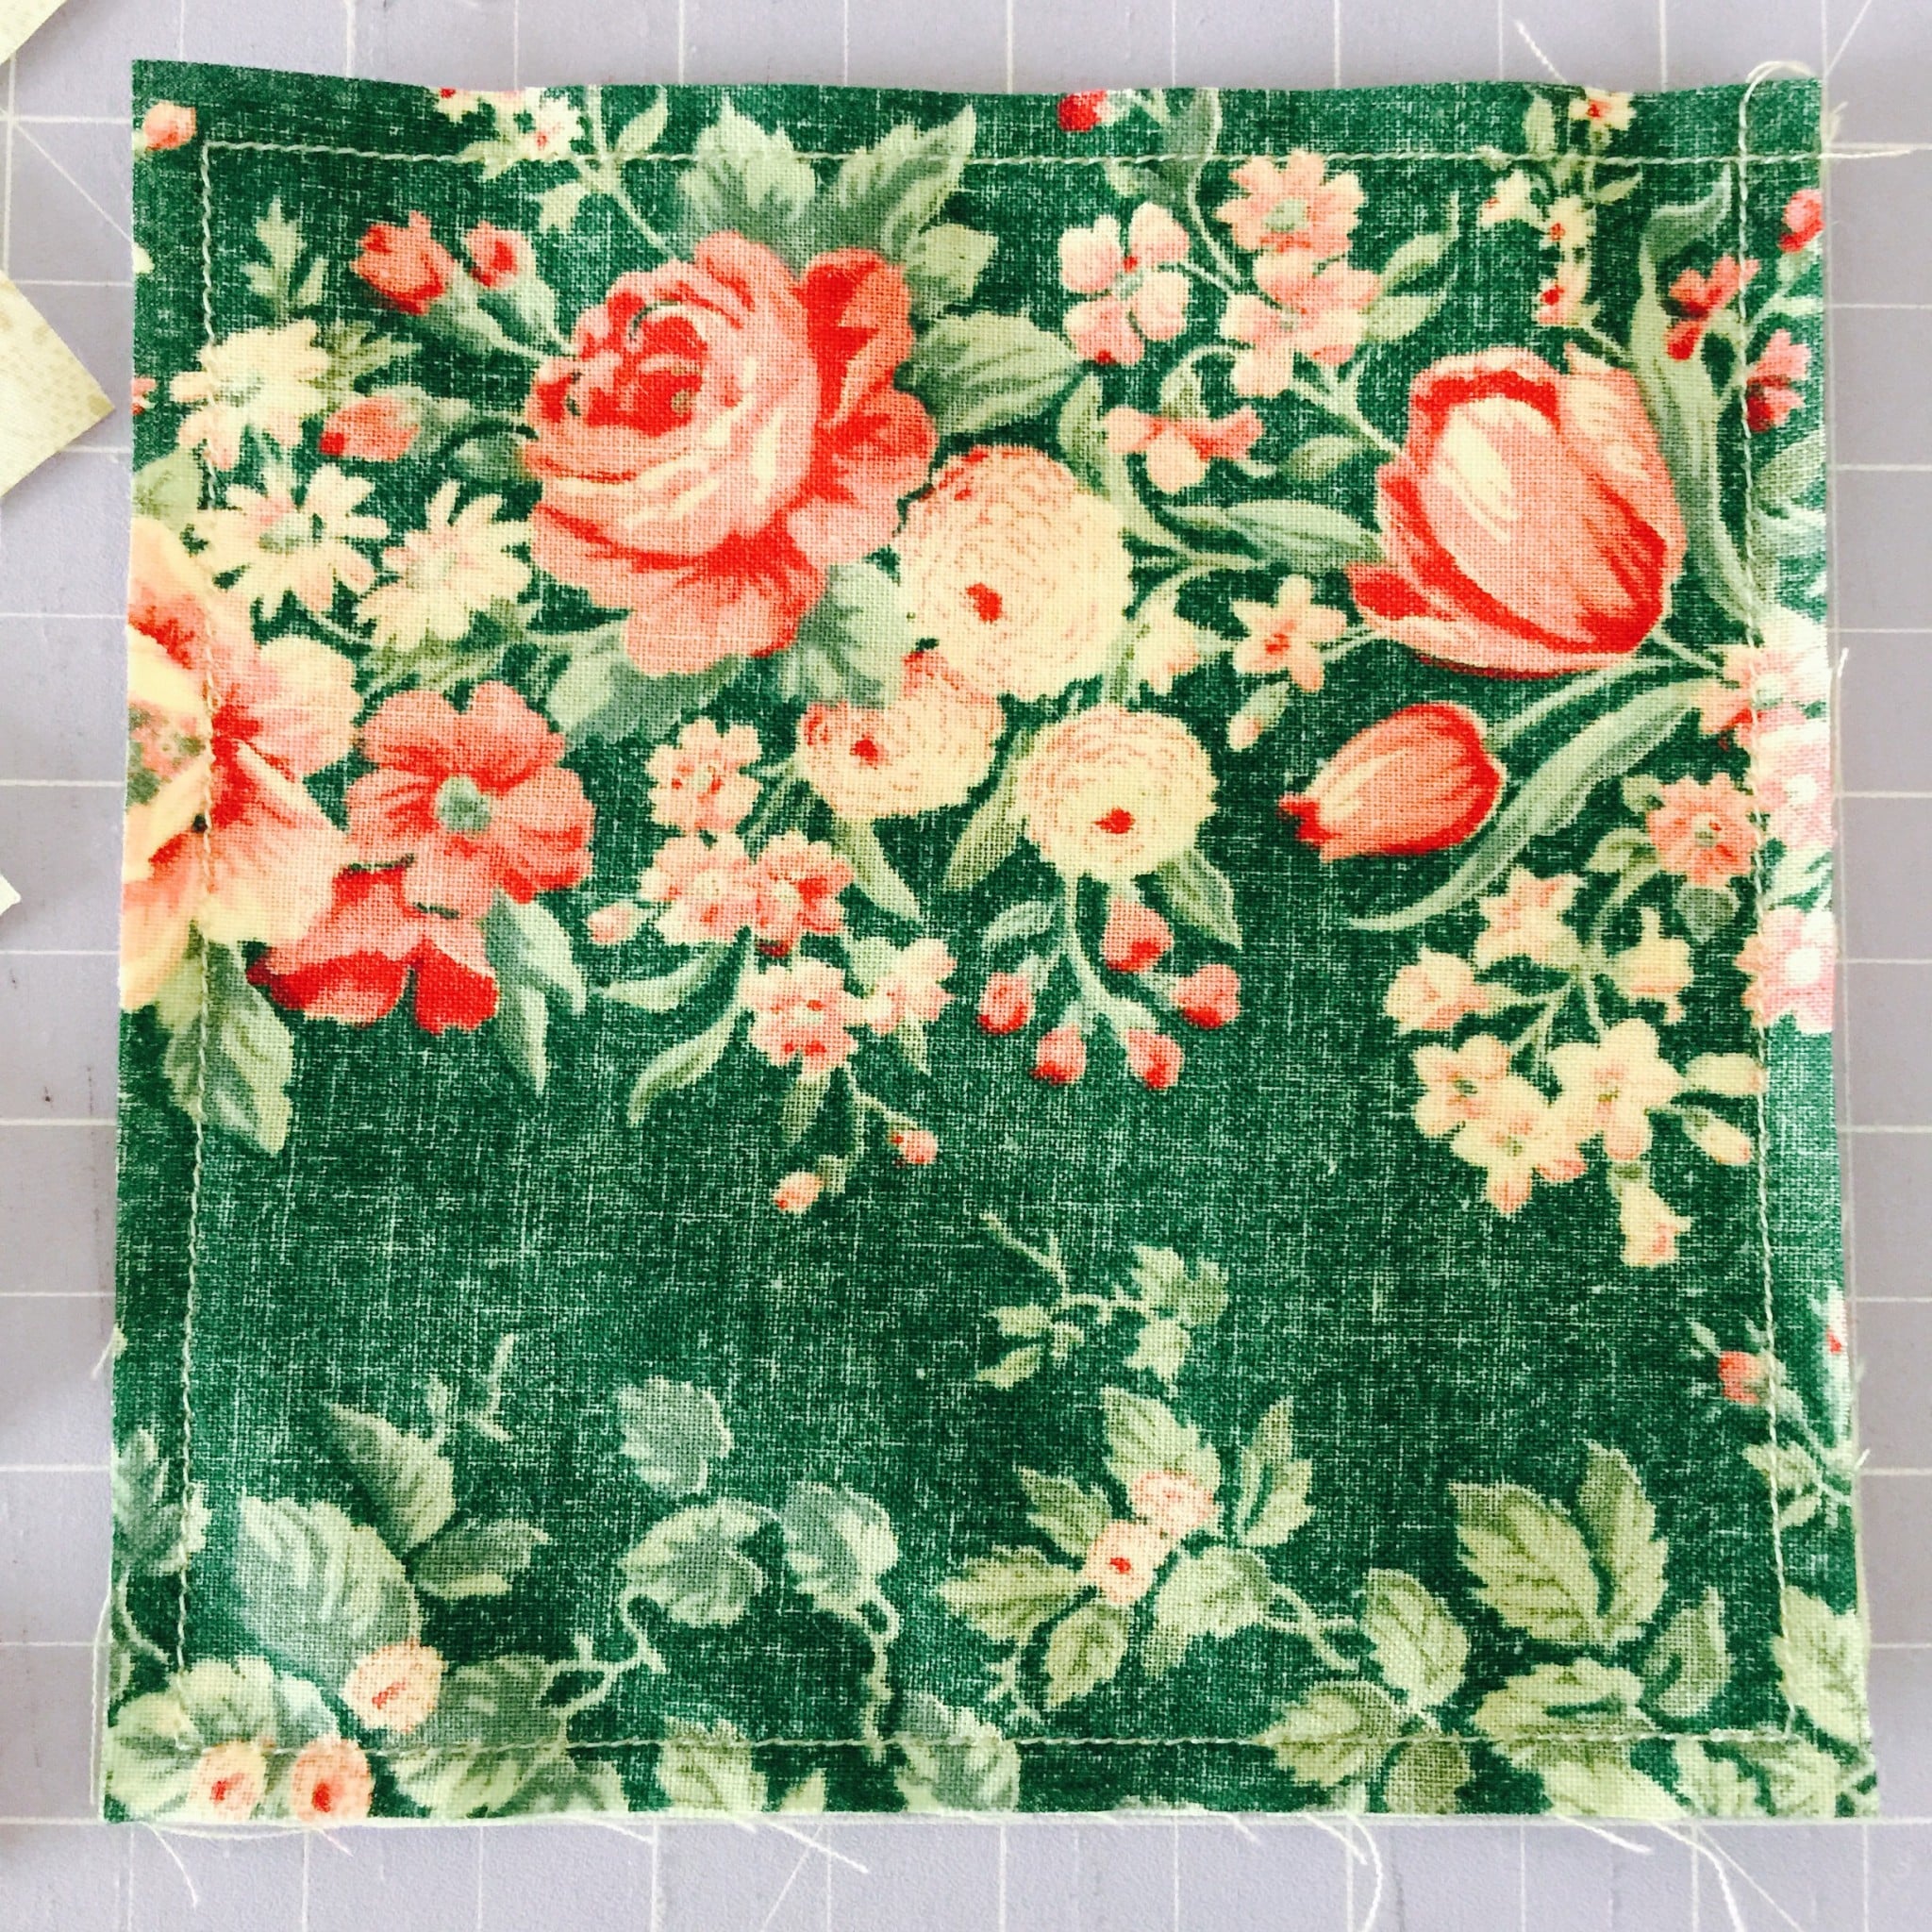
Place the two 5 1/4″ squares right side together. Sew a scant 1/4″ seam around the outside of the block.
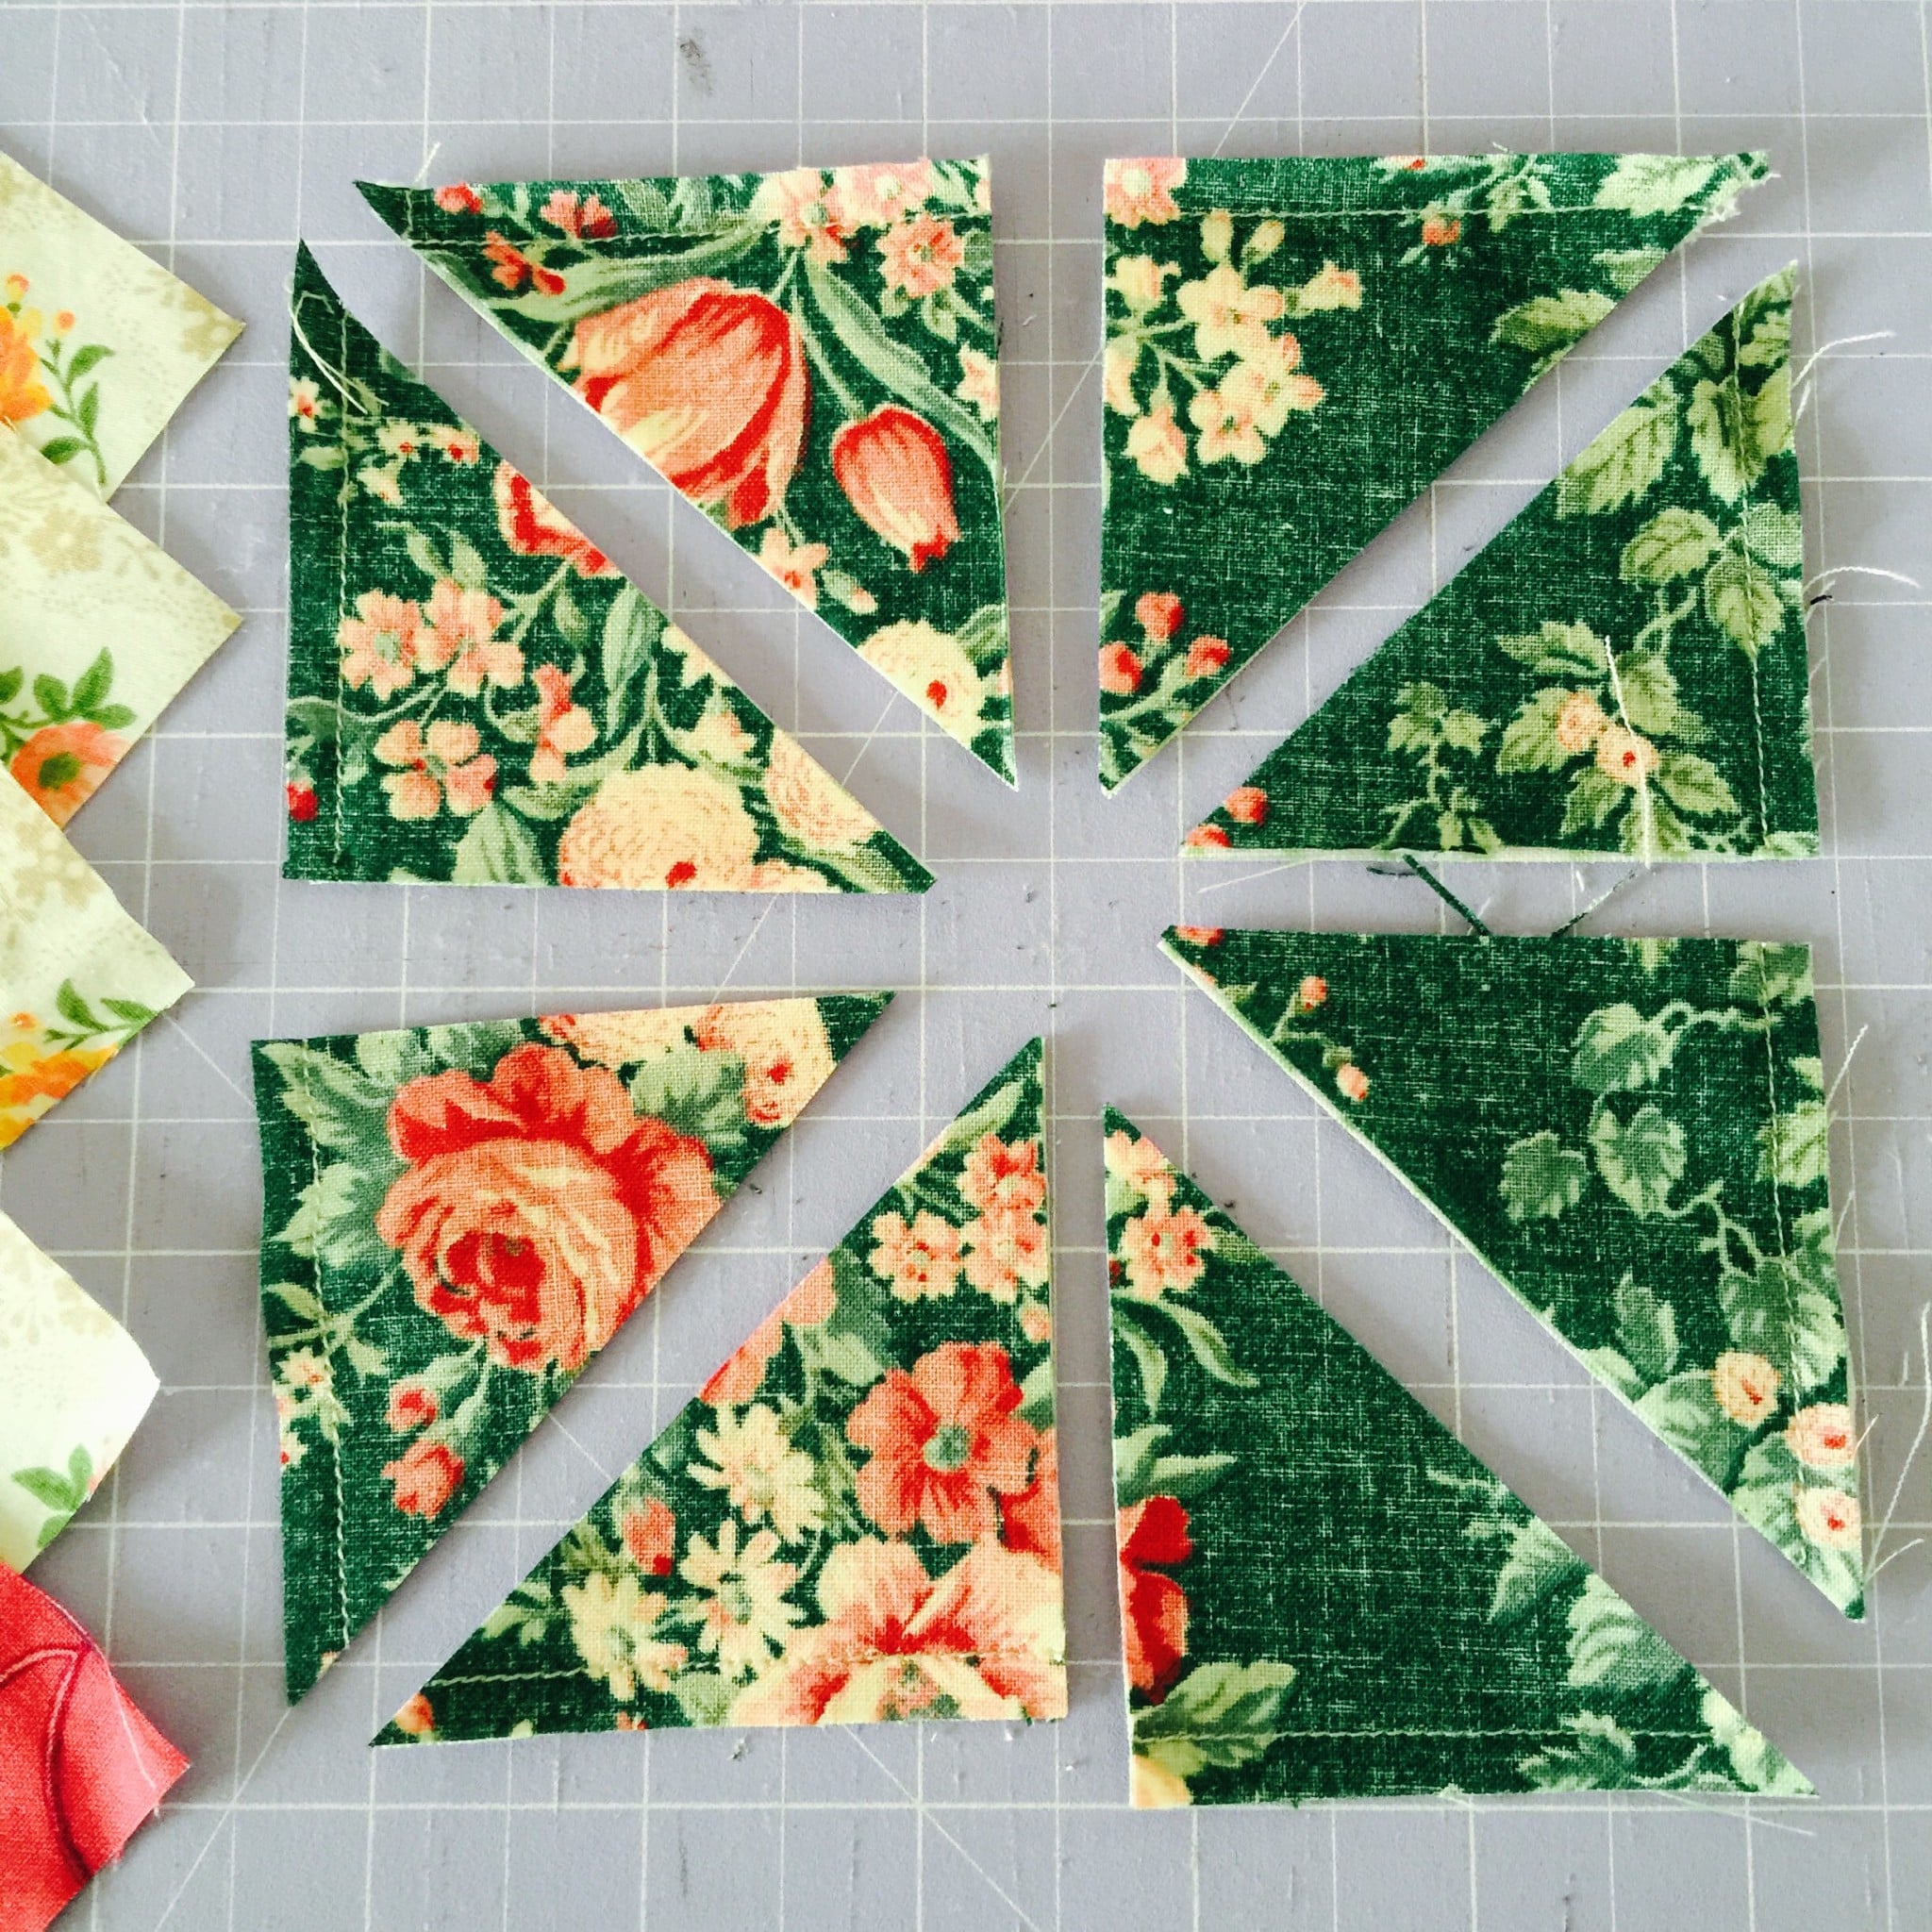
Slice across each diagonal to reveal 4 x half square triangle blocks. Now comes the fun bit . Use your ruler to slice each of these blocks exactly in half again, across the triangles.
Open them up. Pair them up to make 4 little hourglass blocks, ensuring that the centre seams nest and the side seam matches. Chain sew the units. Trim off the dog ears. Press gently.
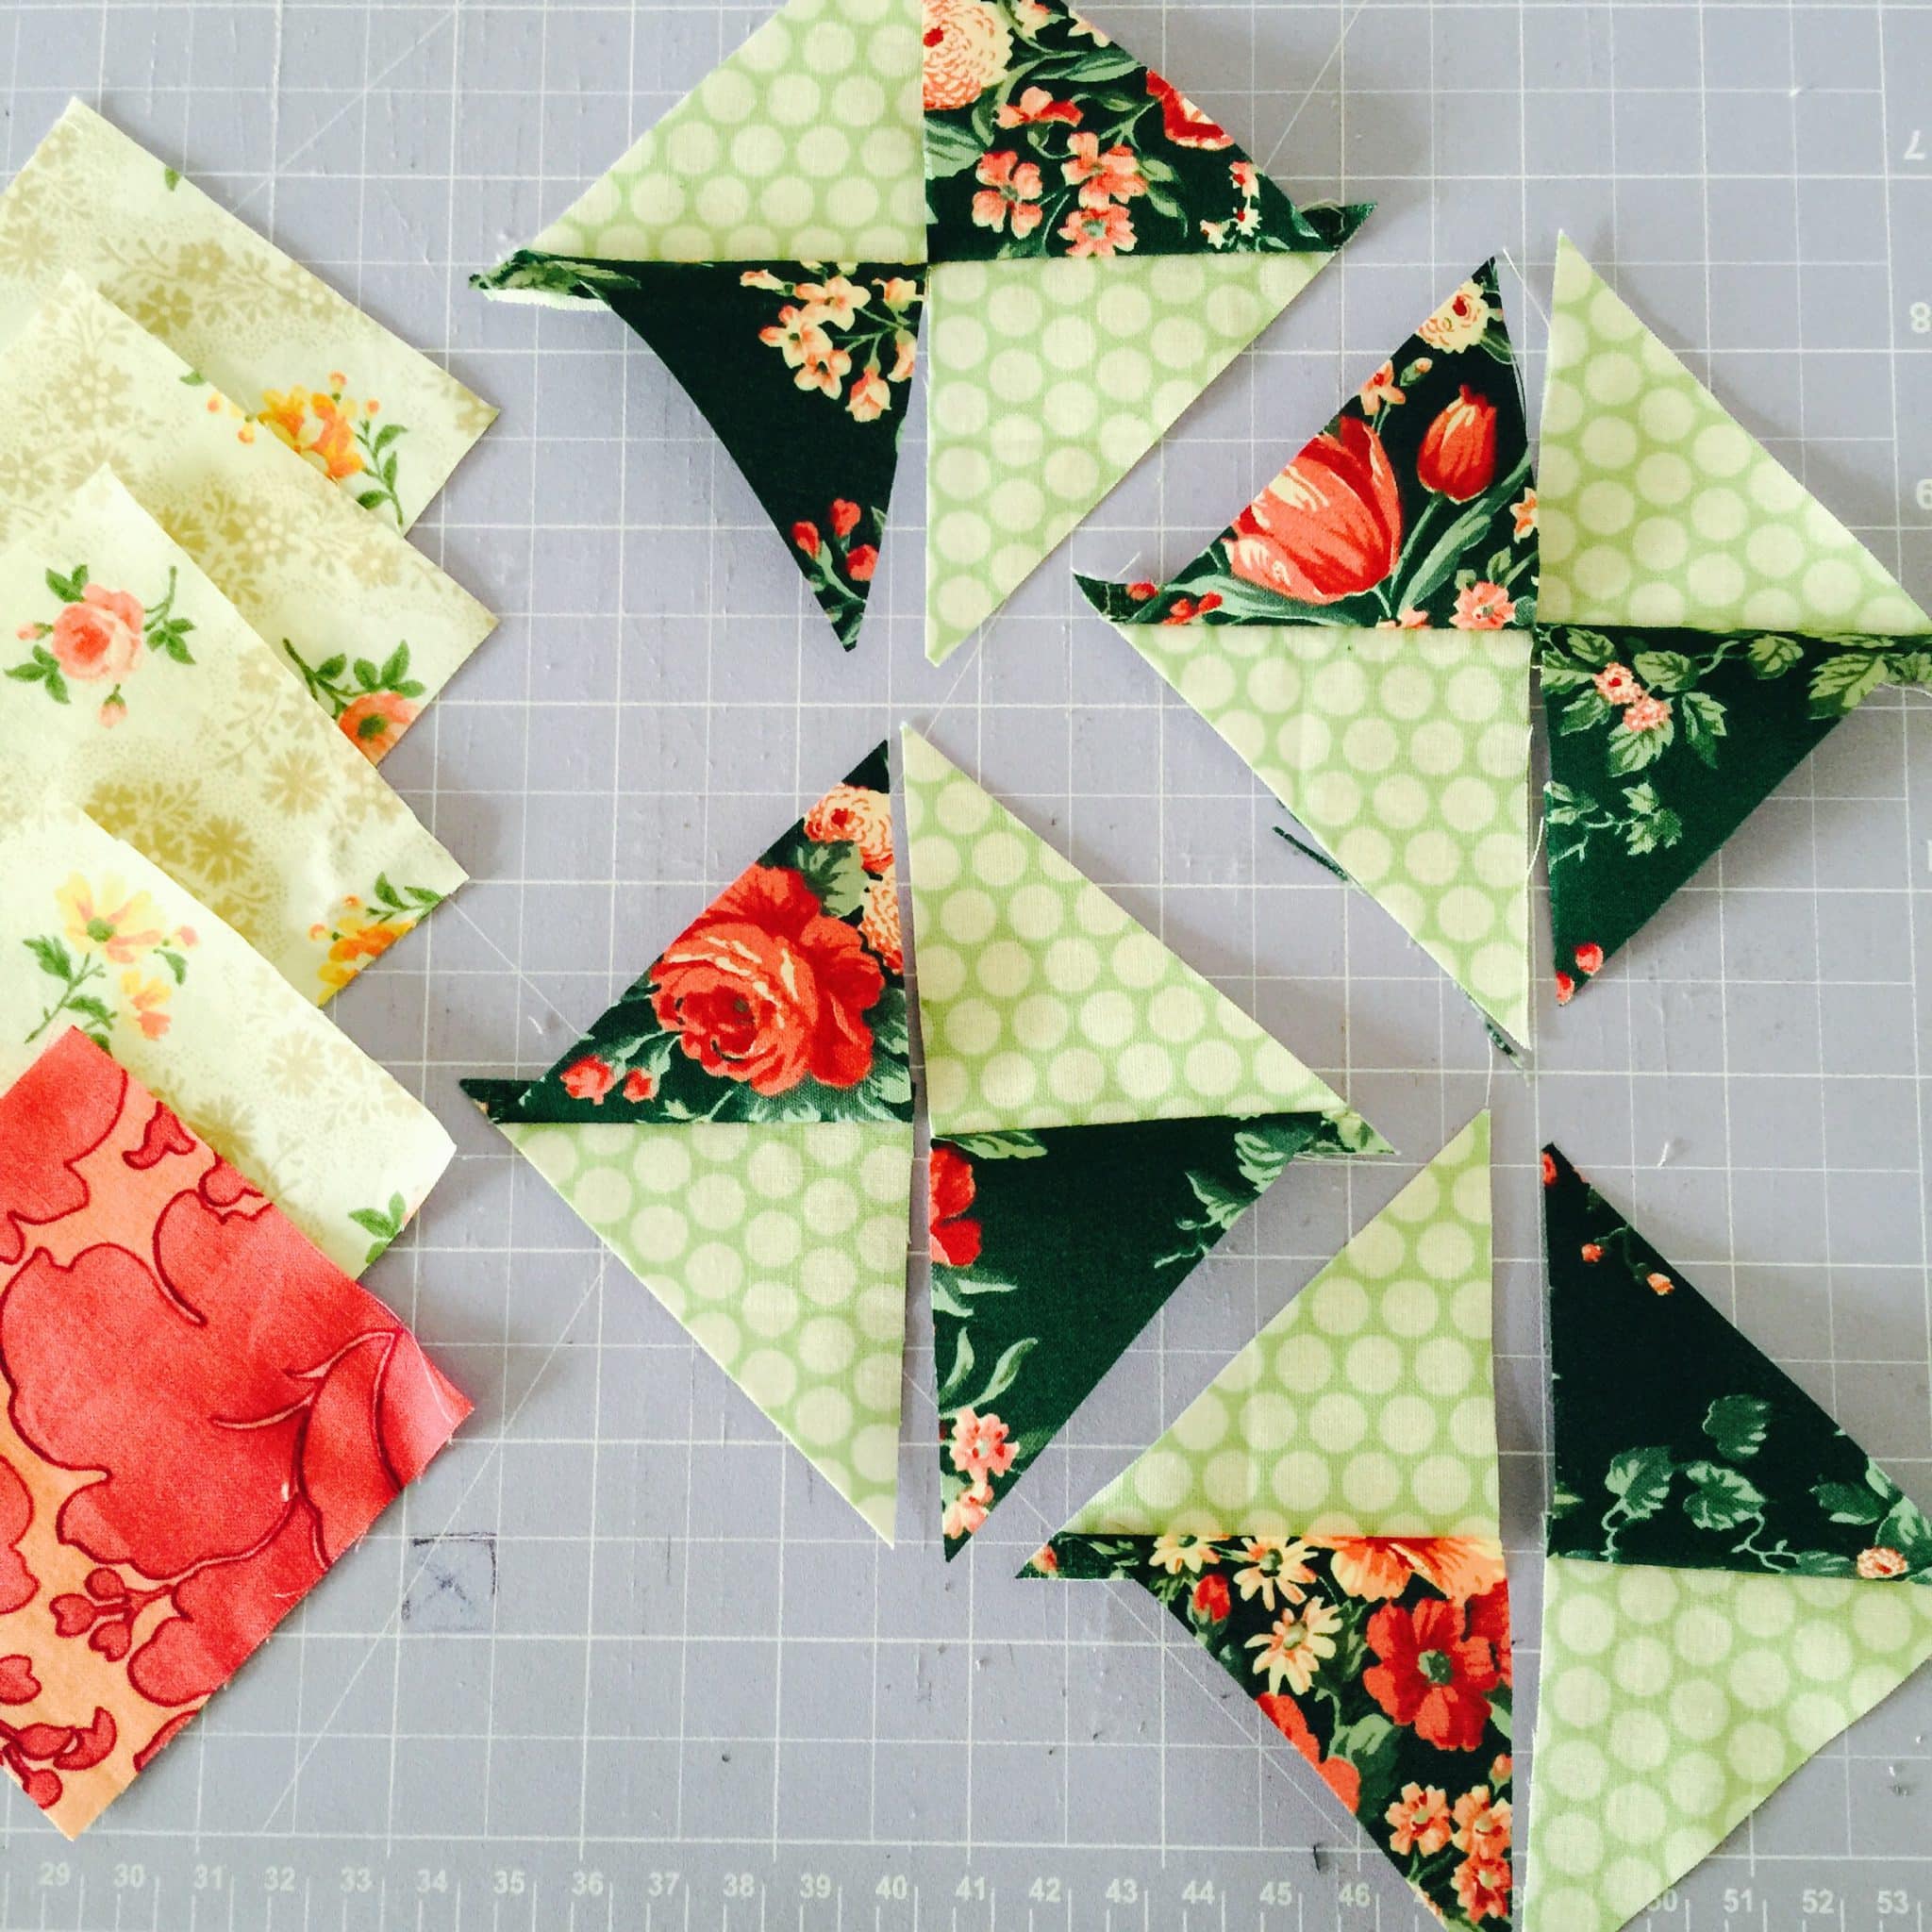
Now lay out the nine patch with the neutral squares in the corners, the darker square in the centre and the hourglass blocks in between .
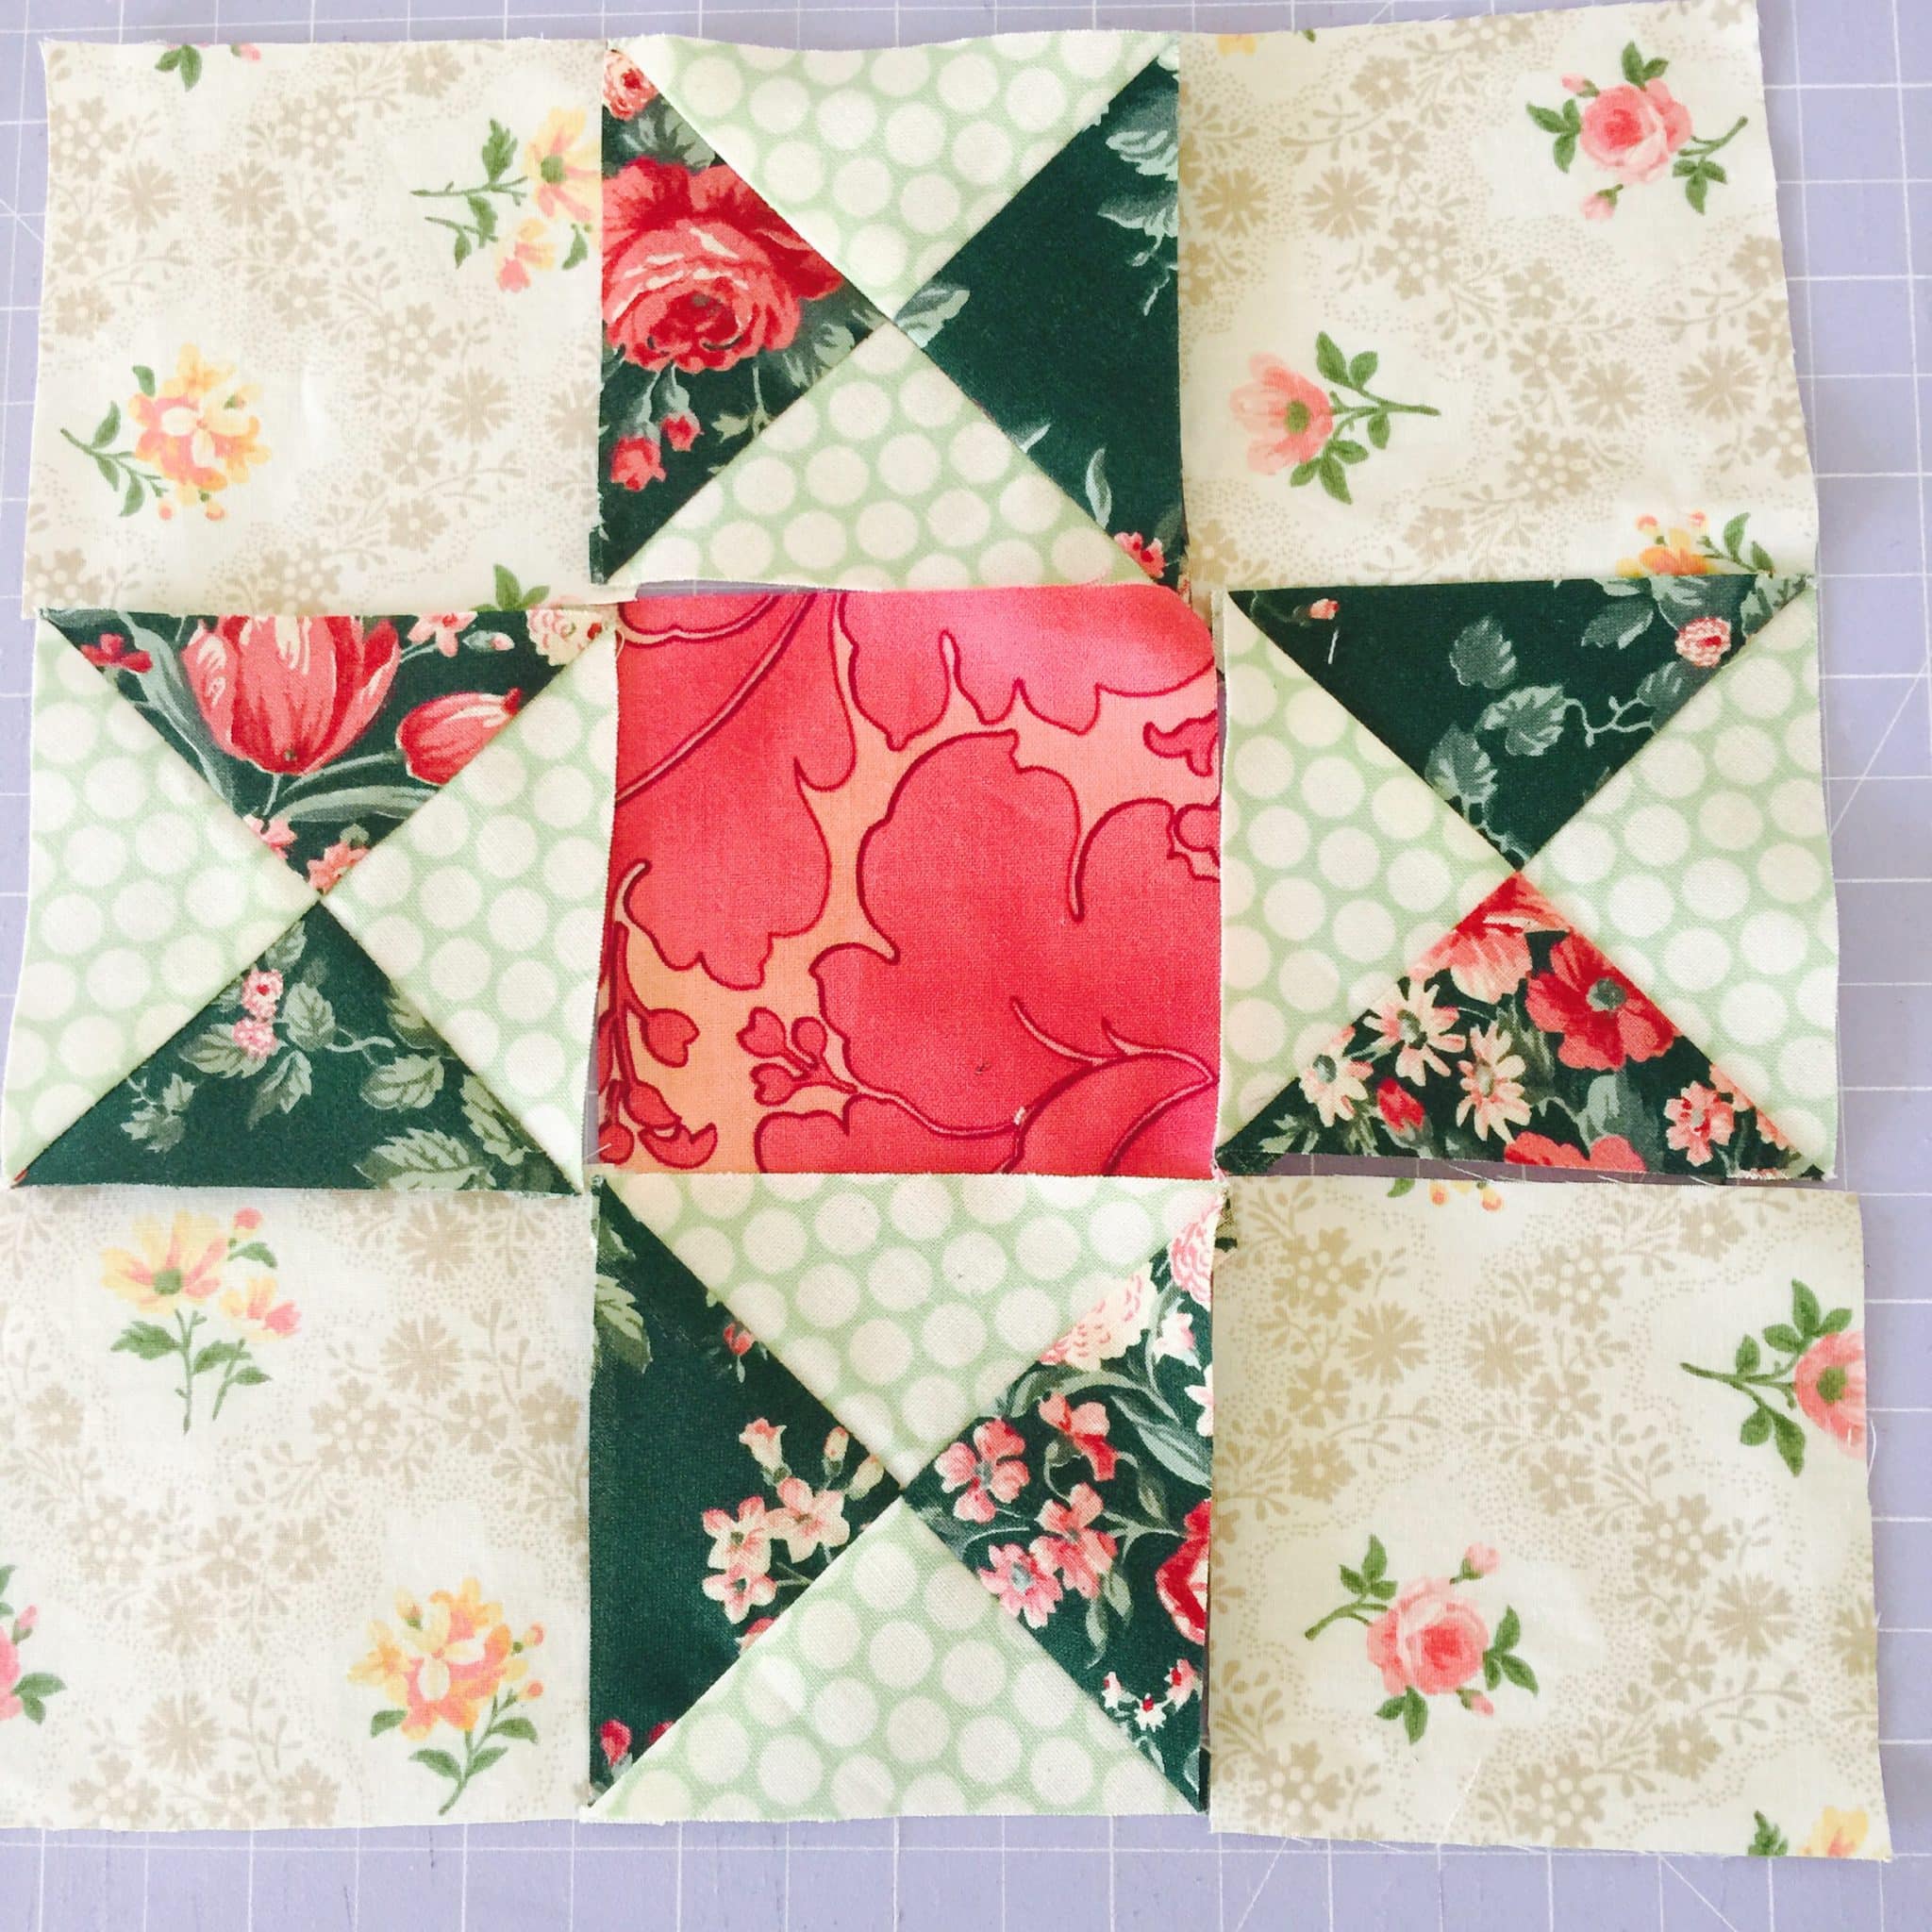
Sew the block together with your preferred method, making sure the seams nest. Gently press.
There is your Ohio Star! Or Stars!

Click on the link to Part 2 of this Ohio Stars Block.
Ohio Star Blocks Part 2 Tutorial
Enjoy!
If you enjoyed this post you may also like,
Hourglass Super Fast Blocks Tutorial
and
Happy sewing,
Susie

Love this tutorial – thank you 🙂
Awesome! Thank you so very much. I can’t wait to get started.
Hi Susie, Thank you for your fast response. I’m a bit confused. I don’t see where there are 8. I see in your instructions 2×5 1/4, 4×3 & 1×3. This makes an 8″ block and I want to make a 12″ block. If I reduce, my block would be smaller? I am new to quilting and I am just not understanding. Thank you so much for your help.
Dear Teresa, Sorry for that! My response was for Part 2 Ohio Stars. 😕 For Part 1, if you begin with 2 X 7 1/2″ squares, this will yield 4 X 4 1/2″ units. Then team them with 4 1/2″ squares for the corners and centre giving a 12 1/2″ block, which will finish at 12″. Hope that is more helpful! 😀
Looking and interested.
Will give it a whirl.
Great tutorial! Thank you for sharing. What would be your measurements if you wanted a 12″ finished block using this method?
Dear Teresa. No worries. To make this a 12″ Block, just reduce your 4 x dark corner units to 2 1/2″ square and your 8 x medium units to 2 1/2″ x 3″ and the 4 x light units to 2 1/2″ x 3″ That will give you a 12″ block. I think it will look great and add a little extra interest to the block too!
I’ve just started making HST this way for another block; how great to find it works for this one! I love star blocks! Thx so much for the tute.
Thank you! That’s awesome! I’ll have to try it.
Thank you so much
Great tutorial
Awesome! Thanks so much for breaking it down.
Thank you that looks easy ….
Great tutorial. Can’t waIt to try this