Ohio Star Blocks – Part 2 Tutorial.
A short time ago I posted the tutorial on how I make these easy method Ohio Star Blocks. They are wonderful for using up small scraps of fabric in a beautiful way. Each block can be very unique, however there is nothing to stop you having repeated blocks or the same one if that is your preference. Find the link below.
Ohio Stars Block and Tutorial – Part 1
Maybe you would like to quilt along with me and make an Ohio Stars Quilt too and use up some of your scraps?
I have to say, this is a fun project. The piecing is easy and scrap quilts are not boring. Every block made is unique. If you haven’t been game enough to try a scrap quilt, then maybe this is for you. What have you got to lose, except to use up some scrap fabric you already have!
With any blocks, once they are made, the question is, how they will best be put together?
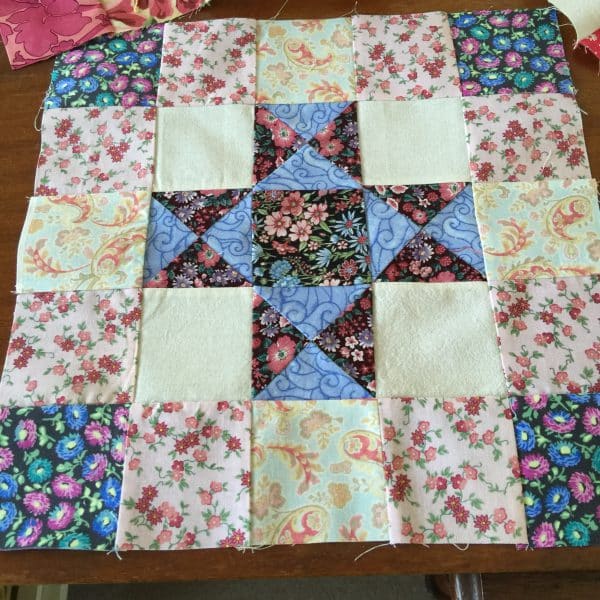
Although I do love blocks on point, I like the way these stars look as they are, so my setting will be straight. A straight setting is easy to put together. I decided to frame my stars. This makes a nice big block! Block size =13″.
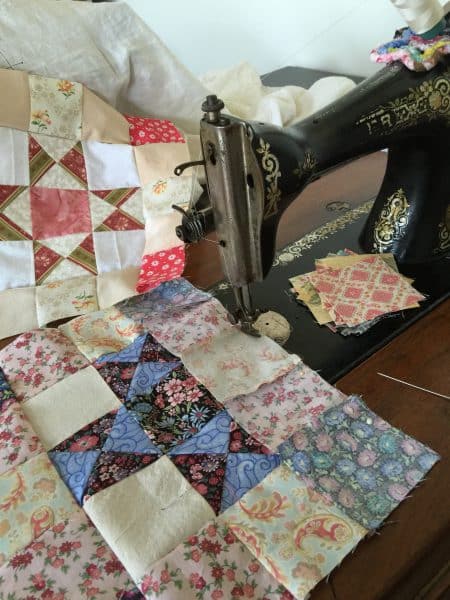
I have been having fun piecing these blocks on my antique Singer 15 C1902.
This is how I did it.
Ingredients
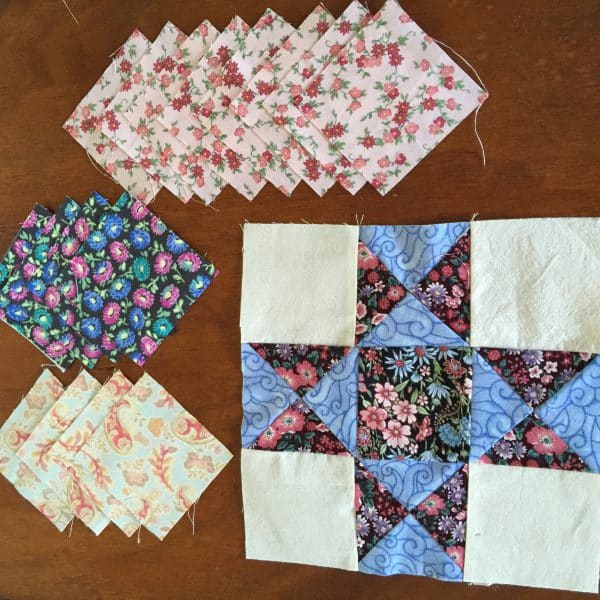
For each block, you will need;
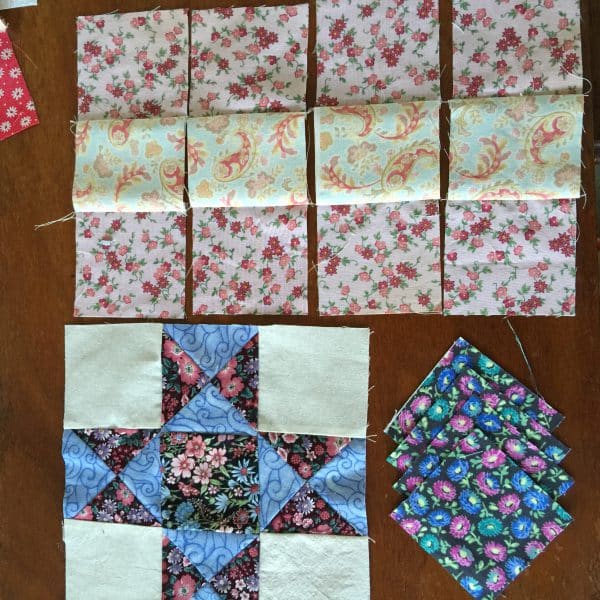
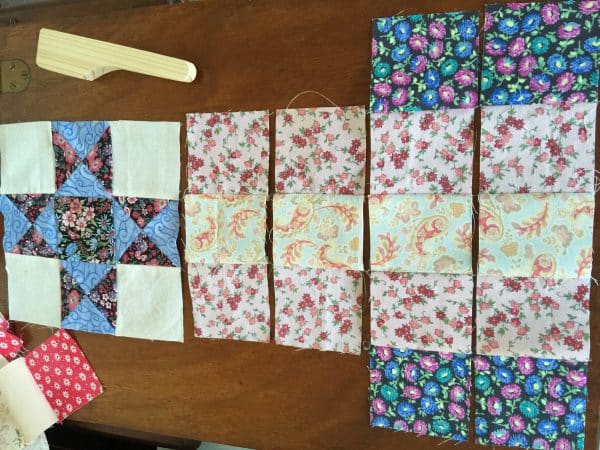
To construct the block, chain piece four sets of medium / light / medium 3″ squares.
Then add the dark squares.
Sew a dark square to both ends of two of the sets.
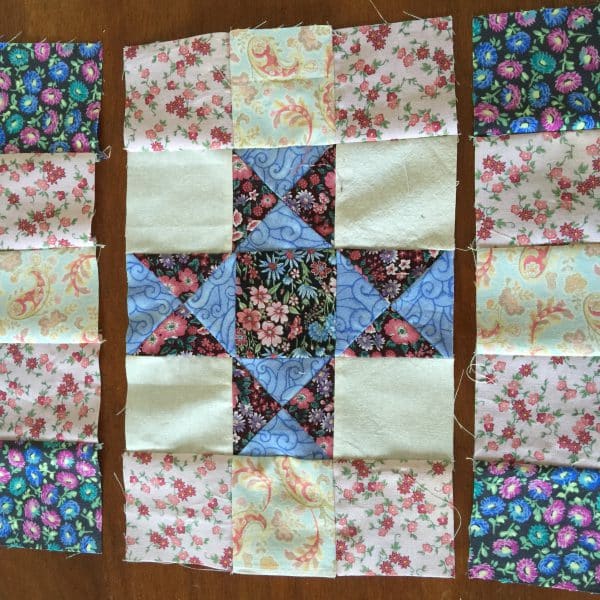
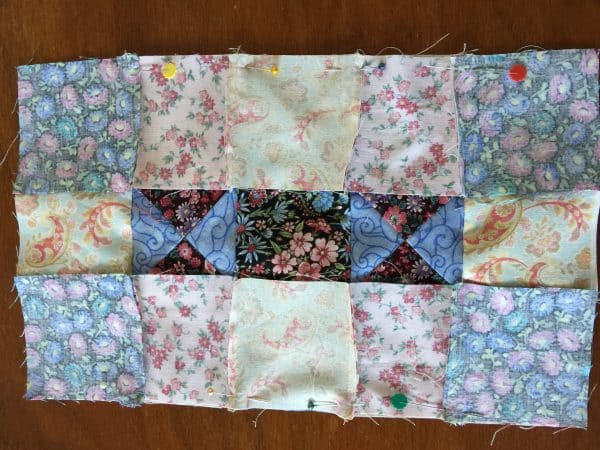
Attach two of the sets of three, to opposite sides of the block ensuring that the seams are matching and nesting nicely.
Now add the two sets of five to the remainder two sides of the block, taking care to match the seams nicely as before.
Press the block.
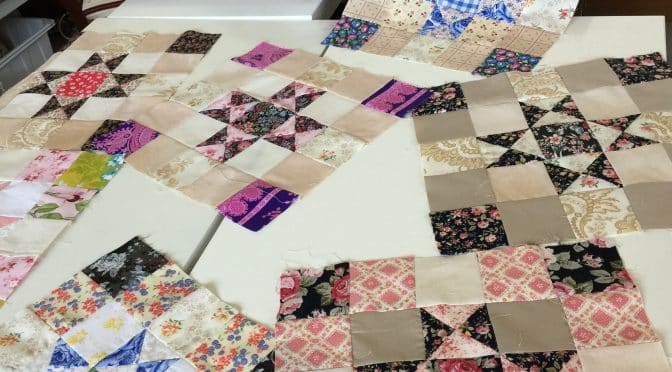
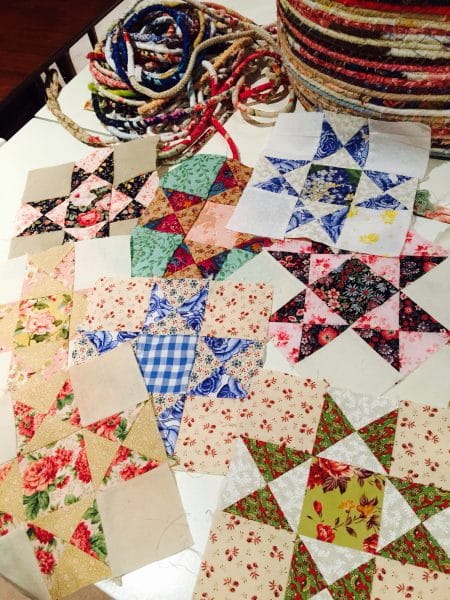
Make as many as you like. See how it’s coming along now.

Susie I just LOVE all your projects! I’m having great fun piecing these Ohio Star blocks! I have 25 made so far and my goal is 30 so I’m almost there! But, I was wondering if you could post a picture of your finished quilt? Keep up the inspiring posts!
Dear Eve. I’ll be sure to post as soon as I can!