Charmed By Monkeys Quilt Pattern
Charmed By Monkeys Quilt Pattern
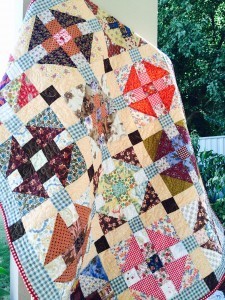
I named this quilt Charmed By Monkeys as I designed this quilt for a baby boy, using Monkey Wrench Blocks, made from 5″ Charm Squares. Here is the link to more of this quilt story.
Block size = 10 1/2″
Finished Quilt Size = 39″ x 51″
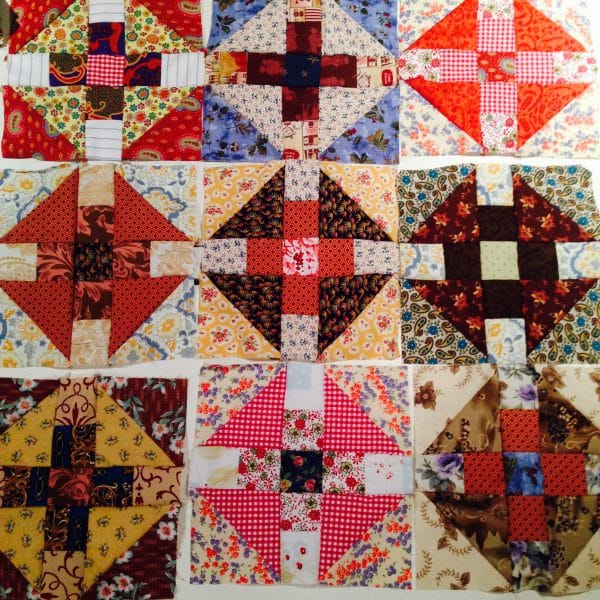
Make the Monkey Wrench Quilt Blocks. For this baby quilt, make 12 blocks. Click on the link below for instructions on how to make the blocks.
Treading on Monkey Wrench Blocks and Tutorial
Cutting
34 – 4 1/2″ x 2 1/2″ light orange/cheese coloured pieces for the block sashings.
14 – 10 1/2″ x 2 1/2″ aqua blue check print for the border
17 – 2 1/2″ x 2 1/2″ squares of the aqua blue check print for the sashings.
20 – 2 1/2″ x 2 1/2″ dark chocolate brown squares
5 x 2 1/2″ width of fabric strips of dark red check print for the binding
Method
Please read all instructions before commencing. I always pre wash my fabrics.
Lay out the Monkey Wrench blocks in a 4 x 3 configuration. Move them around until you are happy with the layout.
Sew the sashings. Sew an orange 4 1/2″ x 2 1/2″sashing piece to a 2 1/2″ x 2 1/2″ blue check square, then sew another orange sashing to the other side of the blue check square. Make 17 of these units. Use 8 of these units to sew the Monkey Wrench blocks together into 4 rows of three blocks, ensuring all seams are nesting.
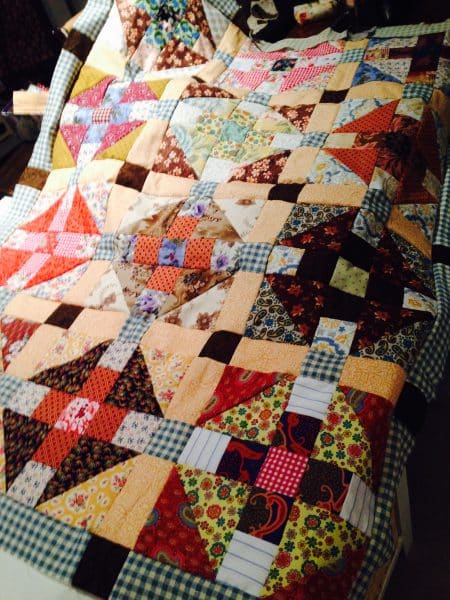
With the remainder 9 sashing units join them together in three rows of three, using one of the 2 1/2″ x 2 1/2″ chocolate brown squares between each join. (This will use 6 of the Chocolate Brown squares). Use the picture as a guide.
Now use these three sashing strips to join the 4 rows of sashed Monkey Wrench blocks together, with the sashing strips in-between. Please pin well to ensure that all the seams are lined up and nesting before sewing.
Now the quilt is altogether, add the border.
Join a 10 1/2″ x 2 1/2″ aqua blue check strip to a 2 1/2″ x 2 1/2″ chocolate brown square. Sew an aqua blue check strip to the end of the chocolate brown square followed by a chocolate brown square and finish with another aqua blue checked strip. Make another identical strip. Sew these two border strips to the short ends of the quilt. Ensure that all the seams line up.
Repeat with the remainer border pieces to make two strips for the long sides of the quilt. Begin and end each with a chocolate brown square. These will become the corner stones of the quilt border.
Sew these two border strips to the long sides of the quilt, ensuring all seams and machine and nested as possible.
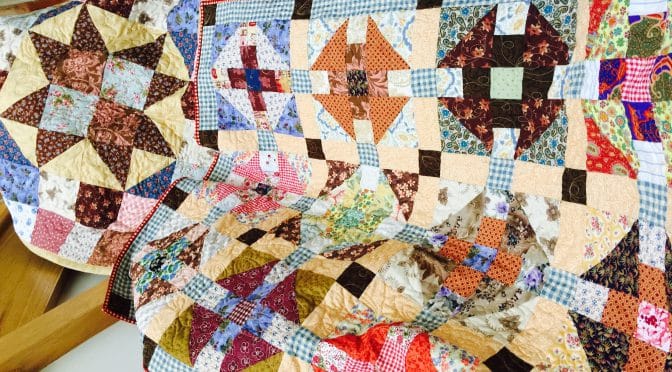
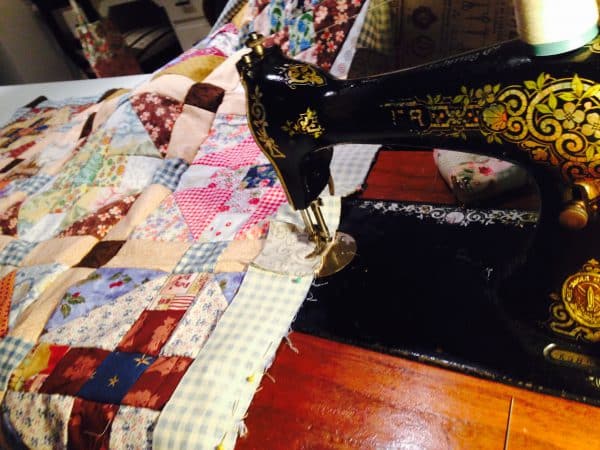
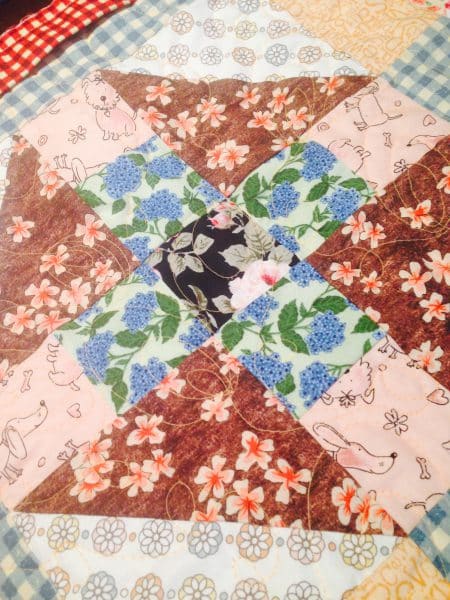
This quilt was pieced entirely on a C1902 Singer 15 treadle, as pictured above. After sandwiching the quilt, I quilted this quilt with a looping egg shaped pattern.
Bind with the red check print strips. For a tutorial on Binding see the link below.
Prepare binding strips for quilts – Tutorial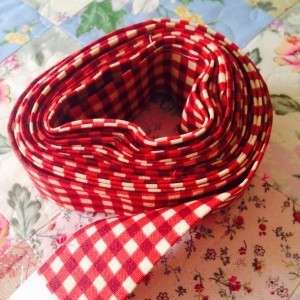
i think this quilt has a lovely antique look about it. It would be just as lovely as a lap quilt.

Love this. I made a Monkey Wrench VERY early in my quilt progress, and learned about the 1/4″ foot for the machine. The regular pressure foot just didn’t do! Have made MANY quilts since then and intend to make another Monkey Wrench one of these days.