Uneven Nine Patch Quilt Pattern Antique Style
Hello Dear Friends and Readers. Welcome to today’s post. I believe our foremothers made quilts with timeless appeal and that is what inspired me to make this quilt using colours which are reminiscent of an antique style . Simple ingredients make a visually appealing quilt. By using a mustard yellow often referred to as “Cheddar” colour this makes a perfect backdrop for the blocks. I am using these blocks and setting them on point. You may remember I posted these Uneven Nine Patch blocks.
Here is the link to the tutorial.
Uneven Nine Patch Block Tutorial
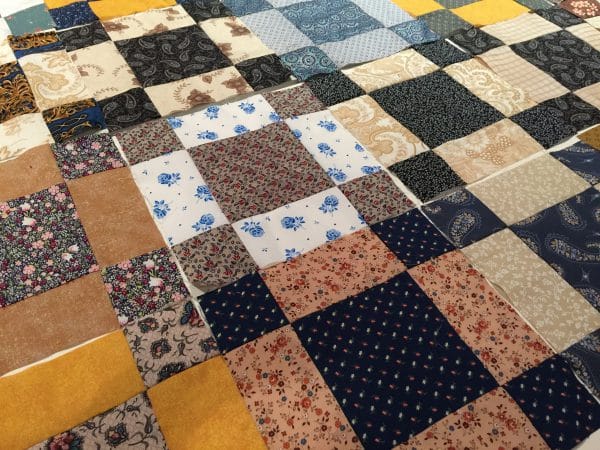
Today I am making a small lap quilt. I really love these blocks. I will definitely be making some more for another project. I think this makes a beautiful quilt for a man – that’s my plan. With different fabrics it could be for any occasion.
Finished quilt size 62 ½” x 52 ½”
Ingredients for the Quilt
20 of the Uneven Nine Patch Blocks.
1 1/2 metres of tan/gold print fabric.
Cutting
From the background fabric cut 12 of 9″ x 9″ squares for the setting blocks.
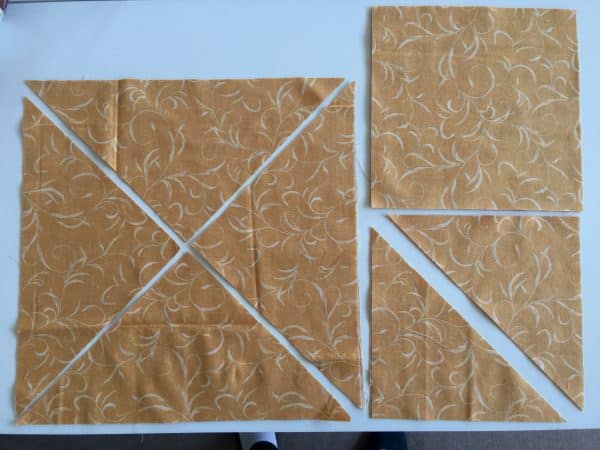
Four of 14″ x 14″ square blocks cut once on each diagonal for the setting triangles. Two will not be required.
2 of 8″ x 8″ squares cut once on the diagonal to reveal 4 corner triangles.
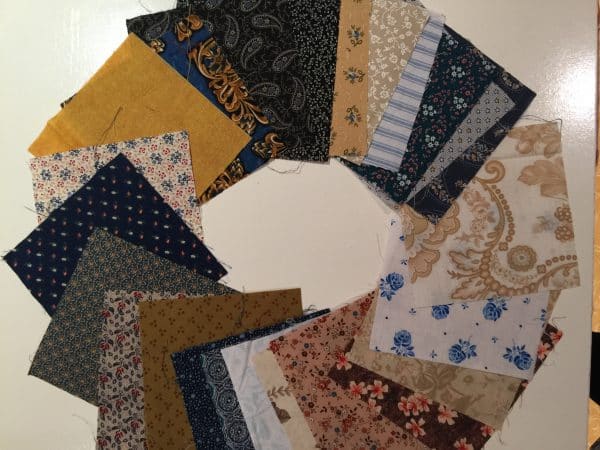
26 of 5″ x 5″ scrap squares like the ones used to make the quilt blocks for the border.
Method
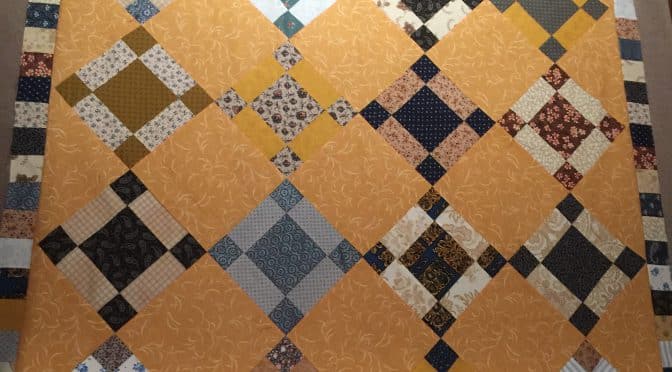
Lay out the 20 Uneven Nine Patch Blocks on point in a 4 x 5 configuration.
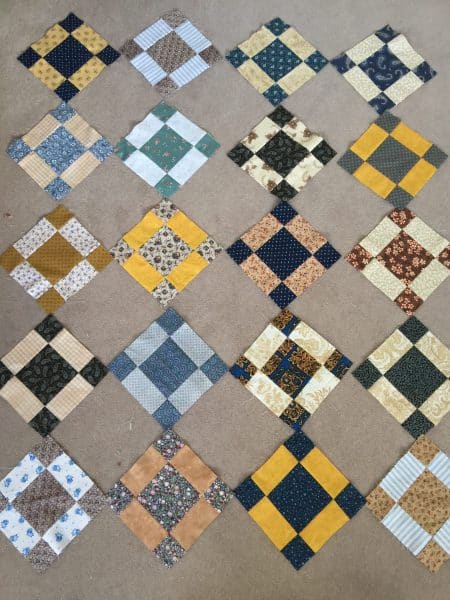
Lay the 12 tan/gold centre 9″ x 9″ squares in between the Uneven Nine Patch Blaocks.
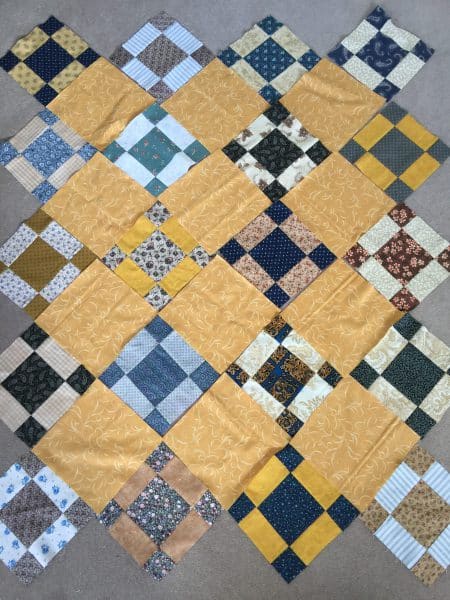
Then add the 14 setting triangles and the 4 corner triangles to the corners.
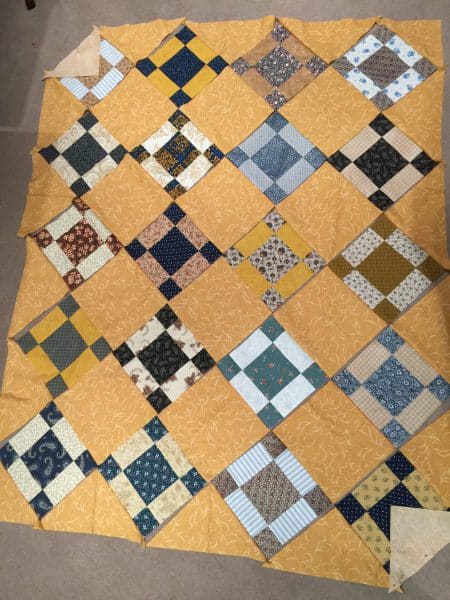
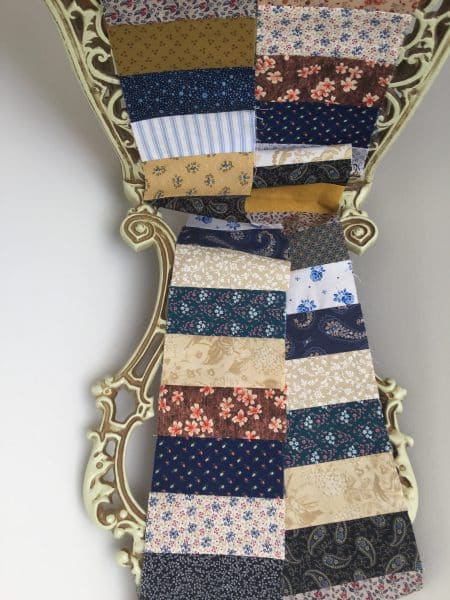
Now for the borders. Cut each of the 28 of 5″ x 5″ squares in half, yielding 56 pieces. One will be spare. Sew them together into two strips one with 26 pieces and one with 29 pieces. Press.
Carefully fold the strips in half and inhalf again. Make sure all the edges are well aligned. Take to the cutting mat ant cut in half to make two longitudinal strips each 2 1/2″ wide.
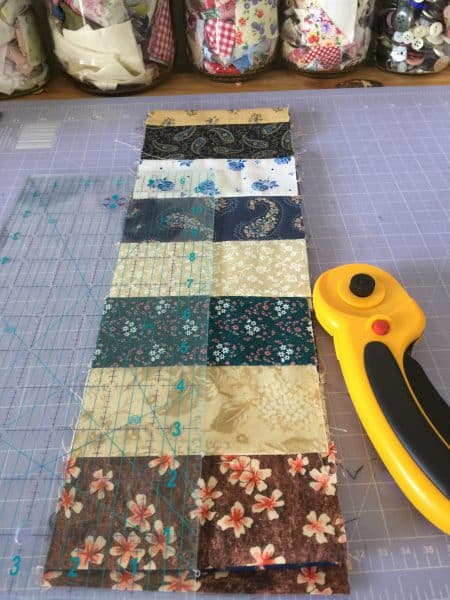
Take the two longest pieces and pin evenly to the longest sides of the quilt. All of the seams are now in the same direction for placement. Sew.
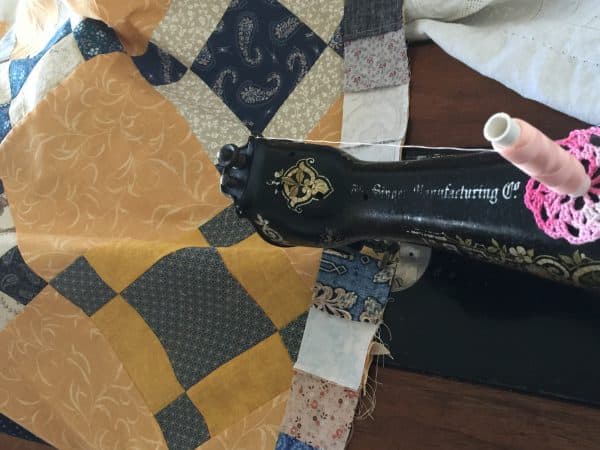
Pin and then sew the two shorter border lengths to the two remainder unfinished sides.
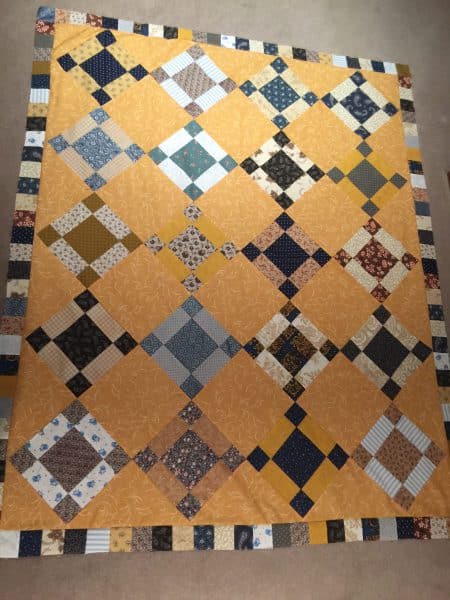
There we have it! Now for the quilting!
Heres a link tho the quilting.
Free Motion Egg Flower Quilting
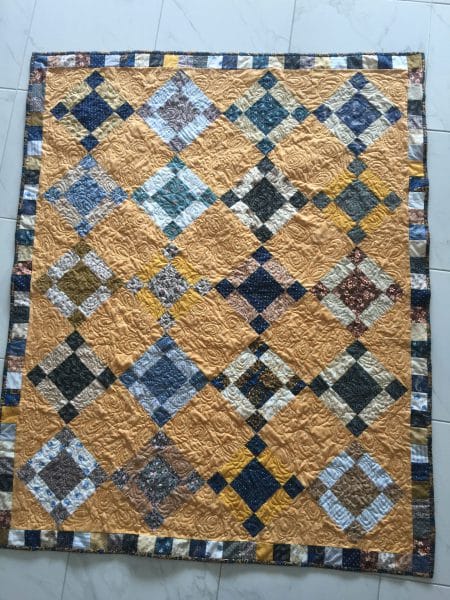
Heres how the quilt looks after quilting and binding.
If you enjoyed this post, you may also like
or this one
Antique Tile Block Made Easy Tutorial
All the best, have a lovely day,
Susie

I am relatively new to quilting and making this for a friend; however my blocks are 12×12.
What measurements should I change the 14 setting triangles and 4 corner triangles?
Setting triangles 18” x 18”
Corner triangles 10” x 10”
If desired, check measure with folded paper squares first before cutting your fabric.
Thank you for the tutorial for this quilt. The design is exactly what I was looking for! Would you please let me know the dimensions of the finished quilt? Thank you.
Hi Jeanne, that’s a pleasure. Finished size is 62 ½” x 52 ½”
What a beautiful quilt Susie, love the design and the colours.
Wow – I really loved the traditional look of this quilt – and look forward to doing it one day with Civil War Repro fabrics, and a modern background. Thanx for he great tutorial.