I Spy…Pinwheel Blocks
I was lucky enough to receive a little set of novelty print squares. I thought about how they might best be used….
After washing, I trimmed the pieces to 5 1/2″ square. I have 20 novelty squares. Then I have matched them up with a simple tan/gold print and cut 20 of these at 5 1/2″ too. I love this kind of background colour. It brings out the colours in all the novelty prints – I think.
I’m using Jenny Doan’s pinwheel method. I find it’s very good for getting a nice centre point. To do this, take a novelty square and a gold print square, put them right sides together. Pin. Sew a quarter-inch seam all around the outside of the two squares. Then take the block to the cutting mat and cut once carefully on each diagonal. Press the blocks open. Trim off the doggy ears. These units should measure approximately 3 1/2″ .
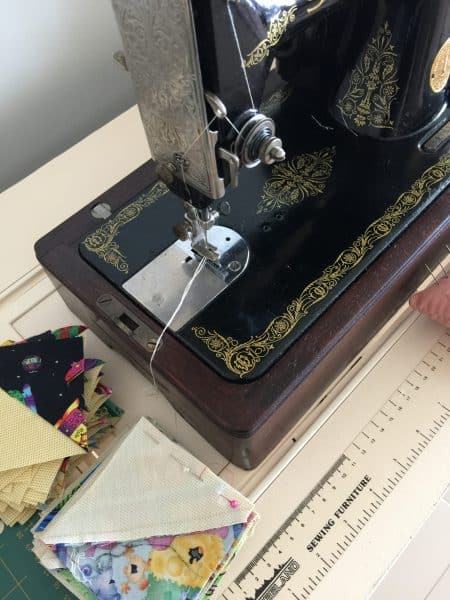
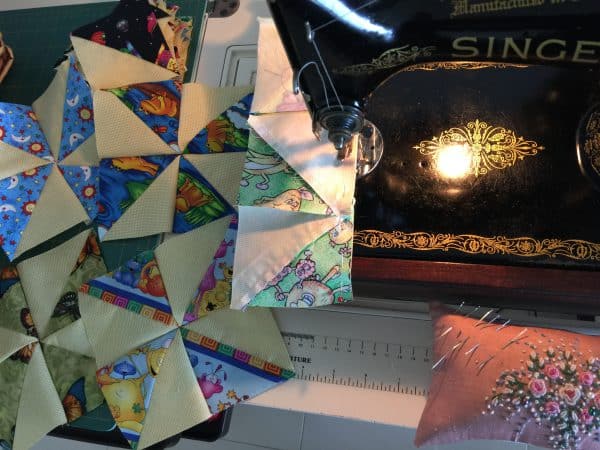
Here are the little piles of units, next to my sweet 99K, ready in pairs to sew. Don’t you just love having a little block set like this next to your machine and ready to go! This machine may be small but she goes like a rocket!
Now to make the pinwheels!
Pinwheels can trick you sometimes – try to make sure they are all spinning in the same direction. I’ve pinned each block into two sets of two. I can feel the diagonal seams are nicely nested. I have the top two first followed by the bottom two.
Now as they come off the machine, I’m only going to cut apart after every second set. 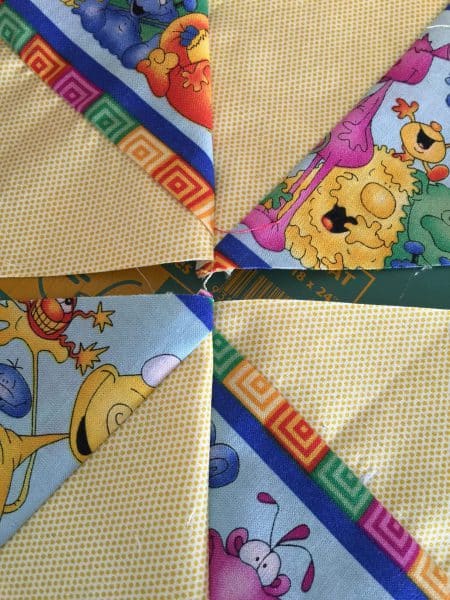
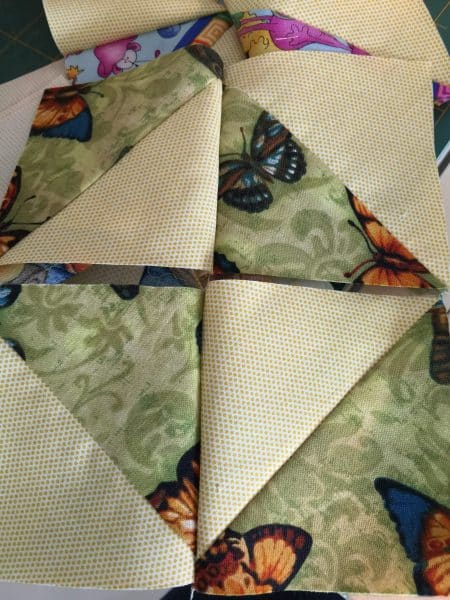
Can you see how the blocks are joined with the centre string and the pinwheels are already all facing in the correct direction. Here is one booboo below, I sewed through the bottom set first and the top set, this is now in the “Broken Dishes” position.
Now I just fold them in half. Feel for that centre point to be nicely nesting. Pin securely then sew.
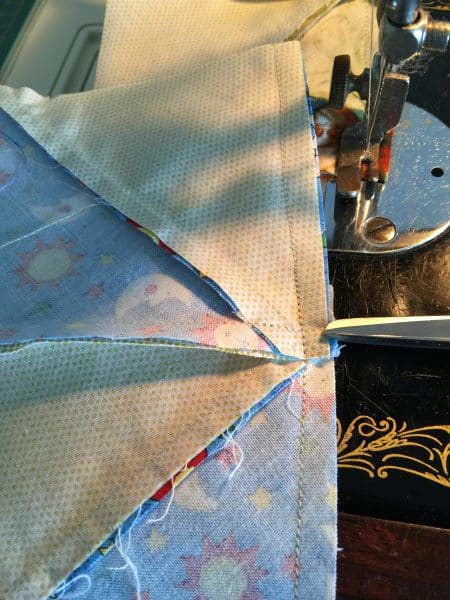
Make sure as you sew them through, that your seam lands just to the right of the junction of all the points so that the points are not lost. Where the scissor tip is pointing
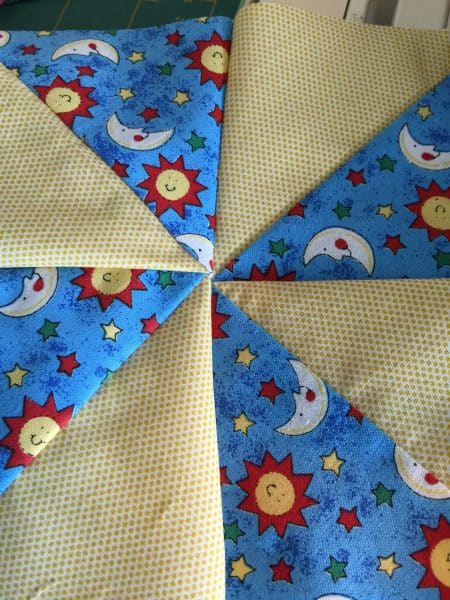
See how nice the points are.
And some more…
Now it’s time to press the blocks. Please treat the blocks carefully at this stage as we are dealing with bias edges, so just press gently without stretching.
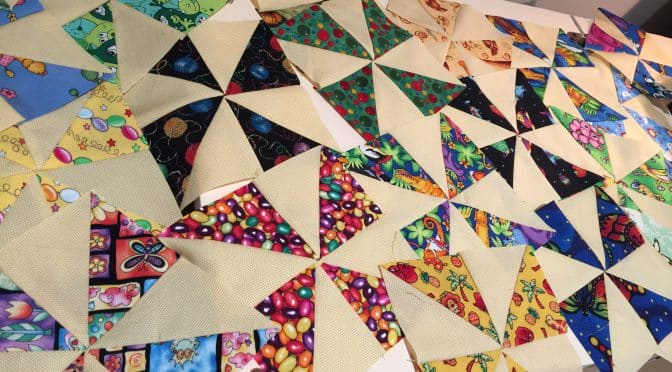
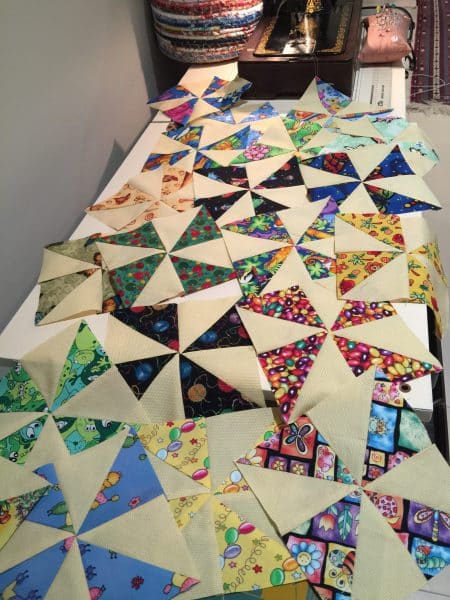
Now I’ve made 20, I Spy…Pinwheel blocks. These measure 6 1/2″ x 6 1/2″. I’m sure you’ve guessed by now that I will be making these into a new baby quilt. There are all sorts of little surprises such as frogs, dogs, jelly beans, elephants, balls of yarn and little monsters peeking out of the pinwheels.
Here is the link to the quilt pattern.
I Spy Pinwheels Quilt and Pattern
PS if you love pinwheels you might enjoy these too…
Double Pinwheel Block Easy Scrappy Style Tutorial
And this one,
Scrappy Pinwheel in a Square Part 2
Thank you to my friend Wendy Churchill!
Have a great day!
© Susan Stuklis 2016

Love all the fabrics you’ve used today – great for a baby quilt 🙂