Dilly Bag Quilt – Merry Go Round
Hello Dear Friends and Readers. Welcome to today’s post.
Back in January and oh, how the time does fly, I attended a day of delightful sewing with a charity group called the Orange Tree Quilters, which I have done on several occasions before. The format has changed a bit as previously. this charity quilts day was run by Faye Packham and Lessa Siegel, for the purpose of raising money for Bedford Industries. I have covered this in previous post which I link here
I thought when I had retired after 43 years plus of nursing, that I would have more time, especially for quilting. It seems since I have retired I feel like I have less time! If anyone can explain this phenomenon to me, I would love to hear from you!
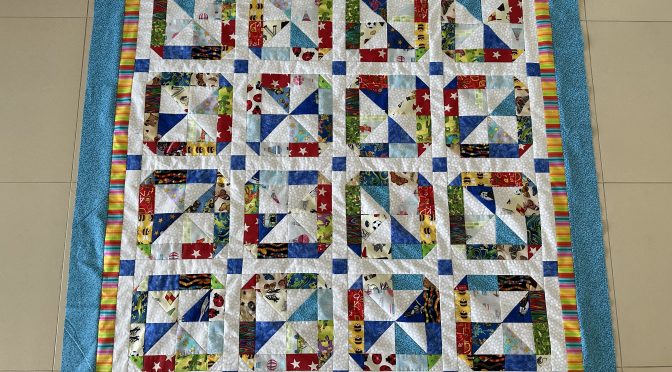
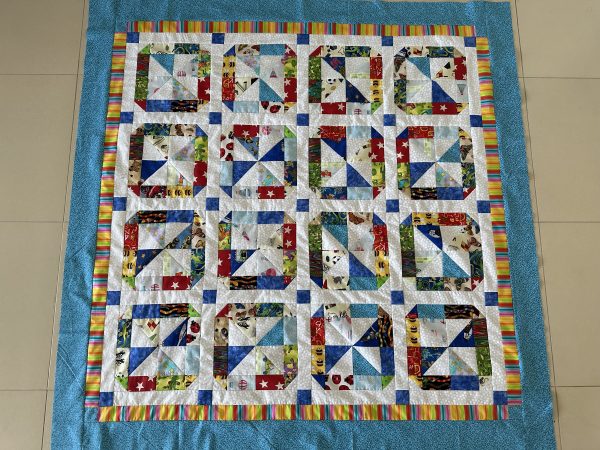
Anyhow, as I said back in January I attend this dilly bag day and the idea is you cannot see the quilt you are going to make. It’s all contained in a dilly bag so it’s a surprise. This is this is the quilt top that I ended up making. As this is not my pattern, I will not be giving instructions on construction however, I can tell you what my measurements are for interest sakes.
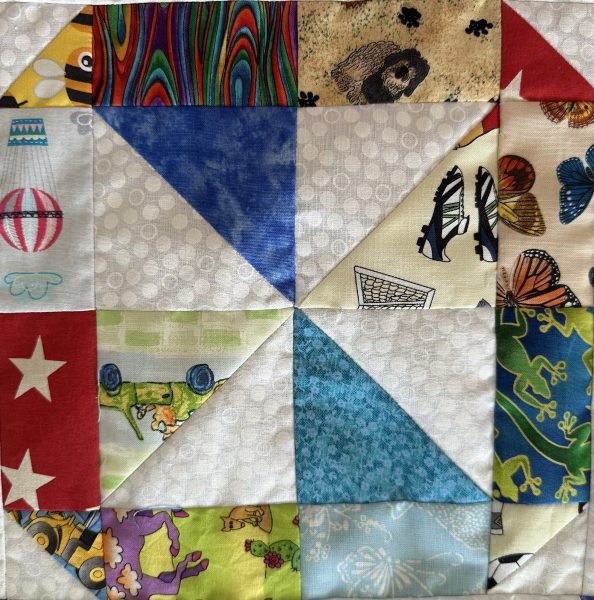
I really like going to this sewing day because it’s such a treat to be able to sew uninterrupted for the whole day apart from getting up for refreshments and lunch. I managed to get a fair bit of it done on the day but there was a lot of extra trimming involved in making these half square triangle units as the starting squares were much bigger…..however, as you can see, all the points turned out pretty well.
On previous years of sewing events with the Orange Tree Quilters I made these;
Scrappy Thousand Pyramids Quilt and Lessons in Pyramids
Lessons in Lozenges Quilt Blocks
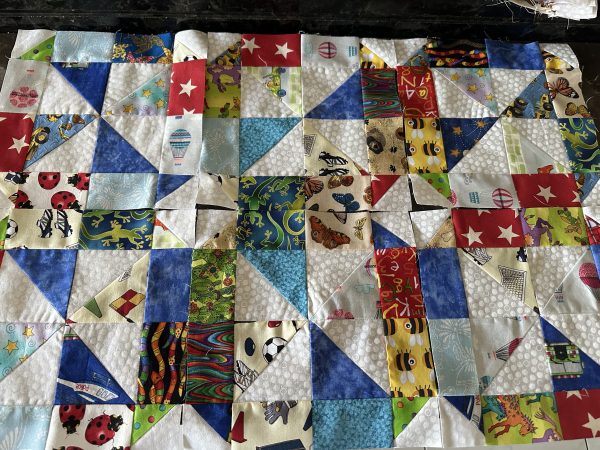
Making the Merry Go Round Blocks
after lots of cutting and trimming, and I mean lots ha ha, this is what I ended up with. If you look it up you will find several patterns online for making a “Merry Go Round” Quilt. Actually, Jenny Doane has quite a nice and easy one different to this which would be a fair bit quicker.
Half Square Triangle units 3 1/2″
Pinwheel Block 6 ½”
Corner units 2″
Block 9 ½”
Sashings 2″
Outer border 3 ½”
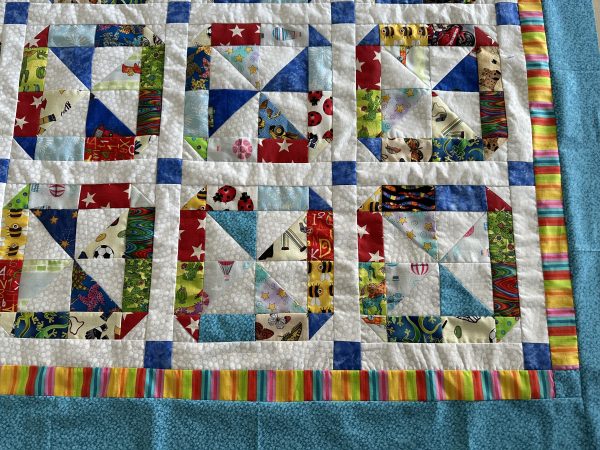
16 blocks were made in total. I think one of the nicest additions to this quilt is actually the striped fabric inner border pulls the whole design together I feel. This is quite a sweet pattern, however I would’ve liked to use probably more different fabrics and maybe more darker ones for the pinwheels. It’s definitely fresh and happy and nice for a child’s quilt
Here is the finished quilt top with the borders added. I am not sure when I am going to quilt this as I have a back up of quilts needing to be quilted. It’s okay as I have a plan.
Overall lessons from this quilt is that trimming does pay, especially when you’re dealing with points. I love every aspect of quilt making except I have to say trimming is not really my favourite. Lessa Segal came for the day and she showed us an awesome way to make half square triangle units in groups, which turned out to be very quick and without having to do extra trimming, and if I can remember how to do it properly at some stage in the future I will share it with you as it was very good.
I have made several other Quilts with pinwheels with other methods and mostly as baby quilts, which I link below.
Glowing Pinwheels Quilt and Pattern (not quite Amish)
Pinwheels On Point Blocks – Made Easy
Solid Bold Pinwheels Quilt Pattern
I Spy Pinwheels Quilt and Pattern
This quilt I designed some years back had the pinwheels on point in a framed block.
Framing Pinwheels Quilt and Pattern
Thank you so much for joining me today. Happy stitching,
Susie
© Susan Stuklis 2024

