Susie’s Roses Romance Quilt
Dear Friends and Readers,
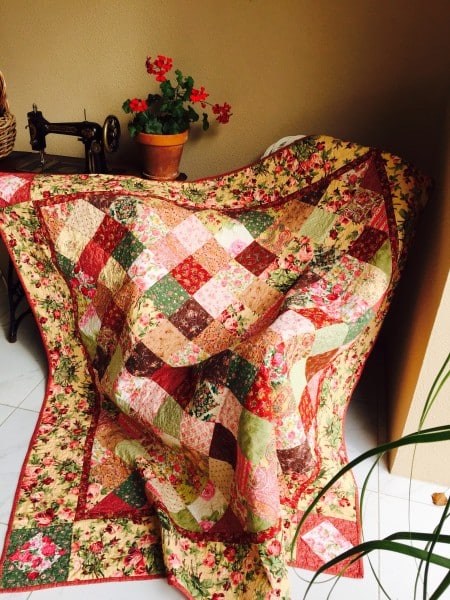
I was inspired to design this quilt because I love roses.
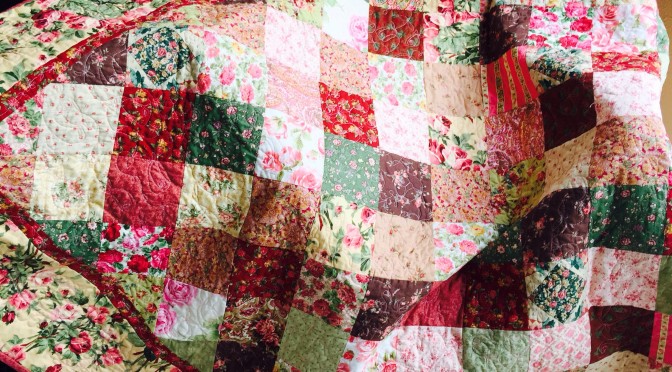
I came across a wonderful big roses print which is quite realistic. It features beautiful sprays of dark and light pink roses against a lovely gold background. To make best use of this fabric as a feature I did not want to cut it too small. I decided to use this as the basis of a quilt which is a reflection of roses. I wanted to bring the garden inside and to do this I gather up as many fabrics as I had with prints and images of roses.
To me, there is always a lure of quilt blocks set on point, that is how I present this quilt, however it is so easy to achieve, you can do it in quick time!
I used the focus roses print for the border and colour inspiration.
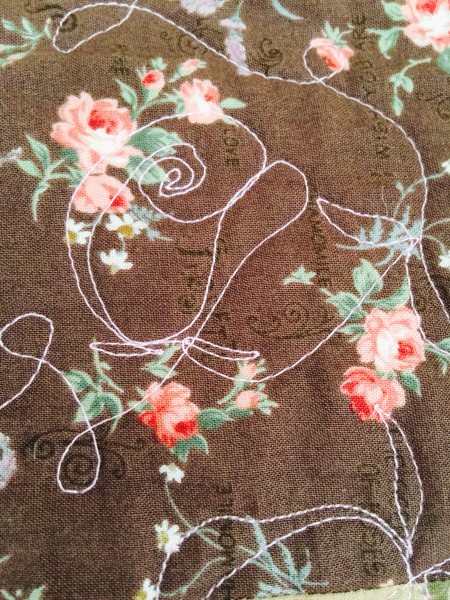
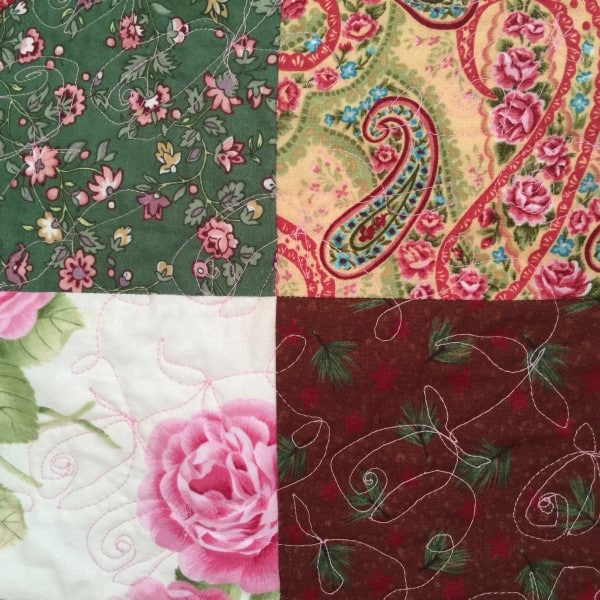
To compliment the theme, I free motion quilted, in pink of course, roses and leaves over the whole centre, daliahs in the corners, daisies in the small border and feathers in the large border.
Susie’s Roses Romance Quilt Pattern
For best results all fabrics should be washed and gently pressed before use. This quilt uses an easy method of construction. Please read all instructions before commencing. All measurements based on a 1/4′ seam allowance. Finished quilt measures approximately 69″ x 69″.
Fabric requirements for the centre block.
128 x 5″ Charm squares of rose themed fabrics.
Use at least 20 different fabrics to ensure variety. Choose fabrics with white, light pink, rose pink, dark pink, burgundy, coffee, chocolate, light green and dark green.
Fabric requirements for the first border
14″ piece of burgundy rose floral, cut 7 x 1 1/2″ strips of width of fabric for the first border.
Fabric requirements for the second border
4 x 5″ dark pink Charm Squares
2 x Yards / Metres of feature pink and green Rose print with gold background. Cut 4 x 8″ strips from the length of the fabric. (extra length allowed for design placement)
Fabric requirements for the binding
Cut 8 x 2 1/2″ strips across the width of fabric
Construction of the centre block
Carefully, pin the long side of each triangle to one side of the 8 x 8 centre square, ensuring all seams are matched and nested. Sew. Repeat with the opposite side. then add the two remaining triangles to the two other sides. Now you should have a square with all the blocks on point. Do not press at this point!
First Border
Please handle the quilt with care at this point. Cut the selvages off the burgundy strips then sew together the ends to create one long strip. Carefully sew the first border of burgundy 1 1/2″ strips around the perimeter of the whole centre block. Ensure the units are not stretched at this time, as you are working with a bias edge. Press after the burgundy border is attached.
Corner units
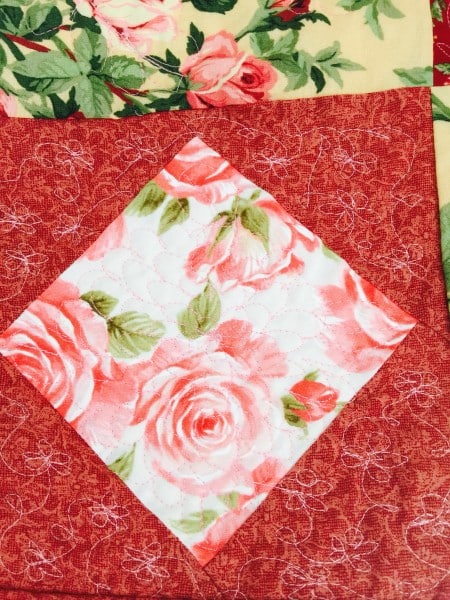
Measure the quilt carefully. Cut the long side pieces of the rose feature fabric, to exactly match the quilt. Attach to two opposite sides. With the remaining strips add the square in a square units to each end, an opposite one on each side. Sew to the remaining two sides ensuring seams line up. Press.

