While We Wait
There are times we all have to wait……..Maybe it’s waiting for children’s sport. Maybe waiting for an appointment. Maybe tending to a loved one in hospital, hospice or residential care. On an aeroplane, bus, train or tram. Of course it’s nice to read and check up on FB or other media……But it’s also very rewarding to stitch. Slow stitching is very relaxing, just like slow cooking and other slow movements There is so much rushing these days, taking the time for slow stitching is good.
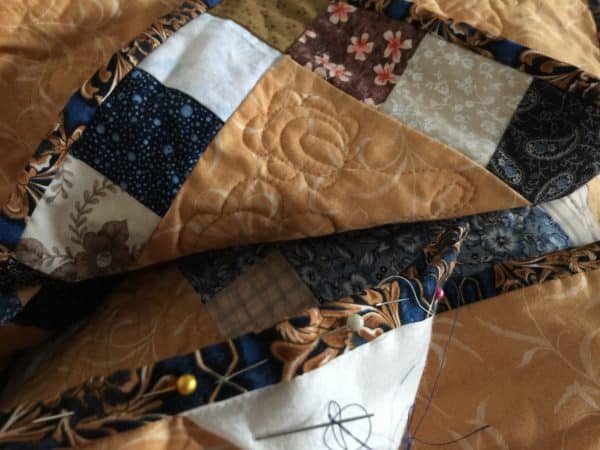
Some quilt blocks can really only be achieved by hand stitching. Having said that, it doesn’t mean that any other simple pattern can’t be hand stitched. It’s up to you. Maybe it’s a appliqué, cross stitch, embroidery or even binding. I have been known to finish a quilt or two at the last minute, 😅 and those little increments of time really do add up.
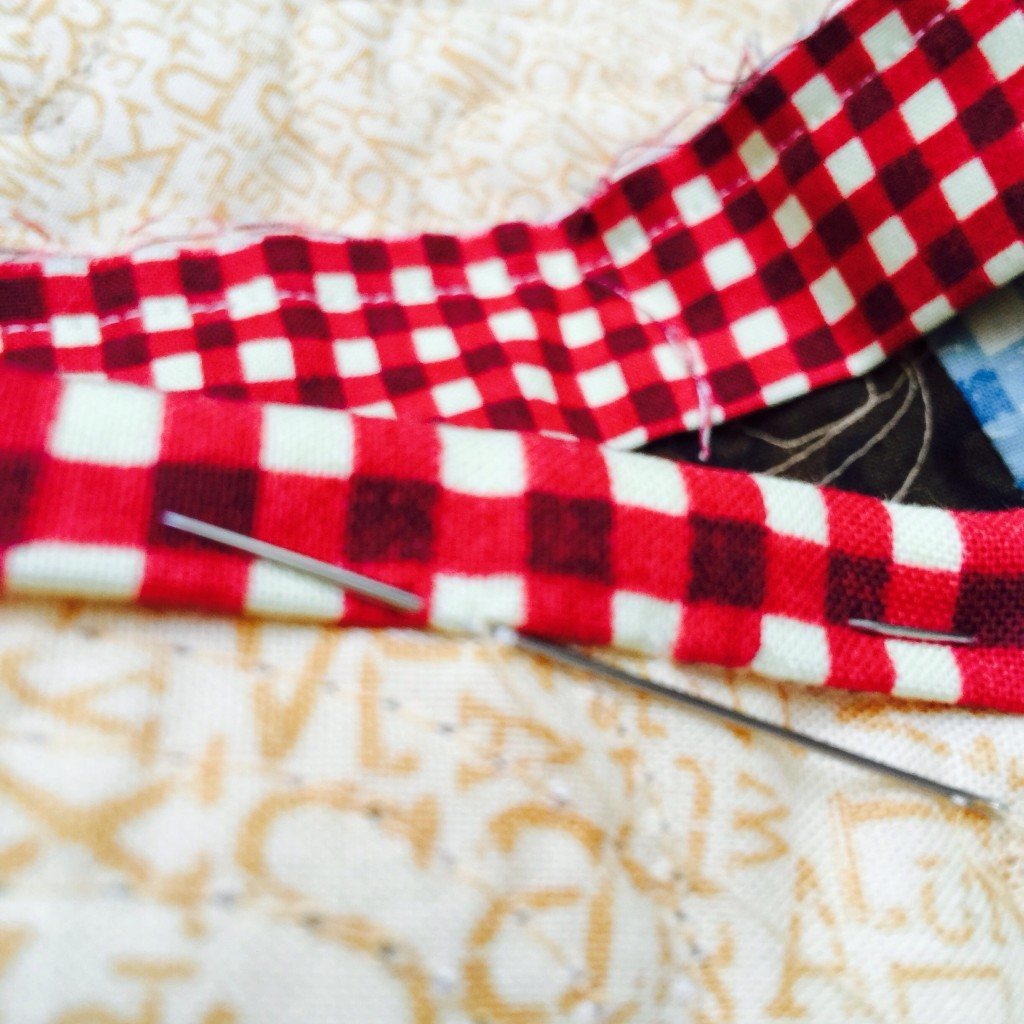
Hand Sewing the Binding on a Quilt Tutorial
Any kind of small portable project is ideal. Preparation is the key.
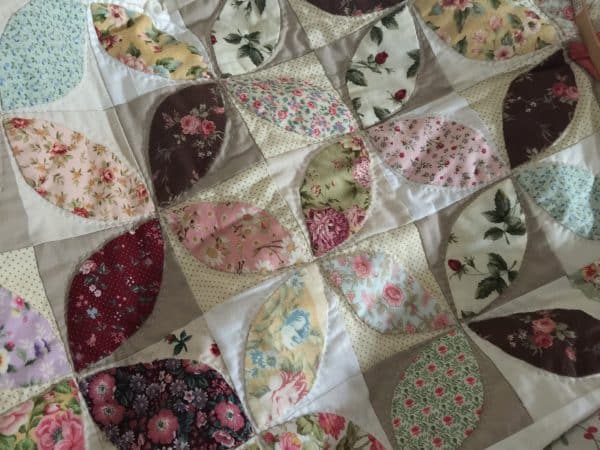
Here I started a Orange Peel Quilt. Just a block here and there as a mobile project. Over time it adds up.
Orange Peel Quilt with Charms The Journey so Far
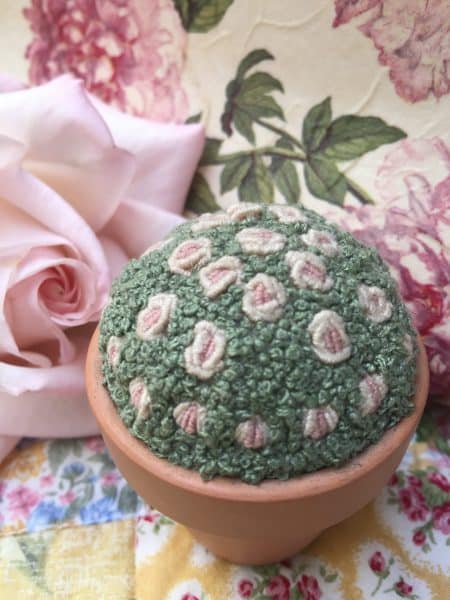
And then there is embroidery. That is often a small project. Here is an embroidered pin cushion made with French Knots and Bullion Roses.
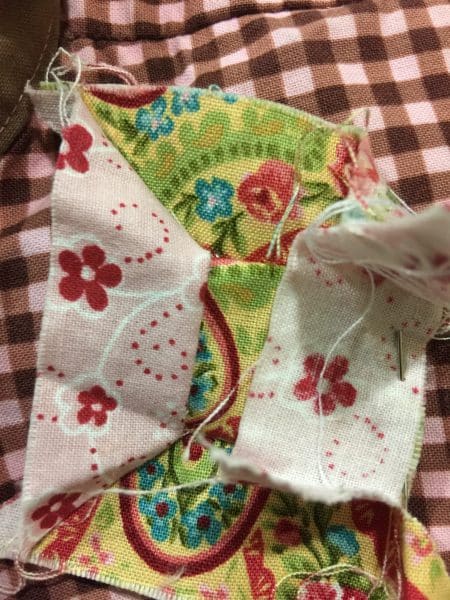
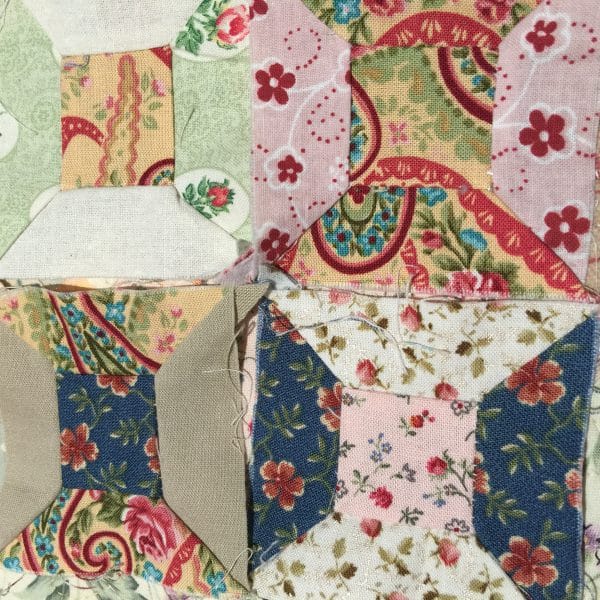
Today I’m piecing these very small spool blocks. They are super cute and they can be achieved from the smallest of scraps. Here is one little block in progress.
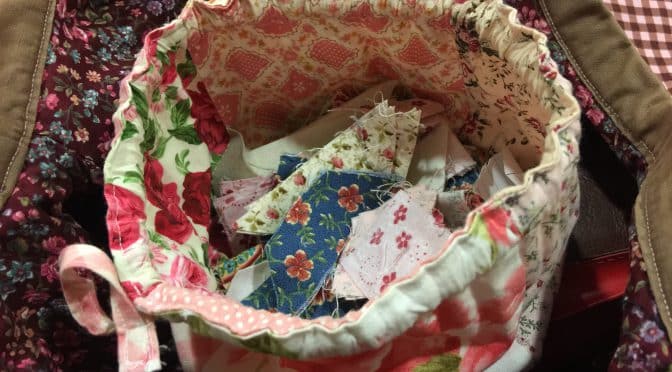
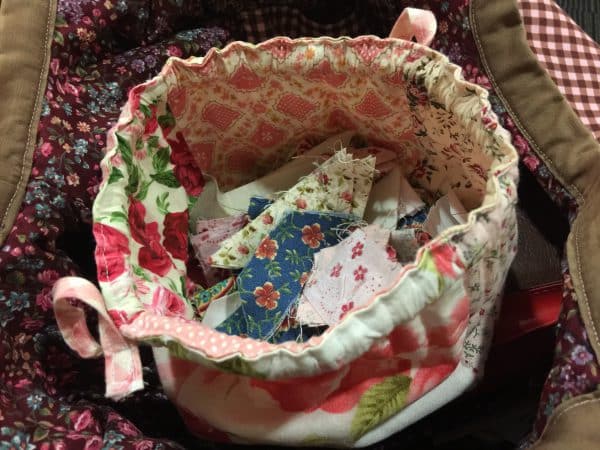
Here is my little bag of pre cut scraps it fits easily into my handbag,
Here is the link to the free pattern.
Hand Pieced Spool Blocks with Instructions
Having a hand stitching project is therapeutic. It gives us something to focus on of a positive nature. It’s a good diversion from any problems at hand, almost a form of self soothing. The nice thing is you can have a sense of accomplishment too, and not have to feel that your time has vanished! You have something to show for it. It is guilt free, and free – of course, if you use up your scraps.
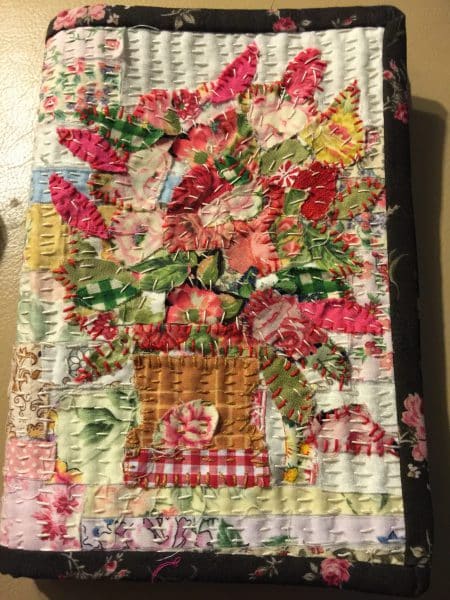
How about hand quilting a small project. Here is a fabric collage needle book.
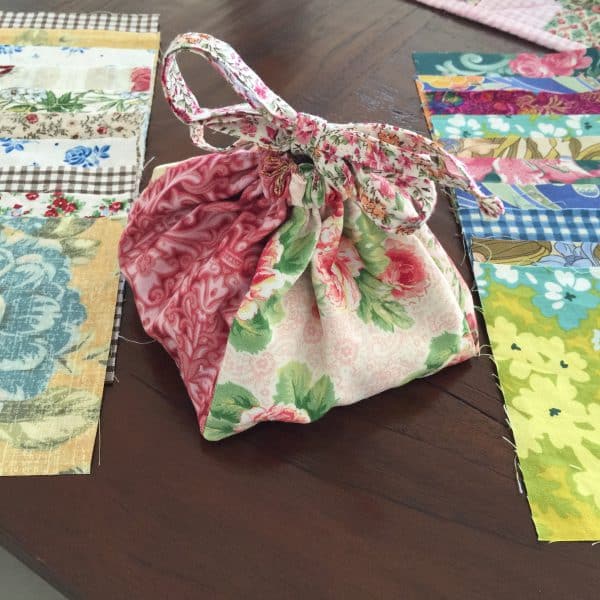
The project is nicer if you have a little bag or pouch to carry it in. Keep it in your handbag so it’s available all the time.
Here is a lovely small project bag pattern. its easliy made from Charm Squares and its very pretty and nice to use.
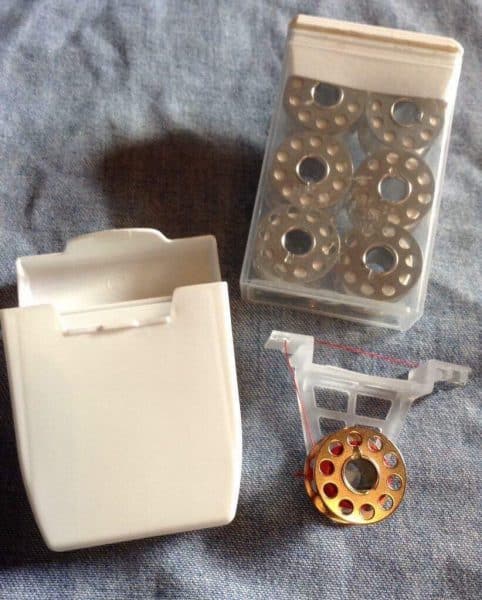
Incendently, you don’t have to carry scissors. A small dental floss container can be the thread cutter. And here is another tip form my friend Ellie. If you have a Tic Tac container, you can fill it with old sewing machine bobbins wound in your favorite threads! See below. Thanks so much for that Ellie M. I’m sure all our readers will like that! Picture courtesy of Ellie M.
So there we are. Go on, get your project out now. Have it ready in your bag…,you won’t be dissappointed!
Keep on Stitching,
Susie
If you enjoyed this post, you may also like,

