Dye Run
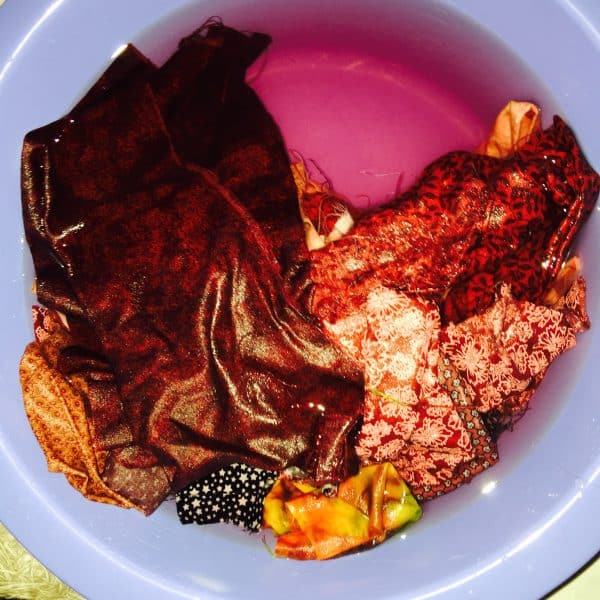
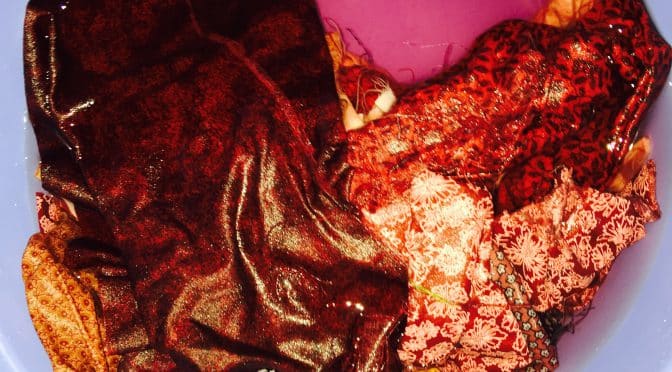
I always pre wash my fabrics. Here’s just one reason why! And this is after the 3rd rinse! The reds have run quite badly. This is not an uncommon result from reds. It can then be transferred to other paler fabrics leaving them with pink streaks or just a general pink colour. Similarly with blues and blacks which can result in your other fabrics taking a on a grey dirty look.
As quilt makers we go to a lot of trouble to make a quilt. I don’t understand why there is a resistance in some camps to prewashing fabric. 
I have heard ladies complain many times about making a quilt and then washing it only to find some of the colours have run! This is a very disappointing scenario.
Whenever I bring my fabric home,I take it straight to the laundry. I give it a gentle wash or even just a soak in hot water. A gentle spin and then dry and fold away ready for use.
I store my fabrics away from direct light and with these!
I don’t want to make a quilt then have the dye bleed onto the surrounding fabrics.
Did you know fabrics are full of chemicals? Isn’t it best the reduce the load of them too, before working with the fabric?
Just one other thought….I did an experiment recently to see how much the fabric shrinks. Read more about this here.
To be honest I was quite surprised at the amounts, which brings me to this ….why be so uptight about cutting fabrics to such precise sizes using 7/8″ increments, when the chances are it may shrink more than that?….another reason to prewash……
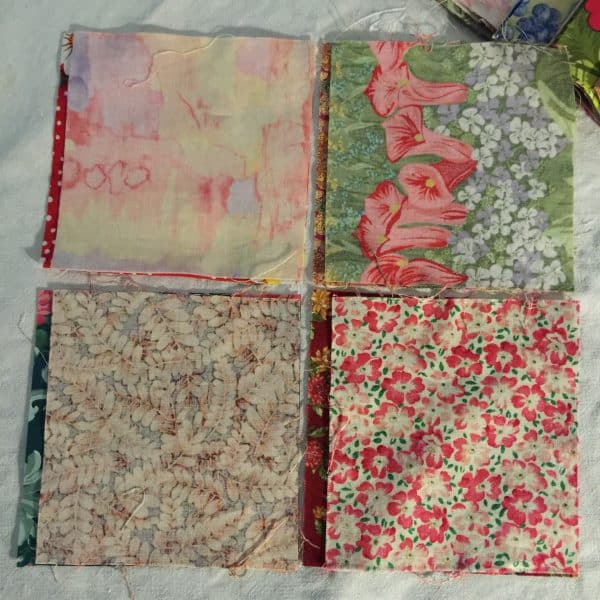
This image shows 5″ squares which were cut from unwashed fabric. After washing and laying atop a regular 5″ x 5″ squares, you can see the amount of shrinkage. They are all quality fabrics, however they do shrink at varying rates.
Just fabric for thought….


