
KOFree Motion Quilting. Part 1. The machine.
As requested by Bronwyn!
I know there is lots of information out there about free motion quilting, however, I just wanted to share my quilting experiences and maybe help some people feel more comfortable about giving it a go.
There are also some economic considerations. I noticed a lot of ladies talking about getting very expensive machines to enable their quilting. I’m not saying there is anything wrong with that. Probably by the time several quilts have been quilted it can make up for the cost of having quilts sent out for quilting.
Unfortunately the machine does not the quilter make, just like having a flash kitchen does not necessarily make a better cook.
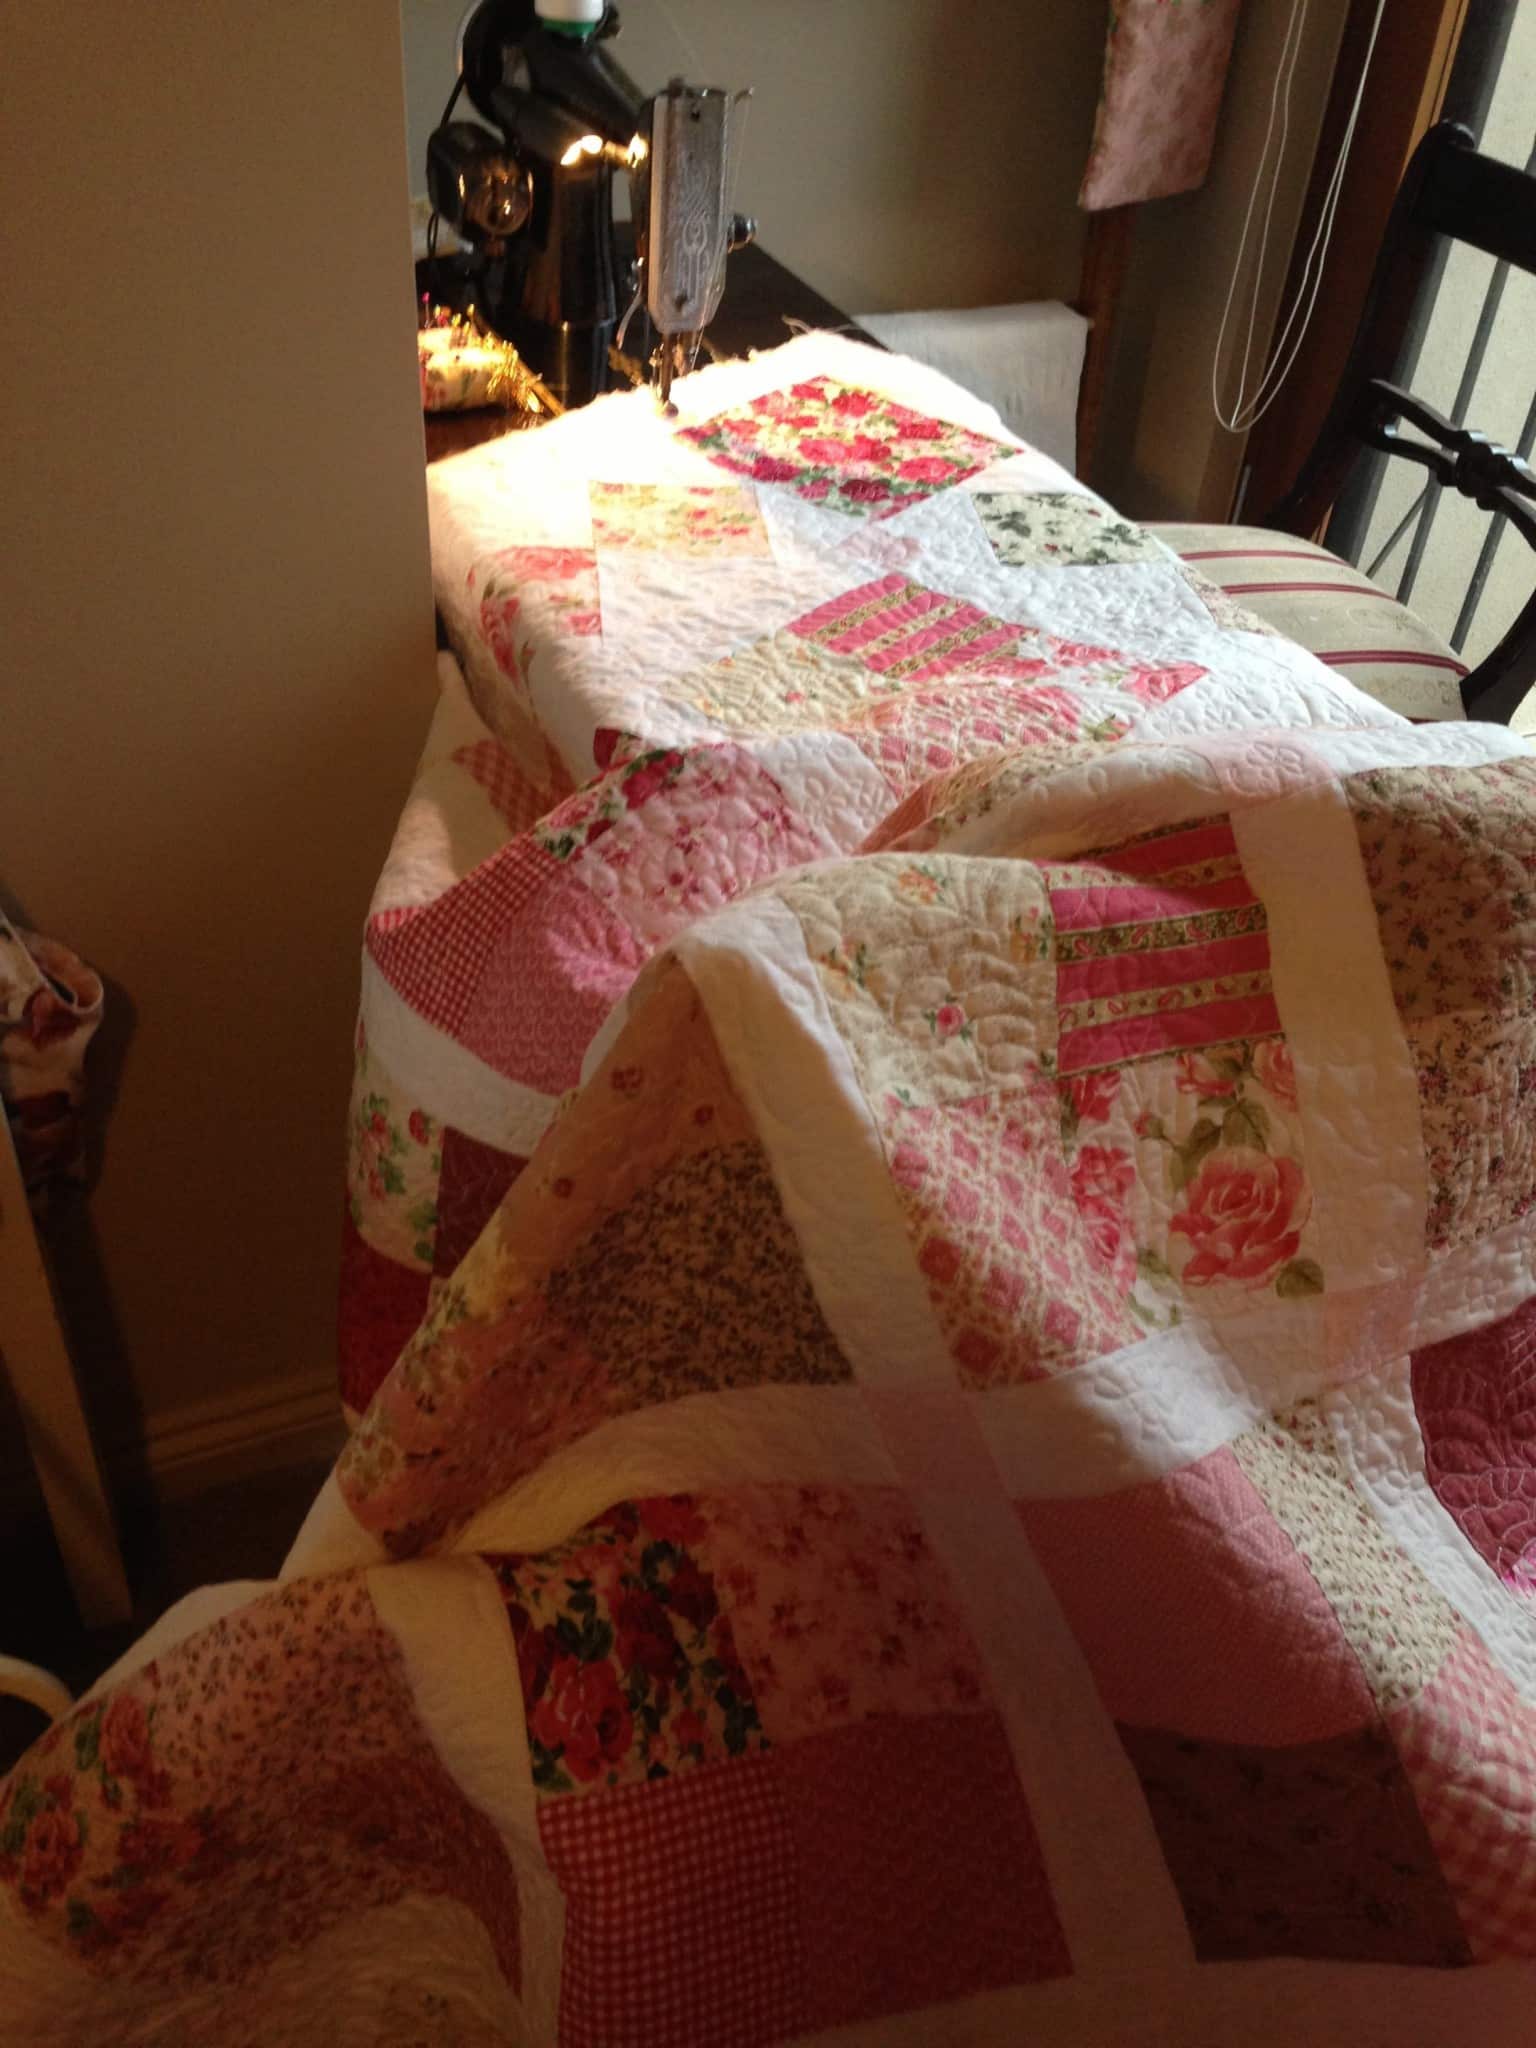
I now do all my free motion quilting on an electric Vintage 1948 Singer, which I purchased for $60. Maybe it’s not for everyone, but I certainly love using it.
I began doing free motion quilting on a free arm machine which was quite challenging, and I thought I had to have the quilt all rolled up from each side. Eventually my Step-mum, Marion, gave me one of those slippery sheets to help the quilt move through the machine and that was certainly a big improvement. I enjoyed doing it but in the beginning I did get tense in the shoulders and could not keep at it for long periods.
Personally I find free motion quilting way easier than straight line quilting, stitch in the ditch style or straight stitching 1/4″ from the seam lines. All of these are greatly improved with the use of a walking foot. Straight stitch quilting requires a lot of accuracy to look good. Another problem is that if there are any uneven points of fabric feeding, it can easily become bunched underneath, with folds sewn into the backing which then needs unpicking. This is an easier work around with free motion quilting.
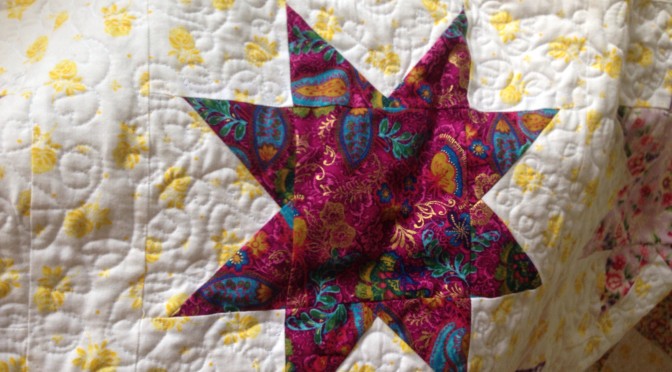
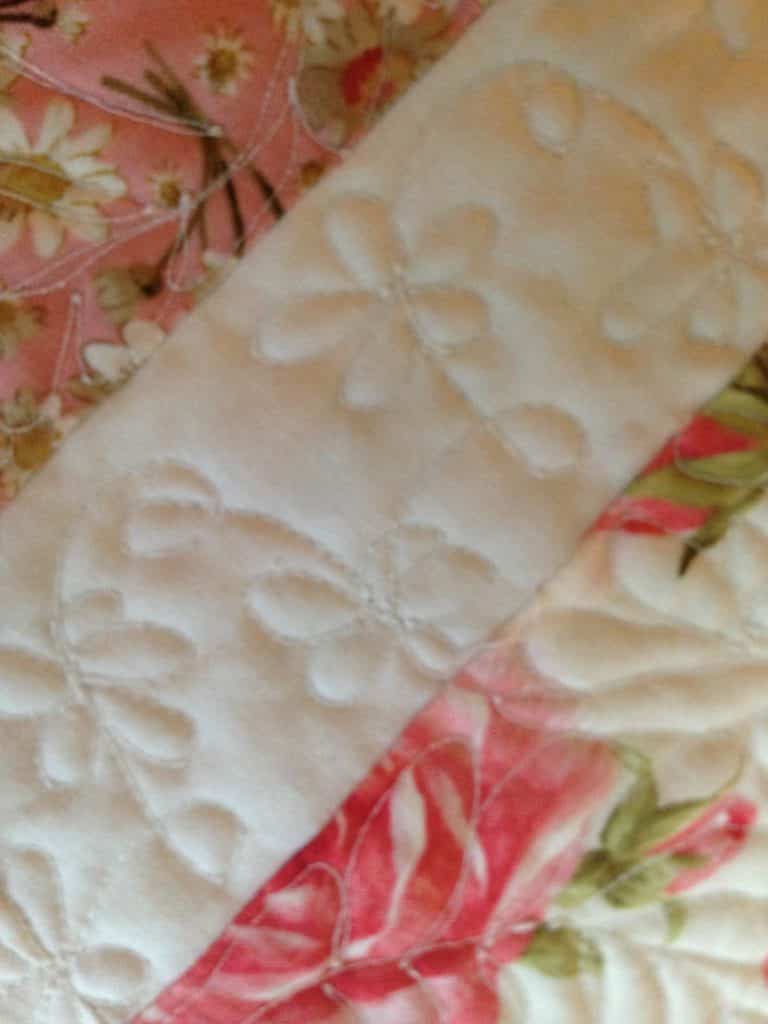
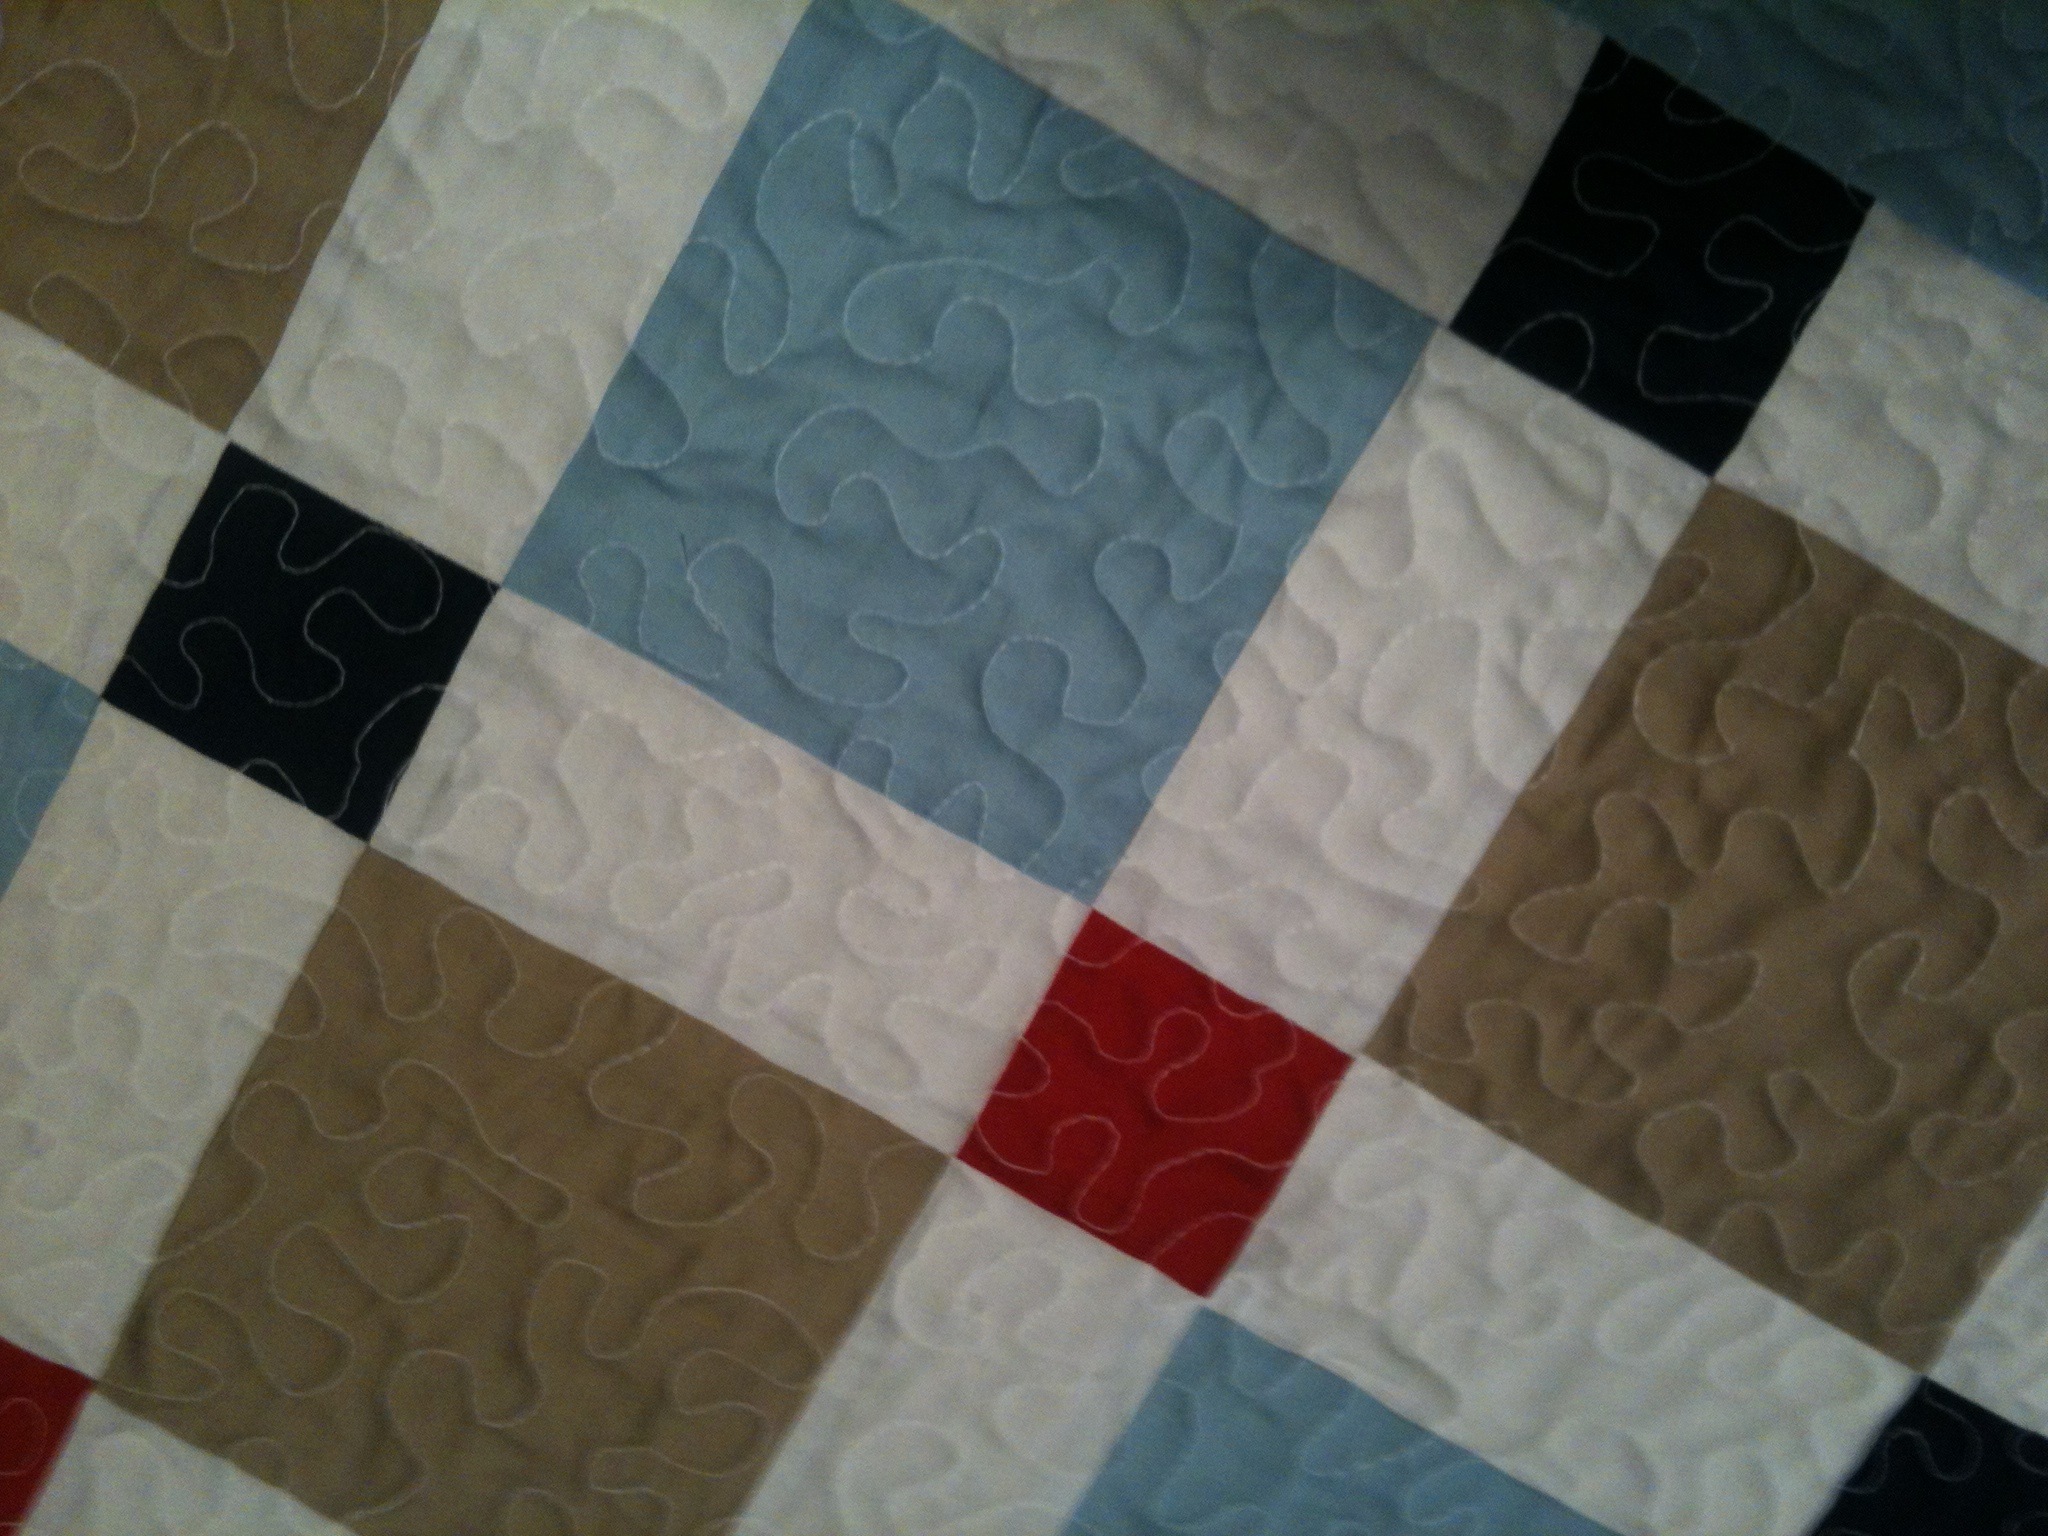
Free motion quilting however, allows a lot more artistic expression. Further more even the most simple stipple quilting looks good once the whole quilt is completed.
So getting back to the machine, after a time I got a bit frustrated, because once I set the machine up for free motion quilting I was reluctant to change the settings back to regular sewing until the quilt was completed,. That meant no other sewing could happen. So if I wanted a break from the quilting to sew something else, mend or even start the binding for example, I couldn’t do it. Then one day I had the brain wave! Why not get a machine – just for quilting. I always loved antique and vintage machines, so I figured if I got an old machine that didn’t cost too much I could justify having a second machine. Around that time someone else mentioned having to take their machine to be fixed and being out of sorts because their machine was MIA, that also gave me the idea of a back up machine.
When I stared to look into it a bit more I thought it was a no brainer. For starters a vintage machine set into a cabinet – is a flatbed. That is perfect for quilting as opposed to a free arm machine which is perfect for dressmaking. A free arm as you probably know makes sewing small items, setting in sleeves and taking up trouser legs so much easier, but a flatbed is just perfect for quilting. No need for any slippery sheets. It’s already built-in. I had also discovered it’s easy to lower the feed dogs in a vintage machine. One other thing, vintage and antique machines are straight stitchers and a beautiful stitch they make too.
So one day when I was scouring my regular second had shop I spied a plain-looking little sewing cabinet. I asked the proprietor if it worked and he kindly dragged it over to a power point and plugged it in. Now I’m definitely no expert but, it sounded good, so I took a chance and I had it delivered.
Now I have to say I did have to make an investment of about a day to clean it, oil it, work out how to use it, how to set it up and to get a presser foot suitable for free motion quilting.
Believe it or not once I got it going, I did do some piecing on it first, I was preferring it to my regular machine!
So I’m not saying it’s for everyone, but sending a quilt out for quilting can cost a lot for example between 100 – 500 dollars for the quilting depending on the size and complexity of course.
So for me having a second machine for a relatively tiny sum has worked out perfectly and my regular machine is always free for normal sewing.
One word of warning though, don’t just buy any machine, make sure it’s electrically safe and sound and it works and has all its parts, otherwise it may cost more than it’s worth. Here is the link to part 2.
Free Motion Quilting Part 2 Sewing Set Up
I was inspired to try free motion on my Singer 201, but after an hour of fiddling with the needles & tension, and then a hour of practice, I am not sure it’s for me. I can’t seem to get those glorious curves, I keep getting sharp kinks/corners where I want curves. So I tried just the overall stippling, it was ugly (I don’t like stippling anyway). Debating on trying it again, it’s just so hard to concentrate on a design (even when I marked it), I will probably stick to straight line quilting. I may try the quilting you did on the Broken Dishes though, I may be able to get that one accomplished! Thanks anyway, at least I was inspired to give it a try.
where did you get your freemotion foot for the 201 at?
Dear Teresa. Is a low shank darning/embroidery foot from a local sewing shop. I had to try a couple to see what would work.
I have a vintage machine also. How do you lower your feed dogs for free motion quilting? What model machine do you have?
Dear Angela. I have a Vintage 201K Singer. If you lift up the machine and look from underneath you will see a large nut. if you loosen the nut, this will disengage the feed dogs.
Thank you Susie. I have a Singer 66 and a clone 15. My clone 15 is in the cabinet now, so I’ll look underneath to see if if has a bolt.
Hello Susie. Thank you so much. I found the bolt that disengage the feed-dogs. I’m so excited to try free-motion on this machine because it is in a cabinet. I have a free-motion and walking foot that came with my Brother Embroidery machine. It is low shank. I hope it works.
Dear Angela, thats fantastic. Im excited for you. I hope it goes well. Don’t worry if its not immediately right, sometimes you have to tweek it, different threads can make a difference too. Let me know how you go!
Hi Susie, I like the idea of getting a vintage machine for quilting! I found one today but it’s missing the power cord. Do you know a vintage machine parts dealer on line? I wonder if parts like that are expensive or not. I won’t know it works unless I can plug it in.
Dear Michelle, do some research on line about that machine. Once you know if this is a machine that can work for you?, Then consider how much you would be prepared to spend on it to make it work? Often dealers will remove the power cords because the machines are considered electricly unsafe.
Very good. I too have an older machine that I use sll the time anxious to learn more