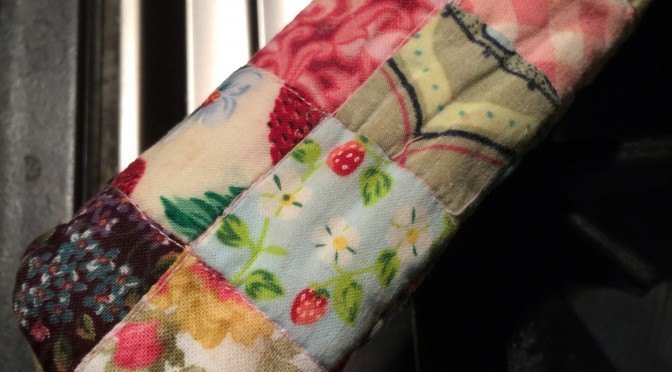
Quilty Pan Handle + Tutorial.
Along with my Little Kitchen Quiltlets https://wp.me/p5bIZW-rn, these little Quilty Pan Handle Covers, are one of my most loved kitchen aids. 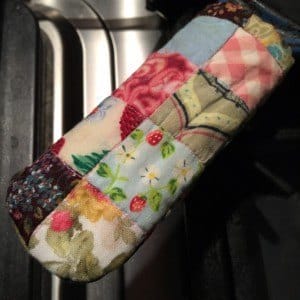 If you too like using a cast iron pan, this might get your attention too. The cast iron pan is wonderful, however the handle is untouchable when in use. Obviously one has to use a towel or oven mit to be able to move the pan. I like to be able to hold the pan handle when moving around ingredients in the pan. this enables me to do this without using a towel.
Making a pan handle cover is very useful. I just love mine. I have used it hundreds of times, and I have to say I also love the look of it!
This is how I do it.
This is a great project for little scraps.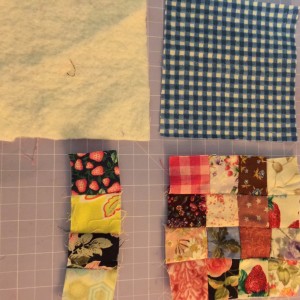
You will need:
20 x 1 1/2 inch scrap squares
1 x 5″ charm square
1 x 5″ square of wool batting
Use 16 of the 1 1/2 inch squares to sew into a square. I sew it together wit’s very scant 1/4″ seams. See post on Postage stamp blocks on how to sew these together. https://wp.me/p5bIZW-qQ
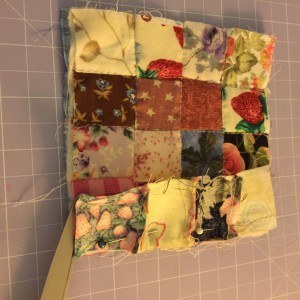 Sew the remaining four squares into a strip.
Press the block and the strip.
Put the charm square right side down, add the square of batting the the postage stamp block. 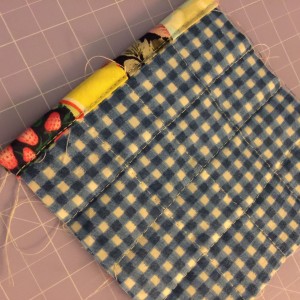
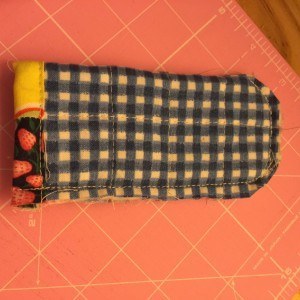
Quilt in the ditch or as desired. Add the binding strip to the front side. Fold over and stitch to to back side. Now fold the whole block in half,right sides together.
Stitch a small seam along the long side, and contine rounding the corners on the short side. Make sure to line up the binding edges.
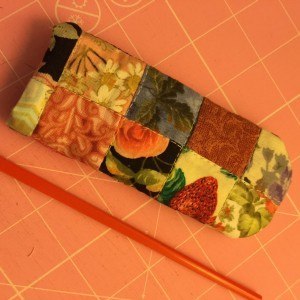
Trim the corners. Turn. A chopstick is useful for helping to turn. Please ensure all loose threads are clipped, to prevent wicking. Do not leave the handle cover exposed to naked flame.
Now you have a handle cover.

Love and need this pattern! Your blog is awesome too 🙂