I Spy Pinwheels Quilt and Pattern
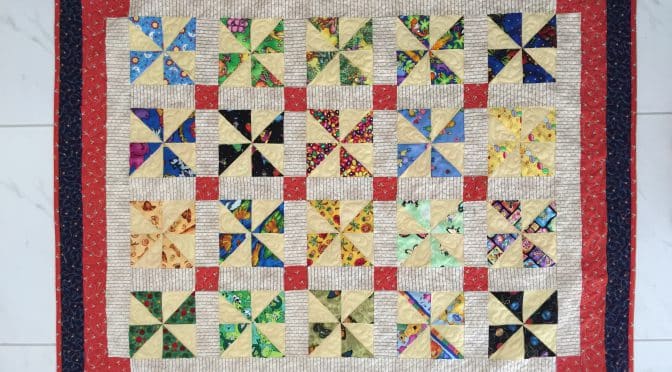
Hello Dear Friends and Readers. I’m continually drawn to the beauty of antique textiles and quilts. Sometimes when I admire their designs and colours, I think they look just as fresh and modern today as they did decades and centuries earlier. With that thought in mind, I have made this baby quilt for a work colleague but I think the design will still be good as an adult lap quilt.
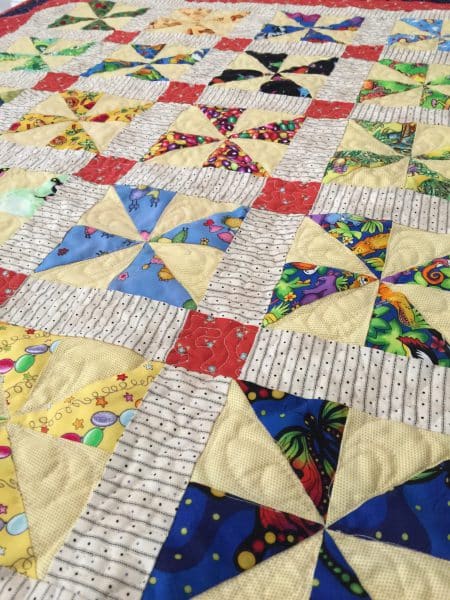
I can’t help wanting to mix modern textiles with age old ideas. That’s why, after making these bright I Spy Pinwheels Blocks, I decided to sash them with a delightful antiqued stripe in cream, navy and black to complement the bright fabrics, with a splash to red thrown in at the cornerstones.
Here is the link to the blocks.
Incidentally I always work with pre washed fabric. All seams based on 1/4″. Please read all instructions before commencing.
Finished quilt size approximately 46″ x 39″.
Requirements to finish the quilt.
Approximately 25″ of cream striped fabric
24 x 2 1/2″ x 2 1/2″ red print squares for the cornerstones
9 x 2 1/2 width of fabric red print strips for the second border and binding
4 x 2 1/2″ x 2 1/2″ navy print squares for second border cornerstones
5 x 2 1/2″ width of fabric navy print strips for the third border
Method
Ensure that the striped fabric is folded evenly and cut on the square to make sure that your stripes can sit as straight as possible.
From the striped fabric, cut from the width of fabric 2 1/2″ strips. Cut about 8. From the strips, sub cut 31 x 6″ x 2 1/2″ sashing strips for the sashings. Save the rest for the 1st border.
Assemble 20 trimmed blocks, the sashing strips and the red cornerstones. Lay them out in a 4 x 5 configuration, with the sashing strips and red cornerstones in between as pictured below.
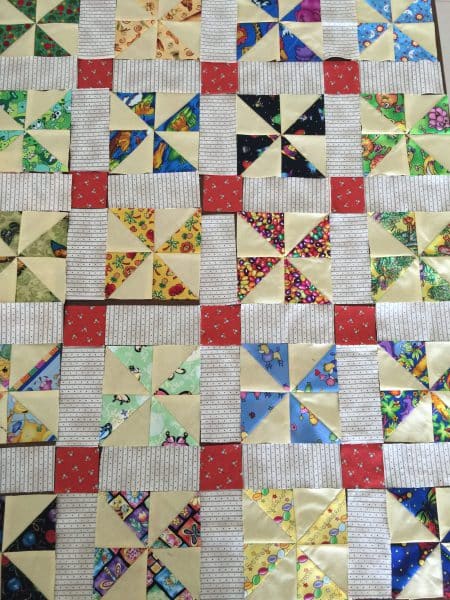
Now it’s time to build the quilt. I’m sewing the sashings between the rows and sewing the sashings in between to the cornerstones, as I go.
Once the rows are complted, then sew down all the columns. Please be sure to line up the seams and nest them as you go. I find pinning these long seams very helpful.
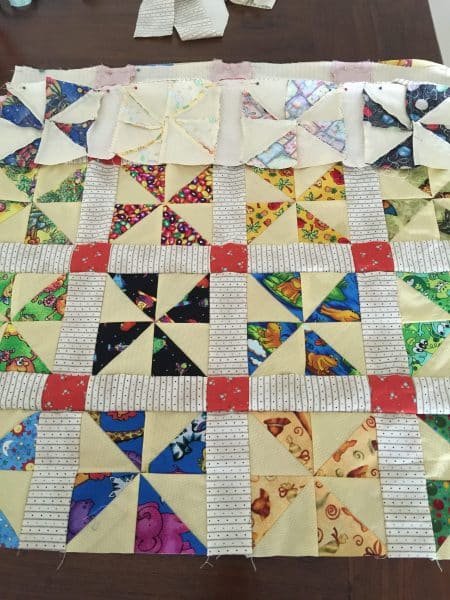
Check measure through the centre of the quilt for the border pieces. Cut the 4 striped border lengths to size. Add a 2 1/2″ red square to the ends of 3 of the lengths.
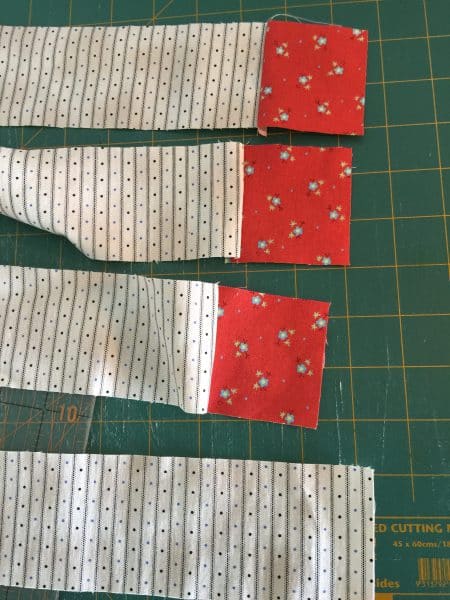
Attach the plain border length first then follow with the lengths with the cornerstones. Add a second red square to the final length so that there is one on each end. Attach the last border length.
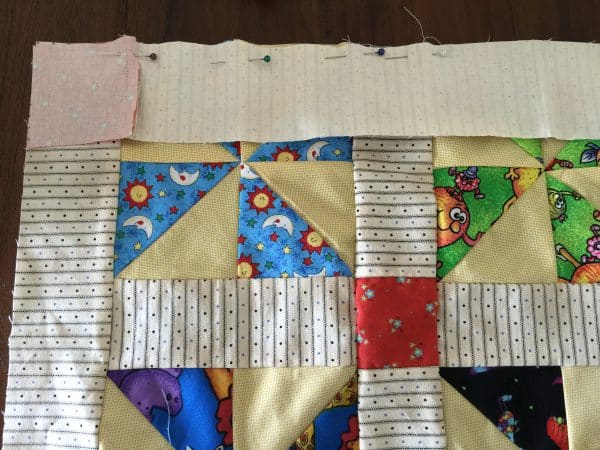
Attaching the first border. Singer 99K
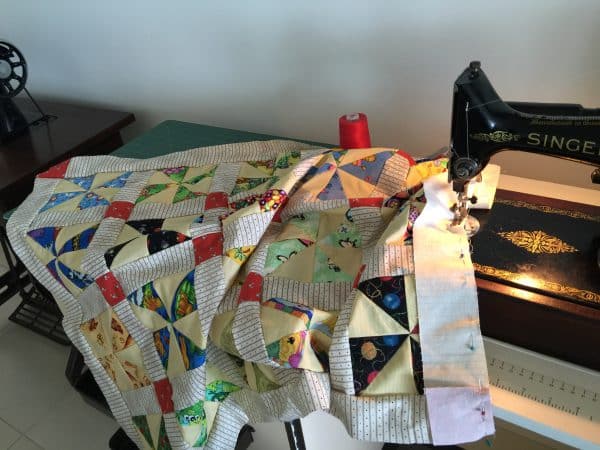
Measure through the centre of the quilt each way. Add the second border of red print 2 1/2″ strips, including the 4 x 2 1/2″ navy cornerstones.
Repeat above steps for border three, using the navy print strips, adding the remainer 4 x 2 1/2″ red print square cornerstones.
Prepare layers for quilting. Quilt as desired.
Free Motion Quilting Part 1 The Machine
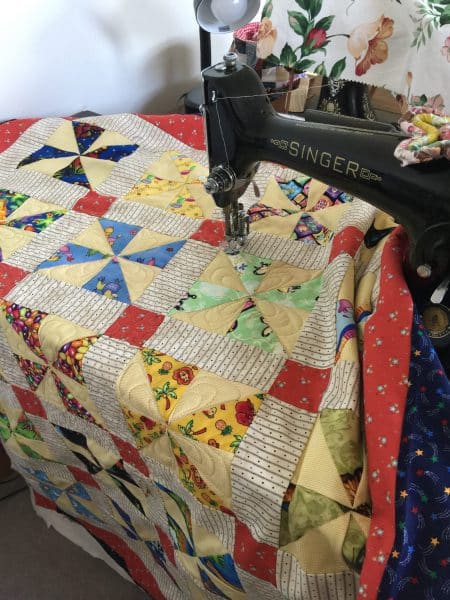
Bind using the remainder 5 x 2 1/2″ red print strips.
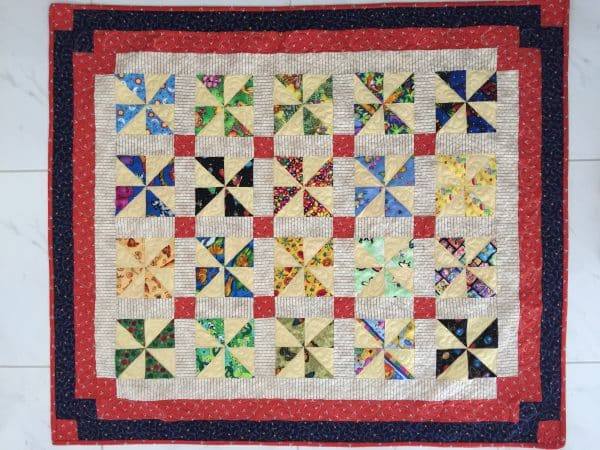
I Spy Pinwheels Quilt.
If you enjoyed this post, I think you will also like,
Double Pinwheel Block Easy Scrappy Style Tutorial
Have a wonderful day!
Susie

Thanks for this tutorial. I wondered how your blocks would end up after reading your earlier post (I Spy Pinwheel Blocks)