Periwinkle Block Made Easy!
Friends, Quilters, Piecemakers, get out your scraps!
What if I told you, you could make this beautiful Periwinkle Block, in a very simple manner! I‘m talking – no “Y“ seams, no tricky triangles, no setting triangles, and such a simple method! If you can make a Four Patch, you can make this block!
There are a few techniques we will be using to make this block, and hopefully, they are pretty foolproof.
Are you ready! Let’s jump in.
Ingredients for one Periwinkle Block Made Easy
4 of 4″ x 4″ squares ( I used 2 different prints for each block)
1 of 10 1/2″ x 10 1/2″ background square
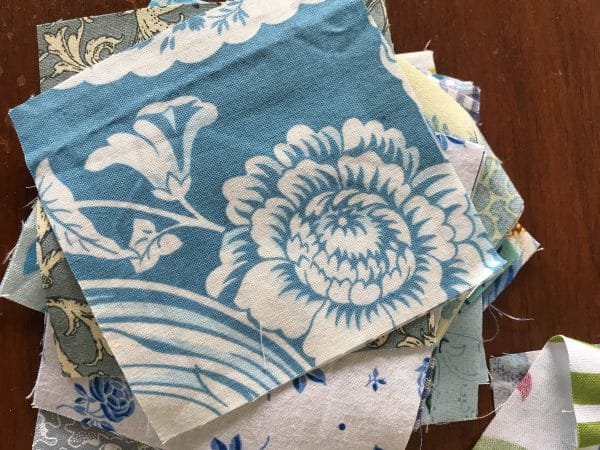
Here are some of my 4″ x 4″ squares.
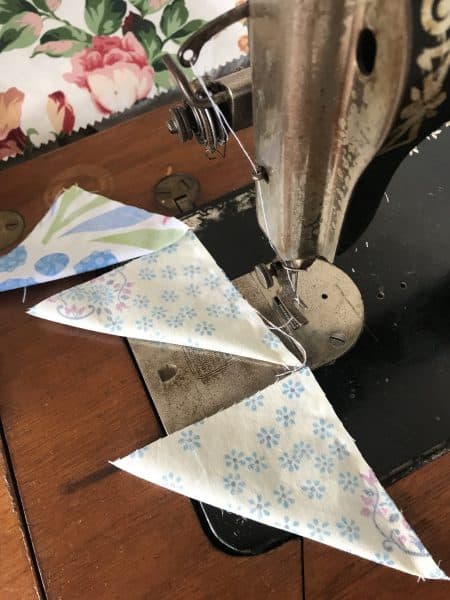
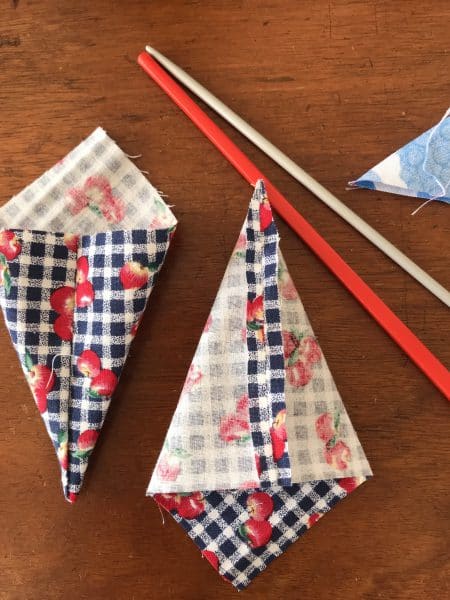
Take the four of 4″ x 4″ squares. Fold each one on the diagonal, right sides together. Sew down one edge using a 1/4″ seam. Sew towards the corner.
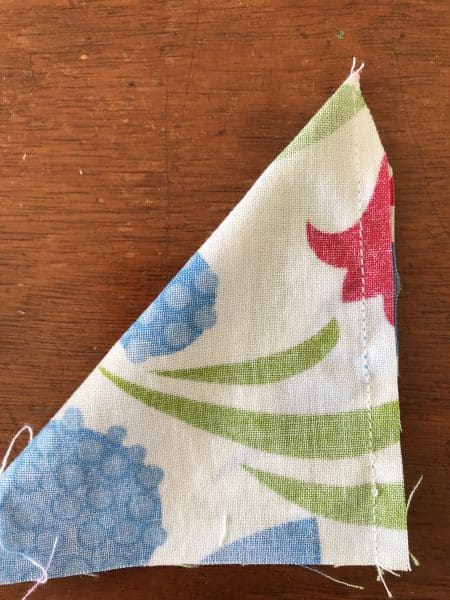
Clip the corner. Be careful not to clip into the seam. Finger press the seam allowance open. In this case it is an advantage.
Turn to the right side. Use a chopstick knitting needle to gently create the point Press open carefully aligning the seam allowance to the centre.
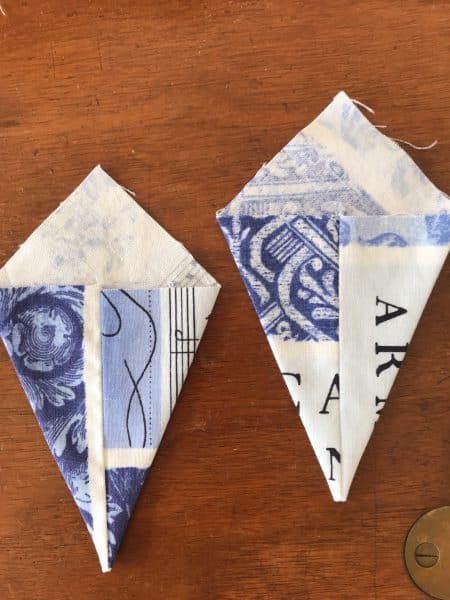
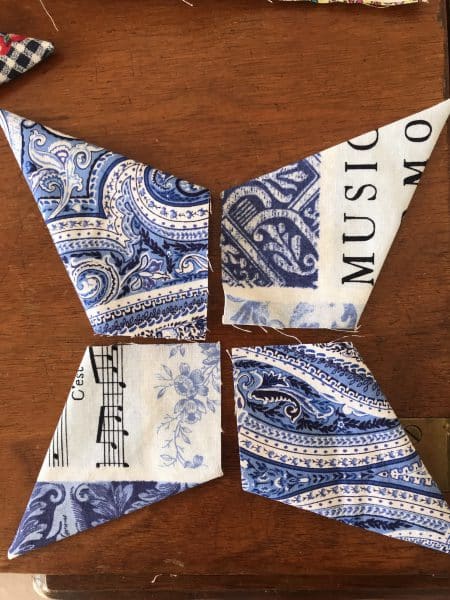
Now you will have four pieces like this.
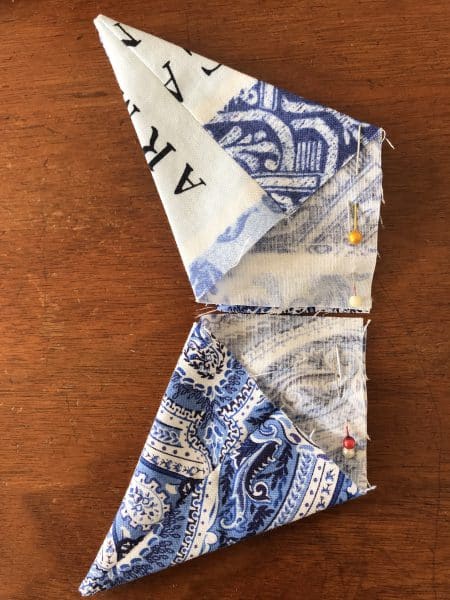
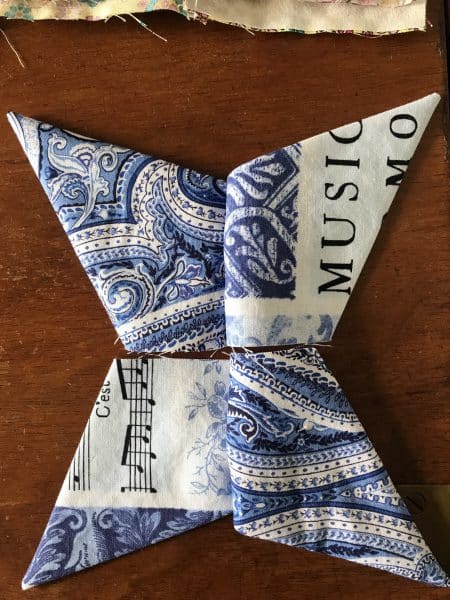
Alternate the two fabrics. Lay one unit on top of the other matching the raw seam allowances as shown.
Sew together in the pairs opposing direction as shown. Now open out the units and sew the remaining two raw edges together.
Gently press the unit.
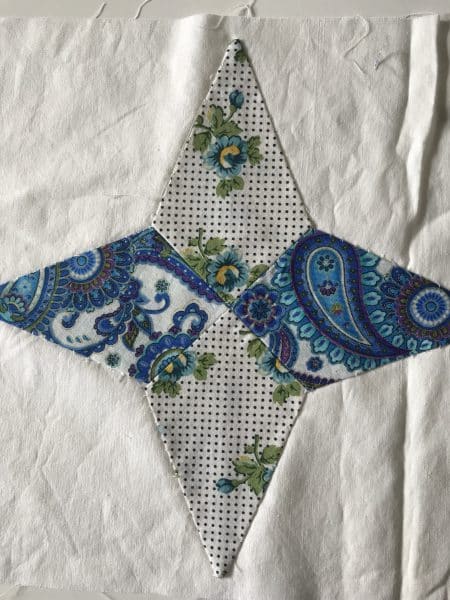
Centre onto the background square. Be sure to pin well. Slip stitch onto the background square or you can machine applique if you prefer. I am hand stitching these. It’s very easy as there are no raw edges!
Sorry I didn’t press this background square yet… oops!
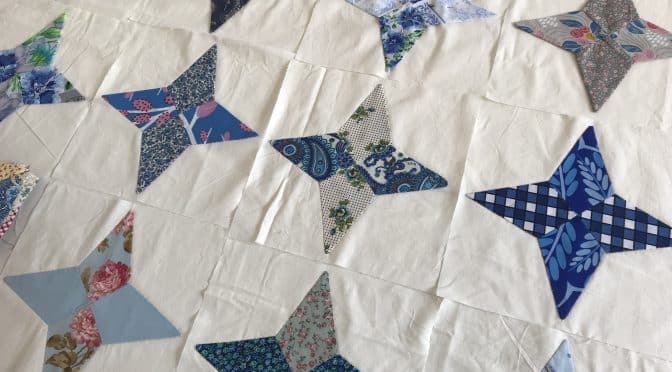
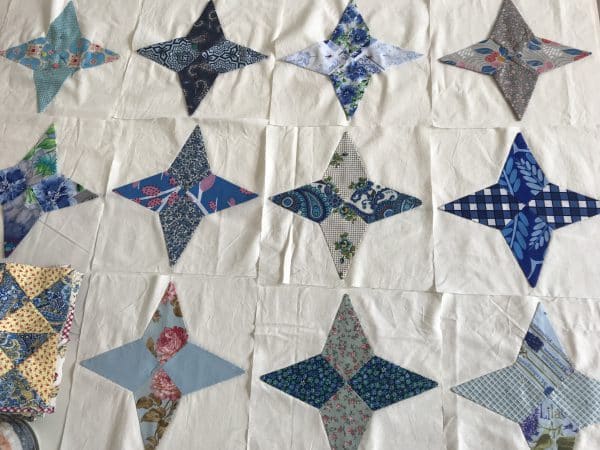
This is how my blocks are looking so far. Apparently these blocks can also be known as Hummingbird, Arkansas Snowflake and Jobs Tears.
Here is how the quilt is coming along, in case you would like to join me!
If you enjoyed this post you may also like this one.
Orange Peel Quilt Blocks Pattern
Or if you love blue quilts you might enjoy
Delft Blue Chaining Nine Patch and Pattern
Have fun!
Susie x

Love this. I’m using my 5 inch squares and making it into a QOV block. Thank you. Rose
Hi Rose. That’s a lovely idea!
I have never seen this quilt pattern, I love it! I am 90 yrs. Old and still love to craft. I would love to adapt this for a mug mat.Thanks for the tutorial. This is my first time to see your site. Love it!
Thank you and welcome Maxine! Congratulations on still crafting! That’s wonderful! A mug mat is a lovely idea. Best wishes to you.
I’ve made a few of these periwinkle quilts. I like the process you use for making this one. Thanks for sharing. Your quilt is beautiful!
Dear Cindy,
Thank you for your kind comment. That is a pleasure.
Susie, your a genius! I love this quilt pattern and had just been trying to draw a template. (like I could 🙂 I am going to try this block today. Thanks so much.
I absolutely love the beauty and simplicity of this quilt! If it was past midnight I’d be heading to the sewing room! I am very excited about this little beauty!
I do have a couple of questions.
1. Does the background fabric work best if it is a solid or can a print work?
2. How do you select your fabrics for a quilt?
3. Is there something specific you look for in your selections?
Thank you Susie for all you do! I love that you share and teach us so well.
Jane
Dear Jane, thank you! Of course you can use a print or prints as long as it contrasts with the other fabrics. I have chosen 72 different blues to make these blocks. You can choose your favorite colourway. I will be posting all the directions to the quilt in the near future xox
Thank you Susie! I haven’t been feeling well these last few days so once I’m feeling better I am going to give this a try!
Your tutorial is spot on! I made the Periwinkle Block (just one) and turned it into a pillow for my daughter’s 3rd grade classroom. Thanks for clear instructions and photos.
Thank you so much for posting this tutorial! I love this quilt pattern and have long had it on my list to make a periwinkle quilt. Your technique will ensure that it gets moved up in the list. 😉
I have always wanted to do these blocks but wasn’t ready for the challenge yet. These are doable! Thanks!