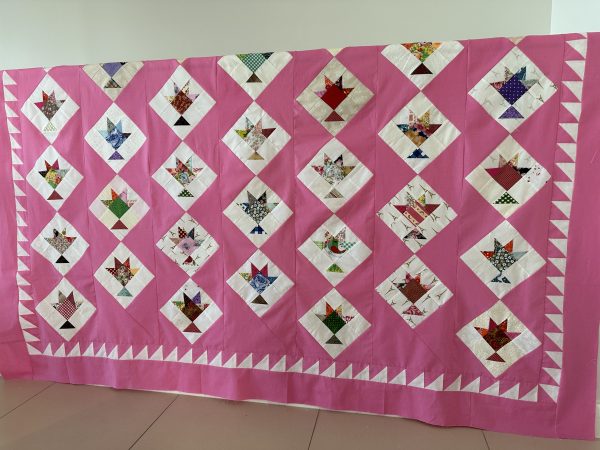
Pink Streak of Lightening Baskets Quilt and Pattern – Antique Inspired – Part 3
Hello Dear Friends and Readers. Welcome to today’s post.
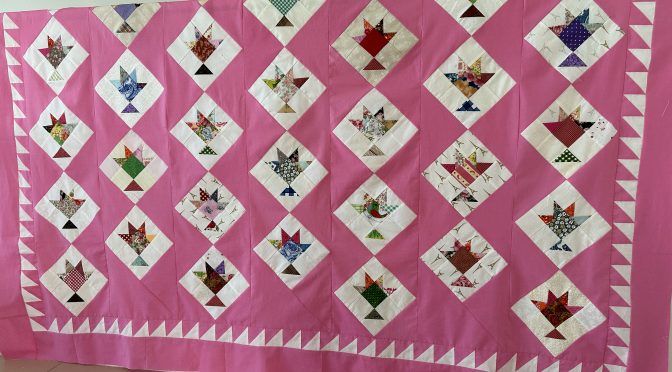
Today I would like to share with you how I am adding borders to this antique inspired Pink Strippy Baskets quilt top. ( Actually now the strips have been put together, and because the baskets are offset, the strippy has become a “Streak of Lightening” between the baskets). Here is the link to the previous post.
Pink Strippy Baskets Quilt Antique Inspired Part 2 and
Pink Strippy Baskets Quilt Antique Inspired
I have decided to make a Sawtooth Border. This can be achieved with squares sewn on each side of a diagonal and then cut in half, adding a nice finish to complement the scrappy triangles in the basket blocks. Then complete with a second border.
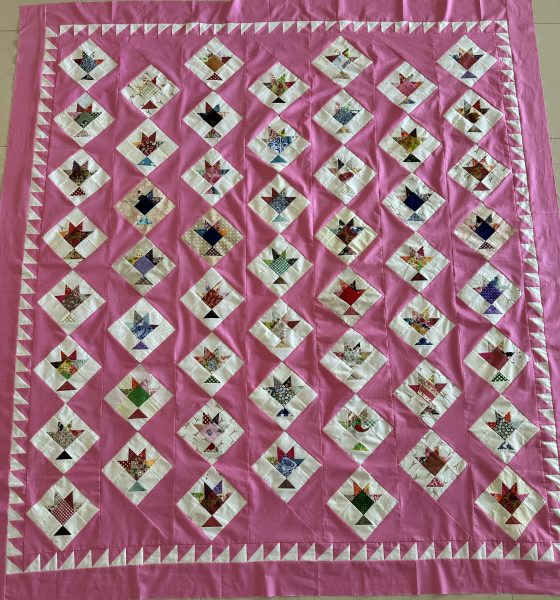
Finished quilt top size 74″ x 79″
Total Fabric Requirements for the Pink Streak of Lightening Baskets Quilt- Antique Inspired
53 of the Little Beauty Scrappy Baskets in a Nine Patch
At least 5 ½ Yards or 5 metres of pink solid fabric (this includes the amount below for the borders.
2/3 of a Yard/Metre of white fabric for the sawtooth border.
Requirements for the Pink Streak of Lightening Baskets Quilt- Antique Inspired Sawtooth Border and Final Border
From the remaining 2 yards/metres of the pink background fabric
Cut 6 of 3″ Width of Fabric strips, sub cut into 67 of 3″ x 3″ squares for the sawtooth border.
Cut 9 of 4″ Width of Fabric Strips (WOF) for the final Border.
From 2/3 yard/metre of white fabric
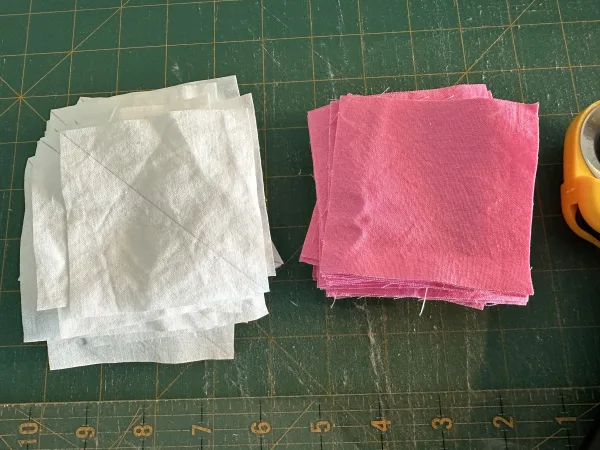
Cut 6 of 3″ Width of Fabric Strips – sub cut into 67 of 3″ x 3″ squares for the sawtooth border.
Making the Units for the Sawtooth Border
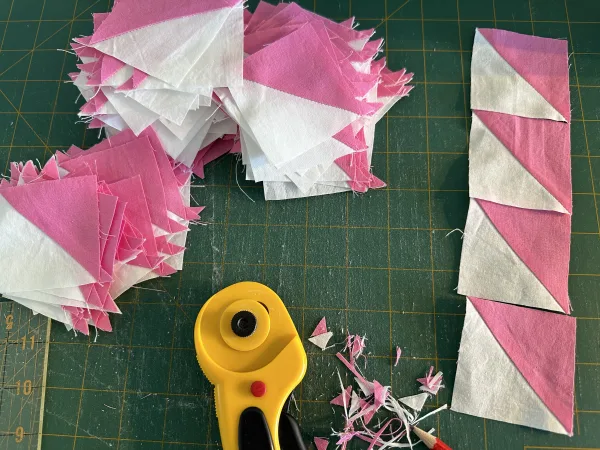
You can see I didn’t press my fabric. I’m not worried. I will press before trimming.
Using a pencil, mark a diagonal line across each of the 3″x 3″ white squares. Lay each one onto a pink square. Line up accurately.
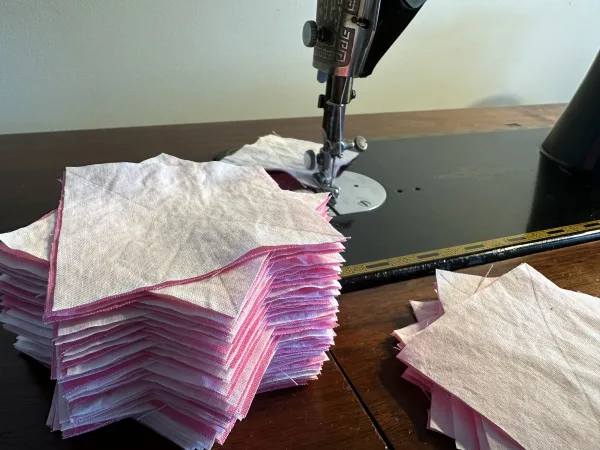
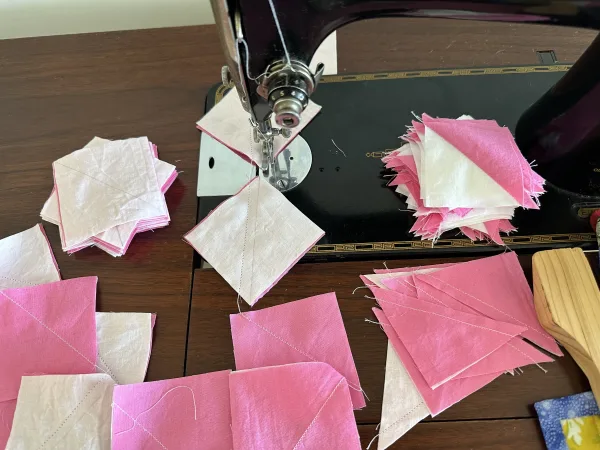
Sew a 1/4″ seam down each side of the diagonal line of each square.
TIP
Be sure to check the seam allowance before proceeding with all of the units. Double check by cutting one apart. After trimming – each unit should measure 2 ½” x 2 ½”.
Now all these units are pressed and I’m giving them a sliver trim to 2/½” x 2 ½”.
Joining the Sawtooth Border Units
After trimming all the units, there should be 134 Half Square triangle units.
31 units each for the top and base borders and 36 units for each side border.
Sew the units together into 4 strips. two each of 31 units and 2 each of 36 units.
Be sure that the seam allowance is exactly 1/4″. make sure that all of the units follow the same direction. Press the four strips.
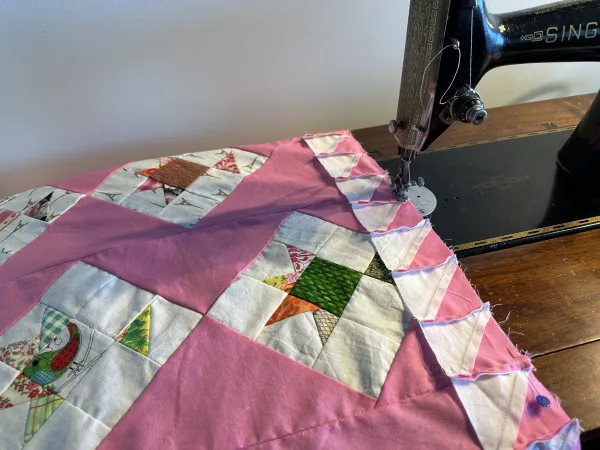
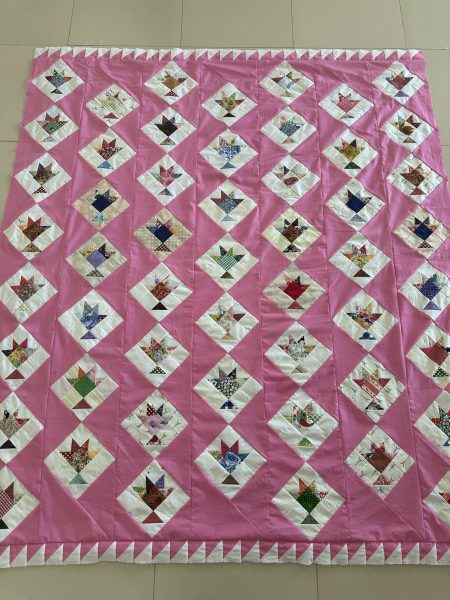
Starting with the base of the quilt, I am adding 31 half square triangle units. and the repeating the same at the top.
The pink unit side is the one which is being attached to the quilt.
This quilt top was all pieces on a Singer Treadle Singer 201K Treadle C1947
Now repeat the same procedure for the sides of the quilt using the two lengths of 36 units.
after adding The Sawtooth Borders the top should measure approximately 66 ½” x 71 ½”.
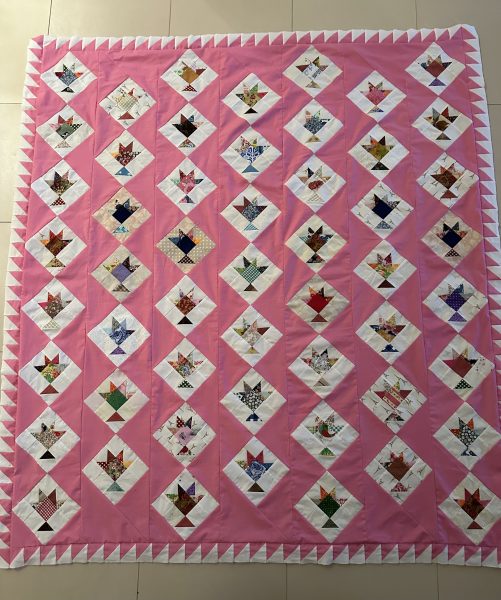
Join the 4″ width of fabric strips together. I joined mine with straight seams but it probably would have been better to join them on the diagonal like is done with the binding strips. ( I might redo it…)
Measure the quilt top through the centre. I am pointing out my errors today. Can you see that I have added the top and bottom final borders first and then the sides. It would be much better to do the side and then the top and bottom. Sometimes it is just as good to point out the errors.
Quilt making is always a learning journey afterall. This quilt top is the result of the little scrap triangles which were too pretty to throw away.
I do like the overall look of this quilt. The sawtooth border was well worth the trouble.
If you enjoyed this post, you may also like
Country Roses Four Patch Quilt Pattern
Great Granny Stars Quilt and Pattern
Best wishes to you all.
Susie
© Susan Stuklis 2024

