Cut Up Your Quilting Off-cuts
Hello Dear Friends and Readers. If you are looking at parts of your stash which are quilting off cuts, or you are hoarding your quilting off cuts in plastic bags, think about it, what are they good for? Well to be honest, they are fairly uninspiring when they are just random pieces of various sizes stuffed Ito bags, don’t you think?
What are you waiting for? Why not just cut them up? Sure, you might say, but I don’t know what I’m going to make yet? That’s okay … that’s what makes it more fun. Chances are nothing will be made while the fabric is in funny sized pieces – but once they are cut up, just like when you buy pre-cuts, suddenly the imagination becomes fired!
The thing is, once the fabric is cut up into tidy pieces, they take on a whole new look, and they do look pretty.
So all I can say is stop saving them and start using them. It’s surprising how much fabric is in those leftovers. If you are still not sure look at it this way … what have you got to lose?
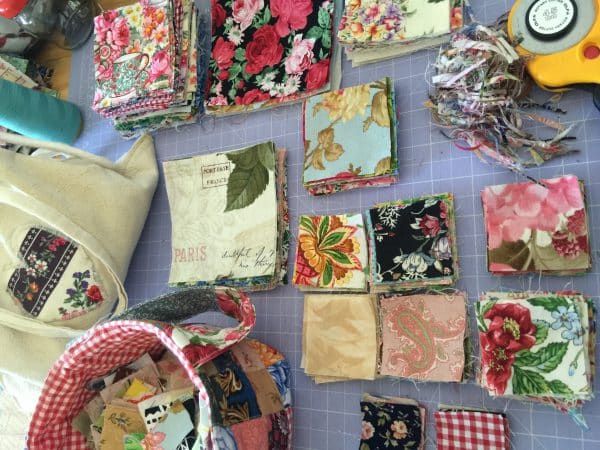
This is how I do it.
I must point out that I do always wash my fabrics when I bring them home, that way, they are all on the same playing field at the end.
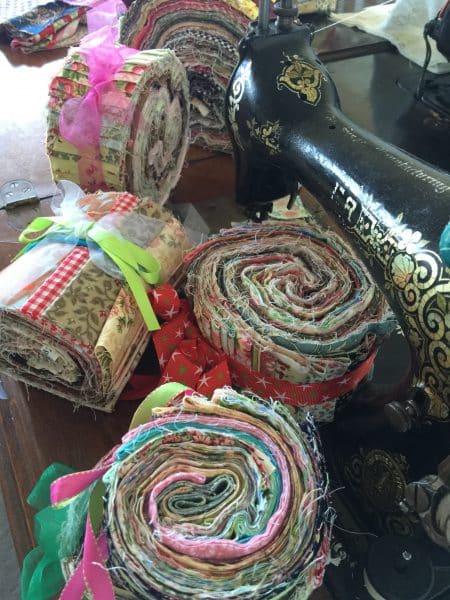
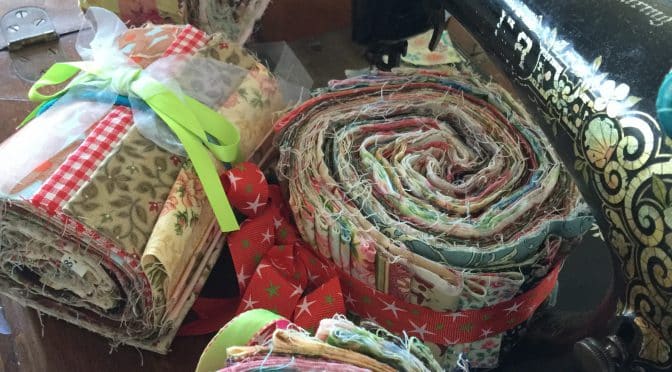
Start with one small amount. If you have decent sized pieces, begin cutting strips. They can be whatever size is best for you. For example 6″ strips, 5″ strips, 2 1/2″ strips, 2″ strips and 1 1/2″ strips. If you are wondering how to store these, it’s easy enough to make your own fabric rolls like these.
Any other fabric which is an odd shape or size or just small, I cut into whatever size I can best get out of the fabric, like 5″ squares, 4 1/2″ squares, 4″ squares, 3 1/2″ squares 3″ squares, 2 1/2″ squares, 2″ squares and 1 1/2″ squares.
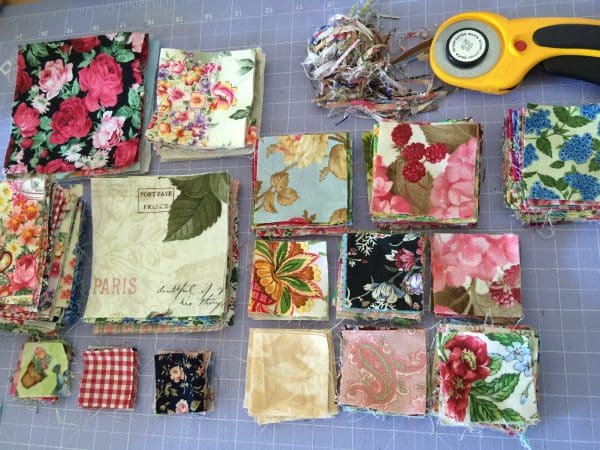
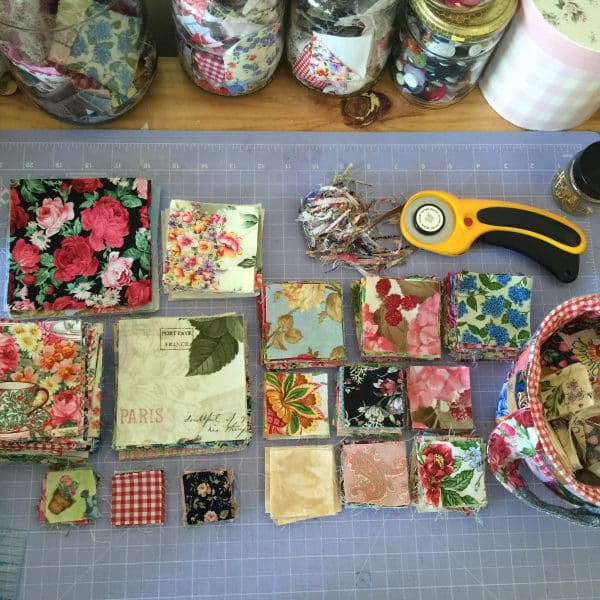
Now of course, I don’t cut all of these sizes at once, it’s just what I can best cut from the fabric. Cutting fabric for just 5-10 minutes, means the hands won’t be tired, but there will be a sense of accomplishment. Keep same size squares ands strips together and put them into a suitable container. See the link to quilt Pantry for one idea on scrap organization.
Or they can be stored in pretty fabric baskets, which are great for size sorting too.
One other thing. If you are new to quilting or if you are not good at Maths, this can be a great learning curve, because you will soon work out which size blocks can fit together. For example, if you make a four patch with 2″ squares, it will fit together with a 3 1/2″ block. And so on. So tidy up and get inspired….Cut Up Your Quilting Offcuts!
Happy cutting!
Here is an example of a little baby quilt made from off cuts
If you enjoyed this post, you may also like,
Obsession with Pre Cuts / Make Your Own
and if you still need more inspiration, try this,
All the Best,
Susie

THANK YOU SO MUCH FOR YOUR INSTRUCTIONS–I LOVE ANY SCRAP QUILTS–YOU ARE VERY TALENTED AT PUTTING THE COLORS TOGETHER–SO LOOKING FORWARD TO ALL THE QUILTS IN THE FUTURE–LET US ALL KEEP ON QUILTING!!
Well timed post! I just picked up 2 large boxes of fabric scraps from an estate sale. Pretty excited to go through it all.
Thanks Susie. Inspiring. I’m stash busting at the moment and sort of working in the way you suggest I.e putting colours, prints and plains together in pleasing piles. I will now Think one step further and try to decide how I’ll use them so that I can create pre-cuts and choose suitable patterns.