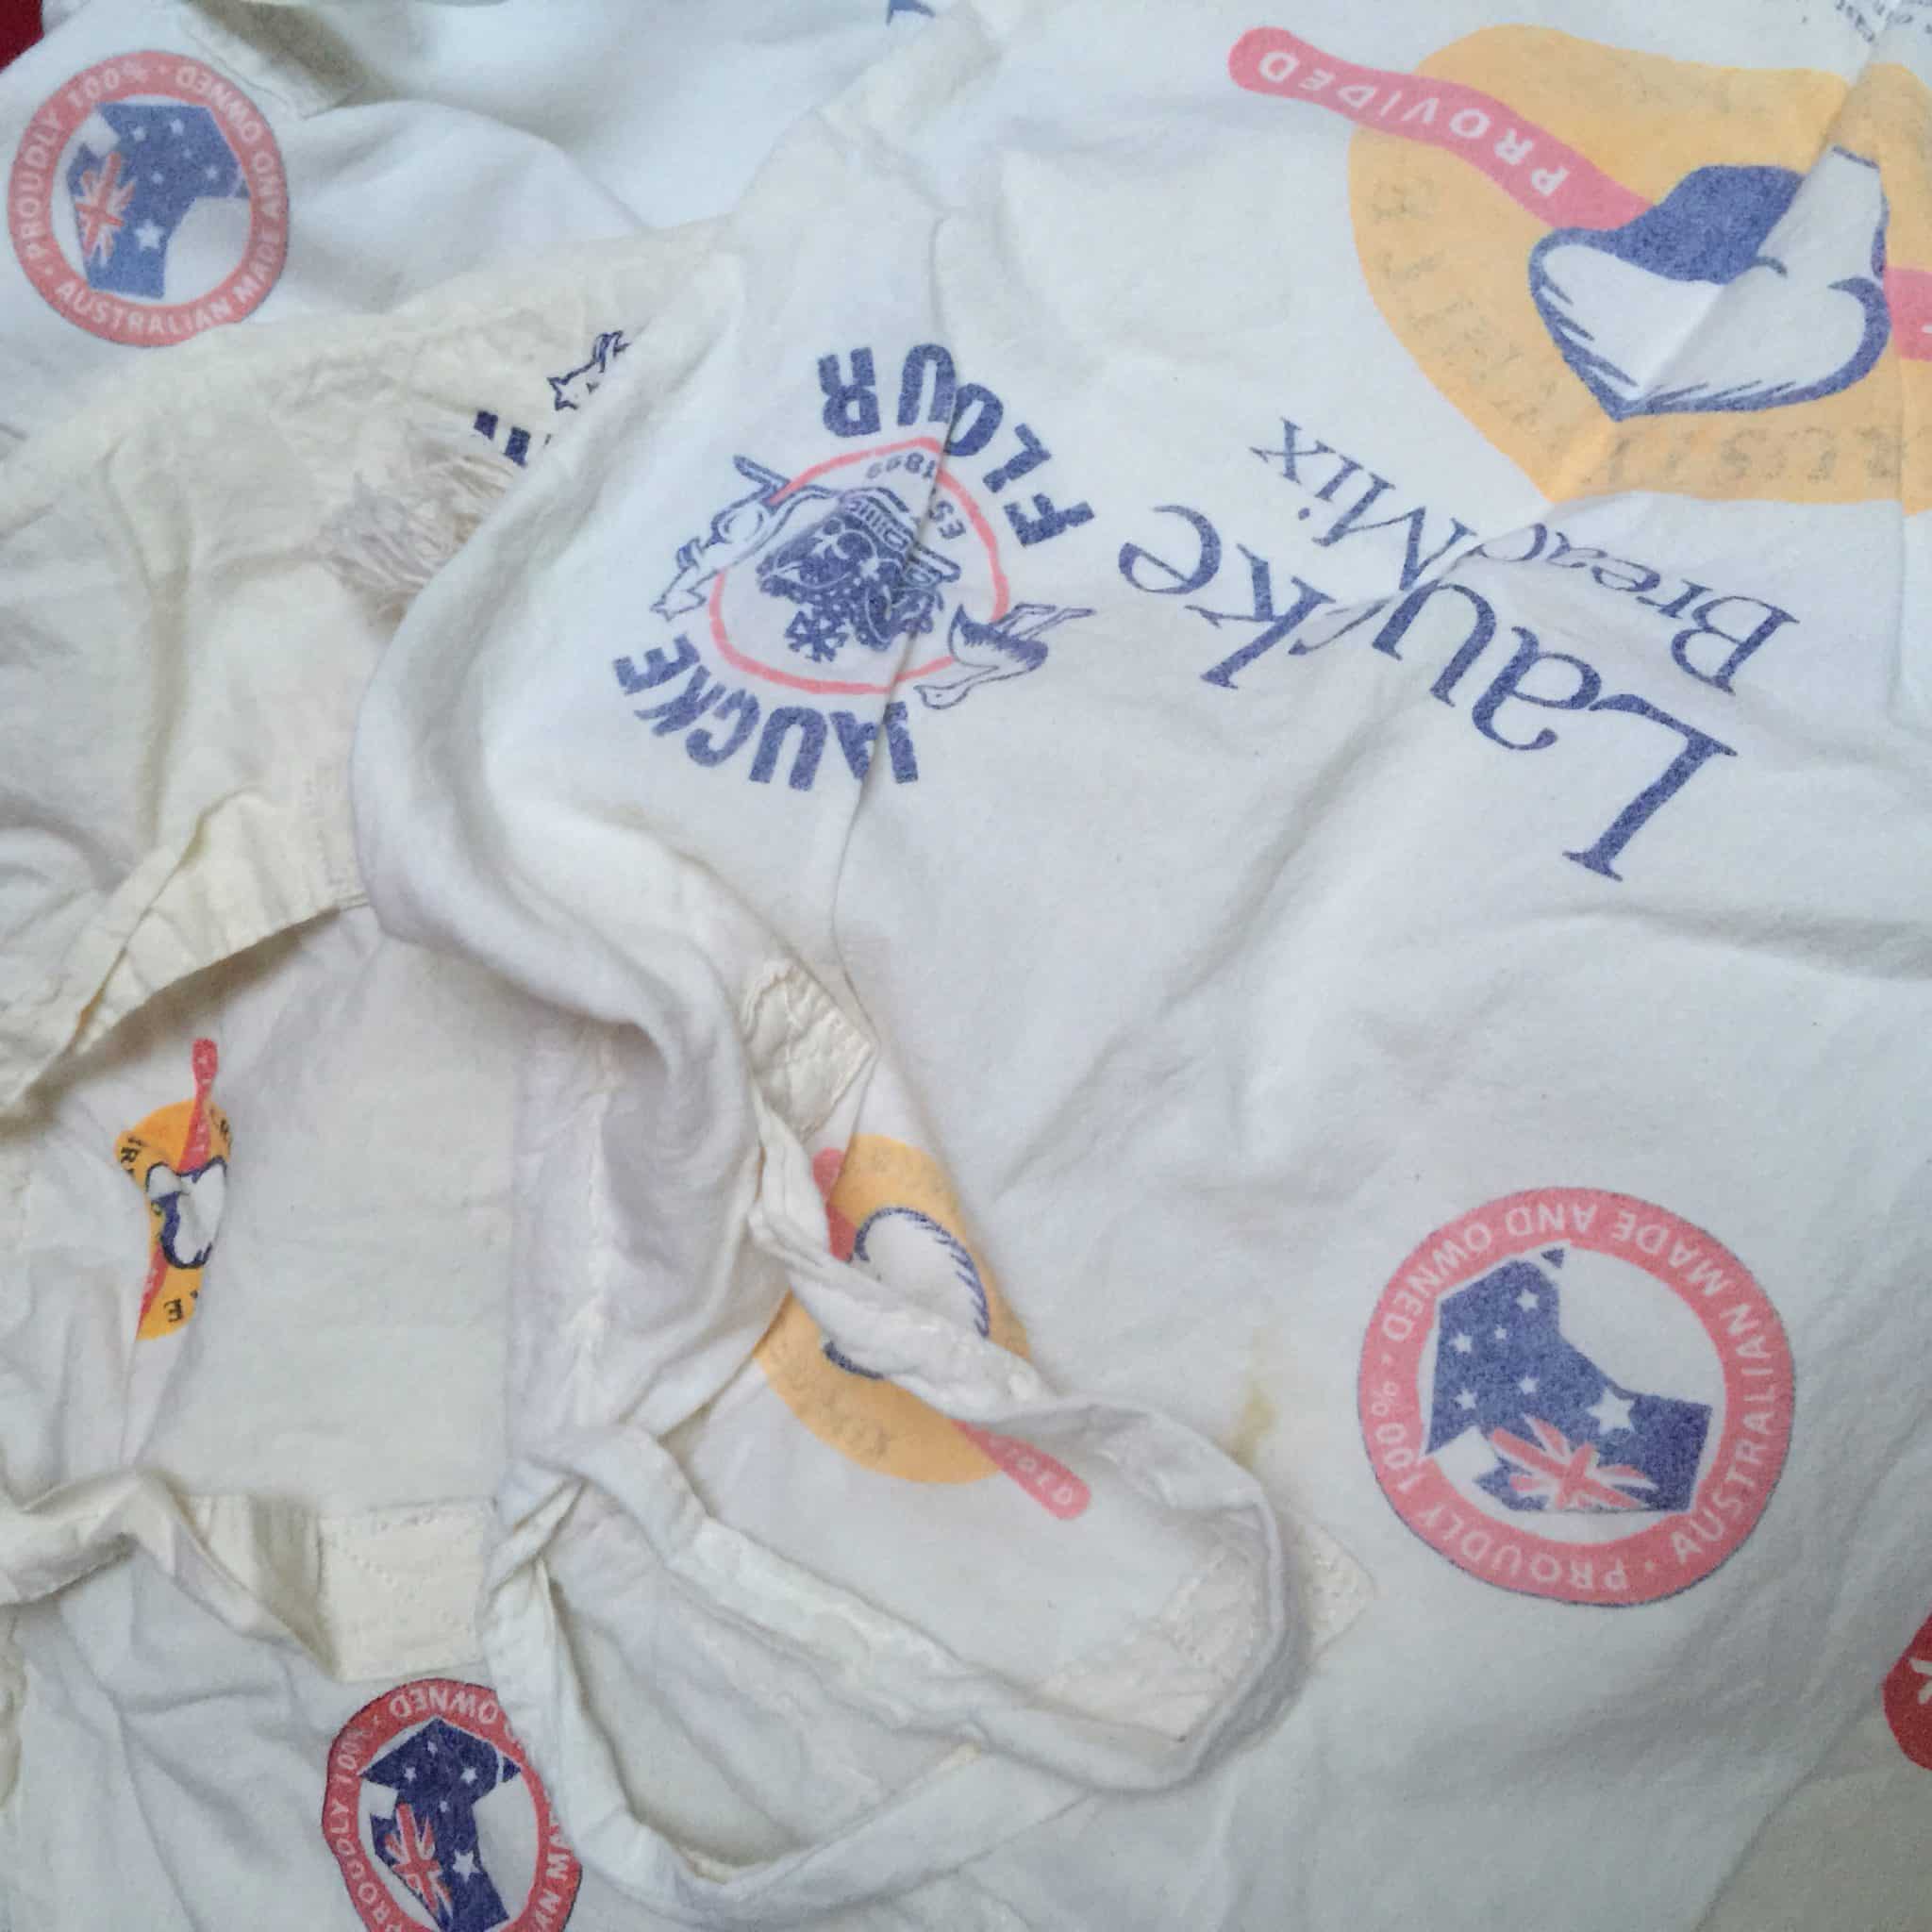
Aussie Flour Sacks. AKA Lauke Bread Flour Bags.
From whenever I first heard about the printed feed-sacks, from a bygone era I was fascinated. I thought it was such a great Idea and obviously so did many women from that era who saved that precious cloth for the creation of clothing, sheets, quilts and who knows what other household sewing creations. Some are still lucky enough to have or find these vintage cloths. I got to thinking I wish that today’s bread flour bags in cloth were adorned with a print or two apart from the labeling.
Nevertheless, I do like these calico bags, as this is a fabric I like for its texture, colour , strength, adaptability and old fashioned appeal. It does seem wrong to throw them out!
As I have been making bread and other yeast delights for decades now, I have collected these bags and put them to all sorts of uses, from shopping to fruit gathering to storage of herbs and vegetables in the refrigerator.
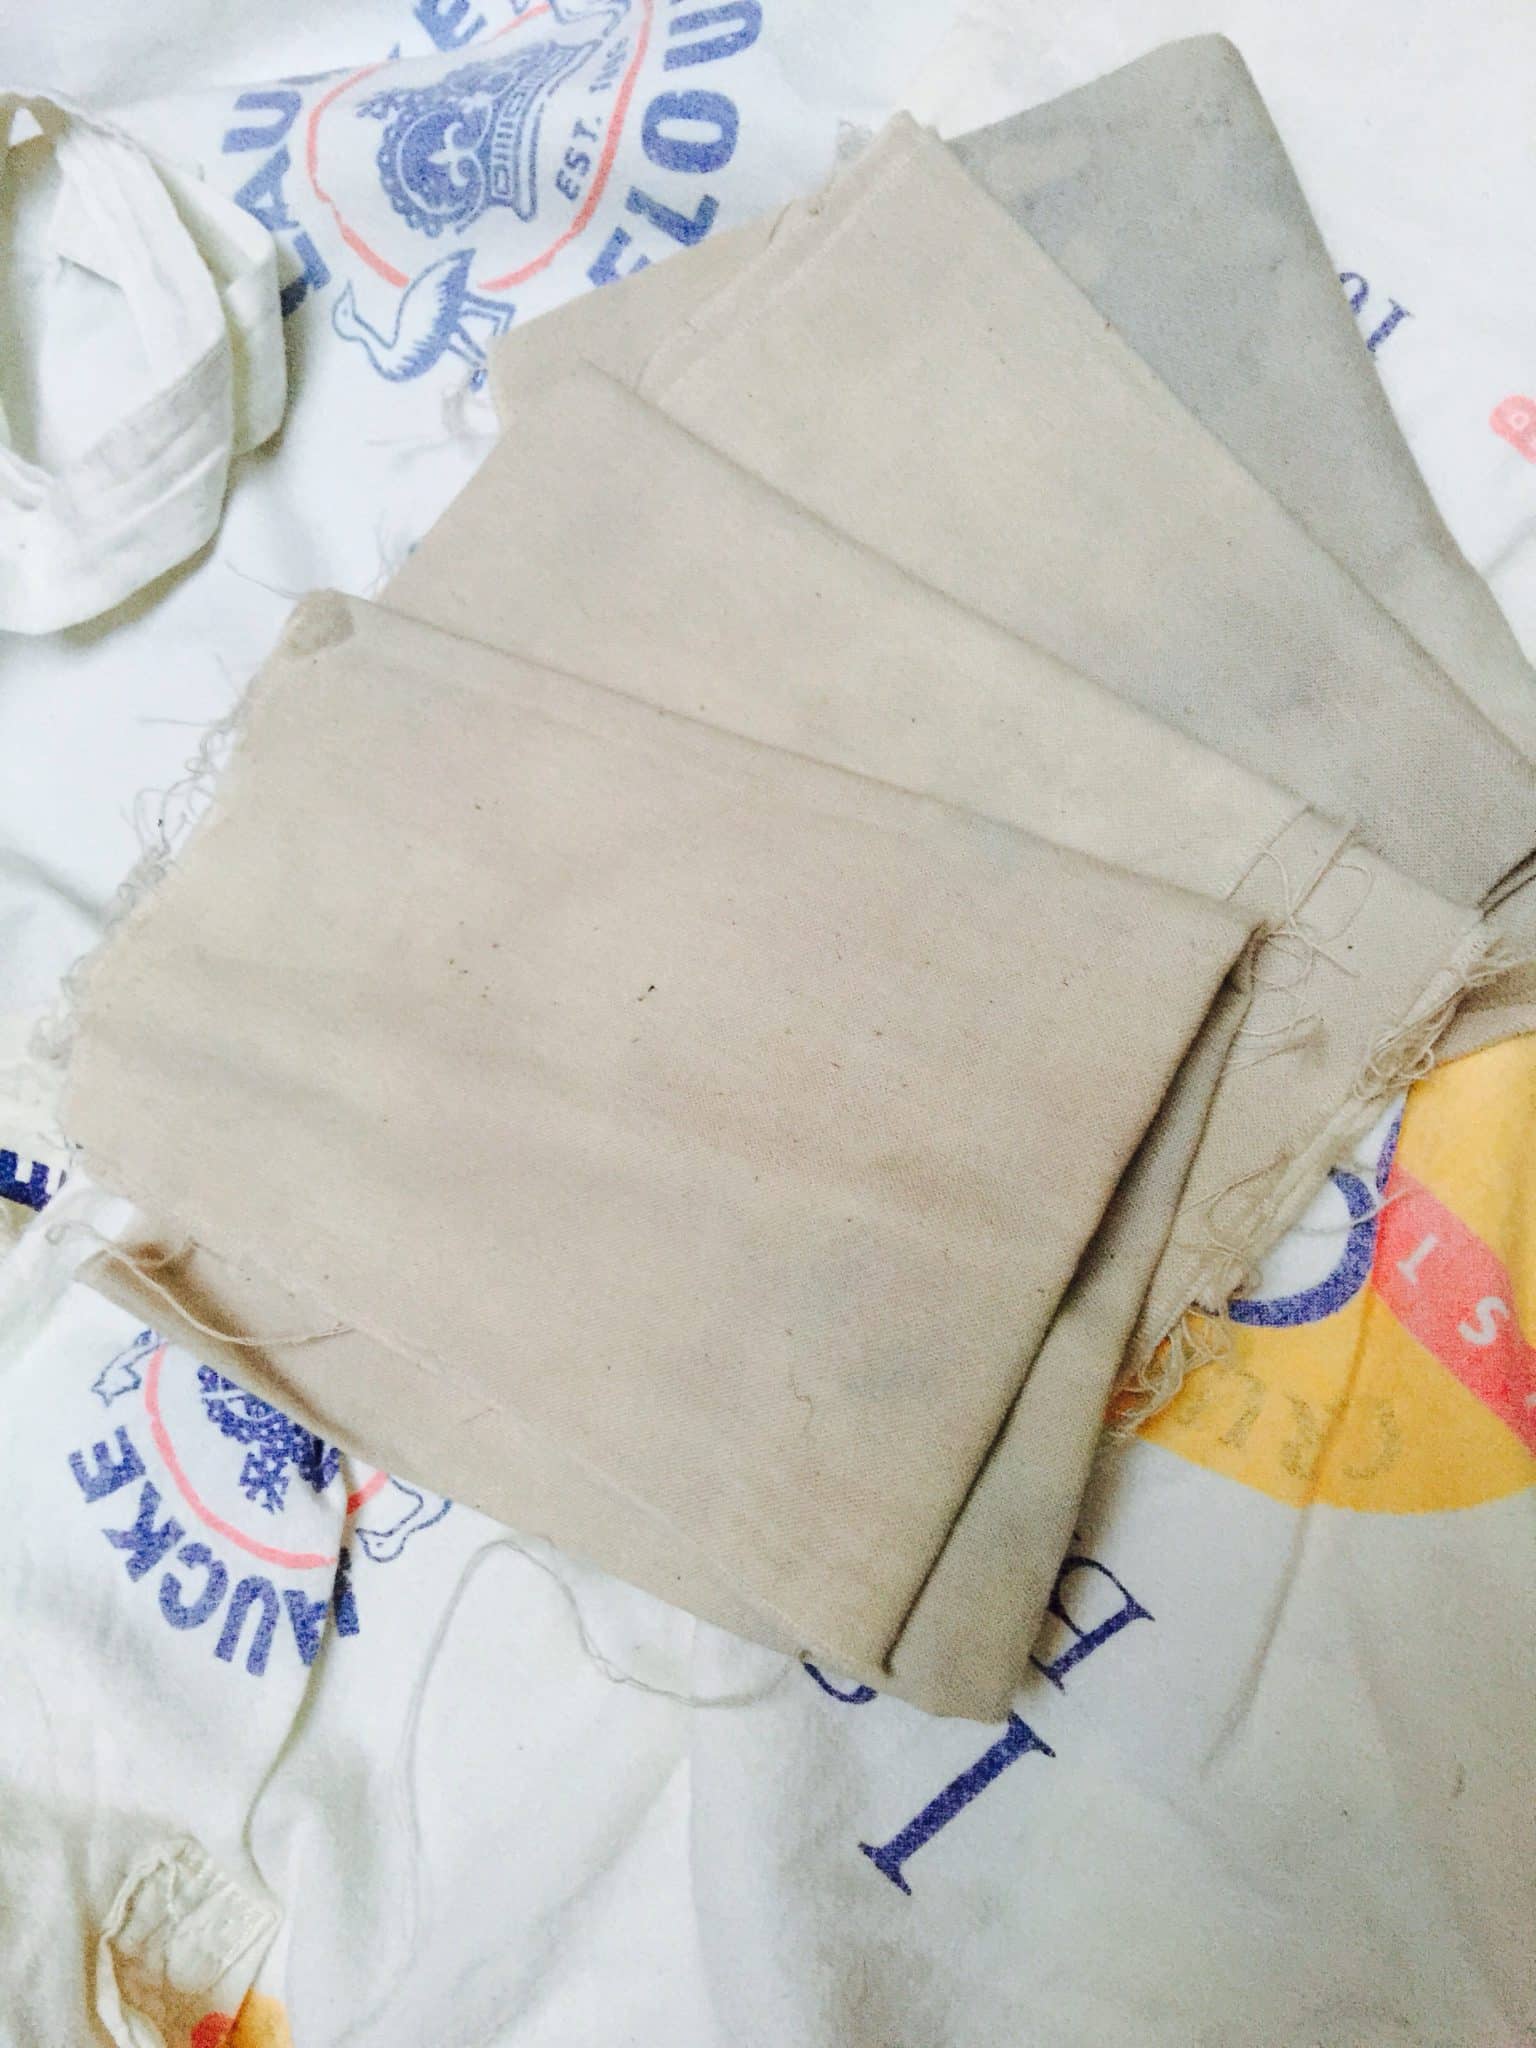
Having said that I couldn’t help but dabble in some natural fruit dying of the fabric, by using berries and tea, and some re-modelling of the bags to give them a bit more aesthetic appeal and diverse use.
I have also dyed the fabric from these bags with squashed mulberries and used it as a neutral in quilt piecing.
These are some other ways I have adapted these bags.
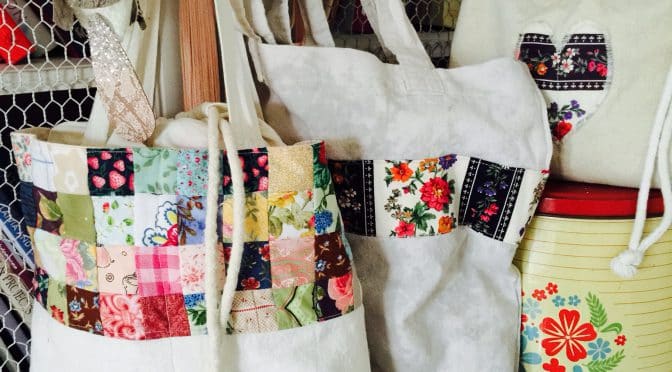
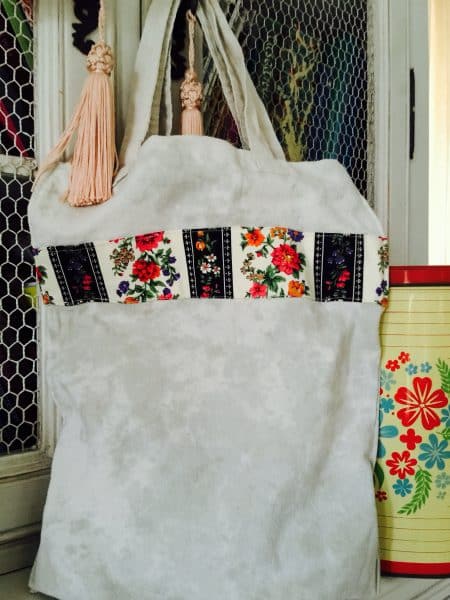
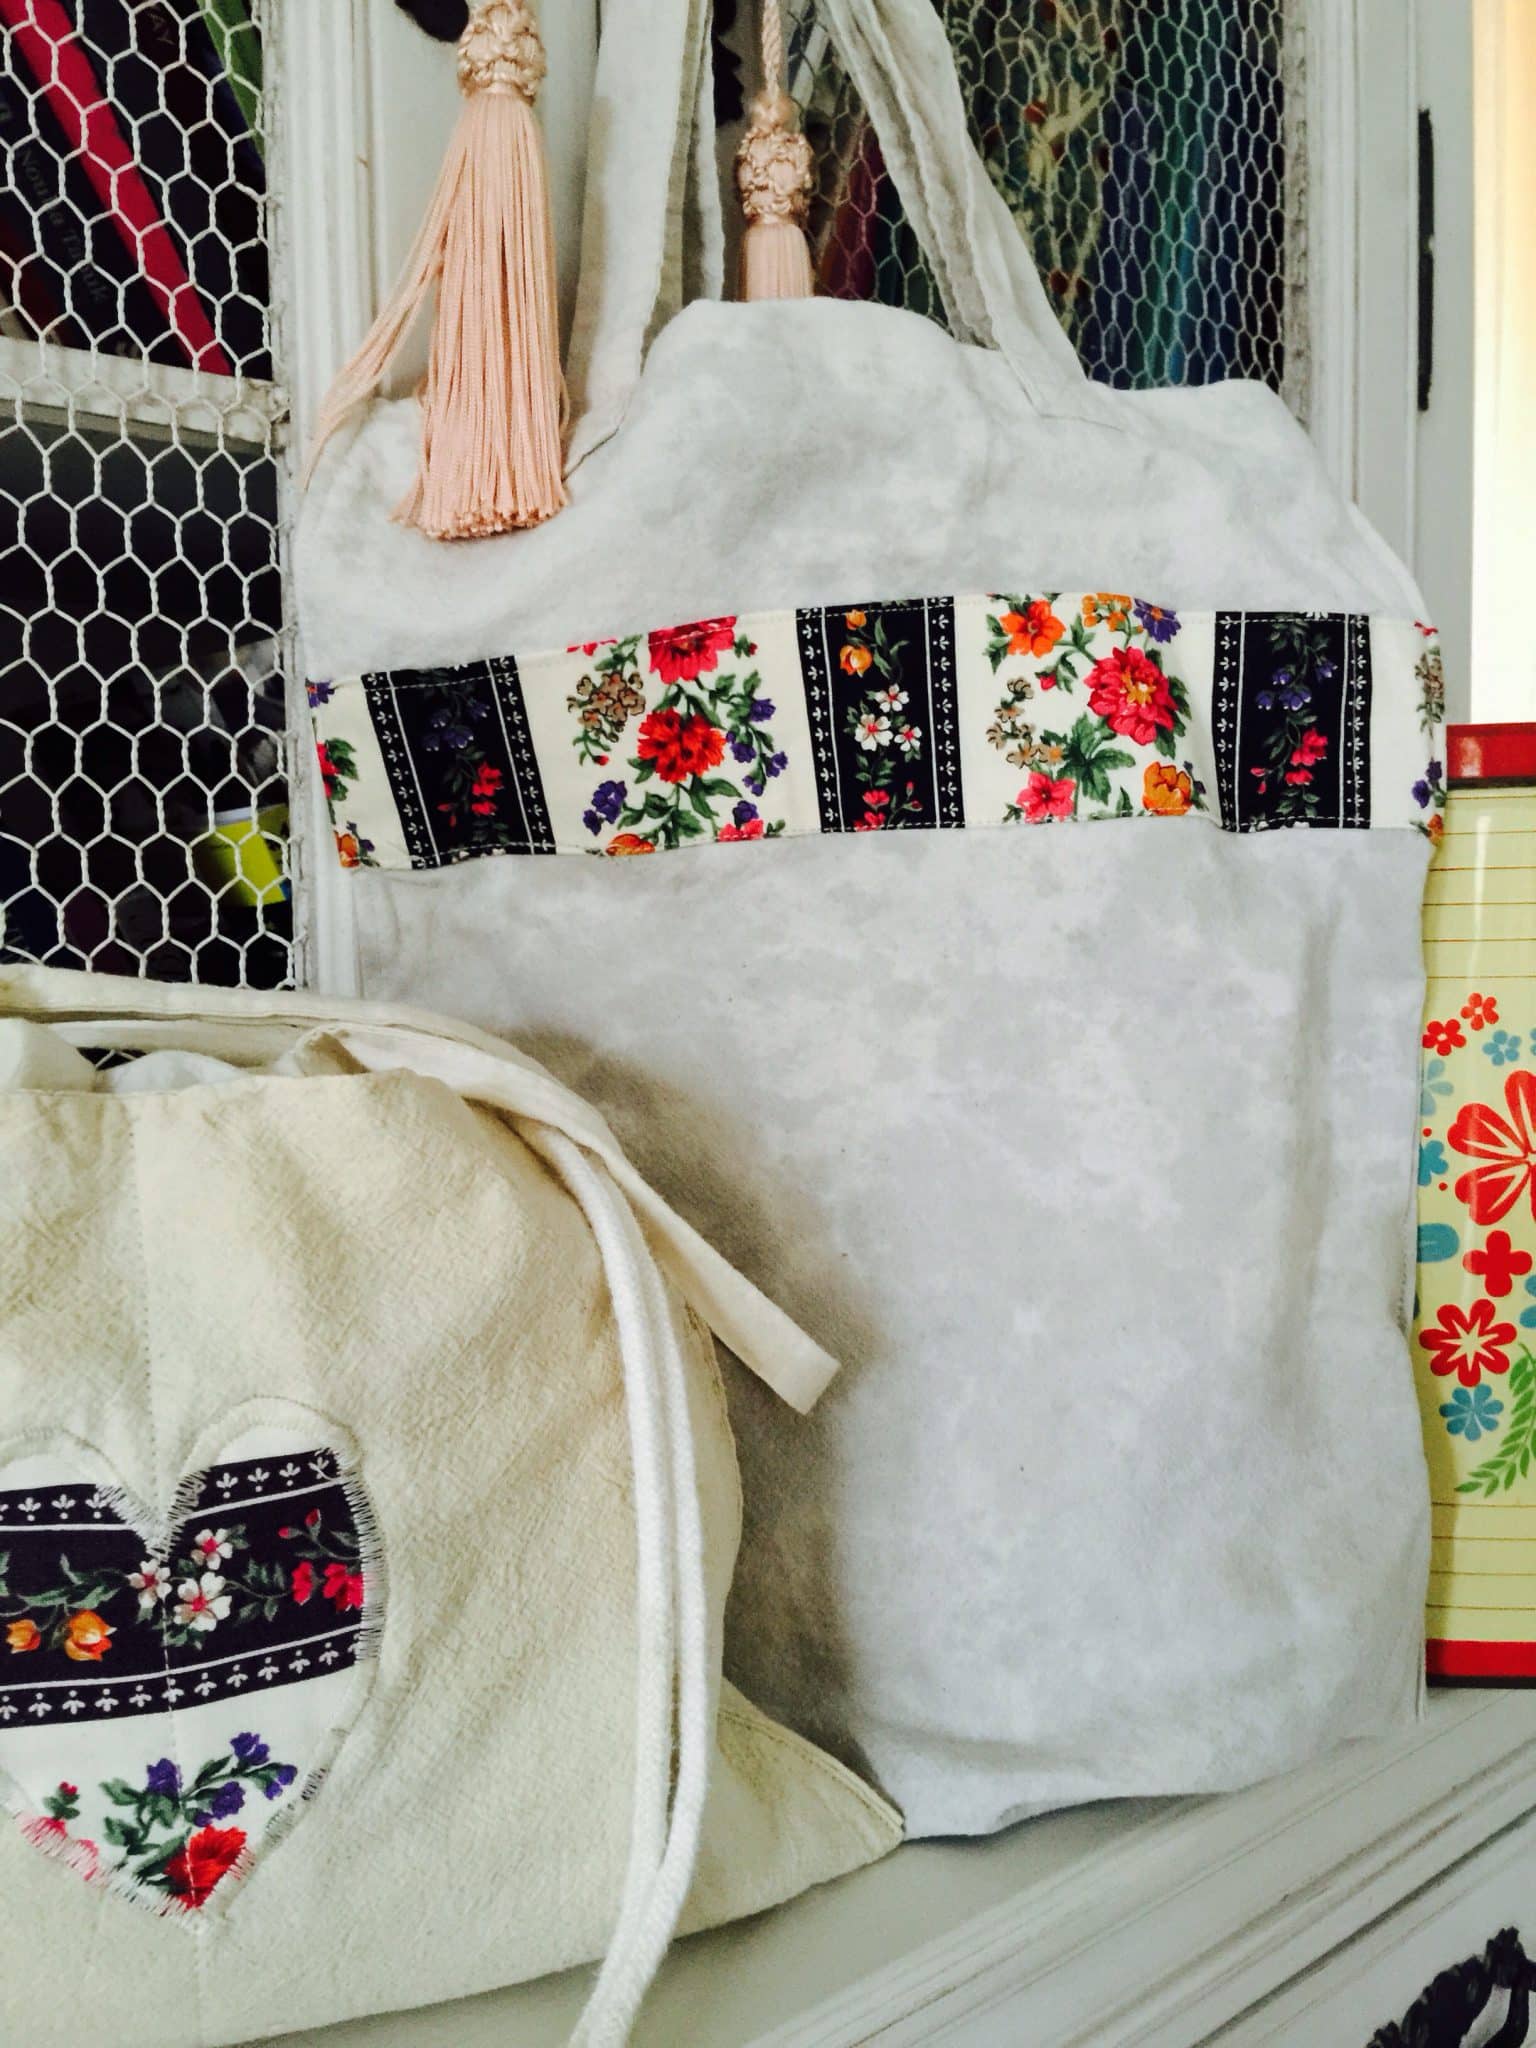
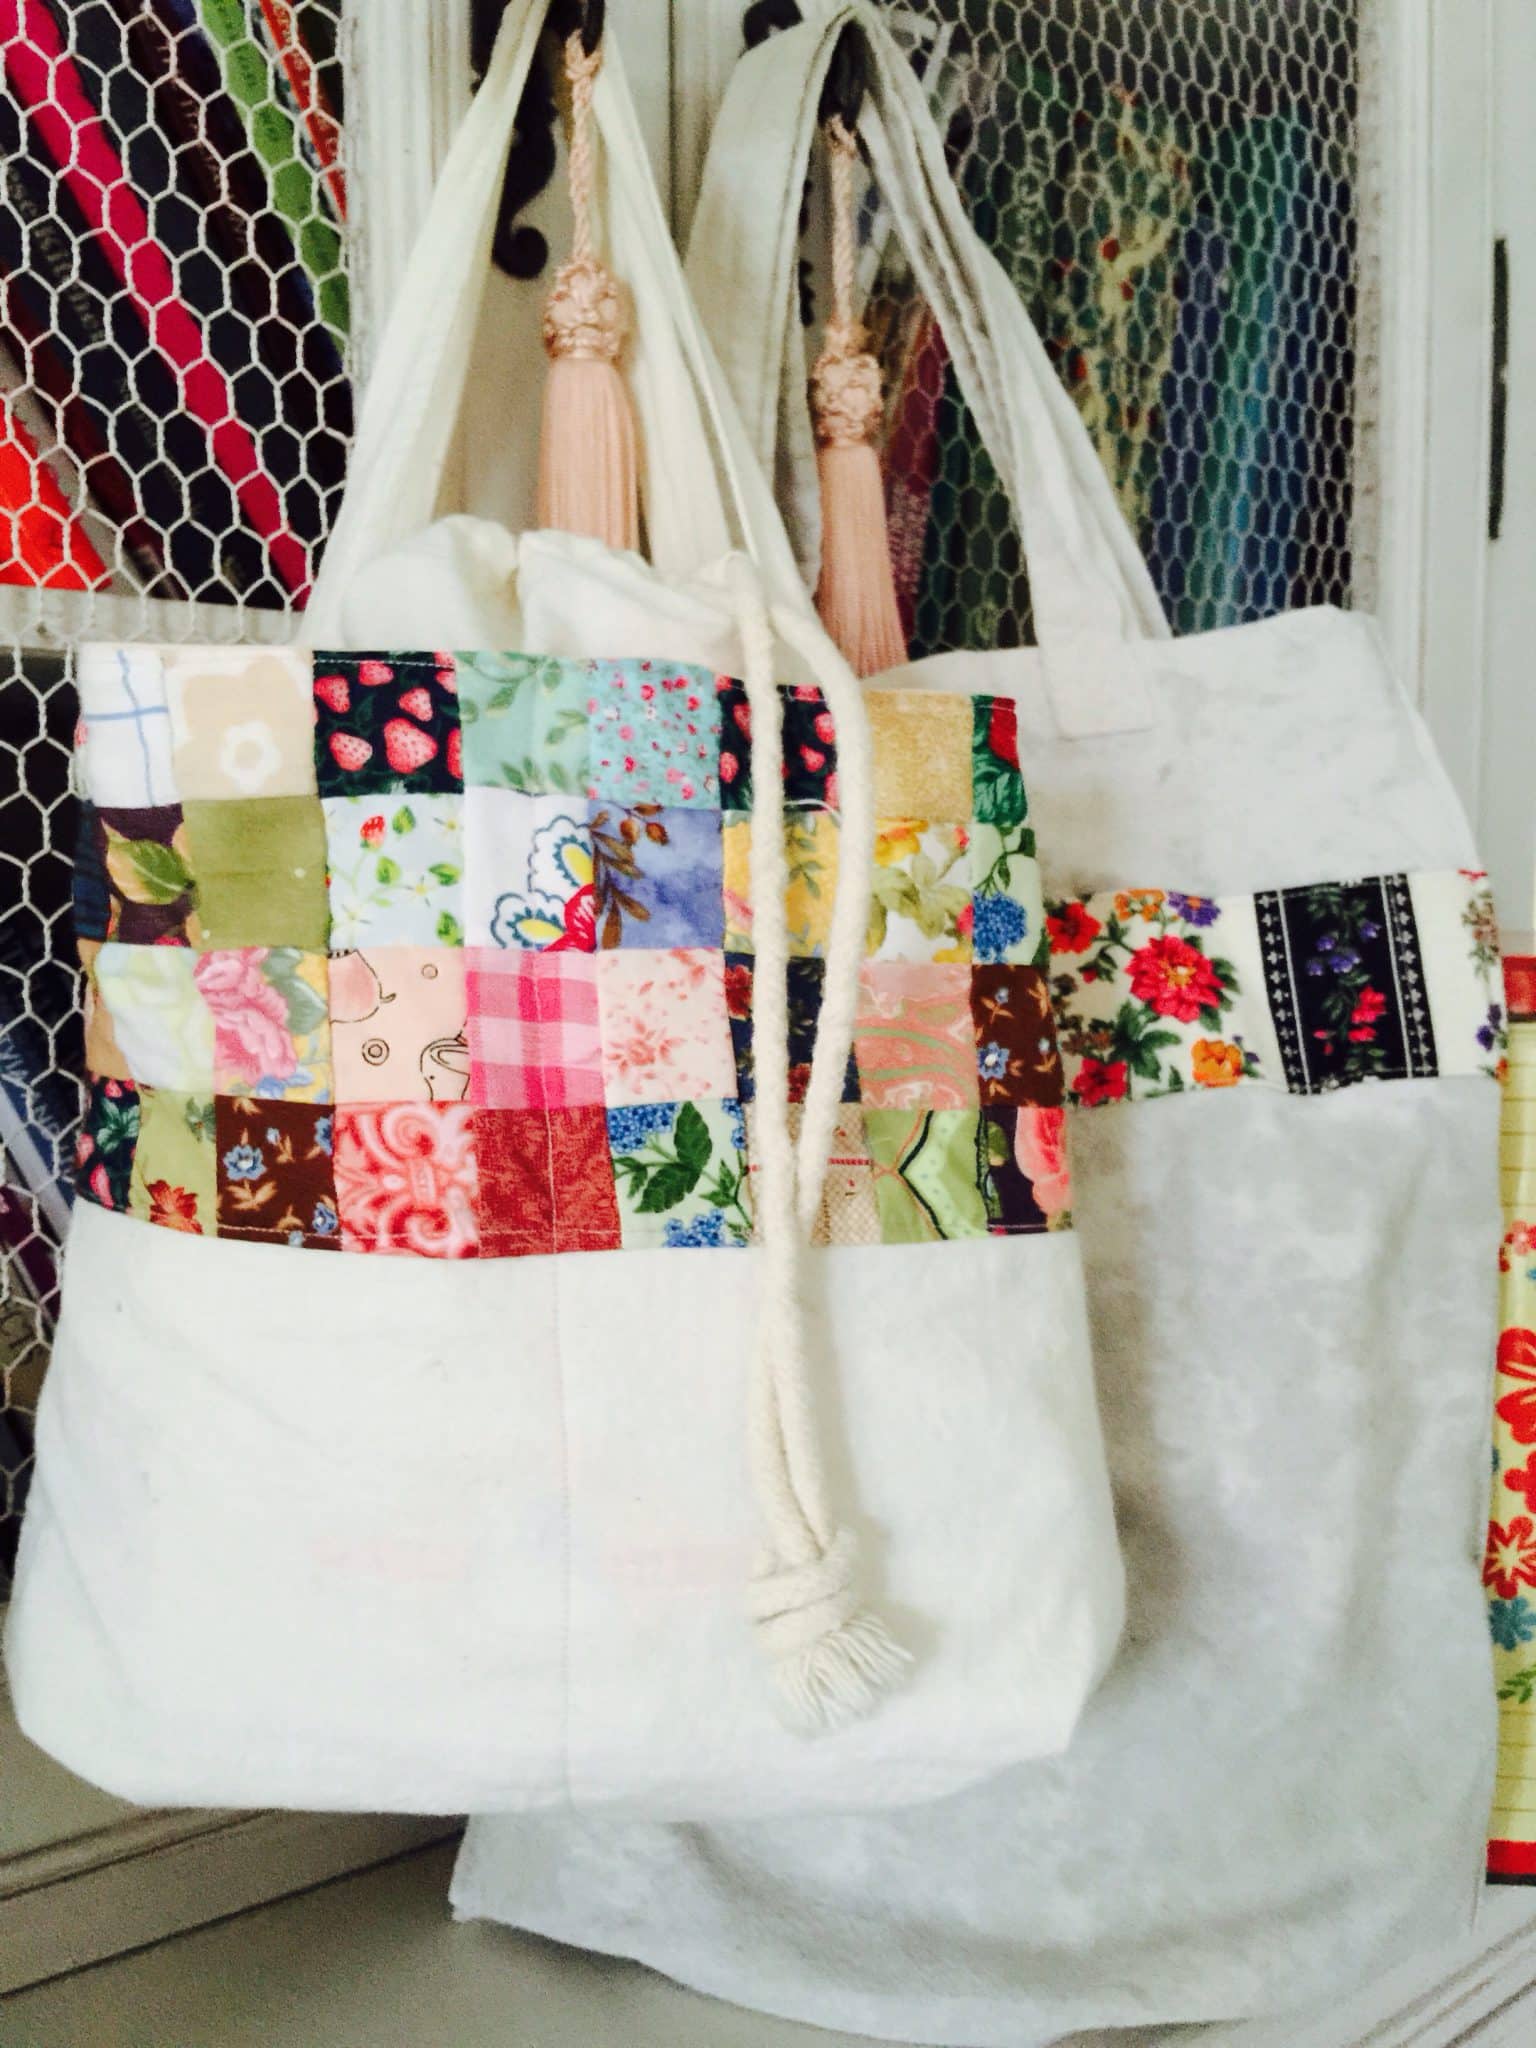
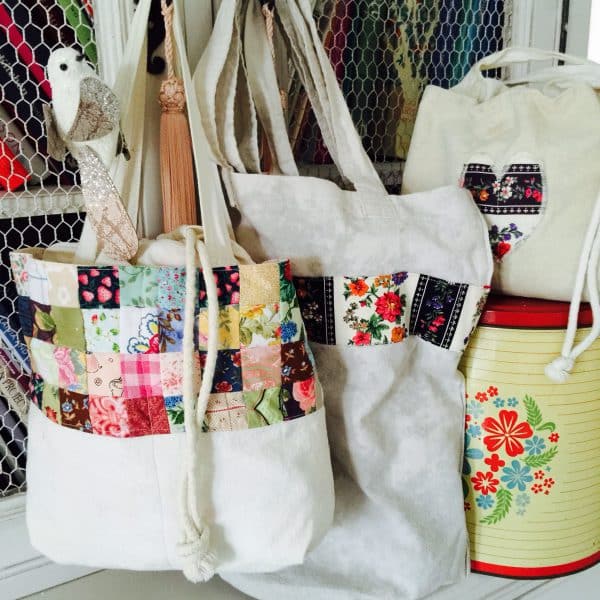
I with this bag I dyed it by adding fresh juicy blackberries, then letting it set into parts of the fabric. The drawstrings were removed. I’ve sewn two bags together here for a more adaptable shopping / book or project bag. By putting two bags together it creates a bag with three compartments and extra handles. Having the three compartments, this is also a great bag for quilting tools, rulers, templets and such.
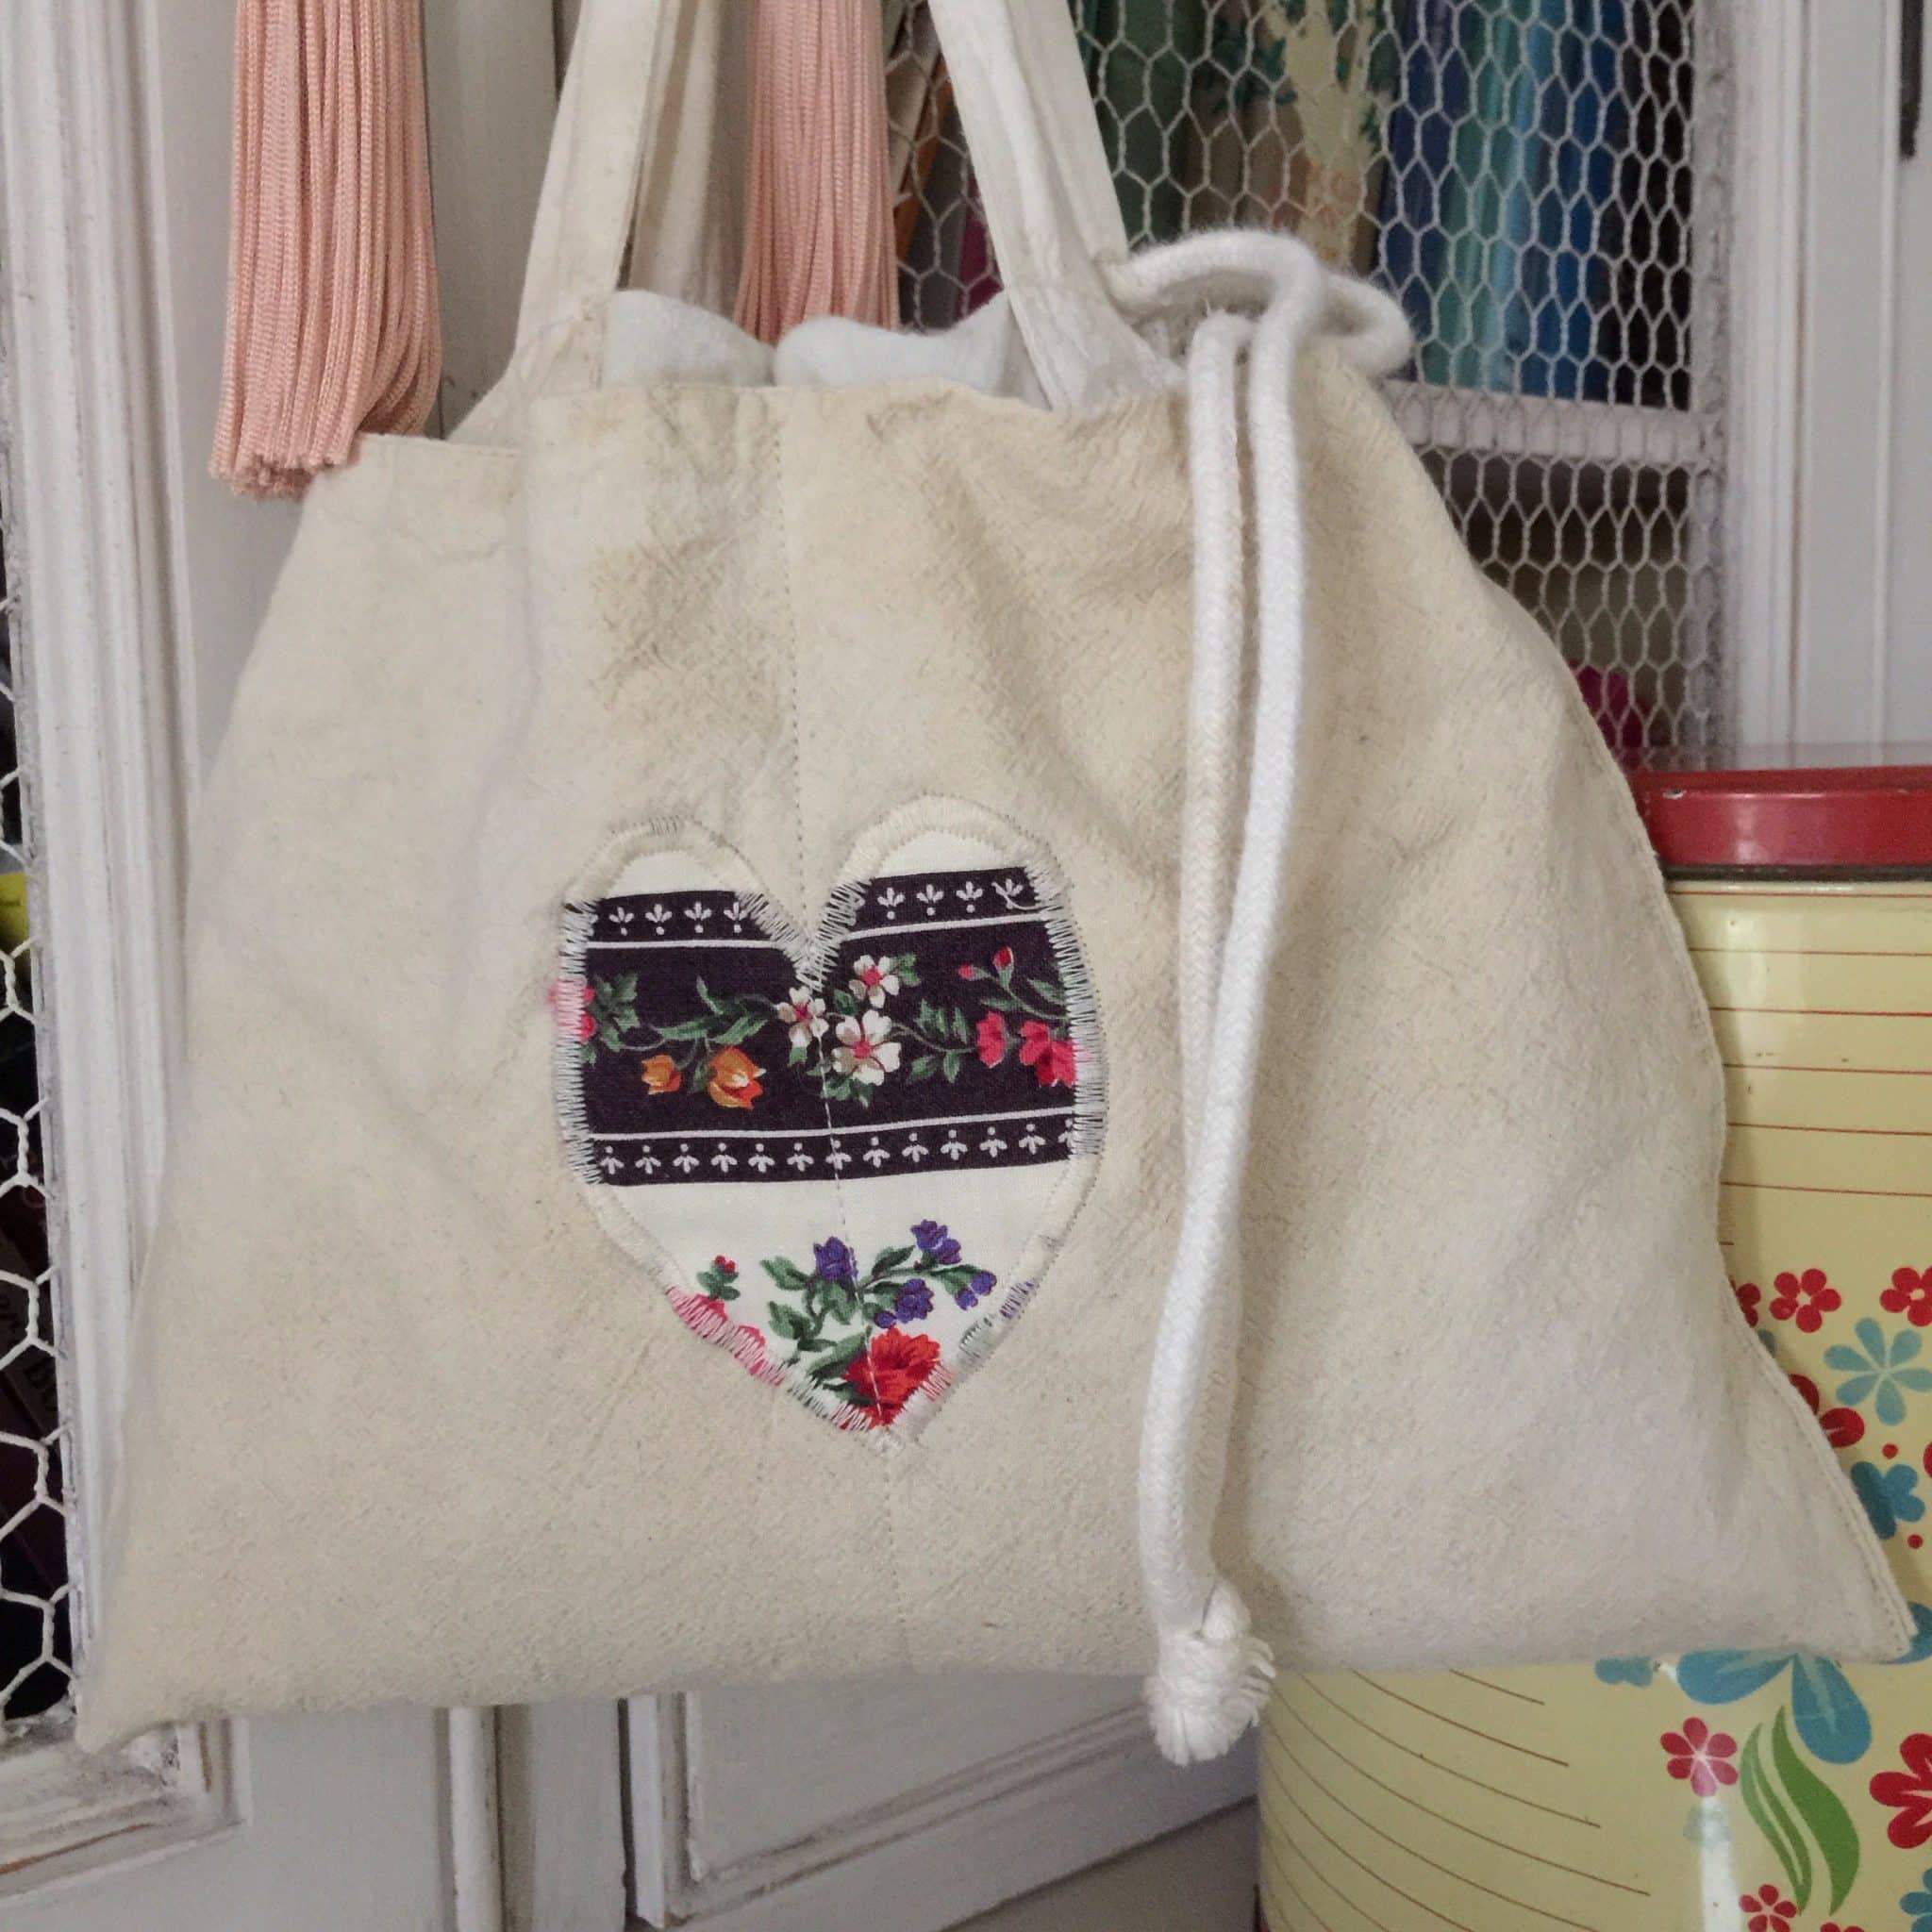
For this bag I have tea dyed the fabric, and added embellishments and altered the shape, by folding the base of the bag up towards the front of the bag, then sewing down both sides and through the centre, to create two exterior pockets and conceal the printed words. This is an excellent bag for toiletries, or sewing projects with the drawstring top and two exterior pockets.
Blackberry Shopping / Book Bag and Tea Dyed Drawstring Bag.
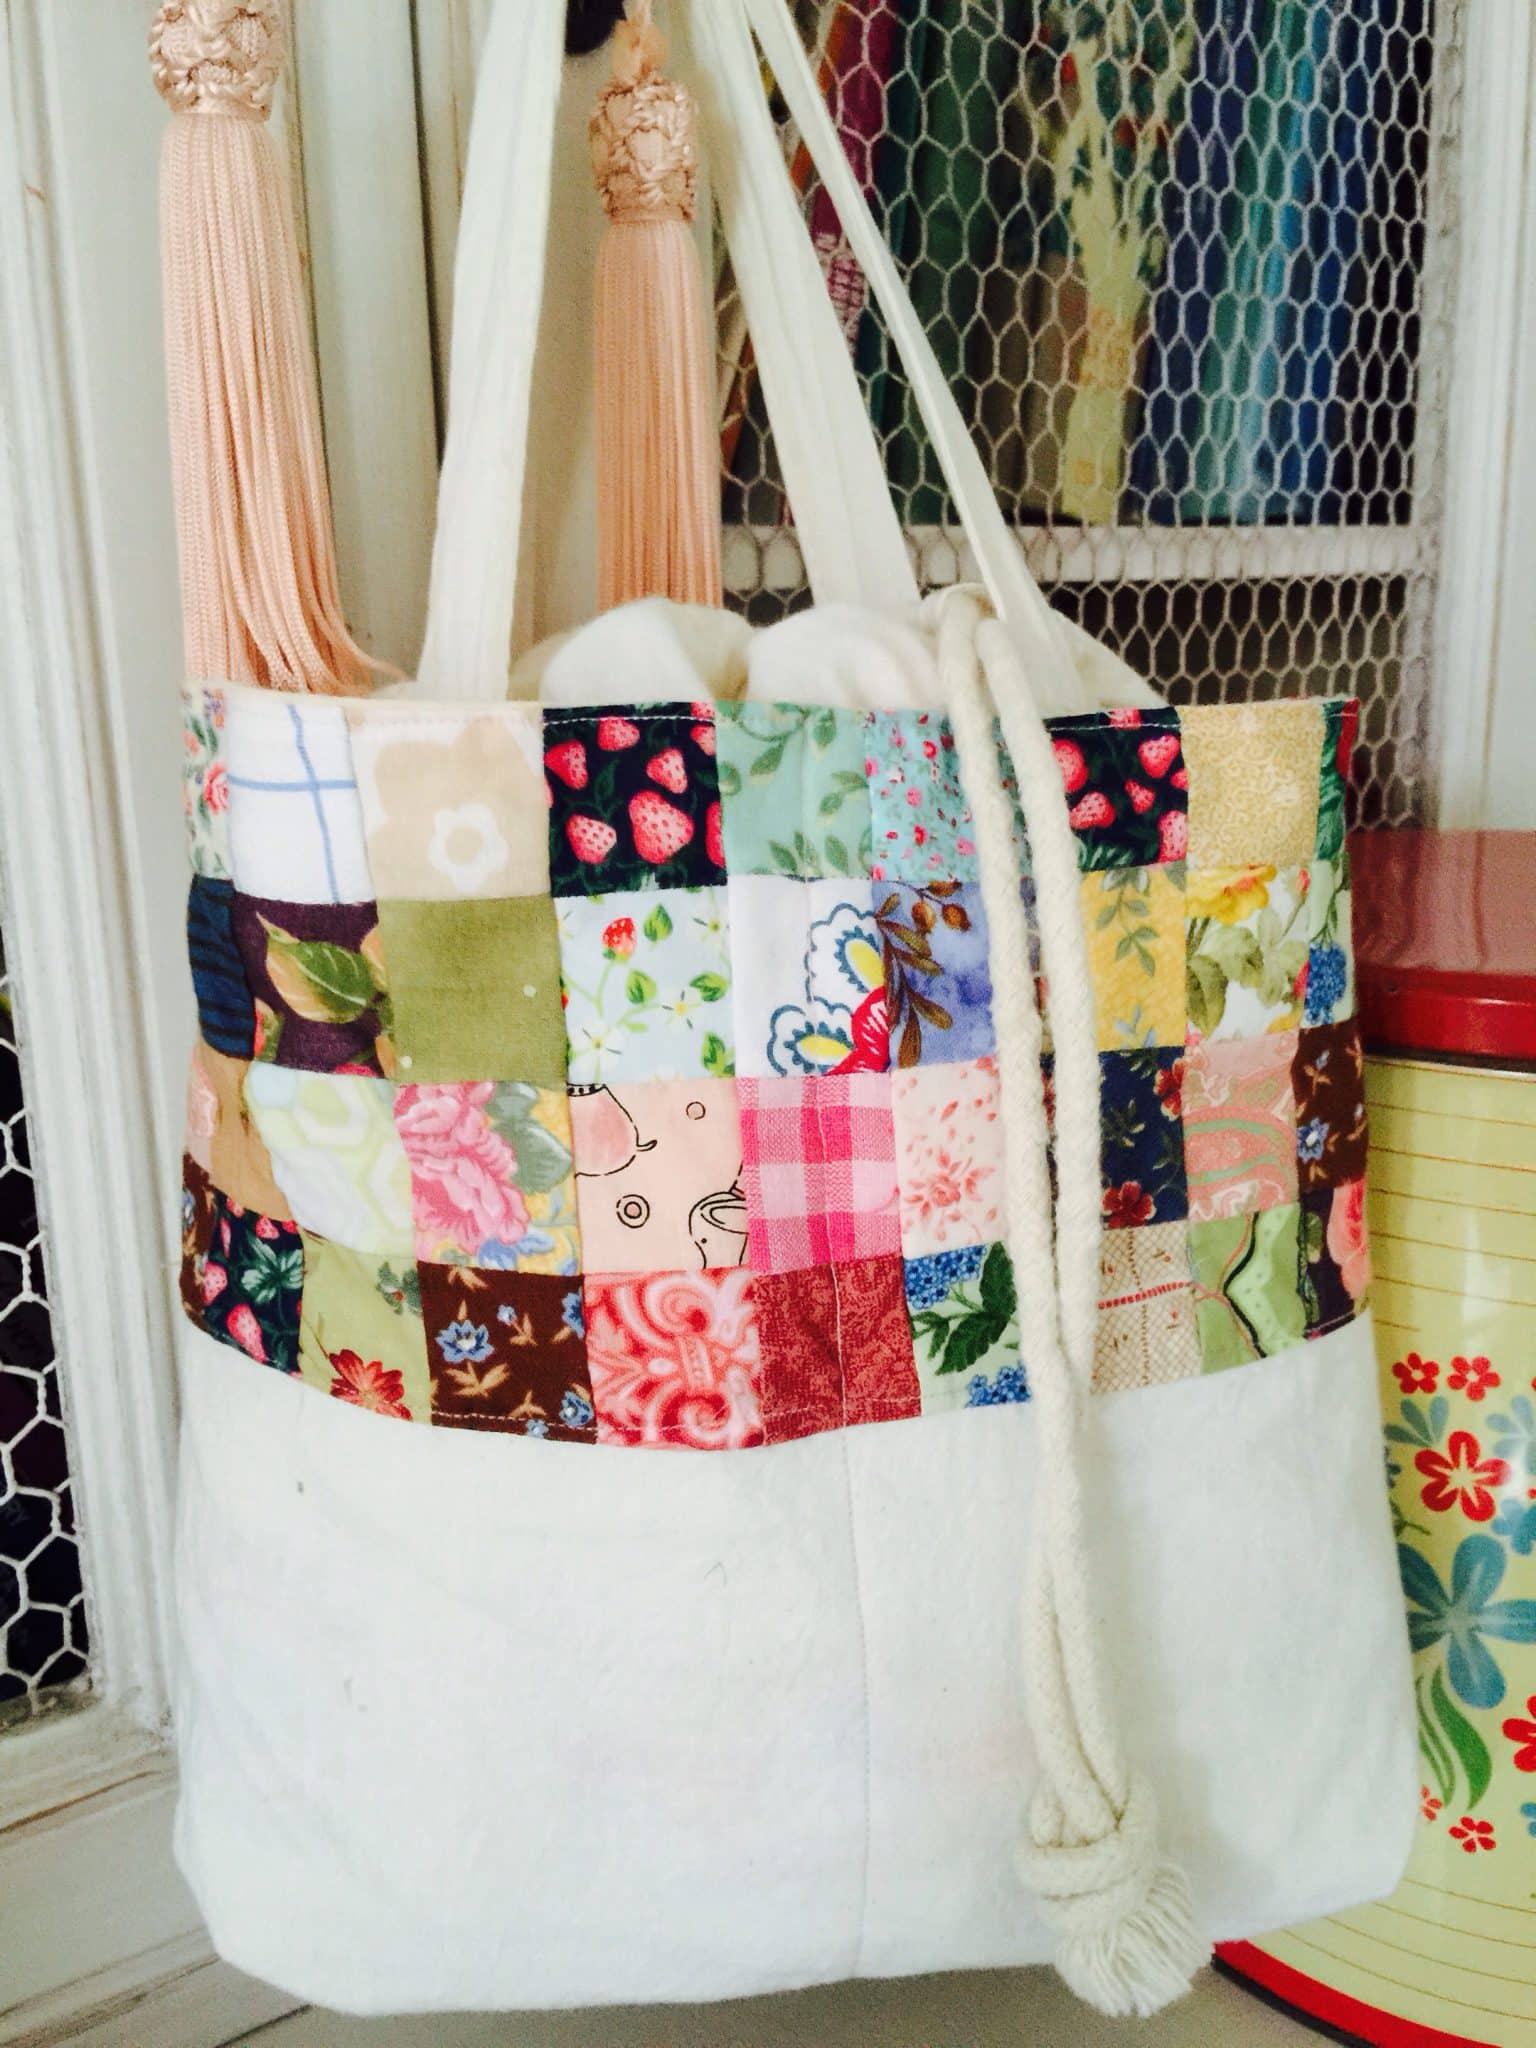
For this bag I added some favorite quilt blocks, to the exterior pockets. These are the postage stamp blocks I like to make.
Squaring up the base, gives a different look and makes another very pretty and useful household bag.
So even if we don’t have Feed-sacks per se, it is still possible to utilize these humble bread flour bags and incorporate them into some really nice projects!

