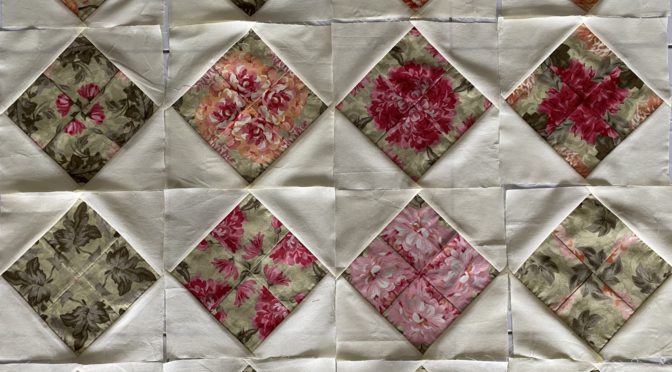
Posies On Point Blocks
Hello Dear Friends and Readers. What defines a scrap? Well…..its a leftover, something that you could throw out, discard, or seem to have no meaningful use for. In fabric terms, this could be a remnant, it could be crumbs, it could be backing strips, it could be left over triangles. For quilters it could also be a larger print fabric that you have in your stash, but you do not really have a place to use it.
Larger prints are something which catch our eye. It’s easy to fall in love with some of these bigger prints but then find ourselves wondering how to use them in a quilt. There can be a real reluctance to cut them up. On the other hand, maybe you bought it once, but now….mmm… maybe the gloss has gone and you don’t feel as keen on it. Another example is a piece of a larger print which feels like its not really big enough to do anything with.
So what can we do? Well, I’m going to show you how I made these Posies On Point Blocks!
I’m sure you are all aware of the kelidescope quilts that are around. They are made in hexagon shapes or saw shapes of many triangles. They all have the same principle, which is essentially to cut the same piece of fabric a number of times, to make a unique pattern. Actually. if you think of fussy cutting, which probably has been around for as long as we have had quilts, thats what it is. Some of these blocks are quite complex. Here is a nice example.
One of the contemporary popular easy construction methods was called “Stack and Whack” and Four Patch Posies. I’m sorry to say I do not know who originally coined these ideas. I’m interested in using up scraps. So this is what I came up with. It actually doesn’t need to be that complicated and we can easily make a beautiful lap quilt, with some leftovers and an easy version of making repeating patterns in a block. A piece of fabric with a large repeat of at least 16” is what is required.
Block size 9 1/2” x 9 1/2”
All seams based on 1/4”
Amounts are applicable to making 16 -20 blocks (make more or less if preferred)
Requirements for Posies On Point Blocks
Approximately 1 to 1 1/2 yards / metres of light solid background fabric ( I used a light lemon homespun)
At least 1 to 1 1/2 yards /metres of a big print fabric. The amount does depend on the fabric.
Measure the repeat distance. Often the pattern is repeated on the width of the fabric as well. NB. Some fabrics will repeat intermittently with the design on each side of the folded width of fabric. Some fabrics will repeat at the same level on each side of the width of fabric. I hope that makes sense. Here is an example. This one has the repeat side by side.
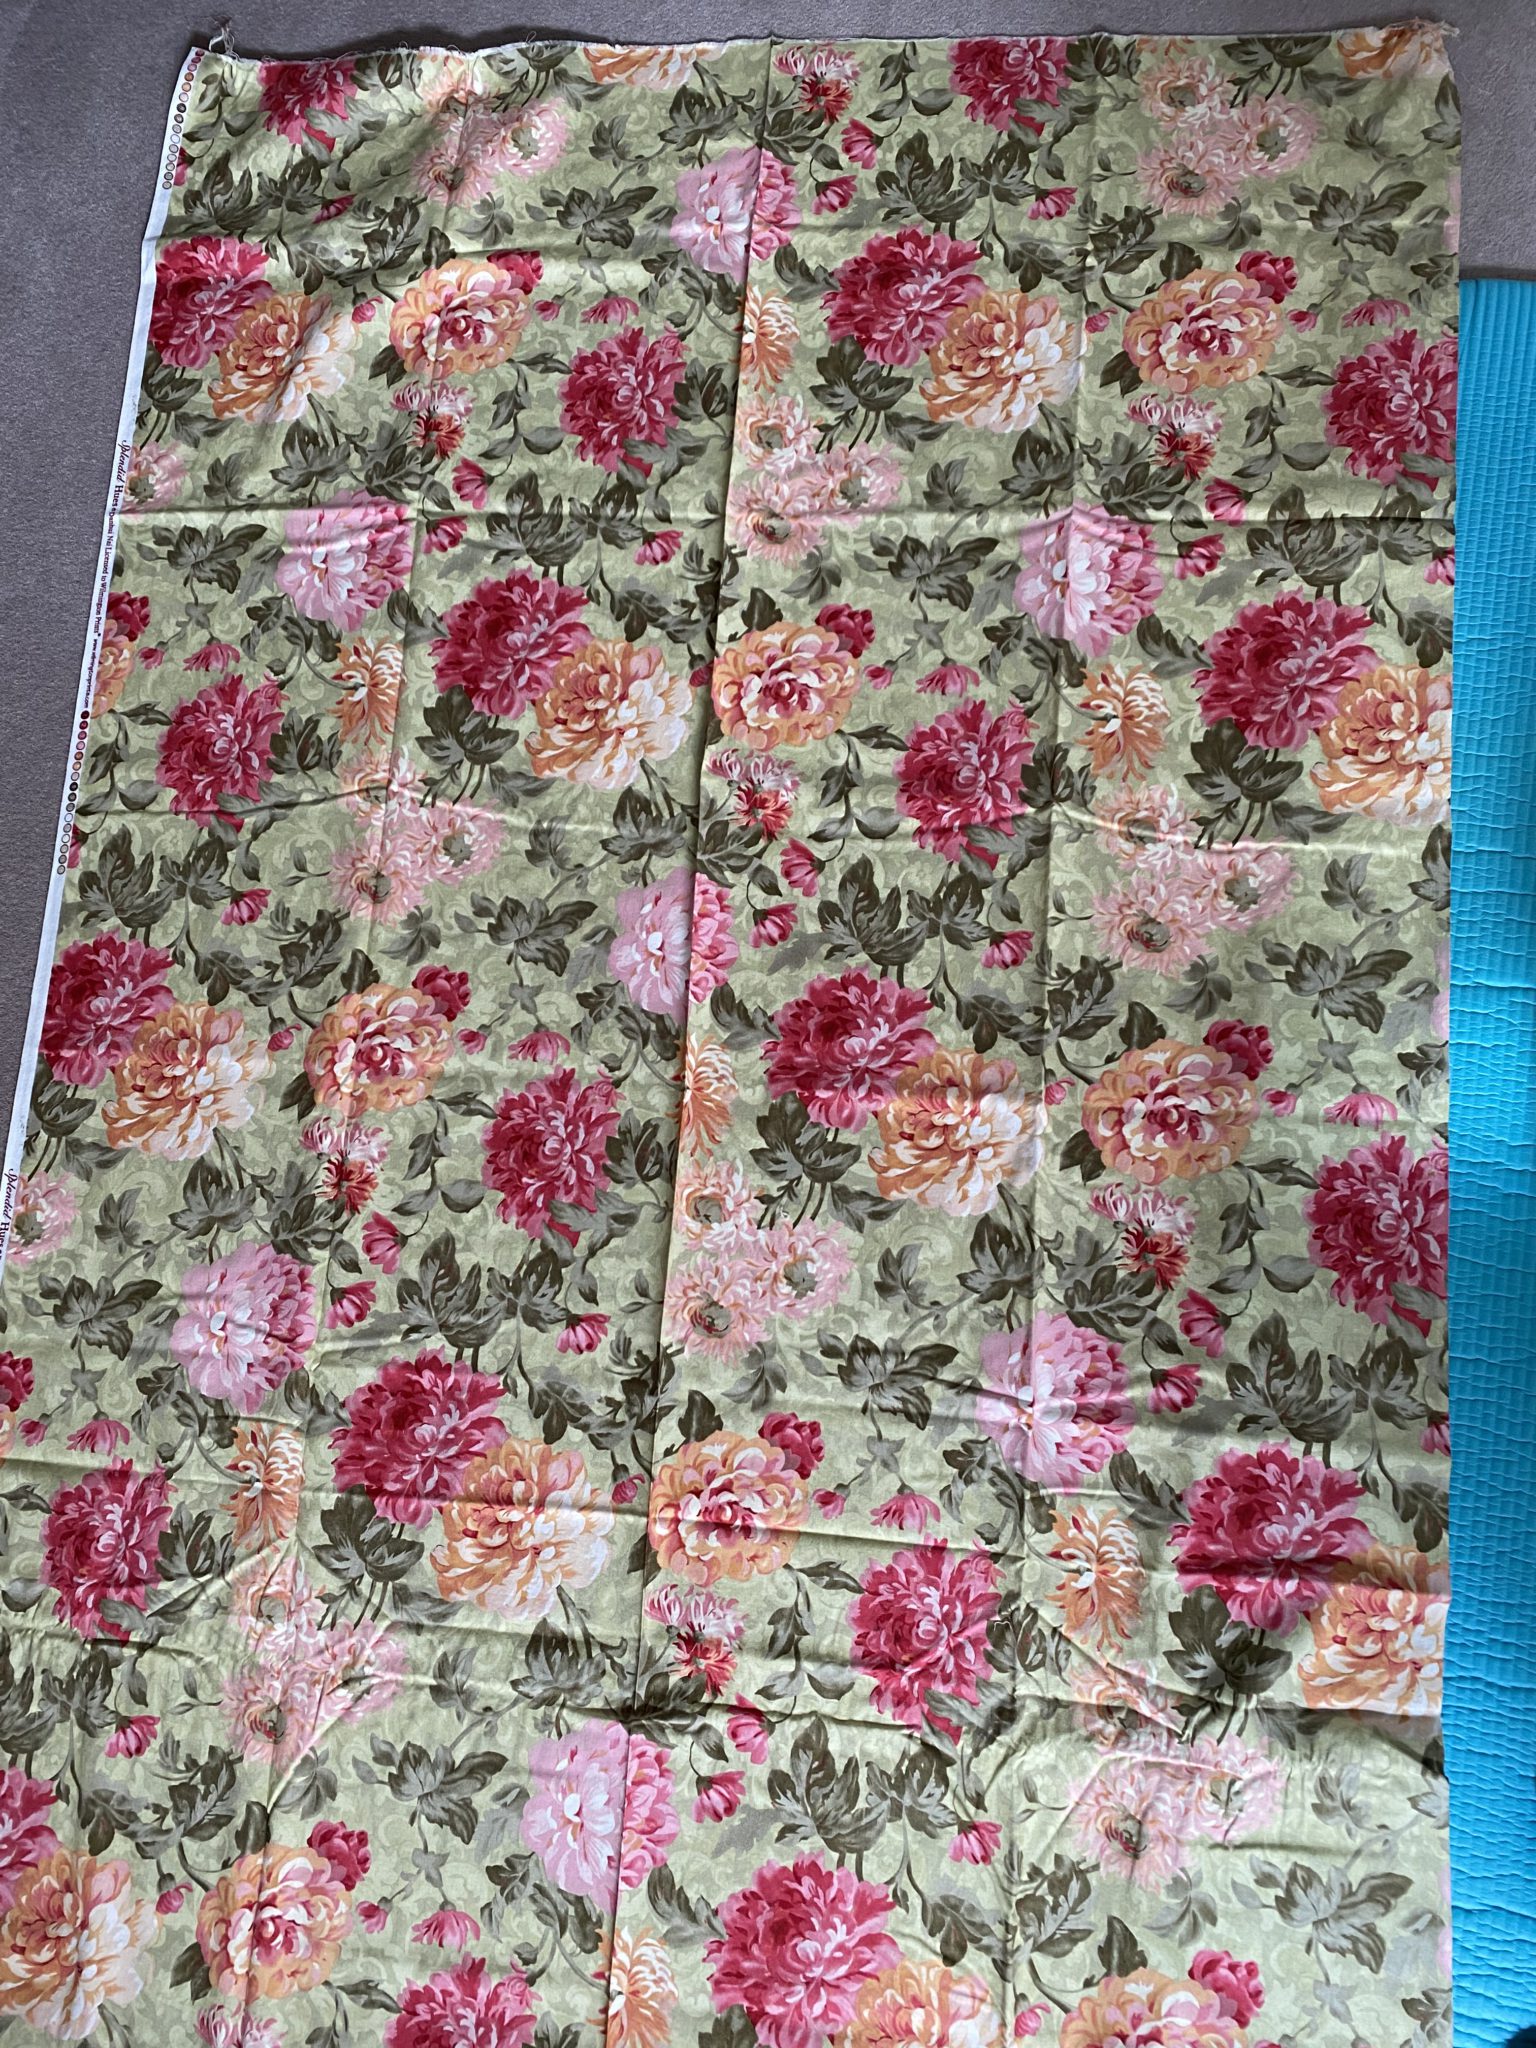
Carefully work out the pattern repeat to make the Posies On Point Blocks. See exactly where the design begins and ends on your fabric. Carefully cut the fabric into four pieces so that when you lay them on top of each other, the design should line up underneath each layer, exactly the same. For example, each flower or design element should be in the same position on each layer. Check each corner to make sure all the design elements line up. Carefully smooth each layer with your hands so it sits flat. You can see below that the pieces of fabric are not the same size but the aim is to line up as exactly as possible all the design elements.
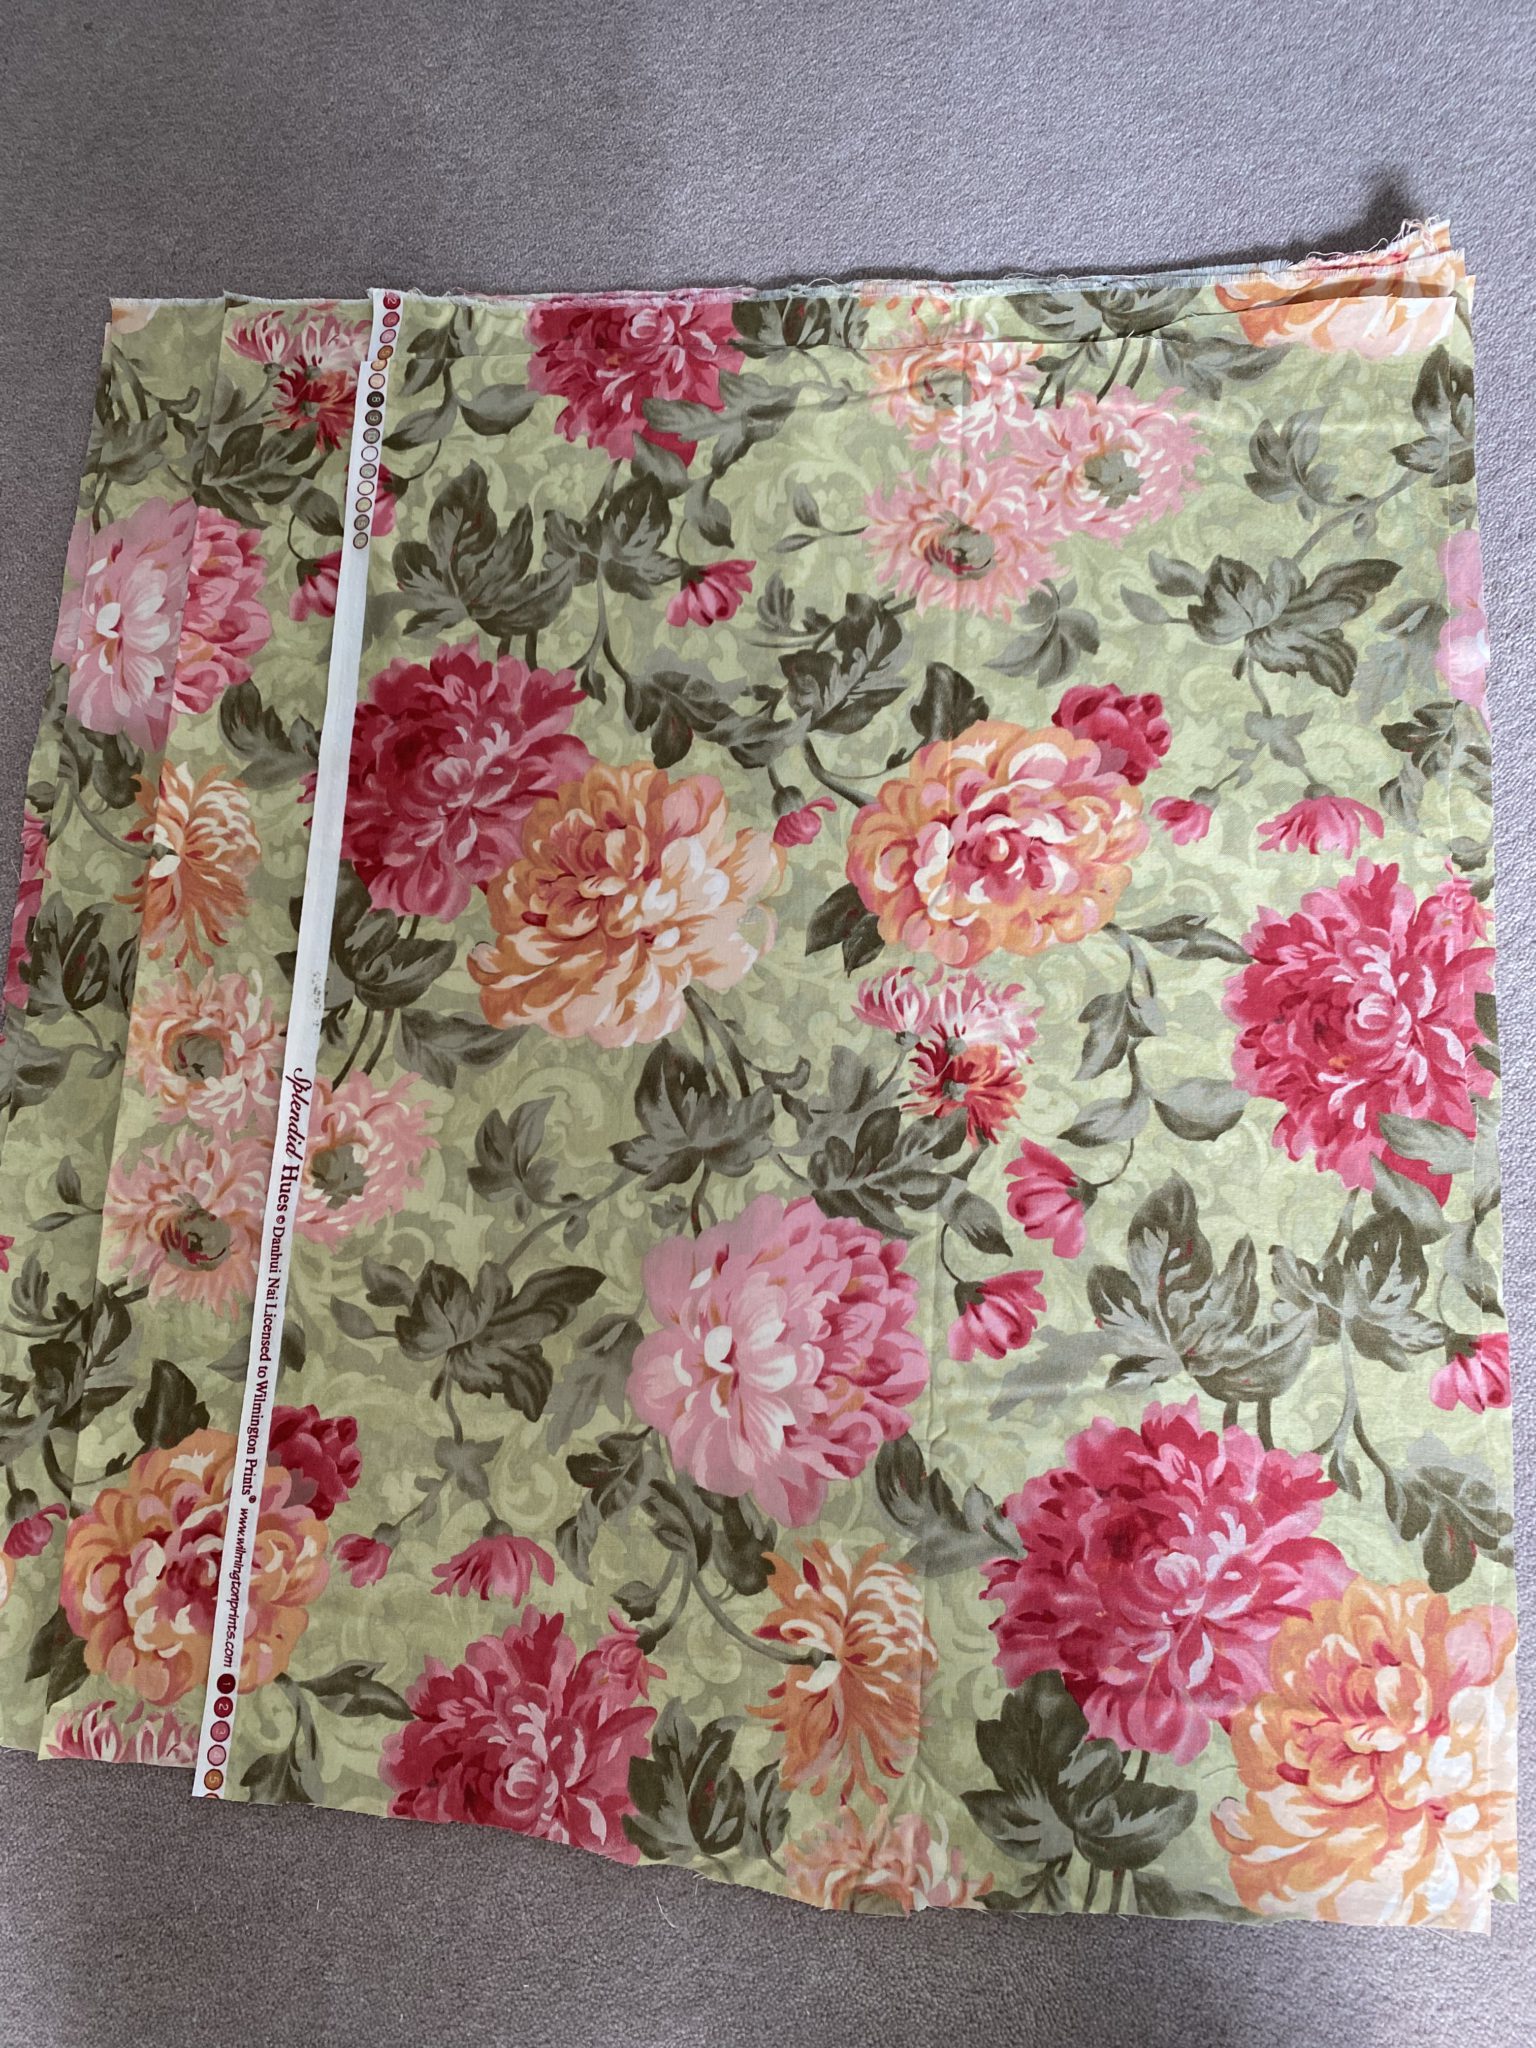
Cutting The Fabric for the Posies On Point Blocks
Once the fabric layers are positioned, carefully rotary cut, 16 -20 sets of 4” x 4” blocks. Be sure to keep each set together. (From this fabric I was able to cut 20 sets)
From the background fabric, cut 32 – 40 of 6” x 6” squares, cut once on each diagonal for the setting triangles. Save the rest of this background fabric for Part 2 of Posies On Point.
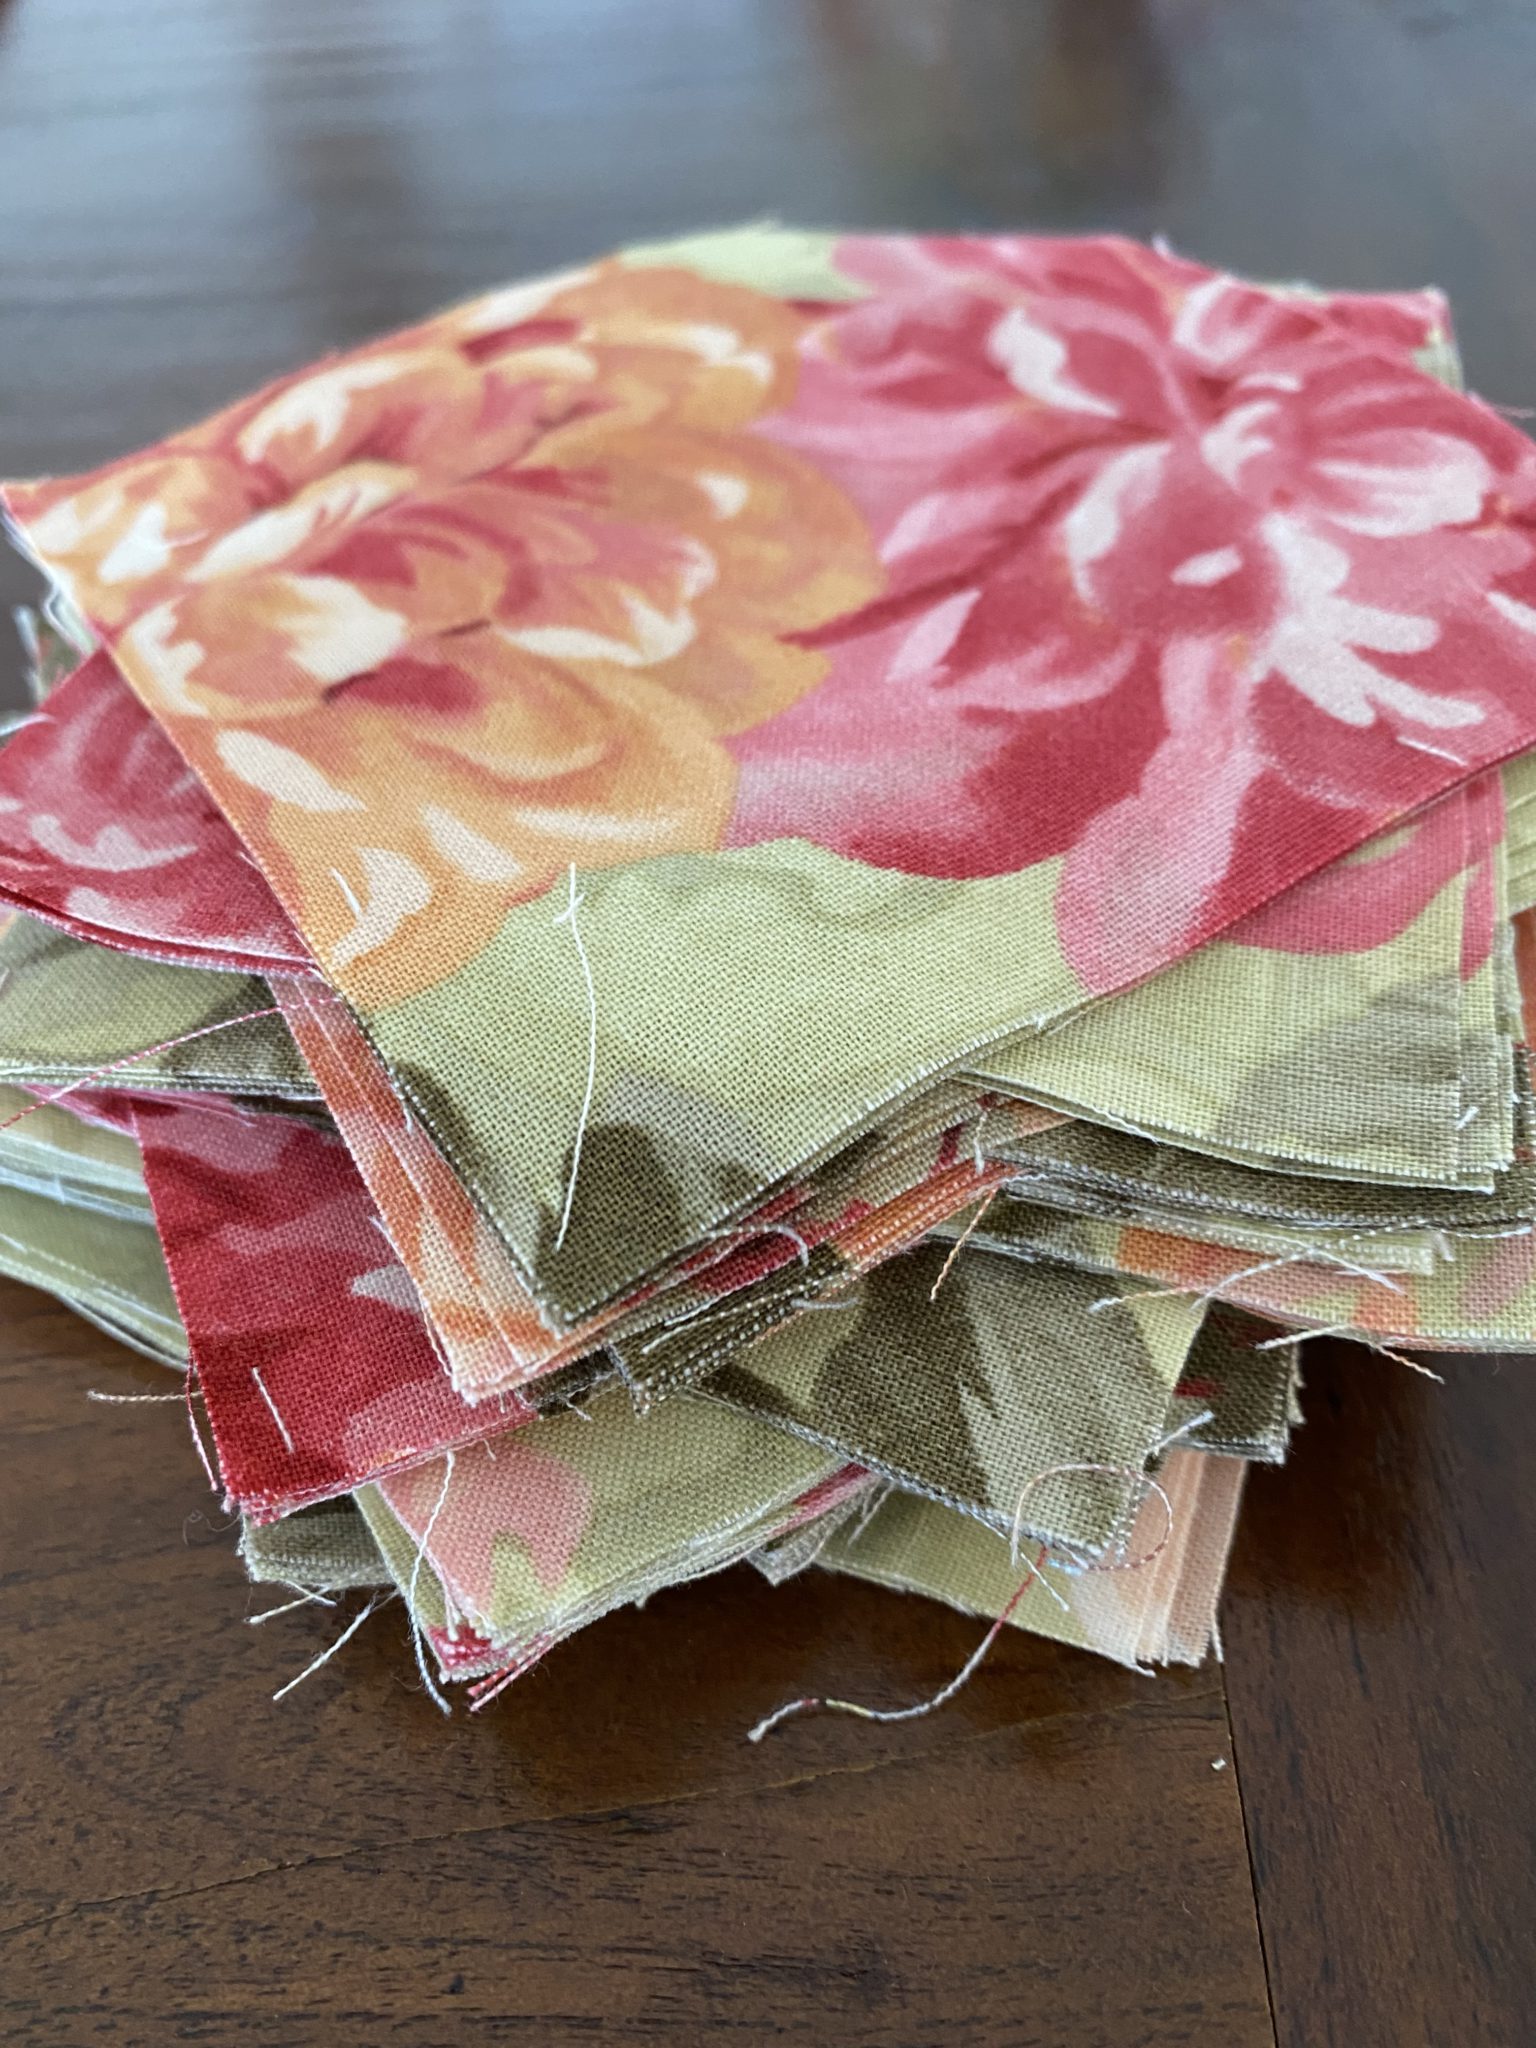
Lay out each set of four squares before sewing together in the most pleasing manner. Make sure that each square from each set is spinning in the same direction to get the kaleidoscope effect.
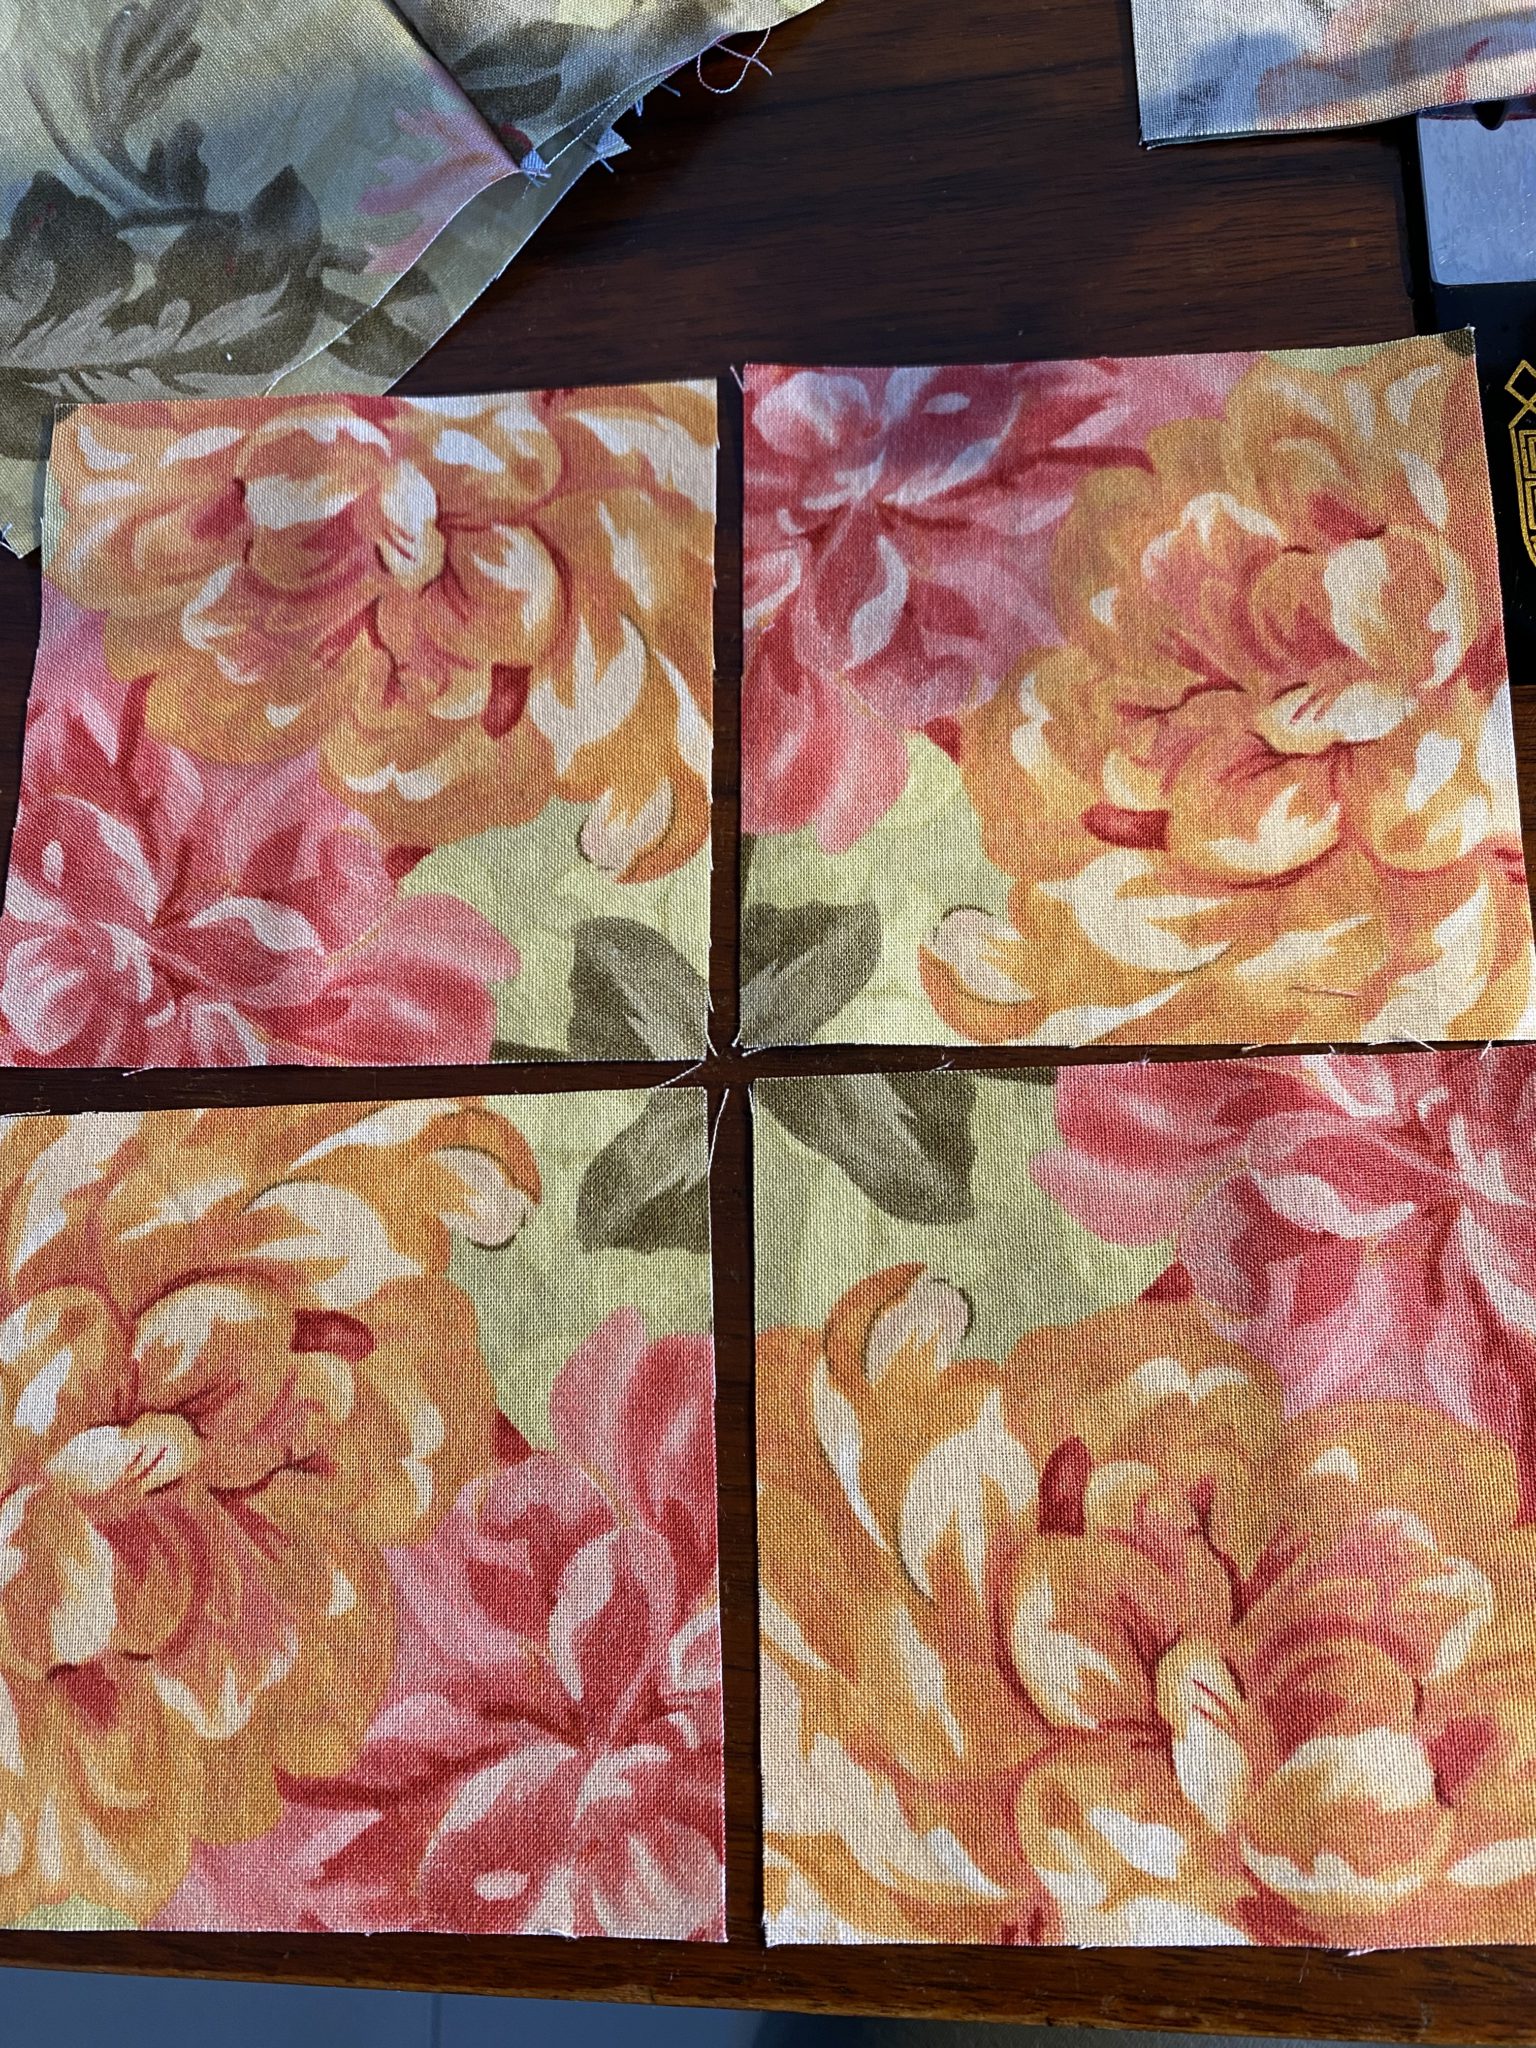
Take your 4” x 4” block sets to the machine. Sew each one together into a four patch ensuring that each of the squares design “spins” in the same direction.
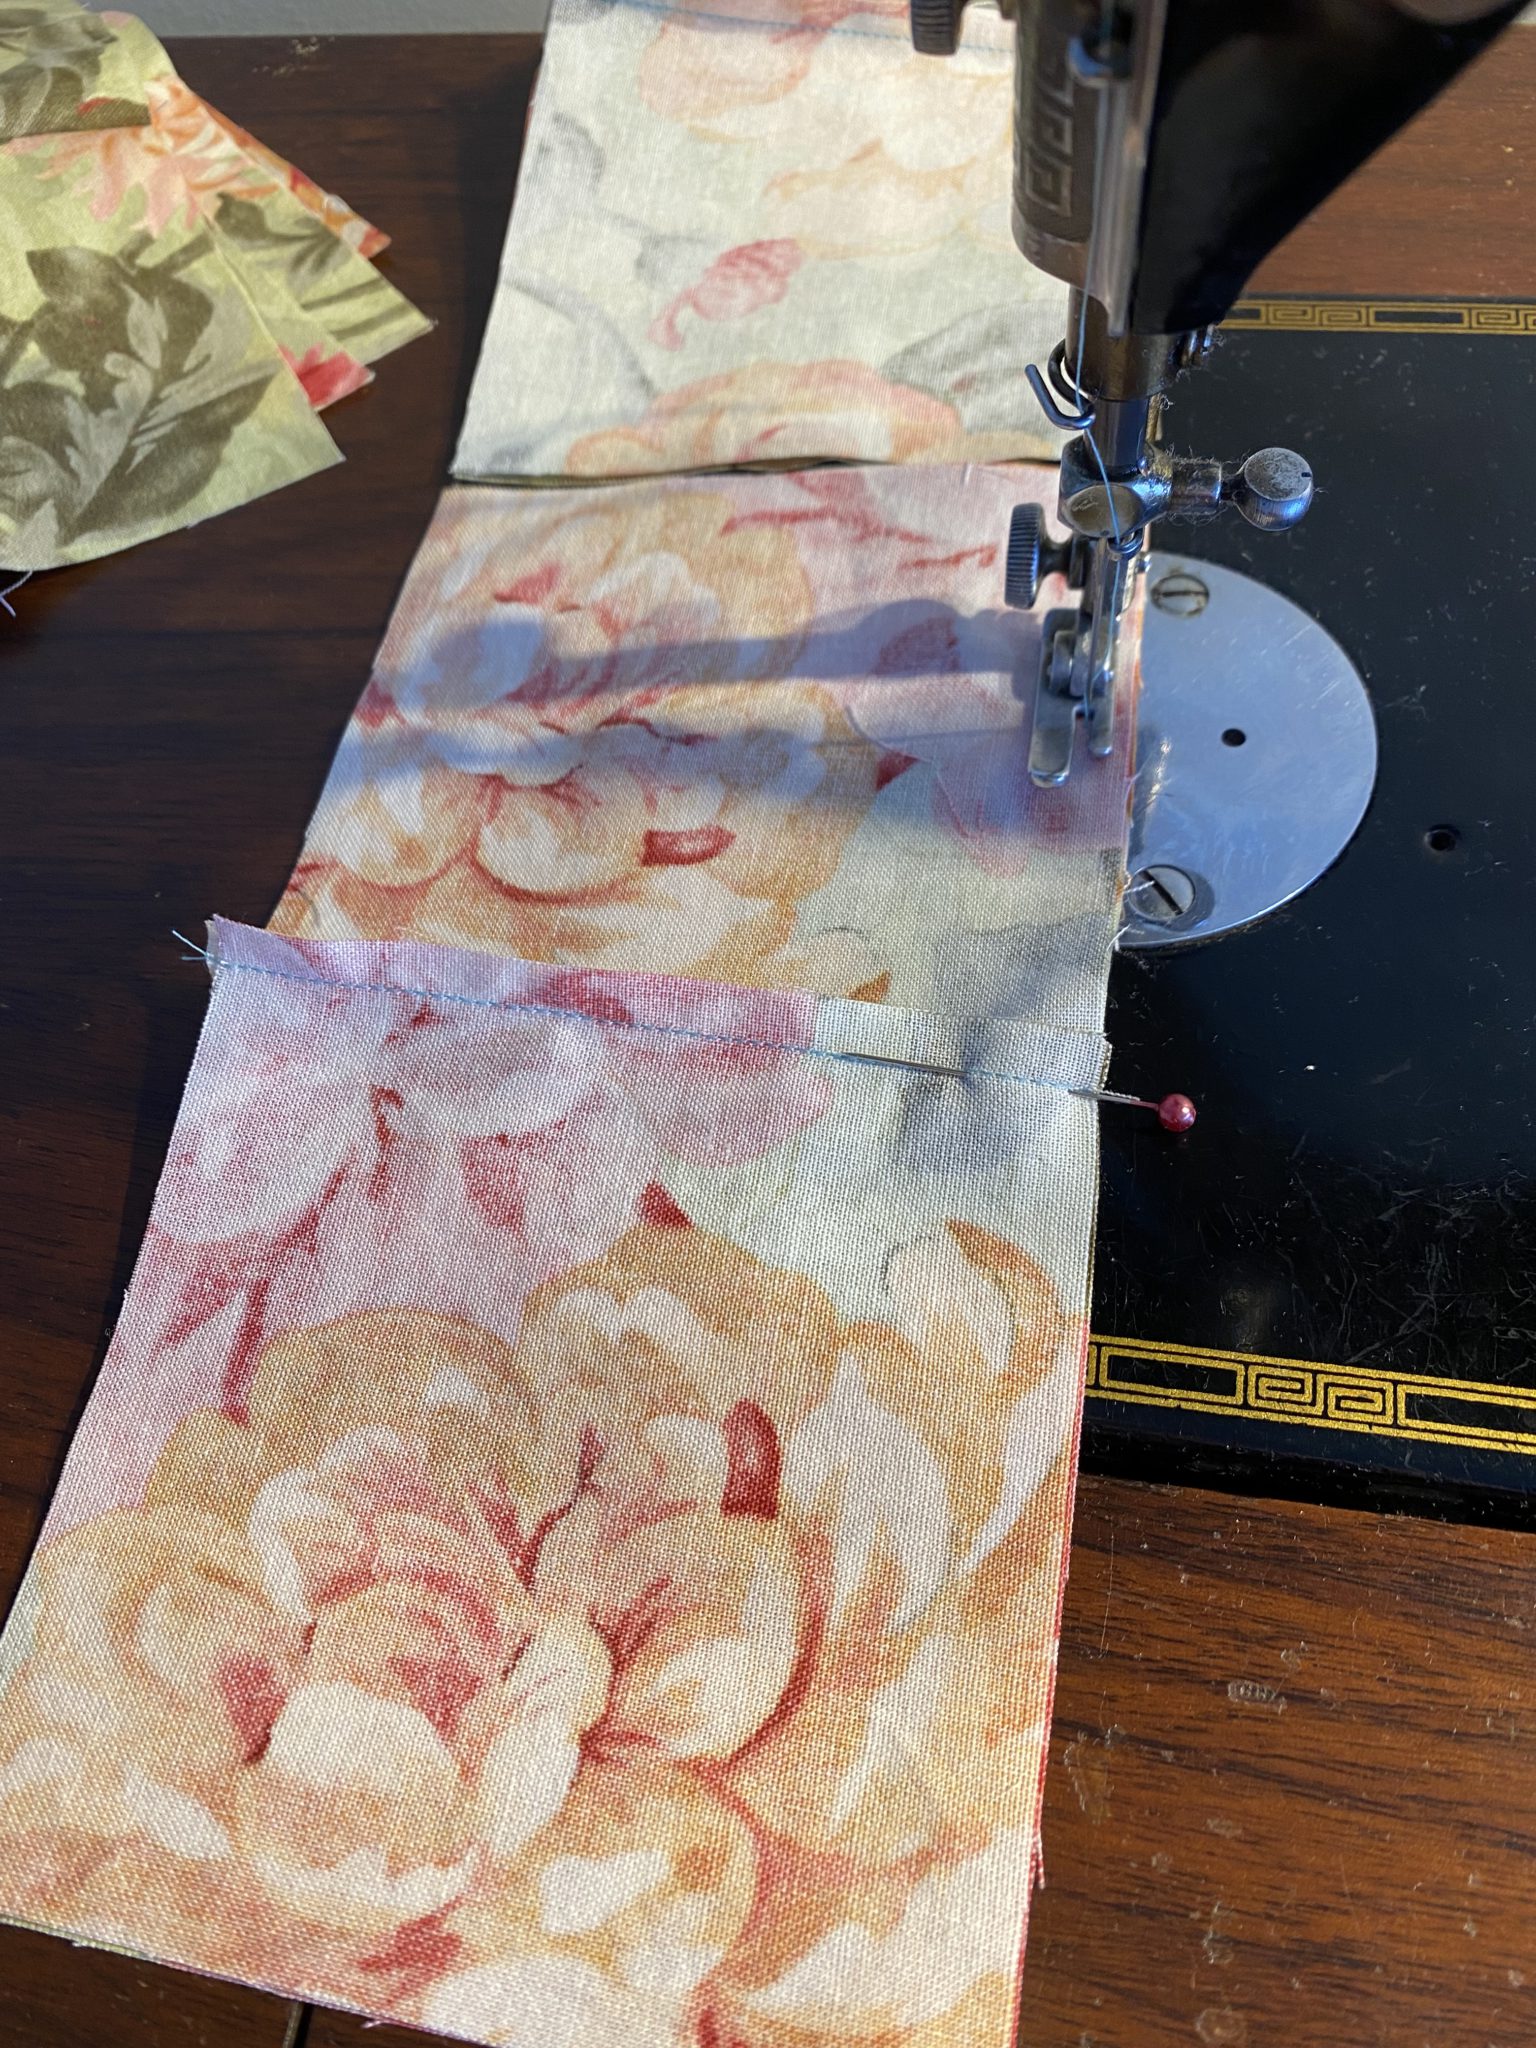
Once you have sewn them together, each of blocks will be unique. Gently press the blocks.
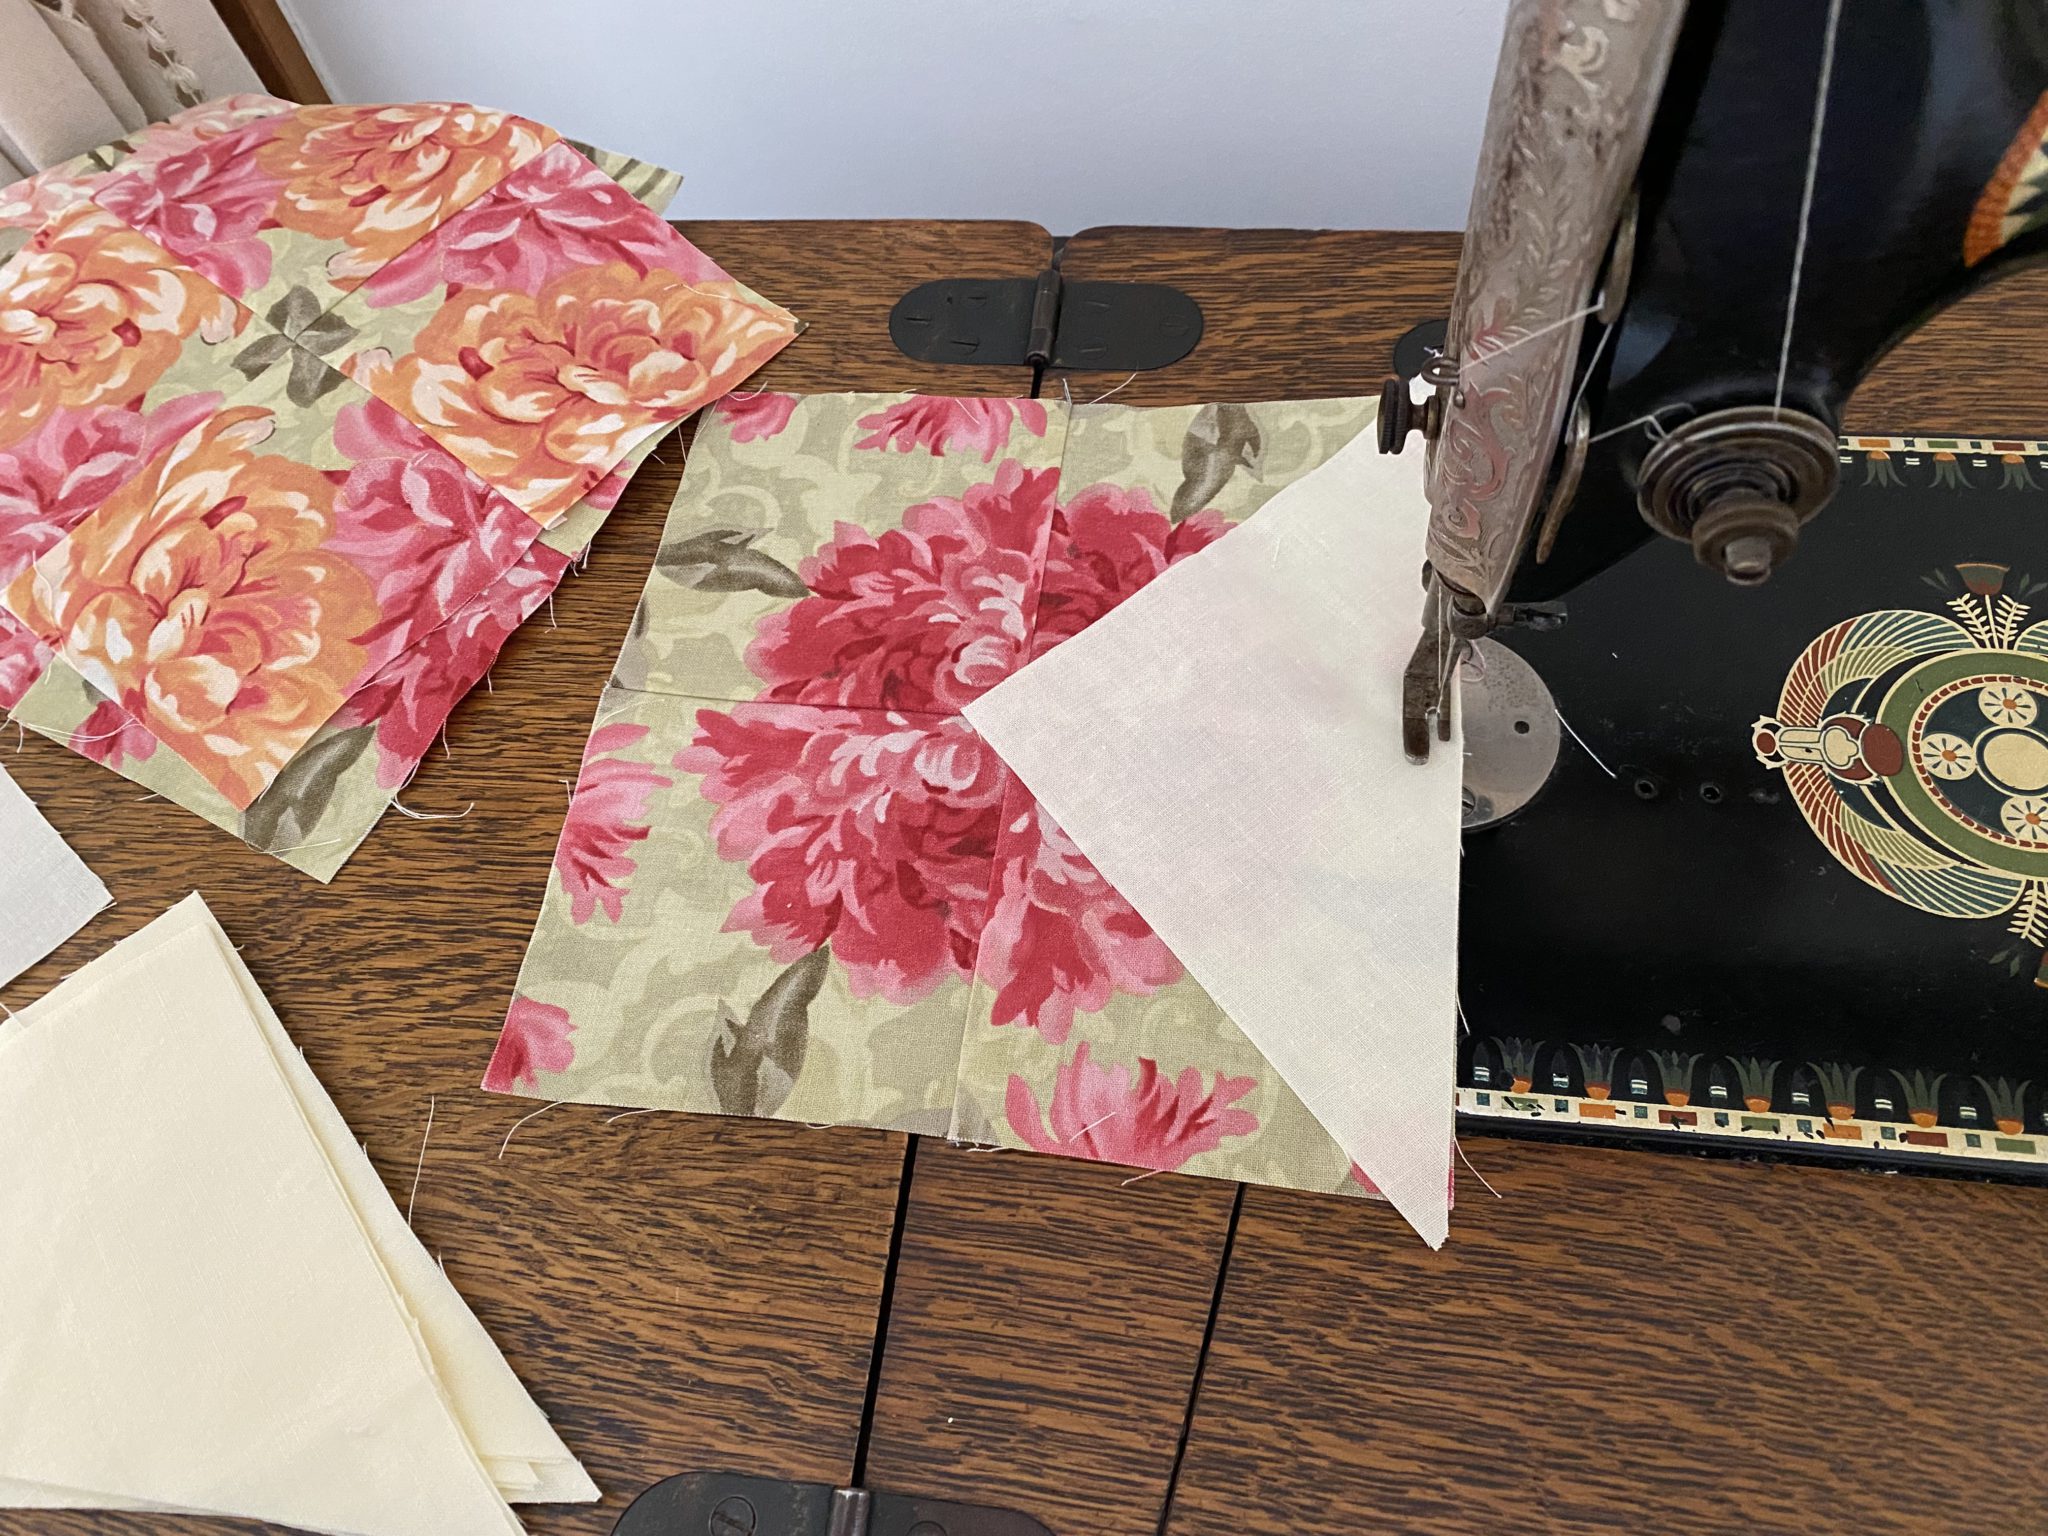
Setting the Posies On Point
Now to put the blocks on point.
Sew the long side (hypotenuse) of a background setting triangle to two opposing sides of each four patch posie block. Do the same for the two other sides.
TIP Line up the point of the background triangle with the centre seam for quick and easy piecing.
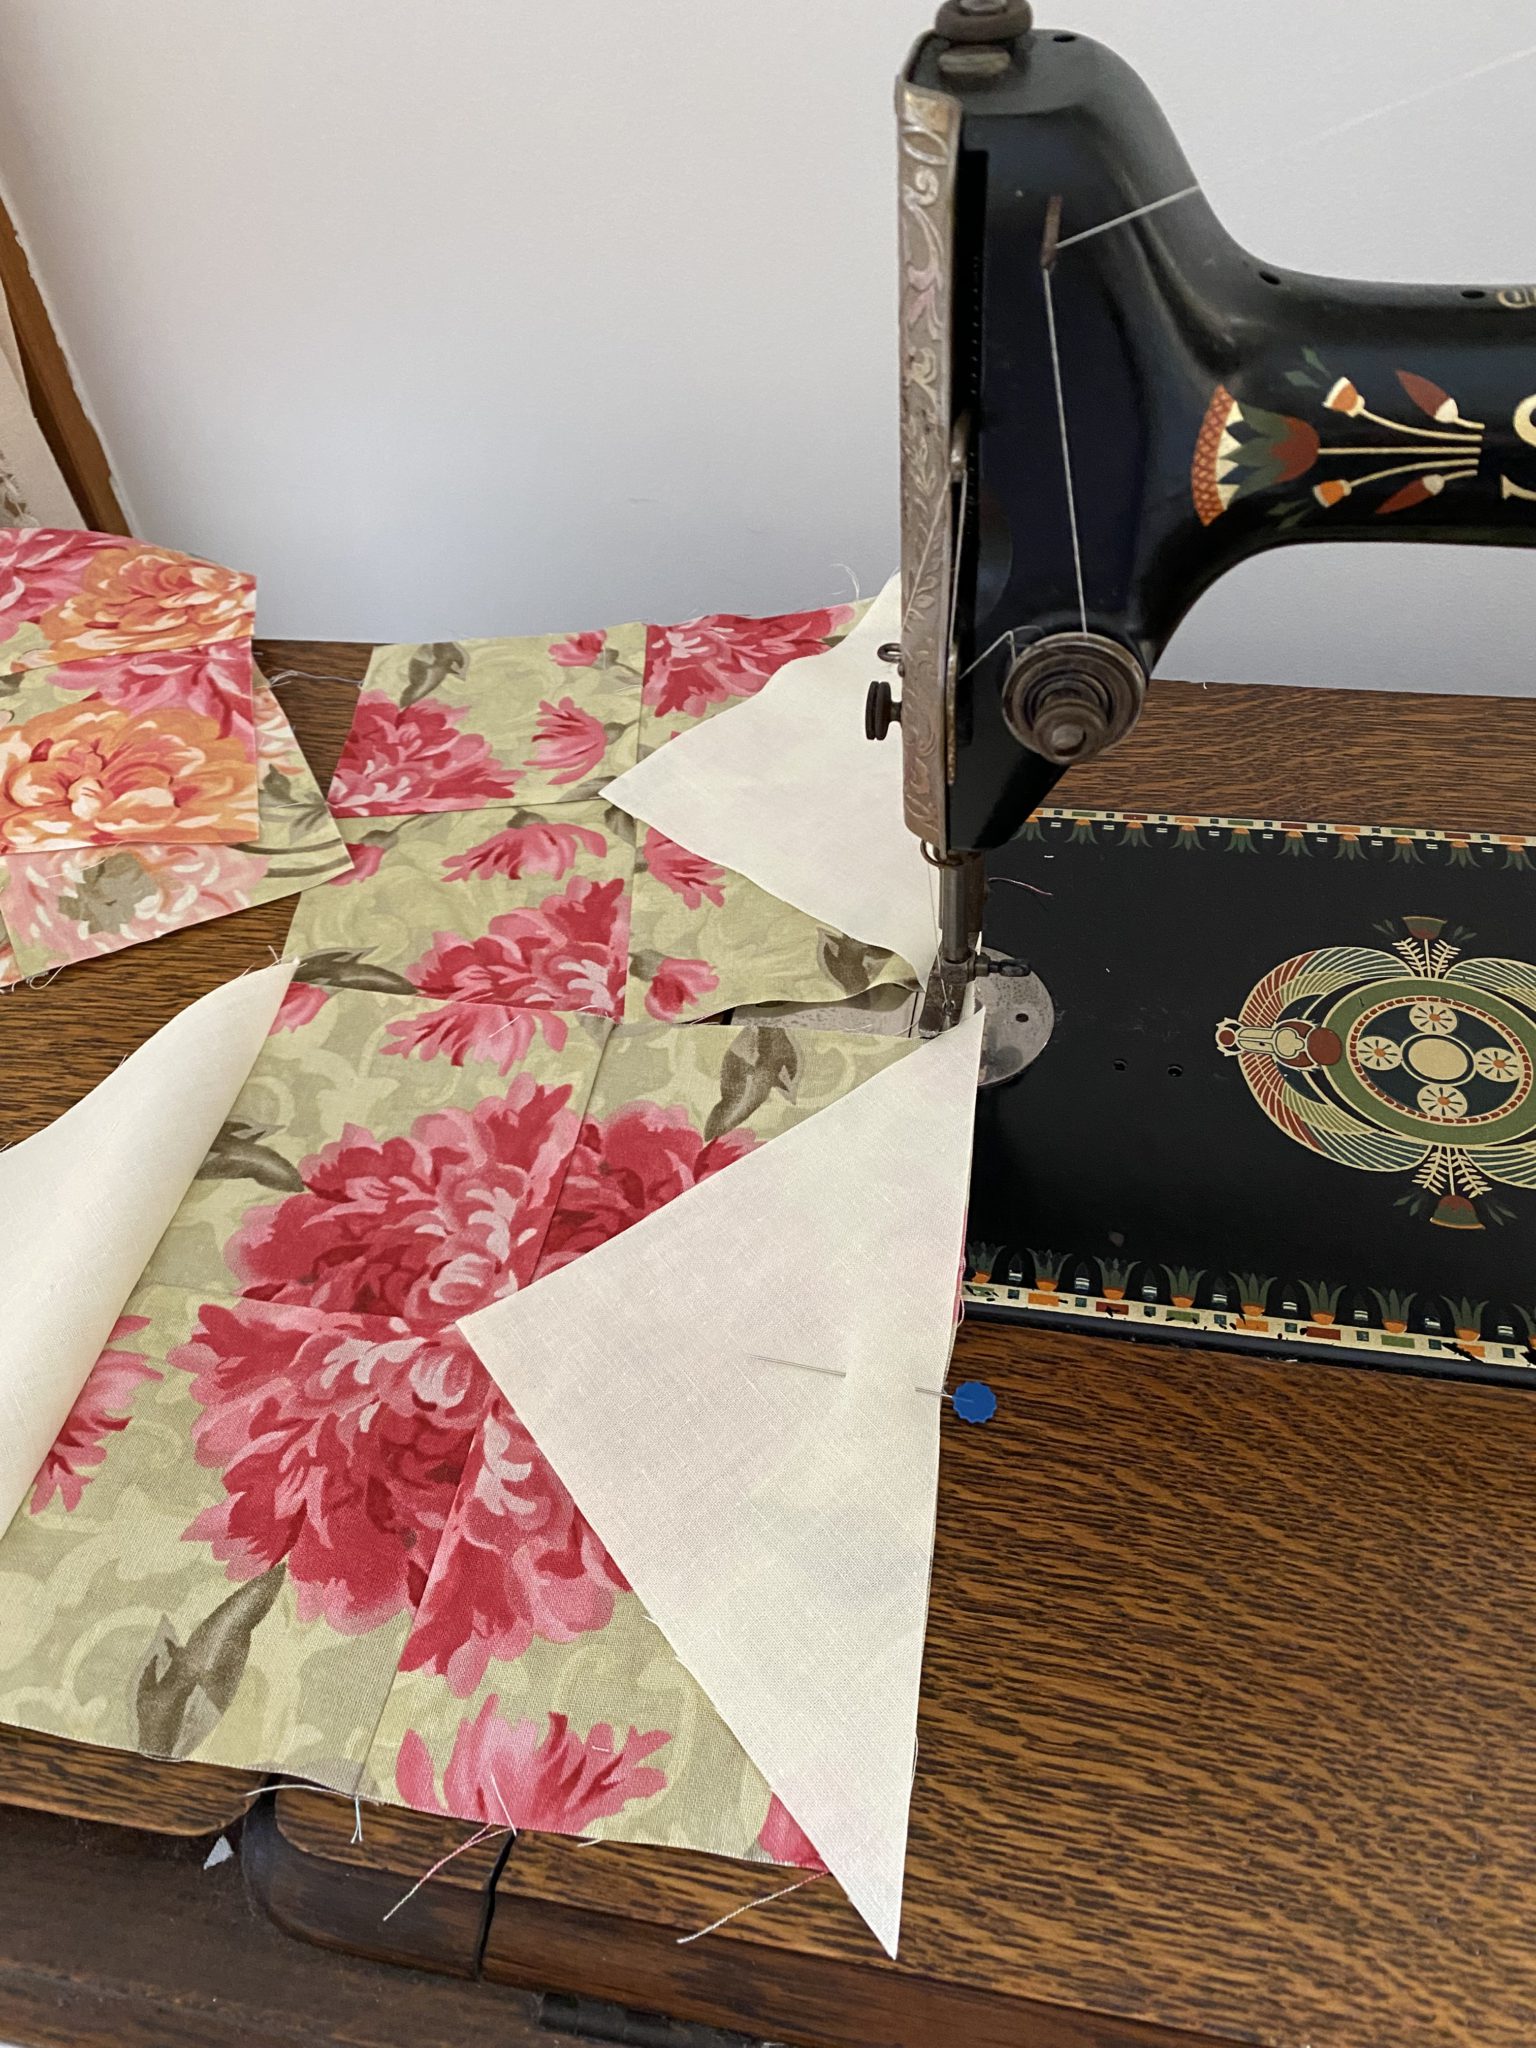
Here is the result.
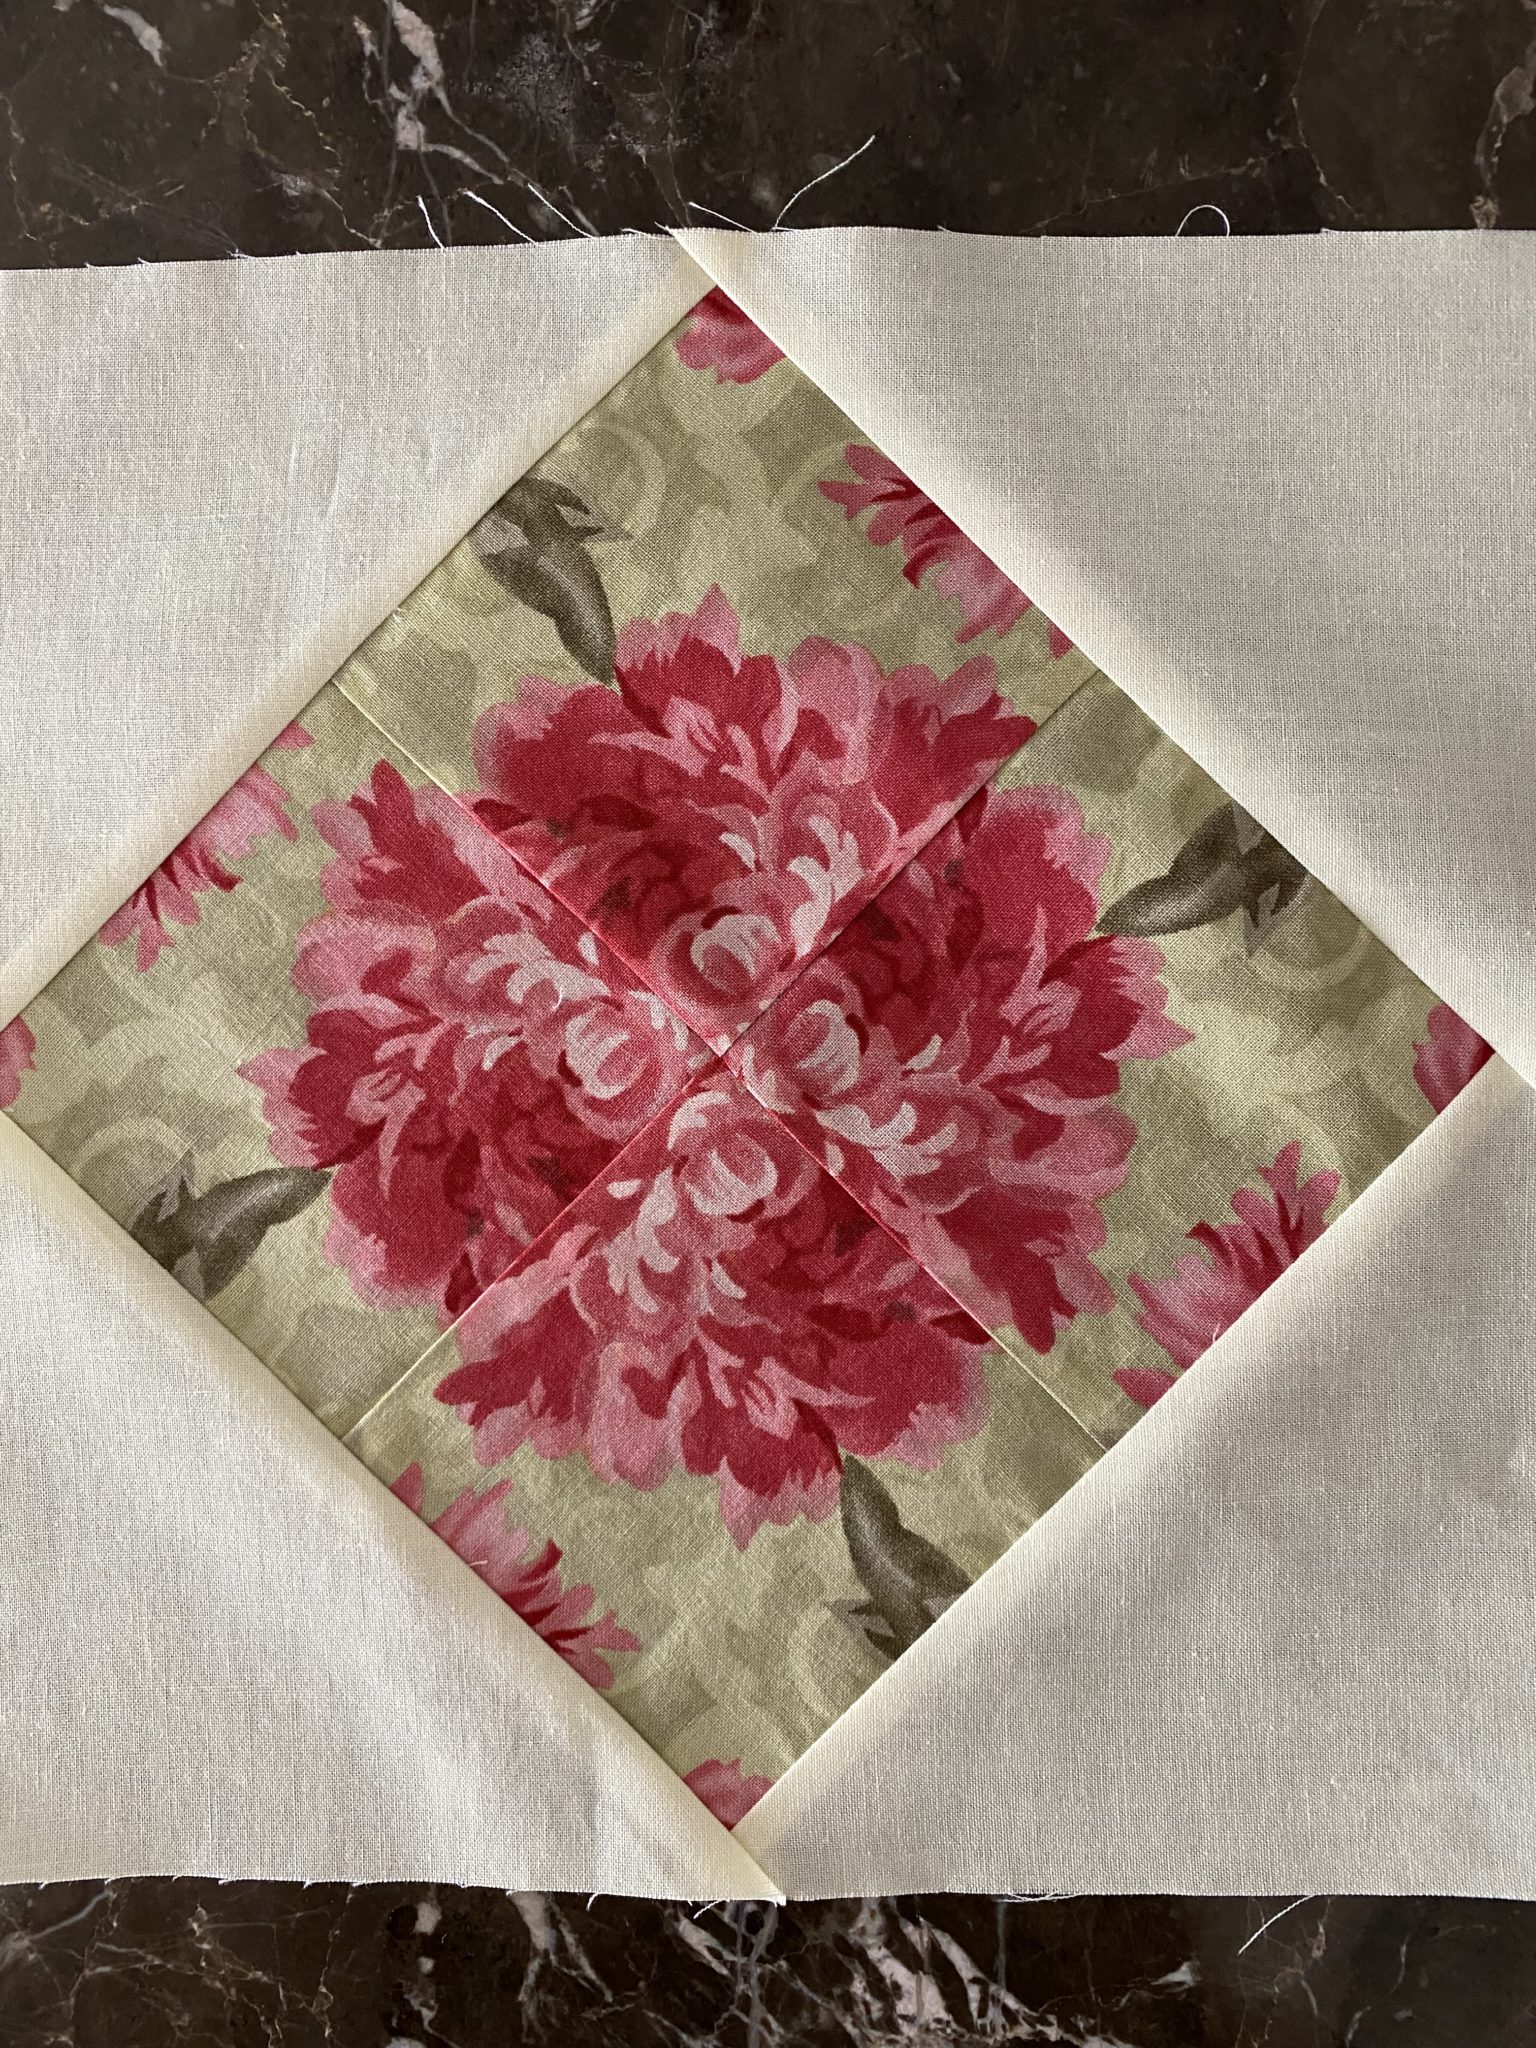
Repeat for the other 15 (or as many as you like) blocks. As you can see each block is very individual.
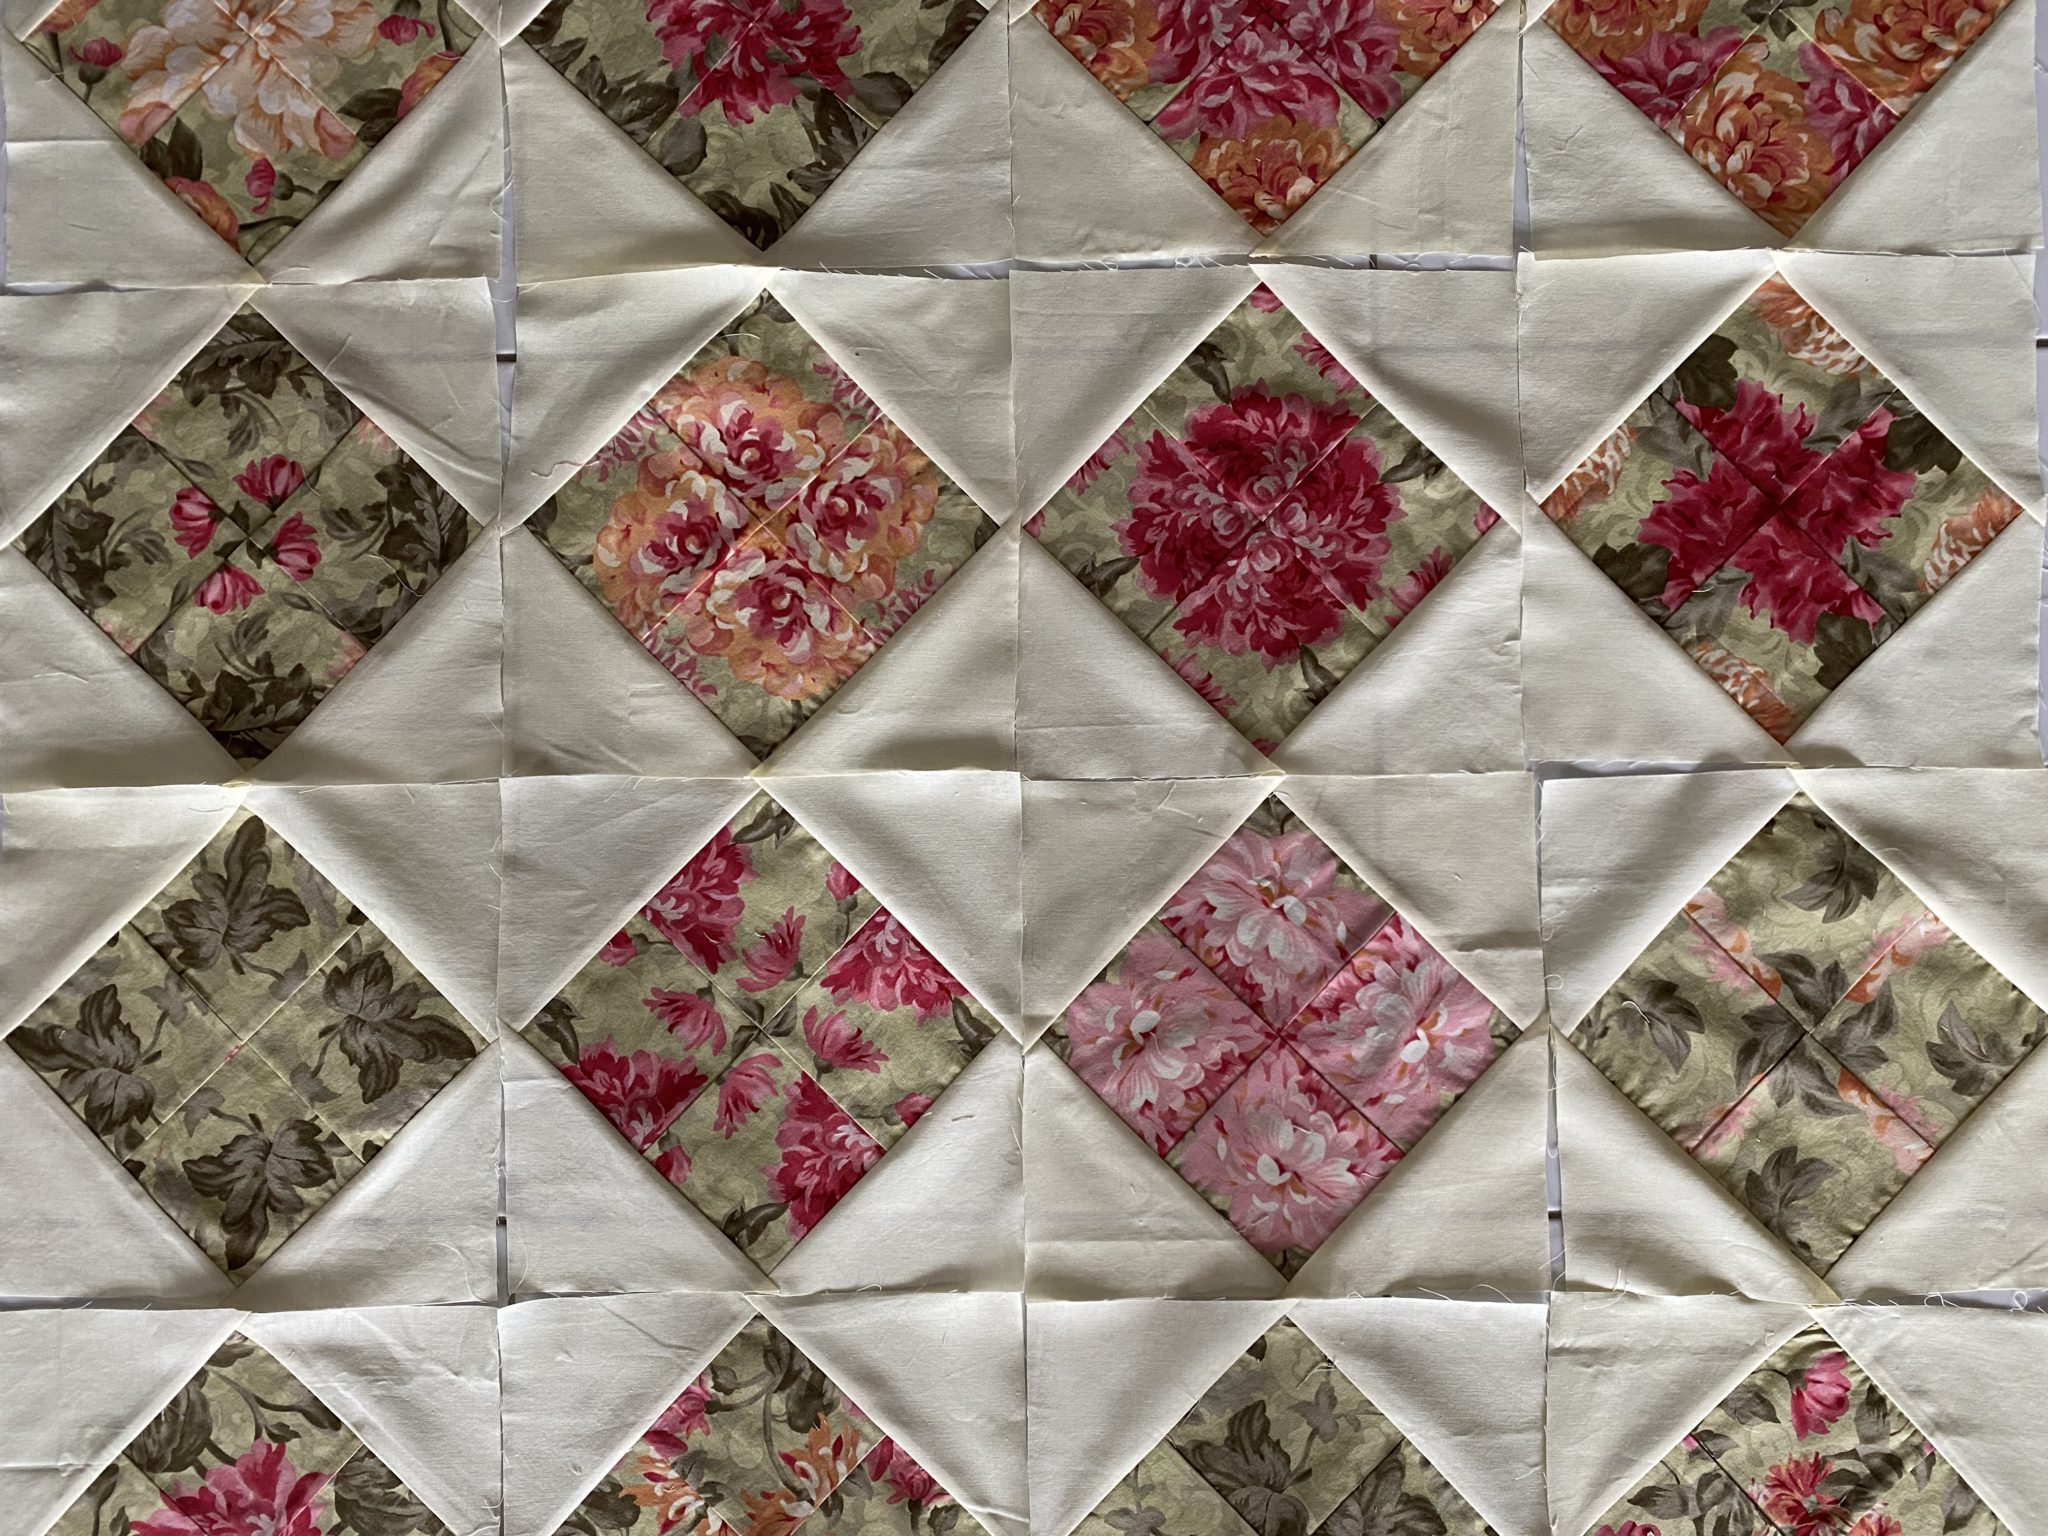
Here is how they turned out.
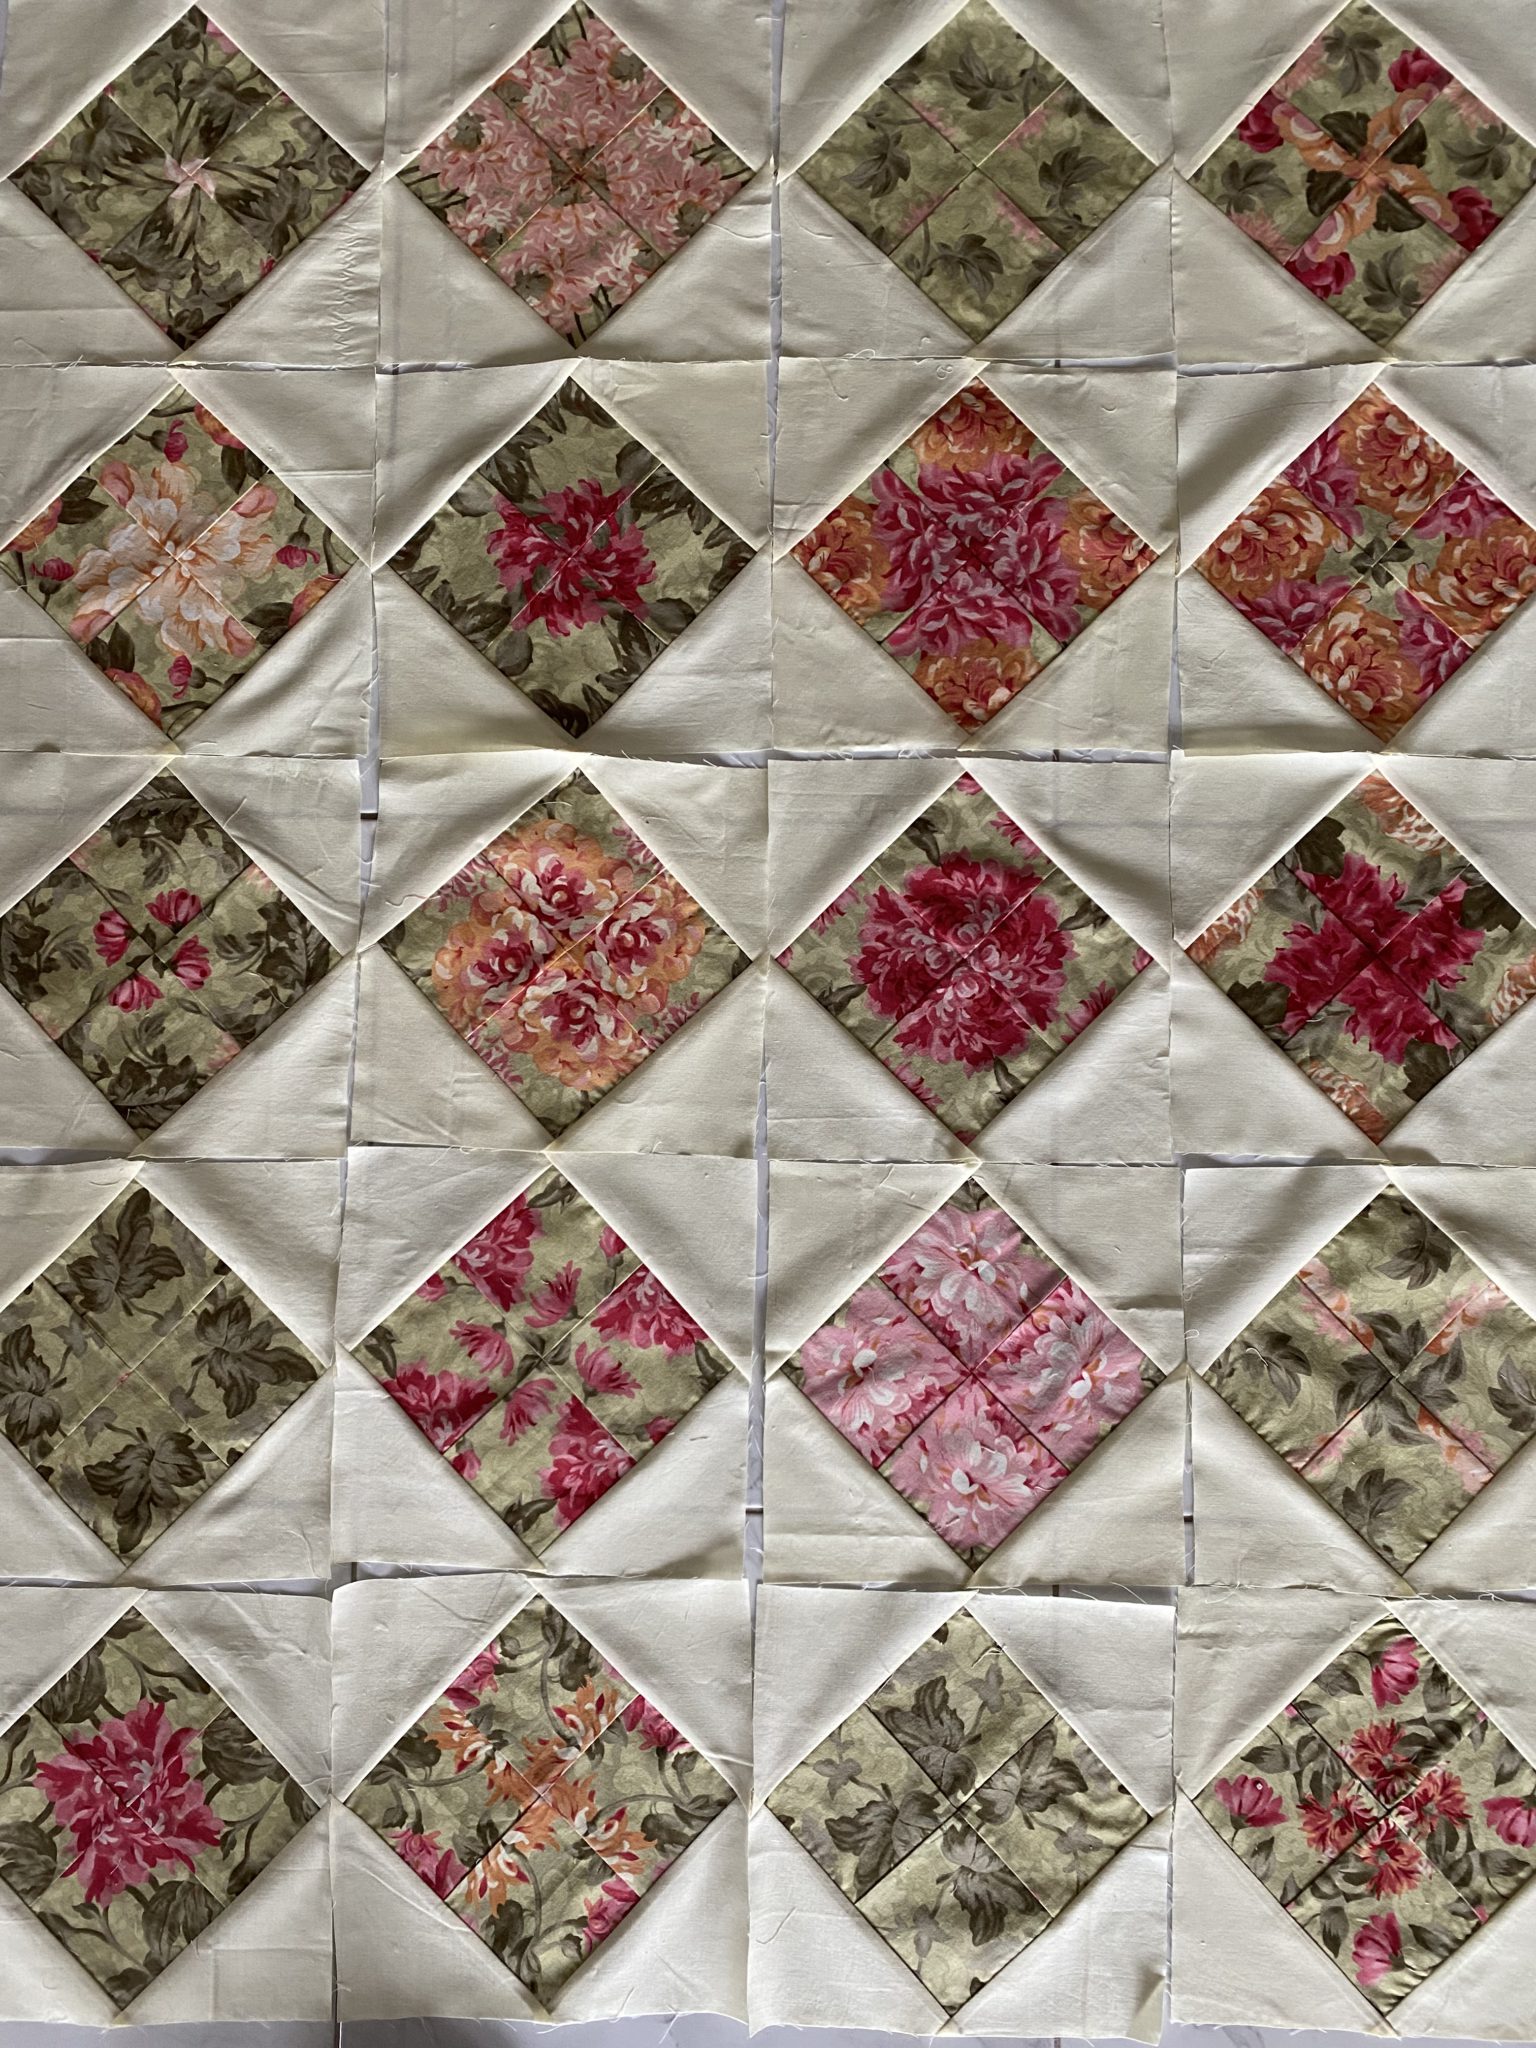
These Posies On Point Blocks rather look like beautiful tiles to me.
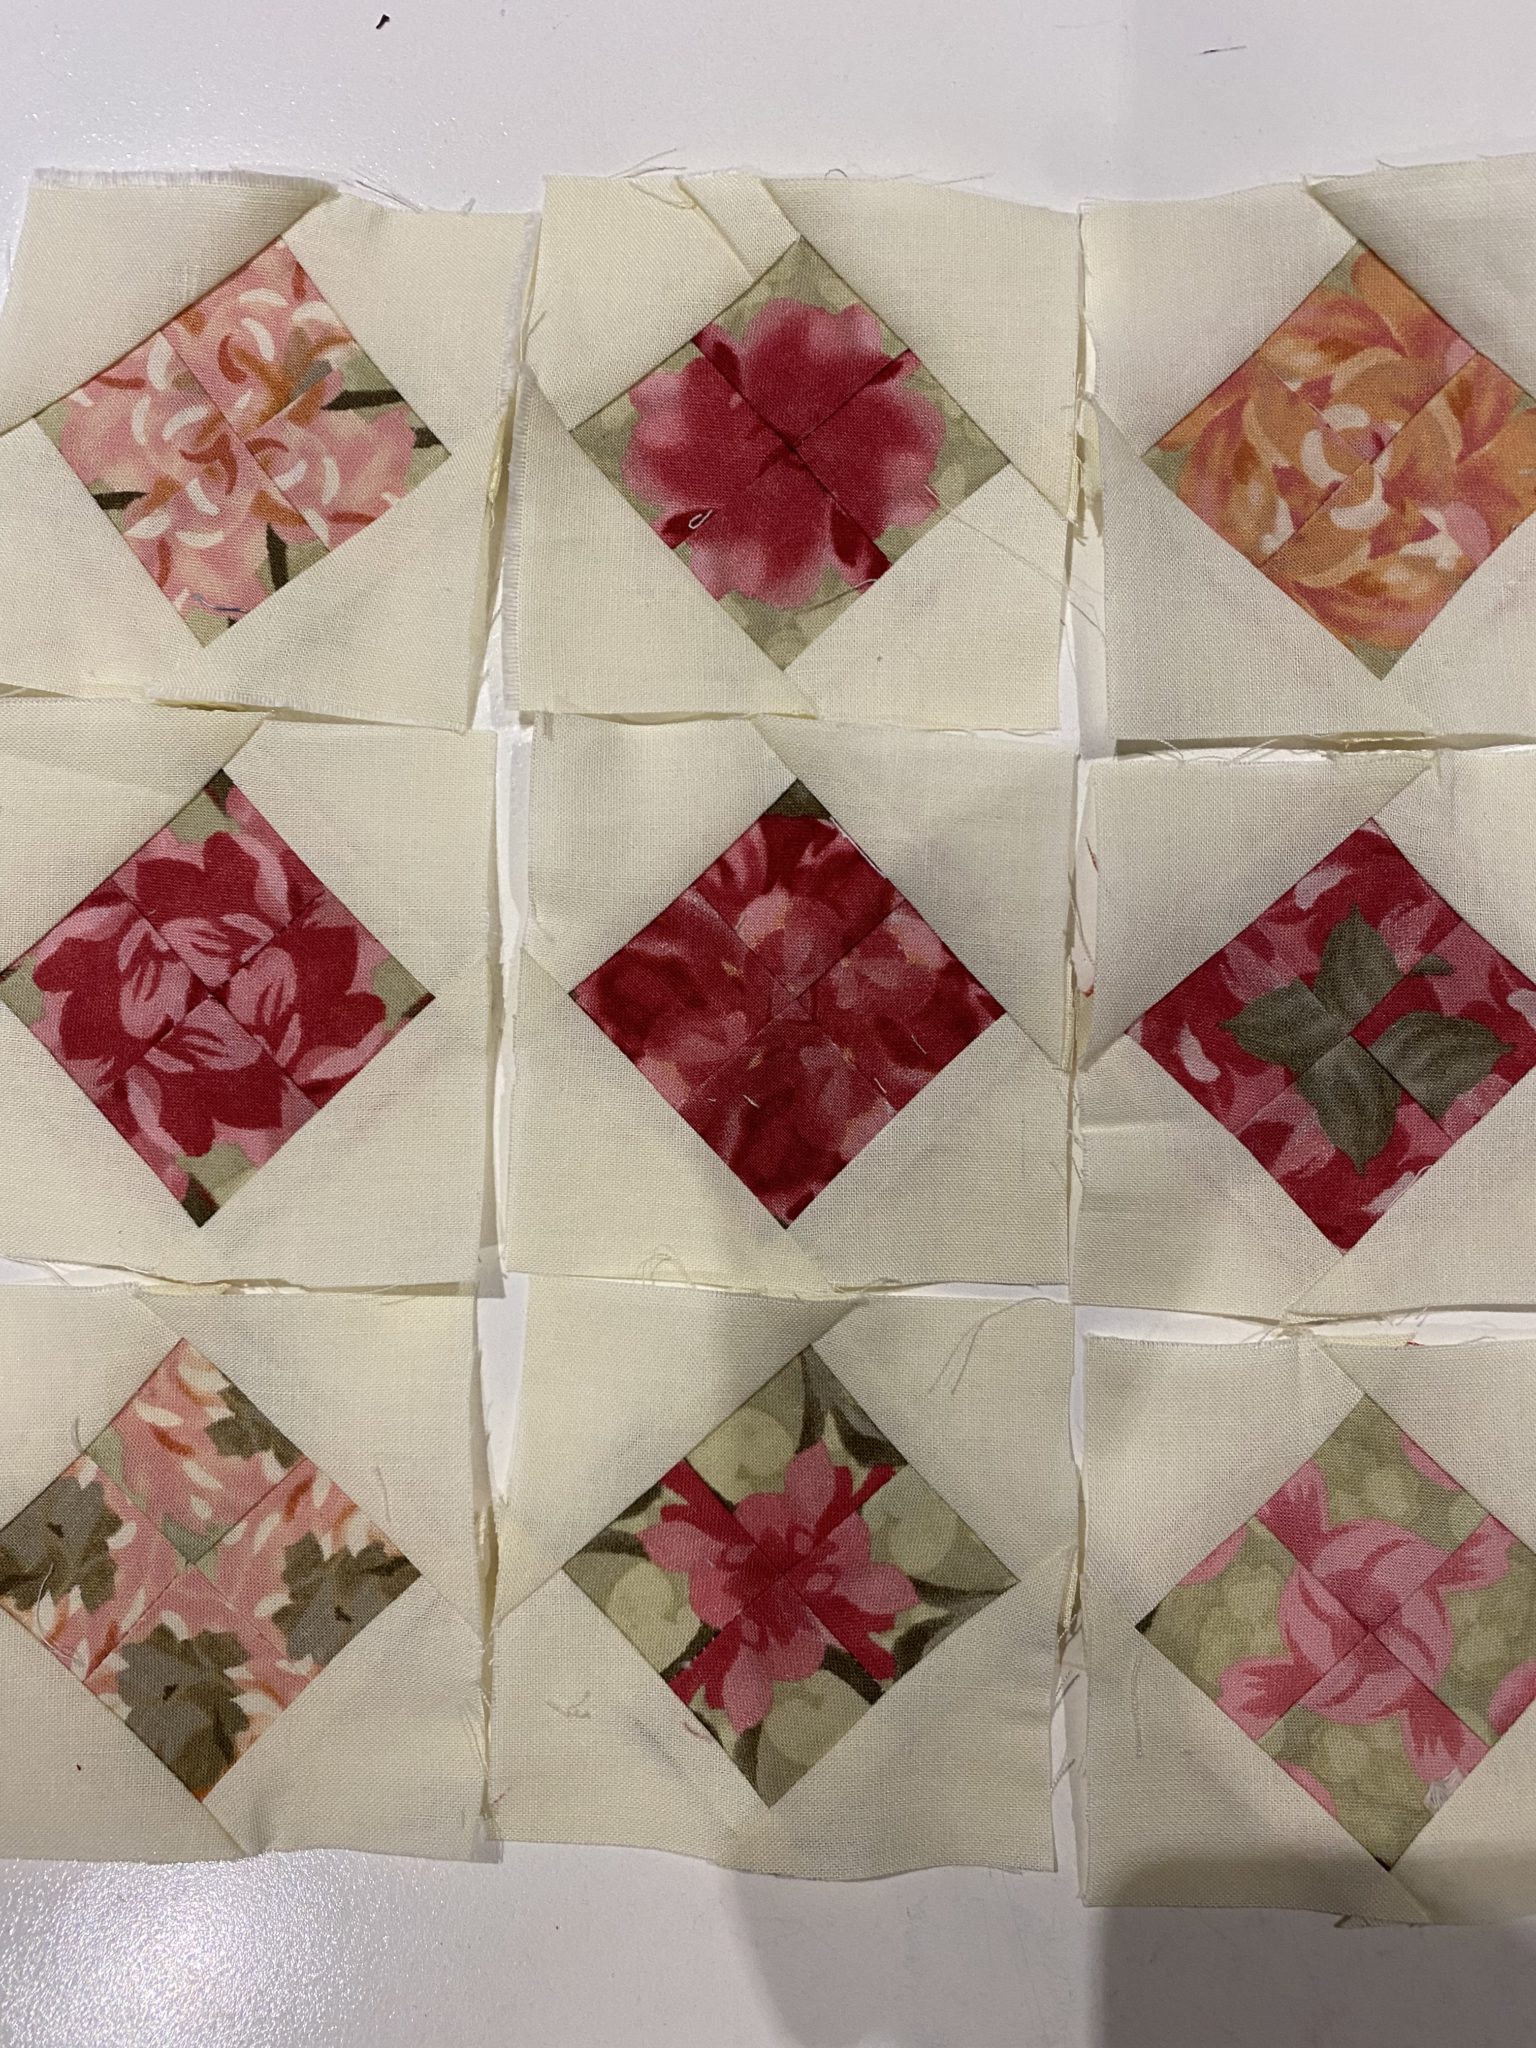
Just for fun, I cut the remainder of the print fabric that was still in layers into 1 1/2” squares and made little posies. Here are some of them. I used 2 1/2” squares of the background fabric, cut once on the diagonal for the setting triangles. Pretty cute, don’t you think?
I hope you are feeling inspired to do some sewing today. Maybe you have an odd piece of fabric in your stash that you could use to make some posies too!
Happy sewing!
If you like Blocks on Point, you may also like
Arkansas Cross Road Quilt Block Tutorial
Uneven Nine Patch Quilt Pattern Antique Style
Antique Four Patch Economy Block Tutorial
Thanks for coming by,
All the best,
Susie

