
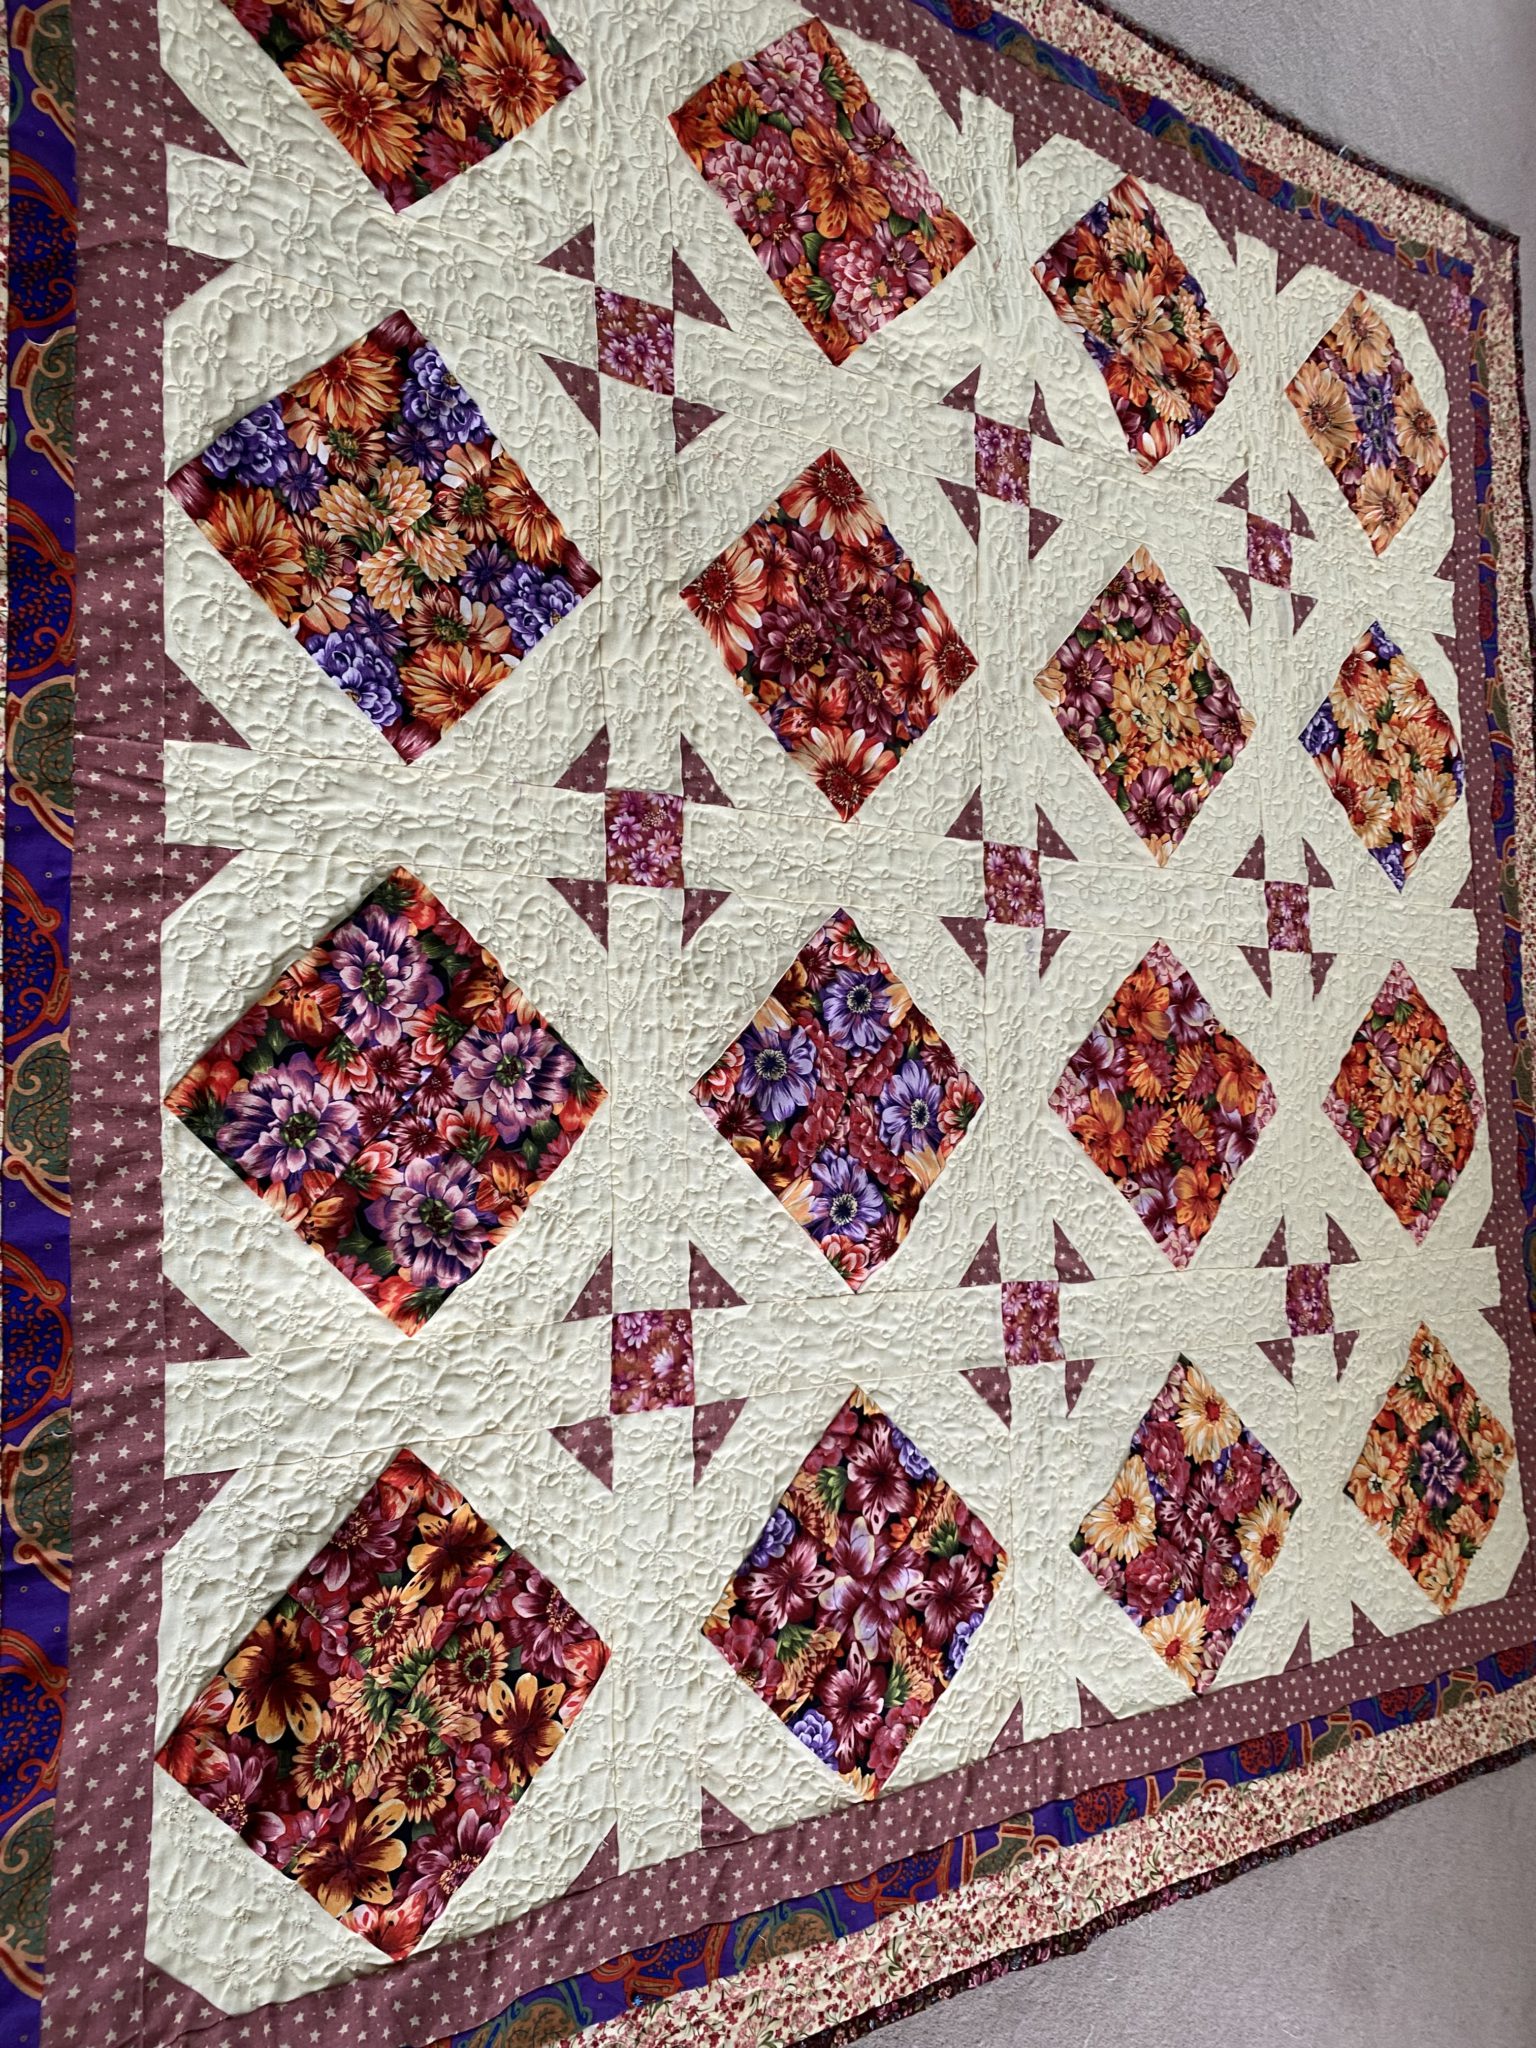
Purple Posies On Point Quilt
Hello Dear Friends and Readers,
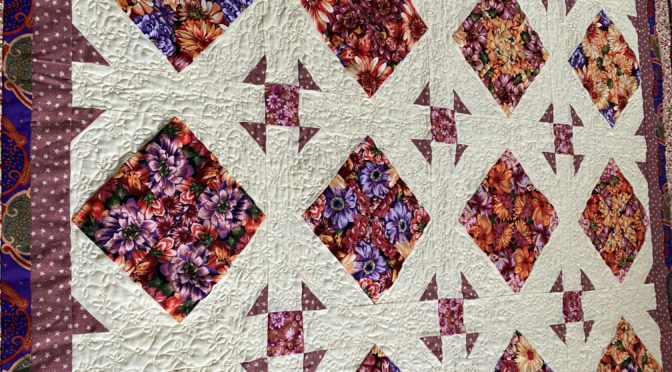
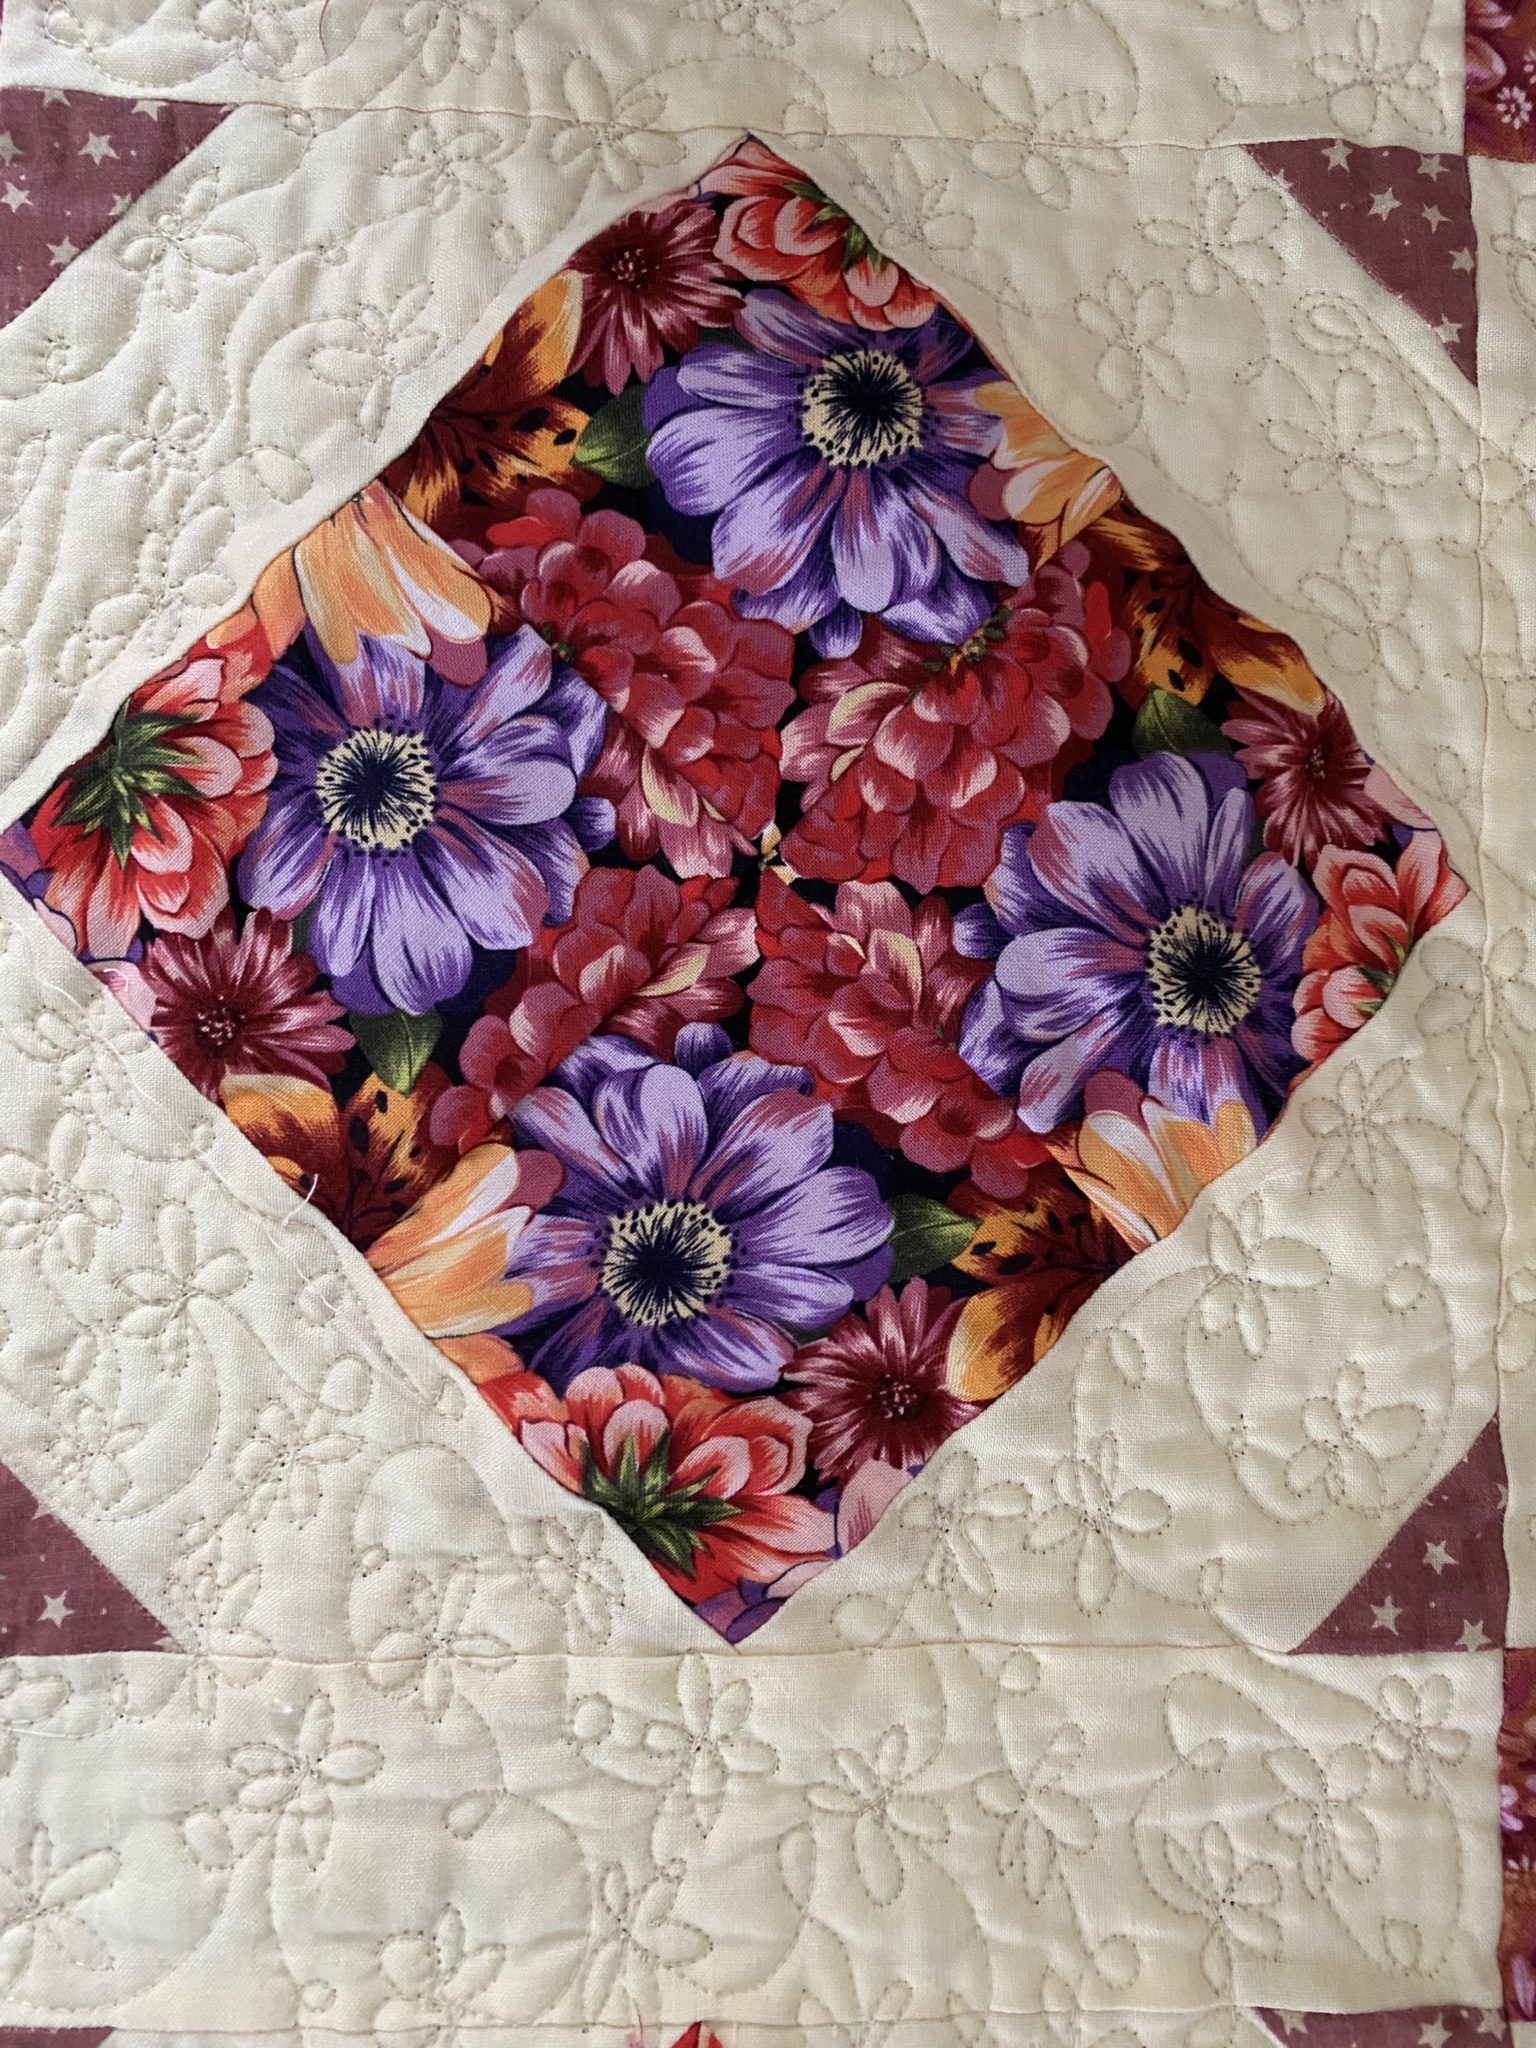
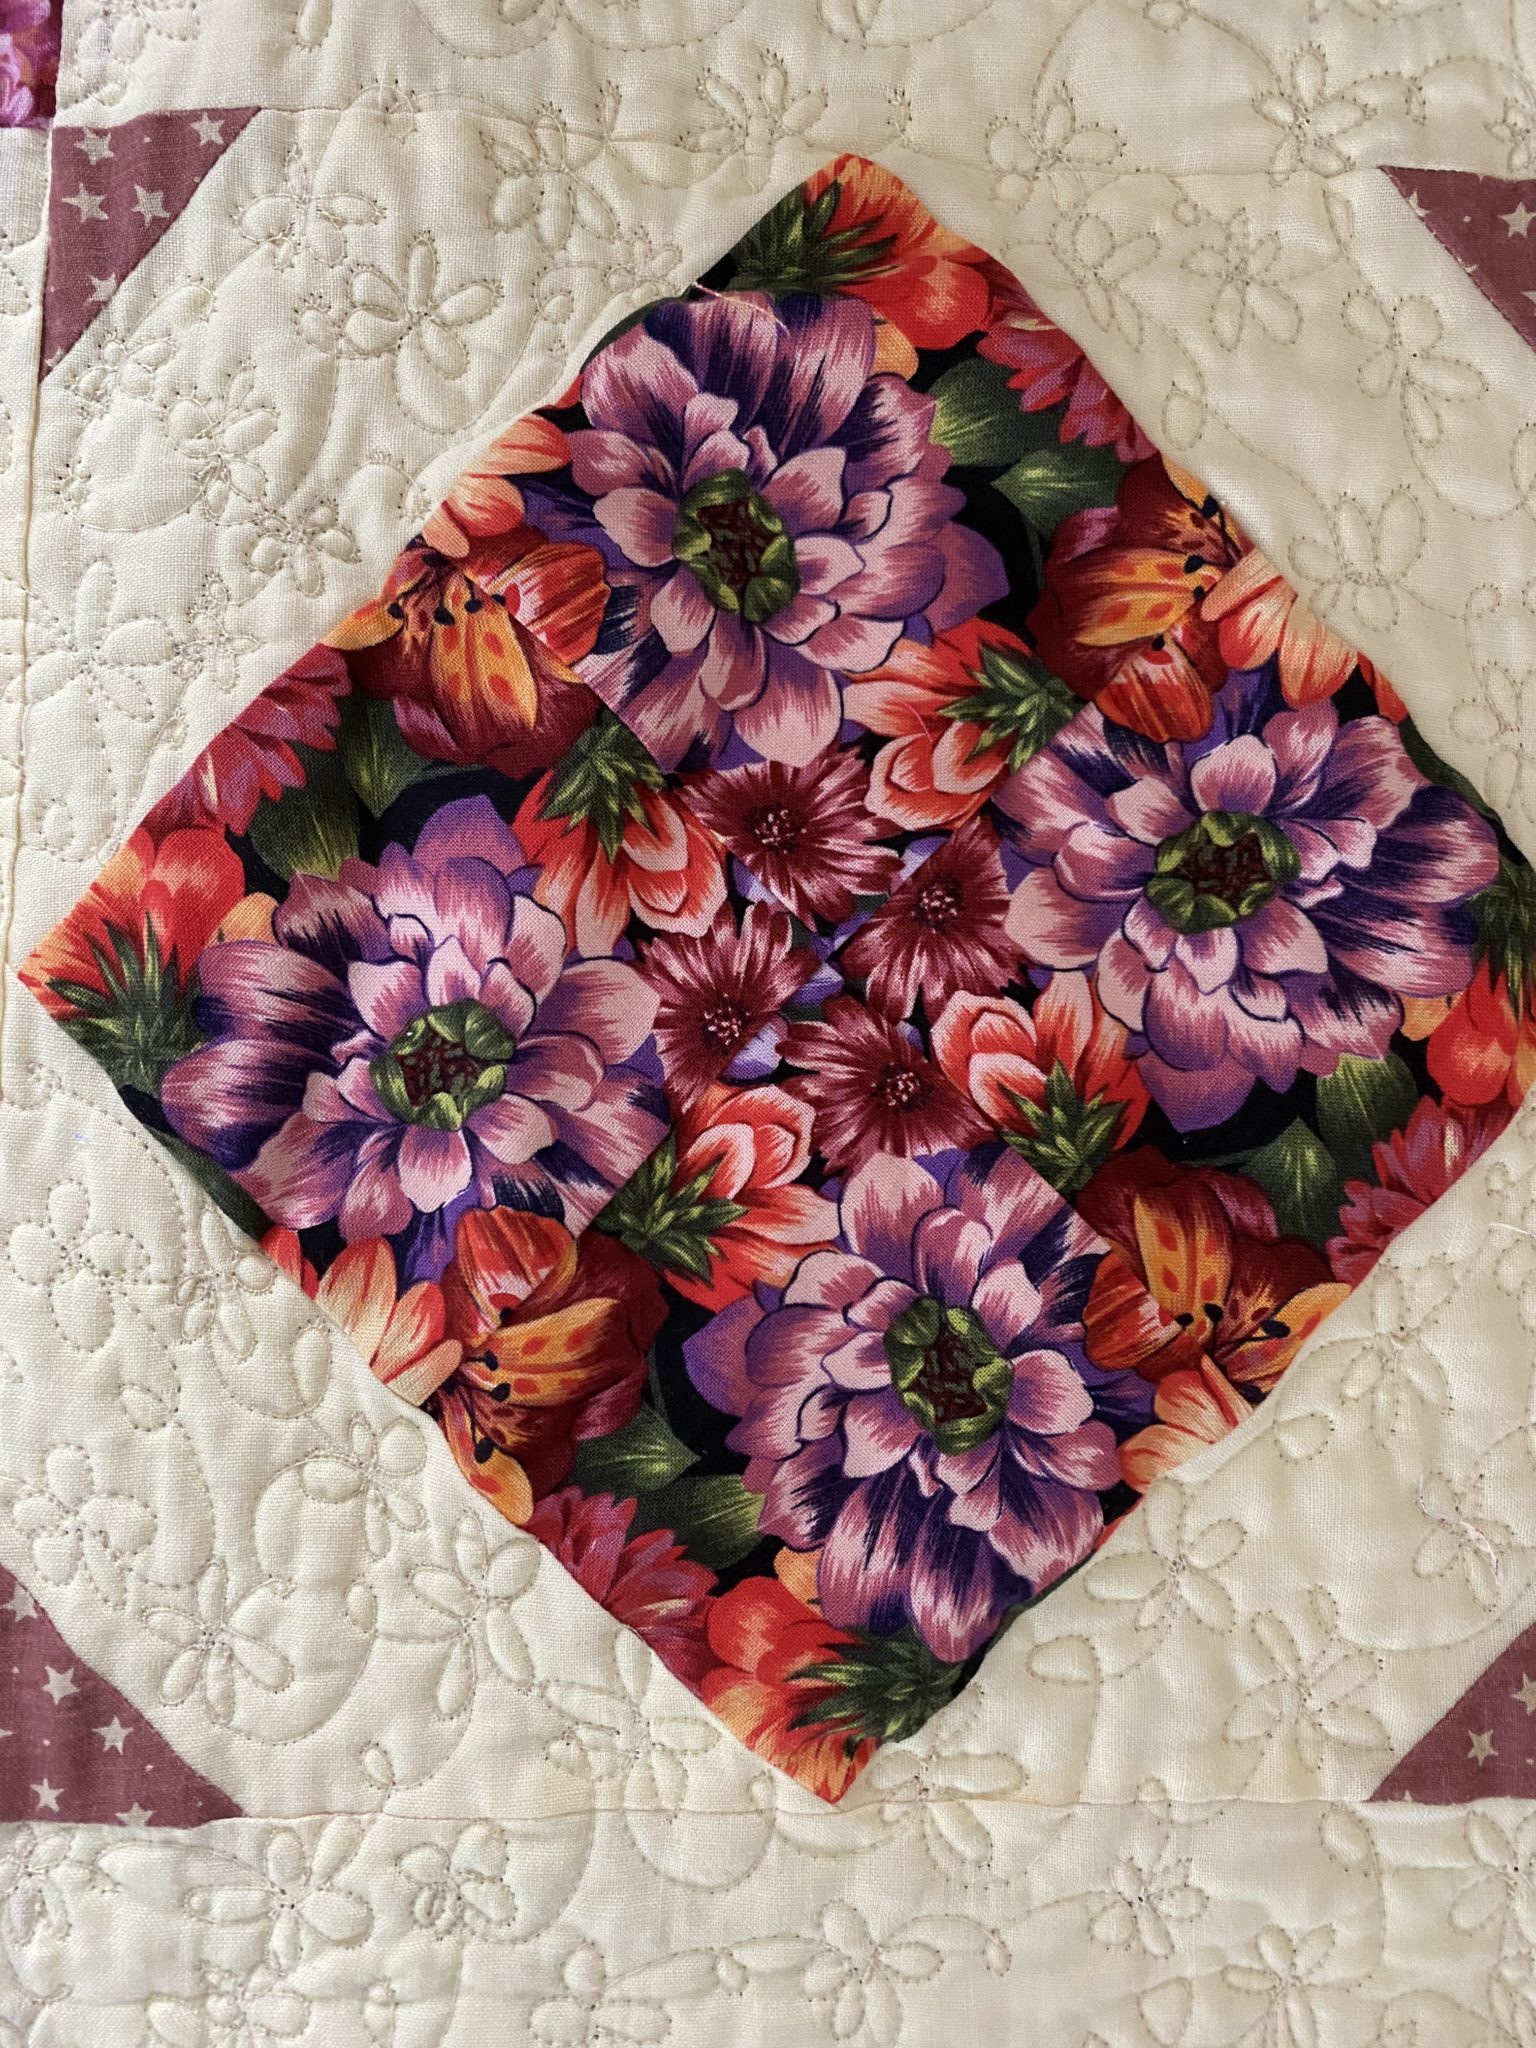
This quilt is called Purple Posies On Point Quilt. I had a length of an orangy purple and pink floral print which I wasn’t sure how I would use, or even if I liked it anymore, but I think the way I used it turned out nicely. Setting the blocks on point with the solid background fabric gives the quilt a fresh and happy lift.
I was also aware that the piece of fabric was not big enough for something like a border either, so that was when I decided to make the four patch posies out of the the fabric. I had just enough to make sixteen blocks which was perfect for a lap quilt.
It is really nice, I think, to take up the challenge of using something from my stash and combine it with what is already there and make it work. Another thing, I would love to hear your thoughts on this, I love purple, as a colour but I’m somewhat reticent about using it in quilts. I’m not saying I don’t, but rather that I use it cautiously as a dominant or theme colour. Maybe its because, purple doesn’t really seem to be the most popular colour in interior design, but, having said that, eggplant is a colour that has been used a lot more recently. Funnily enough, purple has traditionally been used as a royal colour or a religious colour. Here is an interesting article about purple.
color-purple-meaning-of-the-color-purple
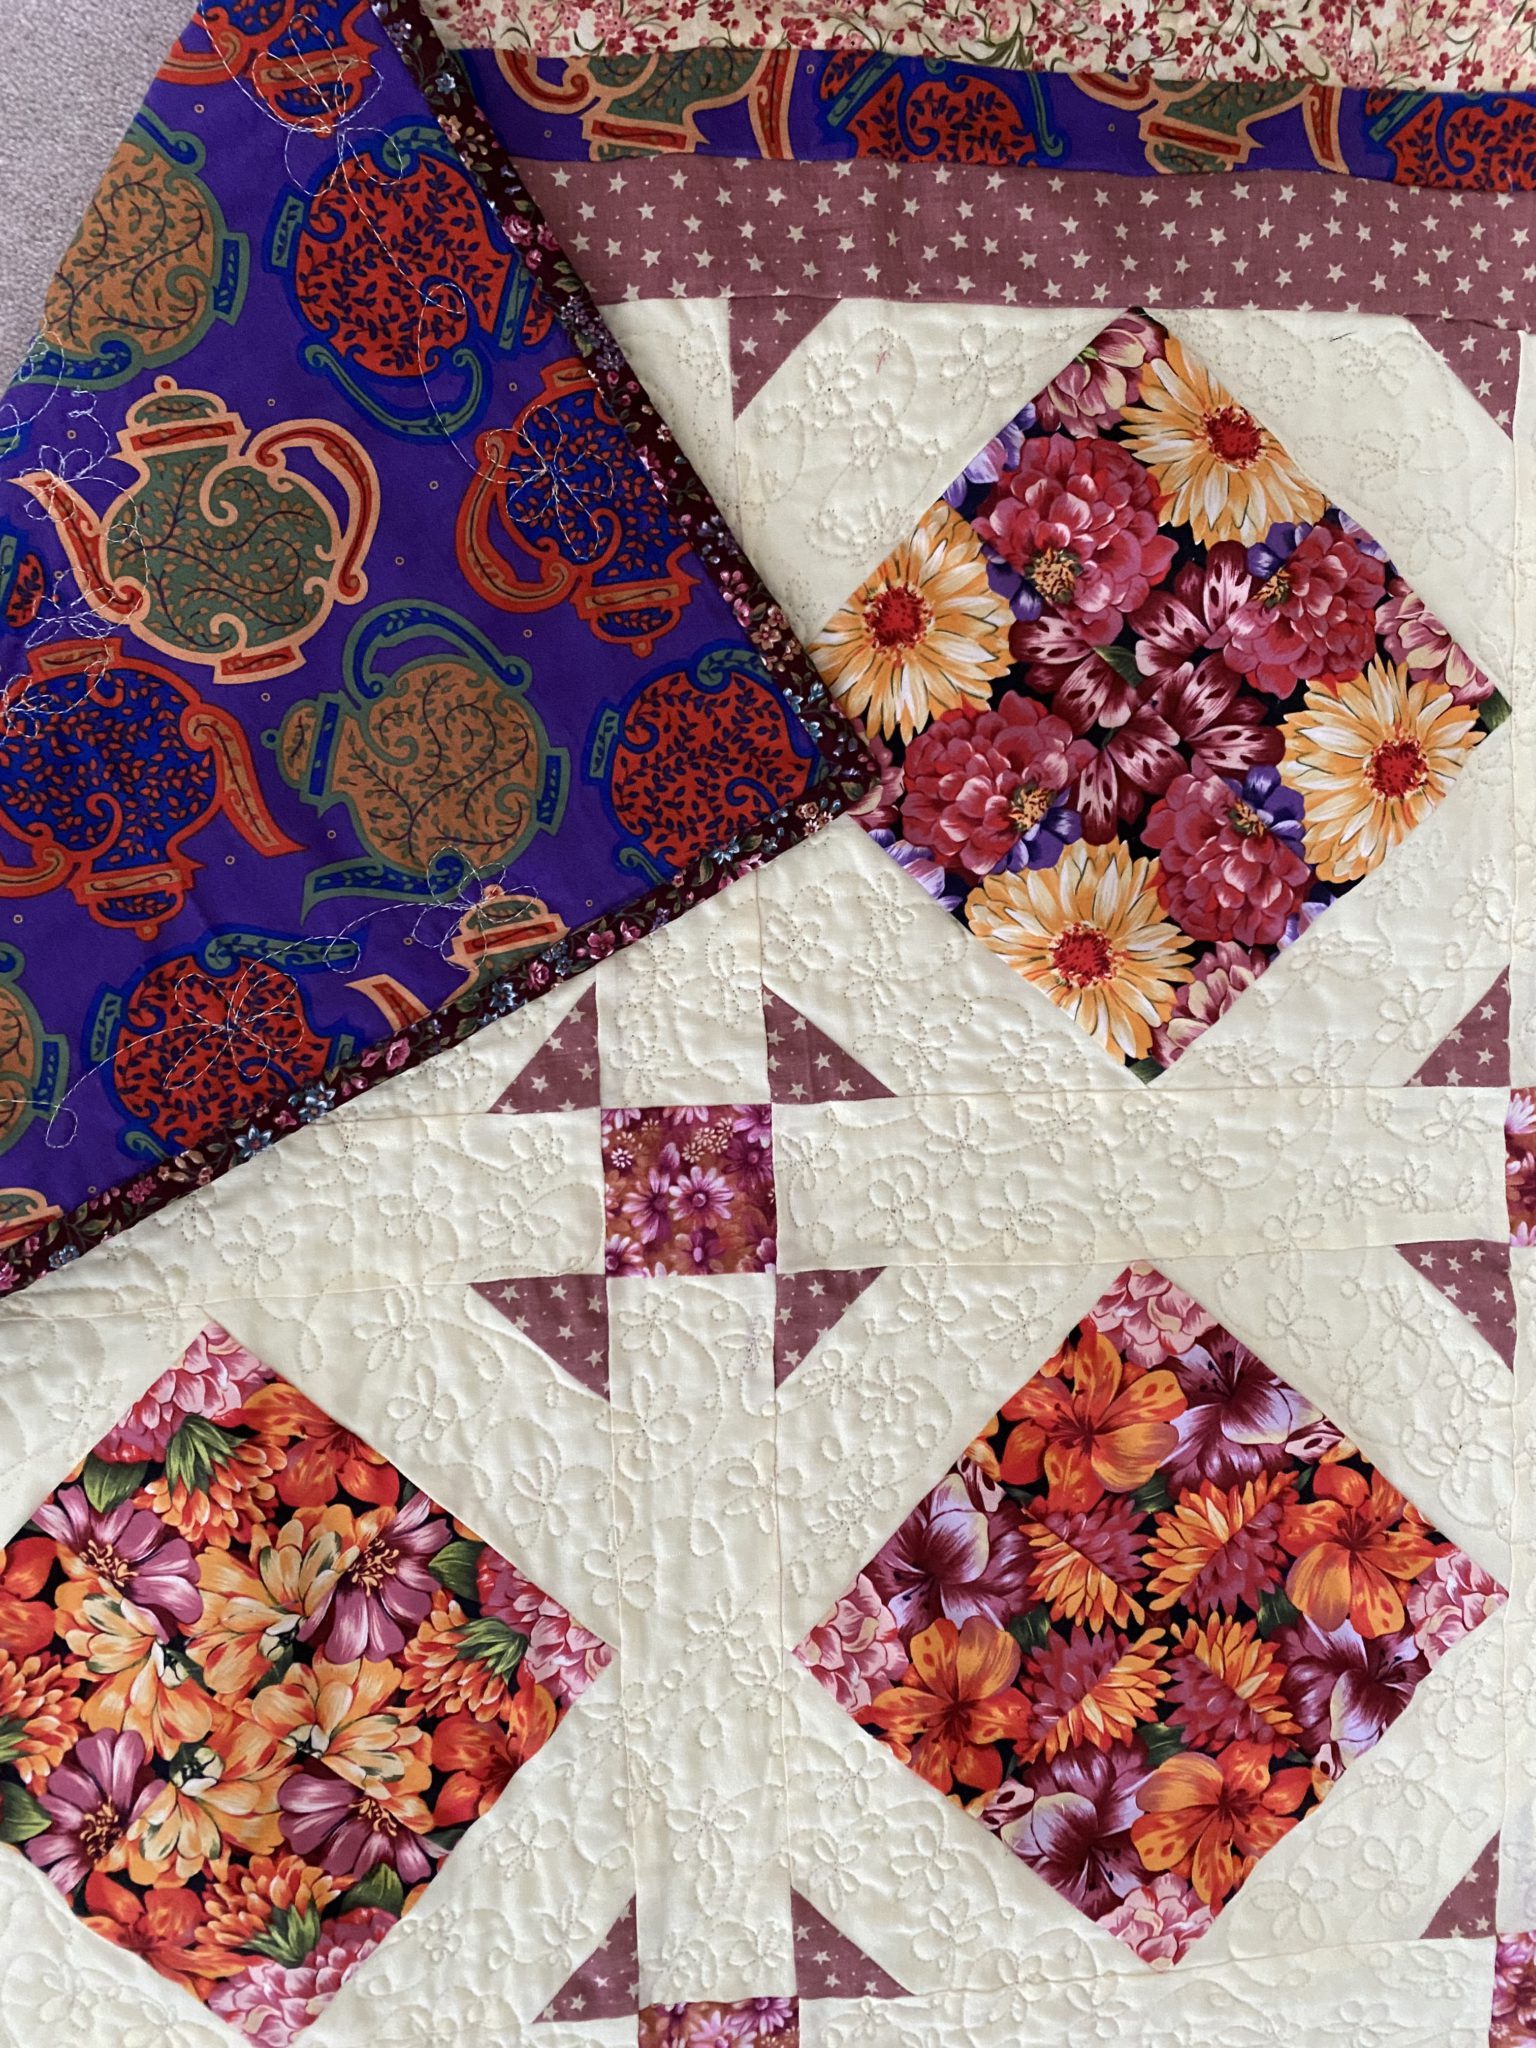
For me, I have decided that mixing various hues of purple seems to work well in quilts. Here is another quilt I made with some purple fabrics I had on hand.
Charm Square Stars “Anika’s Quilt” Free Pattern
Moving back to todays project, lets get on with it. Think about a big print you may have in your stash. It might just become part of a lovely lap quilt!
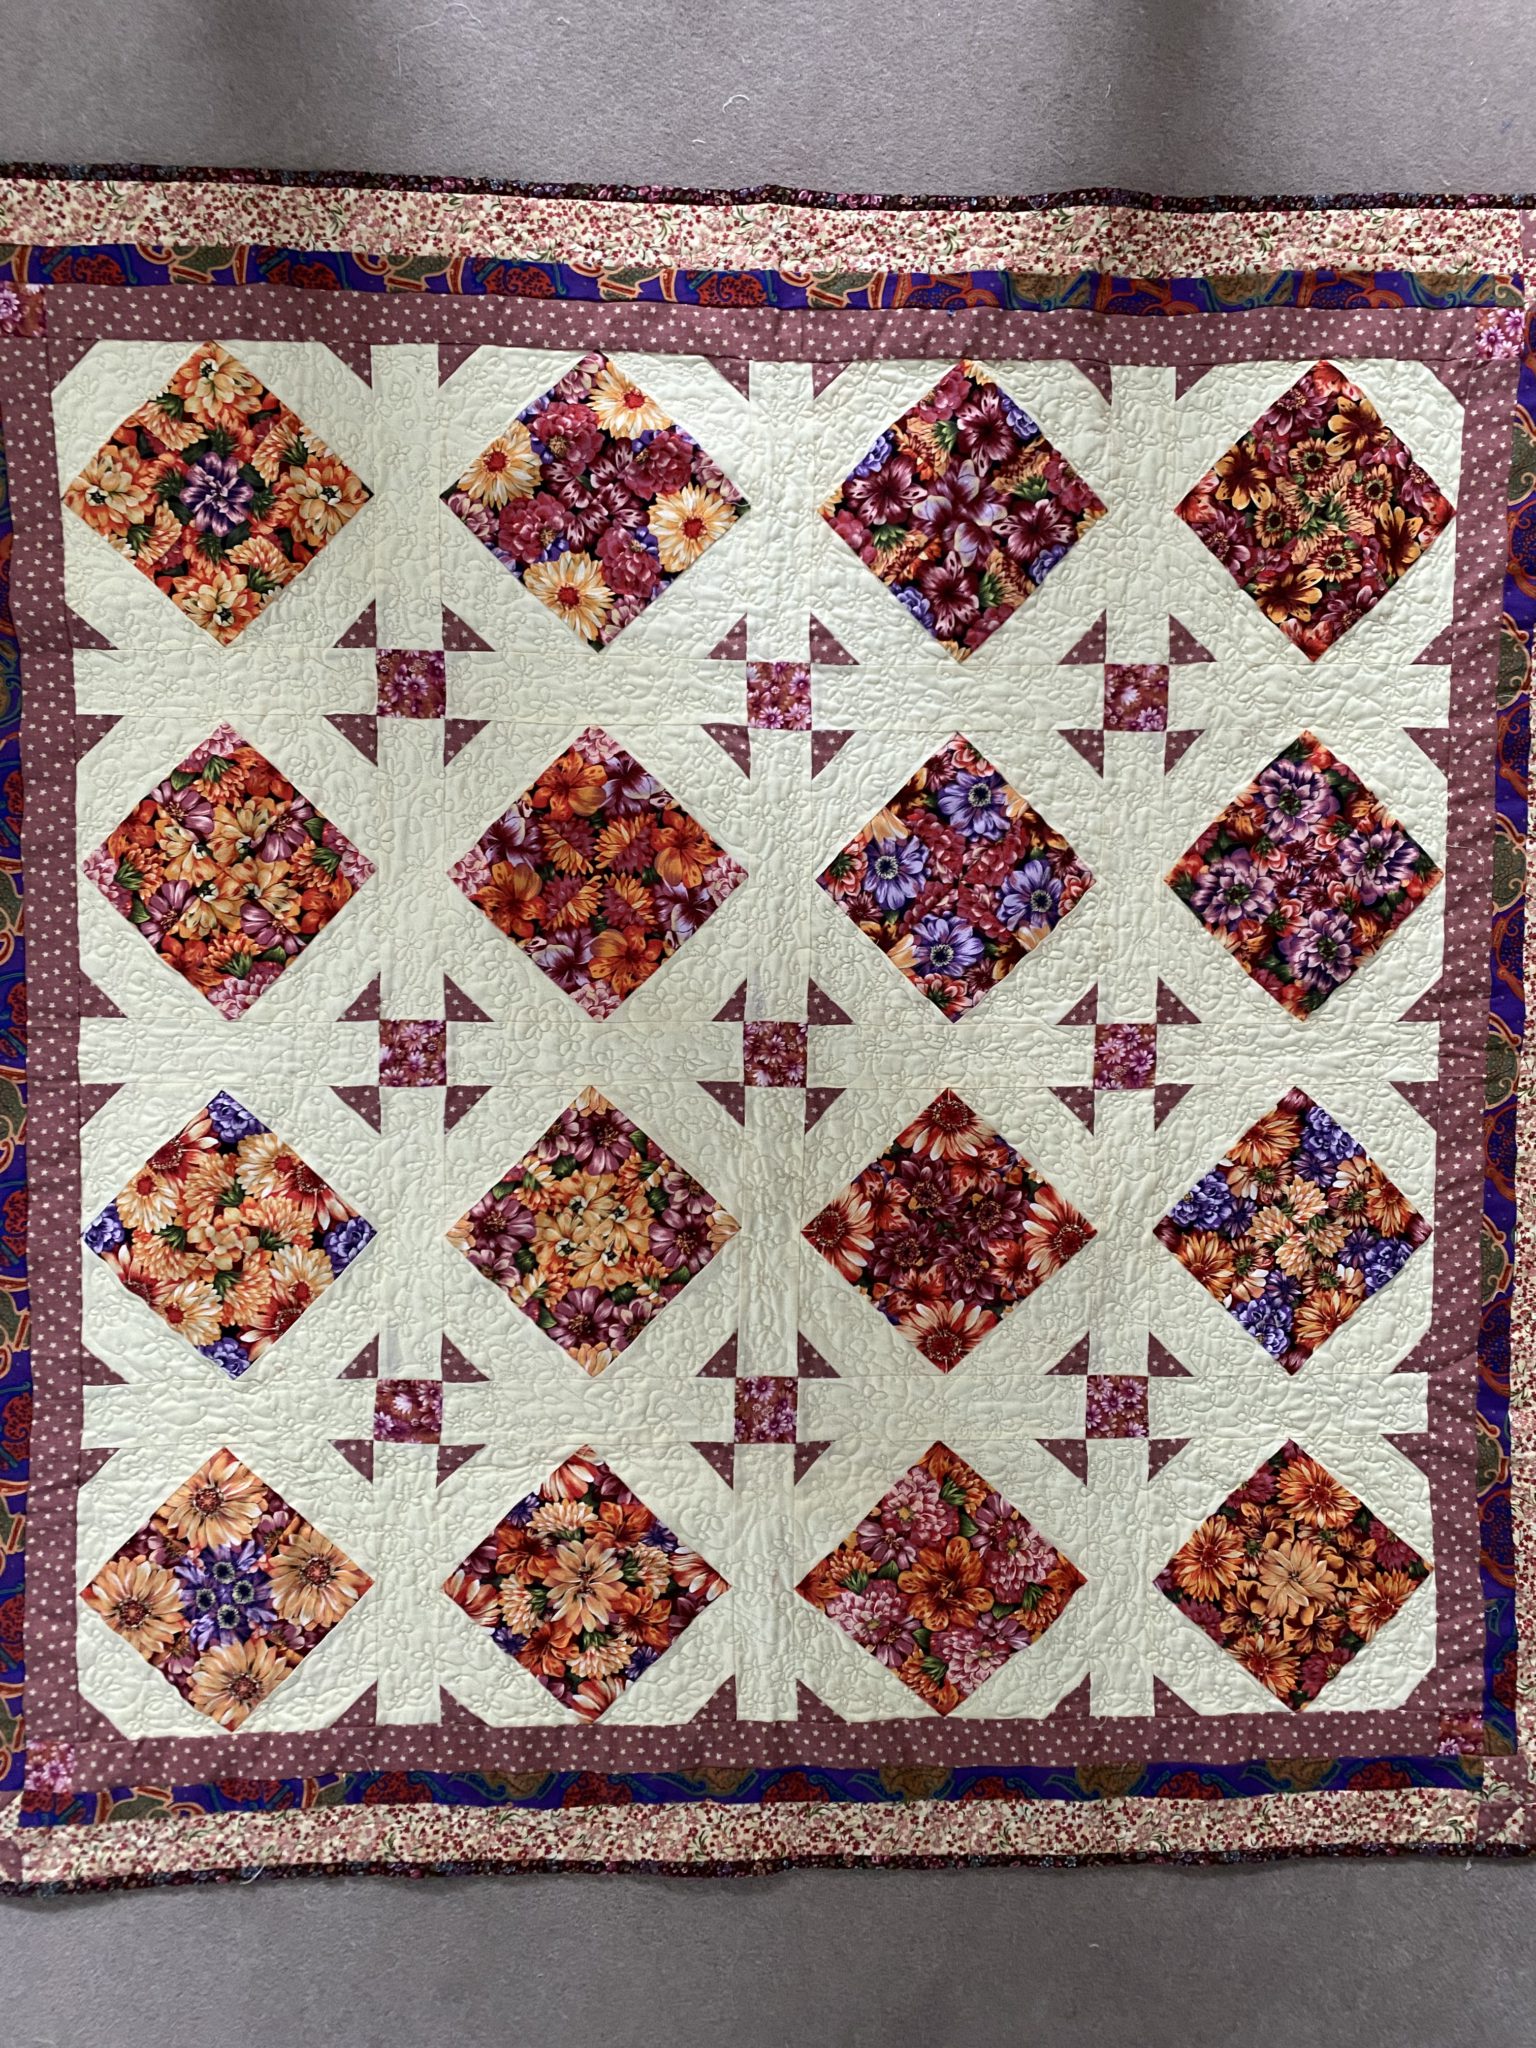
Finished quilt size 51 1/2” x 51 1/2”
Finished Block size 9” x 9”
All seams based on 1/4”
Requirements for the Purple Posies On Point Quilt
16 Posies On Point Blocks. Here is the link to make them.
1 yard/metre of a light background fabric, I used a solid lemon homespun
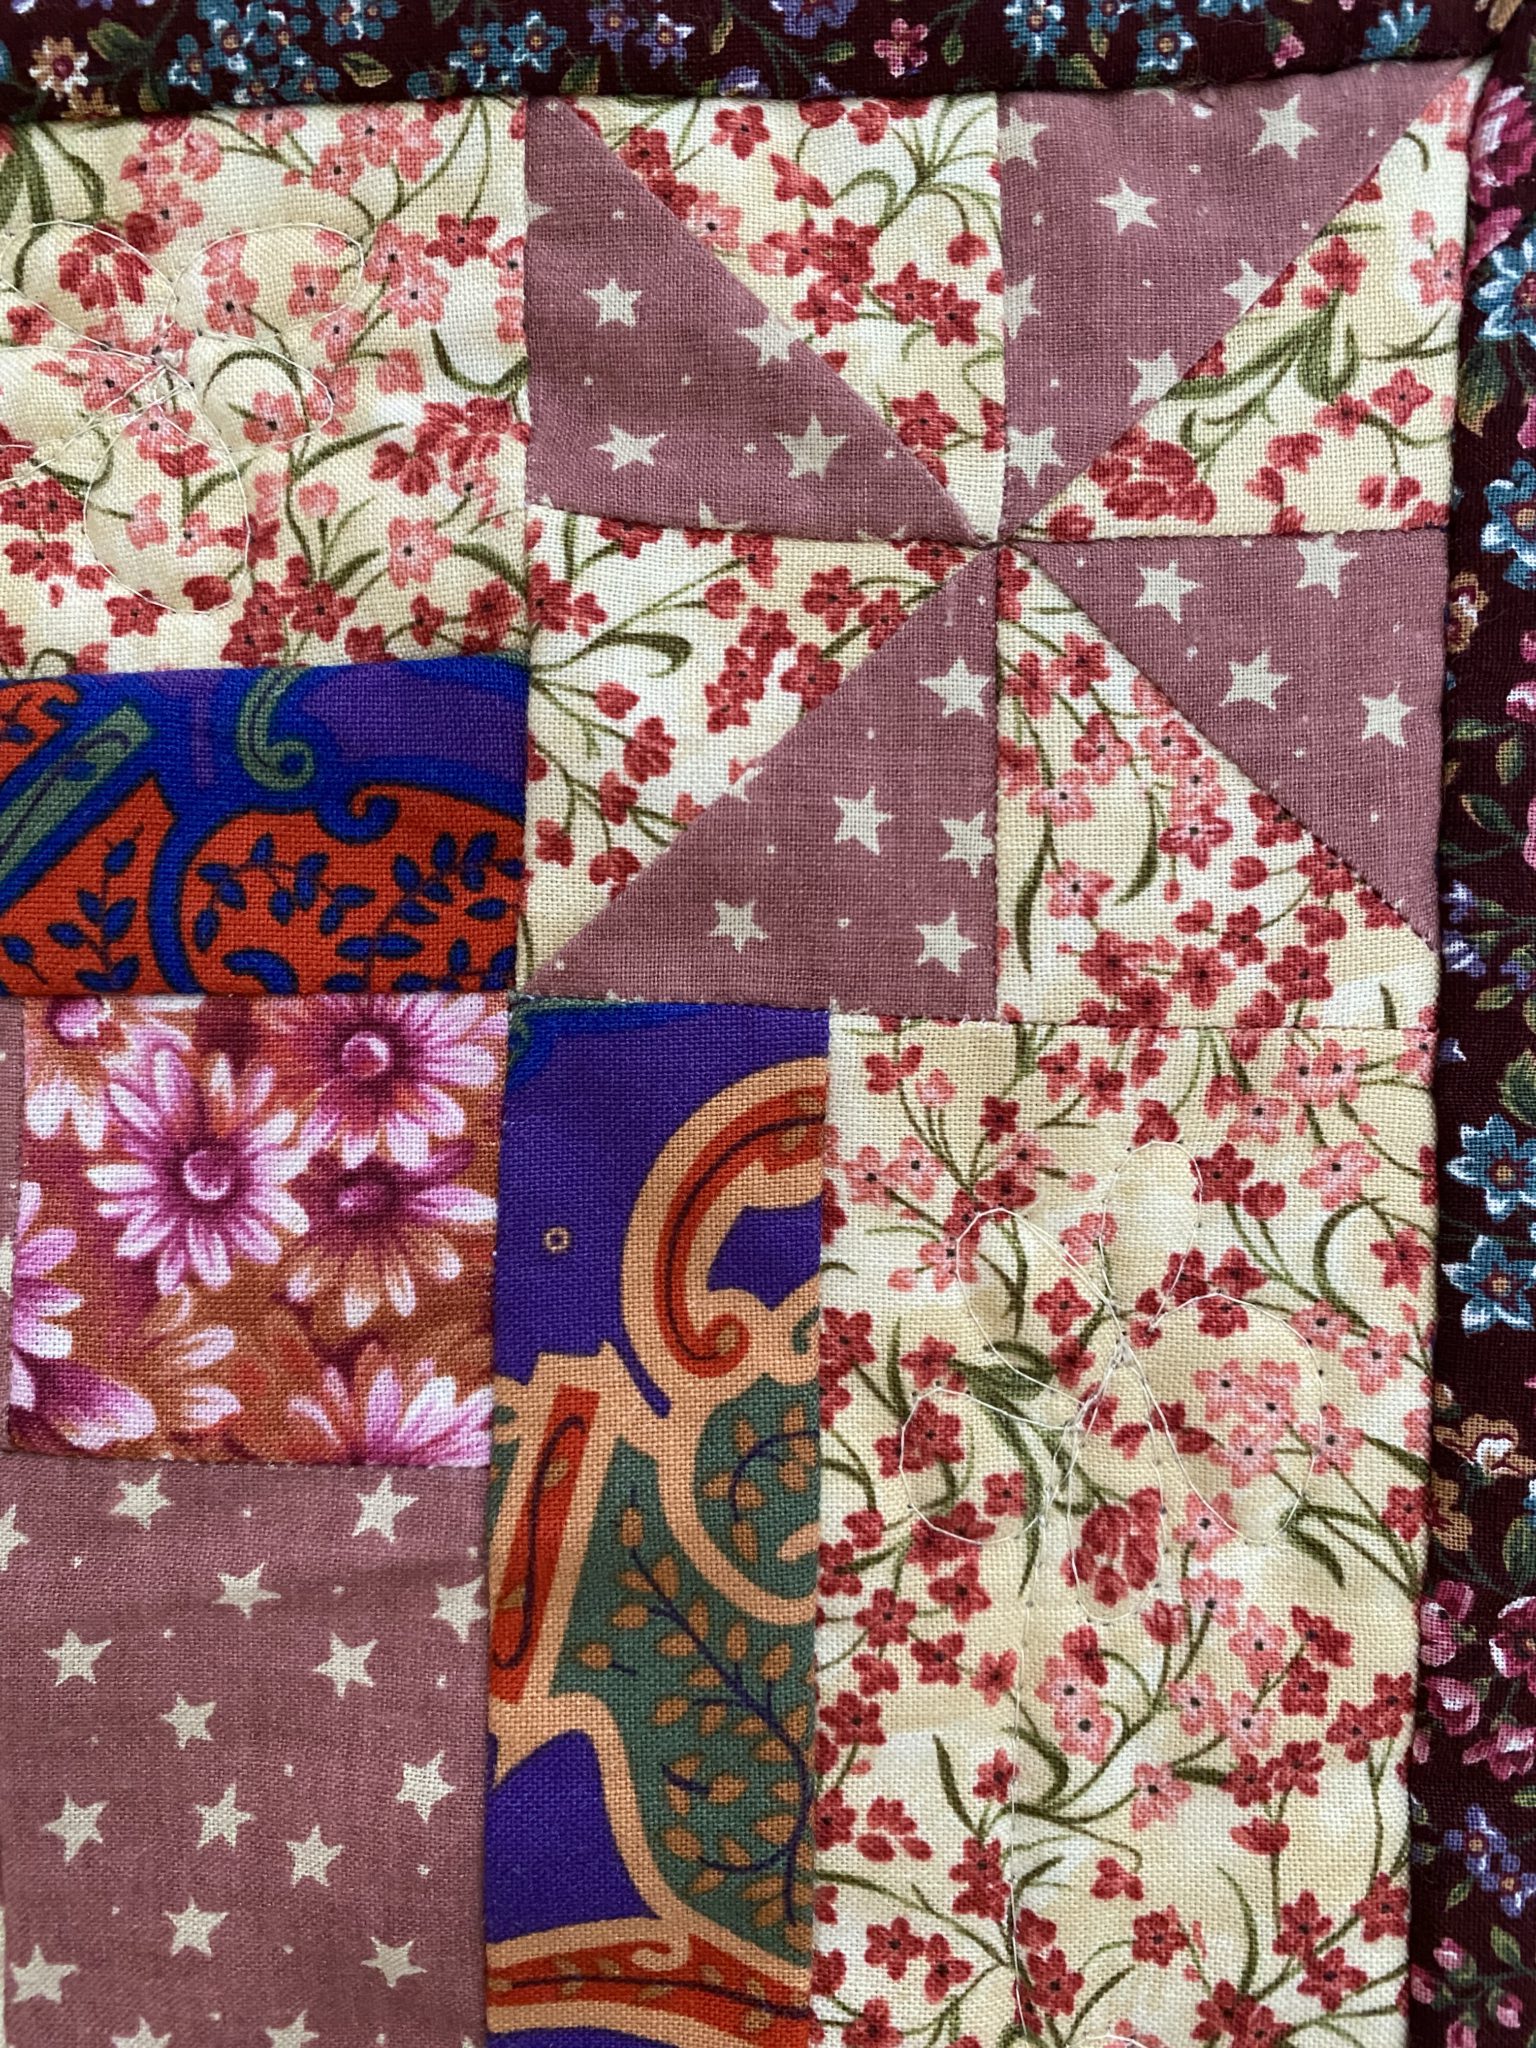
14” of pink print for the snowball corners, 1st border and pinwheels
1 of a 2 1/2” Width of Fabric strip of a secondary pink print for the sashing cornerstones and 1st border cornerstones.
10” of purple print for the second border
15” width of fabric of contrasting small print for the 3rd border and pinwheels
14” width of fabric of contrasting but complementary fabric for the binding. I used purple.
3 1/2 yards/ metres of backing fabric. I used a purple print.
Cutting the fabrics
From the background fabric, cut 6 of 2 1/2” width of fabric strips for the sashings. Sub cut 24 of 9 12” x 2 1/2” strips
From the pink print fabric, cut, 6 of 2” width of fabric strips, and subcut 80 of 2” x 2” squares
From the secondary pink 2 1/2” strip, subcut, 9 of 2 1/2” x 2 1/2” squares (for the cornerstones) and 4 of 2” x 2” squares (for the 1st border cornerstones)
From the purple print fabric, cut 5 of 1 1/2” width of fabric strips for the second border
From the contrasting small print, cut five of 2 1/2” width of fabric strips and 16 of 2” x 2” squares
From the binding fabric, cut 5 of 2 1/2” width of fabric strips
Method of Construction
Complete your 16 Posies on Points Blocks as mentioned in the link.
Snowball the Corners
Take 64 of the 2” x 2” pink squares and the Posies On Point Blocks to the machine. Lay a 2” square right side down on one corner of the Posie block. Sew across the diagonal. If you like you can draw a line on the wrong side of the square or fold it on the diagional to give a guide for your seam. Trim to 1/4” and flip the triangle back toward the corner. Repeat for the remainder 63 corners of all the Posies on Point Blocks.
Now they should look like this. Press the blocks.
Assemble the quilt top
Lay out the Blocks in a pleasing fashion in a 4 x 4 configuration. Place the sashing strips in between each block and the cornerstones to complete the gaps.
Take the 24 of 9 1/2” x 2 1/2” background sashing pieces and the 9 of pink 2 1/2” x 2 1/2” cornerstones to the machine. Assemble the quilt by adding a sashing strip in between each block and the pink cornerstones.
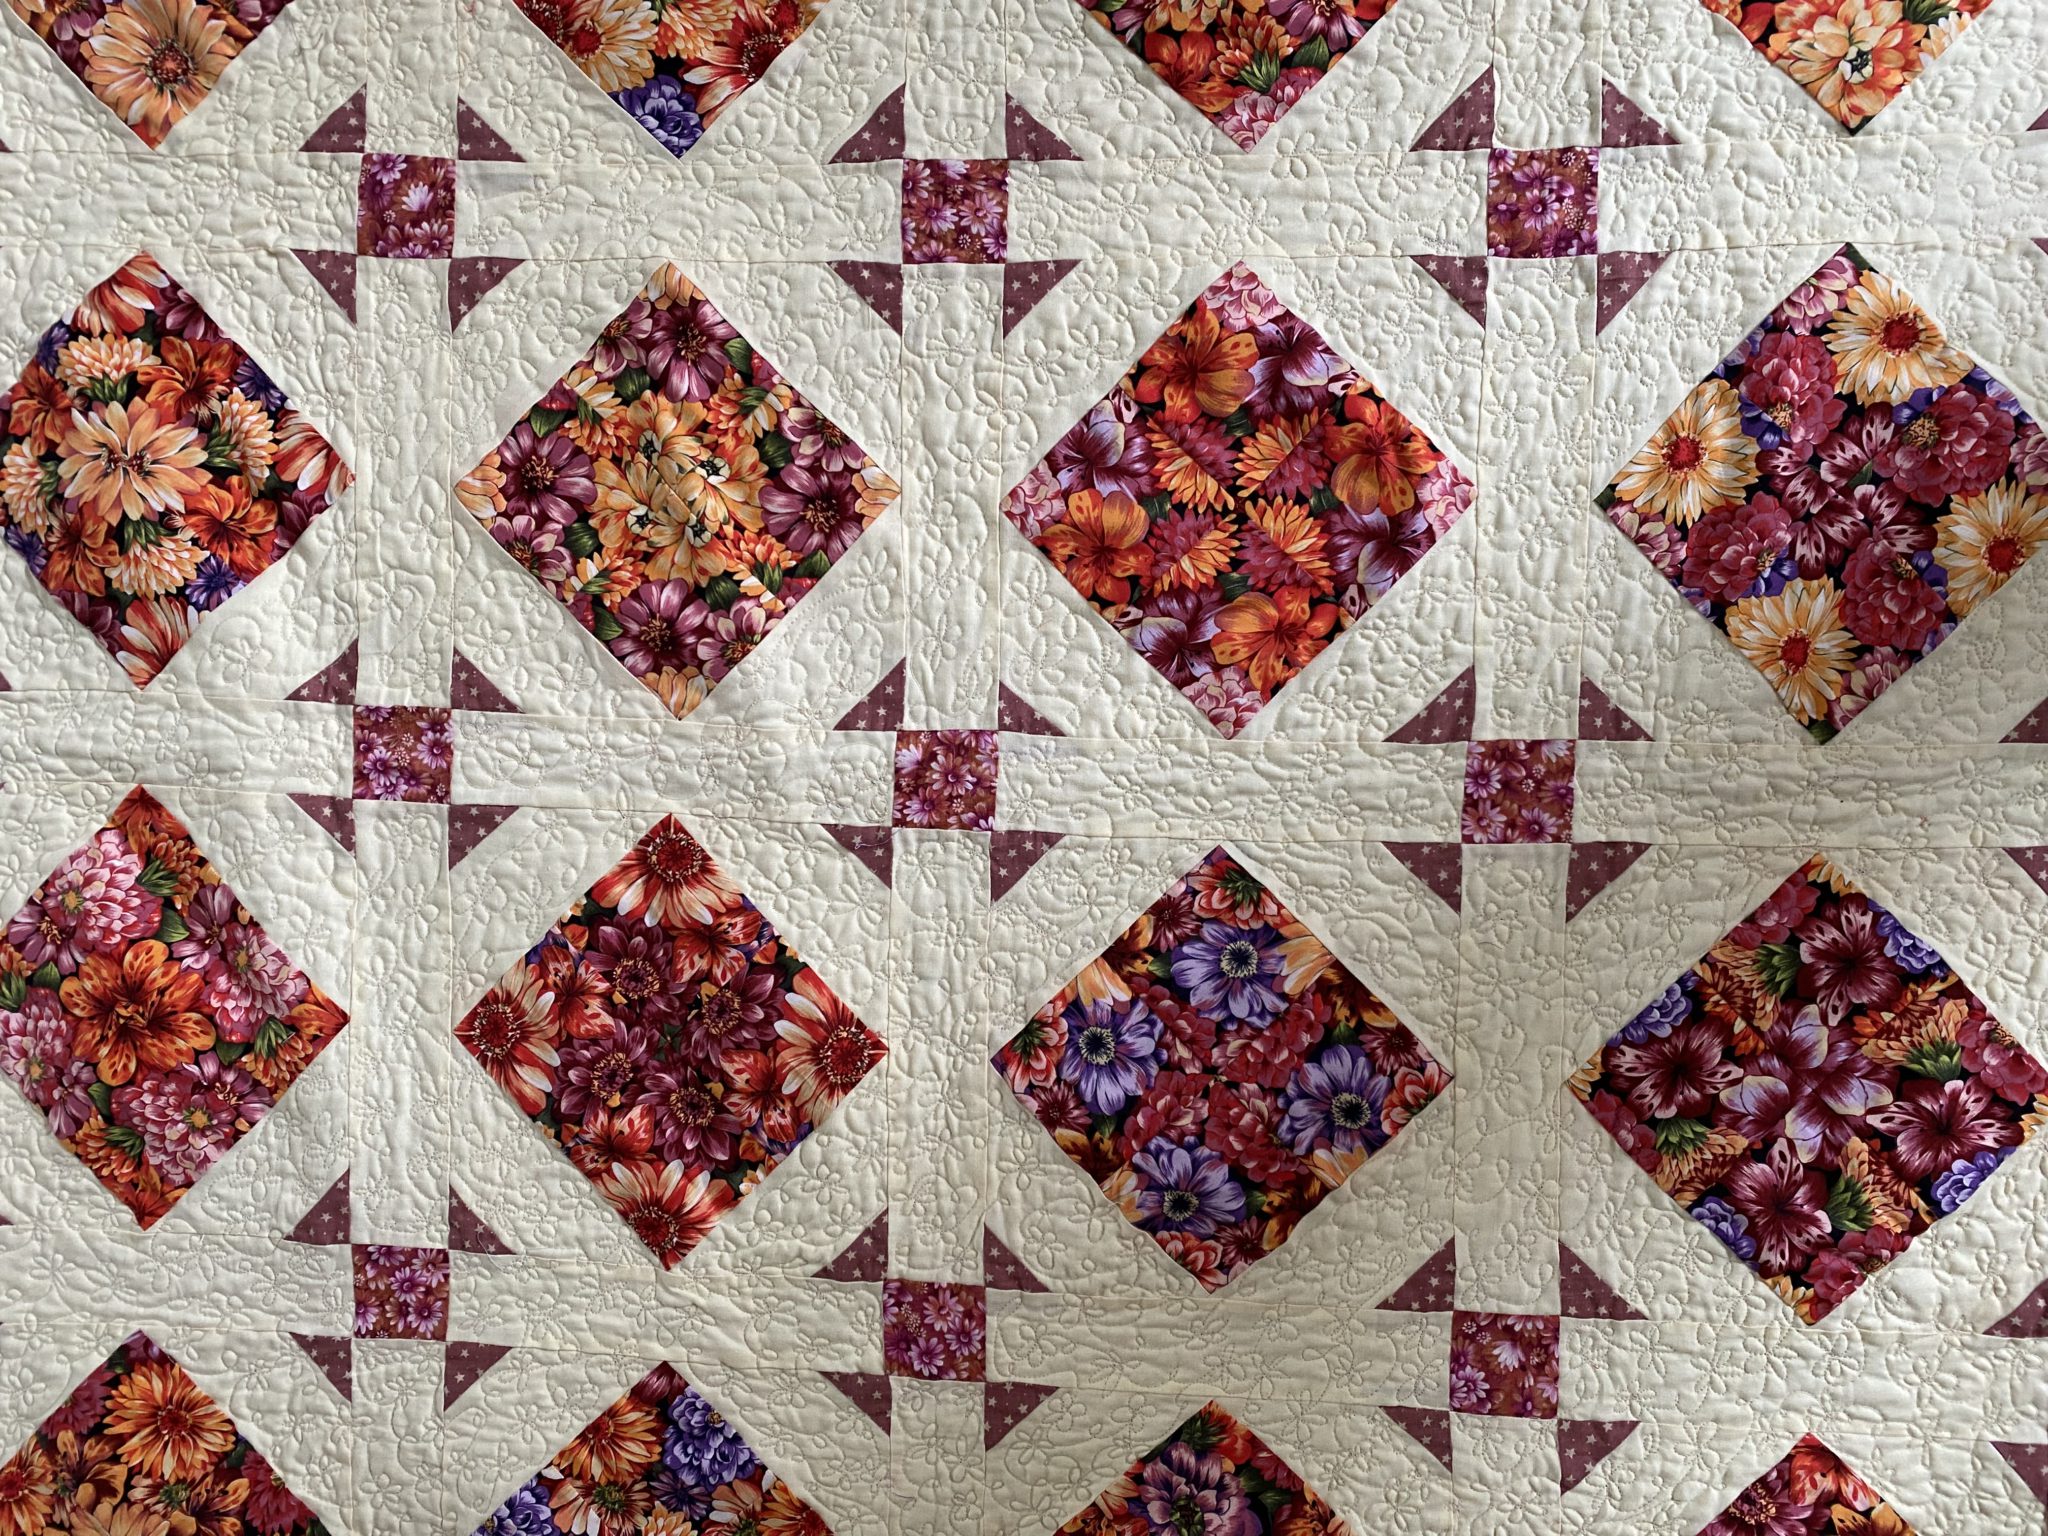
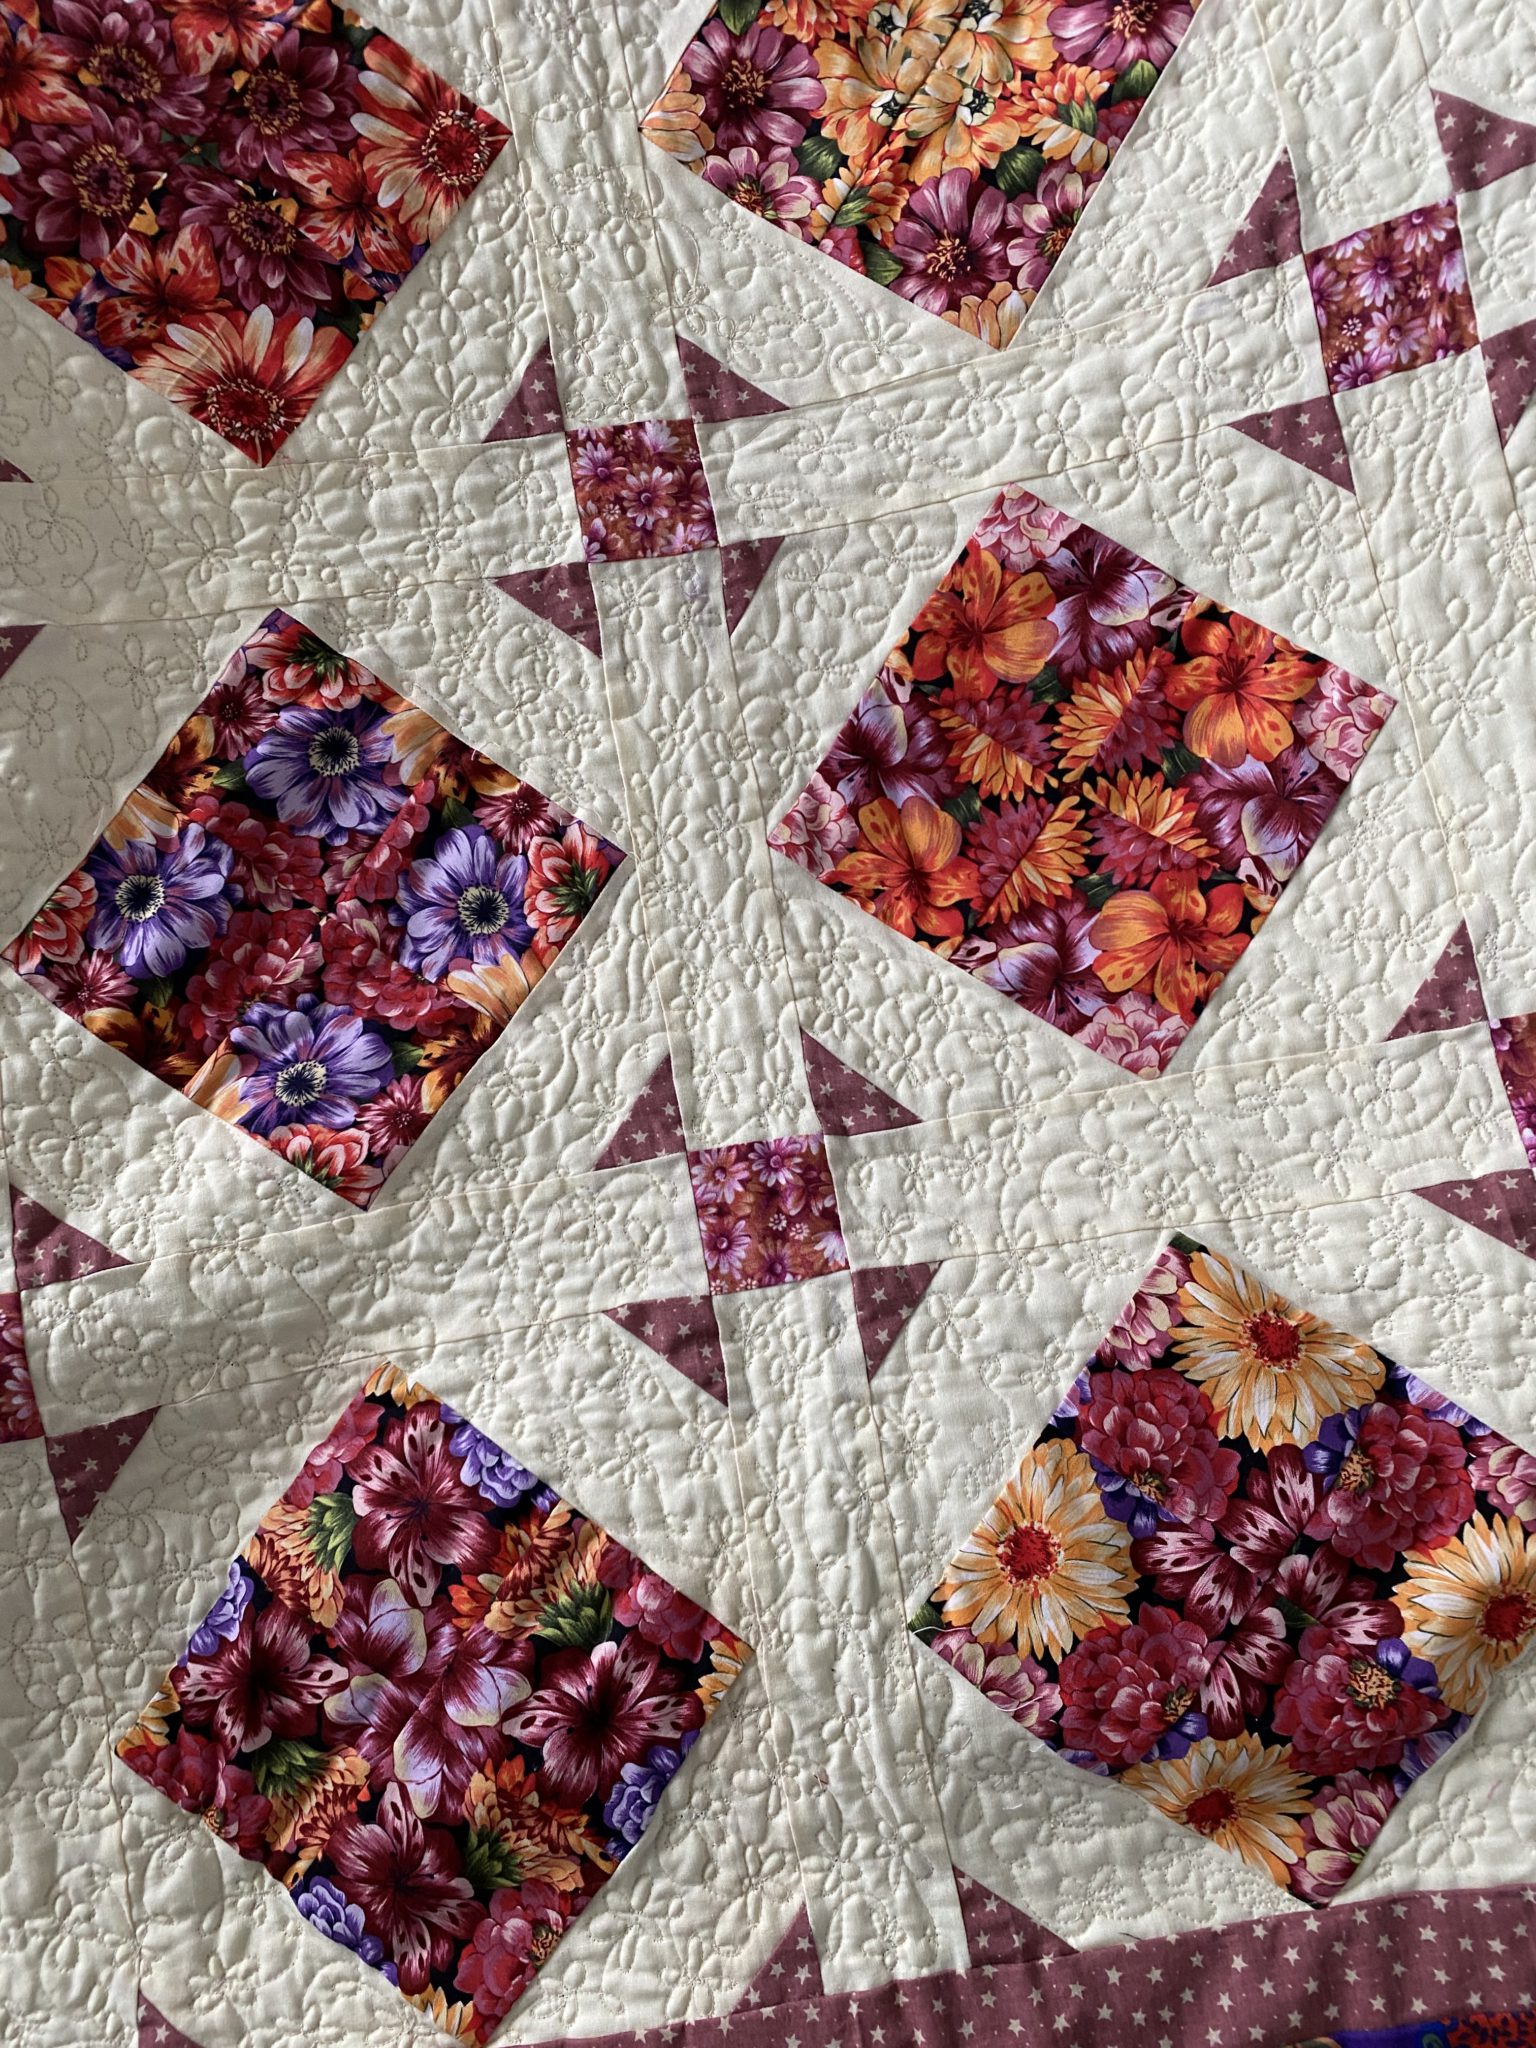
When the top is sewn together it will create this secondary shoo fly pattern at each cornerstone.
Make the Borders
1st Border
Measure through the centre of the the quilt to check your measurements. It this stage it should measure approximately 42 1/2” x 42 1/2”.
Use the pink print 2” WOF strips to make 4 lengths equal to the length / width of the quilt and use the 4 of 2” x 2” secondary pink squares for the cornerstones. Attach a strip to each side of the quilt top with a pink square cornerstone in each corner.
Assemble the 2nd and 3rd Border
Use the 1 1/2” width of fabric purple strips and the 2 1/2” contrasting small print strips to make the second and third borders. Attach each of the two strips to each other to make four strips approximately 42 1/2” x 3 1/2 long.
Make the four Pinwheel Cornerstones
Use the 32 remainder 2” x 2” squares of pink print and contrasting small print to make the pinwheels. Put one of each of the squares, right side together and sew once on the diagional. Trim excess from one side leaving a 1/4” seam allowance. Open the block and press. Repeat to make 16 1/2 square triangle units. Set them into groups of four and into a pinwheel configuration. Sew together like a four patch. Press.
Attach the 2nd and 3rd borders
Sew two of the previously made lengths of the purple and small print borders to two opposite sides of the quilt top. Attach a pinwheel block to each end of the remainder two strips. Now attach these two strips to the other two sides of the top. Ensure the cornerstones are nicely nested.
It should look like this.
Press the top.
Quilting the Purple Posies On Point Quilt
Join two equal lengths of the purple backing fabric. Put the three layers together of the backing fabric, batting and quilt top. Smooth it out well. If you have joined your backing fabric like me then make sure the centre seam is sitting straight at the back. I usually try to use it as a guide and “feel” through the layers to line up the quilt centre. This is how I put my layers together.
Free Motion Quilting – Part 3 – The Sandwich
I kept the quilting quite simple and just quilted all the background fabric and the contrasting print with daisies.
Once the quilting is finished trim and prepare for binding. Here are some tips for your binding.
Prepare binding strips for quilts – Tutorial
Attaching Binding to a Quilt – Tutorial
Quick Bind Every Time – Tutorial
Hand Sewing the Binding on a Quilt Tutorial
I hope you enjoyed this quilt. I really love to make four patches. If you like them too, you may also love these.
Country Roses Four Patch Quilt Pattern
Chocolate Box Four Patch Quilt
Happy sewing! Have a wonderful day.
Susie