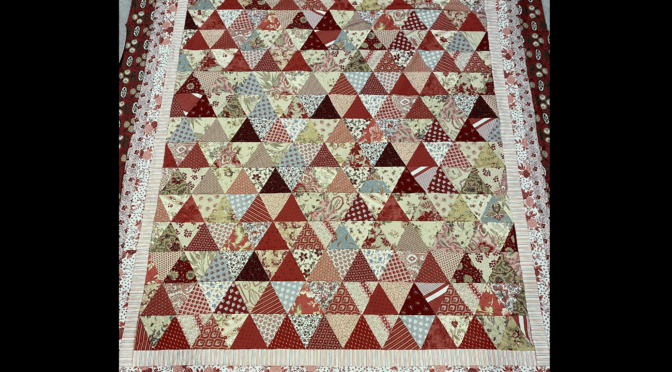
Scrappy Thousand Pyramids Quilt and Lessons in Pyramids
Hello Dear Friends and Readers, welcome to todays quilty post, I am keen to share this latest quilt top with you all. I hope that you will enjoy this quilt top story and the relatively easy method of construction. This quilt has an antique style appeal and appearance.
Just a little preamble. I was lucky enough to attend the very last Bedford Mystery Quilt Day held by Orange Tree Quilters group. I have been to two of these events in previous years which were hosted by Faye Packham, and Lessa Siegele http://ring-cycles-quilt-pattern-by-lessa-siegel
I am aware that Faye does not like to sew with triangles much so I am attributing this fabulous piecing method to Lessa Siegele. This is my adaptation of this quilt design.
On the day there are quite a few quilt packs to choose from. This is the pack that I chose for a Thousand Pyramid style quilt. The fabrics are just beautiful and I immediately realised that some of them were from the French General line by Moda Fabrics which was extremely lucky as all these fabrics are donated for the fundraiser. https://www.frenchgeneral.com/collections/moda-fabric
However, I do not think many of the participants wanted to make the triangles except my friend Lyn who also came for the day. Surprisingly, this quilt top does not take very long to make, but I think the result is extremely pleasing. It took me longer to write this post than to make the quilt! 🤪
Finished Size approximately 80” x 72”
The Fabric Requirements for the Scrappy Thousand Pyramid Quilt
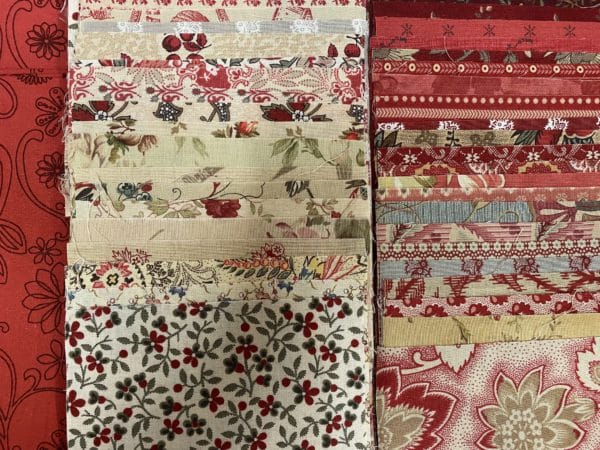
See how pretty the fabrics are….My pack consisted of 5” strips. sometimes these are known as Dessert Rolls. They were sorted into lightish and darkish prints. I made my quilt larger than what was suggested by using up all my left overs. Lyns pack was colourful and scrappy.
For the triangles
48 half length assorted width of fabric strips 5” wide, divided into light and dark. (This is approximately the equivilent of 2 yards/metres of fabric)
And for the borders
1st and 2nd Borders
2 each of half a metre/yard of lighter prints. Cut six sets of 2 ½” width of fabric strips from each fabric
3rd Border
2/3 metre /yard of a light print. Cut 8 of 2 1/2” width of fabric strips
4th Border
1 metre/1.2 yards dark fabric for the final border cut 8 of 5” width if fabric strips.Here is a lovely antique example which shows how really any fabrics whould look great in this design. in fact, as beautiful as my fabrics are, I think it would look good in any fabrics, even some ugly fabrics as the design is what is eye catching. https://www.worthpoint.com/worthopedia/antique-1860-70s-one-thousand-1791193875
By the way, because this is working with triangles,, it is inevitable that there will be bias edges. That is okay. they just need ti be handled with care until they are sewn together.
Actually, I thought that I would have to piece each individual triangle, but that was not the case. so here is the exciting part!
Sewing strips for the Thousand Pyramid Quilt
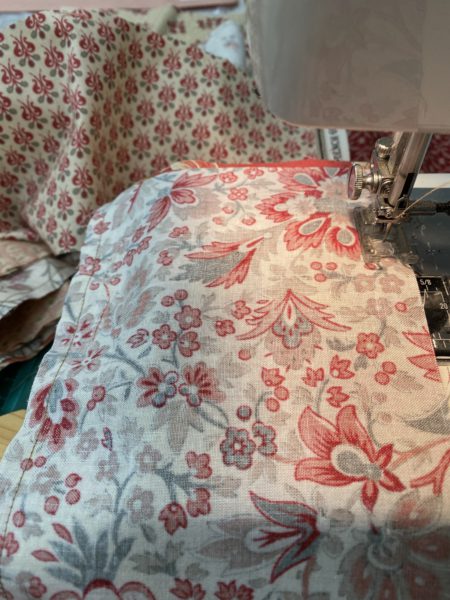
Here is the magic. put a light strip 5” x approximately 20” right sides together with a dark strip. sew a quarter inch seam down each side. I repeated this until all the strips were used up.
Cutting the 60 degree Pyramids
Then using a ruler with a 60 degree mark, I cut all the strips into triangles, turning the ruler so that they are cut from each side.
Cut 140 pairs of pyramid triangles (ie 280 triangles altogether)
Usually that was 6 pairs from each fabric set.
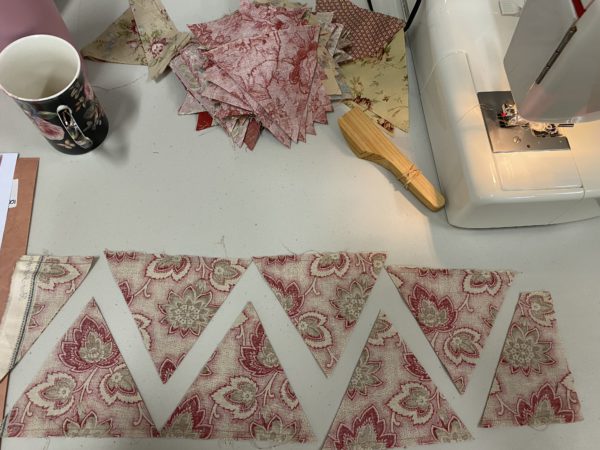
The top point of each triangle pair easily comes apart.
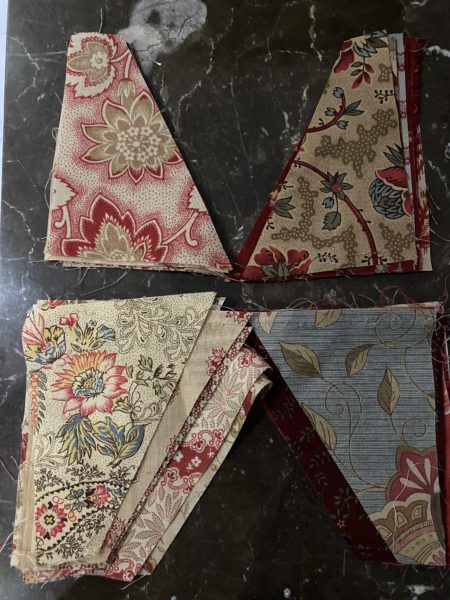
I saved all my end pieces. I used them to insert into the end of each row to save cutting more pieces.
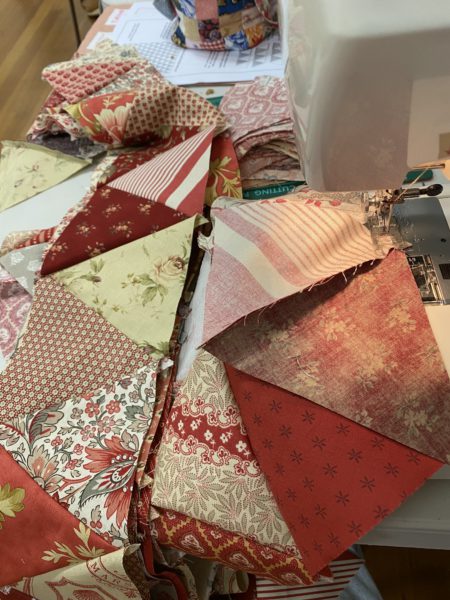
Sewing the Rows
I made 14 rows each containing 20 triangles =280 triangles
Then it is just a matter of sewing the pairs of triangles into rows, of 10 pairs (20 triangles) taking care not to stretch the triangles and to make sure they are matched nicely. The only trick here is to start each row alternately. Light with dark facing up and next row with dark with light facing down. I did a few test rows first to see how it would work out.. If they are all placed the same then it will end up being a zig zag design instead.
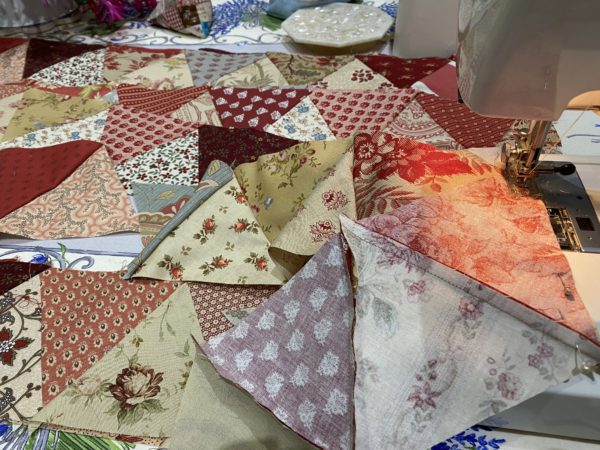
Here is my first attempt of laying out the rows to see how they will look.
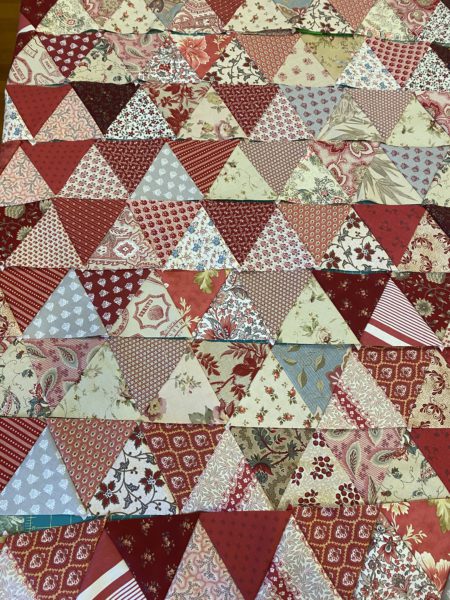
Once the rows are ready, then sew one of those saved end pieces at the beginning and end of each row. The end pieces are different sizes but that doesn’t matter. Once all the rows are sewn together then the sides can be trimmed.
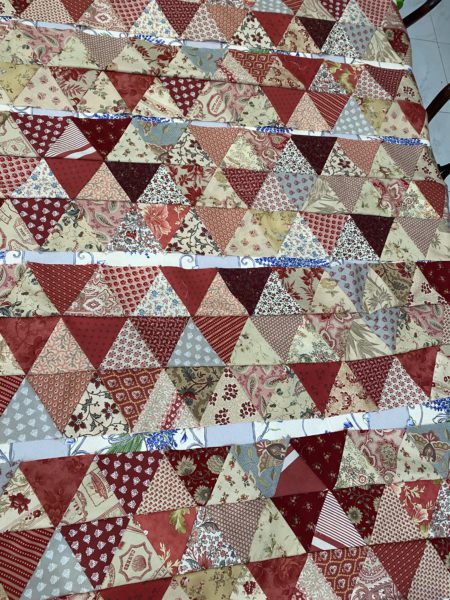
Once 14 rows are completed, sew the rows together into groups of 2 or three. This is important to prevent bowing of the quilt. I discovered this when making this quilt: Japanese Inspired Strip Quilt
Tip
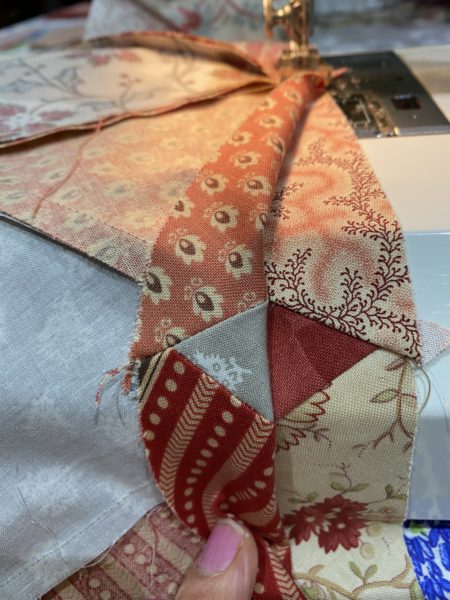
When sewing the rows together, be sure to pin them well and make sure that the seams are nested. I have found when working with these type of points, it pays to turn back the fabric to check where the points are joining to make sure they lining up and the seam will go through just above each point, see next image below. Then use a stillete or pin when sewing the seams to prevent stretching and to keep the seam even.
Here all the rows are sewn together and the sides have been trimmed.
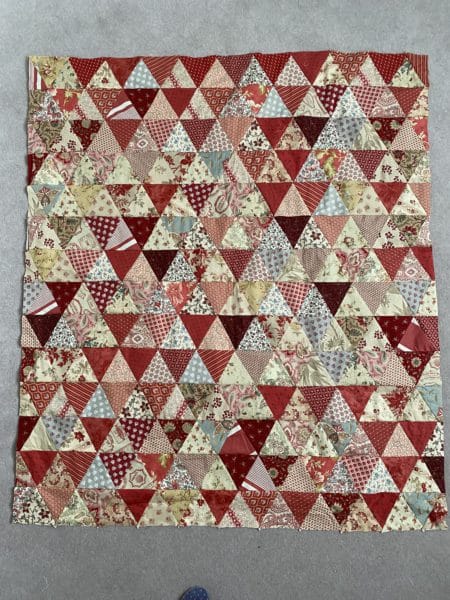
Adding the Borders to the Scrappy Thousand Pyramids Quilt
I really thought this quilt needed framing.
All the borders are added in the same manner. Join each 2 1/2” strip set together, end to end to make one long strip. Trim the seam allowances.
For the first border. Sew a length to the top and bottom of the Scrappy Pyramids Quilt top. Then sew a length to each of the sides. the first border is important because of the bias seams. take care to pin carefullly to prevent any stretching of the seams.
For the second and third border, complete in the same manner. Here it is after adding the first two borders.
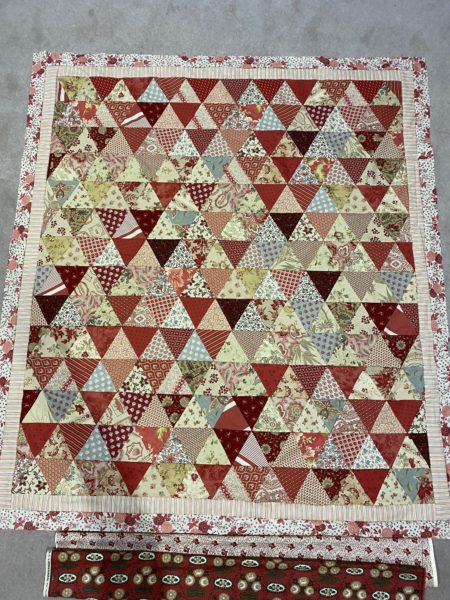
For the fourth border, join the 8 of 5” width of fabric strips end to end as for the previous borders. sew a length to the top and bottom of the quilt top and then to the two sides. I happened to have a nice French General fabric for the Fourth Border.
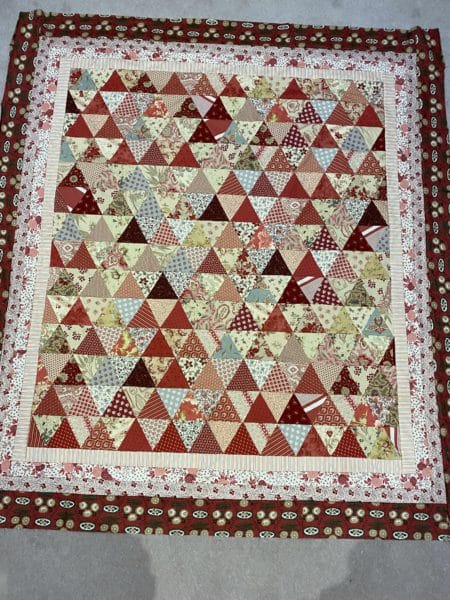
I am pretty happy with this Scrappy Thousand Pyramids Quilt top. And it is a good size too.
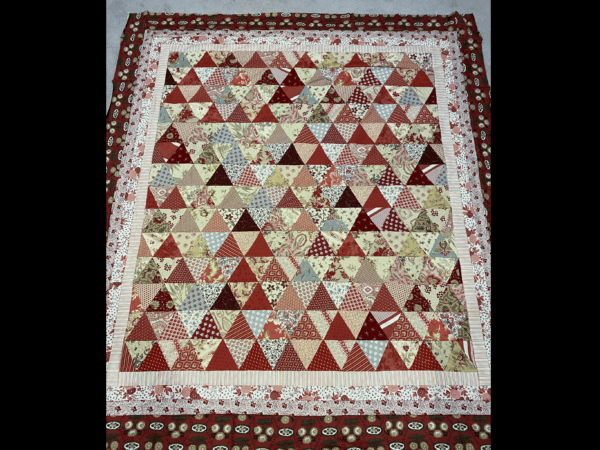
That’s it! Phew! If you are still with me and you enjoyed this post then you may also like
Flying Geese Antique Style Quilt Tutorial – Made Easy
Old Italian Blocks Quilt Finish
Best wishes to you all for a wonderful day. Hope you get to do some sewing too!
Susie
© Susan Stuklis 2022

