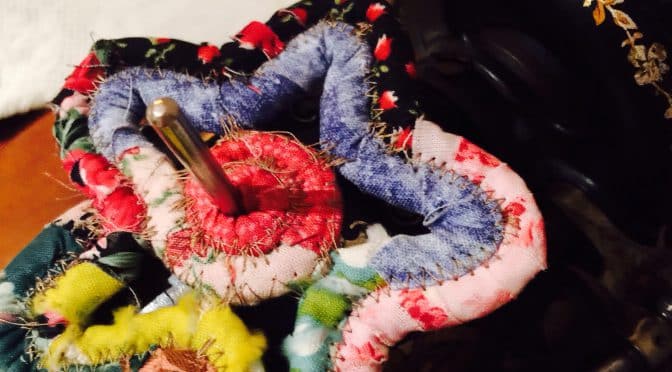
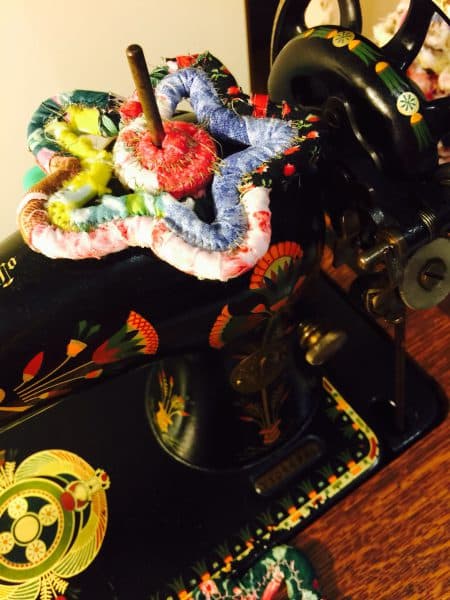
“End of Day” Quilters Spool Pin Star and Tutorial.
Hello Dear Friends and Readers,
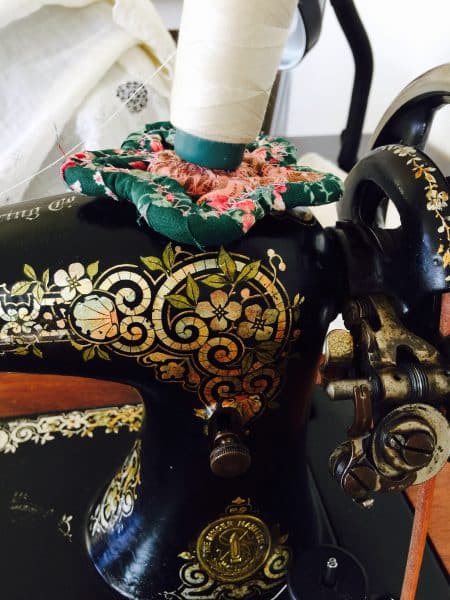
For some time now I have been contemplating the rather deep grooves which have developed over the past few decades into the spool bar on the top of my Pfaff 1222E sewing machine. There is absolutely no doubt that over time the cotton reels will have a very abrasive effect on the machine. If you possess vintage or antique sewing machines, you may be especially careful about avoiding wear to the machine surface and decals.
The solution is of course some kind of protective cover, one of the most popular being a punched felt disk and others being lovely crocheted doilies to put over the spool pin. The felt discs are good because they are pretty static. The crochet doilies are gorgeous but I suspect they may spin with cotton reel?
That is why and how I came up with the idea if these “End of Day” Quilters Spool Pin Stars. The star will stay static when applied to the spool pin. This means that the surface underneath will be protected from abrasion over the years. And the bonus I have found is it takes the stress off the thread which is coming off the spool without any tension. Makes me wish I had done this much sooner rather than just thinking about it!
To make one of these stars you will need about 30″ of soft cotton rope. And thin fabric strings. As it is a small project I am using the gluing method for applying the fabric. You can read more details on how the cover the rope in my “End of Day” Quilters Basket Tutorial.
“End of Day” Quilters Basket – Free Tutorial
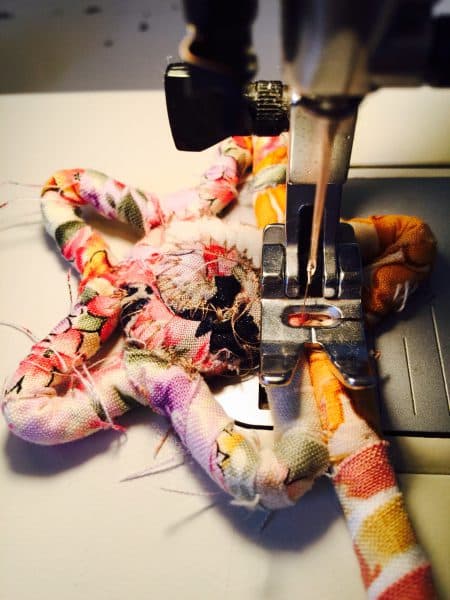
To make this project, set sewing machine to a Zig Zag stitch. As the project is quite small, I reduced the length and width of the stitch to make the stitches more secure.
To begin the “End of Day” Quilters Spool Pin Star, use the covered end of the rope to begin the first turn. Wind the rope to one complete circle. Keep the circle firm. Put under the machine needle and begin sewing from the start of the second round. In other words do not oversew the centre of the star. This will be the spool pin hole. Coil the rope and sew a complete second round.
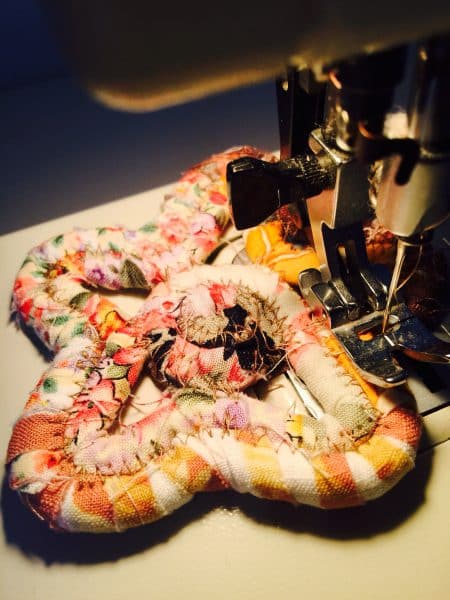
At the beginning of the third round start the first star point. Allowance piece of the wrapped rope to project about 3/4″ and bring it back. Keep this point as stable as possible and continue sewing slowly to secure at the base. Back stitch a little. Repeat until there are five-star points. Try to make them as even as possible, back stitching at the base of each star point to secure. Don’t worry if it is a bit thready, they can be trimmed off at the end.
Sew a fourth round ensuring that the rope closely follows the star shape. When you reach the last point of the fourth round, measure and cut the rope to finish the round on the last inward point. Don’t cut the fabric at this point. Wrap the fabric around the last part of the rope the touch it under the star. Keep hold of that string of fabric whist sewing down the last part. Backstitch to finish. Trim the remainder fabric string from under the star. There it is.
Enjoy making this quick little project. A unique, decorative, functional and protective addition to any sewing machine.
A special thank you to the lovely lady who commented on this post. Somehow the comment disappeared….
I believe this will answer your question, here is the link
If you enjoyed this post, you may also like these other spool projects..
and these little cuties,
Hand Pieced Spool Blocks with Instructions
Have a lovely day.
Susie

