Simple Approach to Hand Quilting
Hello Dear Friends and Readers and warm welcome to today’s post. I had a great question recently from Judith, and I thought it warranted a post to explore the subject with a bit more depth.
Here is her comment and question.
“You do lovely work. Your quilt is beautiful!! I’m always concerned with how tight my sandwich layers are. When long arm quilting the quilt is always so taut. I have experimented with some hand quilting and the back is usually a little ripply. What is your technique to maintain a smooth back? “
This question was in relation to this post. Hand Quilting Scrappy Thousand Pyramids
Please bear in mind that this is only my personal opinion and everyone is free to make their own mind up as to what works best for them economically and ergonomically.
I believe it is important to firstly acknowledge that having a quilt long arm quilted is very different to hand quilting or even Free Motion Quilting on a domestic machine at home. When a quilt is prepared for quilting on a long arm there is clearly an engineering advantage. On a long arm they are able to create a similar tension and tautness for all the layers of the whole quilt during the whole of the process. Then the work of the quilting is from one end of the quilt to the other.
It is possible to create this kind of set up for hand quilting with a hand quilting frame, in which the quilt top is quilted from one end to the other. This lady from sweetpetalstitchery shows step by step how to make a very economical simple hand quilting frame. she also gives full demonstration of how to attach all the layers to the frame. You may also see that her priority is to ensure that the backing is taught then the batting and quilt top are gently layered on top.
https://m.youtube.com/watch?v=FEHUiVevEsc
A large hand quilting frame will require a lot of room and is not so portable and it also requires sitting at the quilt frame.
About the Basting
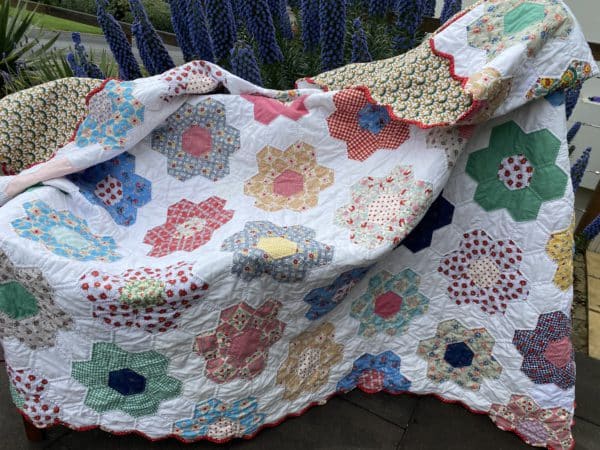
I generally pin bast my quilt for quilting. I appreciate many hand quitters will thread baste their quilt. I leave plenty of room between the pins deliberately so that I am able to make fine adjustments during the quilting process to make sure that the front and back areas and smooth.
When I lay out the layers initially for pin basting I make sure that the backing and batting are several inches larger than the quilt top so that there is room for adjustments. I find the most important part of the pin basting is to make sure that the quilt is as perfectly centred on the backing in relation to the quilt top especially if the backing is pieced or has a pattern which requires more precision to make it align with the edges of the quilt top. Batting Day
Hand Quilting with a Hoop
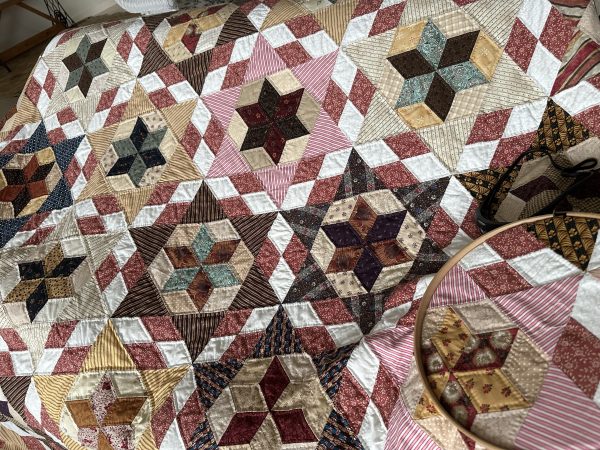
For the quilting, I start from the centre of the quilt top and work my way out. I use a hoop. Each time I move the hoop I am checking the back with my hand to make sure that it is as smooth as the front. I am then able to adjust the front and back easily when necessary as the quilting progresses and the pins are removed. . I pretty much take the same approach but without the hoop for FMQ on the machine as well.
Save Time
I do not mean to sound lazy….. but as I am progressing with my hand quilting journey, I have realised that I do not want too much basting. The reason being it enables me to make gradual adjustments to keep all the layers smooth. As only a small amount that is within the hoop is being worked on at one time, it means minor adjustments can be made during the process.
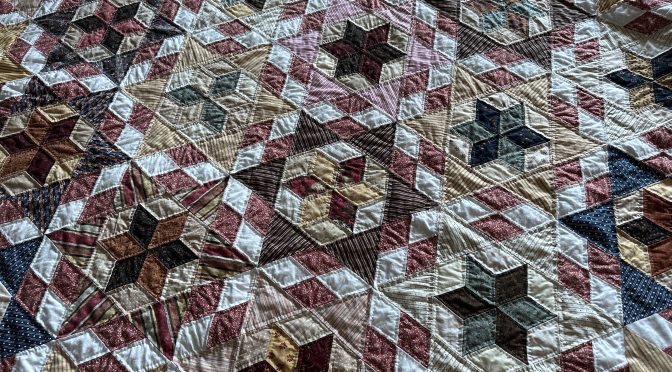
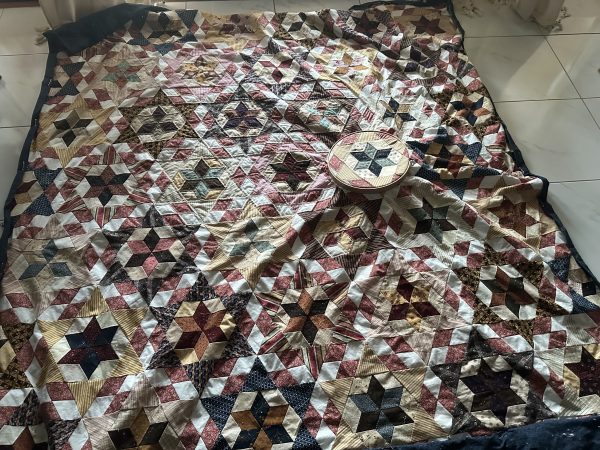
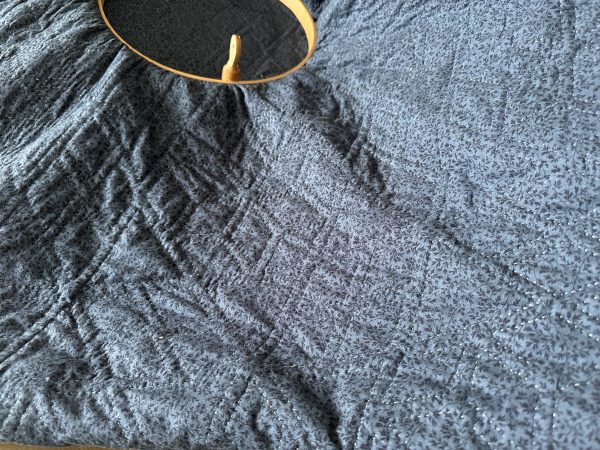
This is the Hexagon Stars Diamond Circles Quilt – Part 5 Making the Columns which I am hand quilting at the moment.
Protect the Edges
What I have realised is necessary, is to roll up the edges of the quilt, just enough to enclose the batting. The reason for this is because the quilt top is being turned and moved around during the quilting process when using a hoop. Therefore the batting may abrade onto the fabric and pill onto the quilt top and backing with the movement. For this to be easily achieved I have used a combination of quilting pins and binding clips just to keep those edges nice and tidy. I made this mistake which became particularly obvious because I bought a dark fabric for the backing and bamboo batting to keep the weight down.
Simple and Portable Hand Quilting
Another reason that I enjoy this method is that the requirements are small and simple. It is very portable, and also I believe it is a good method for pieced quilts which have lots of bias seams and/or hand pieced tops.
Joy in a Gentle Art
All in all, I find hand quilting with a hoop is a very gentle art which can be achieved during downtime. It is relaxing and while it’s not fast, the results are quite lovely. I do this of an evening. You may be wondering about lighting? I use a Bilby headlight which is often used for campers but I find it’s perfect for quilting!
Much of this technique is what I use for Free Motion Quilting as well. The quilt is lovely when it is puddled around while doing the quilting. However, Free Motion Machine quilting does require frequent checking of the back to make sure it remains flat. Free Motion Quilting – Part 4 – Begin FMQ
Further information on Hand Quilting in this post All In Hand – Lessons In Hand Quilting
f you enjoyed this post, you may also
Great Granny Stars Hand Quilting Finish
Free motion quilting puffed daisies
Sashiko Clamshell Free Motion Quilting
Happy stitching,
Susie
© Susan Stuklis 2025

