A Heavenly Mess – Keep on Posting Part 2
Some projects just take time, and that’s okay,…. it’s part of the joy of patchworking and quilting……if you never get started – you never get finished!
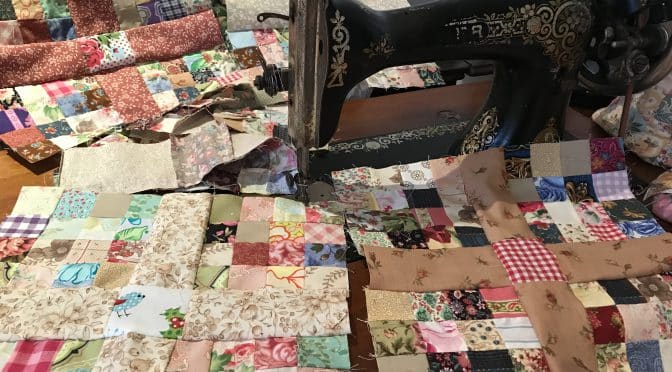
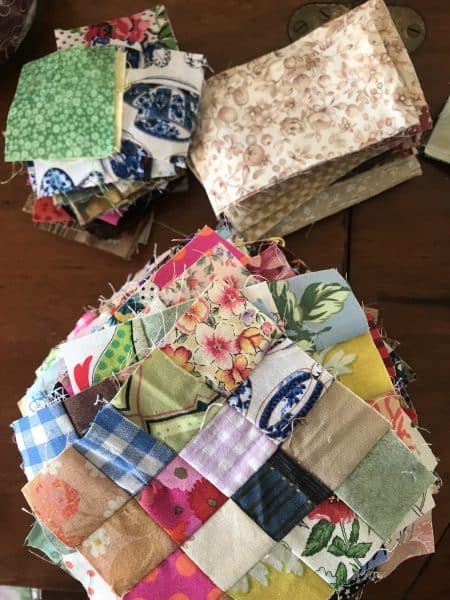
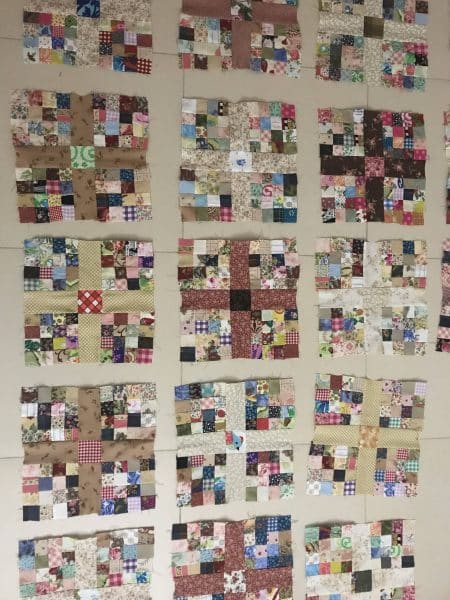
And so it was that I began to cut my small leftovers into 1 1/2″ x 1 1/2″ squares. From those I made these Postage Stamp Blocks.
I really like the variation of these little blocks. They are very pretty.. Moreover, they are a permanent record of all öf the fabrics used from previous quilts ot projects, to for that matter is could be clothing. These blocks could make a beautiful memory quilt too….
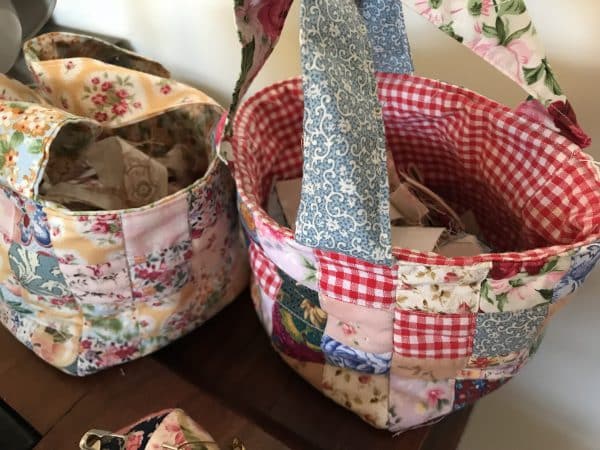
Some of the blocks I used to make these scrappy fabric baskets.
Quilted Scrap Fabric Baskets &Tutorial
Incidentally, these have been great for storing the 1 1/2″ squares. I just have the little basket set next to my machine, so I can do it anytime. It doesn’t require any forward thinking (or procrastination time either!). I just do it. I also use one for a thread catcher and they do make a lovely small gift.
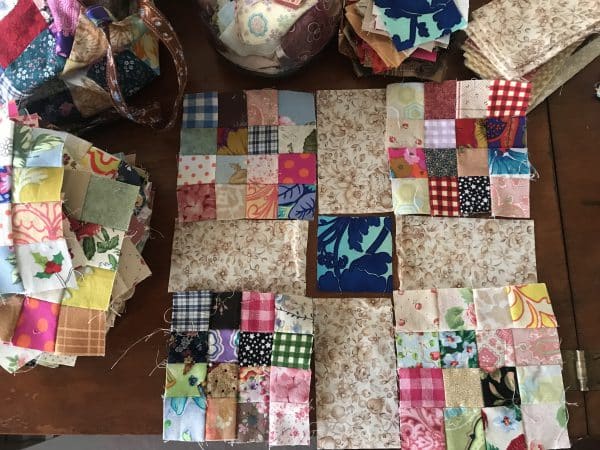
Well now I have a nice pile of these little beauties! So this is how Ive decided to set them. This tutorial is based on the assumption that the postage stamp blocks are 4 1/2″ x 4 1/2″. Here are the requirements for one block.
Requirements for the Postage Stamp Blocks Part 2
4 of the 16 patch 41/2" x 4 1/2" blocks
4 of 4 1/2" by 2 1/2" strips (matching) I'm focusing on creams, browns and pinks for these pieces.
1 of 2 1/2" x 2 1/2" square fabric scrap
Method
Lay out the nine pieces with the stamp blocks in the corners, the 2 1/2″ x 2 1/2“ square in the centre and the four of 4 1/2″ x 2 1/2″ strips, inbetween.
Sew together like a nine patch.
The beauty is you can make as many or few as you desire. I will be sashing these together later to make the quilt.
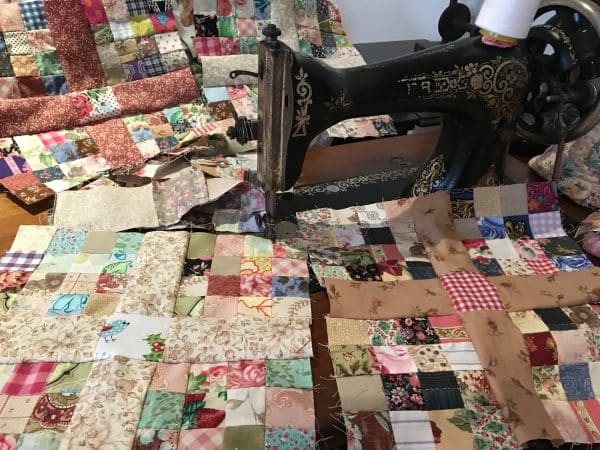
Here is how they are coming along. A heavenly mess!
If you enjoyed this post you might also like

