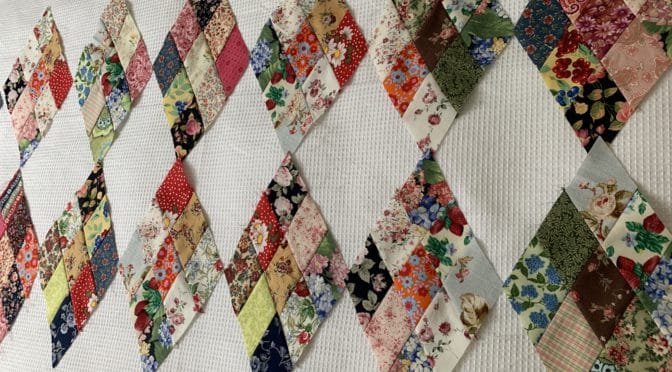
Scrappy Diamonds Blocks
Hello Dear Friends and Readers, Happy New Year!
There is something wonderful to the eyes about blocks set on point or diamond blocks don’t you think? Historically, I don’t think it would be unfair to say they were a feature of English quilts. They look beautiful whether it is a very complex quilt like diamonds made from hand pieced hexagons or the famous quilt made by Jane Austin which has been reproduced by many. https://www.janeausten.co.uk/jane-austens-quilt/
Diamonds have also featured as borders of antique Medallion Quilts. Even the most simple ones can be eye catching.
Here is a simple Medallion Quilt I made a while back.
Pinwheel Medallion Quilt Baby Quilt
Today I thought it would be marvellous to make scrappy diamonds! Why not! And these will be quick and easy to construct and of course you can use a multitude of left over scrap strips, or cut some fresh ones in fabrics you love, or dare I say I believe they would also turn out beautifully from men’s shirts!
All seams based on 1/4”. All fabrics have been washed before commencing.
These Scrappy Diamonds Blocks measure 13” x 7 1/2” point to point.
Requirements for Scrappy Diamonds Blocks.
To make the blocks, a minimum of nine different scrap 2 1/2” strips will be required to make a diamond. They should be of similar lengths. The length of your strips will dictate how many cuts can be derived from each strip set. As many different fabrics as possible. The more the better.
You can use scraps of strips or even a jelly roll if you prefer.
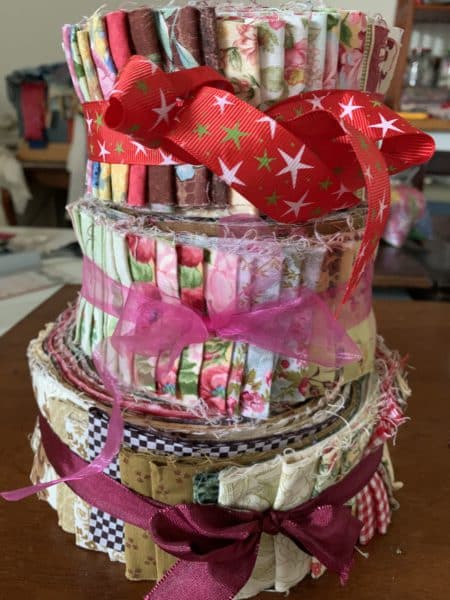
As an example here are some jelly rolls I cut myself.
Quilter’s Christmas Cake from Pre Cuts + Tutorial (Zero Calories)
Method of Construction for Scrappy Diamonds Blocks
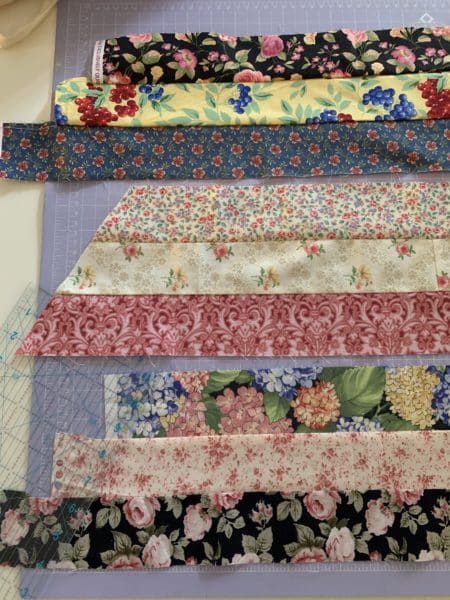
The fabrics will be prepared by strip sewing. Arrange the scrap strips in groups of three. Offset the strips by approximately 2 1/2” as pictured to maximise the use of your fabric. You can see what I mean in the image below.
Sew the 2 1/2” strips into groups of three. Press.
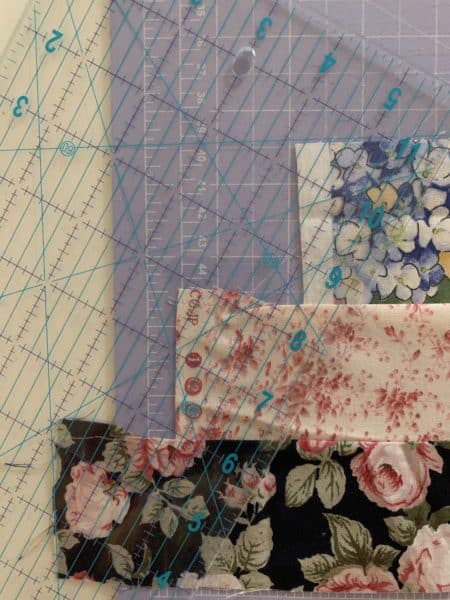
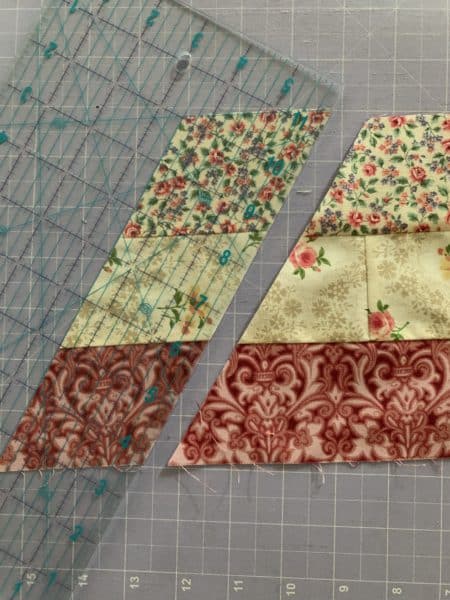
Using a quilting ruler and the 60 degree line on the ruler, position it so the the 60 degree line is at the top of the strip set. Use a rotary cutter to cut across the fabric.
Move the ruler along 2 1/2” and cut a diagonal strip. Continue in the same manner to make as many or few as you like.
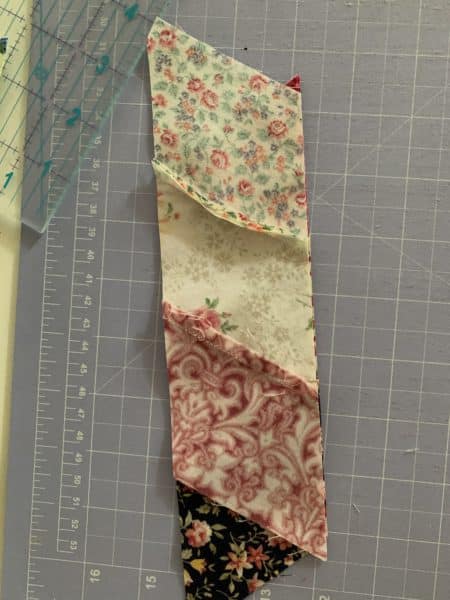
Using three strips from three differing fabric sets, sew them together to form a diamond.
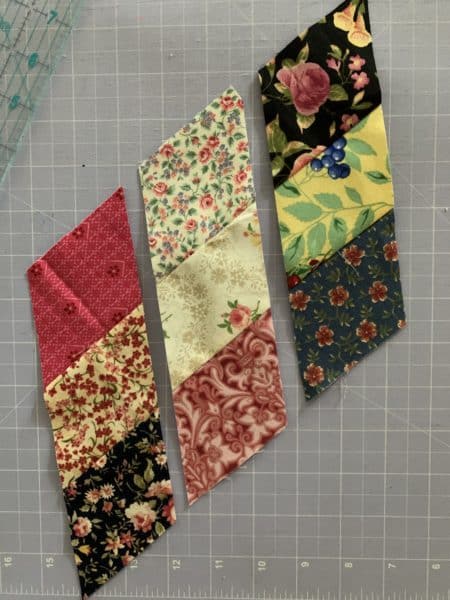
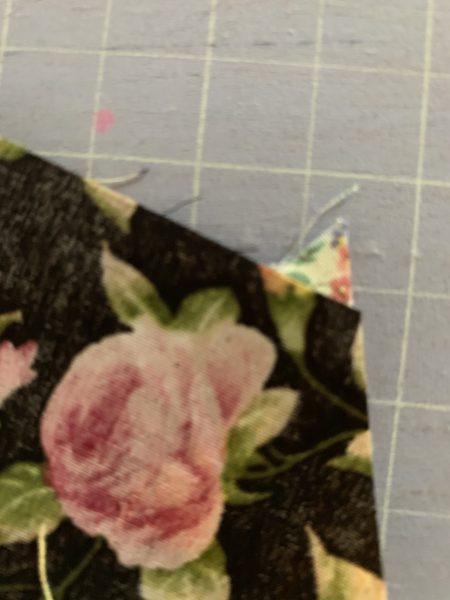
Note that you will have approximately one quarter inch of fabric protruding from each end of the seam line when two of the strips are put together.
Here is how it should look. You will need to set them like this to ensure accurate seam alignment.
Repeat for the third strip.
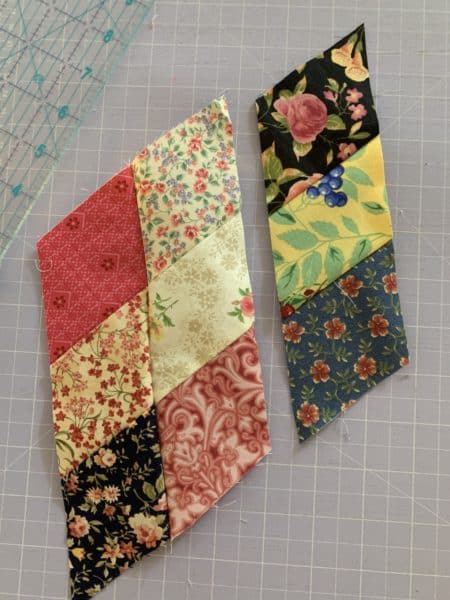
Now you will have a scrappy diamond which looks like this.
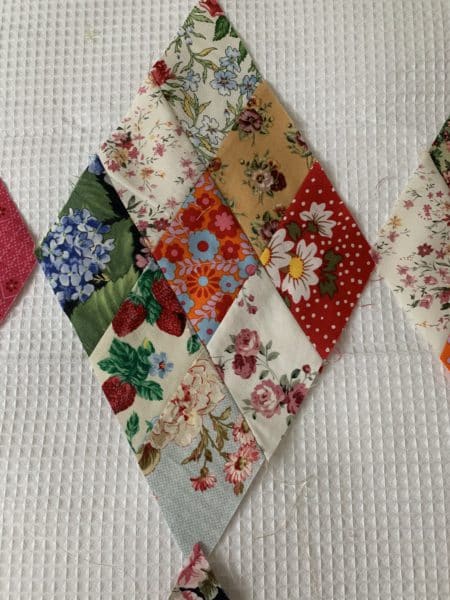
With all the strip sets cut it is very quick to sew up some more.
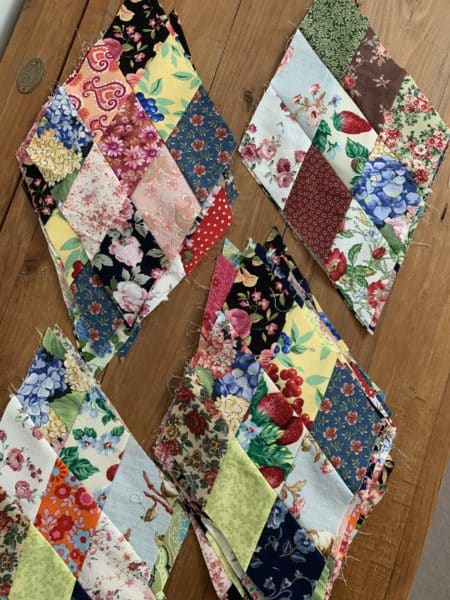
These Scrappy Diamonds come together surprisingly quickly!
There are so many ways you can choose to lay these out. Stayed tuned to see how I set them. Feel free to let me know if you make some and how you lay them out too!
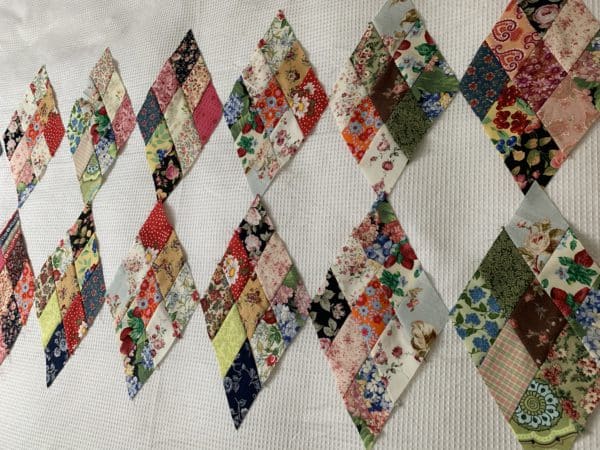
For the next chapter in this quilt story, here is the link to Part 2
Scrappy Diamonds Kaleidoscope Beauty Star Medallion Quilt – Part 2
If you enjoyed this post, you may also like
Sugar Plum Fairy Baby Quilt or
Flying Geese Antique Style Quilt Made Easy
Crazy Little Strings Diamond Charms Quilt Block and Tutorial
Have a wonderful day,
Susie
© Susan Stuklis 2020

