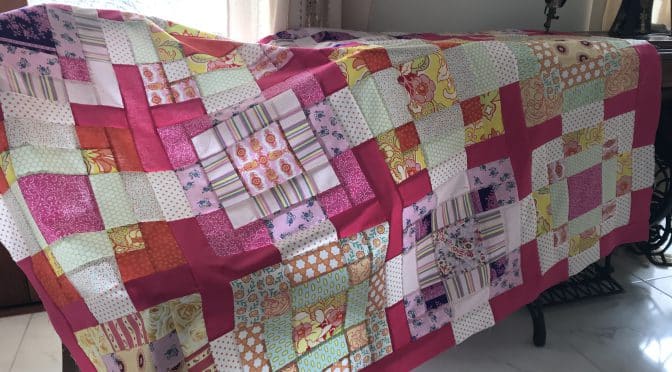
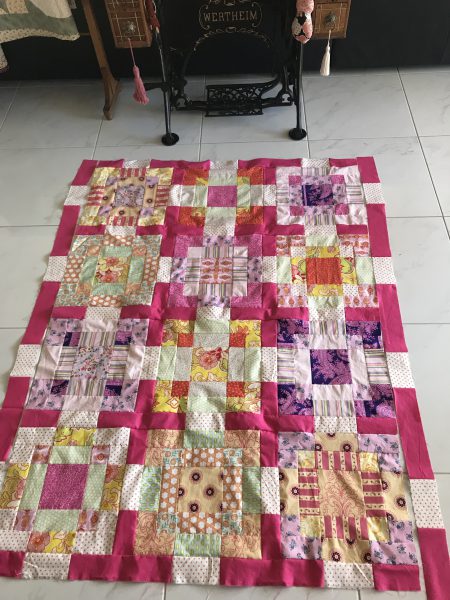
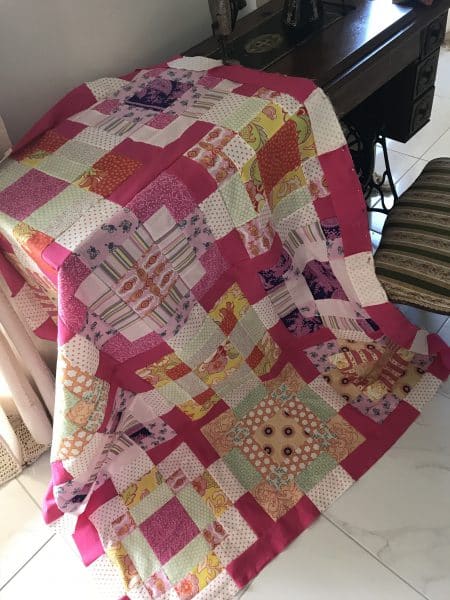
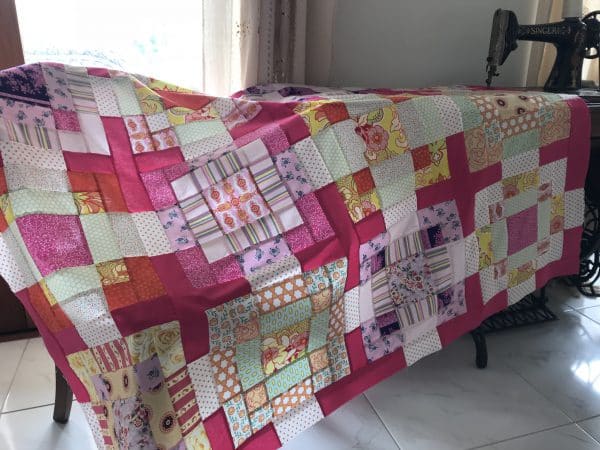
On The Tiles Quilt and Pattern
Following on from the Antique Tile Blocks Made Easy.
Here is the link in case you missed it.
Antique Tile Block Made Easy Tutorial
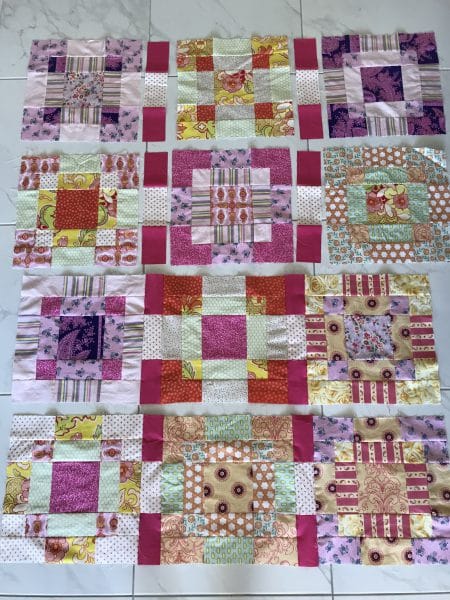
You will need 12 of these blocks to make this quilt. If you need a quick quilt, this may be for you!
Although it is called Antique Tile Block, I have opted for a modern pallet of some bright, pinks, yellows, orange, mint green and purples. In saying that, I’ve seen many antique quilts with very brightly coloured fabrics.
This quilt is a large lap or even single bed size.
Finished quilt size is 46” x 60 1/2”.
Method of Construction
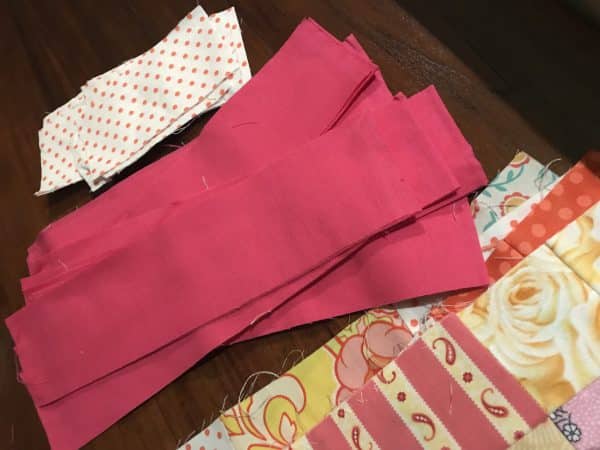
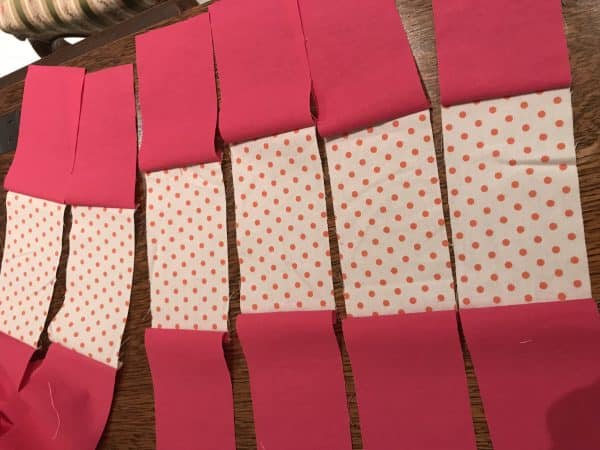
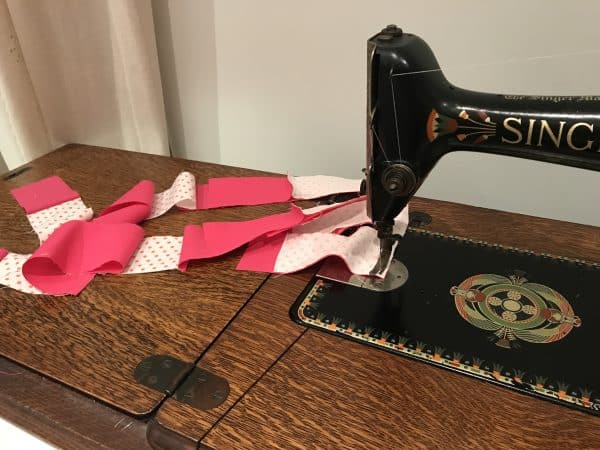
Using 16 of the 4 1/2” hot pink lengths and 8 of the 5” white with orange spot, sew one hot pink strip to each end of the white with orange spots, as pictured below. make eight units like this.
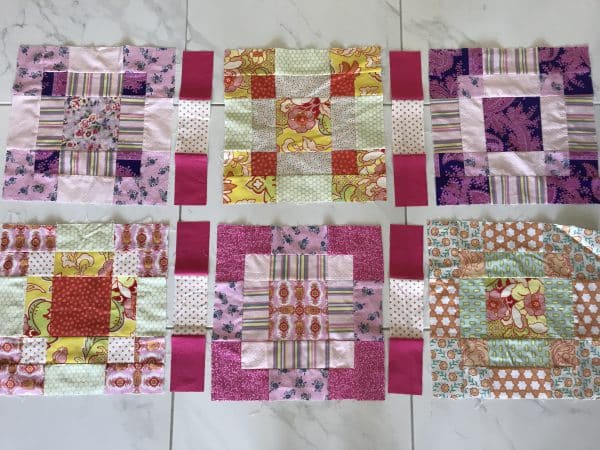
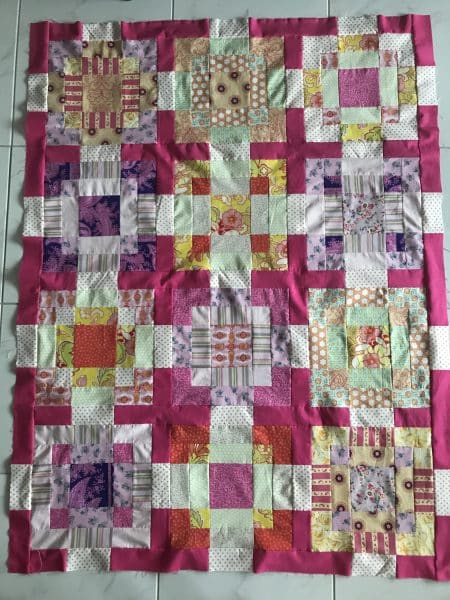
Place two of these units, between 3 of the Antique Tile blocks. Sew together to make a row of three.
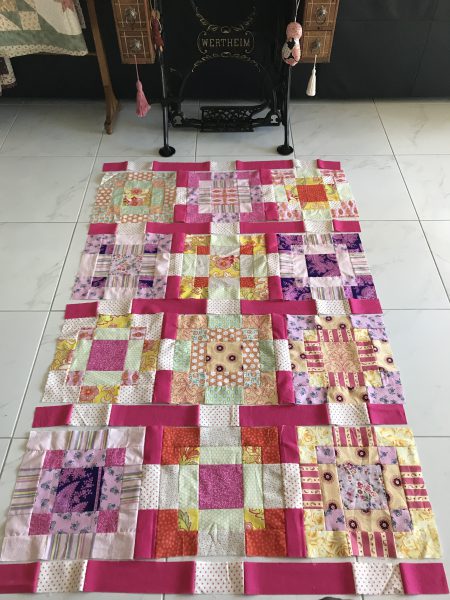
Repeat for the rest of the blocks laying them out in a 3 by 4 configuration, as pictured below, to make the vertical sashings.
To make the horizontal sashings, Take a 4 1/2” hot pink unit and sew to a white/orange spot 5” length. To the other end of the orange spot piece, add a 10 1/2” hot pink length. To that add a white/orange spot piece, followed by another 10 1/2” hot pink, an other white/orange spot, then a 4 1/2” hot pink piece.
Repeat this sequence to make 5 horizontal sashings in total.
Lay them in between each row and add one to the top and bottom of the quilt top.
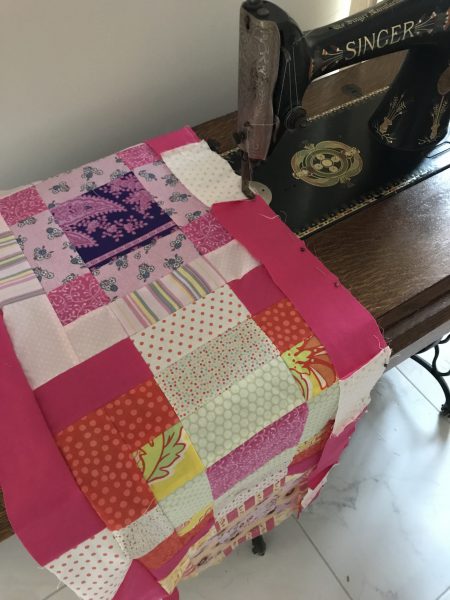
Sew all the rows together ensuring that al the seams are nicely nested.
Now make the two vertical outside sashings. Use the rest of the cut pieces. Begin with a 6 1/2” hot pink, add a white/orange spot, a 10 1/2” hot pink, white spot, 10 1/2” hot pink, white spot, 10 1/2” hot pink, white spot, and lastly a 6 1/2” hot pink.
Repeat for the second sashing.
Attach the two outside vertical sashings.
And there it is!
Now for the quilting!
Have a lovely day!
Susie 🌸
If you enjoyed this post you might also like this,
The Arrowhead Quilt Block Made Easy

