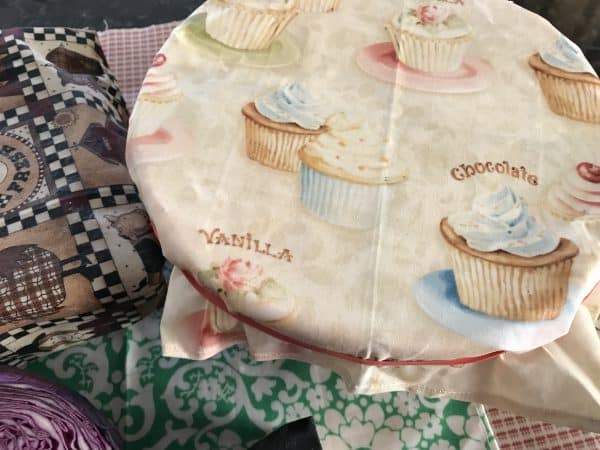
Waxed Cotton Reuseable Food Wraps
Make your own!
Waxed Cotton is certainly not a new concept, but if you have a burgeoning stash, you may be looking for other projects, besides quilt making, for using up your stash.
It can also be referred to as oilskin.
I see more people are moving away from commercial plastic wrap and seeking some more natural eco friendly products for wrapping or covering food to keep it fresh.
More and more , people are turning to more natural products to wrap their food with. In this case, it reduces rubbish and the food is not next to plastic / chemicals.
Unfortunately, buying these food wraps is actually very expensive. I have seen them at markets in varying widths, with a charge of 50 cents a centimetre, unfinished, off the roll.
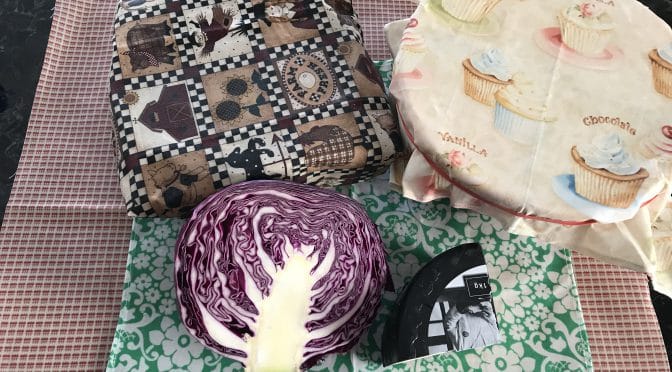
With Christmas coming, this would be a delightful gift. I think these wraps are ideal storage for cheese, vegetables, sandwiches, bread, cake or as bowl or food covers. And they look pretty too!
I’m just imagining how nice it would be wrapped around a Christmas Cake or pudding.
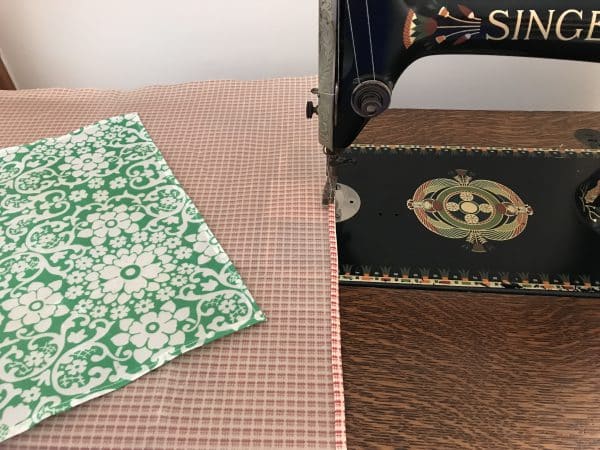
You can choose to finish the edges before or after the waxing. I did it after and this made it easier to create a very small seam, but I did end up with a little wax in my feed dogs. Actually it might be good for them? I thought about using my Pinking Shears, which would also be ideal, but mysteriously I couldn’t find them! I must have put them somewhere really special!!!😂
They are malleable and can be folded and shaped to whatever the need is. Clean them in cool water with mild detergent. Allow to dry throughly between uses.
This is how I did it.
Ingredients
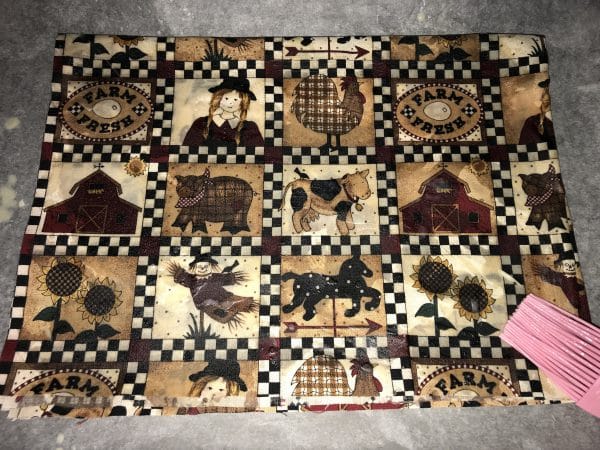
Lay your fabric piece on the baking paper, on the baking tray. You can fold it down to fit, the wax will soak through. Paint the wax onto the fabric, thinly.
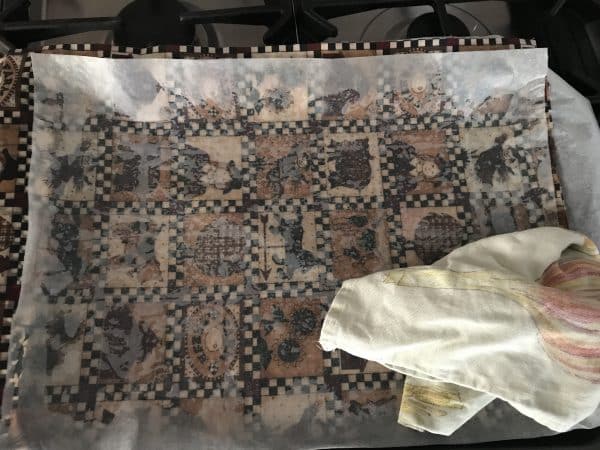
Put a second piece of baking paper on top. Put the tray into the oven for a few minutes. Remove from the oven and rub over the surface with the towel. You will see the wax is penetrating the fabric. If any spot are missed, just touch up with a bit more wax. If you have excessive wax. Put the next piece of fabric in to absorb the excess. Repeat till its even coated.
Did you know these wraps can be rewaxed down the track if necessary.
To clean, wipe over with cool water and mild detergent. Allow to dry thoroughly. Not suitable for microwave or dishwasher. Not suitable for storing raw meat.

