Old Master – New Life
Second hand stores. They are full of surprises. While each may seem to specialise in different goods, whether it be bric-a-brac, furniture, tools, old art or prints and yes, sewing machines, there are some interesting and wonderful finds around.
One lesson I have learned is, go in with an open mind. If you have fixed ideas, it will literally blur your vision. You may miss something you really like!
Personally, I like the idea of getting something somewhat unique. You can see what you are getting, there’s no waiting for it to be made or come from another store. That’s it.
When it comes to art, pictures and prints, always choose what appeals to you, it’s going to be in your home, so make sure you really like it.
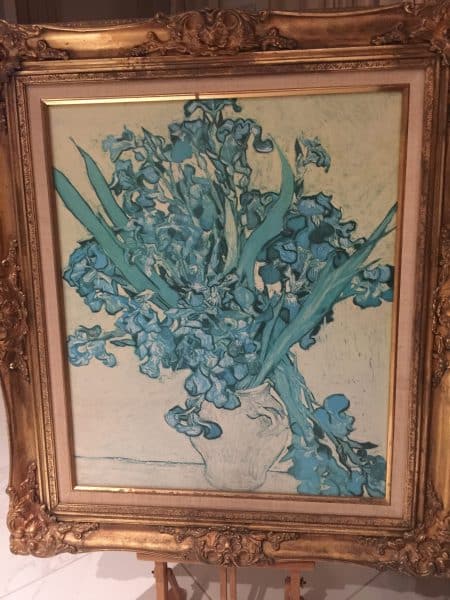
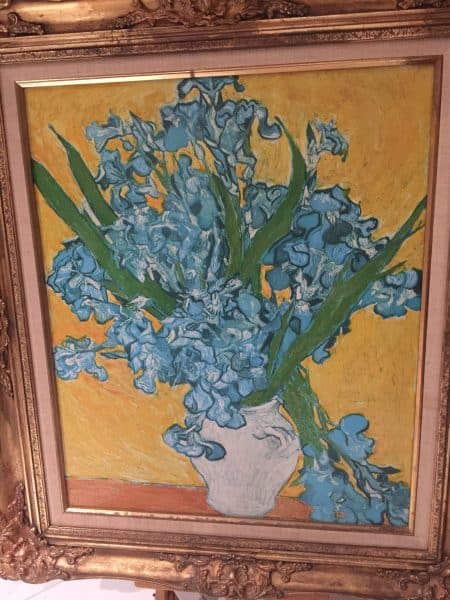
So, some time ago when I came across this old Van Gogh print of Violet Irises in a Vase, mounted on canvas, I just could not pass it by. The frame is just beautiful and framing is expensive. I think that no one had bought it because the print had obviously hung in a an area well exposed to UV Ray’s for decades and it was blanched. The only remaining colour value, was blue. I thought maybe I could find a spot for it, or just use the frame. The truth is, I’ve never hung it up because it just was too bleached from the sun. You can see here that the composition is still there but the only remaining colour is blue.
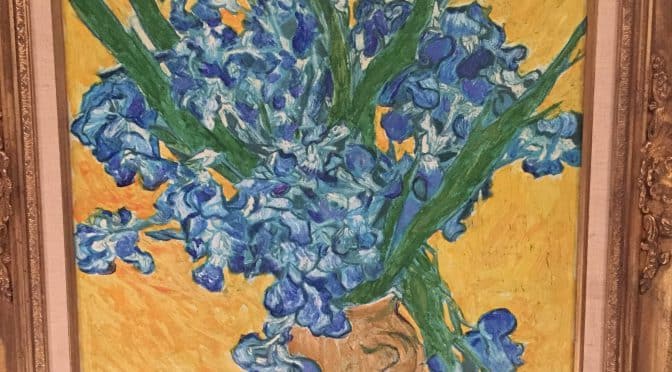
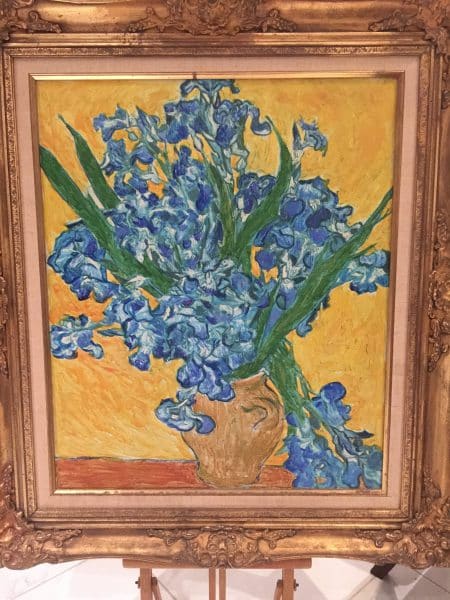
Then I had an epiphany! Why not just repaint the print and enhance it. Of course it’s not going to be quite the original work, but at least I might be able to hang it up.
So I got out my old paints and brushes, which have been idle for a very long time and started. Because this print was mounted on canvas it helps to emulate the idea of it being an original.
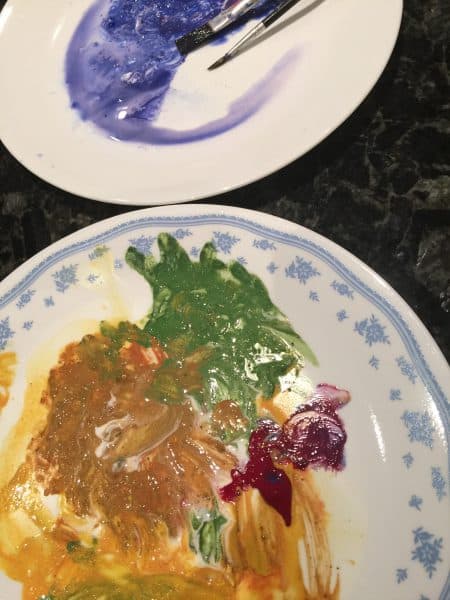
I used acrylic paints. It’s a limited palette, of yellow, ochre, green and blue, but I added just the smallest amount of red to give it a bit more life.
I didn’t want to have a matt acrylic finish. In order to give it some gloss, transparency and texture I added a good amount of wood glue to the middle of my palette.
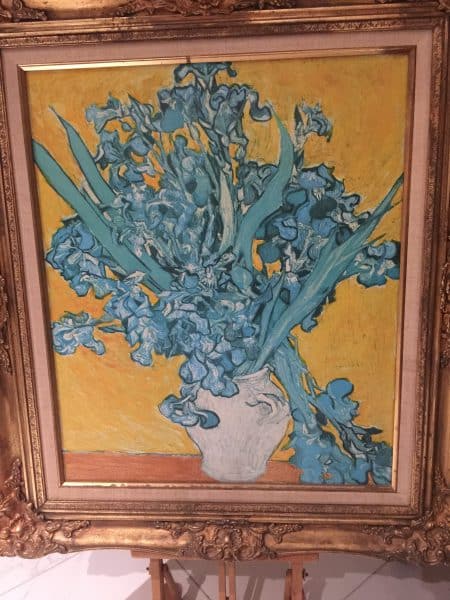
I began with the background. I used a thin mix of yellow with a little red in some spots. Then the table top.
Next I enhanced the leaves with green and a touch of ochre.
Then I reworked the vase and finally the flowers. I was careful not to paint right over them, rather just enhance the edges and not paint over the light.
Now I’m happy to hang this up. It’s nice to take something which might otherwise be considered worthless and breathe new life into it. These old faded beauty’s can have a revival.
Have a great day!

