Wrap it!
Hello Dear Friends and Readers,
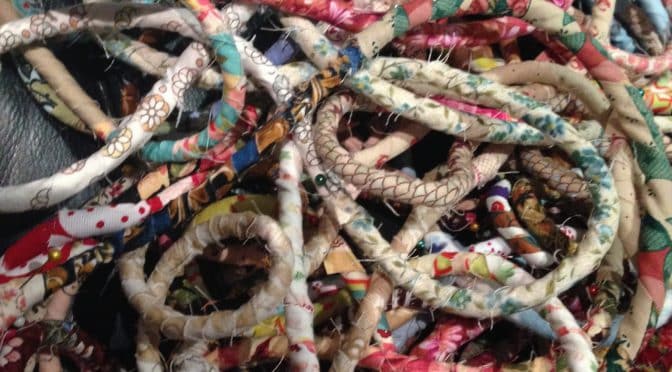
There are always many ways to approach any project and this is no exception. There are other ways of commencing this covered rope project. For example, some people will cut their fabrics specifically for this project. They may prefer to have it all in the same fabric. There are others who will also iron in the raw edges before wrapping which will give a very ordered result. I’ve noticed some commercial baskets where only the rope is used – uncovered, which I can understand as they will be trying to improve their financial margins, because fabric and labour are expensive.
My preference is to make a totally unique creation. As quilters we have the advantage of our leftover fabric strips. How wonderful! The cutting is already done and you could consider that it is virtually free (apart from the rope), if it would otherwise have been discarded.
See previous post. Scrap Wrap…Get Ready!
This is how I do it.
Requirements to make a basket
Method
Begin wrapping the rope about 2′ from the end of the rope. Wrap the fabric onto the rope at an angle of 45 degrees. This ensures that all of the rope will eventually have the equivalent of two layers of fabric. Wrap to the end of the rope, then double back on itself so that the end is enclosed.
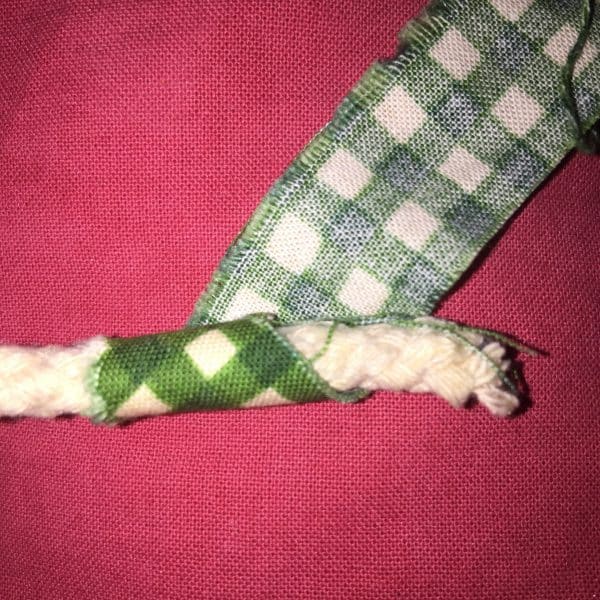
I like to wrap in a clock wise direction, but as long as it is comfortable for you, it doesn’t matter.
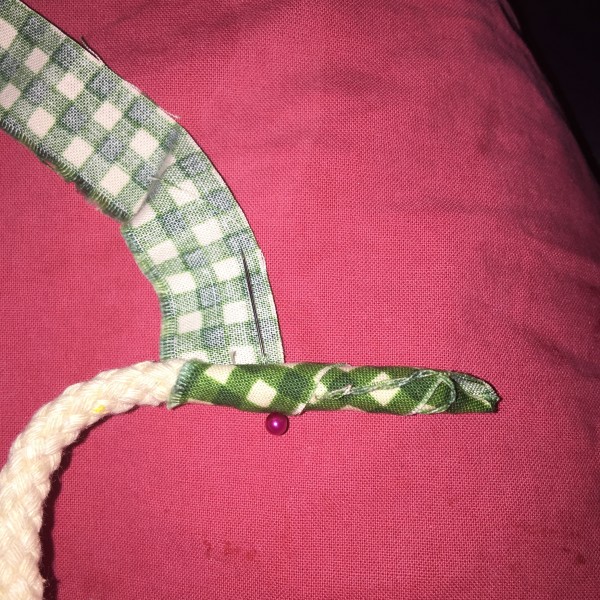
In the image above, the pin is just to hold the fabric in place for the photo. Continue to wrap the fabric firmly onto the rope at a 45 degree angle. When you reach the end of the fabric strip, use the glue stick to dab some glue onto the wrong side of the fabric at the last inch of the fabric, stick the beginning of the next strip of fabric, right side down onto the wrong side of the previous strip.
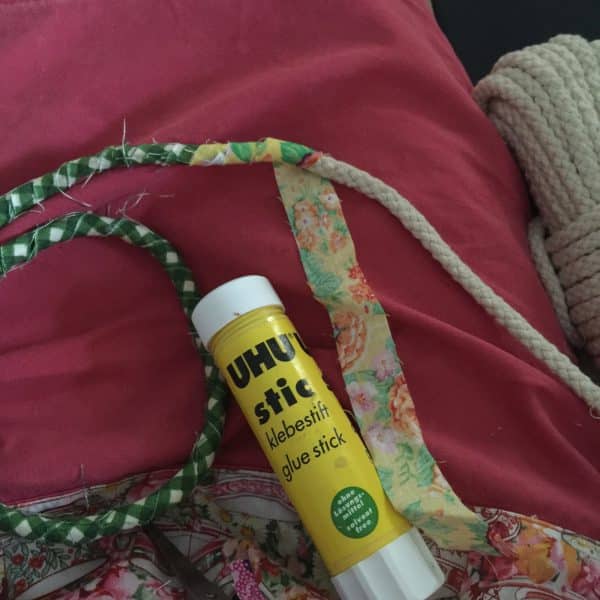
Continue to add strips and wrap the rope until the rope is completely covered , or reaches the desired length.
I have found its easier to do all the wrapping, prior to taking it to the machine for sewing. A great mindless TV job. I think it’s easier that wrapping a piece, then sewing a piece and so on. …
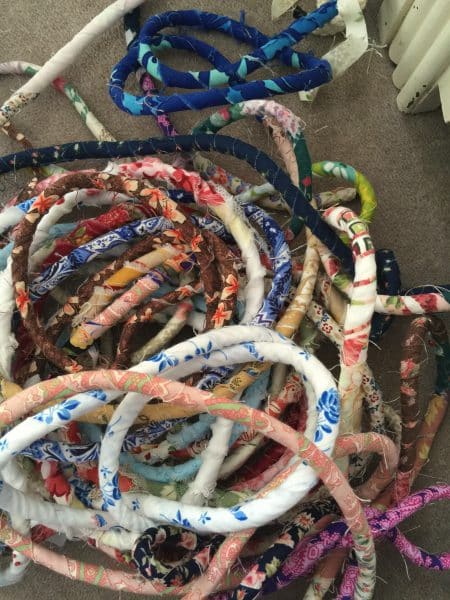
If you are using pins for securing, make sure the pins are lodged longitudinally, to prevent being pricked.
Note. I have discontinued using selvages only because they are quite firm, and can be the cause of needle breakage.
Happy wrapping!
Maybe you would like to see a finished project!
End of Day Quilters Walking Bag
If you enjoyed this post you will love this one!
End of Day Quilters Basket & Free Tutorial
Have a good one!
Susie

How do you make ropes for a floor Matt?
Using the same method. “End of Day” Quilters Basket – Free Tutorial
Love the idea of wrapping first!
Have you ever just made a floor matt with them?
Not Yet Heather. If you do. Just make sure to keep the piece as level as possible and ensure that the rope is not twisted as it arrives up to the needle to avoid distortion of the mat.
I don’t understand how to sew the wrapped cord together to make a basket using a sewing machine! Is there another tutorial??? Thanks !
Dear Diana. Yes there is! Please look for End of Day Quilters Basket Free Tutorial. You will also see some other basket projects and how to do them in my complete list of posts under Bags and Baskets.
Susie