Scrap Great Granny Square Block Tutorial
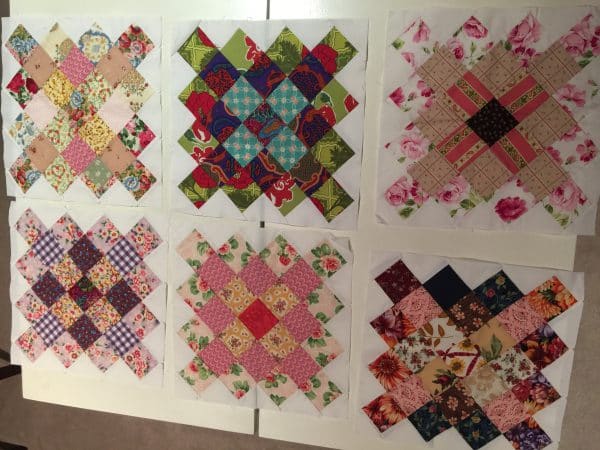
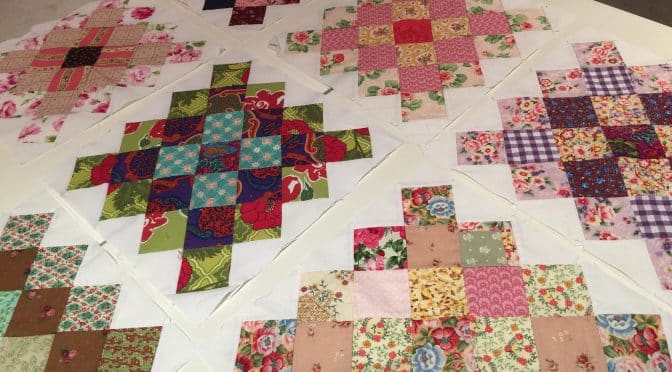
Hello Dear Friends and Readers. Enchanting, endearing and enduring is how I feel about this old fashioned block. Like so many things, everything old is new again. The look of these blocks emulates the look of crocheted Granny squares, but much larger of course. This block will be delightful in whatever fabrics are used, whether they be ultra modern, traditional, brights, pastels, checks and plaids, novelty prints, solids or florals, like I’m using today.
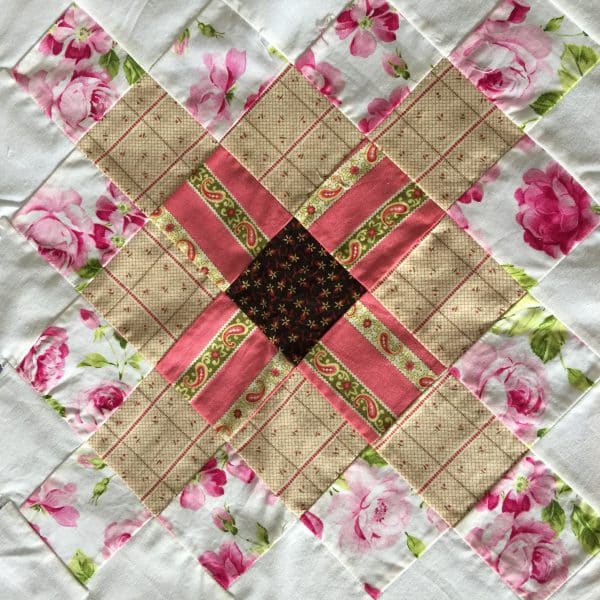
Use whatever you already have in your stash. It’s fun to group them into blocks of fabrics which look happy together. Small amounts of lonely scraps, including directional prints, will find their place!
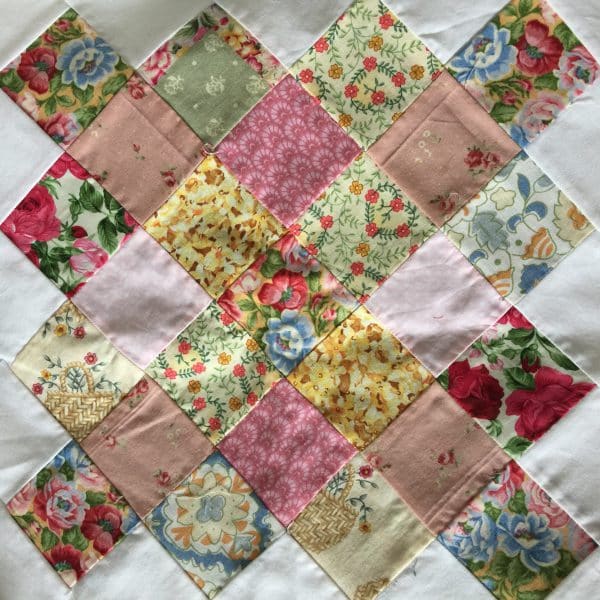
Traditionally,these blocks would have been hand pieced in order to join them together with same size squares on point However, for speed, these will be machine pieced so a straight sashing border can be added in between.
This is how I do it.
I’m making these blocks with scrap 2 1/2″ squares. You will need a background fabric for the setting triangles (and later for sashings). It’s probably best to choose your background fabric from the beginning. I’m using plain white homespun.
This makes a 12“ x 12“ square block
Ingredients for one Scrap Great Granny Square Block
Each block will require 25 of 2 1/2″ x 2 1/2″ squares
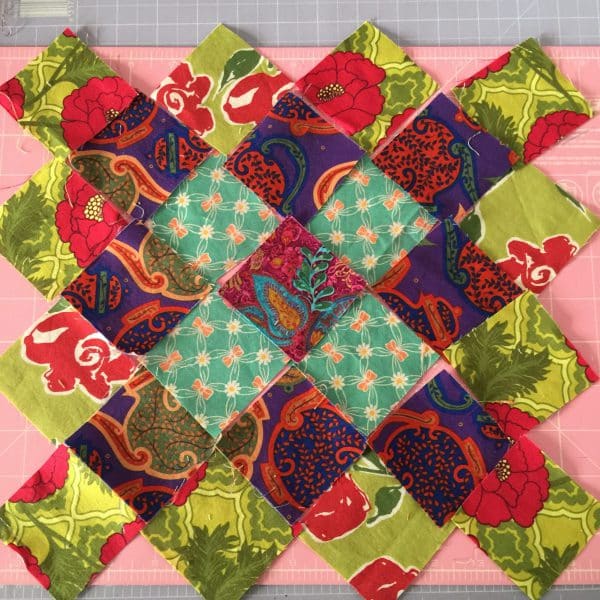
Each round can be in matching squares, or squares with similar themes or colorways or as scrappy as you prefer.
From the background fabric cut;
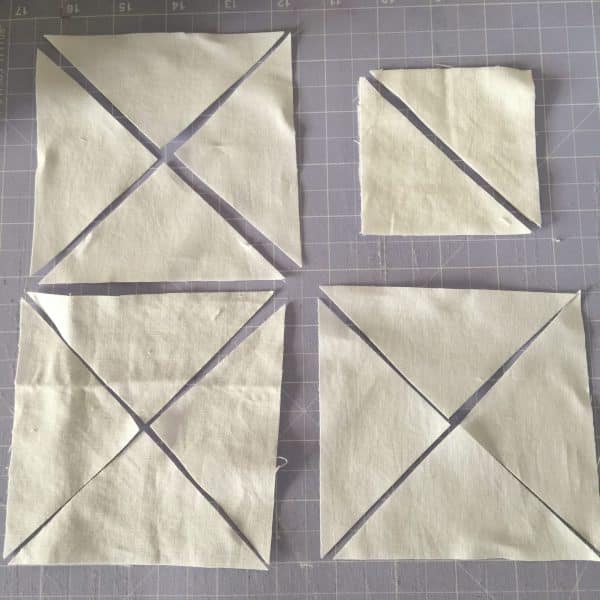
3 of 4 1/2″ x 4 1/2″ squares cut once on each diagonal to reveal 12 setting triangles
2 of 3″ x 3″ squares cut once on a diagonal to reveal 4 corner triangles.
Find a place close to your sewing machine, or use a flat box, tray or your cutting mat, to lay out the block. Begin by laying out your squares in a pleasing arrangement, in rounds. Lay out the side setting triangles.
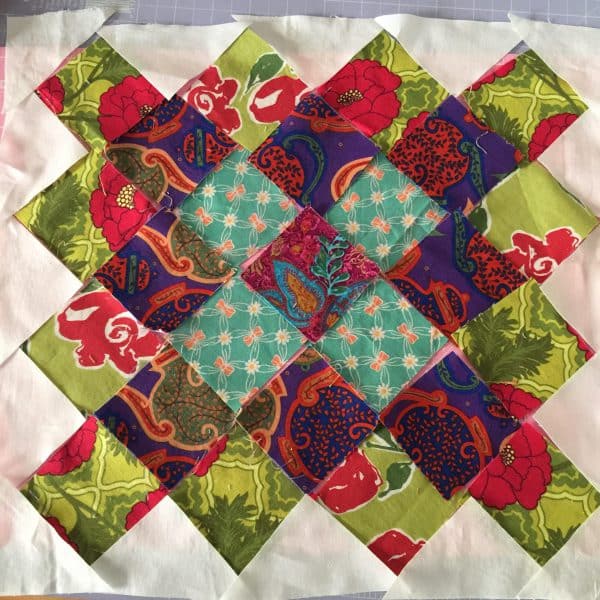
Beginning from the top left of one corner, sew the diagional rows together, one at a time. Incorporate the setting triangles too. Only finger press at this stage.
Complete one row at a time. Then go back and sew all the rows together keeping the order correct. Ensure the seams are nesting.
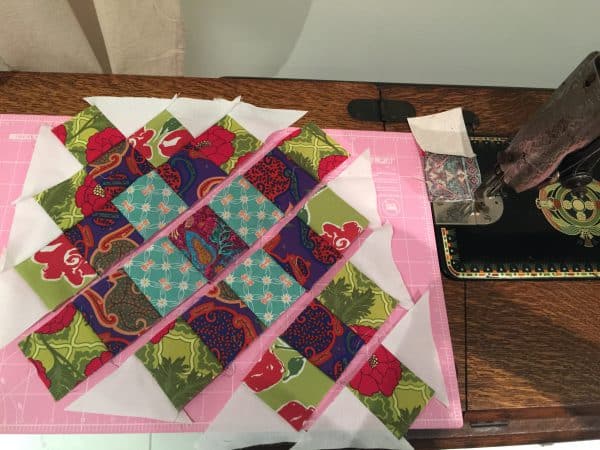
Lastly add the corner triangles. Press and trim the block. It’s amazing how many odd scraps can be turned into beautiful blocks!
Trim the block to 12“ x 12“
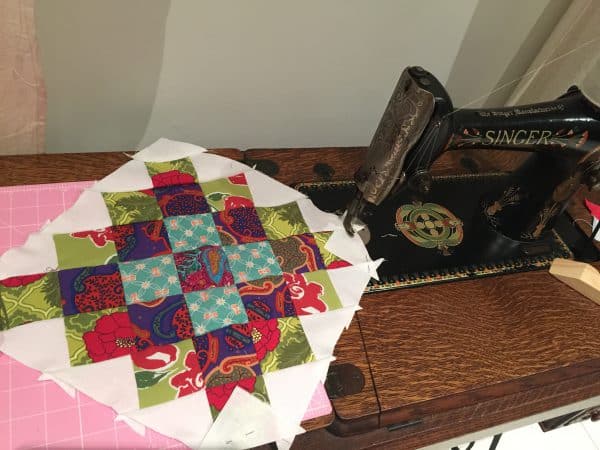
Make some more. This is a Singer 66 sewing machine. C1923.
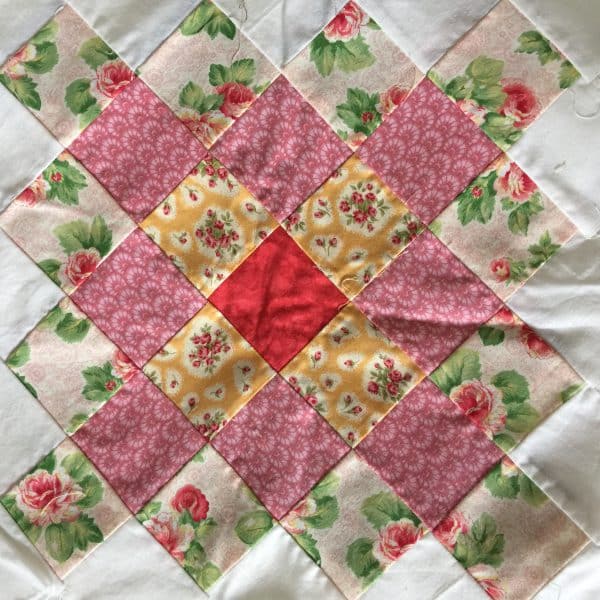
In no time you will have enough for a lap quilt, baby quilt or table runner at the very least!
If you are enjoying these blocks, you may also enjoy these tutorials.
Irregular Triangle Foundation Piecing Tutorial
Happy scrapping!
Susie
© Susan Stuklis

Thanks for the tutorial!
Hi Wendy, you are welcome.
Someone posted your blog in the Quilting Bee FB group. I love this scrapbuster….charm pack Buster..uh jelly roll Buster! Thank,you for sharing your tutorial!!
Thankyou for sharing Susie, this is a lovely tutorial – I’ve been maning to try this for ages.
Another great idea! Thanks Susie!!!